13. Mechanical Design, Machine Design
To do
Mechanical Design (part 1 of 2)
Group assignment:
- Design a machine that includes mechanism + actuation + automation
- Build the mechanical parts and operate it manually.
- Document the group project
Individual assignment:
- Document your individual contribution.
Machine Design (part 2 of 2)
Group assignment:
- Actuate and automate your machine.
- Document the group project
Individual assignment:
- Document your individual contribution.
Group Assignment:
If you want to look for our project click on this link
Machine & Mechanical design
We deceided to create a timer, we called it “Jamanak”. It means time in Armenian.
I started with the design of the machine on FreeCAD.
For this I used the exampleS of the BootCamp in Finland that our instructor Babken attended.
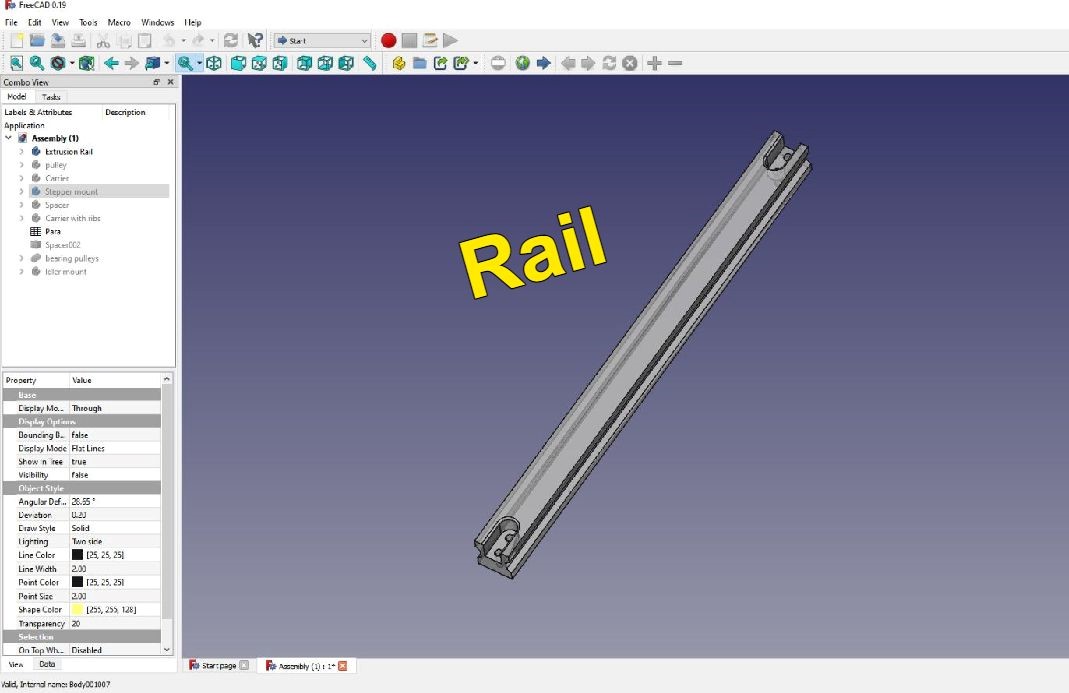
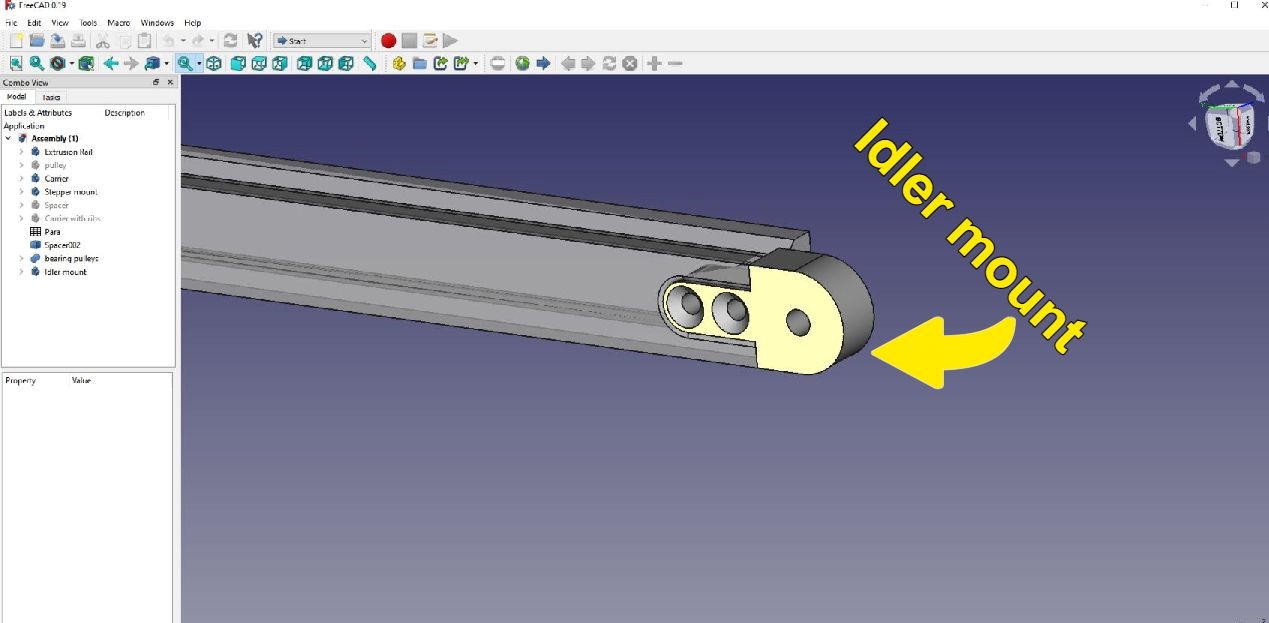
I used the example of Babken’s 3d printable linear axis,based on Urumbu machines axis.
As well, some parts that were inspired to design the machine, were taken from Quentin’s UrumbotXY
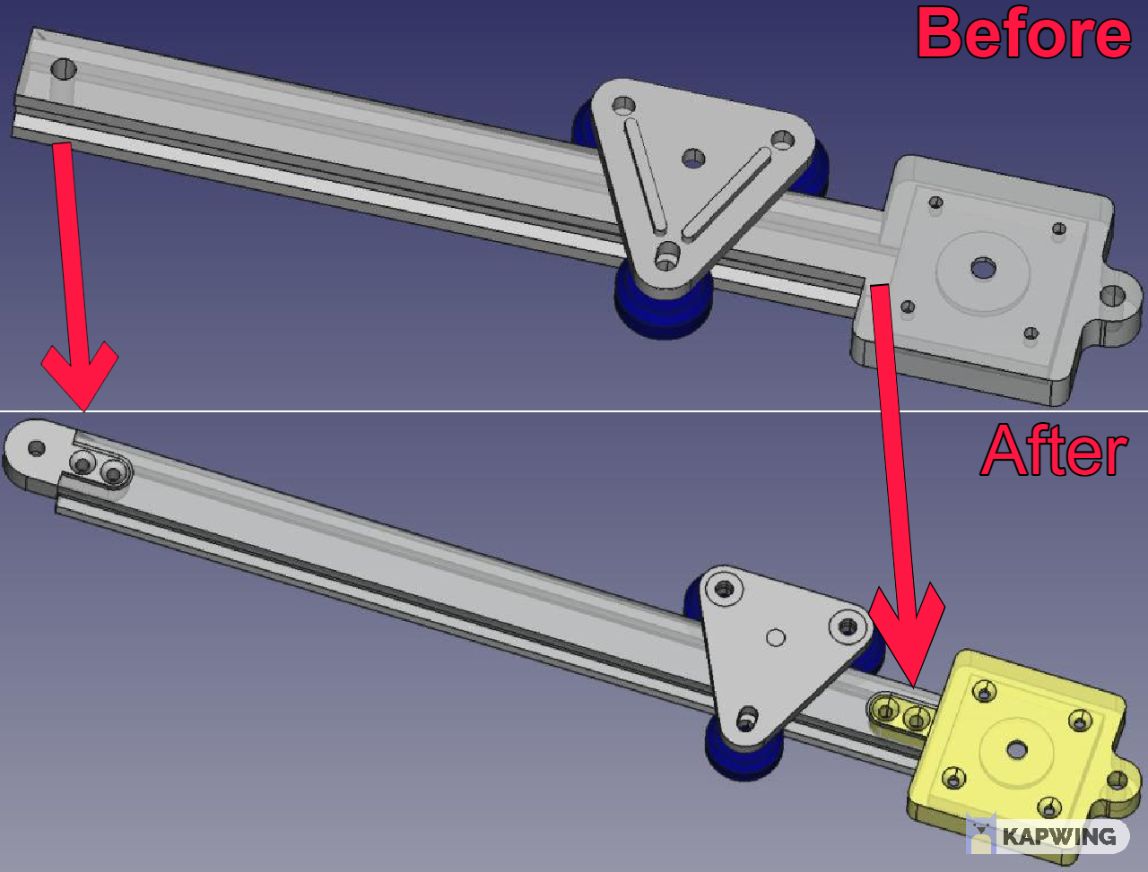
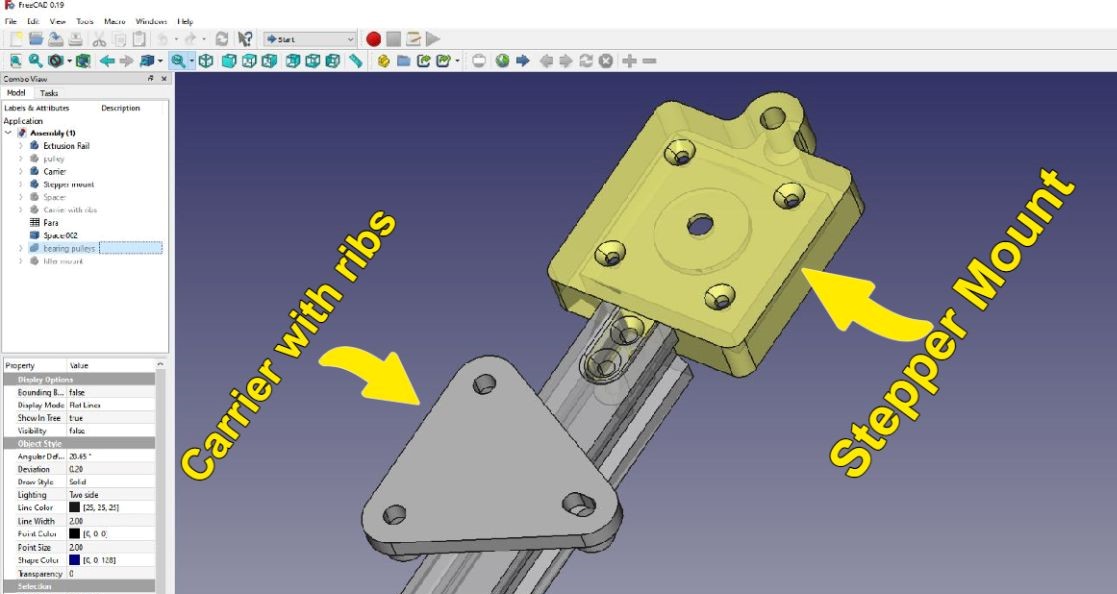
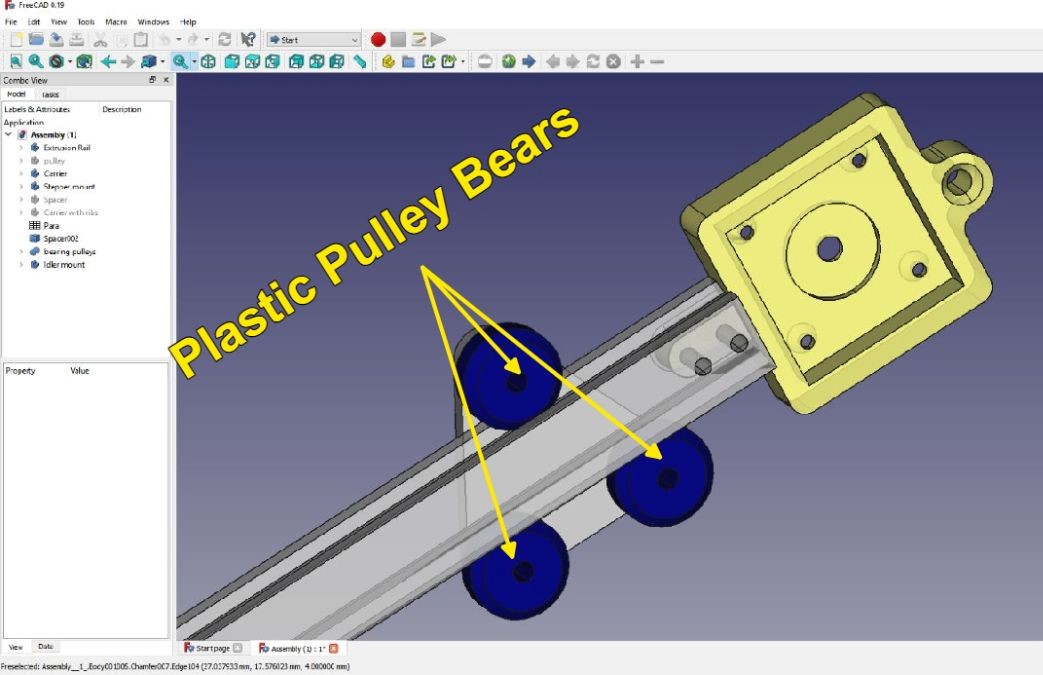
You can se the progress and modifications that I did in FreeCAD with the Urumbu:
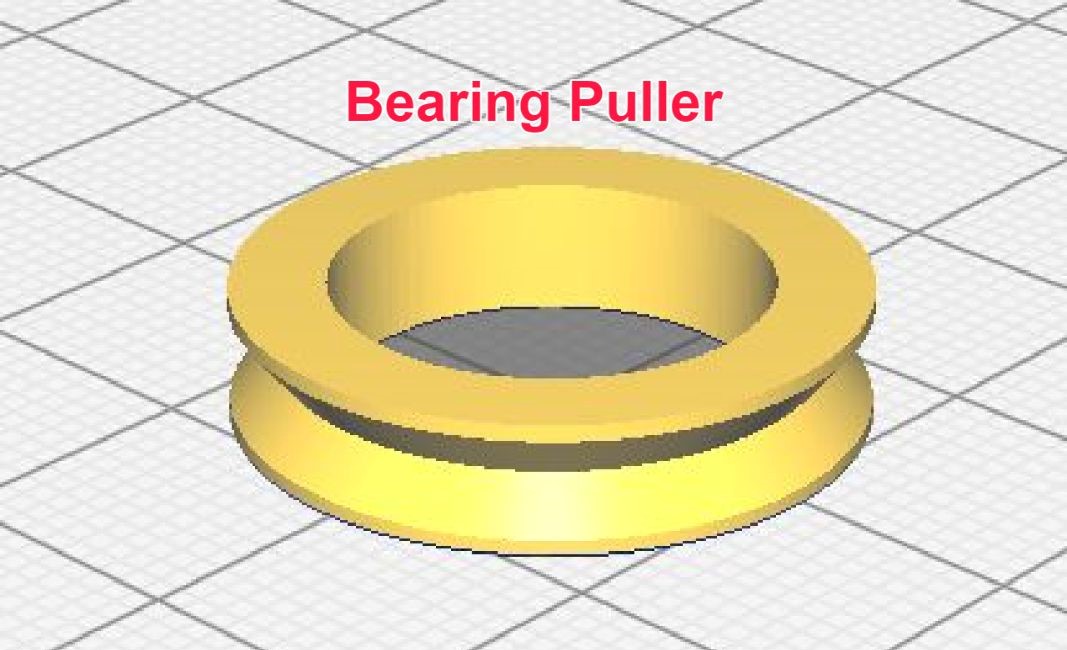
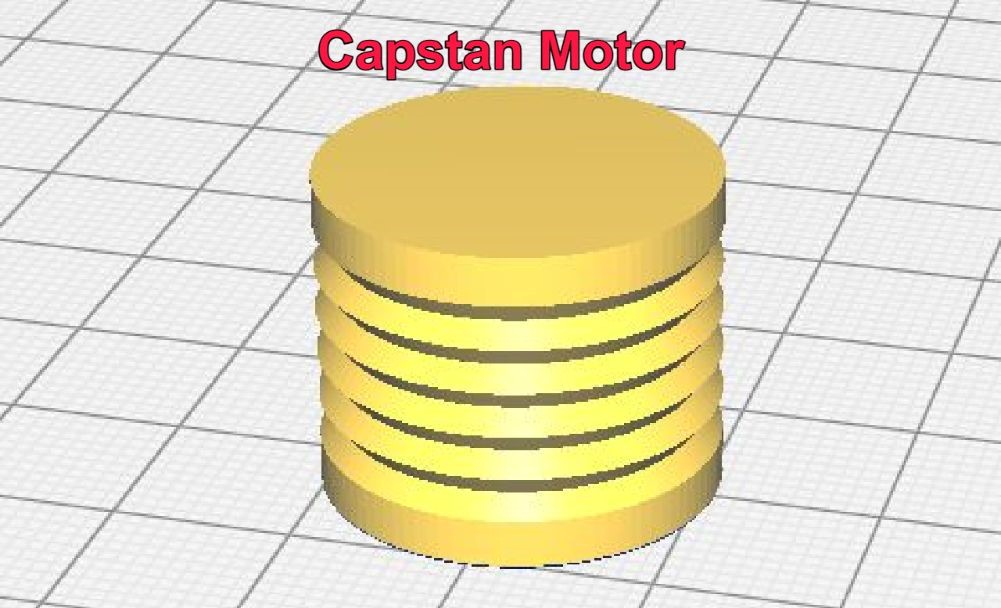
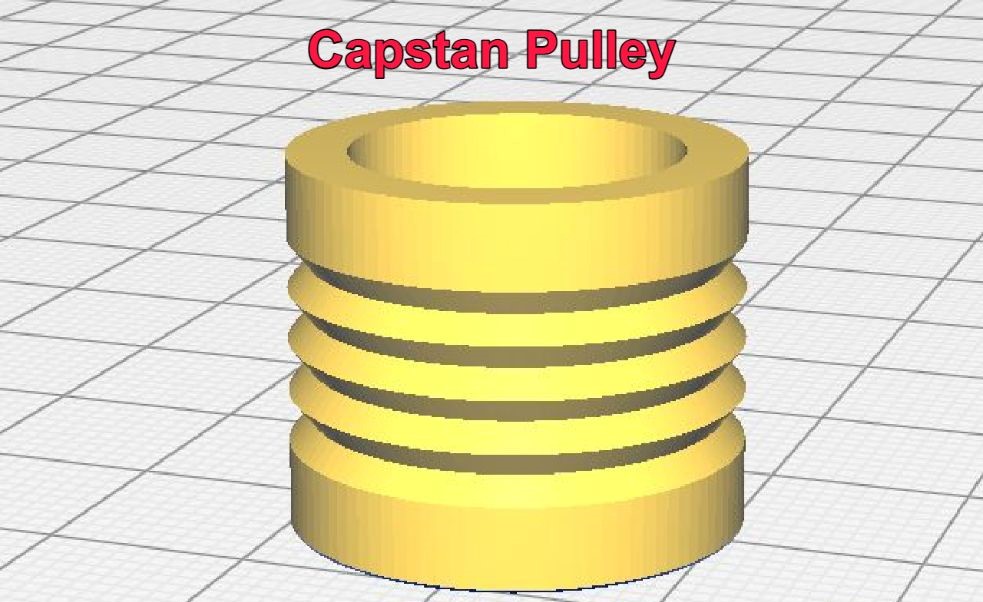
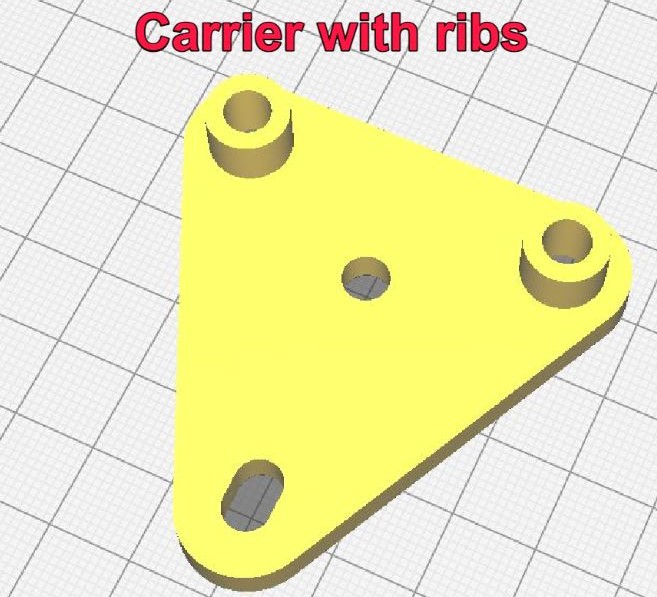
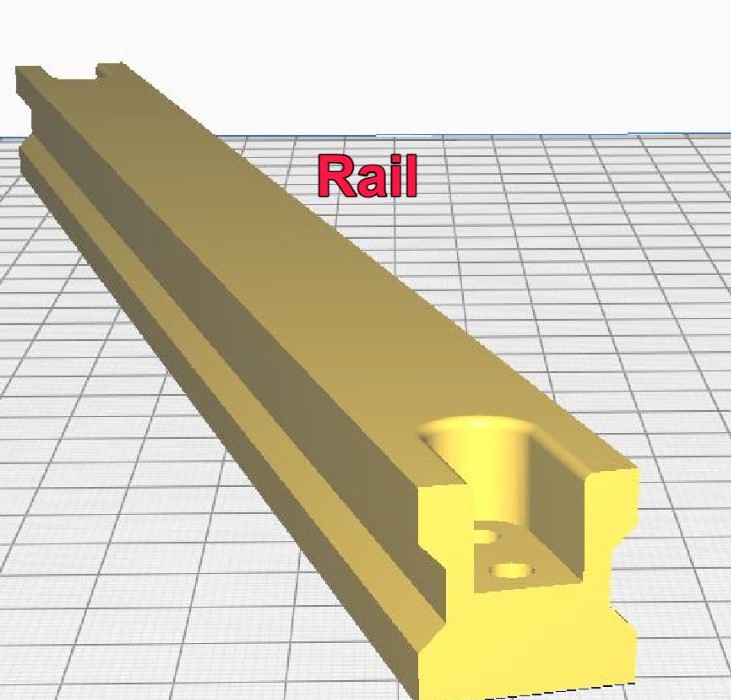
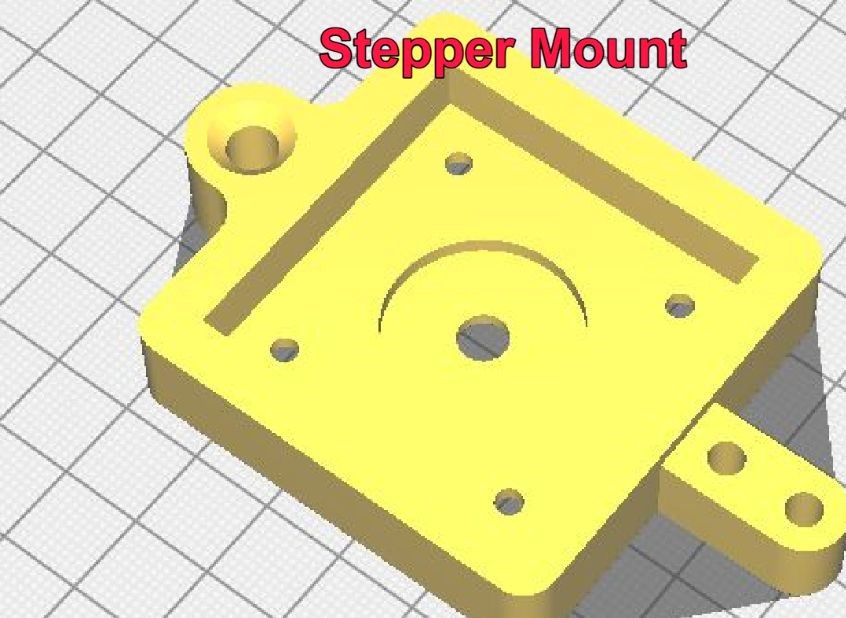
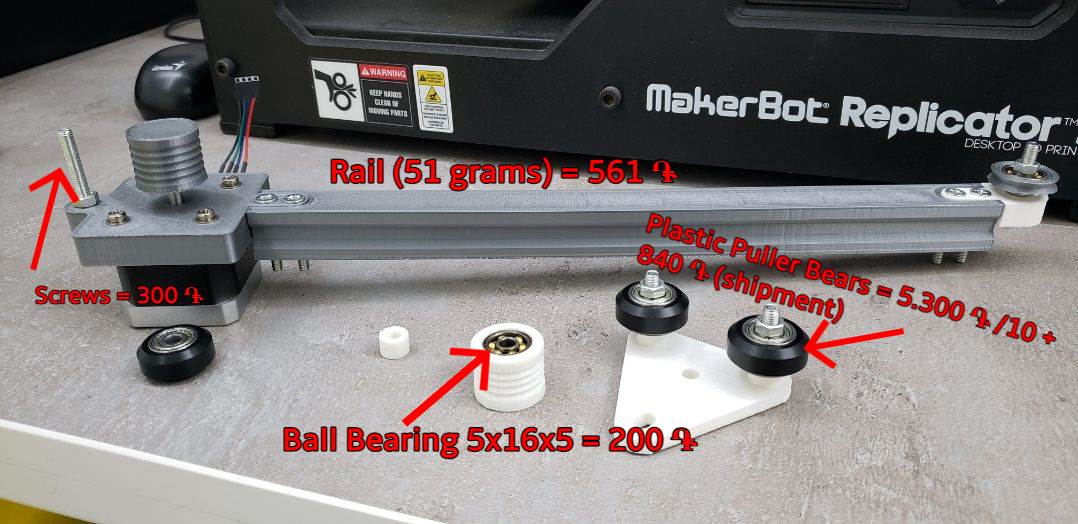
| These are the components that we will need for building the machine |
|---|
 |
 |
 |
 |
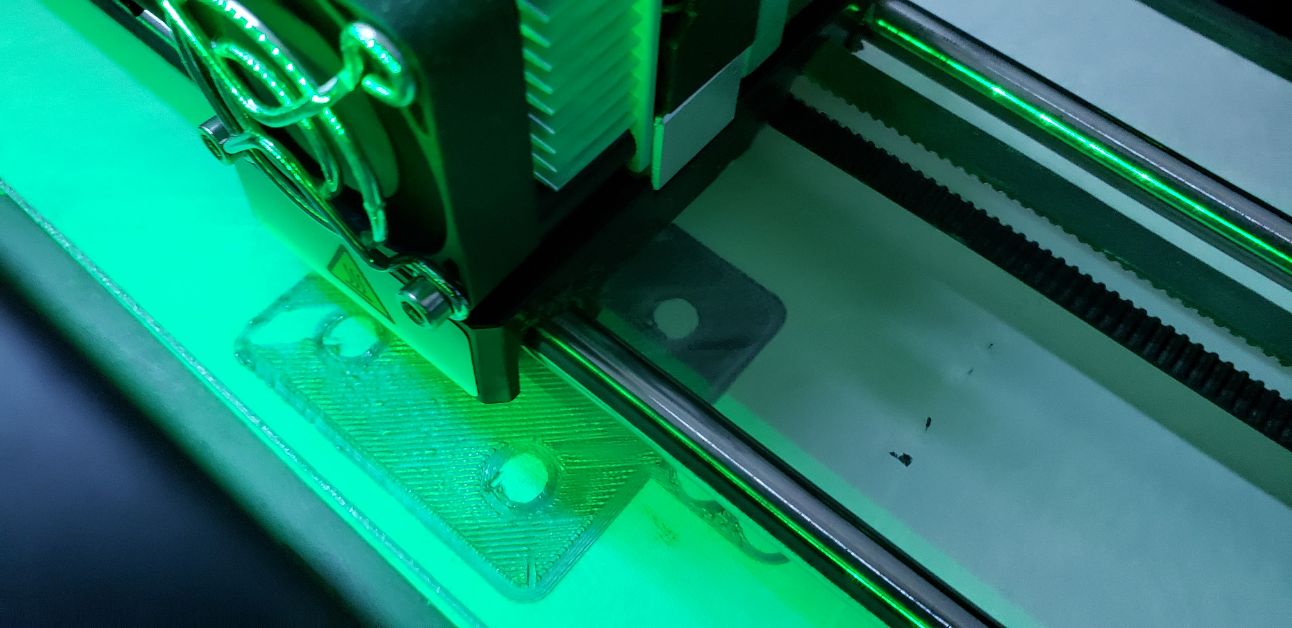
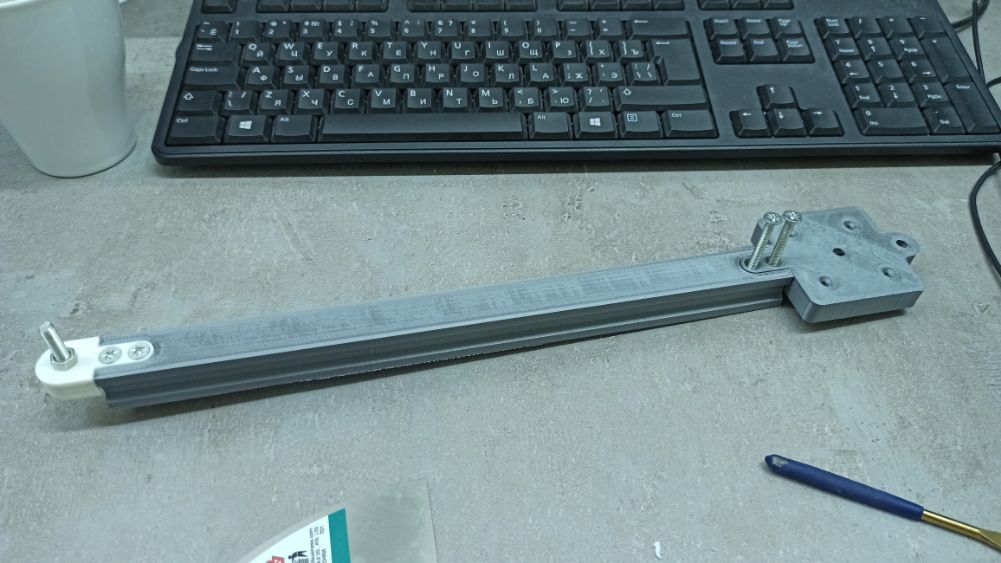
Next, what I did was to print it:
| These are the separate pieces that we will need later: |
|---|
 |
 |
 |
 |
 |
 |
 |
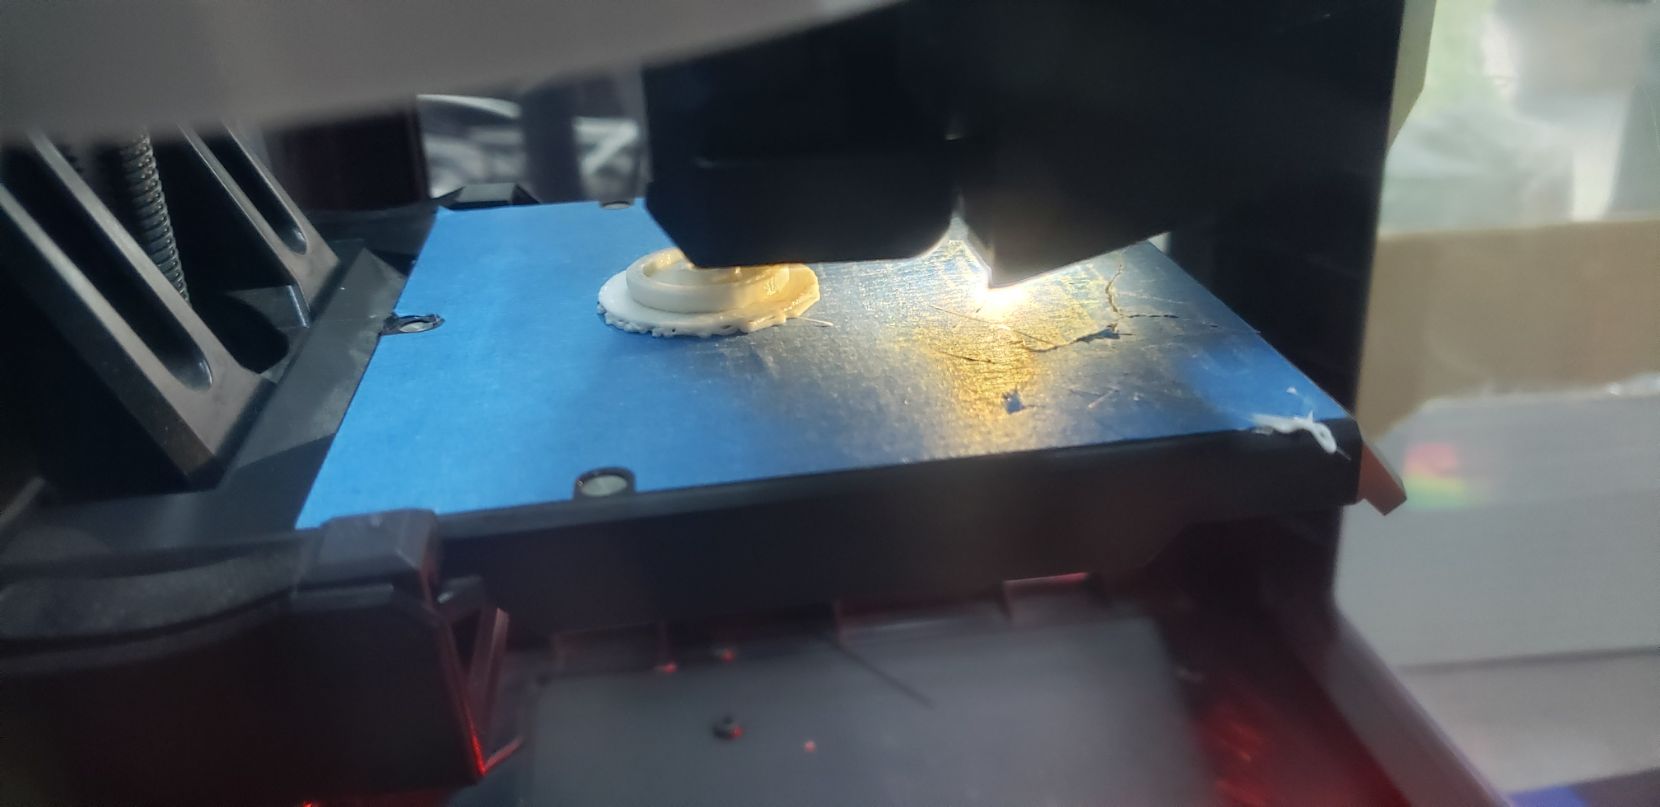
| After I had every piece, I started to print: |
|---|
 |
 |
 |
 |
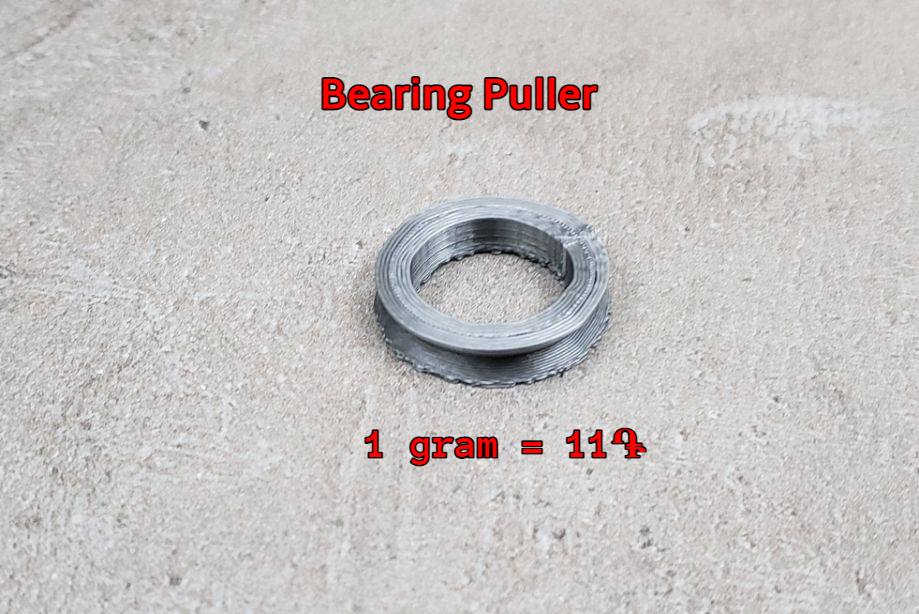
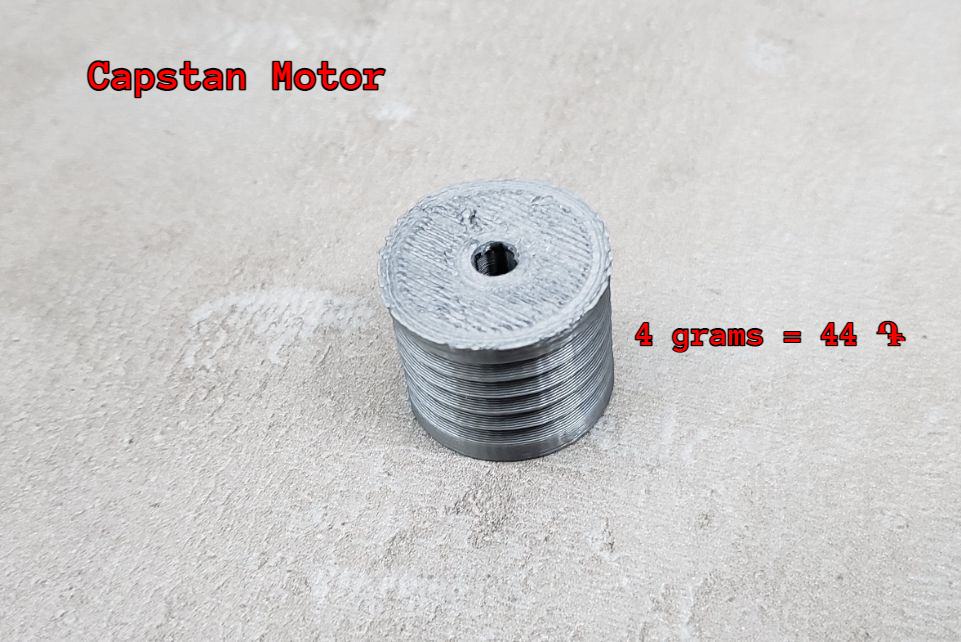
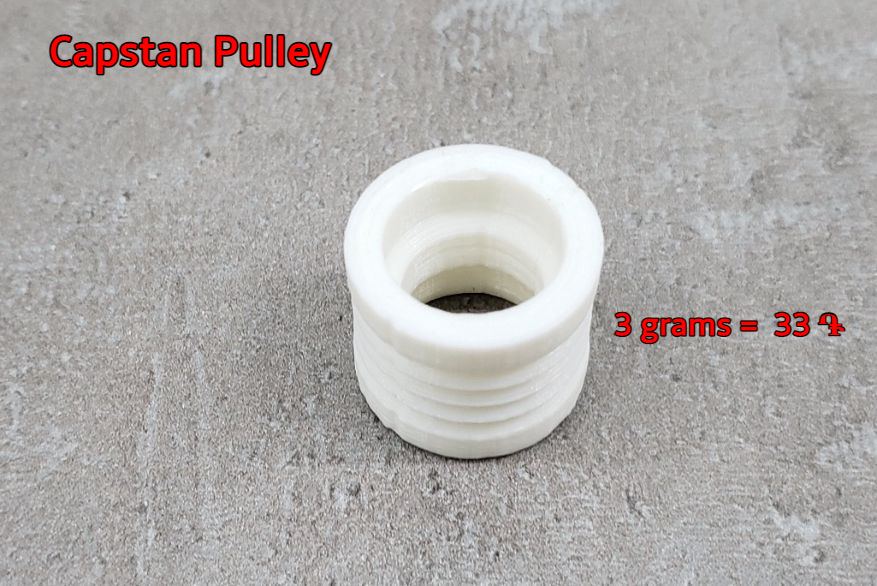
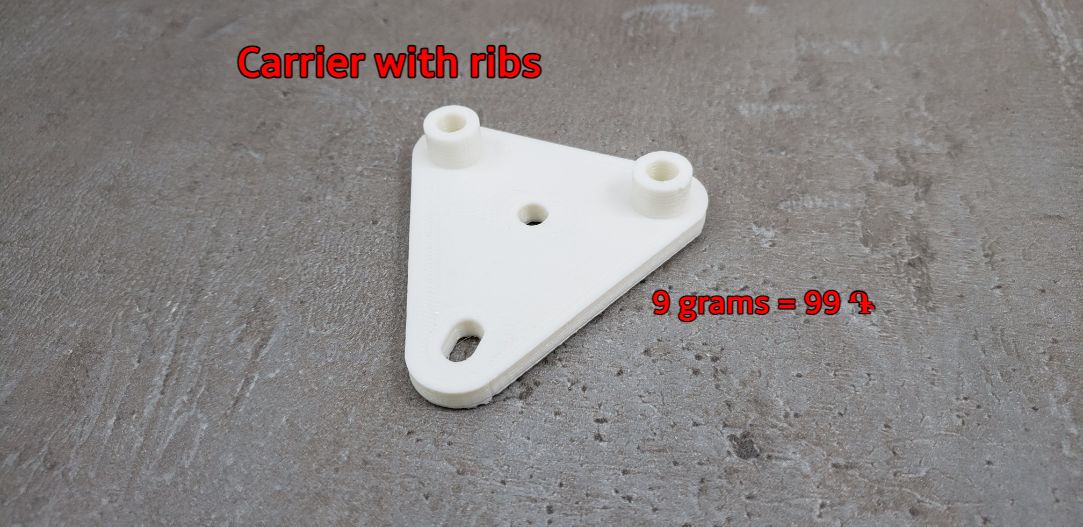
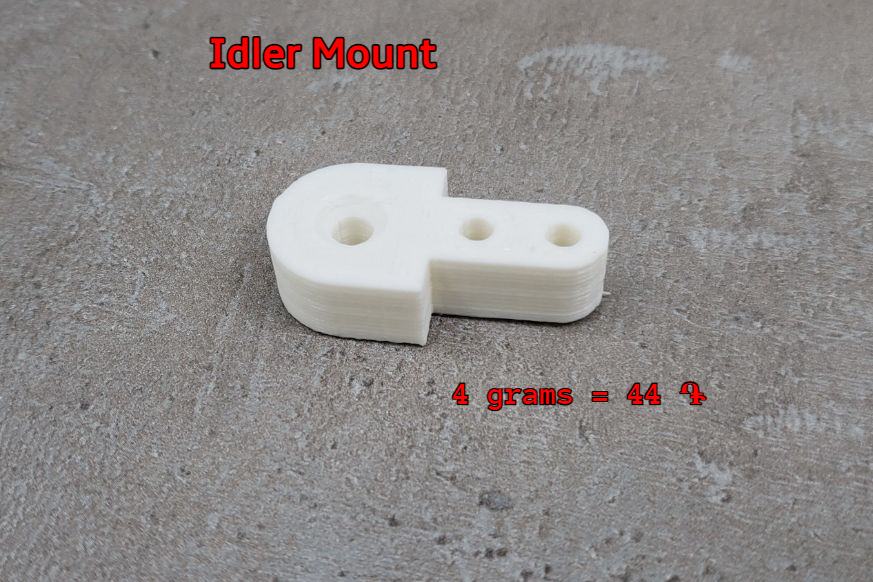
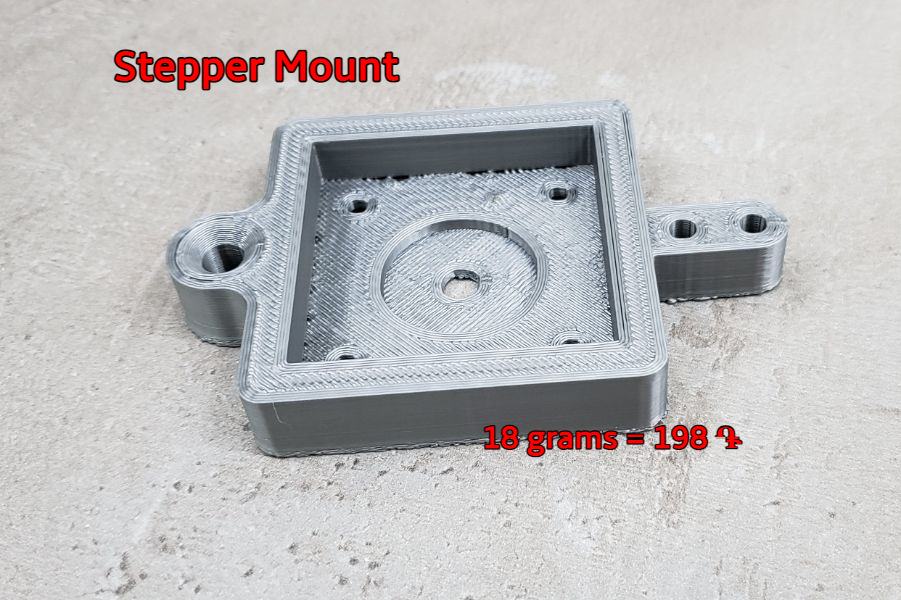
| After the printing process, I separate all the pieces to build the machine |
|---|
| The pictures have the estimated cost for printing |
 |
 |
 |
 |
 |
 |
| And this is how it looks assembled |
 |
Printing
The printing process was a bit hard for a reason that we will explain in the ERROR section.
| But so far it was a beautfil experience. |
|---|
|
|
|
 |
Mounting the Machine
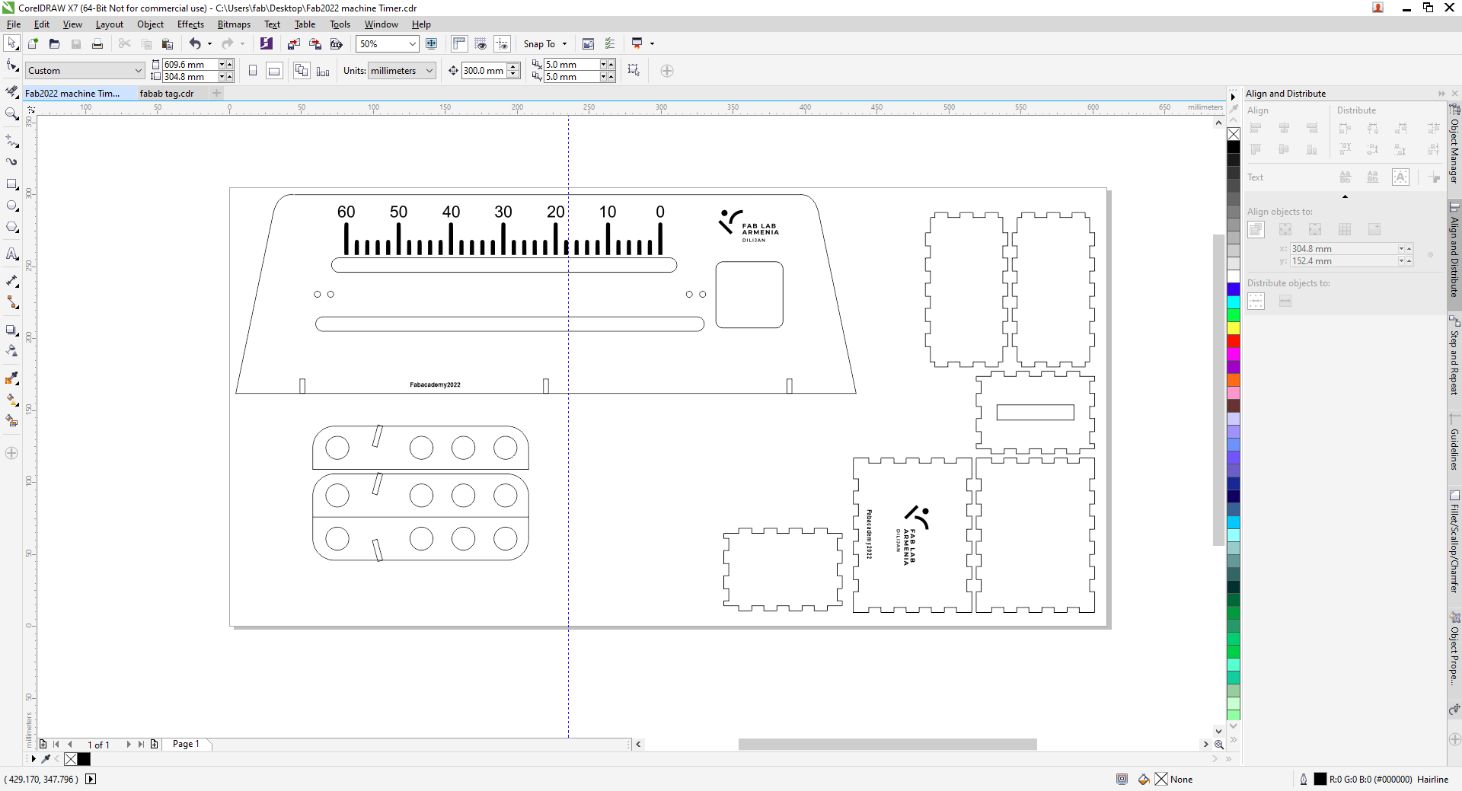
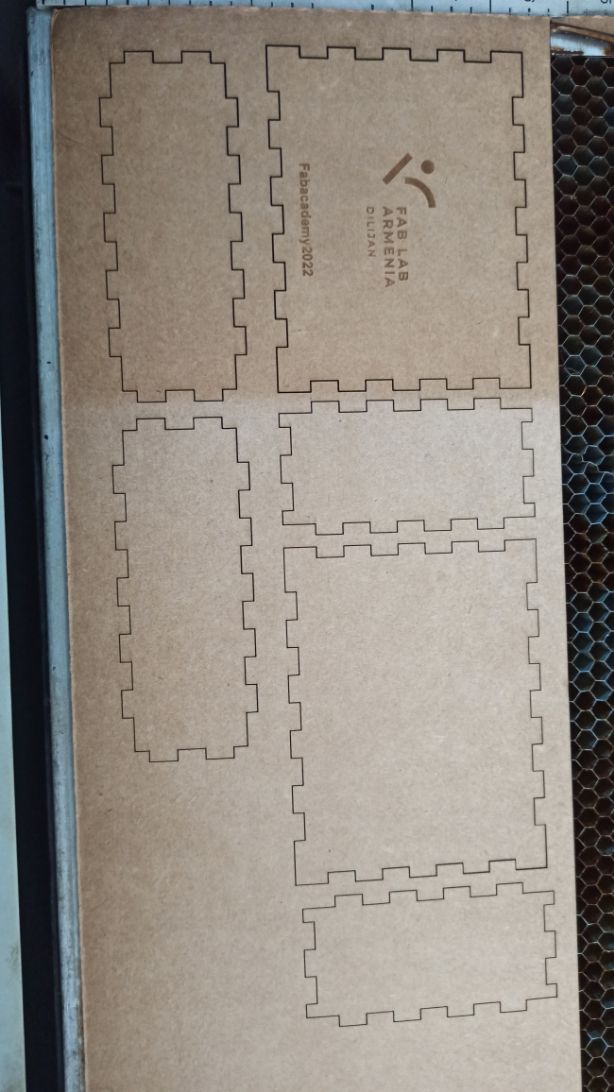
We wanted to create a simple carton case for our machine usign CorelDraw and the laser cut machine.
But…
We had several mistakes while we tried to set up the machine.
ERROR:
ERRARE HUMANUM EST, SED PERSERVARE DIABOLICUM
Fail 1
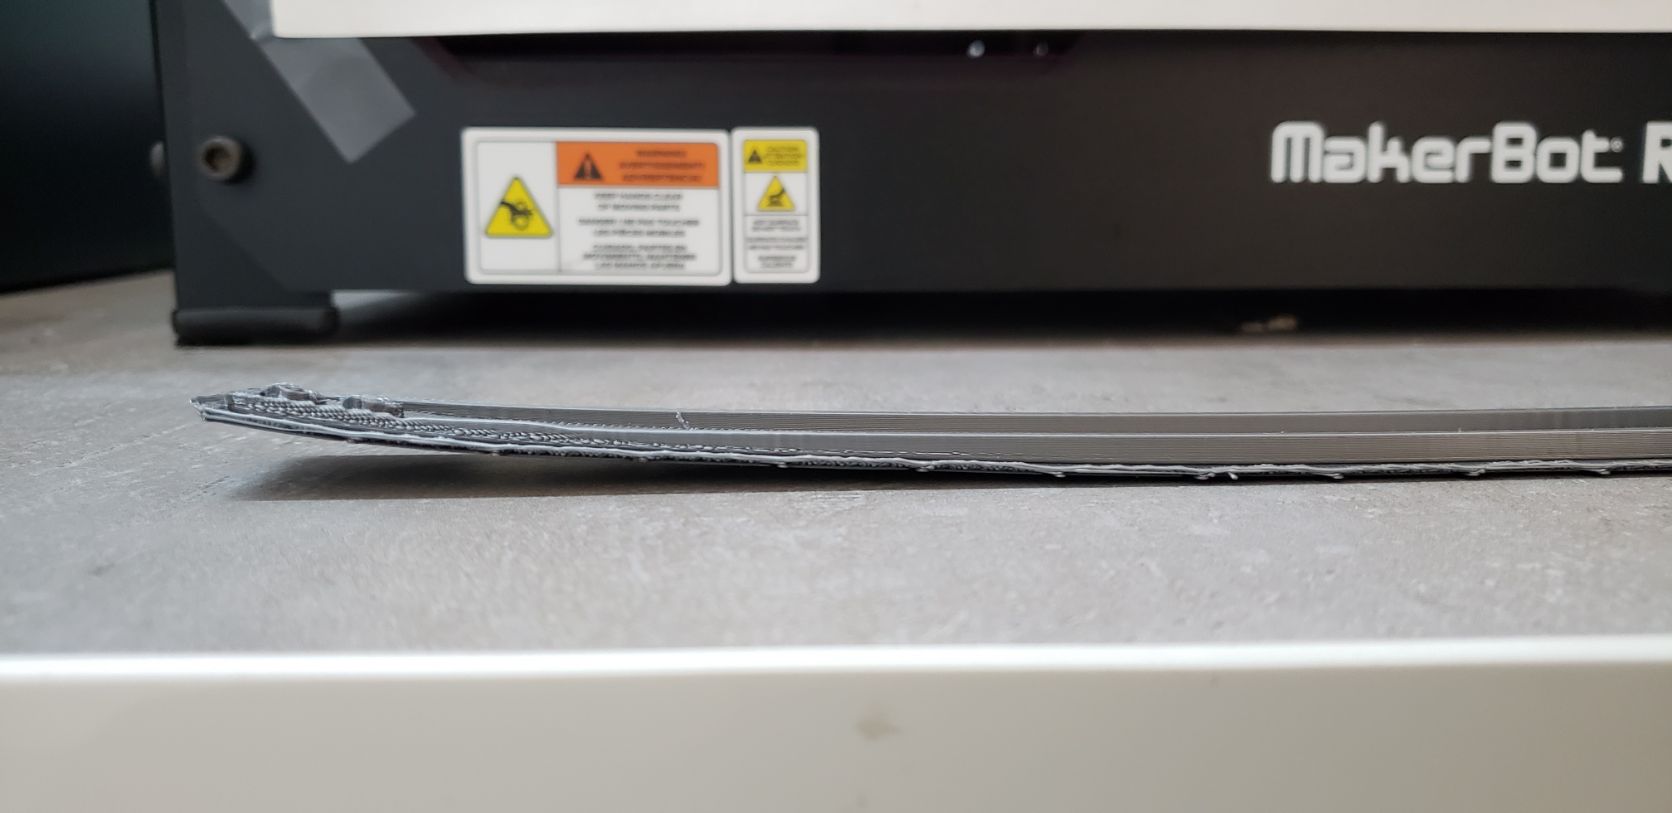
So the first mistake that was presented to us, it was with the temperature. Inside of our Fab Lab is a little bit cold, for this reason, the rails that we were doing bent, making it impossible to continue.
So we made a very “fancy” case to protect the prints from the cold and the wind:
Fail 2
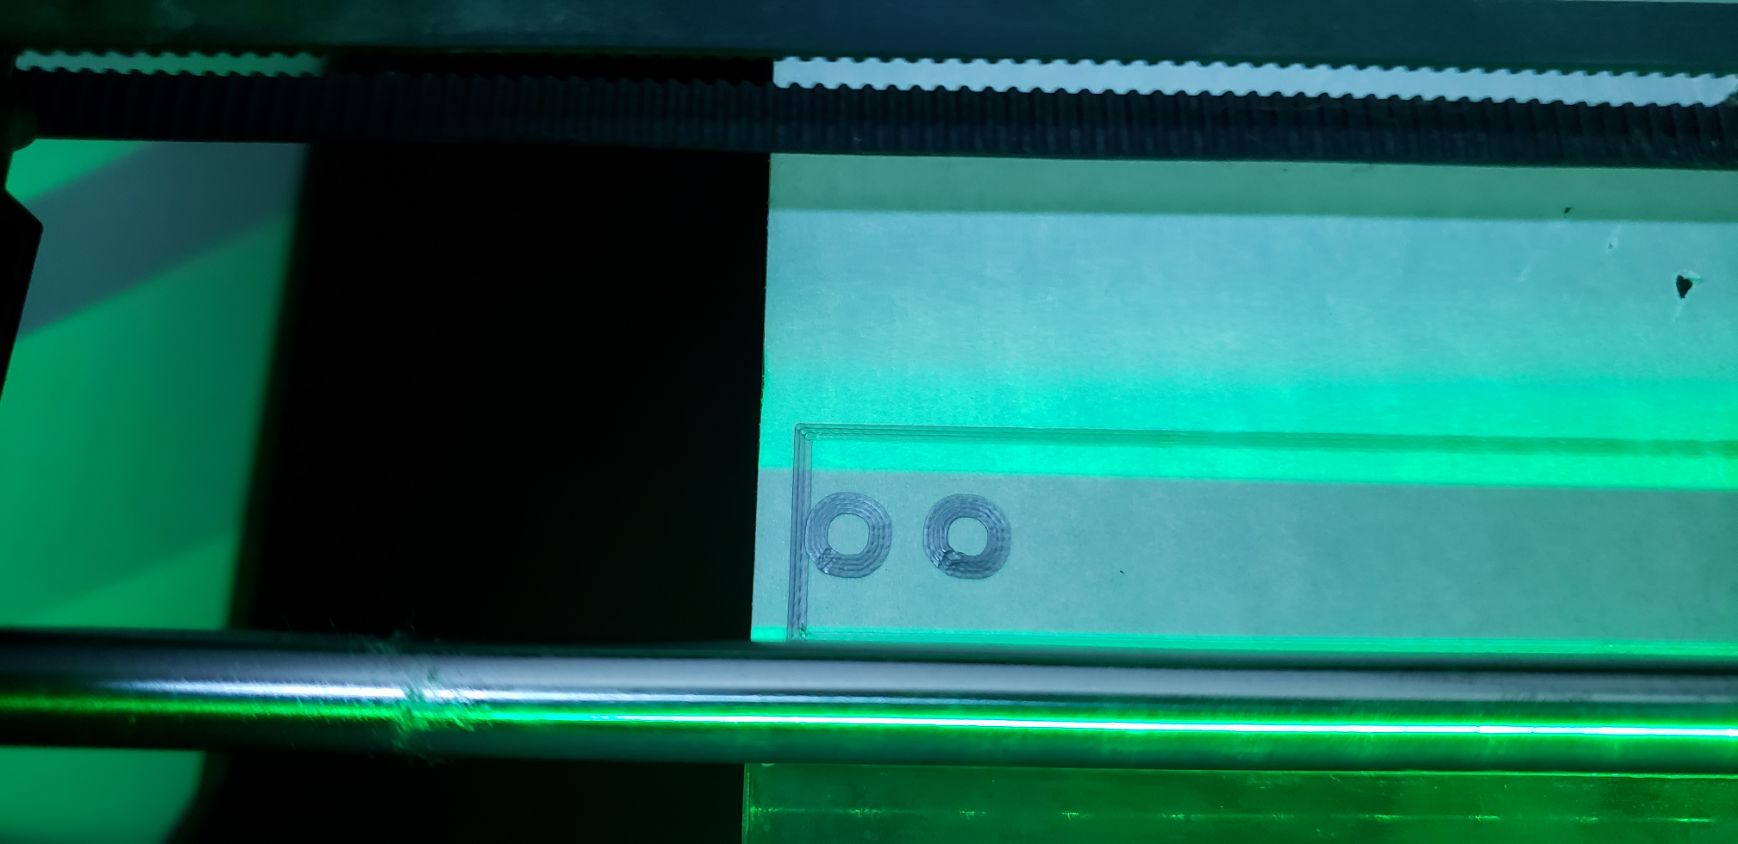
it was the length between the pair of the holes on the left with the right holes.
We still don’t know how (because we measure the distance) this occured.
| As you can see, the error was about 1mm or 2mm. |
|---|
 |
 |
Fail 3
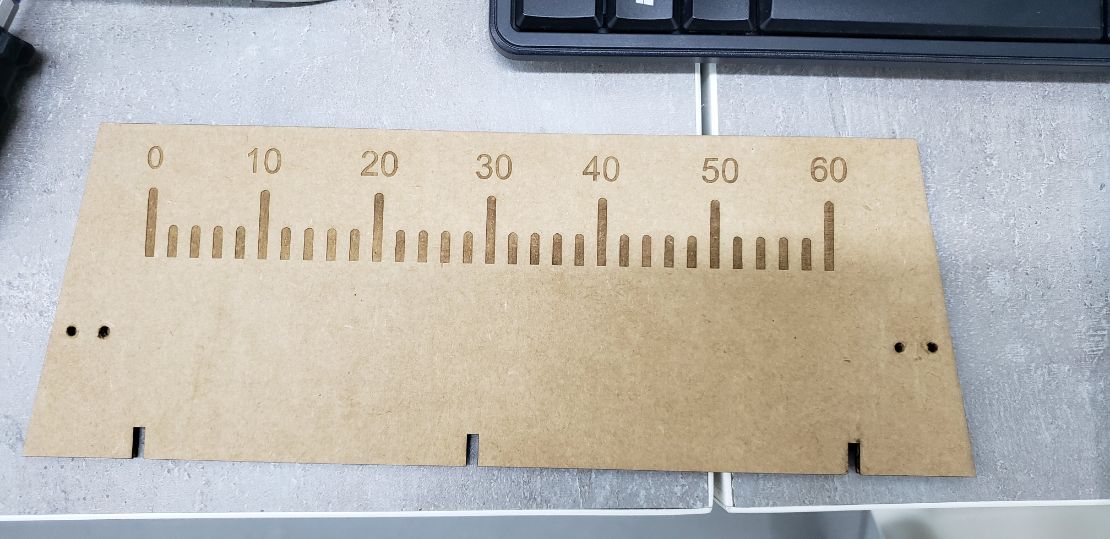
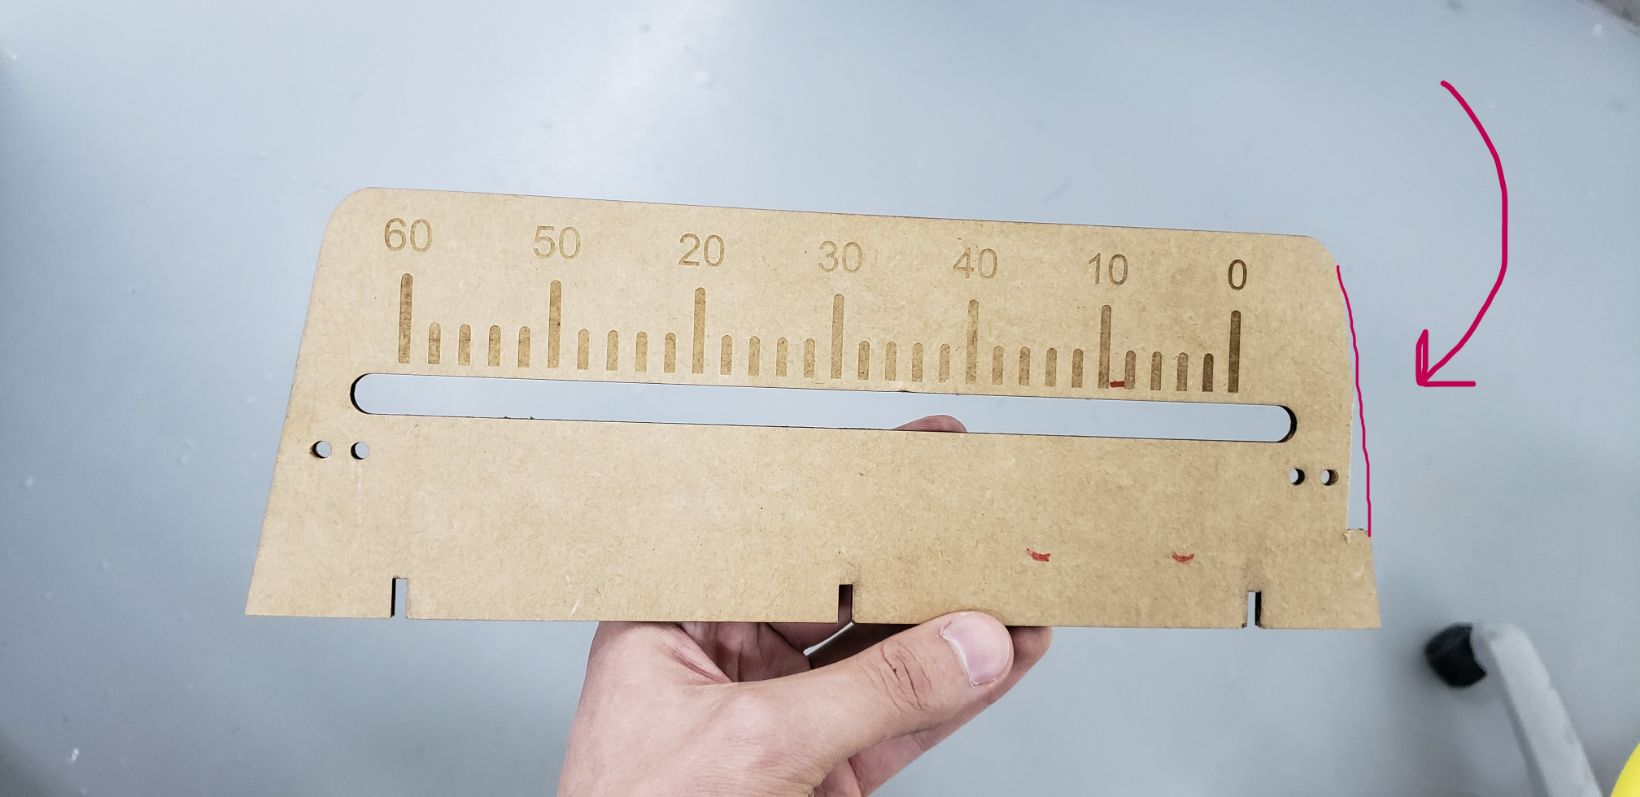
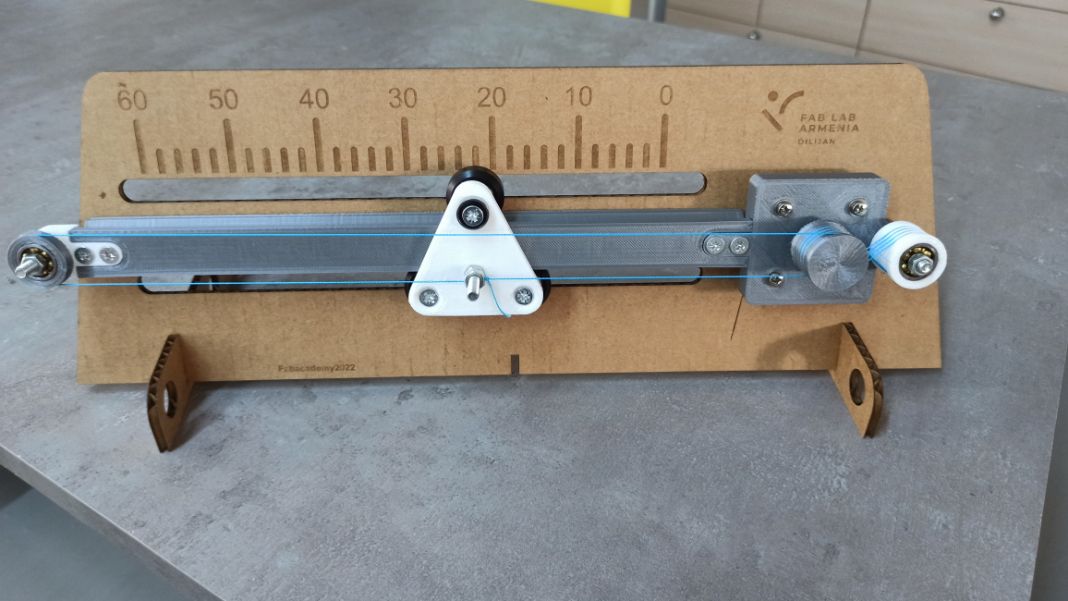
As we finally did the correct length, we realised that our numbers are swapped. We wanted to do a timer that goes to 60 seconds to zero. But this design goes to 0 seconds to 60 seconds:
Fail 4
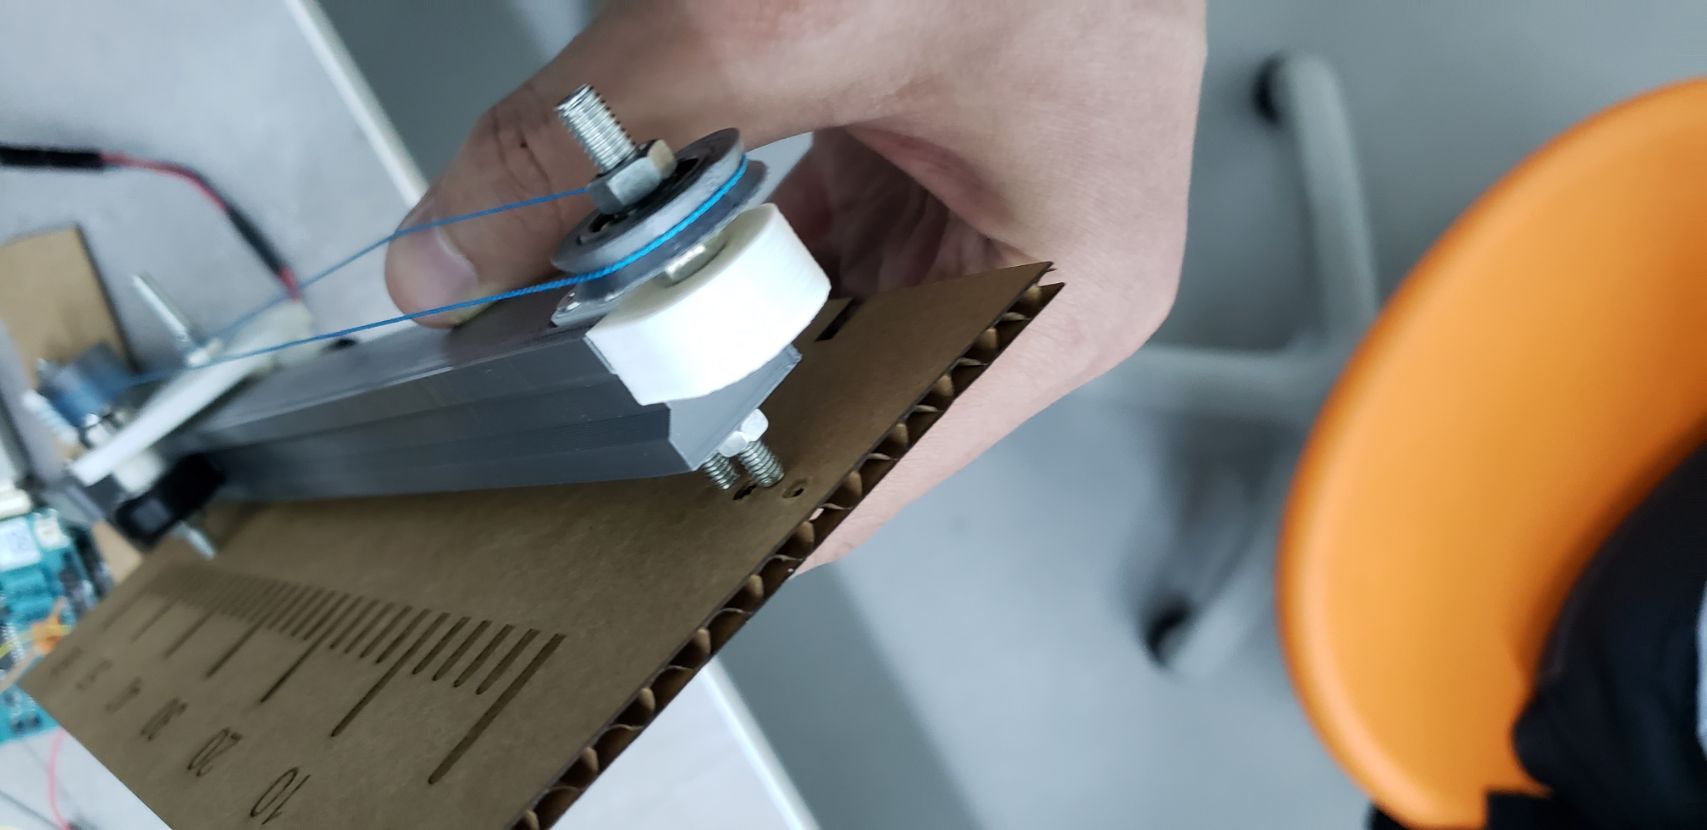
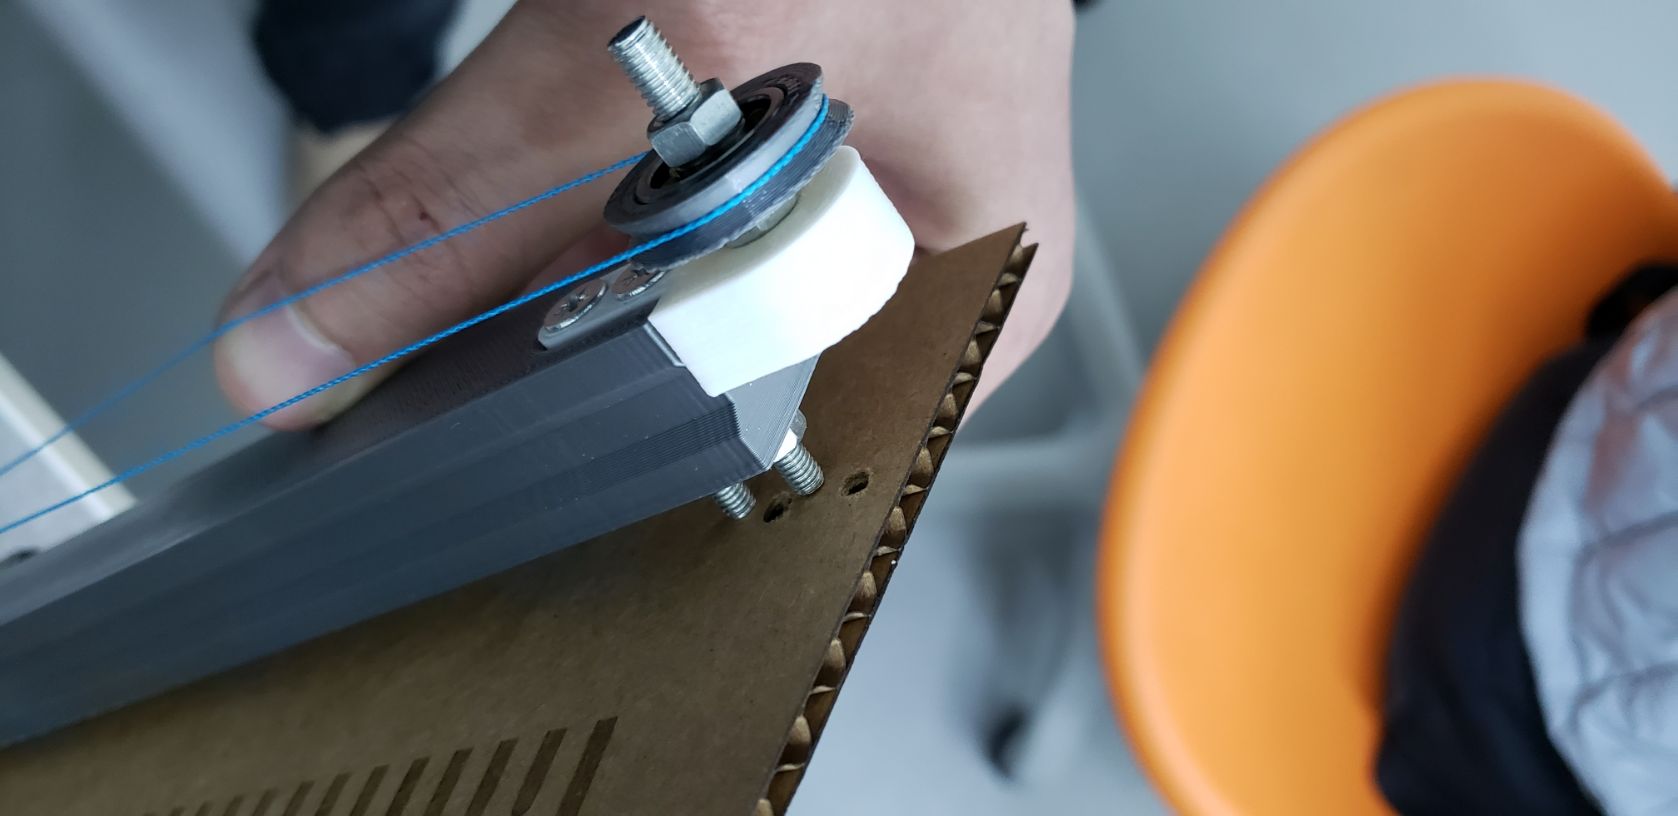
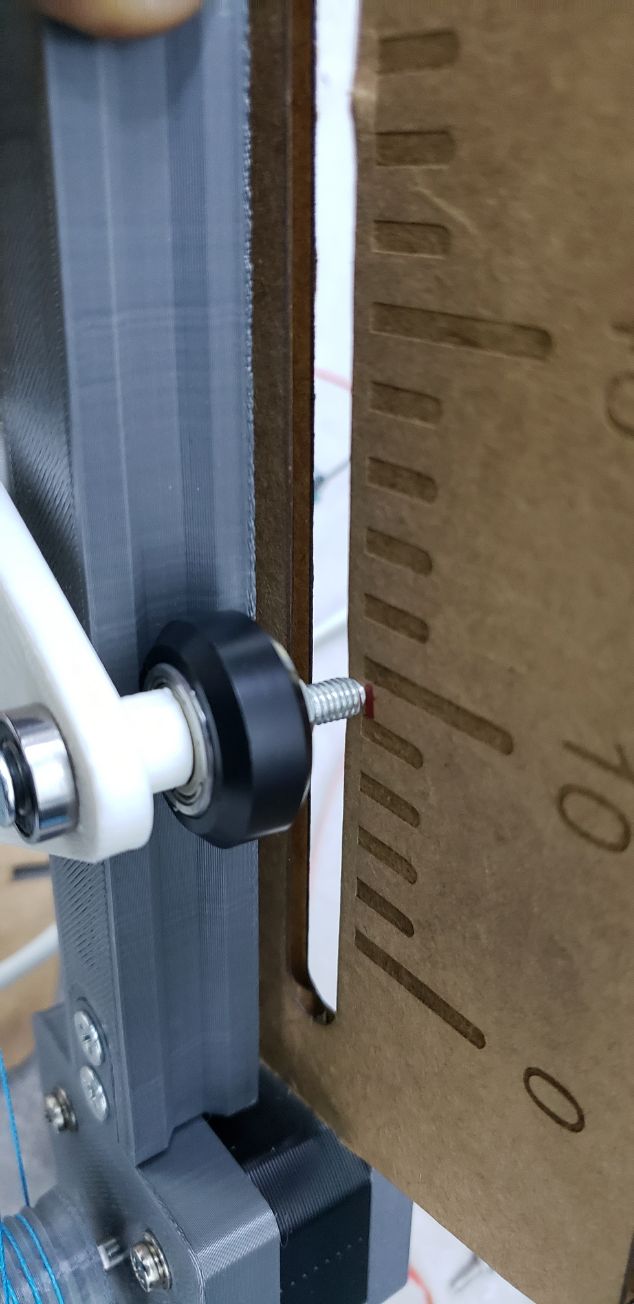
The second mistake that we noticed, was that on the part that goes the top screw of the Carrier with ribs will not advance smoothly, due to the contact between the screw and the carton.
Fail 5
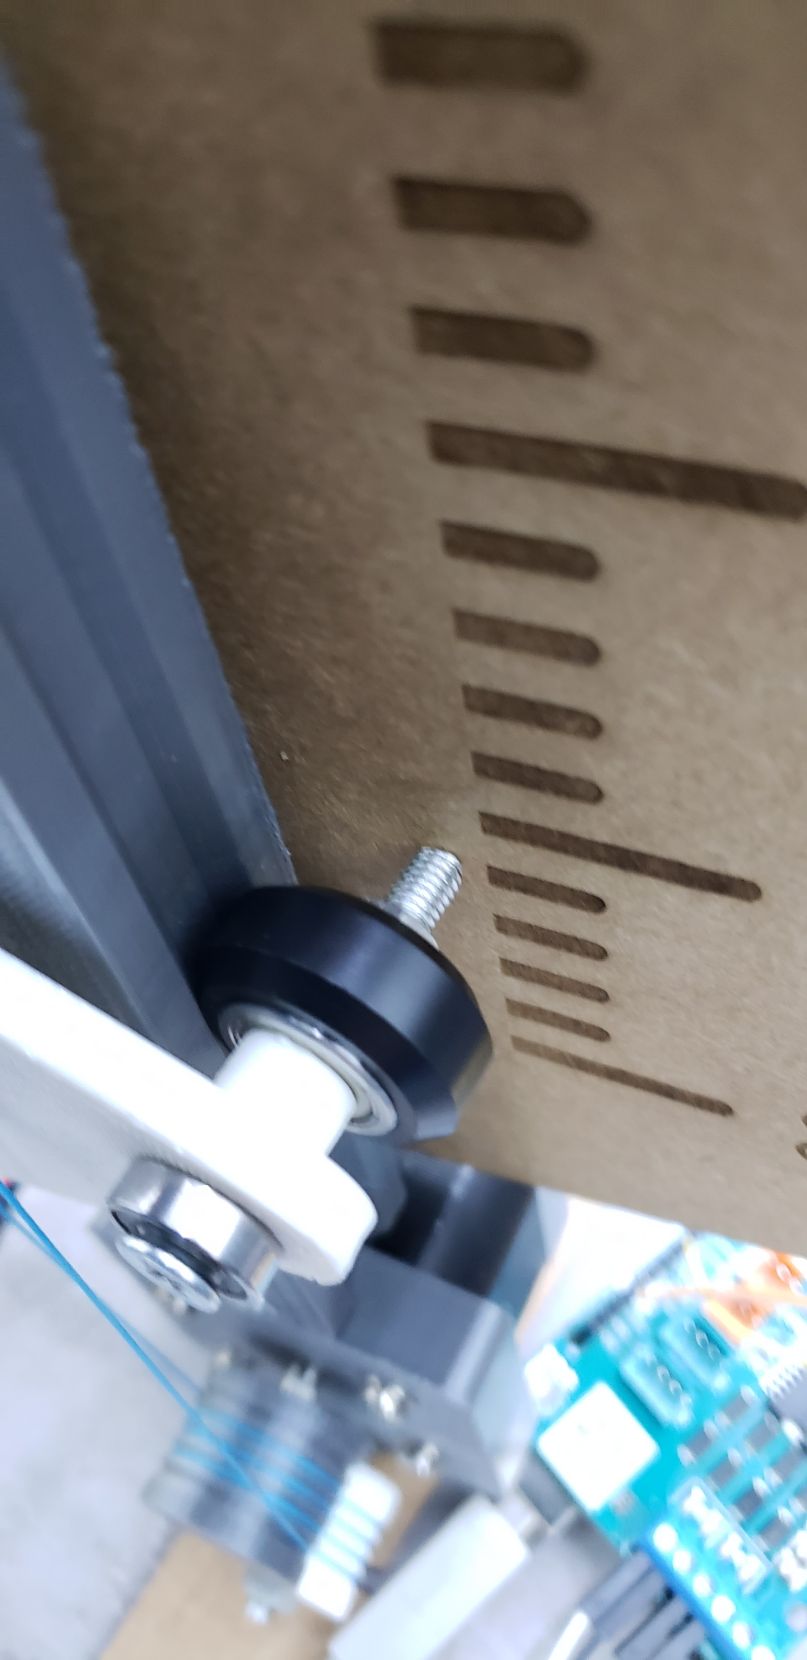
| We did a hole, but again, strangely the measure was incorrect. |
|---|
| The screw was still touching a part of the carton. |
 |
| But because of this, we also noticed that we would have to do the same cuts in the carton where the bottom screws are. |
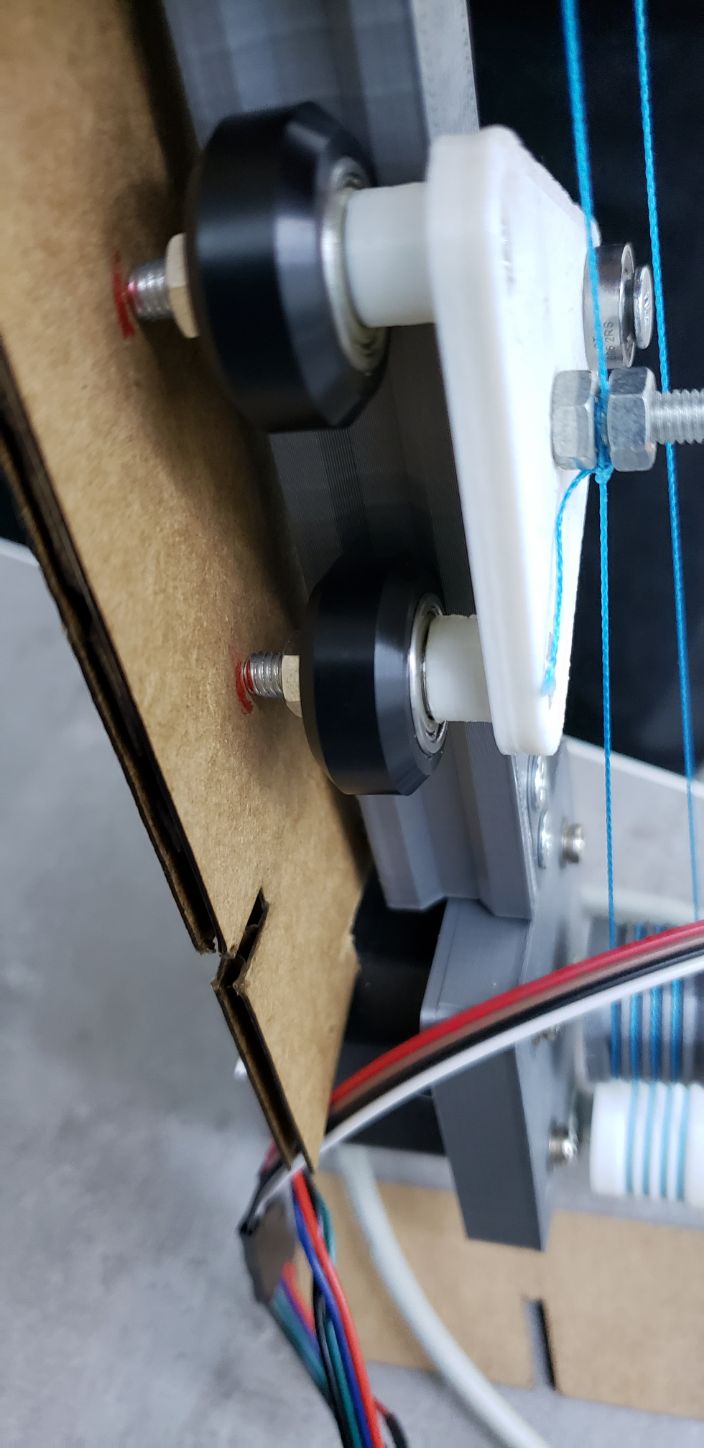 |
 |
| And not only because of the carton, but because of the legs that the design will have. |
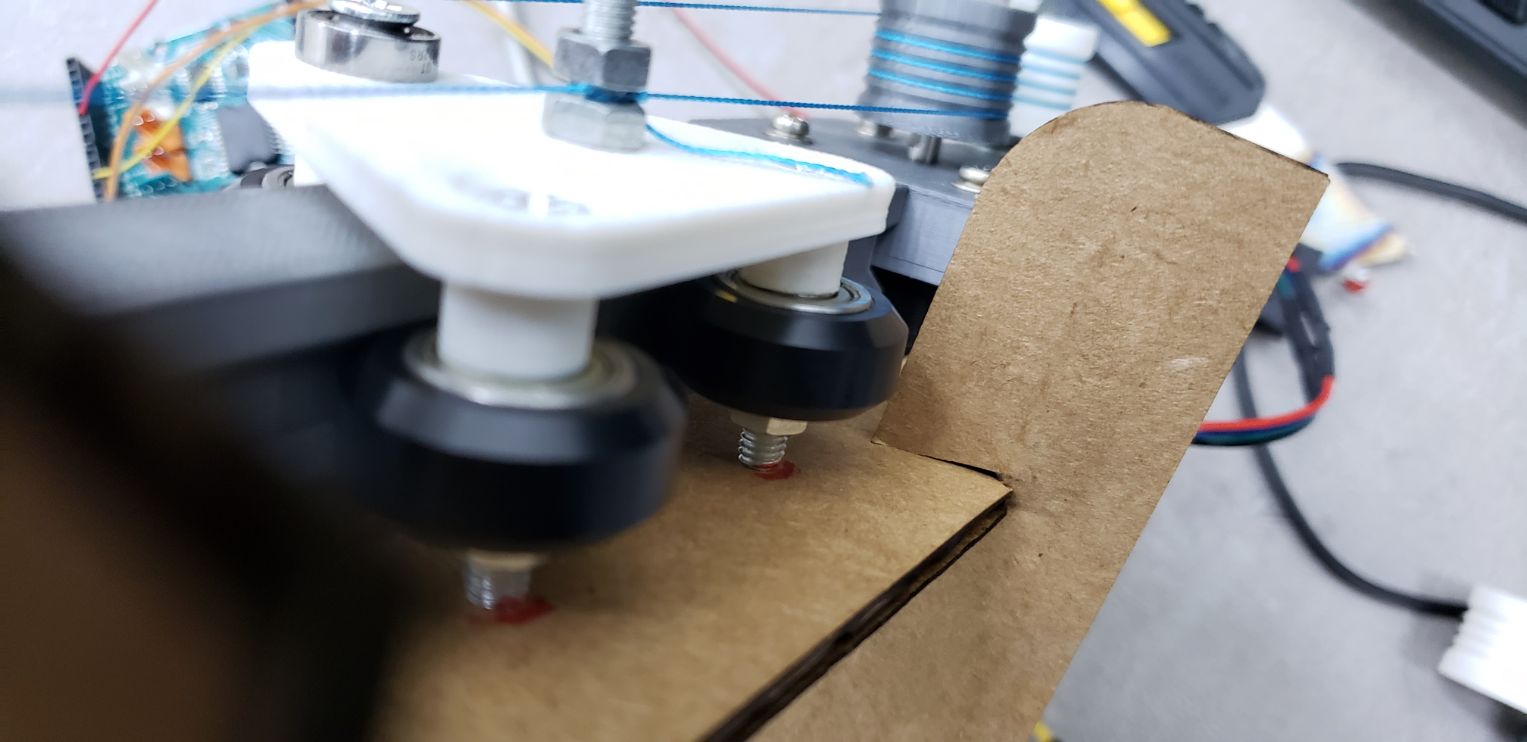 |
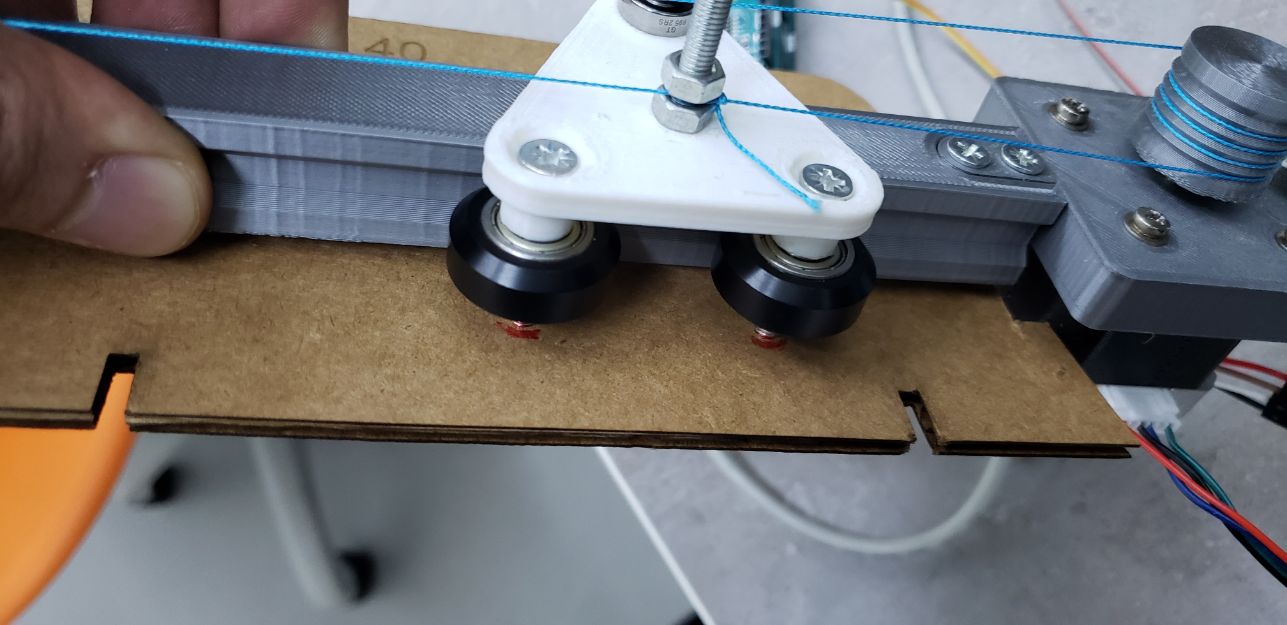
Fail 6
We had to cut as well the part where the motor goes, as it doesn’t fit that well in the laser cut carton design.
| So far this is what we had: |
|---|
 |
Fail 7
Everything was perfect now, and the design was good, and we actually printed everything.
Until we realise about a tiny mistake.
| As we had to change everything, and we even had to move the numbers, accidentaly we put the numbers wrongly. |
|---|
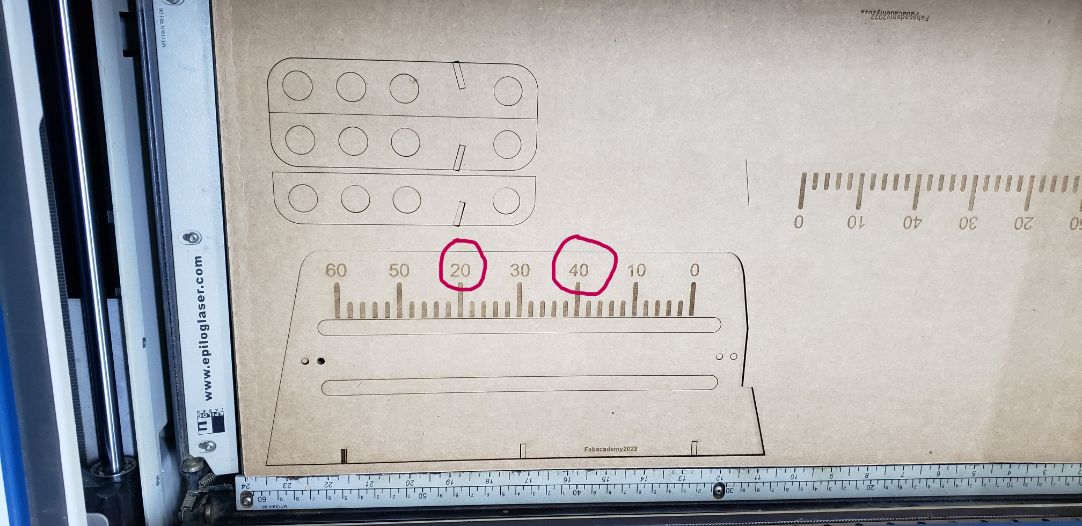 |
Veni, vidi, creatus
To make things tidier, we created a cardboard using a very cool website called MakerCase, that allows people to generate a box. This website is totally customizable, and it allows you to increase the joints, the size and it even gives you the kerf
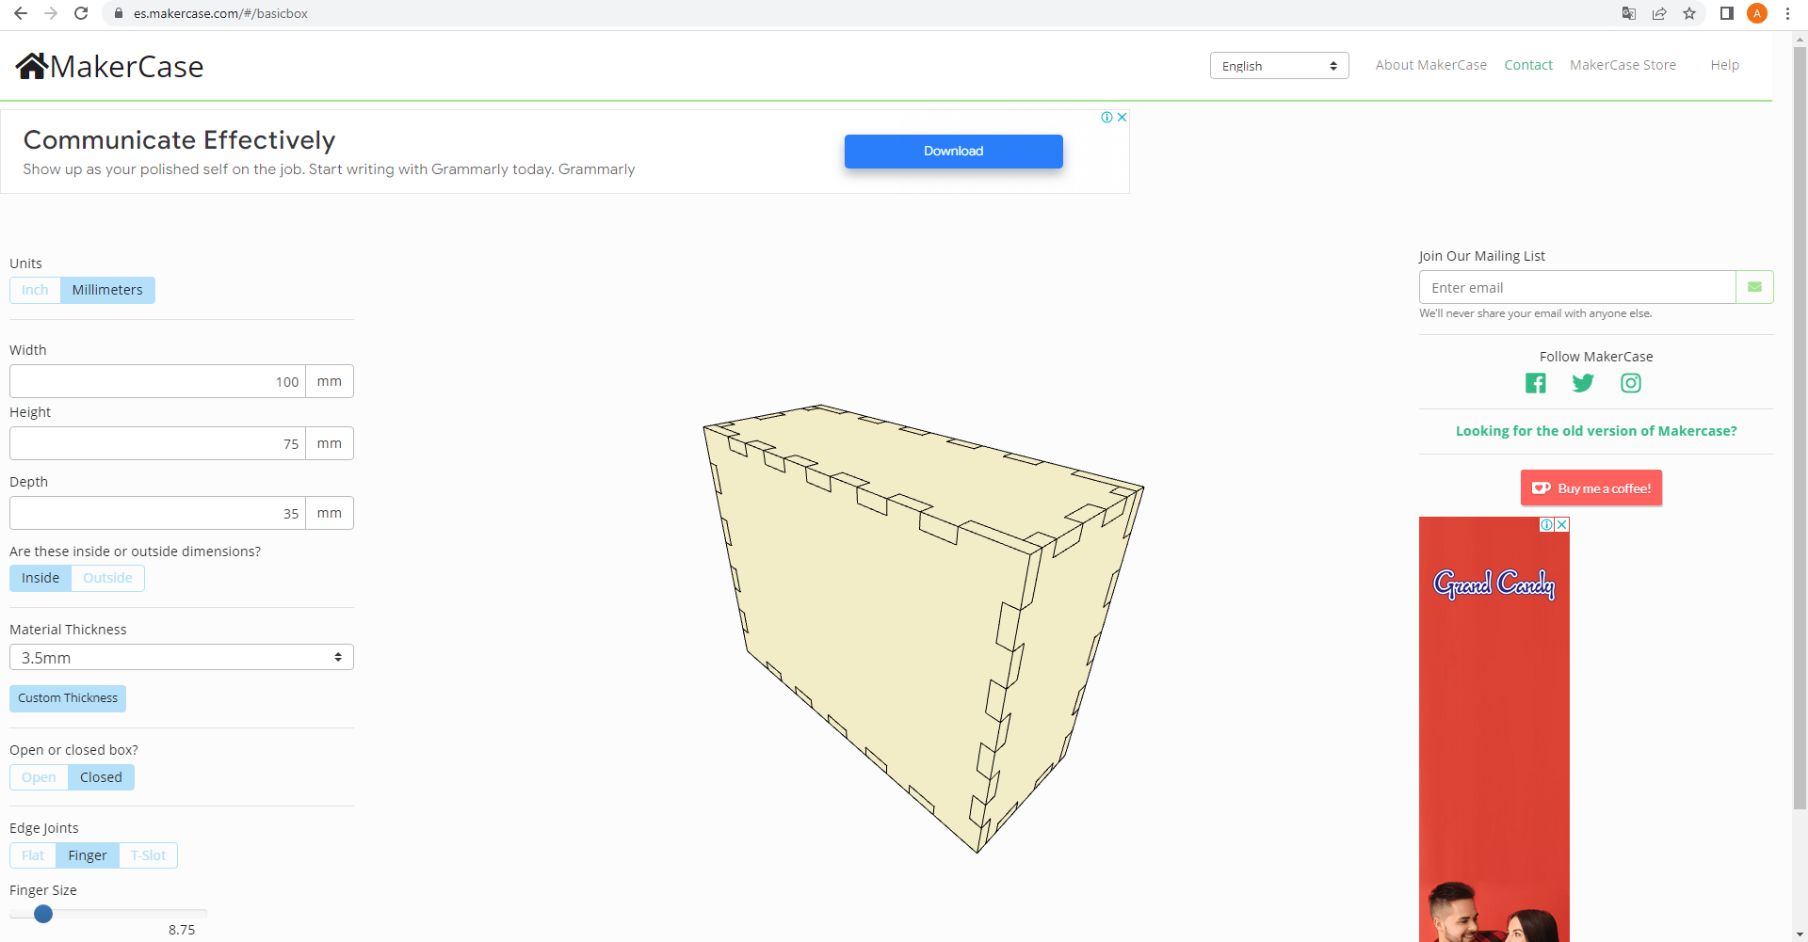 |
|---|
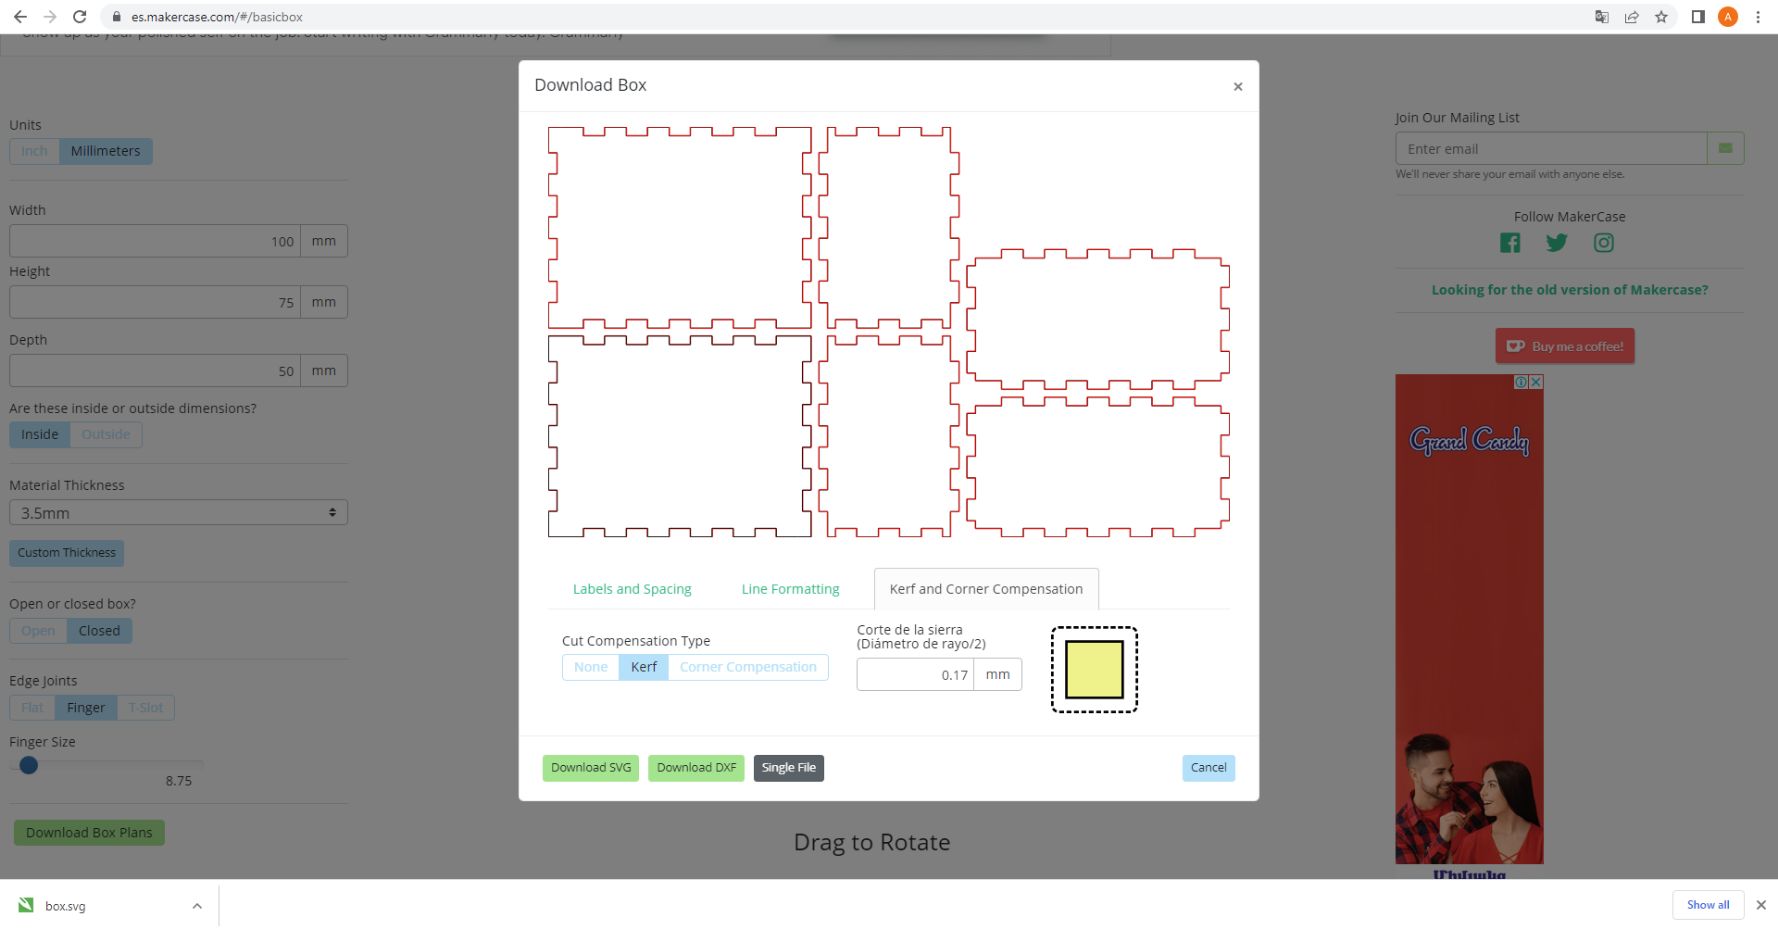 |
The download file is .svg type.
Note
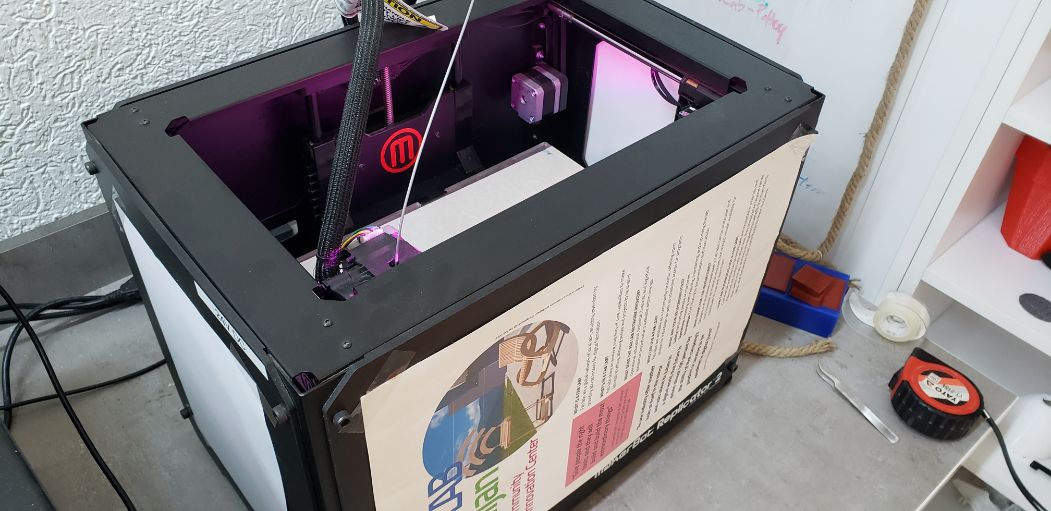
We had an issue, that whenever that the Carrier with ribs reached the end, the entire machine gently swang to the right (the side where the motor is) beacause of the weight. For this reason we had to separate the legs a little bit one from each other.
As well, we didn’t have to cut anymore a slide of our carton, because what we did, was to create a hole to fit our motor there. It was a success!
| After a long path of failures, we got a result like this: |
|---|
 |
 |
 |
| And this is our final machine with the case: |
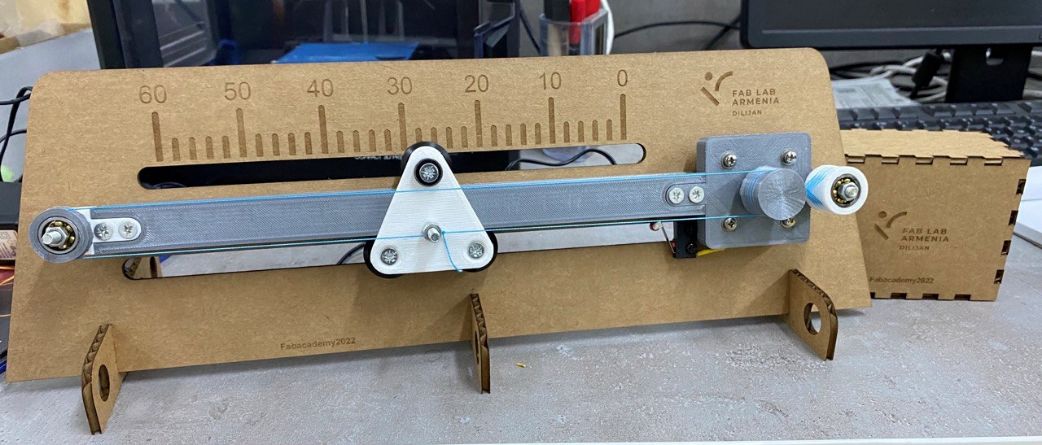 |
Onik did the code of this machine, if you want, you can check his website clicking on this link
Video:
This is our final video by the hand of Kannai Fab Lab