1. Project management
Research
I’m going to base my assignment on Kenichi Komatsu
I want to say thanks to Babken Chugazyan (my mentor) and to Rico Kanthatham, they both helped me a lot!
Programs that I used
-
VisualStudio Code This was used for editing the code and for doing pulls and pushes (this webpage).
-
Git Bash This is going to be the main terminal to push, pull and commit my documentation.
-
Bulk Resize Photos This is not a program, but a website where you can choose the size that you want your images to be.
-
Aspose This is an online collage, you can put two images in one.
-
Kapwing This is an online program where you can put text to the images.
1. Start downloading everything
Git Bash
I started downloading and installing Git bash.
The process is very simple, but it can be a little bit scared if it’s your first time.
The only thing (in my opinion), that you have to be aware of it, is that in one part, the installation process will ask you for the default editor. I chose VSCode (Visual Studio Code) as this is the software that I’m going to use for editing the code.
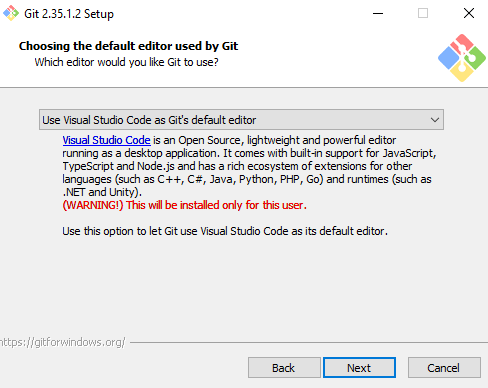
Then you just click on “next” until the installation process starts.
The settings that are optional are not necessary to install, this is up to you
VSCode
Very simple to install, just as any other software. Just select the folder that you want to put all the files.
And finally I’ve found a very good article about “How to use extensions in VSCode?”. This will allow me to enhance my documentation. Click here
For using the command >docs, you need to install the following Extension.
Picture
First, click on Extensions and then search for “docs-markdown”
2. Setting the SSH key
I watched this video on Youtube, but somethings were not clear for me. And then I just complement it with the documentation of Kenichi Komatsu.
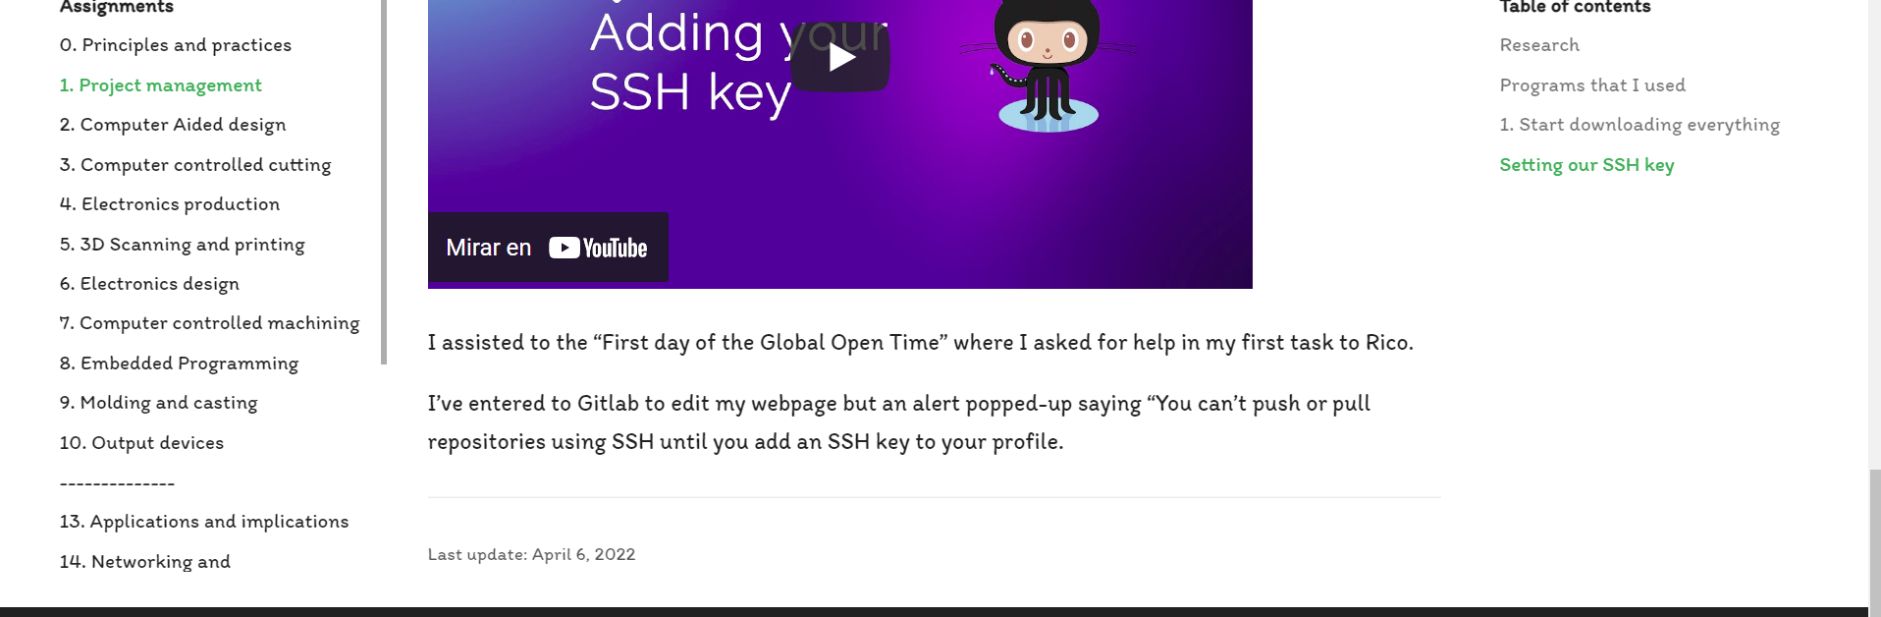
I assisted to the “First day of the Global Open Time” where I asked for help in my first task to Rico.
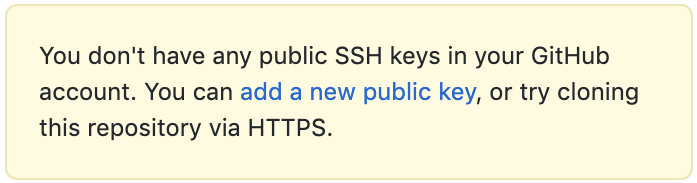
I’ve entered to Gitlab to edit my webpage but an alert popped-up saying “You can’t push or pull repositories using SSH until you add an SSH key to your profile.
ERROR
.boxBorderGreen {
Caution, this is one of my errors. Do not follow this. It is only for documentation.
I opened Git bash and I requested the terminal to generate the key, for this, I did the command
ssh-keygen
A message will appear requesting you the file in which to save the key.
In this case, as this is a common PC I will have to be as tidy as possible.
Unfortunately I couldn’t change the folder. So I will have to save it in the folder that Git Bash is giving me by default.So I will later change the folder copying and pasting it to my folder.
Then it will ask for a passphrase. I will leave this empty just pressing enter. }

Continuation
What you have to do, is to go to the folder that you want to save your documentation and doing right click on the folder that I wanted to clone and pull my repository or “bash” and select “Git Bash Here”
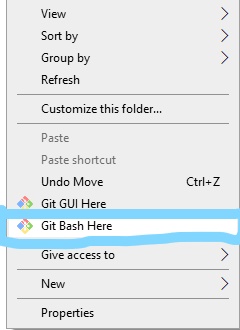
So the terminal of git bash will appear.
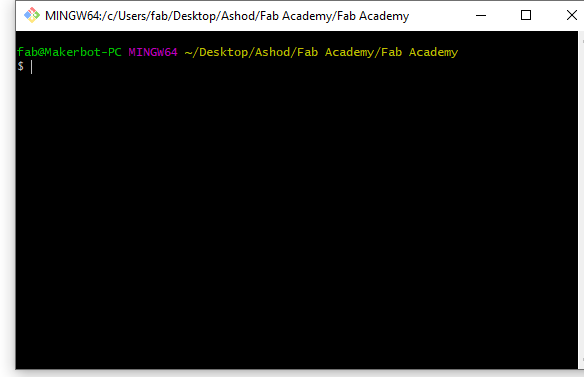
Now repeat and write the code:
ssh'keygen
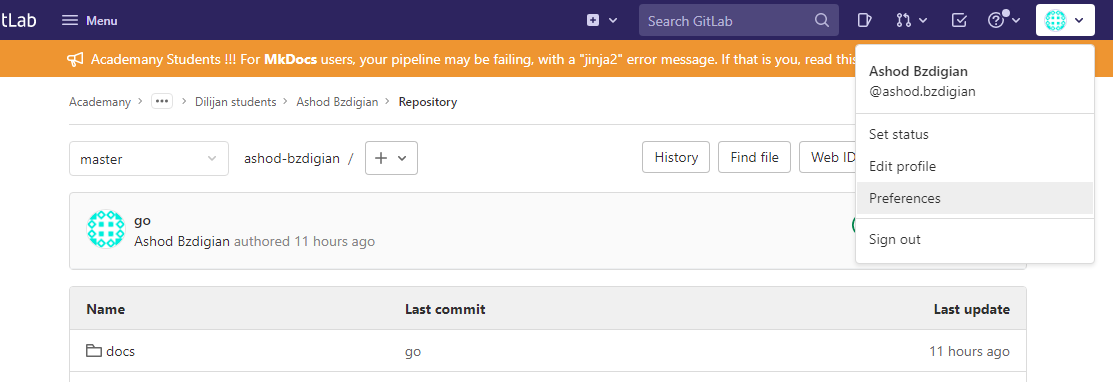
Now click on your photo profile (the one in the upper right corner) and click on “preferences”
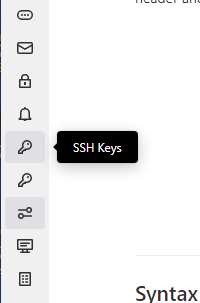
There are two logos of keys, SSH key and GPG key.
Select the one that says “SSH Key”

Now open the id_rsa.pub file, I’m going to open the one that has the logo of Microsoft Publisher, but I’m going to open it with another software. In my case, LibreOffice worked good.
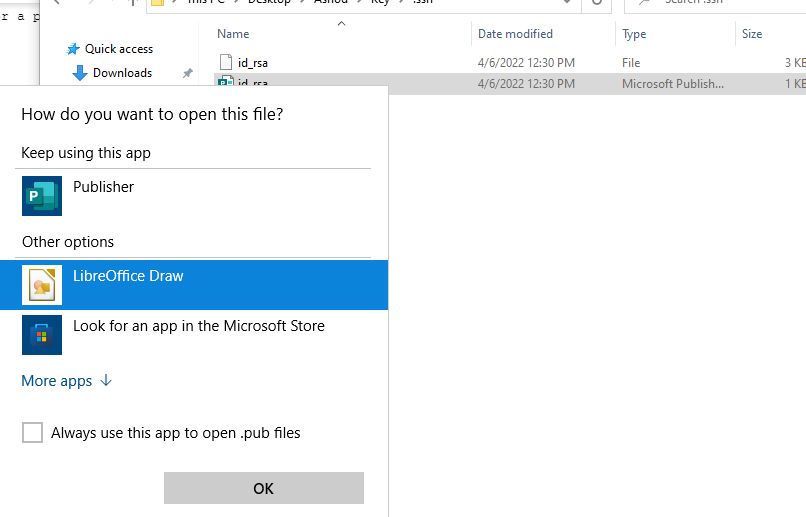

I’m going to copy this key and paste it in my profile key where it says “key”

WARNING DO NOT copy the key that is not a .pub file.
Add a title and I will not put an expiration date, otherwise I will have to create another one over and over. So it will be undetermined.
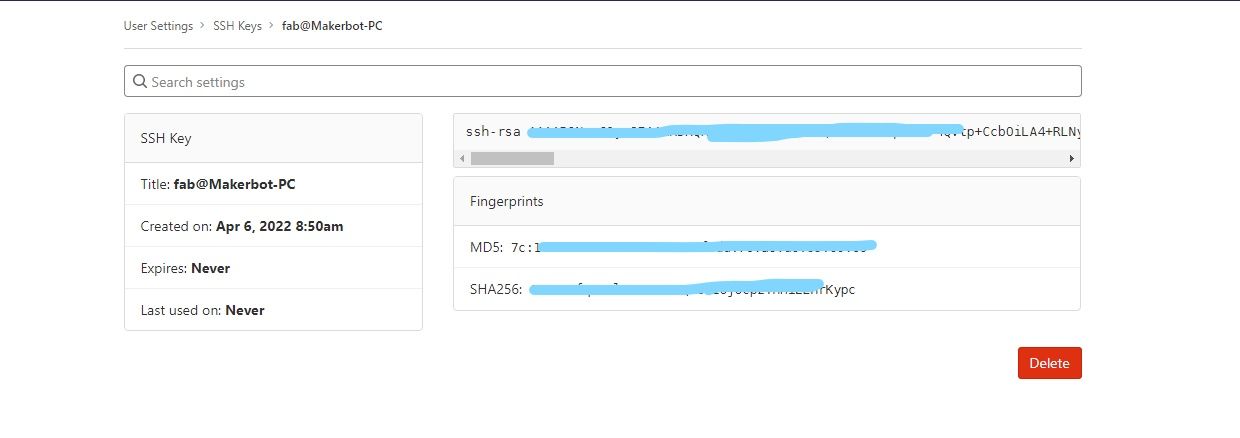
And that’s it, you have the key and everything is ready to start the clone
3. Clone, Pull, Commit and Push

Go to your gitlab repository and copy the option that has “copy with HTTPS”
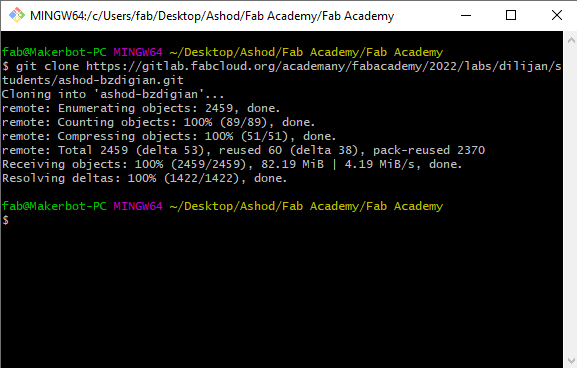
Now open the Git bash and execute the following command
git clone
Once clone is done, you need to pull the repository using the command
git pull
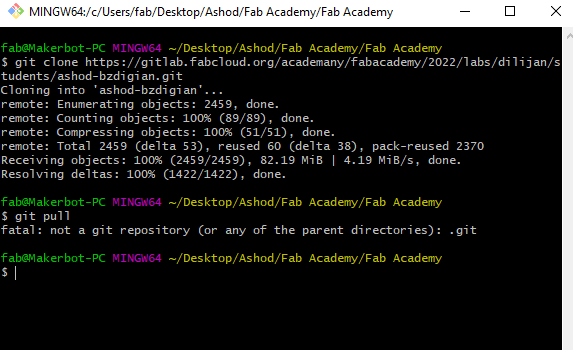
A particular error showed when I tried to pull. So what I did was to wirte
git init
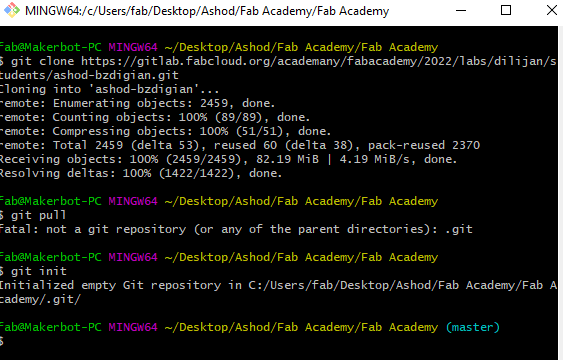
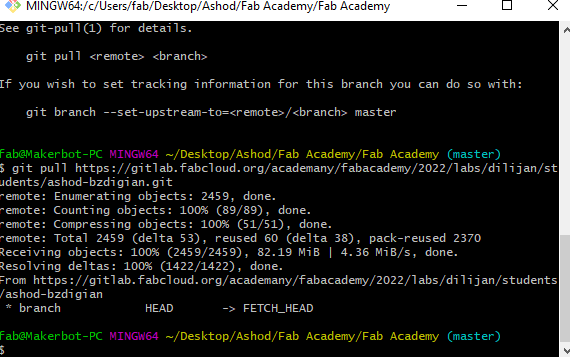
And then I tried to pull again using the HTTPS and it worked! Now as you can see, I got the privileges of “master”
After that I tried to execute the command:
git status
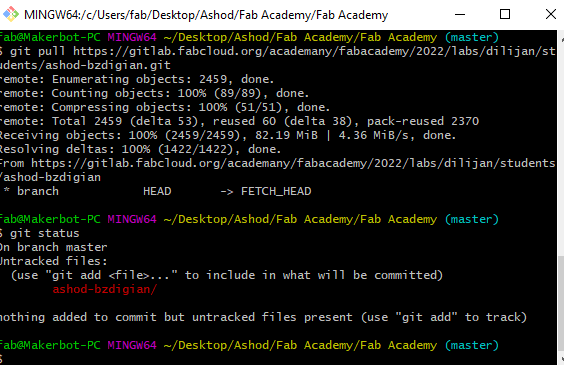
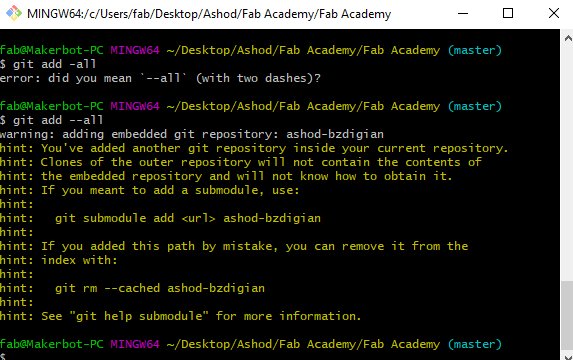
But an error appeared, so I did what the terminal told me, and I executed the command:
git add --all
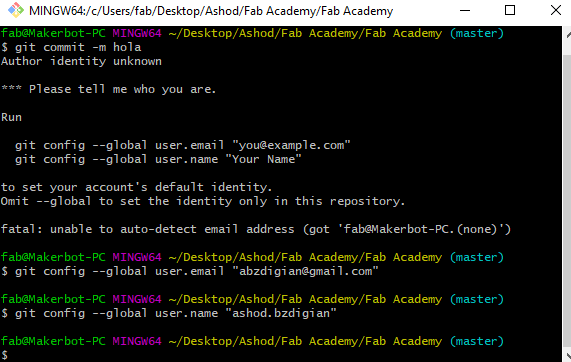
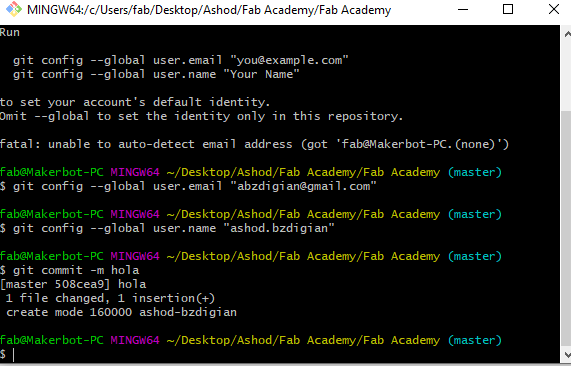
Then I execute the command:
git commit -m(something)
In the part of (something) I just put an “hola” to test it.
But first, the terminal asked me to identify myself, so I did.
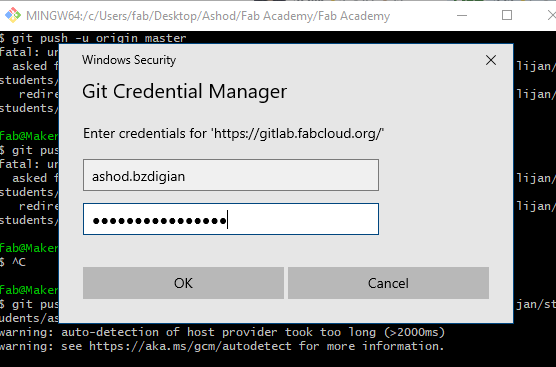
And when I tried to push…

It appears a credential box, so I just filled it.
Then I went to VSCode, and as I pull my old repository, I had somethings written on VSCode, that’s why you will see documentation. But that’s not the important thing. I’m going to show the difference between my website before and after, and my VSCode before and after my push.
old
new

In case that you need
git fatal not a git repository)
And yes, this is still here =P
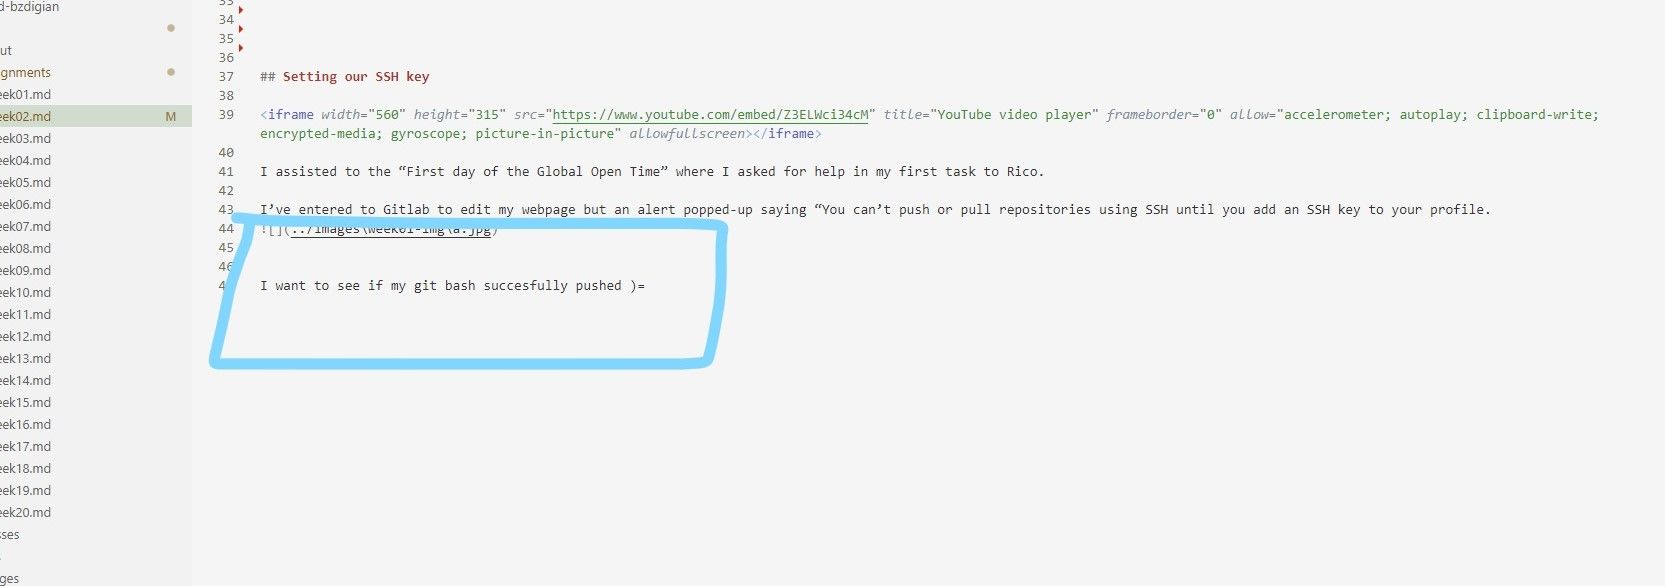
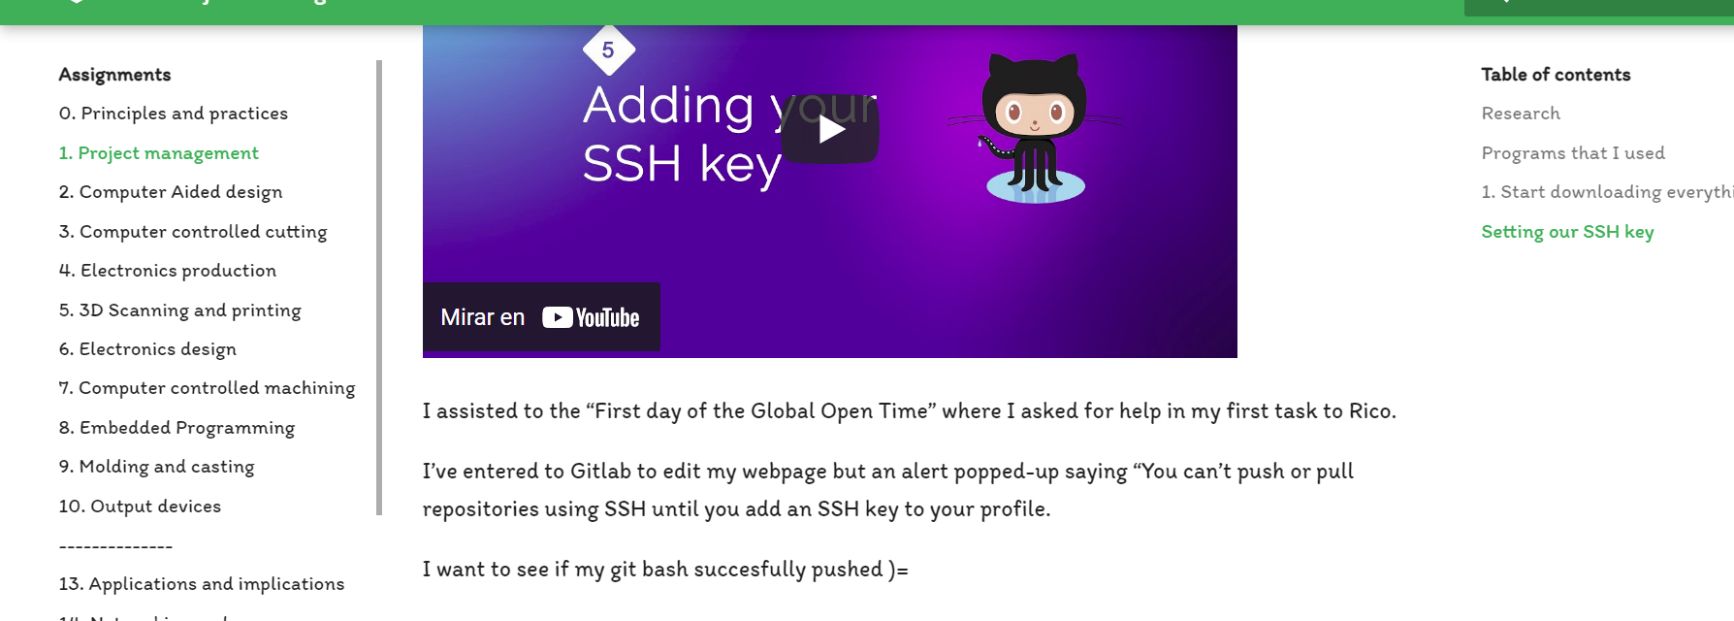
I want to see if my git bash succesfully pushed )=
4. How to edit and make the website
So now that you can pull/push, you can start editing your website.
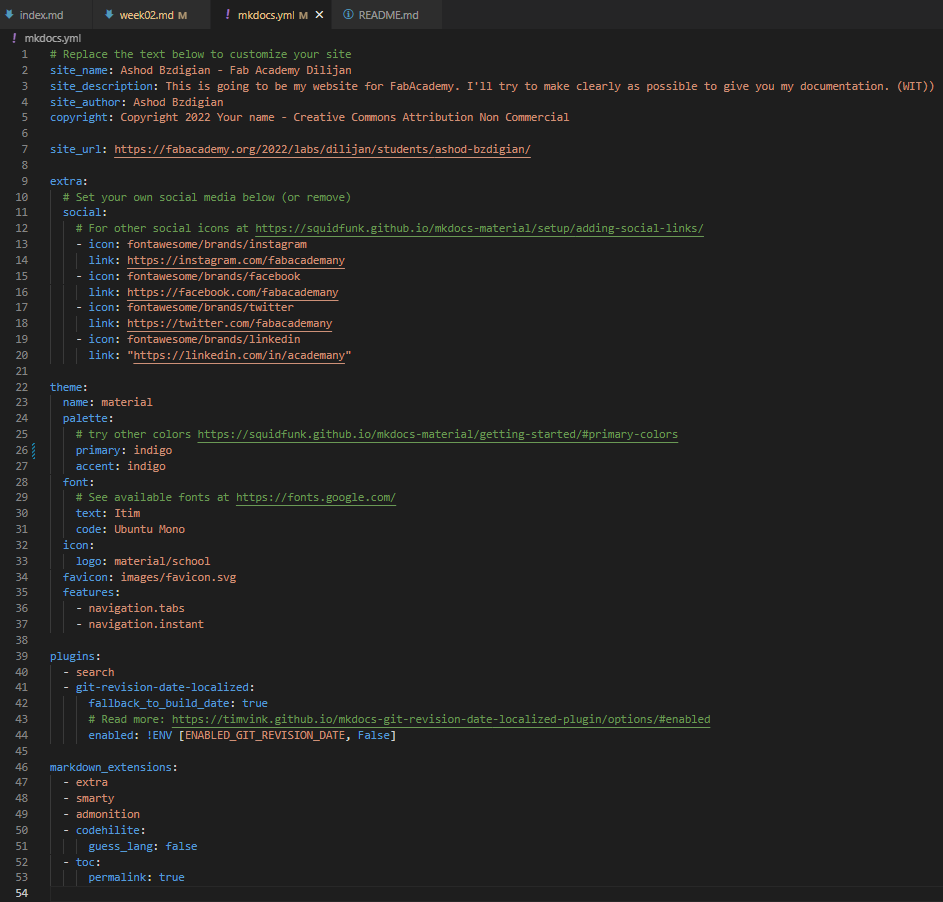
Open mkdocs.yml file located in the folder that you saved your repository, or on the EXPLORER of VSCode almost in the bottom.
Here it is really easy to edit your website.
If you want to change the colour just change the colour name on the label of theme.
You can change the colour editing the “primary” part. For example from indigo to green.


I just checked that the url will not send you to the colour tab directly, so here it is.
You can as well change the font if you want, the icon and edit your social media as well, everything is editable!
5. Tips:
I’m working with VSCode.
1) Double space to make a jump-line at the end of the phrase.
This is an example without double space before hitting enter.
This is an example
with double space before hitting enter.
2) In the english keyboard language, press the key button that is next to the enter, with ctrl at the beginning of a two jumpline paragraph. It will make a fancy things like this:
This is an example
3) How to add videos in VSCode using MKDOCS?
Go to this link