10. Molding and Casting
This week we worked on Molding and Casting (or at least we tried). Unfortunately, We had a couple of problems, especially with the negative molds part.
Checklist:
- Link to the group assignment page and reflect on your individial page what have you learned.
- Review the safety data sheets for each of your molding and casting materials, then make and compare test casts with each of them.
- Document how you designed your 3d mold and created your rough and finish toolpaths for machining, including machine settings.
- Show how you made your mold and cast the parts.
- Describe problems and how you fixed them.
- Include your design files and ‘hero shot’ of the mold and the final project.
Materials list
We fabricated our own Machinable Wax for making our positive molds. Our “FAB-made” consisted in Parafin Wax (2 parts by weight) and Low Density PolyEthylene (LDPE) Pellets (1 part by weight).
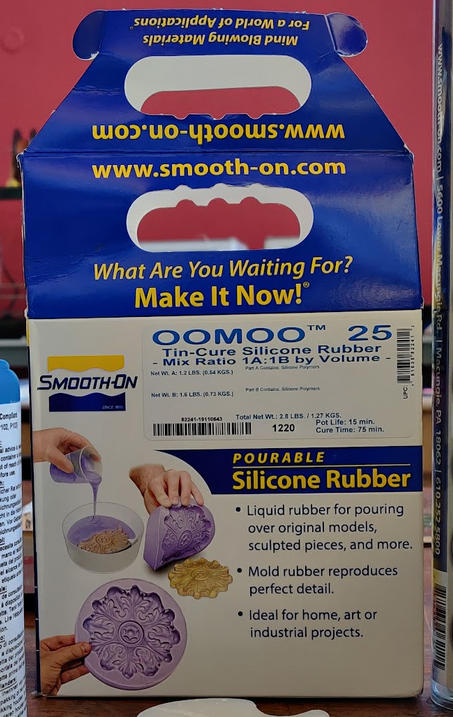
Our fablab also provided us with pourable silicone rubber (Smooth-On OOMOO™ 25) for our negative molds.
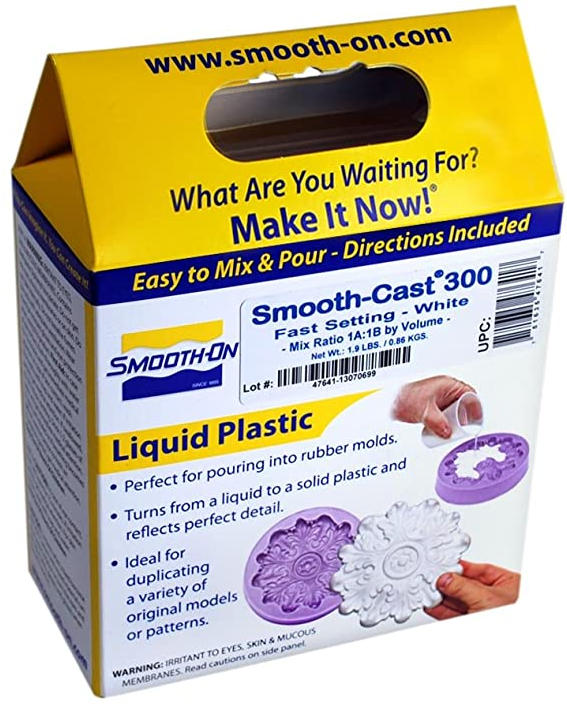
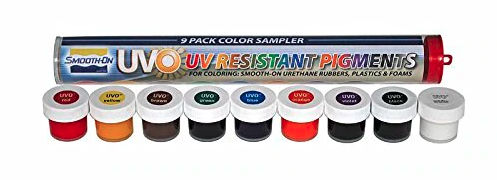
Then, for casting we used liquid plastic (Smooth-On Smooth-cast™ 305) and additionally some UV-Resistant Pigments (Smooth-On UVO™) for adding some color.
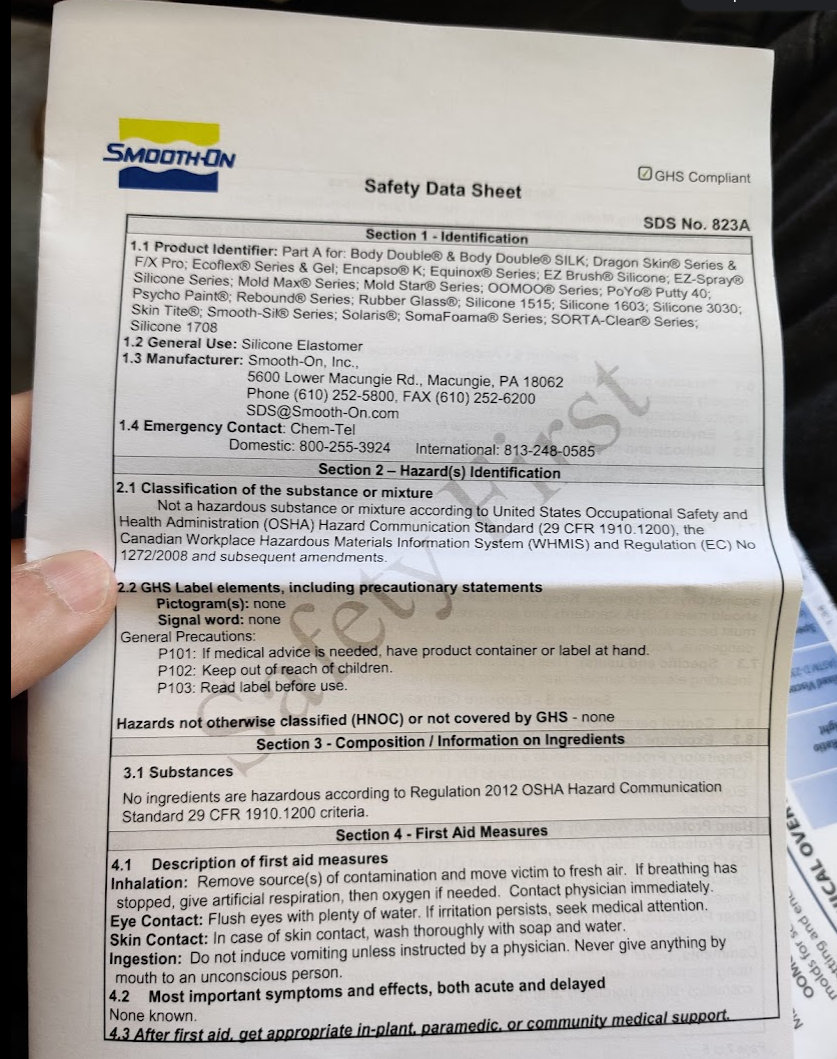
The datasheets of these materials recommend to work in ventilated spaces using gloves, masks and glasses to avoid direct contact.
Preparing Machinable Wax
Before preparing Machinable Wax we had to design and cut some boxes to be used as containers for our positive molds. Silvia - one of our local instructors - recommeded this useful tool called makercase for generating designs. So I generated a couple of boxes of the following dimensions: 145 x 145 x 24 mm. We cutted the boxes in the Laser cutter and then we put some tape on the faces and borders to avoid leaking.
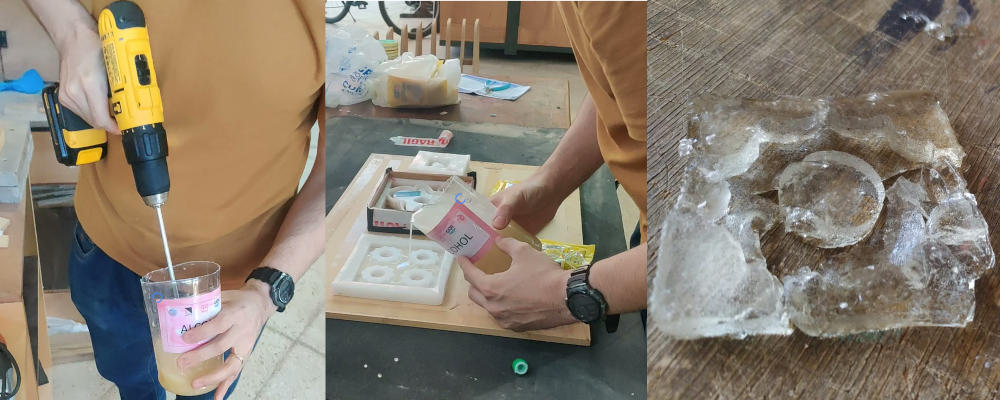
Then, Abdón - the other local instructor - shown us how to prepare our own Machinable wax. The following video explains some of the steps we followed:
Materials used:
- Parafin Wax: 2 parts by weight
- Low Density PolyEthylene (LDPE Pellets): 1 part by weight
- Pot you never want to use again
- Heat source
Steps we followed:
- Put wax into the pot and start melting it.
- Then, slowly add LDPE
- Stir and wait until all the LDPE has dissolved into the wax (It took around 6 hours
 )
) - Optionally, you can add a crayon to add some colour.
- Pour into some boxes.
- Let it cool down.
Positive Mold
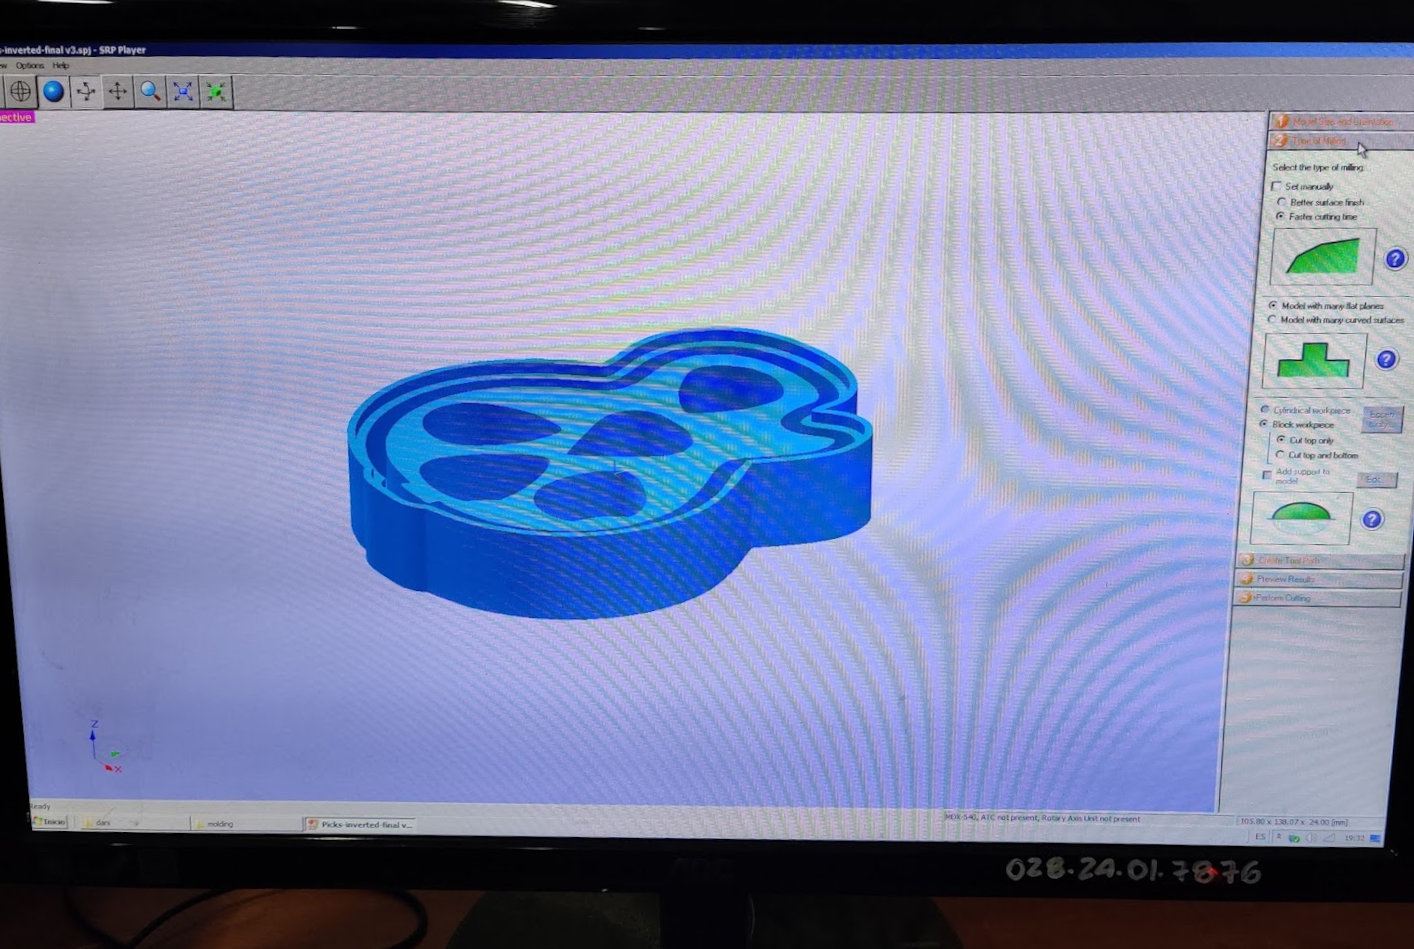
Then, I jumped to design my positive mold which should be the exact replica of the object I want to create. So… I designed a Guitar picks Organizer. It consists in a very simple design since it is composed of flat surfaces (It doesn’t contain curves on the Z axis).
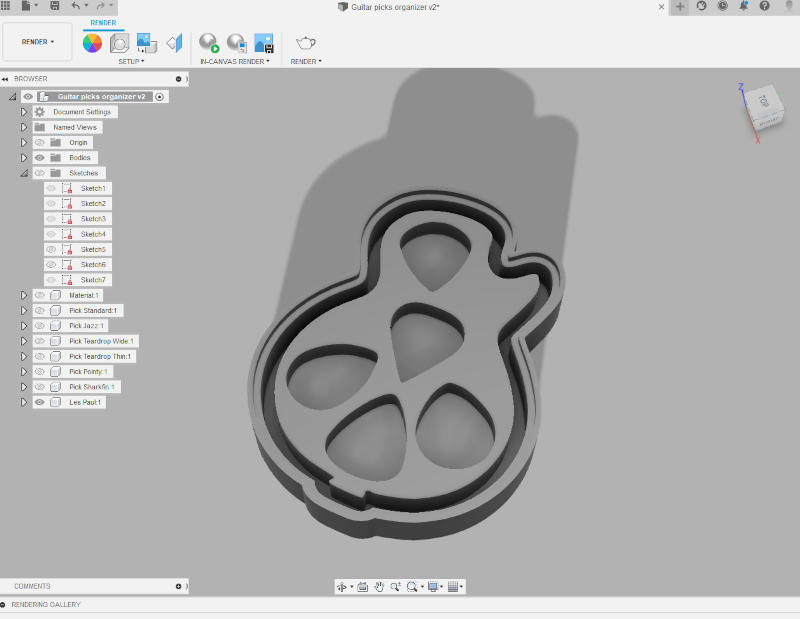
I exported this design to a stl file and opened it in SRP player, which is a Roland Program. I configured a single Rough toolpath using a 1/8 inch Square mill.
Then I placed the machinable wax on the sacrificial layer of the CNC machine and screwed some small wood blocks on each face of the material to make sure it doesn’t move during the milling operation. Finally I set the origin on the bottom left corner of the material and started the milling process. This process took around 50 minutes but unfortunately, some mistakes were made.
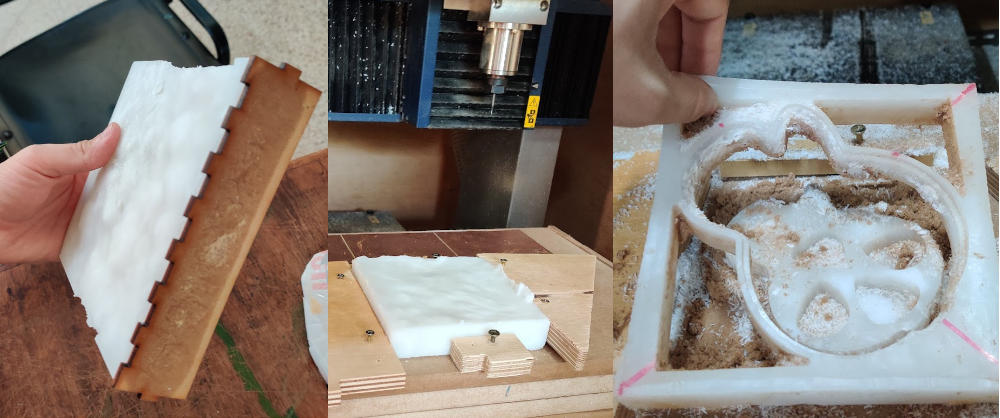
The top surface of the material I used was pretty irregular. Since I used the material directly without leveling the top face I set the Z axis origin incorrectly. This caused the mill to completely pierce the material in some sectors, so some parts ended up loose (which was not expected).
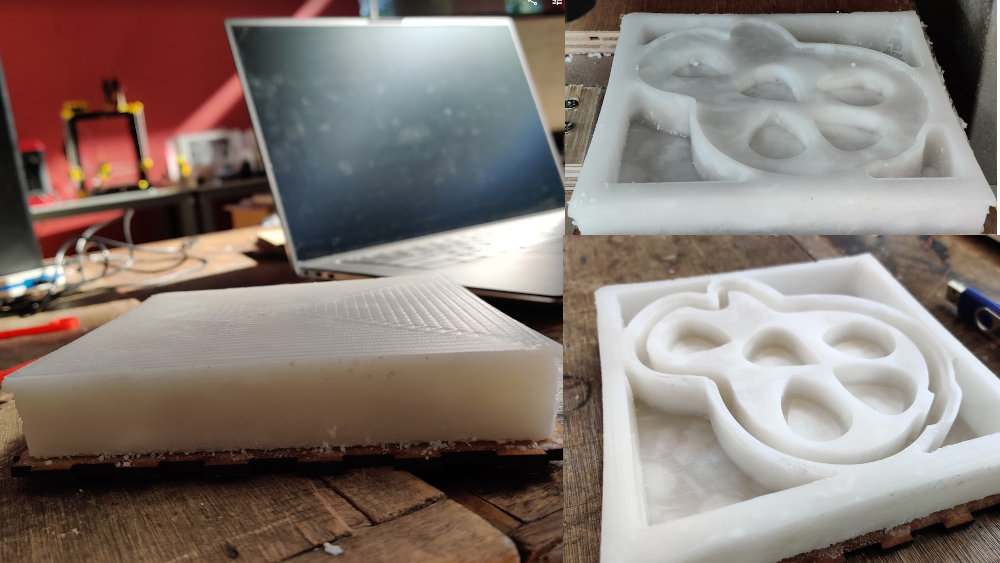
So the next day I took another block of machinable wax and leveled the top face. In order to do that I went to Options > Surfacing and selected the following parameters and pressed Start Surfacing:
- Material: Machinable Wax.
- Tool: 1/4 square.
- Orbit direction: Upcut.
Once the surfacing finished, I set the Z axis origin correctly and repeated the milling process. This time I used a 1/4 inch Square mill for the Rough toolpath and a 1/8 inch mill for the Finish Toolpath.
Negative Mold
OOMOO™ 25
Before starting this process, I put all the equipment and materials on the table, reviewed the safety datasheet and the instructions.
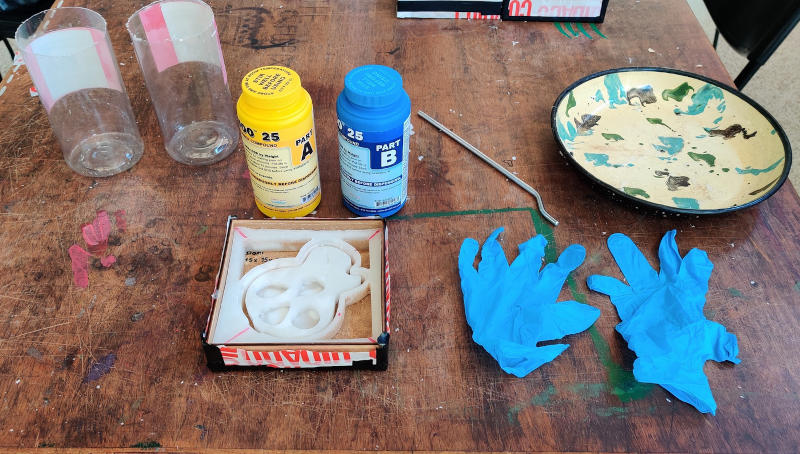
As you can see in the above video, it should be simple process… Unfortunately, something came up…
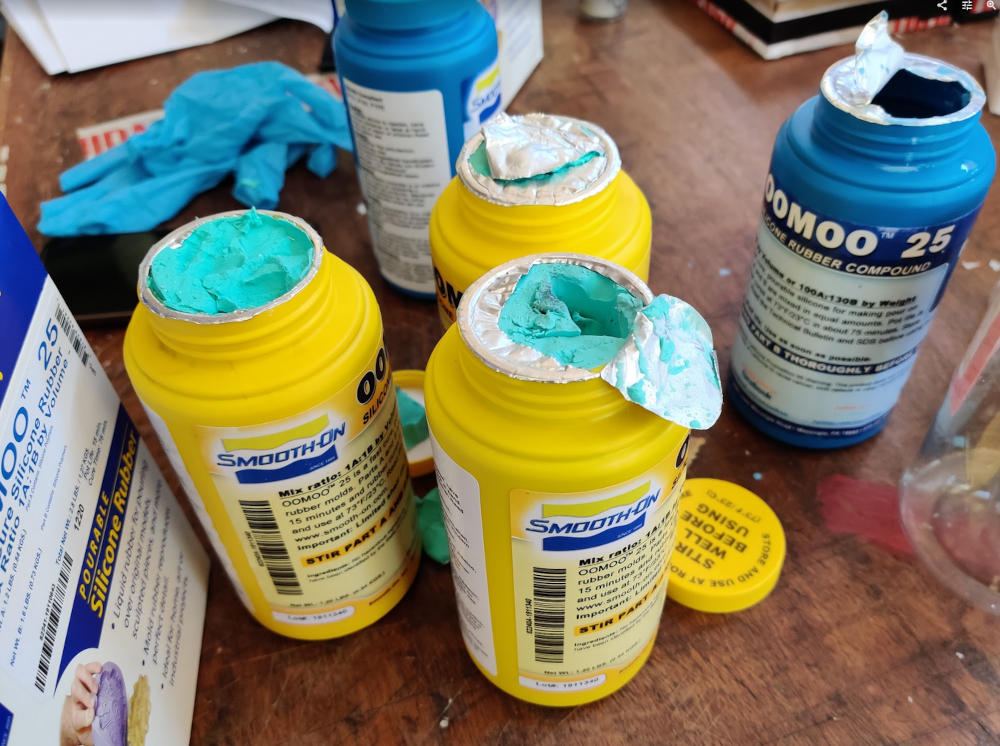
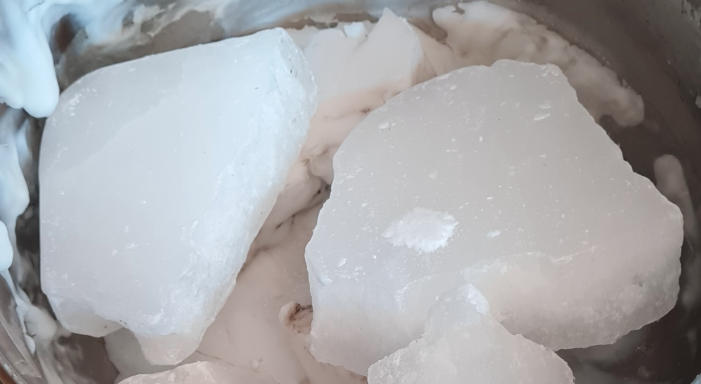
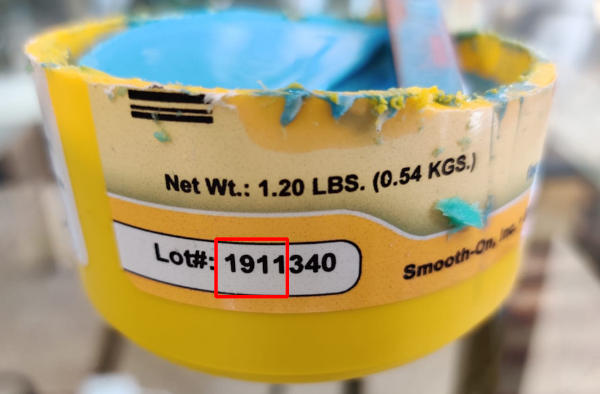
The bottles of OOMOO™ 25 part A didn’t contain liquid anymore. All the liquids had solidified. Aparently, these component should be used as soon as you buy it… When we checked the batch number in the bottles we found that our components were part of an old batch.
Alternatives
We had to start thinking on alternatives to OOMOO, so… here are some of them:
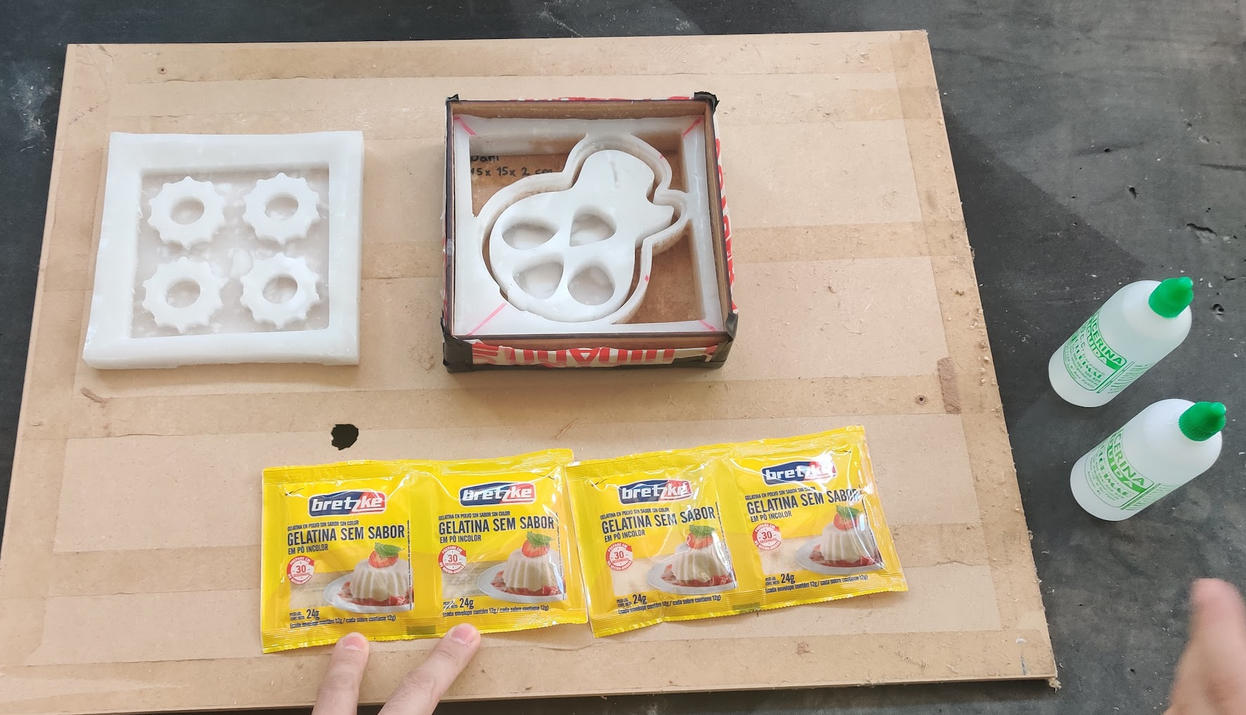
Gelatin + glycerin + water
Abdón suggested us try with Gelatin + glycerin + water. I wanted to try this on my first positive mold, but it leaked. So, I followed the progress of Edgar. The following video explains how to prepare this mold:
Ingredients
- 4 oz. unflavored gelatin.
- 12 oz glycerin
- 1/2 cup cold water
- 1 1/2 cups boiling water
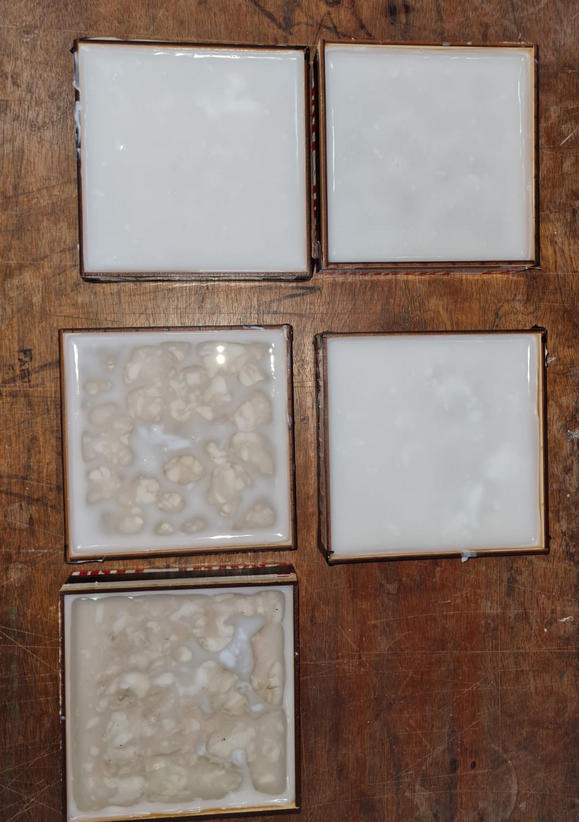
About 15 hours later, Edgar tried to remove the negative mold from the positive mold but it could break easily.
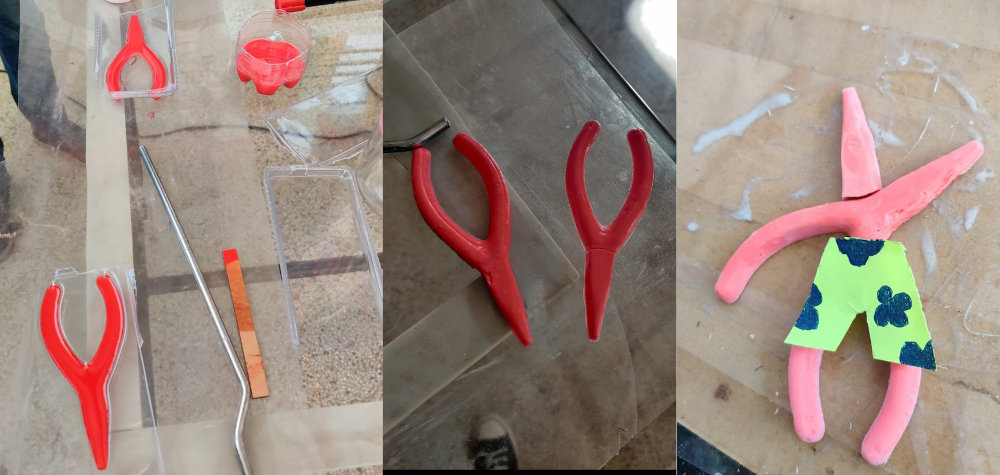
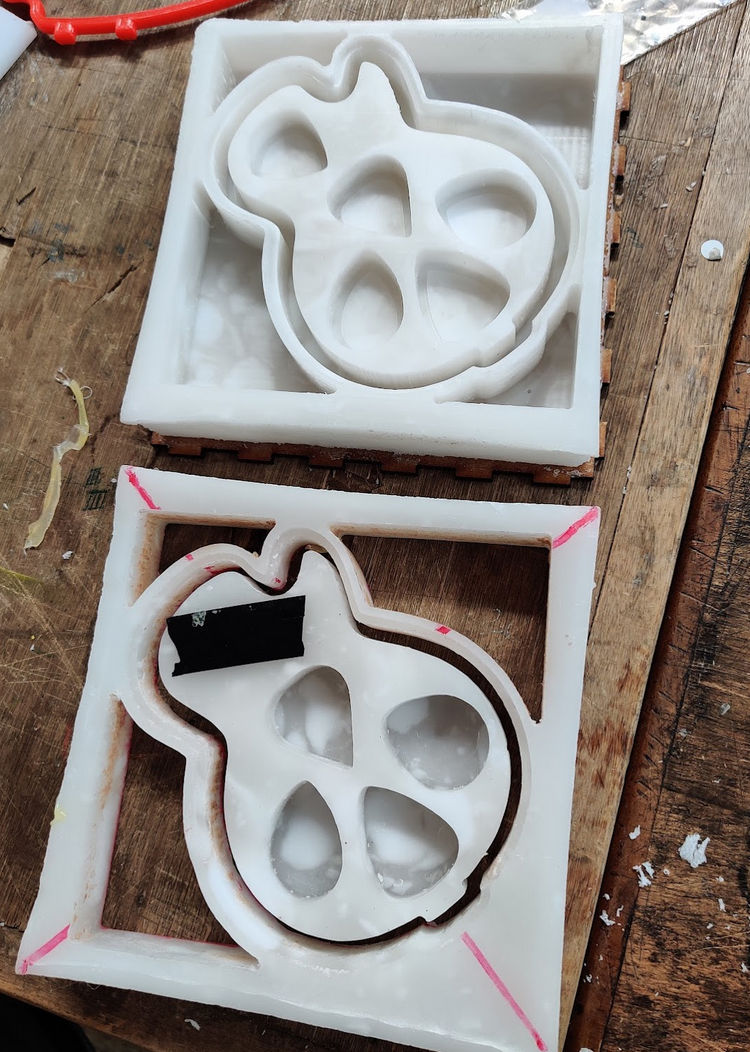
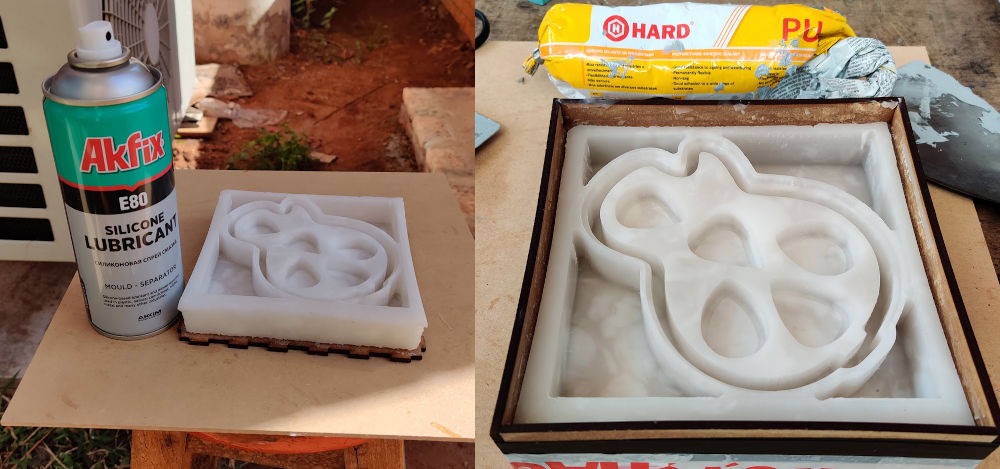
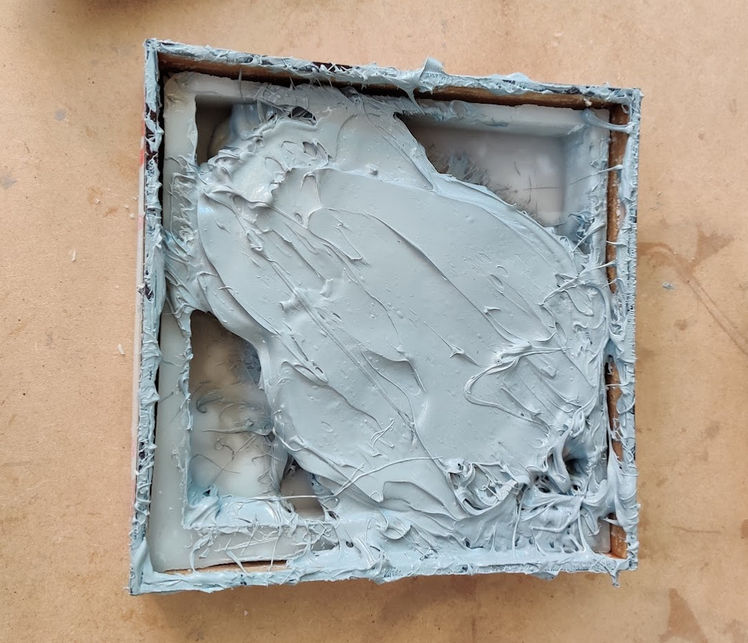
Silicone Lubricant / Mould Separator + Polyurethane Adhesive Sealant
Juan Carlos suggested us try with Silicone Lubricant / Mould Separator + Polyurethane Adhesive Sealant. This time I used my second positive mold to try this alternative. This is work in progress, so it still needs time to cure completely.
Alginate
Additionaly, Edgar tried using Alginate for the negative molding. The first attempt cured in ten minutes, but it was also weak. Visit Edgar’s site for detailed information for this alternative.
Casting
Since we didn’t have a negative mold yet, we decided to try the Smooth-On Smooth-cast™ 305 and Smooth-On UVO™ on some plastic packages.
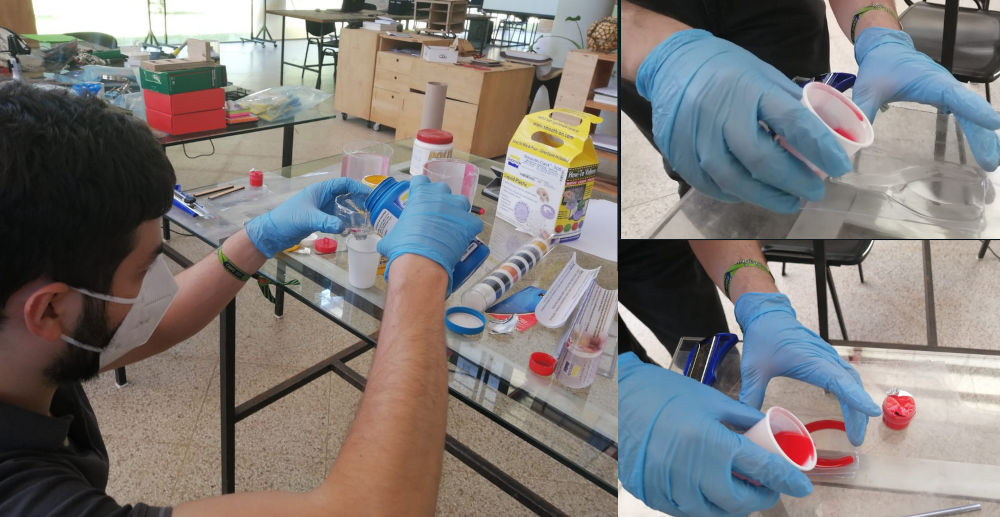
We left the material on the molds for about an hour. One of the pieces broke when trying to remove it from the mold, the other one was removed successfully.