2. Project management
It’s time to start working on my personal website! 
Checklist:
- Make a website and describe how you did it.
- Create a section about yourself on that website.
- Add a page with a sketch and description of your final project idea(s).
- Document steps for creating your Git repository and adding files to it.
- Push to the class GitLab.
- Sign and upload the Student Agreement.
Time management
First things first, I started the week identifying the time slots that I had available for Fab Academy activities.
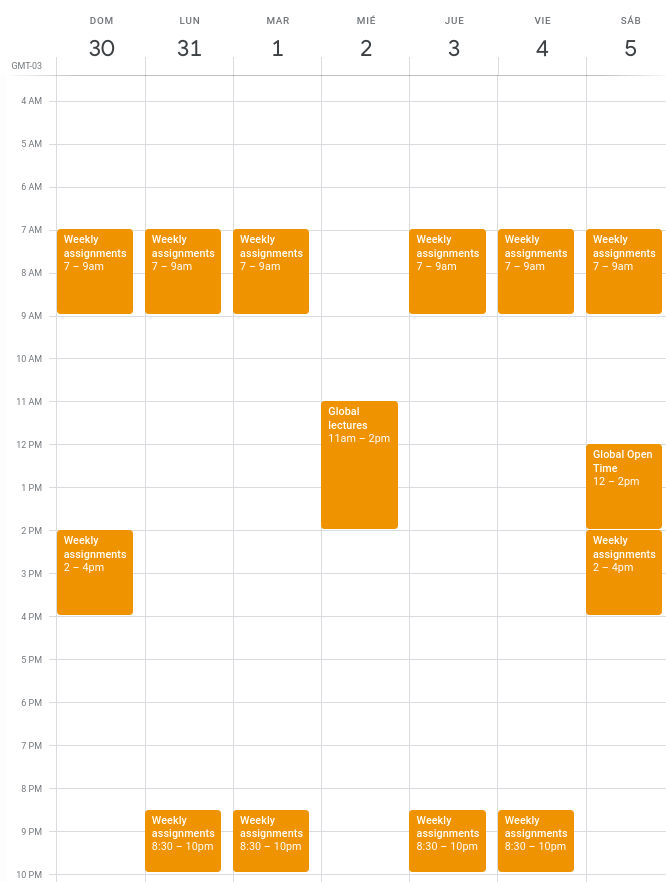
I created a new calendar in my personal google account and added weekly events and reminders. My initial plan is to dedicate 3.5~4 hours per day to fab academy activities. Let’s see if this plan changes during the following weeks.
I have used tools like Redmine and Jira in the past but they are more focused to managing large scale projects on large teams. Since I’ll be working on a personal project I decided to go with Trello this time because of its simplicity and integrations with other tools. So I set up a Trello board for weekly assignments.

I tried the different board templates that trello provides but I couldn’t find one that fit my needs. I searched templates and workflows in other sites and forums and I found one in a Trello User Guideline from a Fab Lab in San Diego. It seemed good to me, so I created a similar board following these guidelines.
Development environment
I have a dual boot laptop with Linux and Windows. I use the Linux partition mainly for software development, so I’ll stick to that partition for Fab Academy activities.
As software developers, Git and the command line are our bread and butter. Seriously…
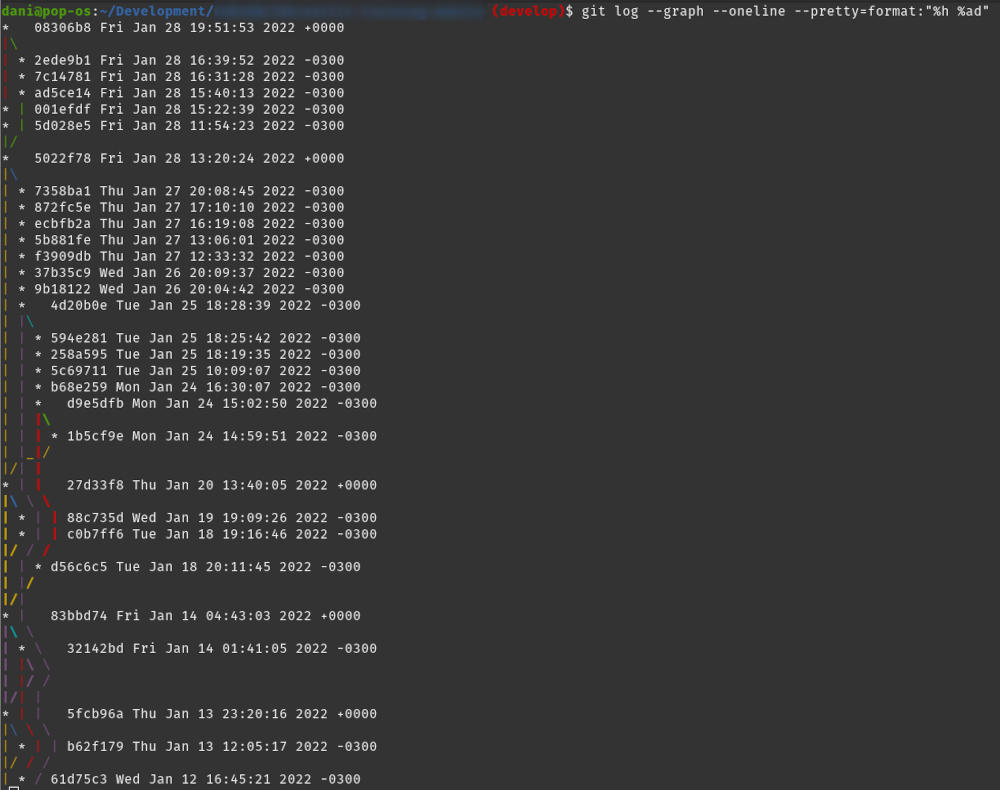
Basic git concepts and commands
My colleague and friend, Saúl Zalimben prepared a list of useful Git tutorials in his personal blog. I highly recommend reading one of his articles called, Git Explained by DEV Community. To learn about git concepts he recommends reading the article called: Git Concepts by Nico Riedmann (@unseenwizzard), I’ll put some excerpts of his article below:
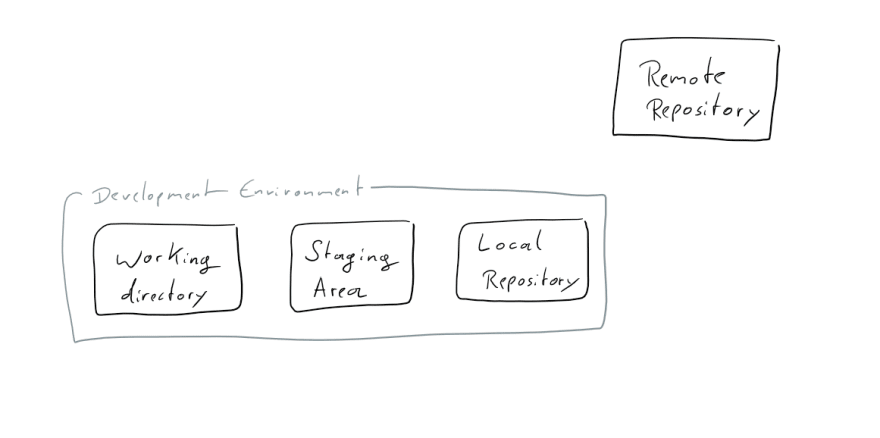
- Remote Repository: place where you send your changes when you want to share them with other people, and where you get their changes from.
- Development Environment: it is what you have on your local machine. The three parts of it are your Working Directory, the Staging Area and the Local Repository.

To make a copy of a Remote Repository in our Development Environment we use the git clone command. This copies the Remote Repository into two places, our Working Directory and the Local Repository. Now you see how git is distributed version control. The Local Repository is a copy of the Remote one, and acts just like it. The only difference is that we don’t share it with anyone.
There’s two kinds of files in our Working Directory: tracked files that git knows about and untracked files that git doesn’t know about (yet). When we create a new file, it is added to our Working Directory. To see if our Local Repository is different from the Remote we use the git status command. It checks the state of tracked and untracked files.

Changed files can be moved to the Staging Area by using the git add <file> command. The staging Area collects all the changes we wish to put into Repository
Then, we are ready to commit what you just did to the Local Repository. The collected changes that we commit are some meaningful chunk of work, so when we now run git commit a text editor will open and allow us to write a message telling everything what we just did. When we save and close the message file, our commit is added to the Local Repository. It is also possible to add commit messages in the command line directly: git commit -m "some message".

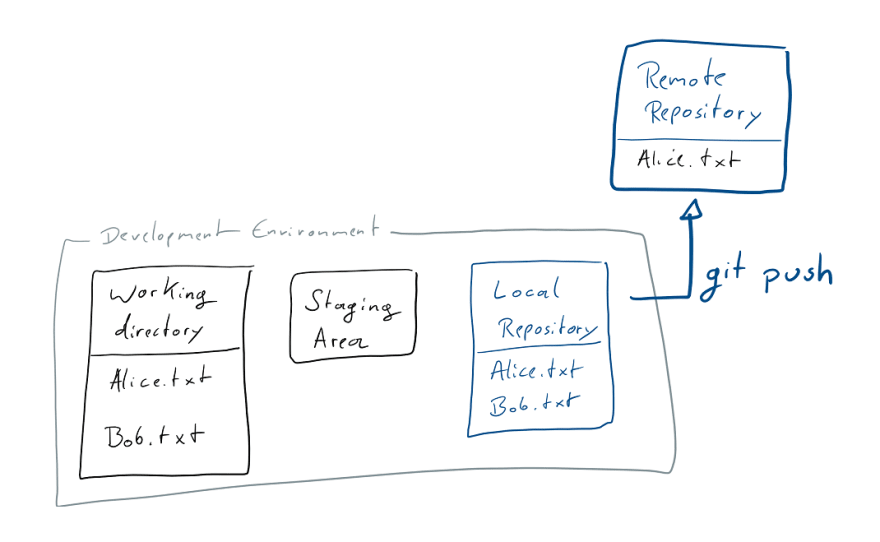
Finally, to share our commits with the Remote Repository we need to push them. In order to do that, we use the git push command
Preparing the local repository
Then I jumped directly to build the website. These were the steps that I followed to clone and deploy the website template:
- Configure my ssh key in my gitlab account.
- Clone the project:
git clone git@gitlab.fabcloud.org:academany/fabacademy/2022/labs/cidi/students/victor-ughelli.git - Install and configure pip:
sudo apt install python3-pip. - Install mkdocs:
pip install mkdocs - install project dependencies:
pip install -r requirements.txt - Run
mkdocs serveto deploy the project locally.

Project successfully deployed! I haven’t used mkdocs before so I gave it a try. It really abstracts you from writing html, css and javascript code. Markdown is easy to learn and lets you focus on the content of your site. It is a pleasure to use it, especially because I already write all my notes in Markdown in a cross platform program/app called Simplenote. So all I have to do is copy my notes and paste them on my site.
Using markdown
Among the markdown syntaxes I use the most are:
- Headers: using
#characters. Depending on the priority of the header you should use more or less#characters. Titles with more importance are preceded by only one#character. - Unordered lists: using the
-character followed by a blank space at the begining of each line (item) on the list. This list is an example of an unordered list. - Numbered lists: Using the
1.characters. - Highlighted code/content: using the ` character.
- Code blocks: Block of text delimited by two lines containing ``` characters.
- Italic text: wrapping words or prases between 2
*characters. - Bold text: wrapping words or prases between 2
**characters.
In short, although I have vast experience building websites using html/css/javascript I decided to go with Markdown to focus on the assignments content directly. I know myself and I probably will spend a lot of time styling the website, changing my mind every week about it.
I’ve tried several code editors and IDEs on the last years, including: Webstorm, VSCode, Atom, SublimeText and https://brackets.io/. My preferred code editor is VSCode because it is simple to use and has a great extension support. The extensions list grows every day and many of them could make your life easier. I even created my own extension.
Uploading changes to remote repository
After deploying the provided template locally and applying changes to the existing pages, I executed the following sequence of commands to upload my changes to the remote repository:
git status # Check the modified files.
git add <filename> # Stage changed files to commit
git commit -m "commit message" # Commit changes
git push origin master # Send changes to the remote repository
# then visit https://fabacademy.org/2022/labs/cidi/students/victor-ughelli/ in the web browser to see the changes
Finally, some of the pages I added during this week are shown below: