6. 3D Scanning and Printing
Over the last weeks we’ve been fabricating things by removing materials through cutting, drilling, milling or grinding. This is known as subtractive manufacturing. However, this week we learned about additive manufacturing. In this technique, 3D objects are built by adding materials layer by layer instead of removing them.
Fused deposition modeling (FDM) is a common method of additive manufacturing where a plastic filament is squezed through a hot end, melting it and then depositing it in layers on the print bed. These layers are fused together, building up throughout the print, and eventually they will form the finished part. This method is used in the 3D printers used on this week,
Group assignment:
- Test the design rules for your 3D printer(s). (You can find more details on our group assignment’s page)
Individual assignment:
- Design and 3D print an object (small, few cm3, limited by printer time) that could not be made subtractively.
- 3D scan an object (and optionally print it)
Checklist:
- Link to the group assignment page.
- Explain what you learn from testing the 3D printers.
- Explain how you designed and made your object and explain why it could not be easily made substractively.
- Document how you scanned and prepared and object.
- Include your original design files for 3D printing.
- Include your hero shots.
3D Printing
Equipment and materials
We have around five 3d printers in our lab: a CubePro DUO, a Flashforge Finder and three Flashforge Dreamer. We decided to stick to the Flashforge Dreamer printer for the assignments of this week.
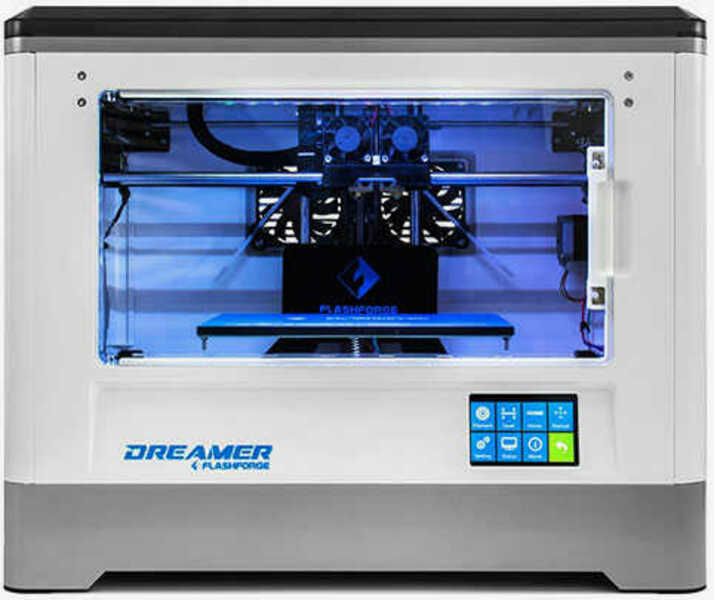
The specifications of this printer are shown below:
- Extruder Quantity: 2
- Nozzle Diameter: 0.4mm
- Maximum Extruder Temperature: 240℃ (464℉)
- Print Speed: 30-100mm/s
- Maximum platform Temperature: 120℃ (248℉)
- Filament Compatibility: PLA, TPU95A, ABS, PETG
- Filament Diameter: 1.75mm (0.069IN)
- Print Volume: 230 x 150 x 140mm (9.1 x 5.9 x 5.5IN)
- Layer Thickness: 0.1mm-0.4mm
- Print Precision: ±0.2mm
- Printer Dimension: 485 x 344 x 382mm (19.1 x 13.5 x 15.03IN)
- Connectivity: USB cable, SD card, Wi-Fi
- Software: FlashPrint
- File Input Format: 3MF / STL / OBJ / FPP / BMP / PNG / JPG / JPEG files
- File Output Format: GX/G
There are two things that I loved about this specific model of printer: The messages shown in the display (usually written on first person) and the short monophonic songs used for notifications. In my opinion, these two details give this machine a lot of personality.
Although PLA (polylactic acid) is generally the most common and accesible material type, the most abundant filamnet material in our Lab is PLA+, which is a variant of PLA whose material properties have been enhanced through the use of additives beyond its traditional composition. So we used PLA+ during this week.
Group Assignment
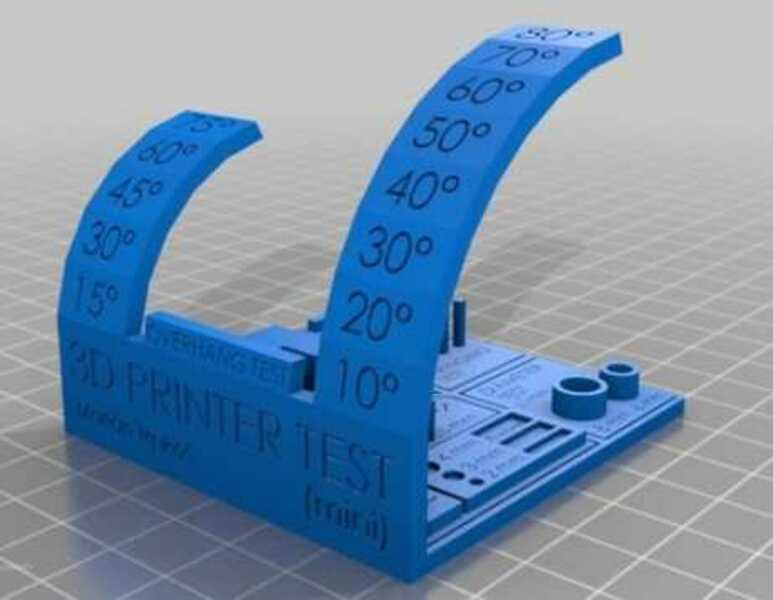
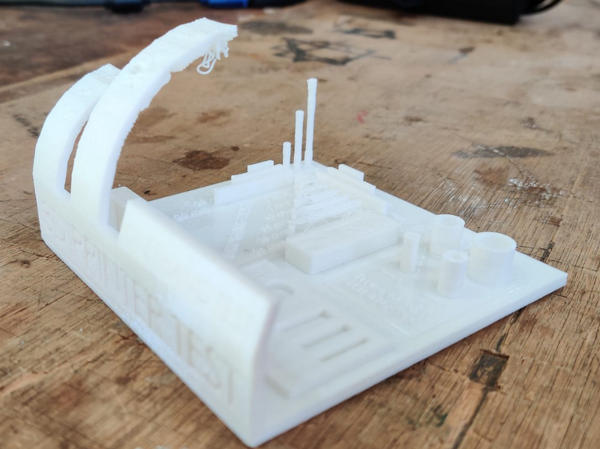
We found this amazing all-in-one 3D Printer test on thingiverse which includes: support test, scale test, overhang test, hole test, diameter test and bridging test. It looked so useful for testing the design rules for our 3D printer and material, so we proceeded to print it.
In order to do that, we first opened the stl file in Flashprint and introduced the following parameters:
- Extruder: left
- Material: PVA (Equals to PLA+)
- Layer height: 0.18
- Minimum speed: 60mm/s
- Extruder temperature: 210°C
- Platform temp.: 50°C
- Infill: 25%
- Raft: No
- Supports: No
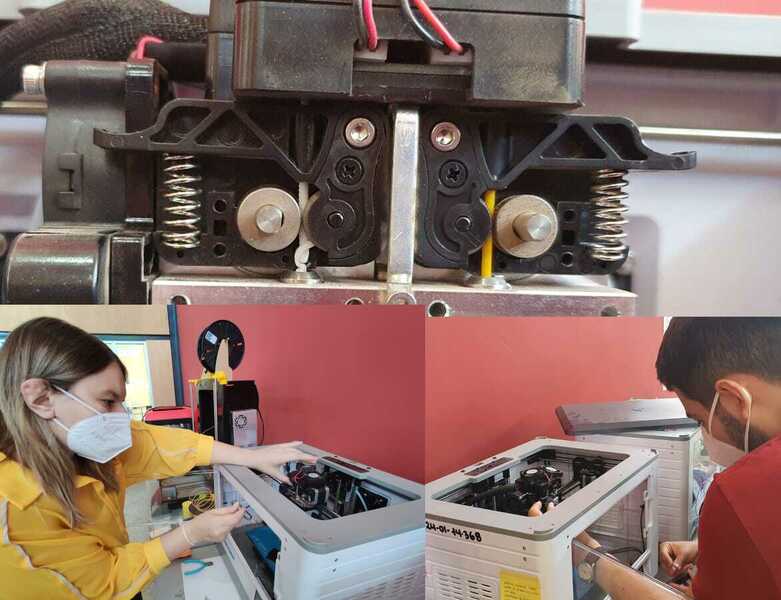
Then we generated a gx file, stored it in a SD card and transfered it to the printer. Unfortunatelly, we had a filament jam on both extruders of the 3D Printer that we were using. Instead of switching to another 3D Printer we learned how to fix that problem following these steps:
- Disasemble the extruder.
- Remove the filament.
- Reassemble the extruder.
- Load new filament.
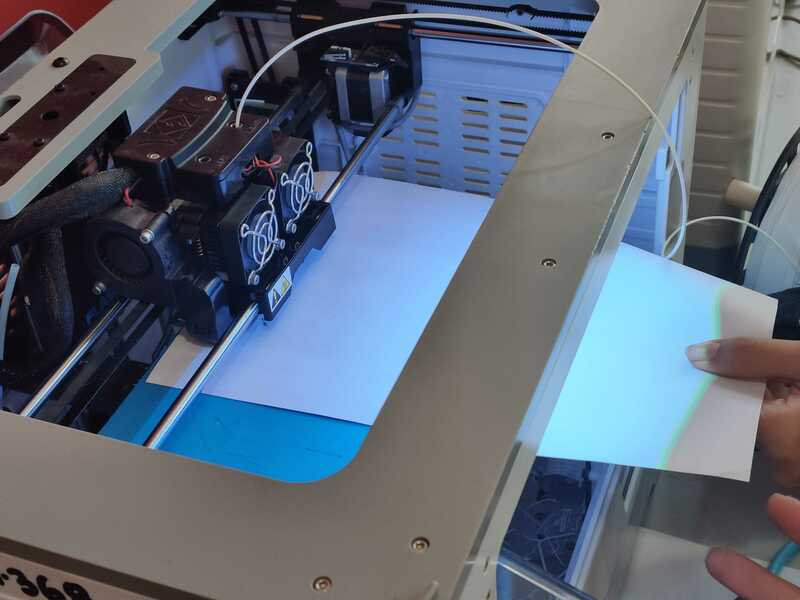
One additional step before printing is leveling the Z axis on the printer. Our printer has an assistant to do that by moving the nozzle on three points of the base. With the help of a piece of paper, adjust the distance between the nozzle and the base so that the nozzle barely touches the piece of paper.
Results:
- Support test: 100% OK
- Scale test: 100% OK
- Overhang test: Works well until 50º
- Hole test: 100% OK
- Diameter test: 100% OK
- Bridging test: Works well until 10mm
Individual Assignment
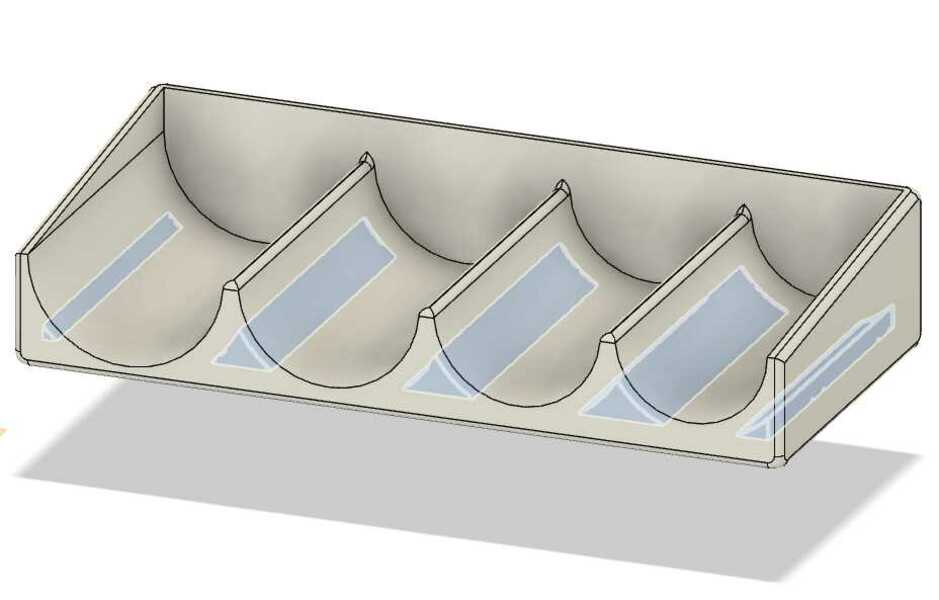
For my individual assignment, I designed a coin organizer for my car which contains hollow sections to reduce cost, material and printing time. This kind of hollow sections can be easily built by additive manufacturing, however, this is not the case for subtractive manutacturing.

On my first attempt, after a few minutes of printing I realized that some layers looked incomplete so I stopped the printer.
I removed the initial layers and showed it to Silvia - our local instructor-. She told me that it looked like the nozzle was too close to the printing bed, so we readjusted the z axis properly and restarted the process. The initial layers looked way too better now.
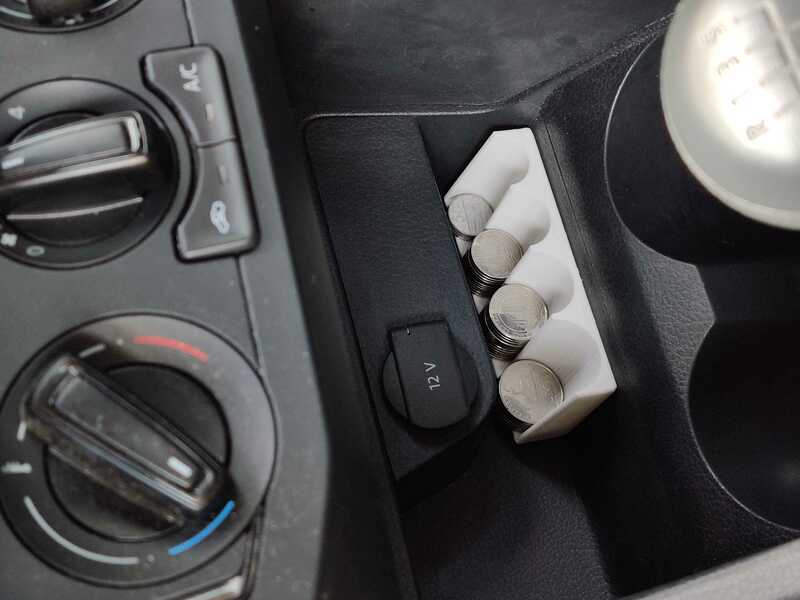
After 2h 48m the printing process ended successfully, so I removed the coin organizer from the printing bed and installed it in my car as I planned.
3D Scanning
Meshroom
This video by “Prusa 3D by Josef Prusa” simply explains how to 3D scan objects using any camera and Meshroom.
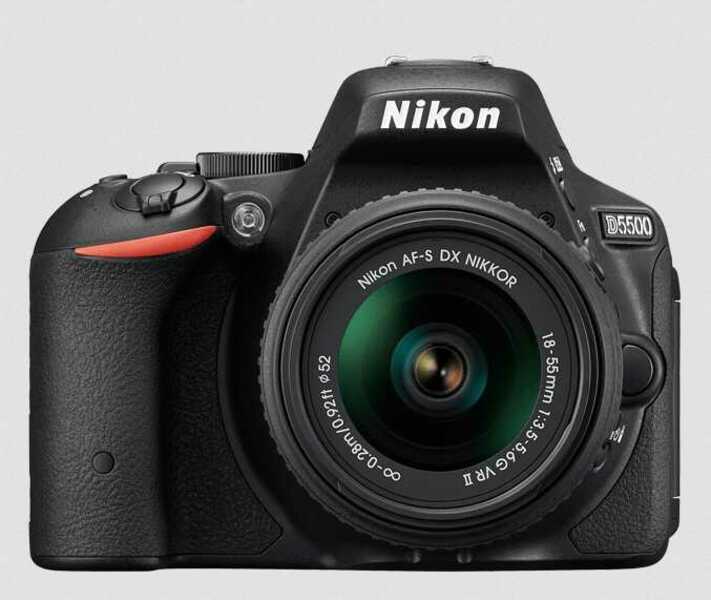
I used a Nikon D5500 DSLR camera to take pictures of different angles of a toy car that I have on my desktop. I set the aperture to 5~6 so that the model is in focus.
Considerations:
- Do not move the object between pictures.
- Try to avoid hard shadows.
- Pictures usually have quality than videos.
- Try to avoid reflections. Capturing glossy surfaces is tricky.
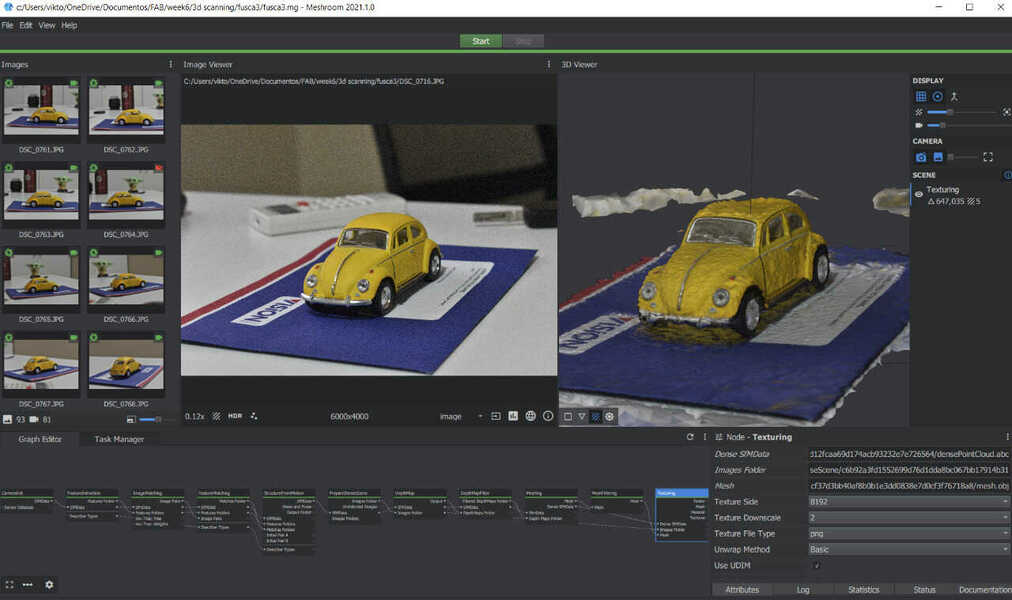
Once I took all the photos, I transfer them to my computer and drag them to the Meshroom window. Then I saved the project, selected the “Structure from motion” node and hit compute. Each node represents a step in the reconstruction process. By computing the results of the “Structure from motion” node you can preview the estimated camera positions in 3d view and see how many pictures were discarded.
The full reconstruction may take a while. In my case, I took a lot of picture and the whole process took 3 hours to complete. Once the full reconstruction finishes you can double click the Texturing node to preview the final mesh.
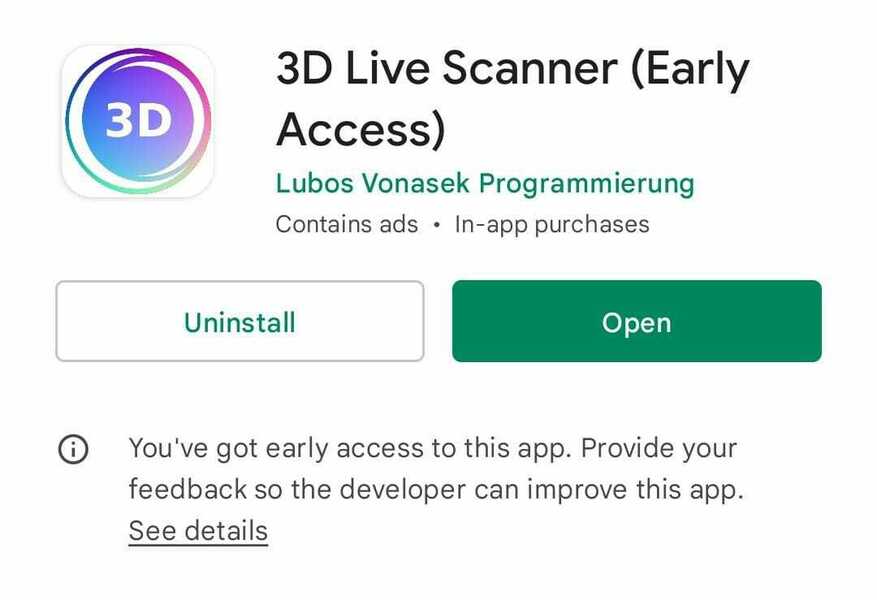
3D Live Scanner
Katrina came across this early access app during the weekend and shared it on our internal fablab chat. I gave it a chance and the results surprised me.
This app has three modes:
- Face scanning
- Objects scanning
- Indoor/outdoor scanning
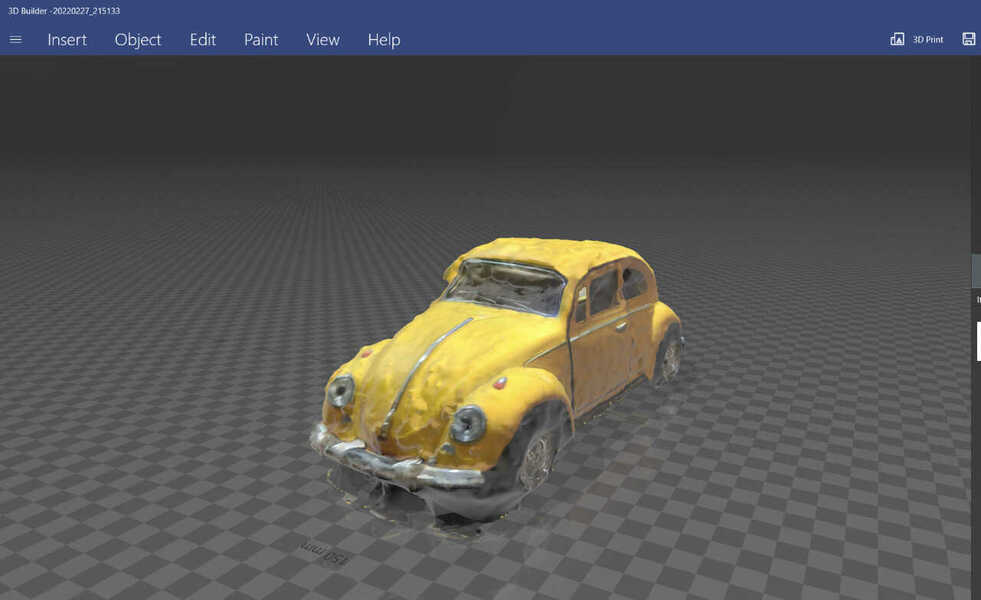
I used the objects scanning mode to scan my toy car. It has a really nice UI which makes the app easy to use. It has indicators for the different possible angles of the object, when the accelerometer detects that you are focusing the object in a new angle the app automatically takes a new picture. After taking all the required photos, they are uploaded for analysis. After a few seconds the results are ready.
Comparing to Meshroom, this app is way too faster than it because the process of taking pictures and generating the model takes less than 5 minutes. But in the other hand, this app has a lot of ads and you have to pay for more benefits.
The only way to send your models to other devices is by uploading them to Sketchfab.
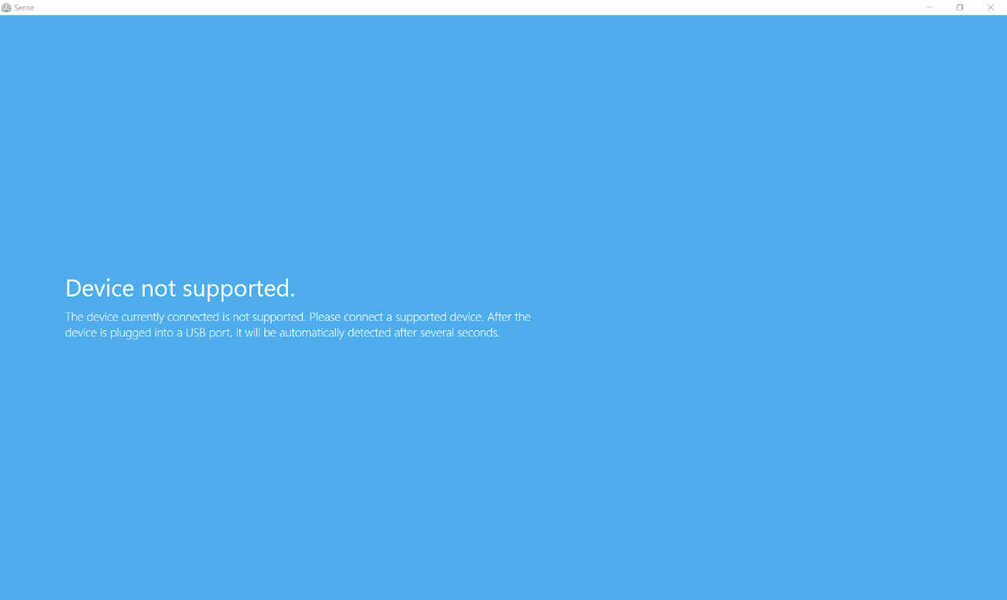
Sense
We also have a Sense 3D Scanner in our lab but unfortunately we didn’t manage to use in any of our computers. We followed the instructions to install the required software but apparently the device is not supported.