6. 3D Scanning and printing
Week 05 / Feb 23
This week’s assignment:
Group assignment:
- test the design rules for your 3D printer(s)
Individual assignment:
- design and 3D print an object (small, few cm3, limited by printer time) that could not be made subtractively
- 3D scan an object (and optionally print it)
Design and 3d print an object.
For this week I designed and printed the first prototype of a piece of parametric bijoux, more specifically, a bracelet. I followed a tutorial from architutors I think it was a relevant topic, considering the fact that the geometry generated indeed cannot be built subtractively.
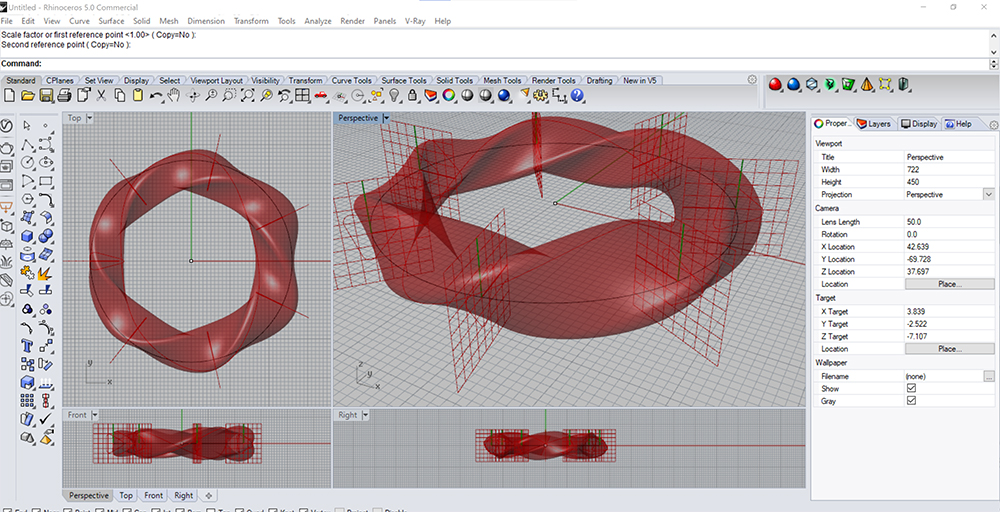
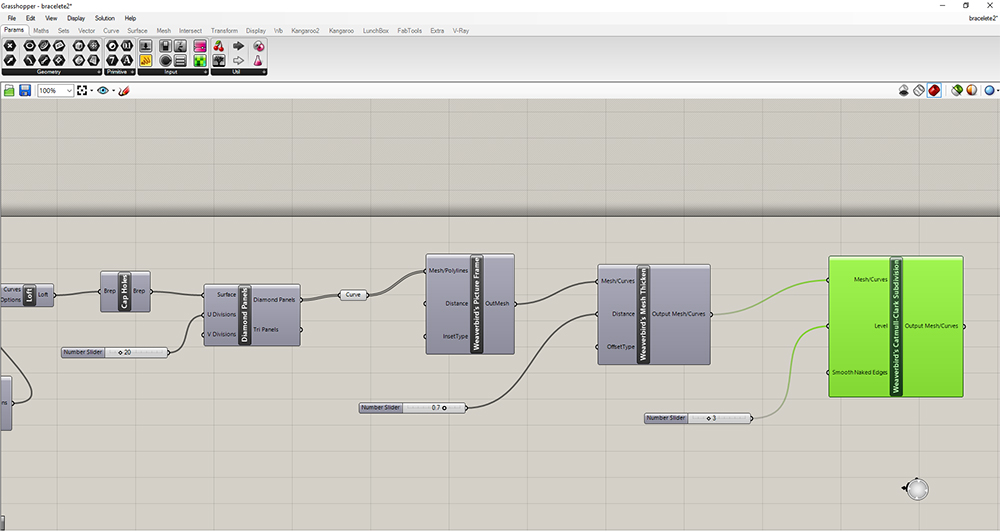
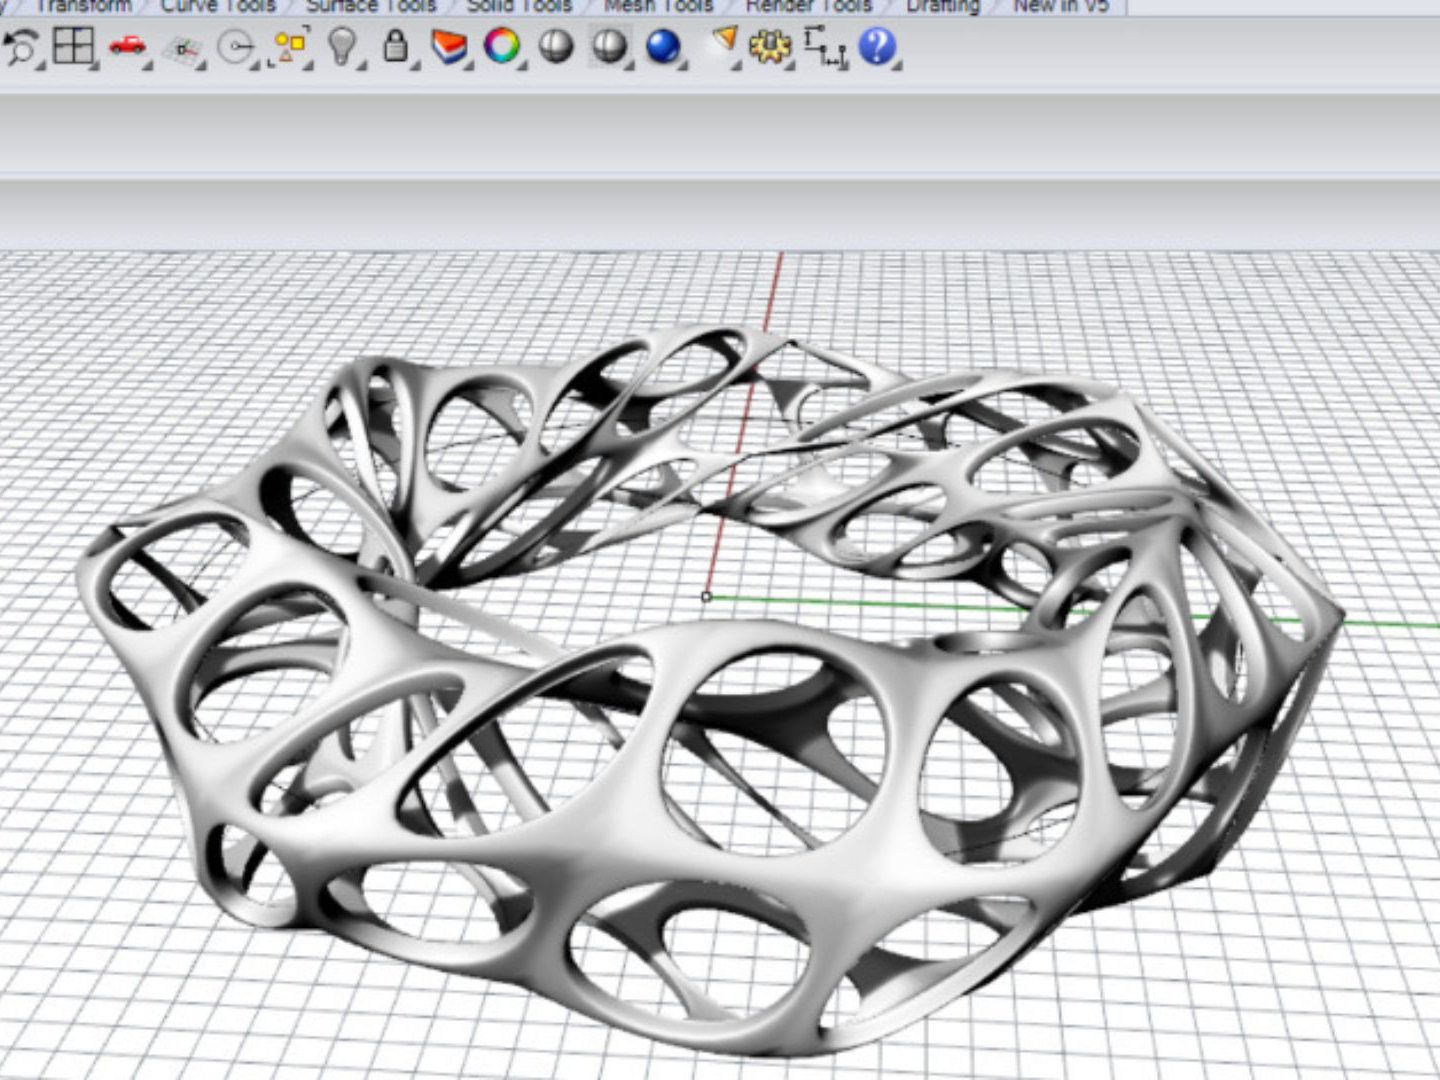
For the design I used Rhino and grasshopper, with two plugins: paneling tools and weavebird. The result is a bracelet generated from the torsion of geometrically regular polygons rotated around an original circle. It is also great to see that in spite of the high complexity of the final geometry, the visual programming through grasshopper is relatively simple.
How I designed and made a 3D object with Grasshoper.
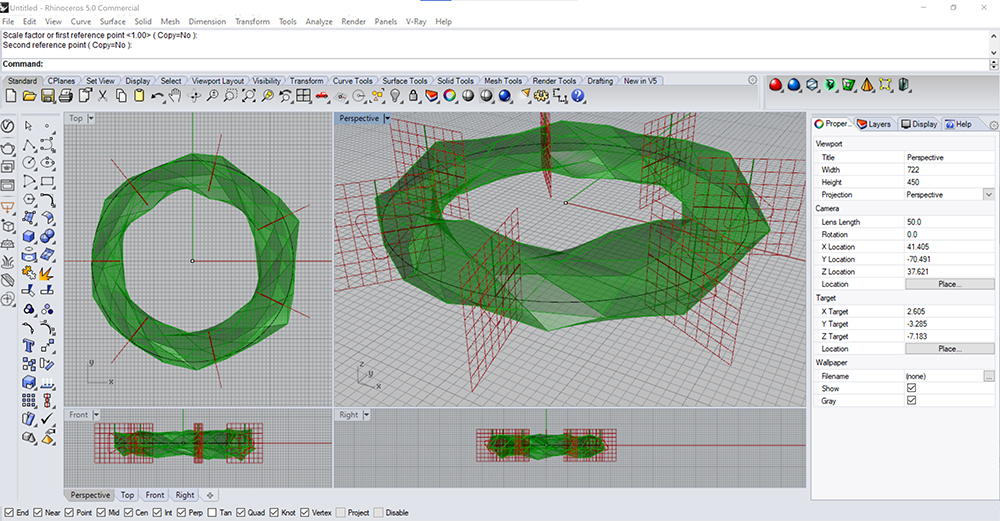
The definition in grasshopper develops the geometry in the following steps:
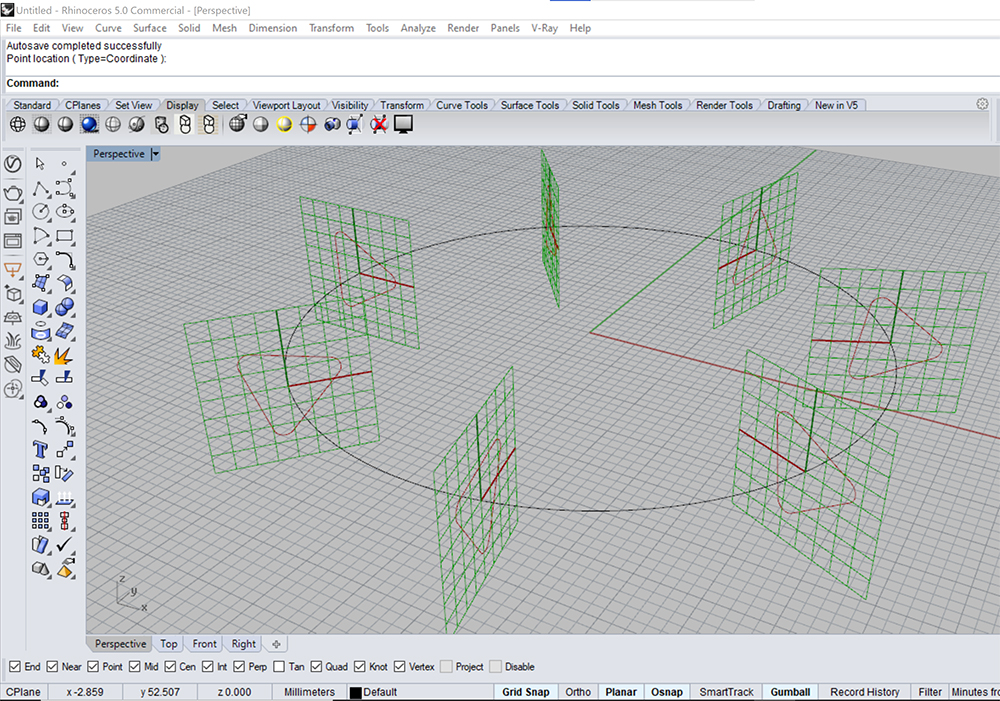
- First we establish a number of perpendicular planes along a circle,
- Then polygons on those planes,
- Then, the polygons are freely rotated and scaled
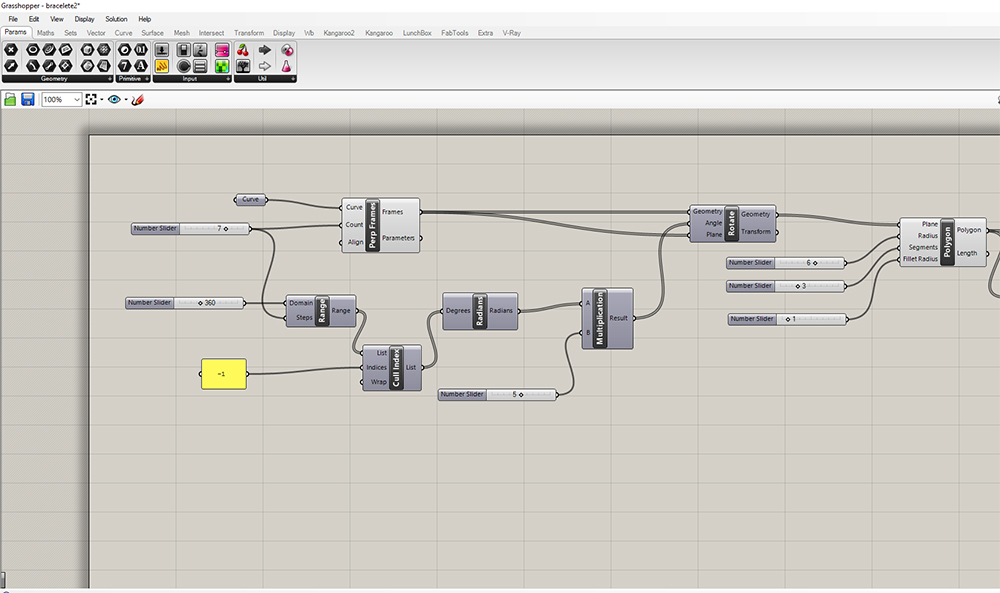
- Then, all polygons are linked through a loft component, generating a twisting extrusion.
- Then, the tool Diamond Panels from paneling tools is used to transform the loft into a set of rhombus.
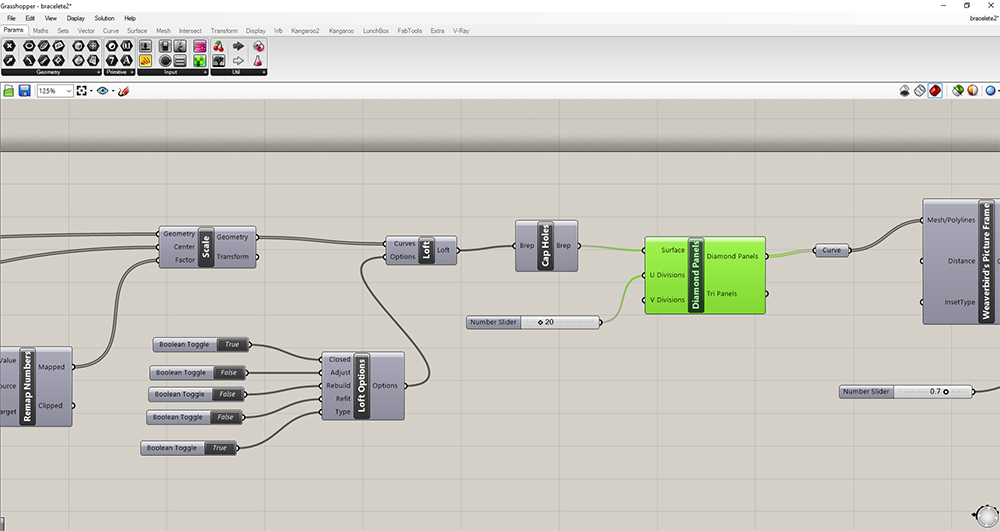
- The Crv component is used to extract the edges from the rhombus.
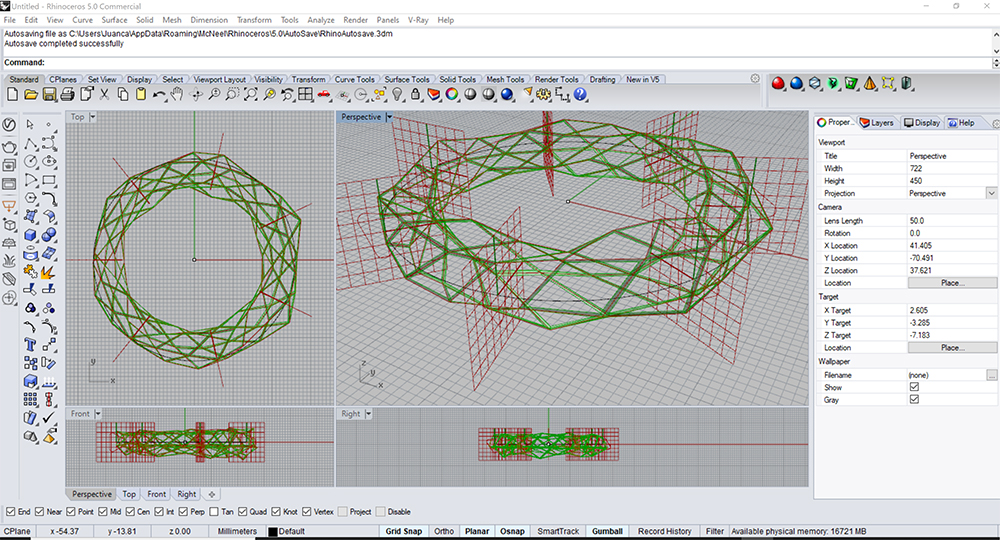
- Finally the weavebird frame, weavebird thicken and weavebird catmull clark components are used to generate an organic and fluid mesh originated in simple rotated polygons perpendicular to a circle.
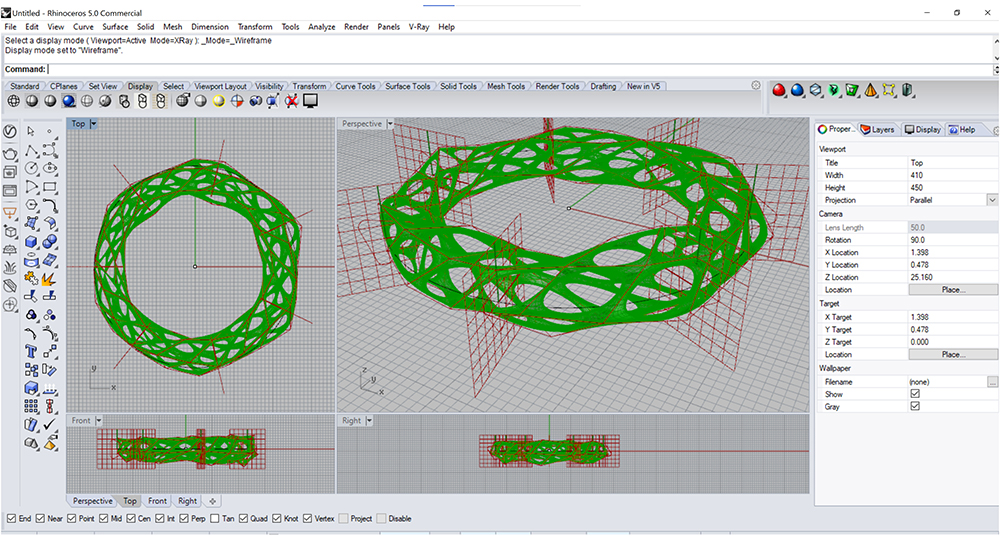
Since all definitions are parametric, several resulting geometries can be created from the same grasshopper definition.
For printing I used a flashforge dreamer, and its GCode generating software called Flashprint. I was assisted by Abdon Troche, one of our local instructors. The UI is intuitive and easy to navigate. I could fix some minor problems with the model, scale, and add supports, generate the slicing file and preview the fabrication process layer by layer. I also got an estimate of material consumption (grams of PLA filament) and of fabrication time.
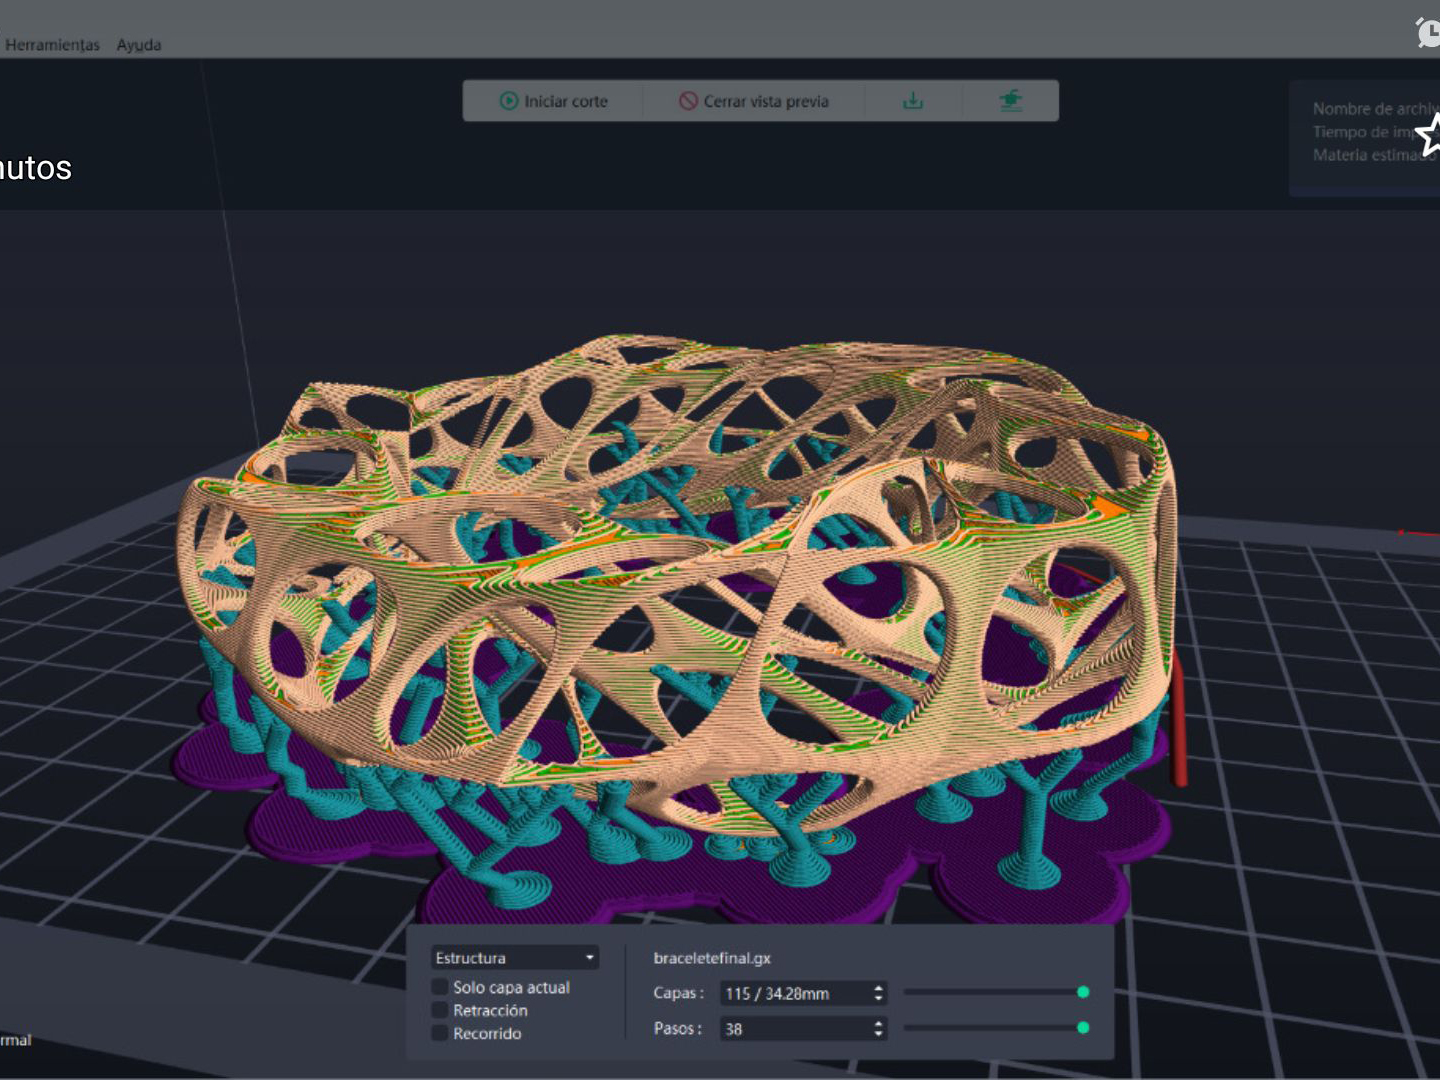
I runned a first fabrication process (around 3,25 hours) and now will run a second and longer process (around 15 hours).
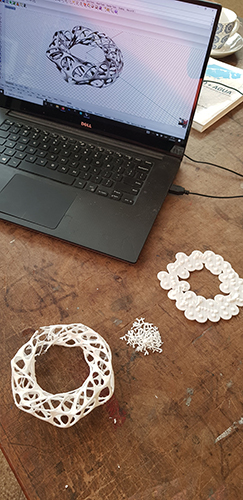
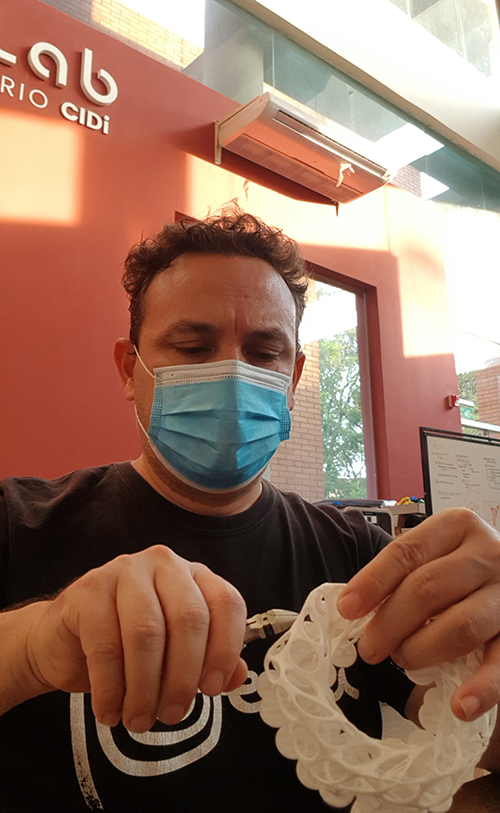
The first fabrication round, finished at time of writing this text (March 2) was in general, successful. In spite of the very complex geometry, the result was good and the removal of the support pieces was not complicated. However, in some of the most thin parts of the object, the filament collapsed, or it was dragged.
Why could it not be made subtractively ?
-
Such a bracelet could not be generated subtractively because the complex geometries would generate interferences between the mills and the produced form. In other words, at some point, the conditions of the fabrication process would destroy or at least affect some part of the bracelet that is already finished.
-
A second reason that makes it reasonable to produce the bracelet in 3d printing is that this is an organic armature that produces a virtual volume that is almost entirely empty. The ratio of matter vs empty volume in the total three dimensional form is very low. Thus, to produce such a geometry through a subtractive process would be very inefficient. Basically you would have to start from a block of material and carve out almost everything.
3d Print Files Here:
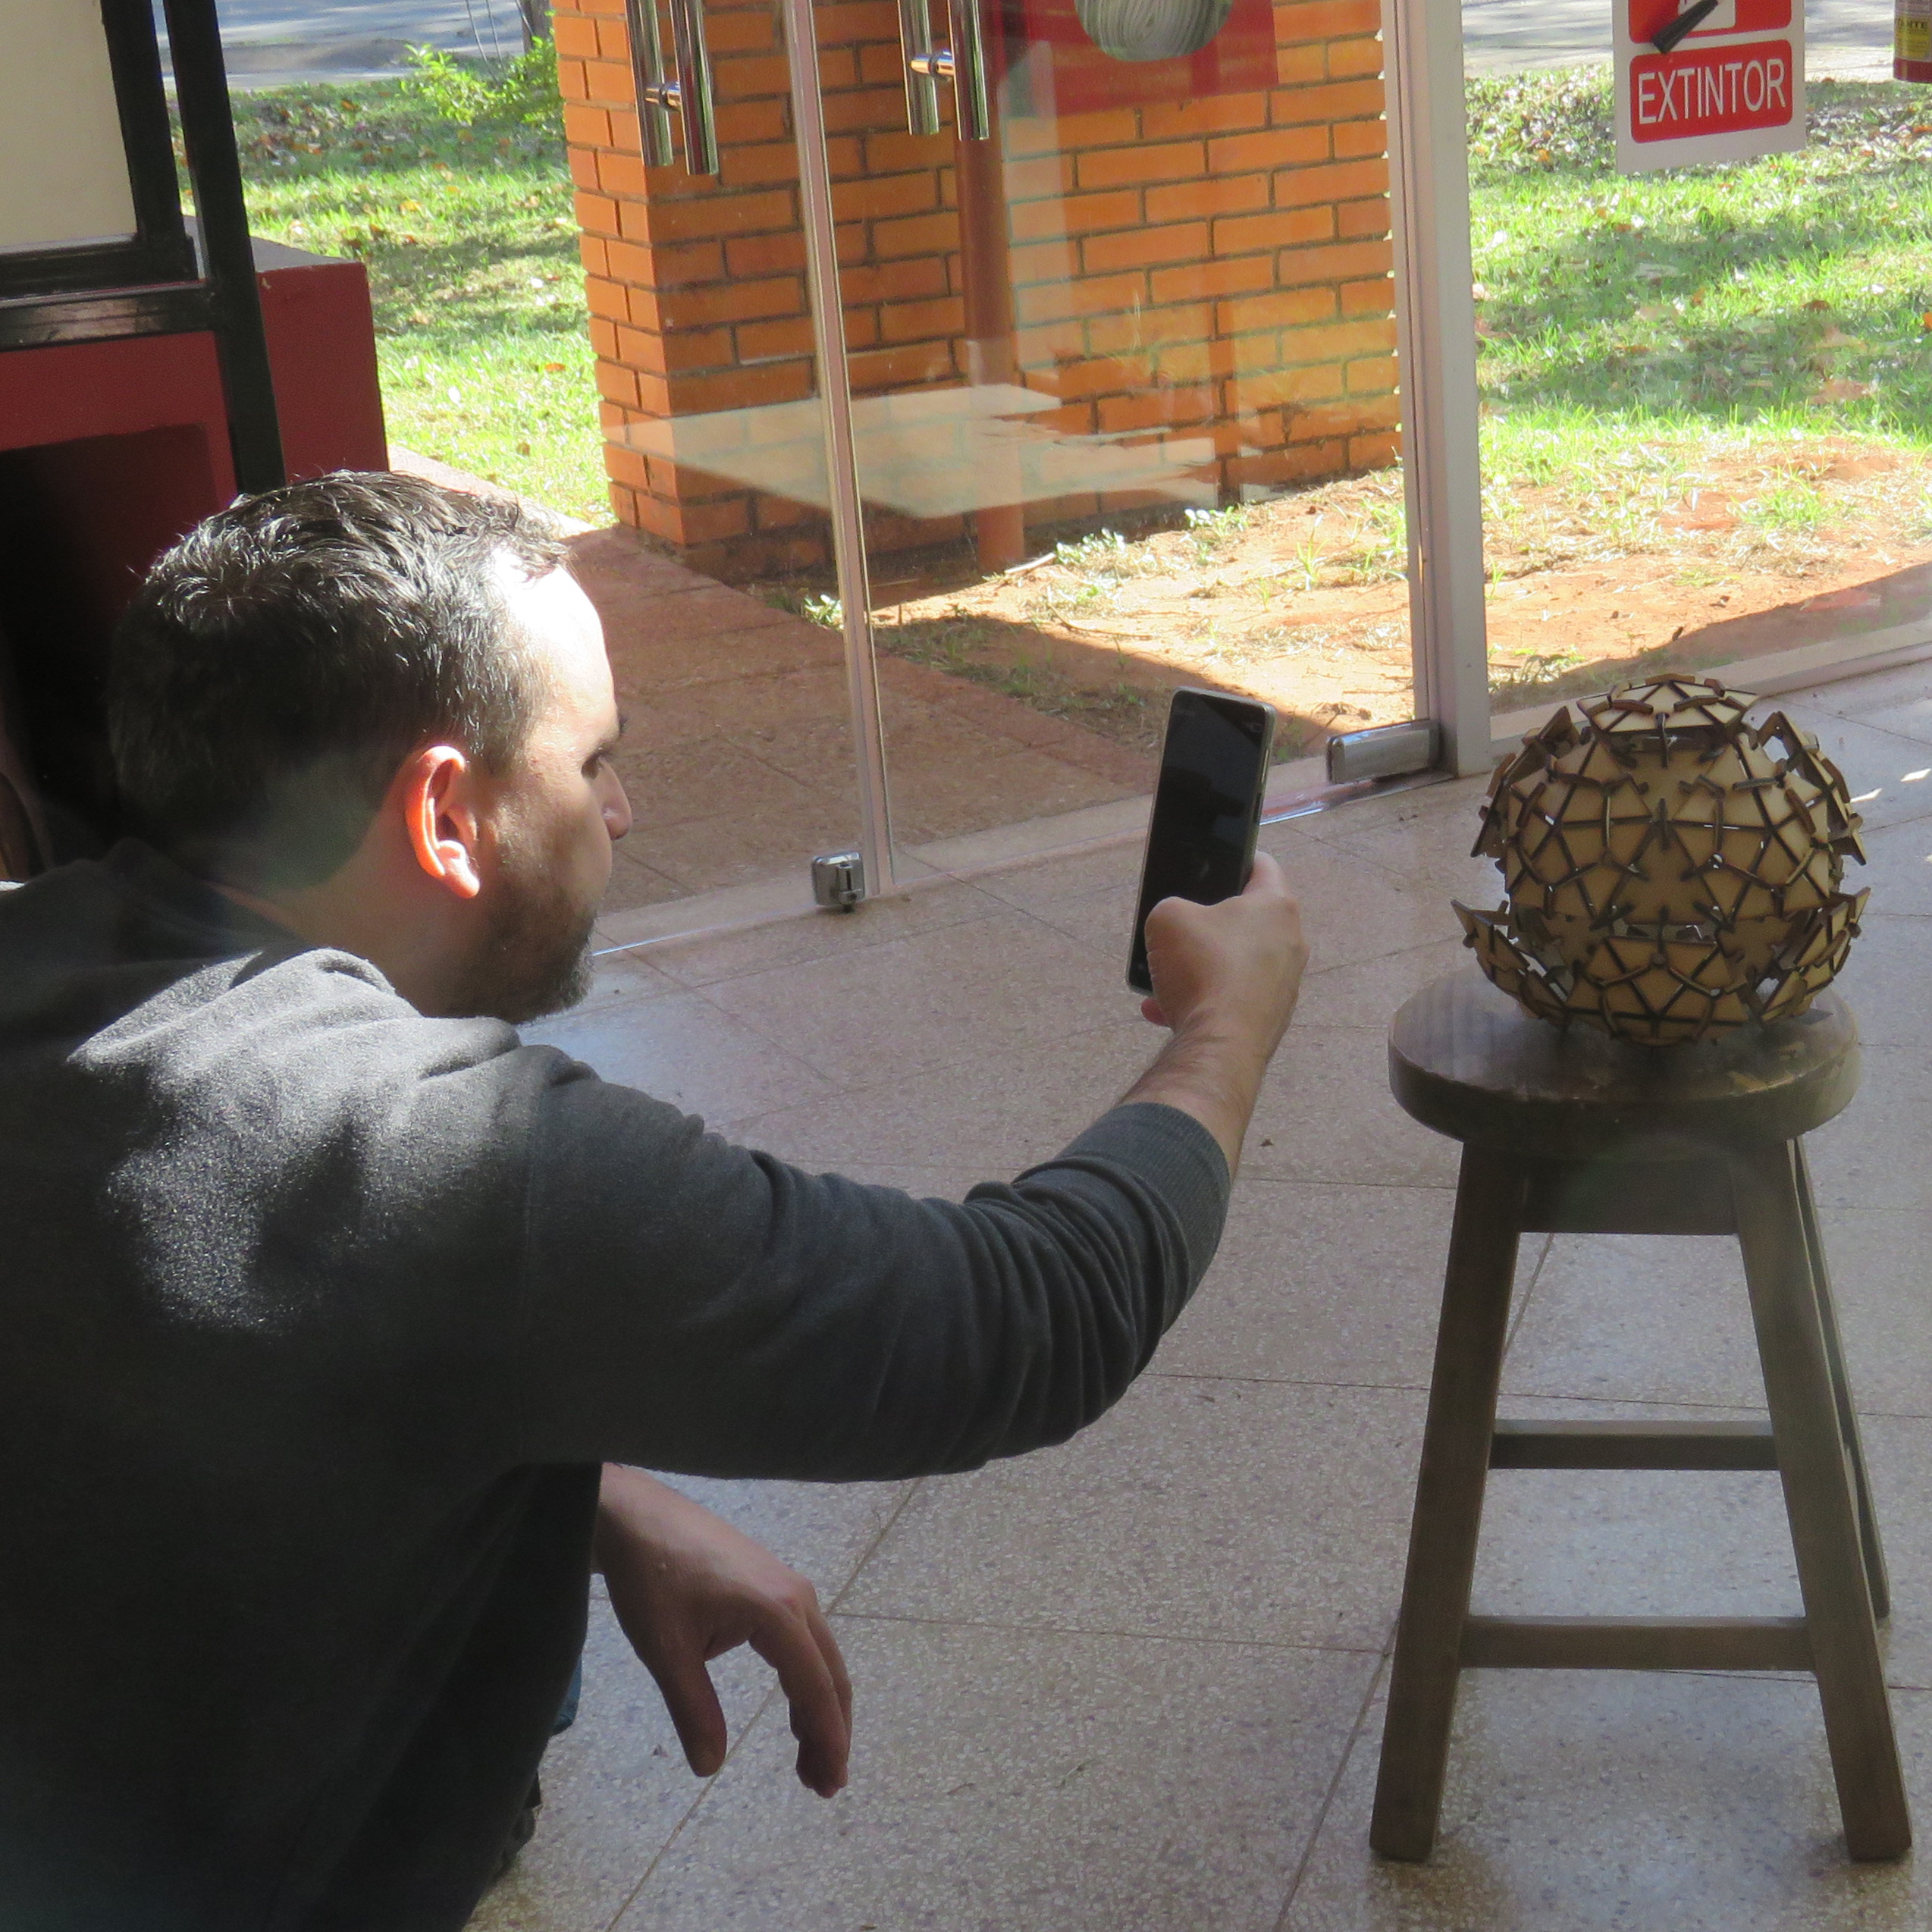
Scan an object:
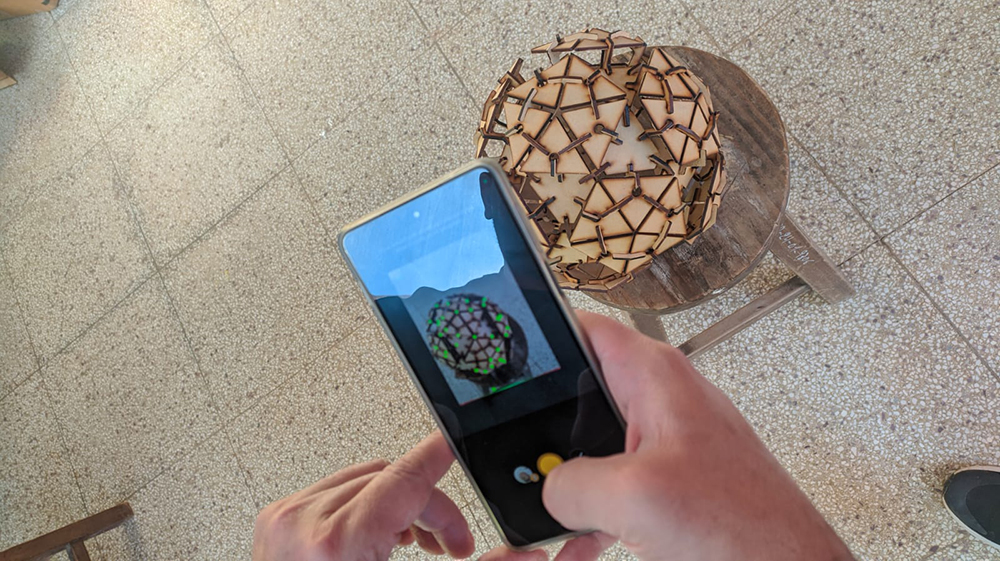
As a scanning exercise I choose to scan the geodesic dome I fabricated with laser cutting. For this I used an excellent app, running on android (Motorolla Edge 20). The app is called 3d live scanner.
It produced excellent results with complex geometries for my friend Katrina. In my case, the result was not good. In Spite of the fact that the geometry is regular, the dome I had built is not a regular skin, but actually, two skins one inside of the other. I think this highlights a very interesting field for optimizing 3d scanning: the challenge to develop a method to 3d scan an object that is defined not by one surface, but by a set of surfaces.
You can see my failed 3d scan here
¡Update!
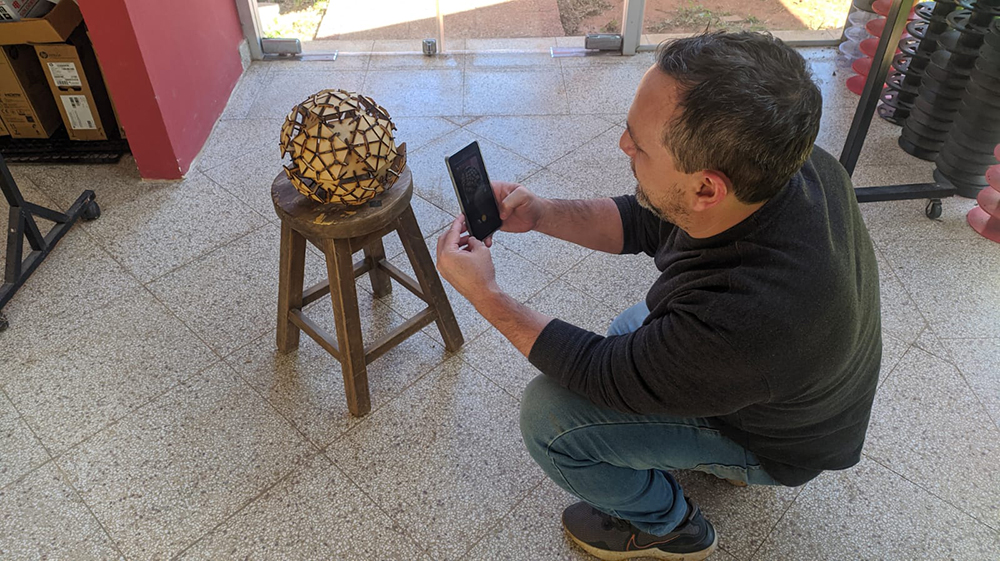
Following the advice of my colleague Katrina Lisnichuk I tried a second app called Scann3d.
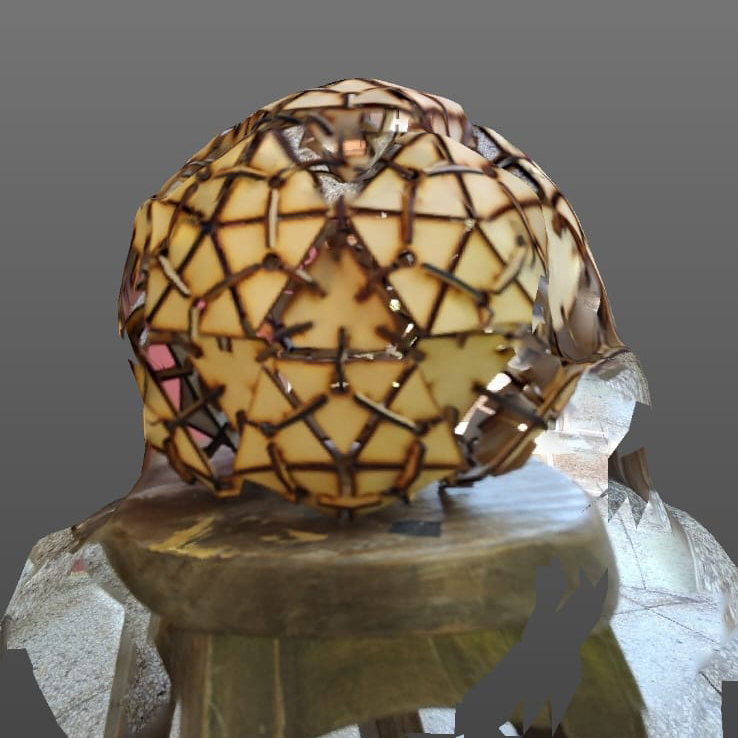
This is a different app, and I found it easier to use. The app provides a detailed step by step guide in the beginning. In fact, one of the recommendations was precisely that objects such as my dodecahedron are not ideal for 3d scanning. However I decided to try once more and I obtained much better results this time around.
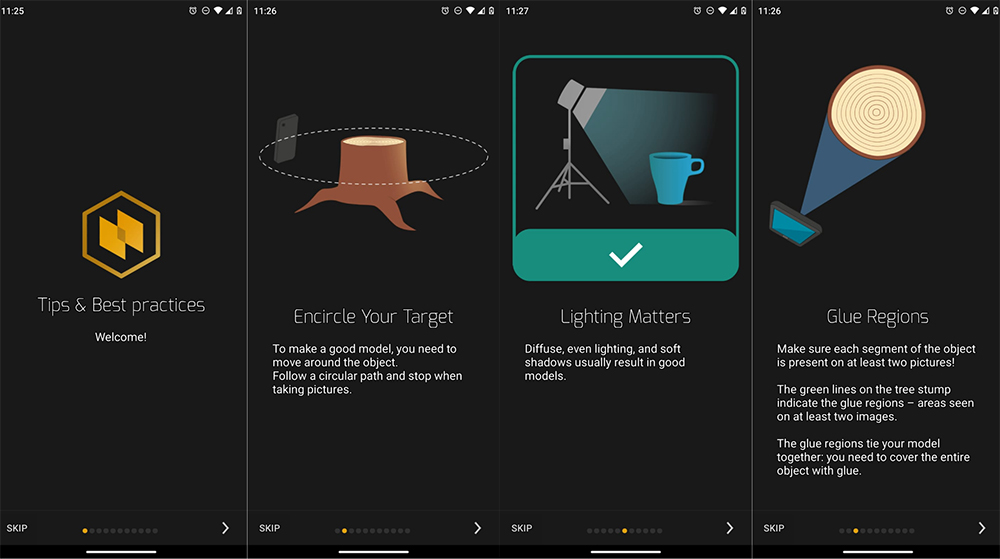
The basic recommendations for using Scann3d include:
- move around the object.
- allow for overlapping between each picture.
- take images from an adequate distance (filling the target square reference in the - cell phone screen as much as possible)
- take images in a place with soft light, not hard light with crisp shadows.
- do not scan moving targets (people, animals)
- Reflective or transparent objects are not ideal targets for a 3d scanning process.
I liked this app because it provides a visual guide in real time. A set of points appears overlapped in the object, and when they are highlighted in green it means that you have an effective overlap between the last image and the one you are now taking. Furthermore, after finishing the capture, you can eliminate specific pictures, for instance, to eliminate an undesired background piece or detail.
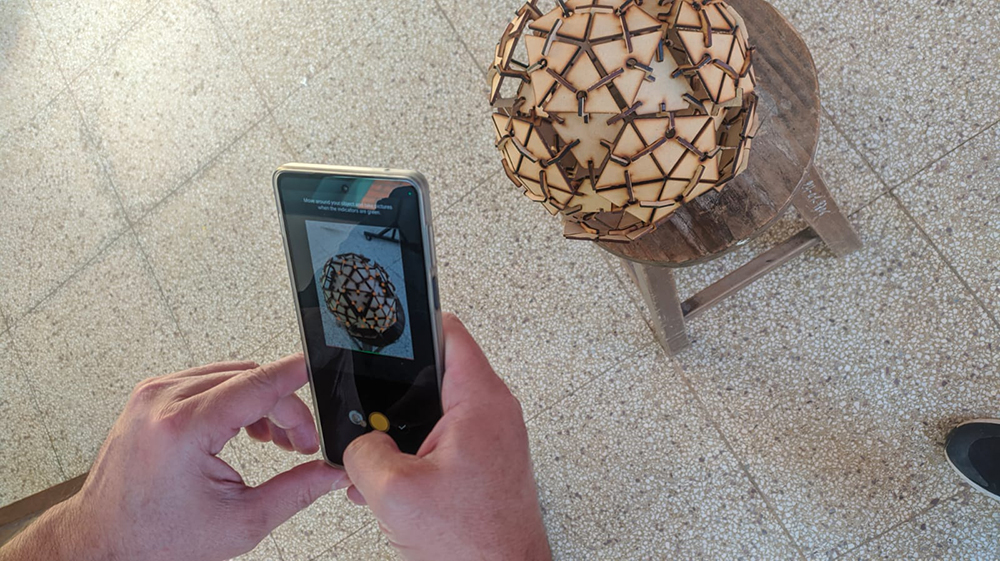
The result this time is still not perfect but is much better than the one obtained with 3d live scanner.
What I have learned this week:
Advantages and limitations of 3d printing
Advantages:
- a great way to develop fast prototyping.
- a great way to build complex forms.
Limitations:
- size limitations related to the bed size and effective height that can be printed in the 3d printer.
- limitations on some geometrical properties of what can be printed, such as the overhang and the bridge.
- limitations on the material properties of the filament used to print, e.g.: sensitivity to temperature, or low mechanical charge capacity.
Advantages and limitations of 3d scanning:
Advantages:
- a great way to “digitize” real world physical geometries (instead of taking measurements and draw with the assistance of CAD software)
- The advance of ubiquitous apps allows the transformation of cell phones into scanning devices.
Limitations:
-
The resolution of the surfaces created with most standard scanning devices and cell phones is good enough to capture the general shape and geometry of a given object, but in general, not good enough for developing reverse engineering of small parts that require a high degree of precision.
-
It is difficult to adequately capture forms that do not have a clear or unique surface dividing the “inside” from the “outside”.
Link to the lab’s webpage:
Please see the tests for 3d printing that we developed as a group here:
CIDi’s Flashforge Dreamer 3d Printer Test