3. Computer Aided design
Week 02 / Feb 02
This week I worked on defining my final project idea and started to getting used to the documentation process.
This week’s assignment:
- Model (raster, vector, 2D, 3D, render, animate, simulate, …) a possible final project,
- Compress your images and videos, and post a description with your design files on your class page
Research
Gimp
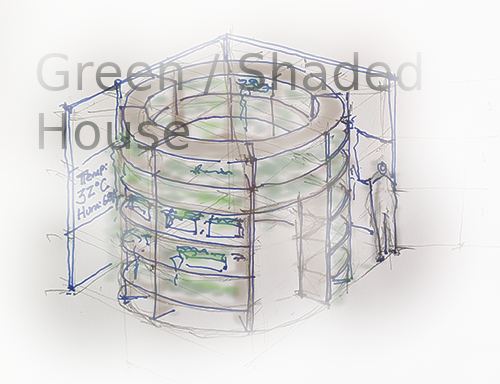
It was great to find such an excellent open source alternative to Photoshop. For this exercise I used my first sketch of the Green/Shadow House and added layers, color, masks and text. See the final result bellow:
Inkscape
InkScape is a free and open source software for vectorial design. I used Inkscape to start thinking about a logo for my final project. In drawing the logo I applied several tools such as: creation of layers, boolean operations, controlling gradient and transparency, and transforming the objects (shear, rotate, scale, etc). I exported the final logo as a PNG file in order to preserve background transparency. See images of the process and the final result bellow:
![]()
![]()
![]()
Freecad Realthunder:
Is an interesting free open source software. The UI is a little bit difficult to figure out. It seems especially relevant for mechanical drawing or any other form of technical drawing where two conditions are present:
a) the totality of the tridimensional geometry is fully defined, and,
b) several iterations of the same piece will likely have to be fabricated.
Given these two conditions, Freecad Realthunder provides a very potent tool. The notion of constraints allows not only for a clear definition of the geometries, but to establish dynamic parametric connection between geometries.
I had not had any contact with freecad realthunder before Fab Academy. I followed the tutorials of Maker tales, from configuring the UI, to direct modeling and parametric modeling.
One of the interesting things of Freecad realthunder is the organizational structure of each file (or drawing). Each file in the “Part Design workbench” is organized in Parts, which in turn are formed of bodies, which in turn are made of sketches. This helps to draw complex designs in a way that is organized and clear.
This week I explored the tool up to the point of drawing a parametric 3d printable box. See video and images bellow:
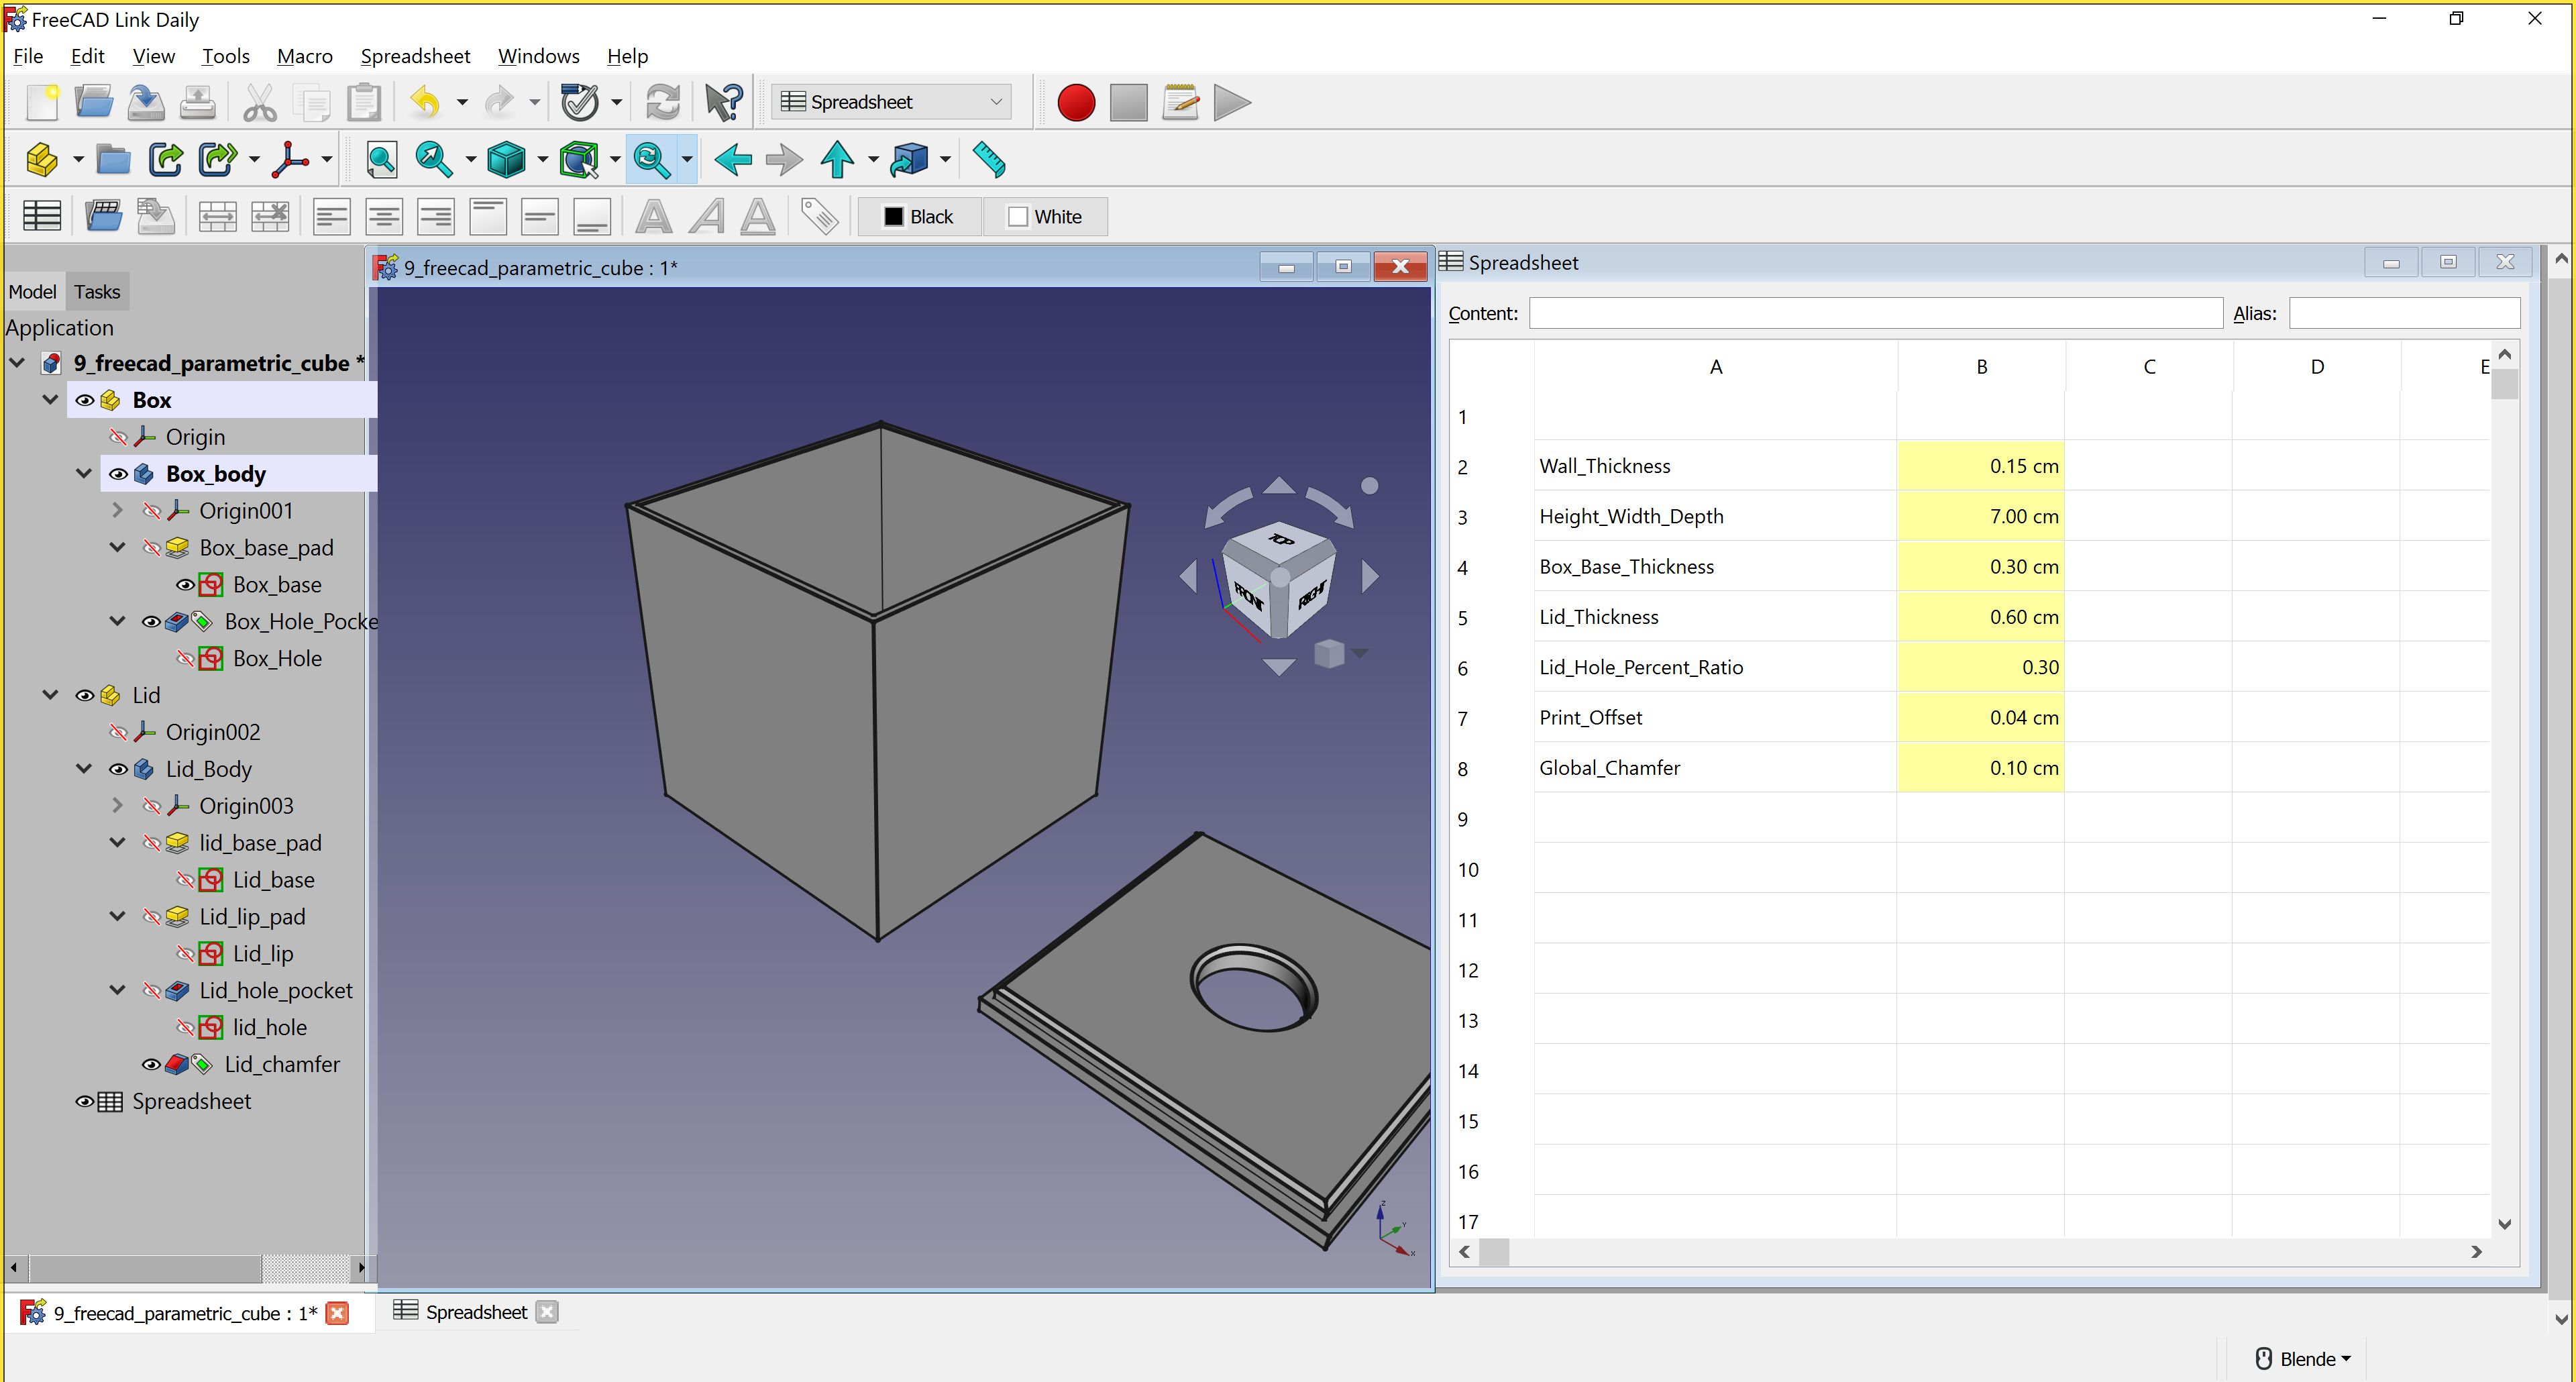
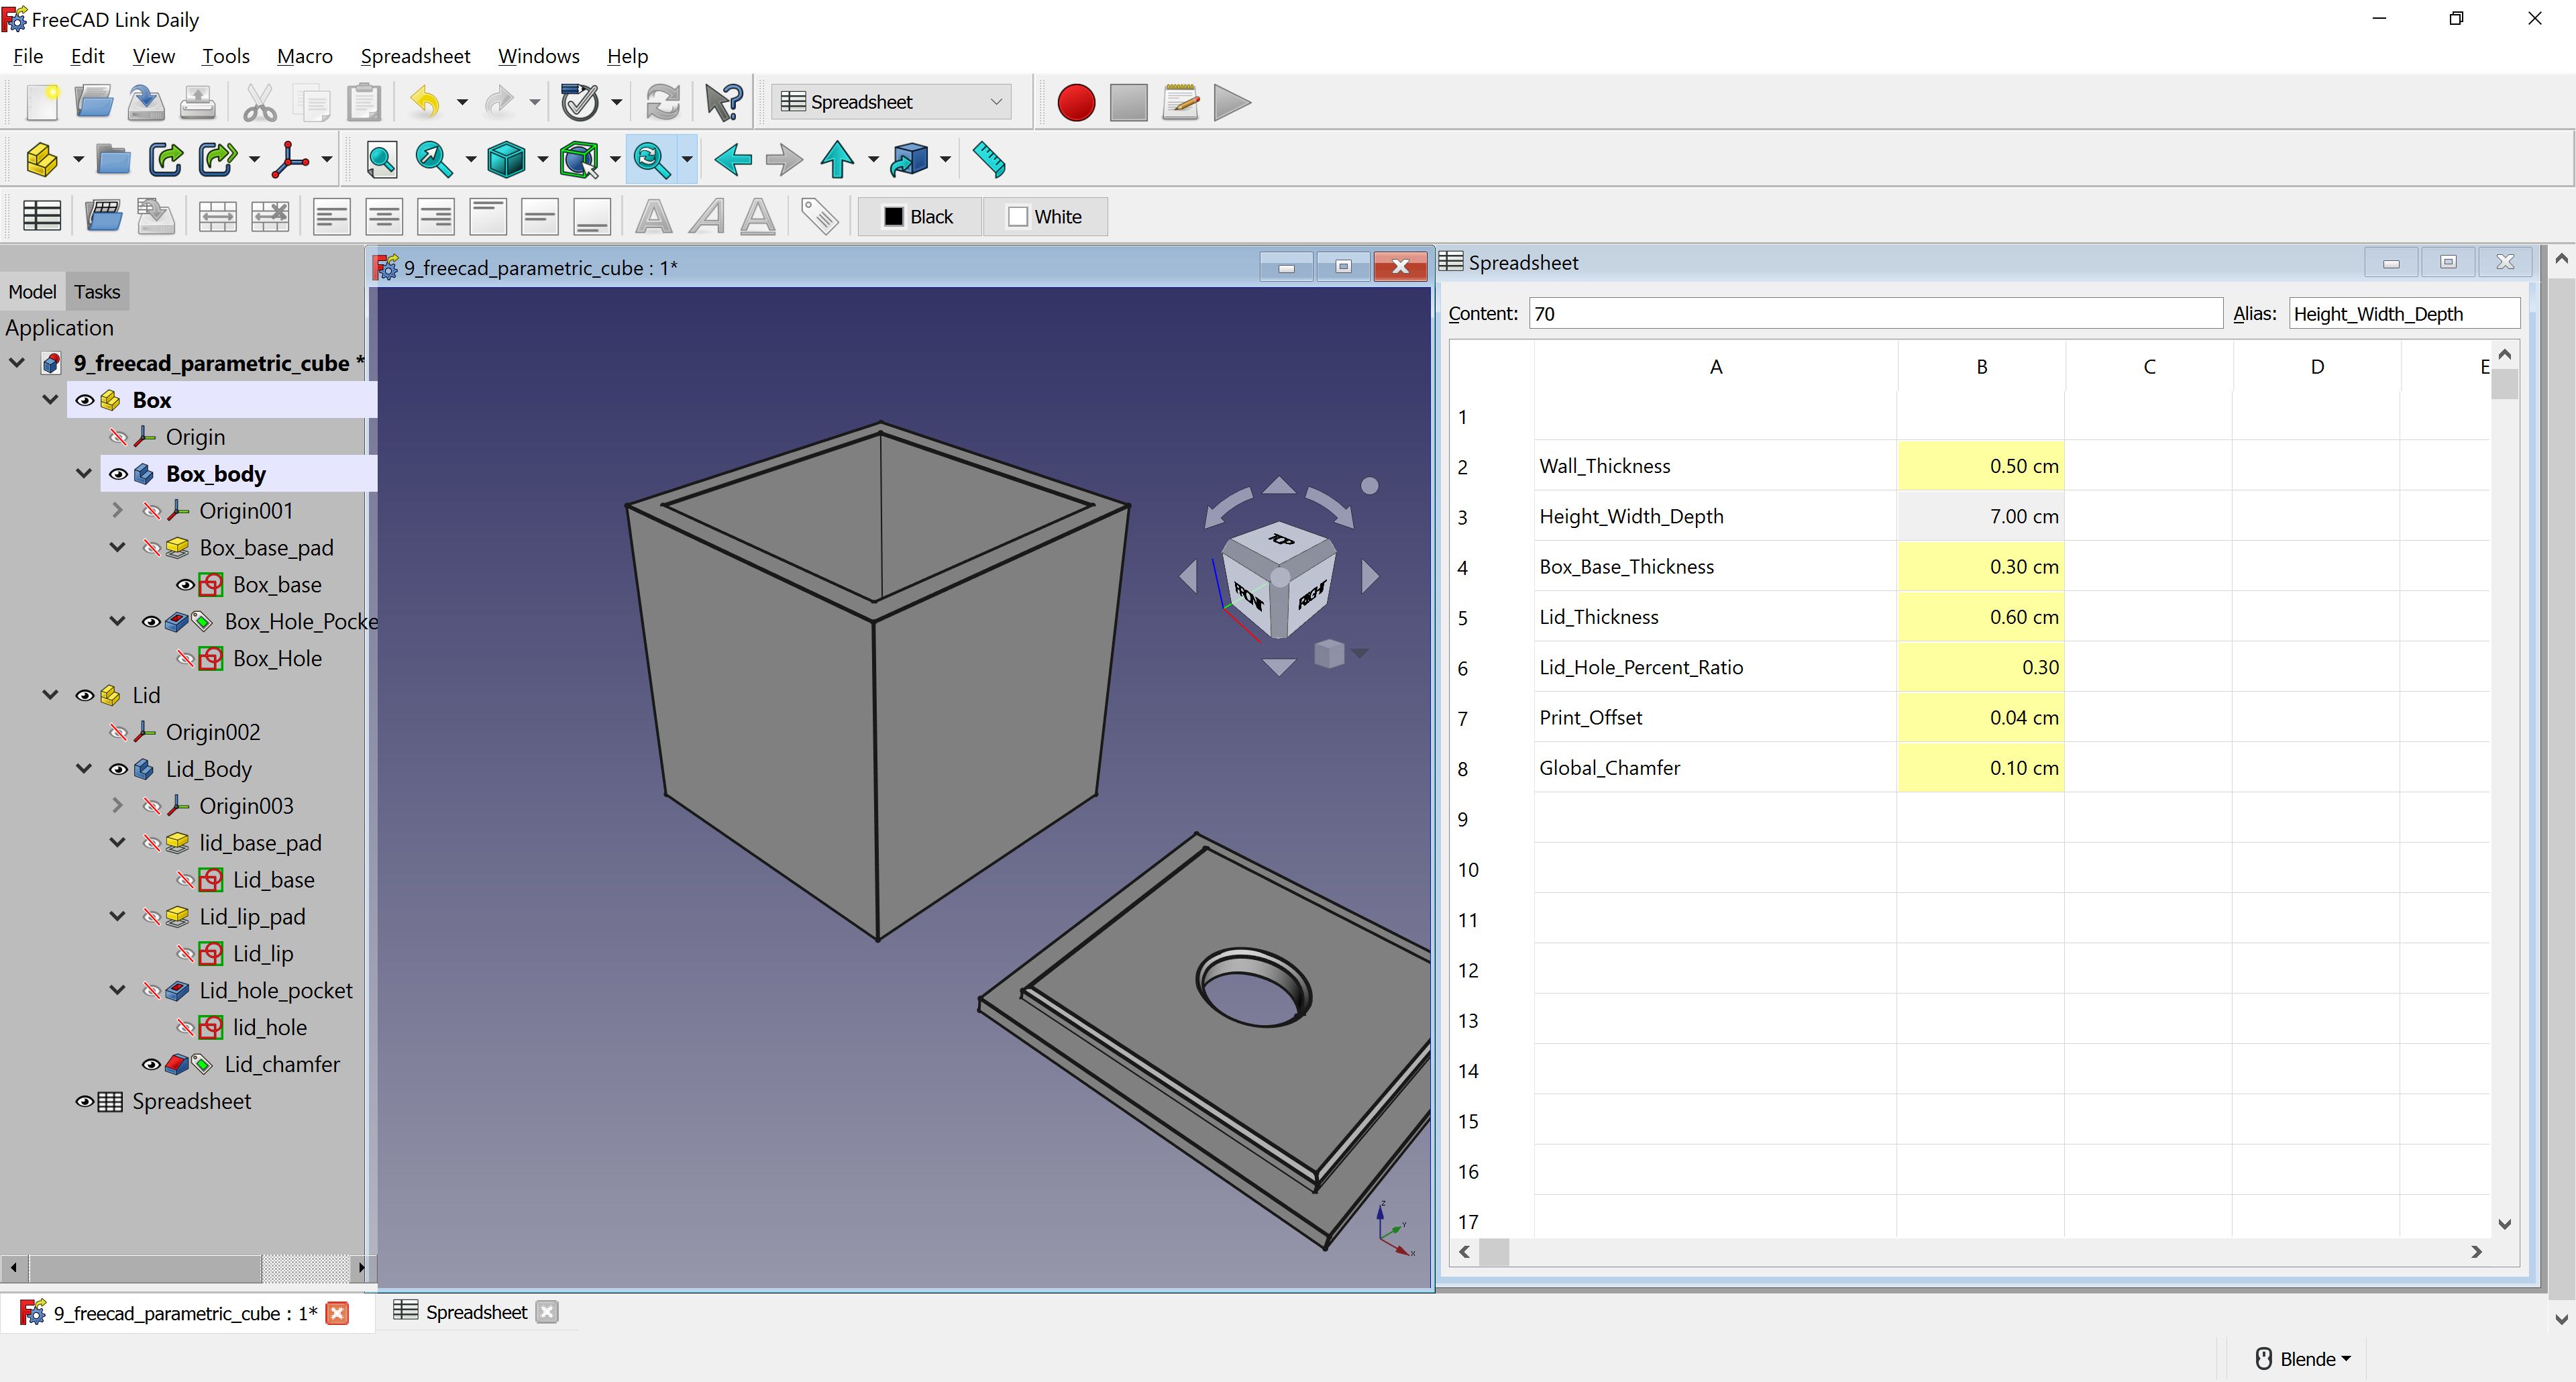
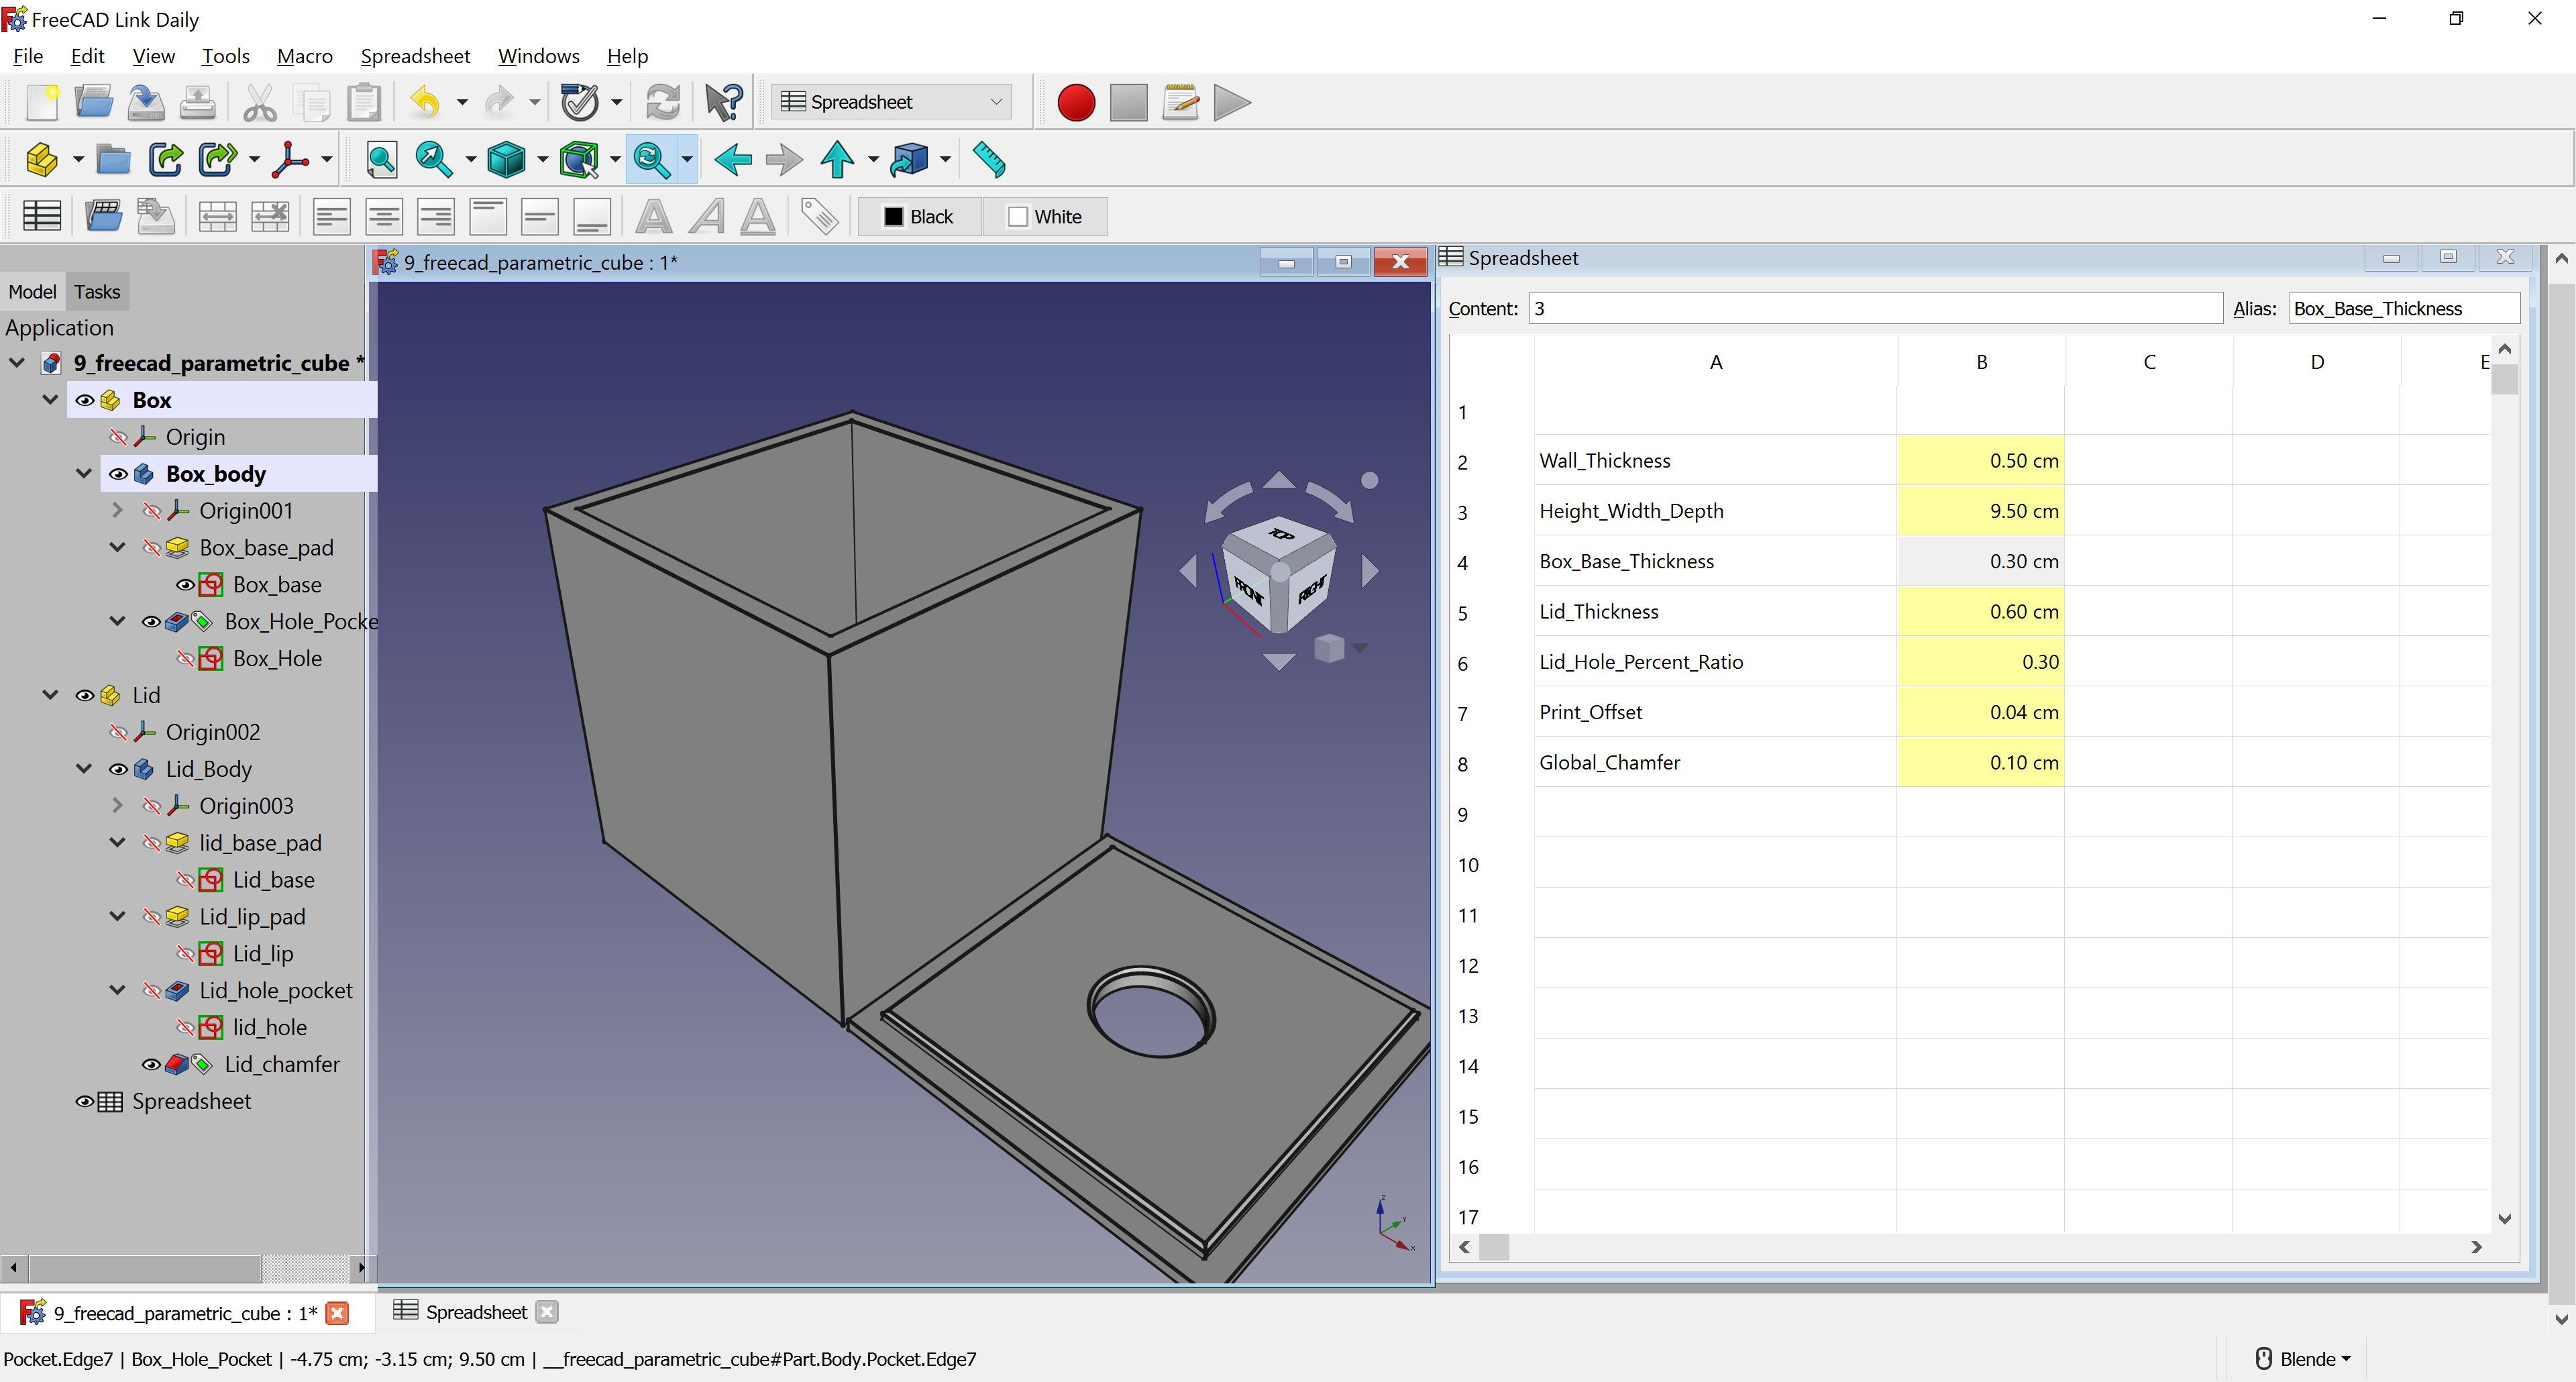

Freecad Real Thunder file here
Video
Fusion
The experience of working with Fusion was really interesting. As with Freecad, the logic of the program is different from other softwares I have previously used, such as Rhino. It would be fair to say that is an extremely efficient software for technical representations, and not exactly a Design software. I make this distinction based on the fact that to draw in Fusion and in Freecad you need a complete tridimensional representation and definition of the object, prior you start modeling. This is certainly not the way Rhino works.
I will make it a personal goal to draw my final project in fusion, in order to sharpen my skills with this new software.
Blender (update June 02)
Here is my update on Blender. With the help of my instructor Silvia I could start working with Blender. I am amazed that a software with such powerfull capabilities is free. As a first excersice on Blender, Silvia helped me to render the parametric Brazalet I designed on Week 6 Scanning and Printing.
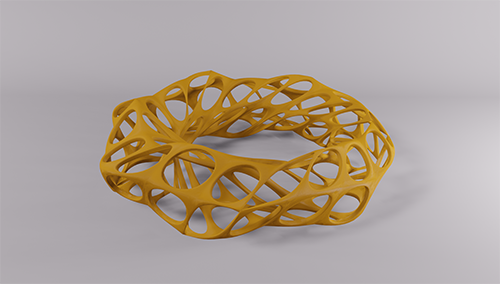
Image compression and videos
For image compression I have used Caesium Image Processor. It is a great tool to automate the compression process while retaining high image quality. For making videos starting from still images (without producing GIFs) I have used Openshot. Videos were exported in MP4 format, and then uploaded to Youtube. Will incorporate HTML 5 starting in next week documentation.