10. Molding and casting
Wax Molding
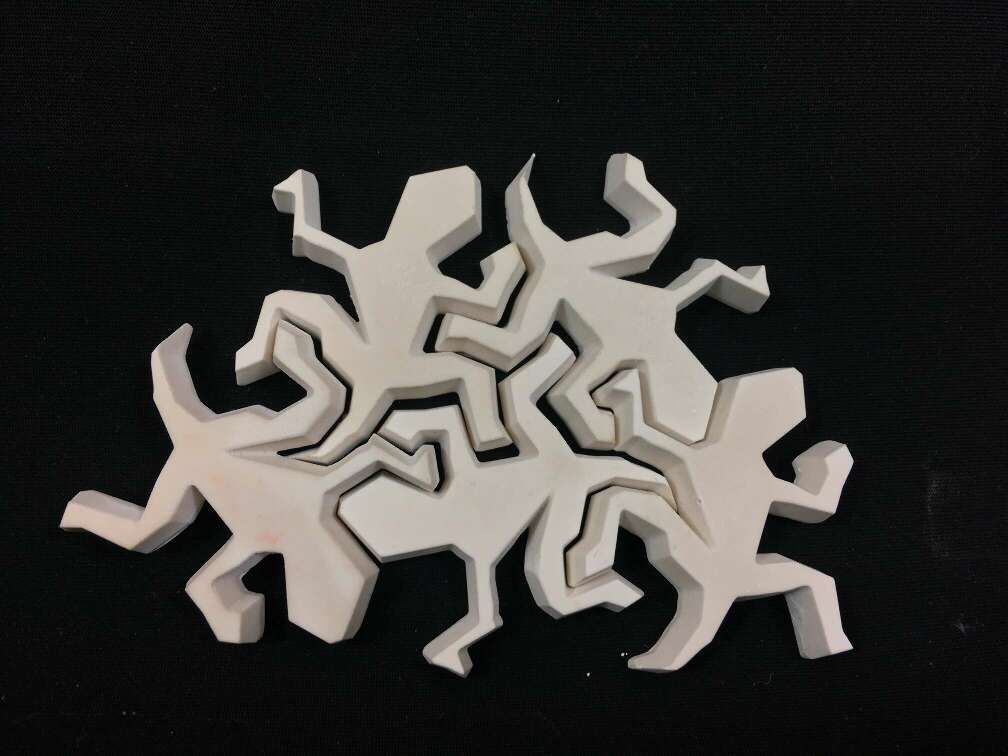
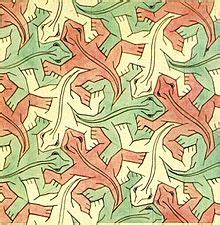
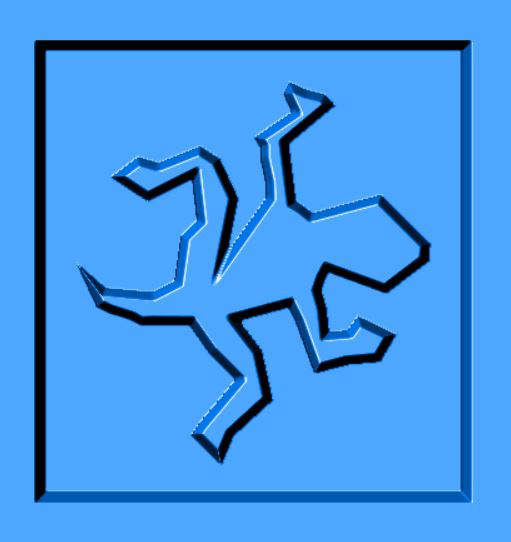
For the assigment of this week I want to make a group of tiles thhat fit them together inspiring me with the vety well known work of Maurits Cornelis Escher.
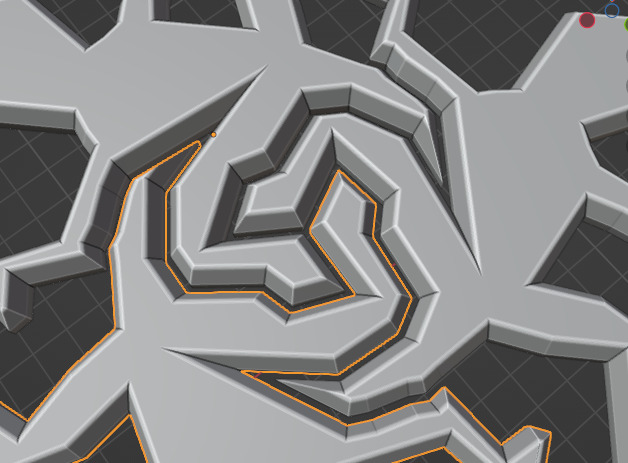
Taking the image of the Study of regular division of the plane with reptiles (1939)
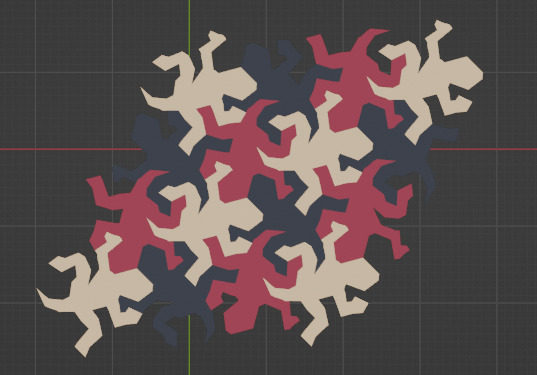
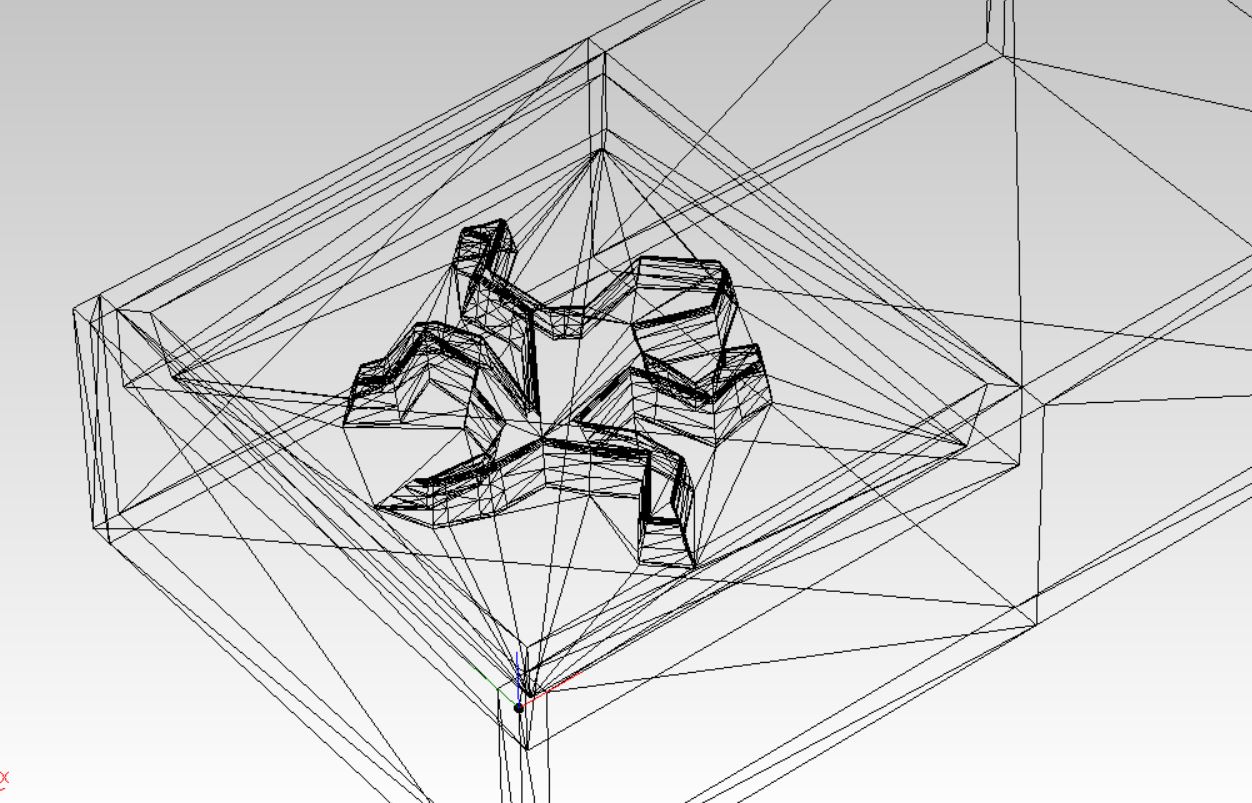
I generated a 3D model of it to replicate one of those lizards to make a wax mold and replicate the lizard serverat times to get a bic mosaic.
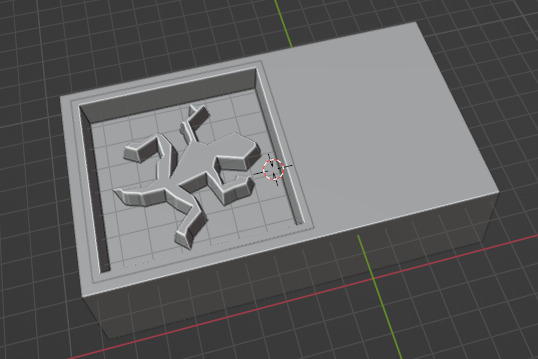
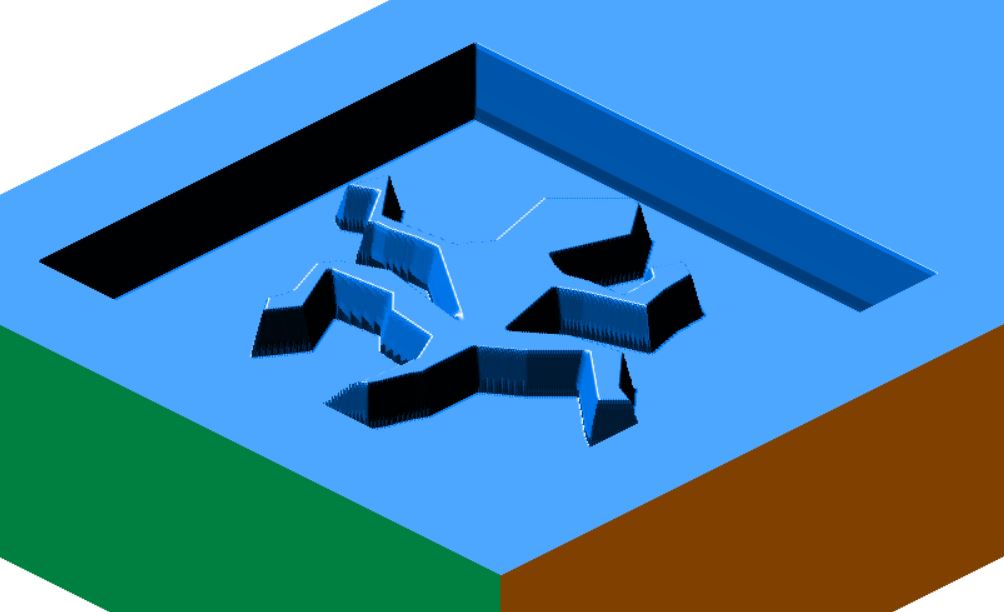
This is the first idea that I have, trying to make a mold that the piece I finaly take out could fit prefectly. But we are going to see what happens.
Afer mesuring the wax brick anf fitting the mold insde I end up with this model that is the one I am going to cut.
remember to leave a little angle on the side walls to make it easier for the end mill, if not the end mill has to make a lot of force to mill this walls and the wax brick it could start vibrating to much and end up coming off the base.
The firs time I cuted the end mill I thought that it was nat necesary to leave this angle to the outside walls and the ovious happend, the brick jumped off the base and my job was lost.
Two hours of milling lost for 1 minute of modeling correctly.
Finaly I got my work done!
Modela player 4
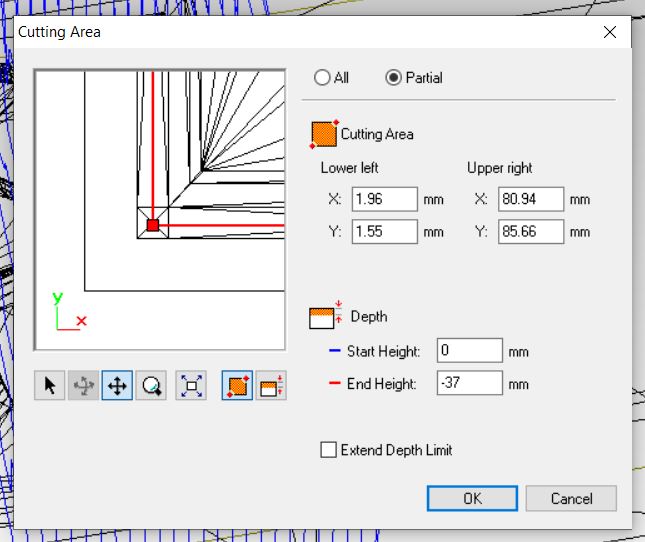
To prepare the files I used Modela player 4. Import the .STL to you want to cut, it will apear as a wireframe with the origin in the center of the volume. change the origin to a coner where you want to start your job. Finaly select the material you are going to cut, we are cutting Modeling Wax.
Once the origin is set, in the top menu files open Machine Selection and sekect the machine you will use. In this case we are using the Roland SRM-20.

IMPORTANT to remember the cutting area and put the same one in all the jobs you make, this will avoid you some issues.
Here some images of the simulation the softare generates. ↓↓
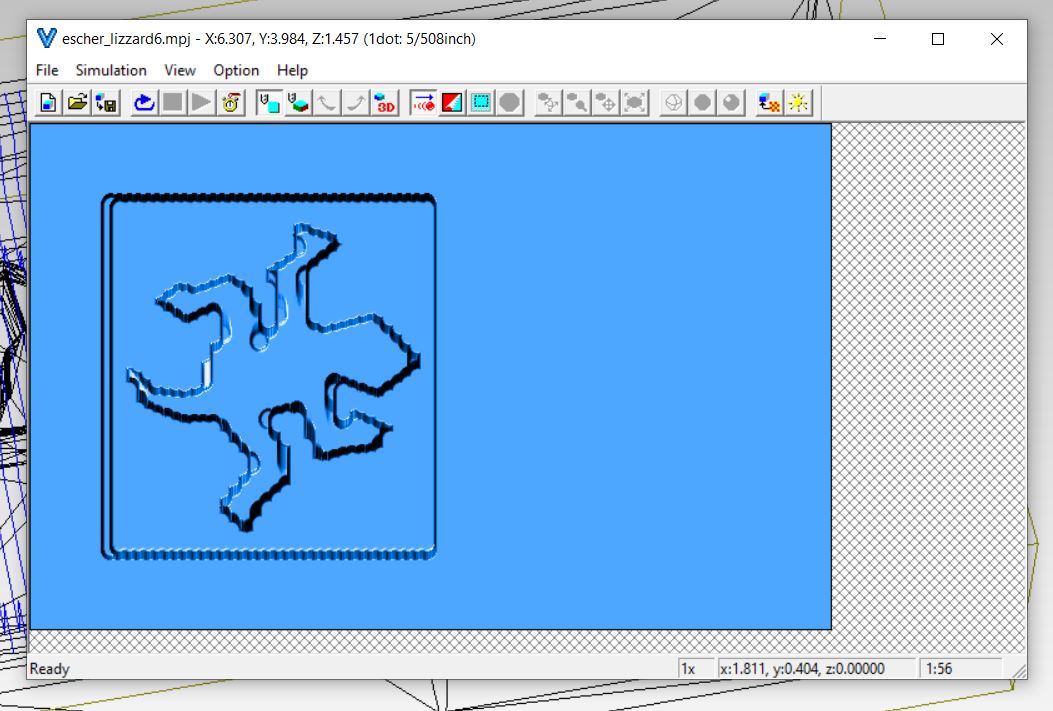
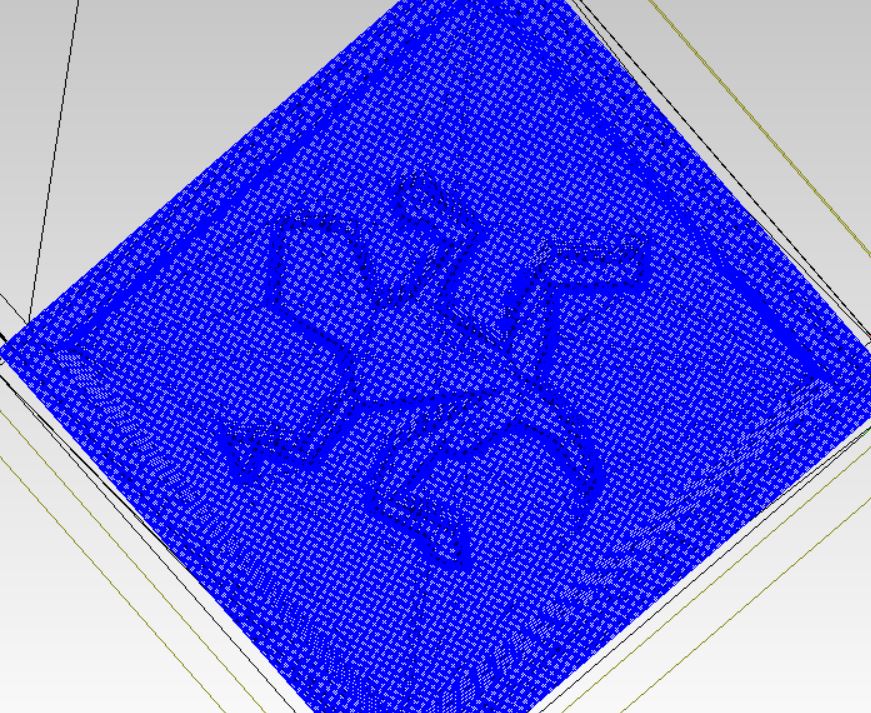
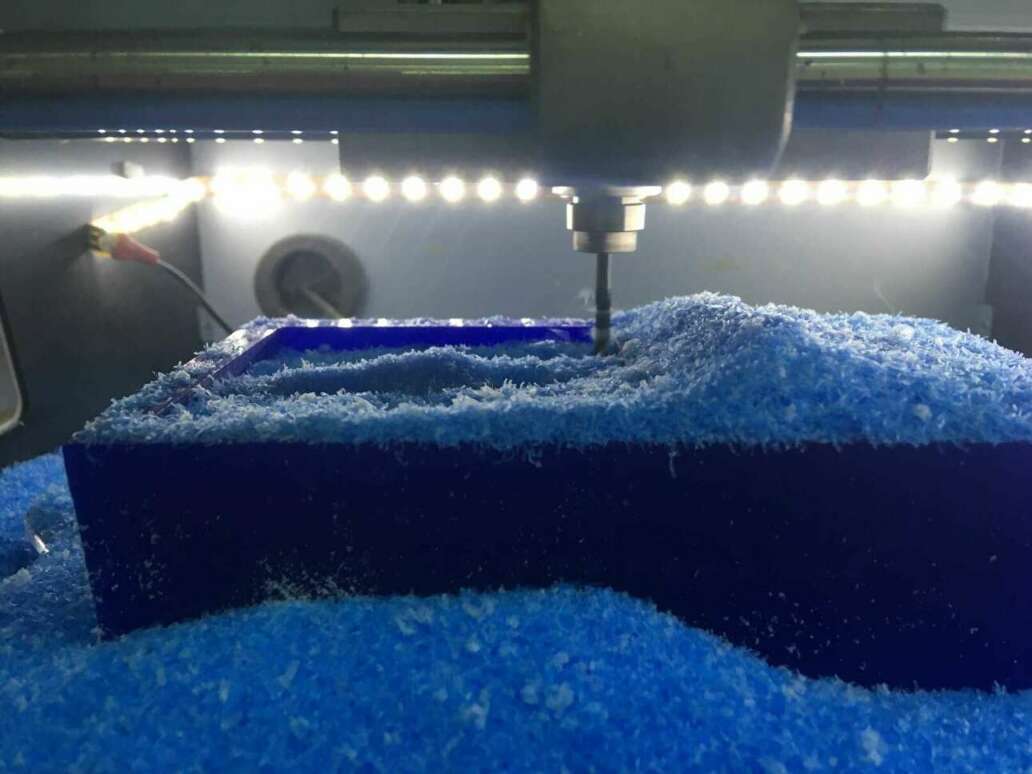
Final Cut. ↓↓
Strategies
To mill the wax i used four strategies:
-
The first one a Roughing with and end mill of 1/8 inches or 3.175mm Flat. to go fast with the first cut leaving an offset everywhere of 0.44 mm.
-
The second one I made with the same end mill the first finishing cut that will clean this 0.44 mm left.
-
The third one to get in to the wholes tha with the bigger mill I could not reach, this time with a 1/16 inces or 1.56 end mill also flat.
-
And the last one just located in a small zone to make a little bit more space to fit the pieces perfectly with the 1/32 inches or 0.79 mm flat end mill.
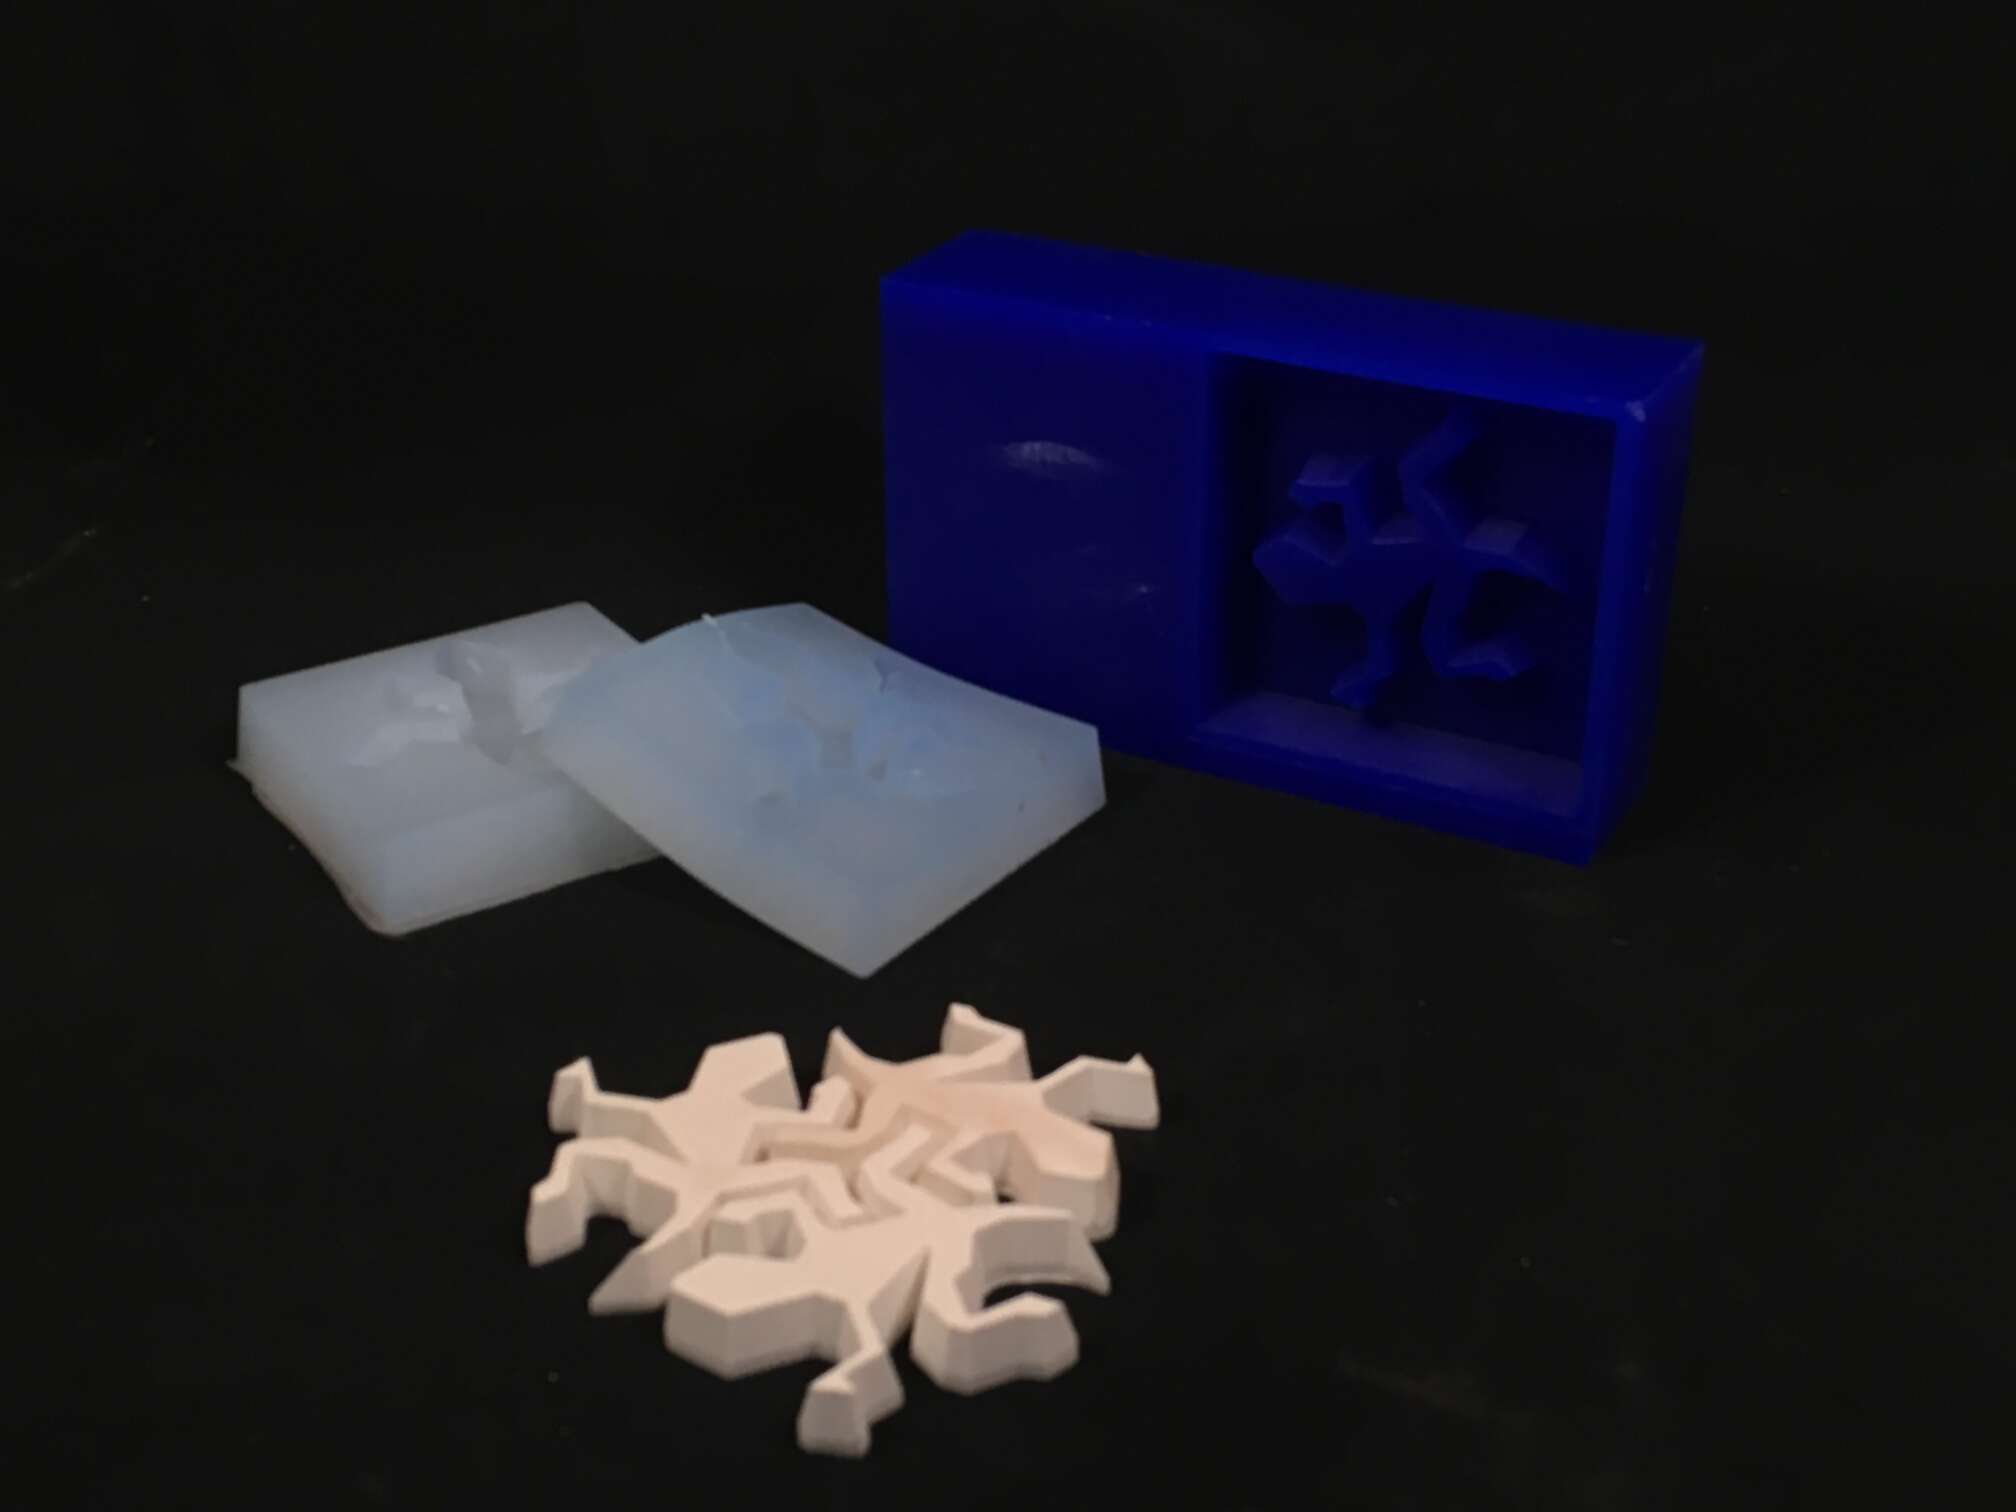
Silicone Casting
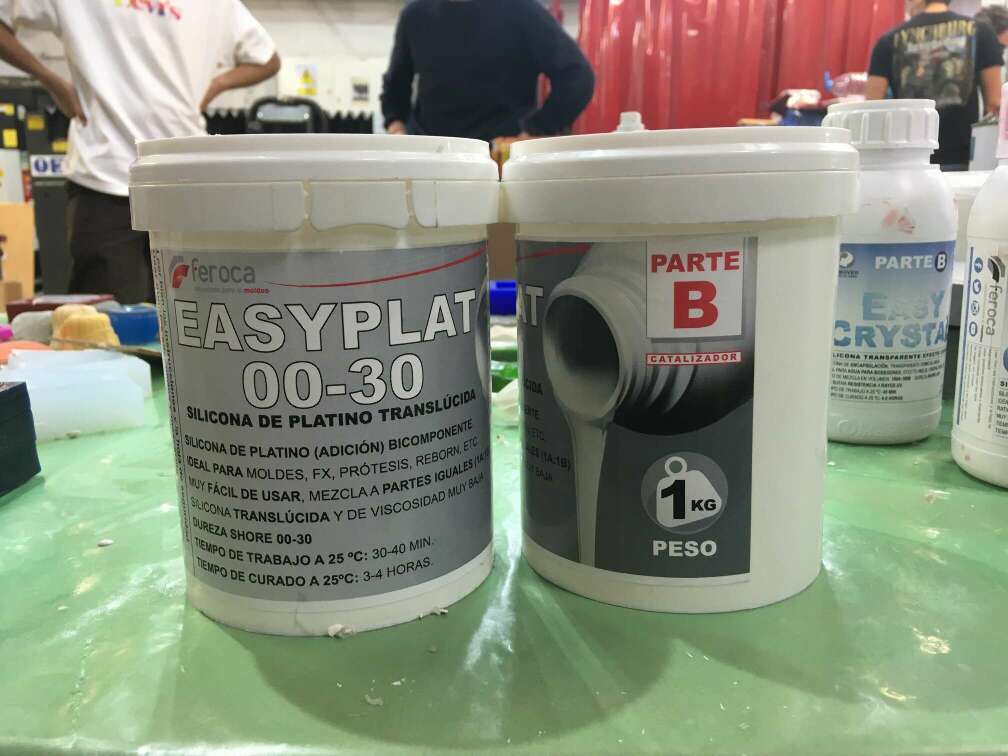
To make the silicone mold I chose the EASYPLAT 00-30 because it is an easy silicone to work with, and it does not need any difficult process of degassing and because it is one of the most flexible and easy to demold after.
For making the mold I have to mix half-and-half the two components of the silicone and mix them really well, thinking that you only have 30 minutes to work before it starts to dry and you have to mix it at least 5 minutes and then you have to poor it to the wax mold slowly to avoid making bubbles.
To poor the mixture to the mold is better to make it slowly and let the silicone drop on top of other silicone in order to let the mixture flow over the mold and avoid having bubble sticked in to the wax. This process takes time, if you have a big mold you have to calculate the time well in order to not let the mixture of components start curing while you are working with it.
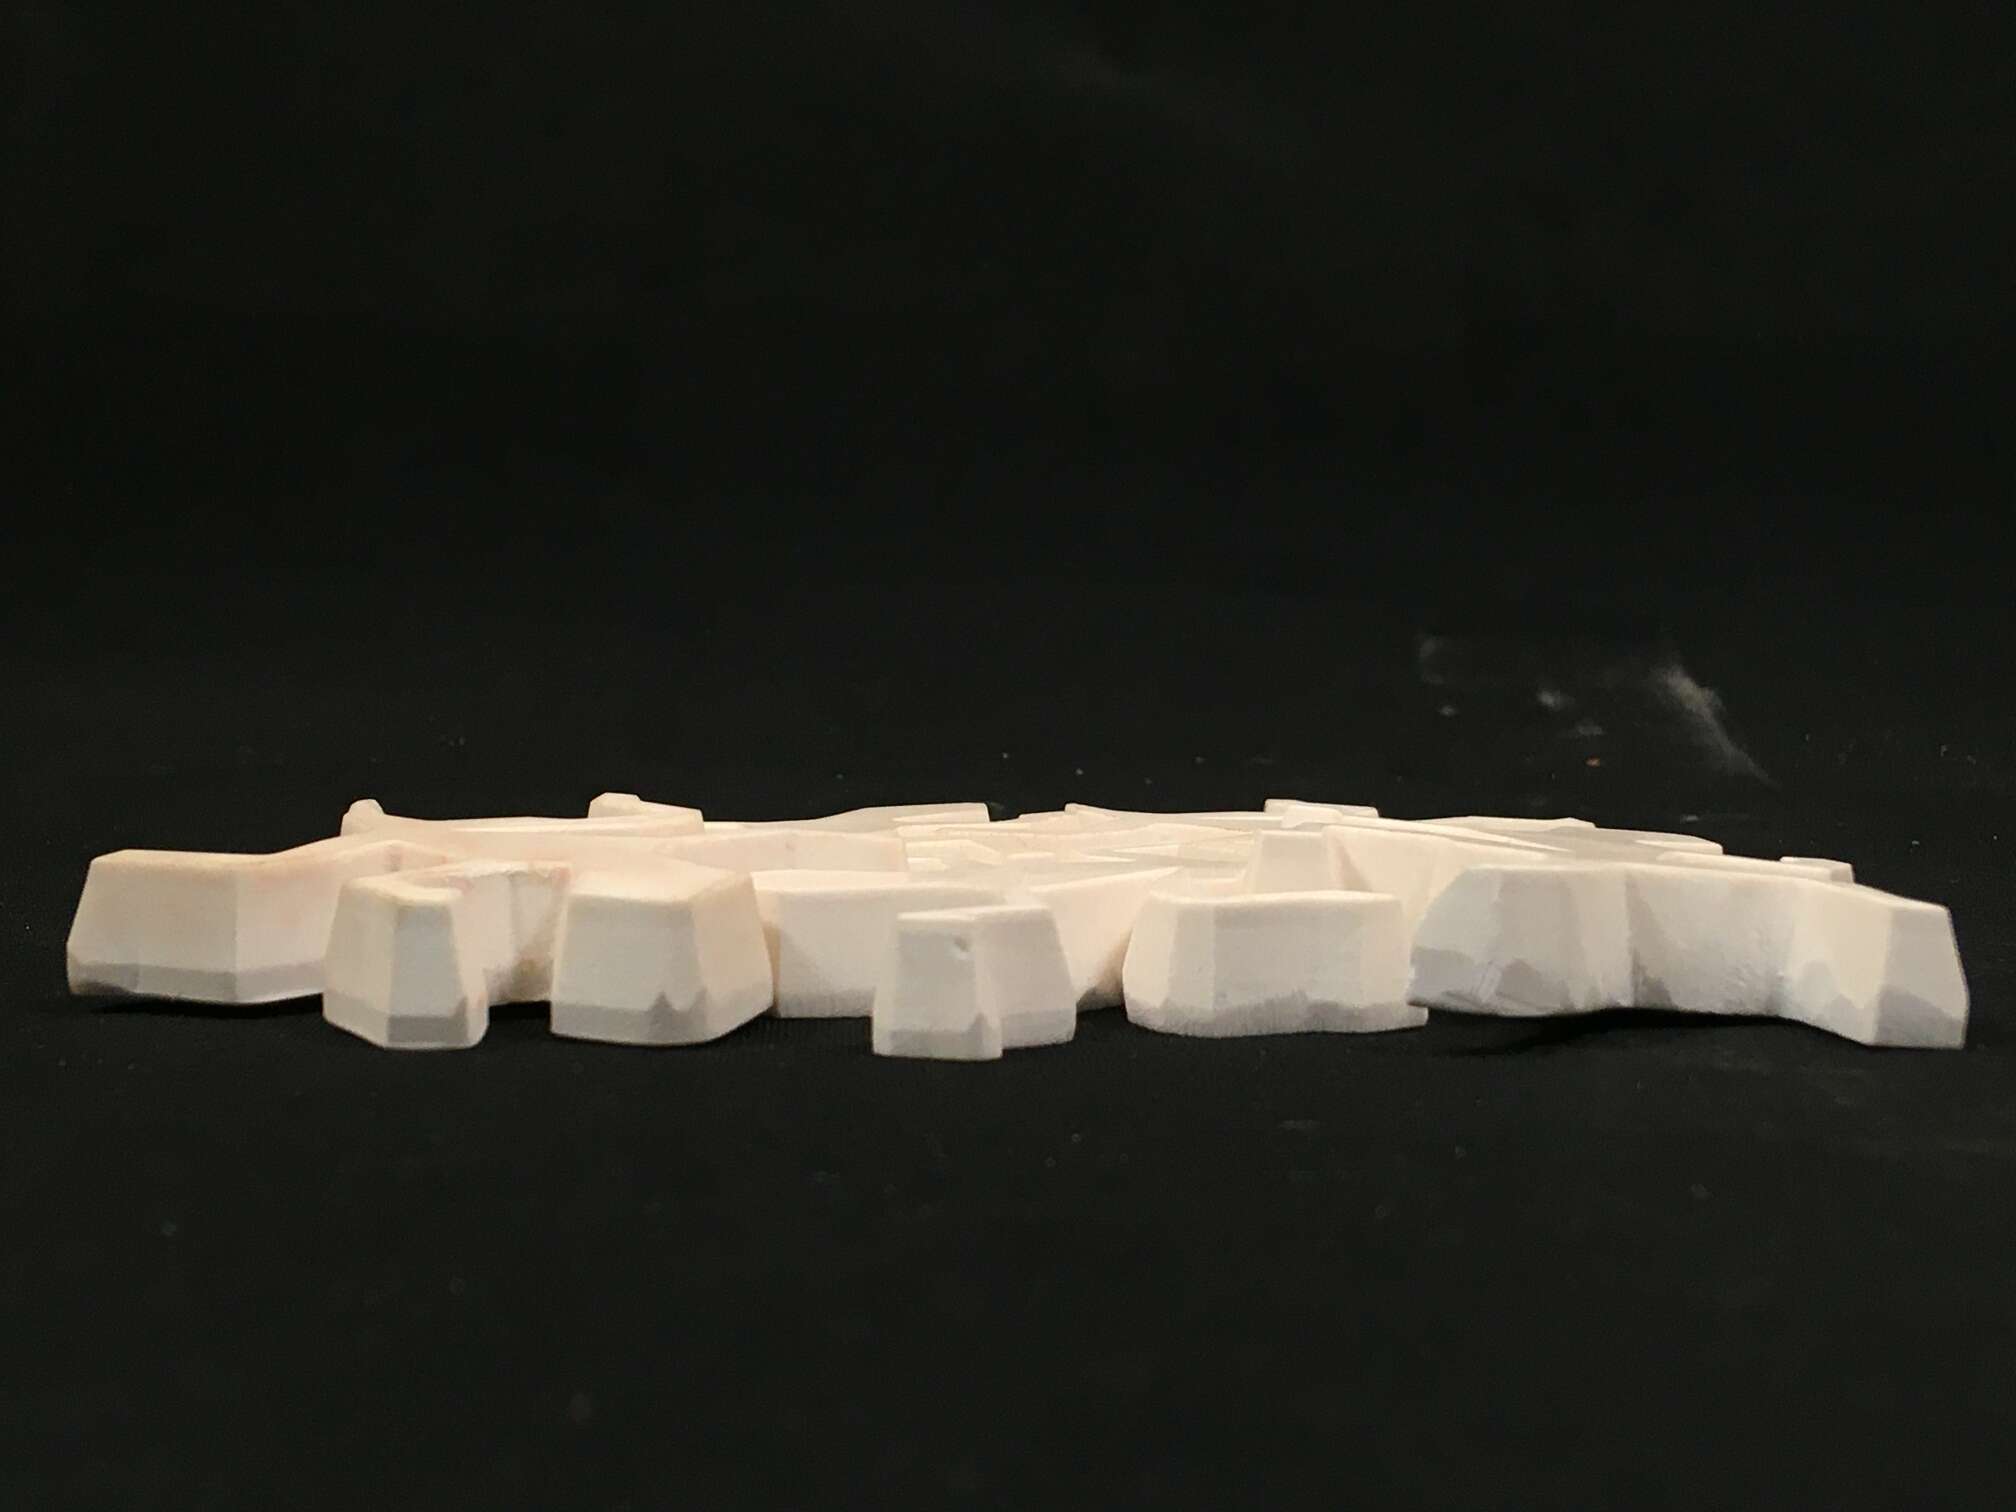
Casting the final piece
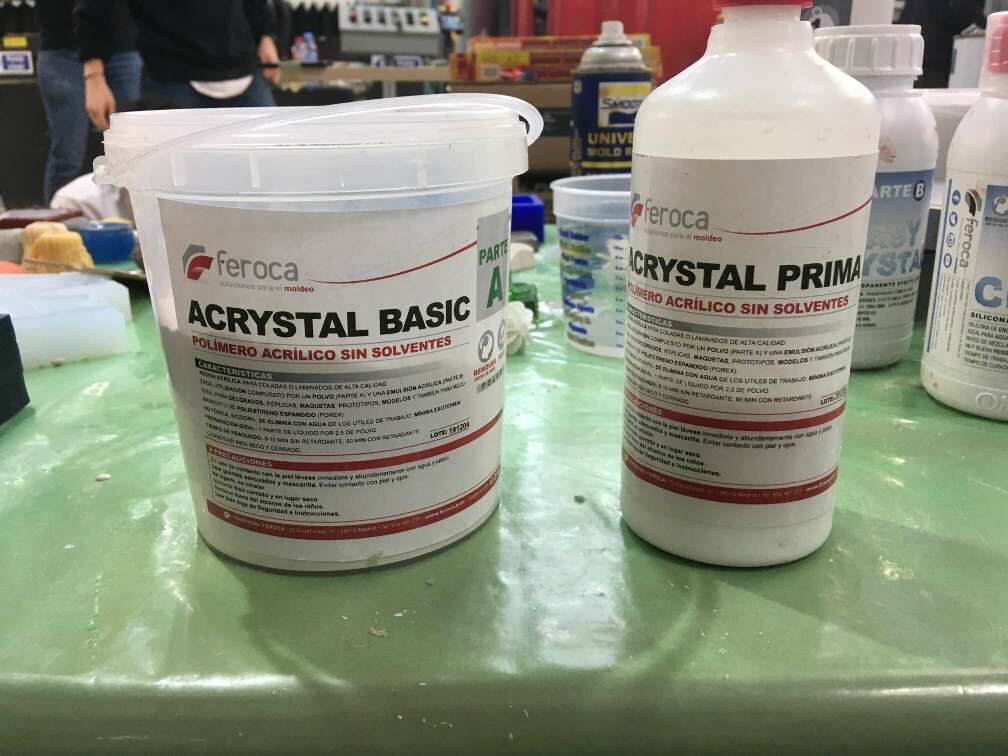
I was looking for a material that looks like something like ceramics but without the dificulty of having to bake it. With the Acristal I found that you can make some nice efects that can simulate marble or ceramics and its really easy, fast to make and quite cheap.
Acrystal Prima is an easy-to-use solvent-free acrylic polymer composed of an acrylic emulsion and a powder based on mineral crystals. It has a working time between 8 and 10 minutes and it dries quite fast, in the documentation says that it’s totaly dry in 90 minutes, but I have demold it in 30 or 45 minutes and its almost hard, you can let it dry out of the mold to cast another piece again.
Safety Data Sheet
-
Hazard designation: None
-
General instructions: No special measures necessary.
-
After aspiration: Supply fresh air. In case of complaints consult a doctor.
-
After skin contact: Wash with warm water. Generally, the product does not irritate the skin.
-
After eye contact: Rinse opened eye for several minutes under running water and seek medical advice.
-
After swallowing: Consult a doctor immediately.
Acrystal can be mixed with any water-soluble pigment. In the case of liquid pigments, they shall be applied to the liquid component while the powdered pigments shall be added to the Basic Crystal powder component.