18. Wildcard week
CLAY PRINTING
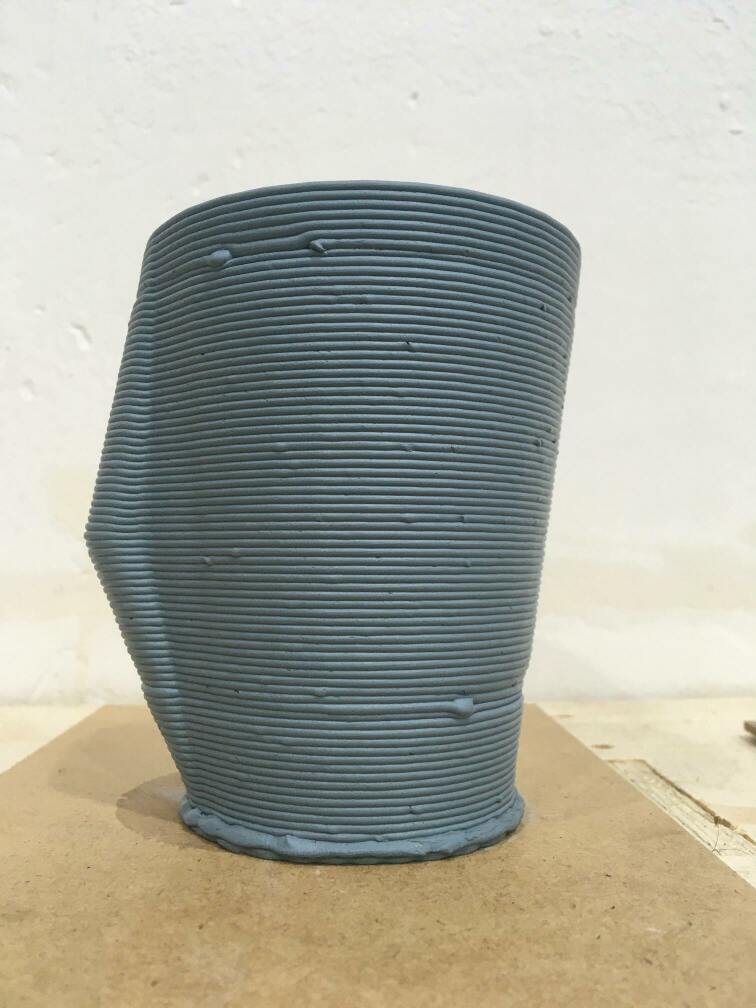
This week we have a littl pause to make a little more of exploration of an interesting topic, and i decided to make some experimentation with the clay printing. What I would like to achive is make a completely finished coffee mug (baked and graced).
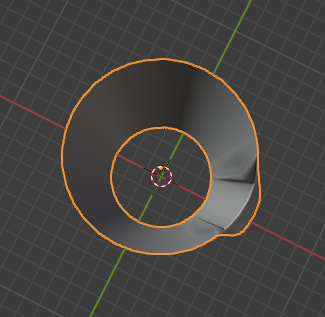
I started designing a mug in blender and giving it a nice shape with some space to gave a nice grip to be able to have a nice cold drink.

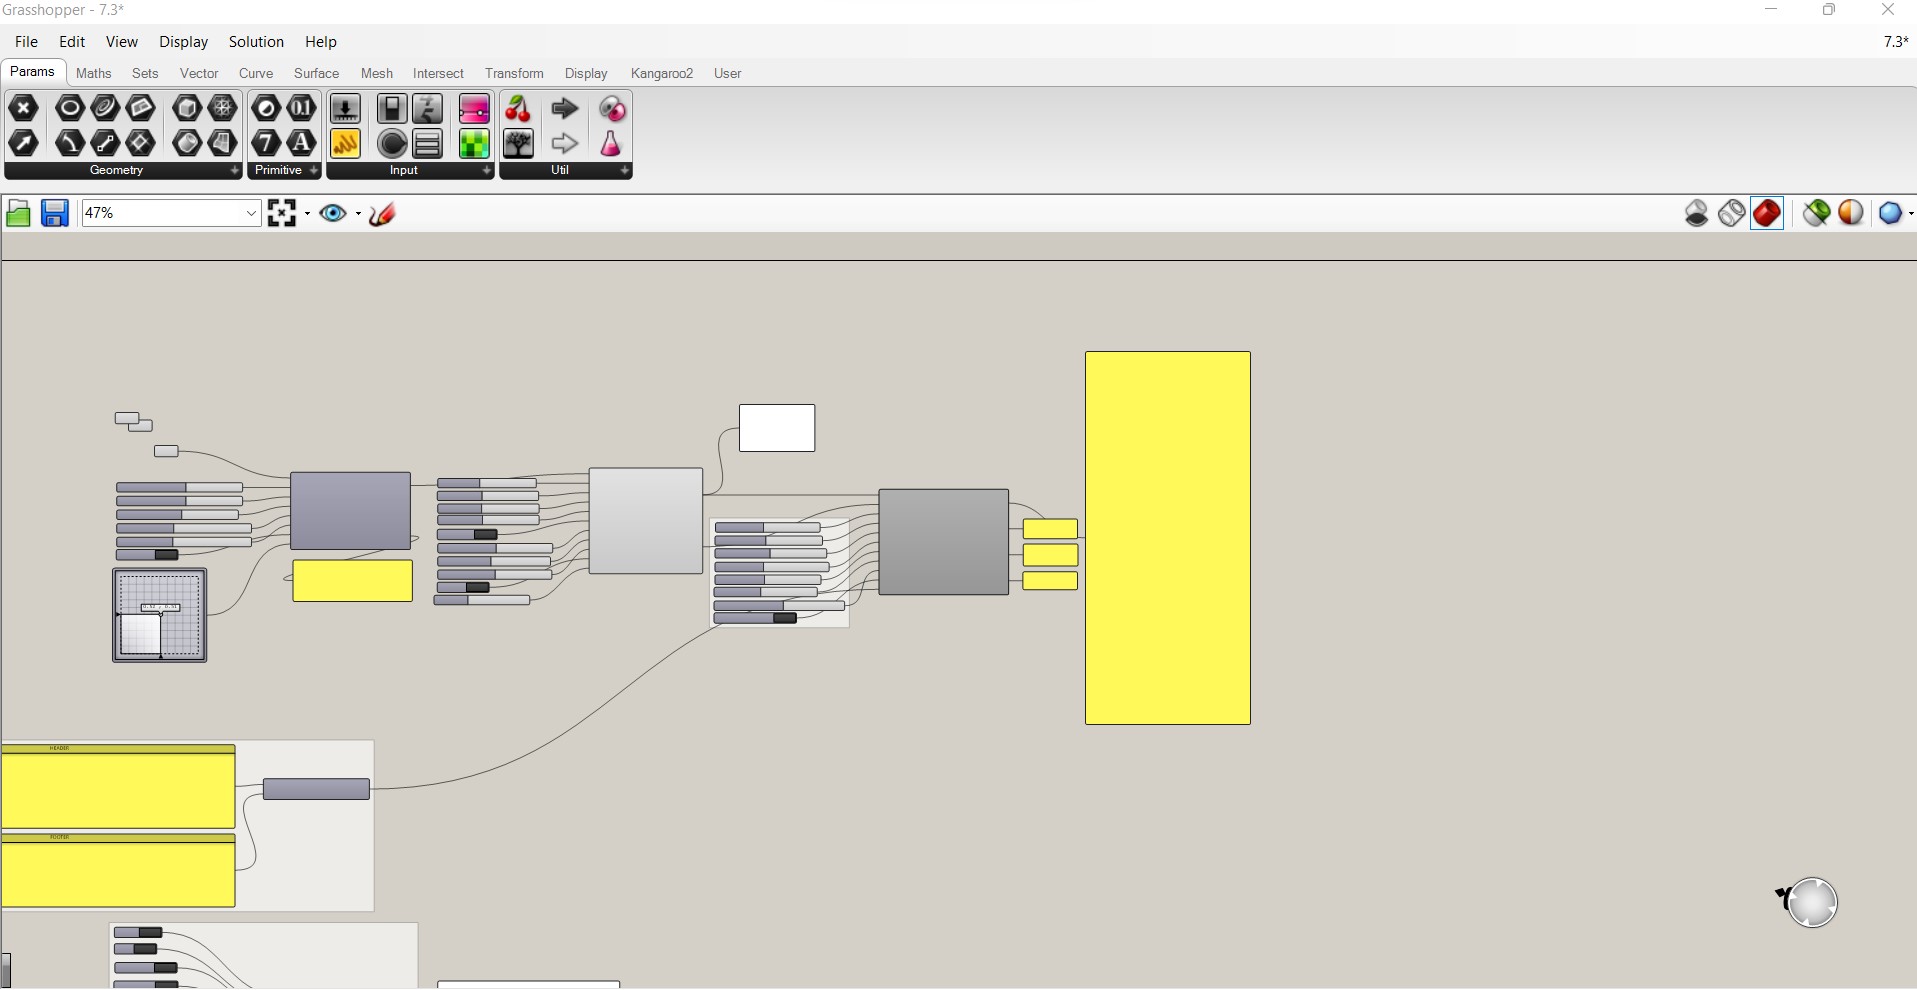
The idea is to export an .STL from blender and send it to another computer where rhino and grasshopper is installed to be able to use the scrip of grasshopper to make the slicing and generate the g-code.
When i export the model I am exporting a mesh and rhino works with point clouds, this made us change some things of the grasshopper script, the change that finaly worked was to desconstruct the curves to construct them again and join all of them to have again the model, and this seam to work quite good!
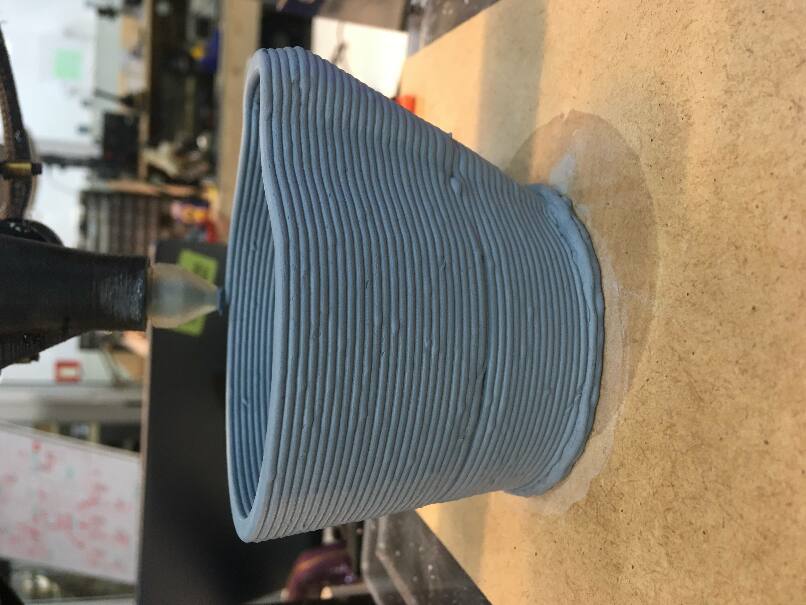
After all this I send the code to my computer again, with pronterface i can connect to the 3D printer via USB and send the code. Here I fond some problems:
- The first was finding the right pressure to make the clay flow trough the tube and extrude it correctly.
- Second is to get the correct flow for the extruder motor that controls a presure screw that makes the paste flow trough the nozzle and eliminates the bubbles that may appear in the tube.
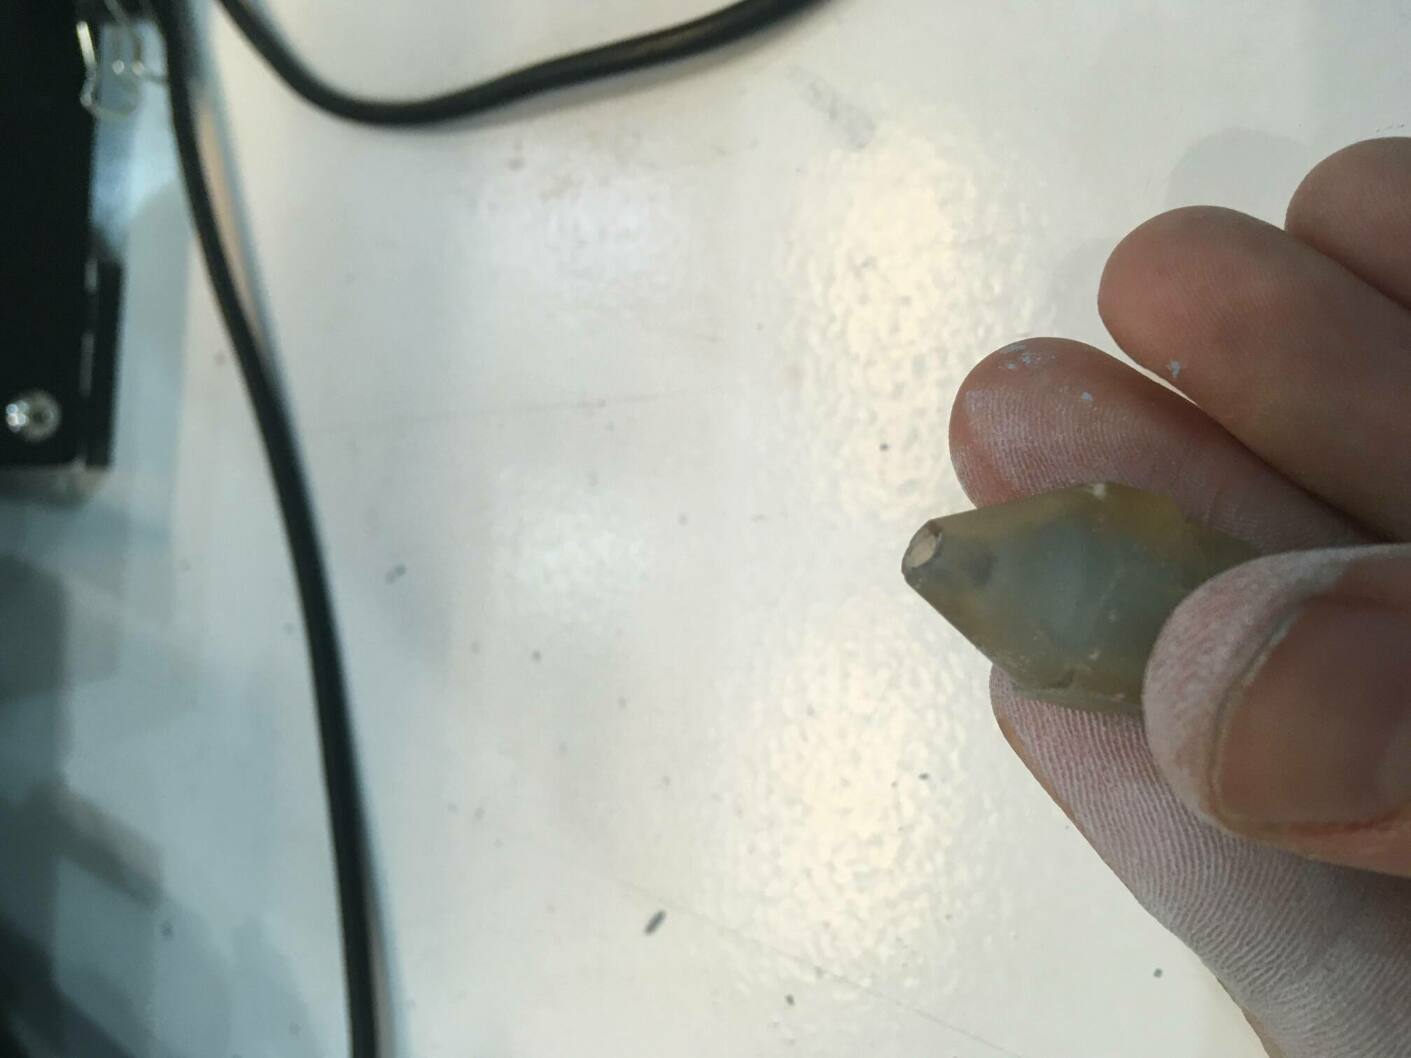
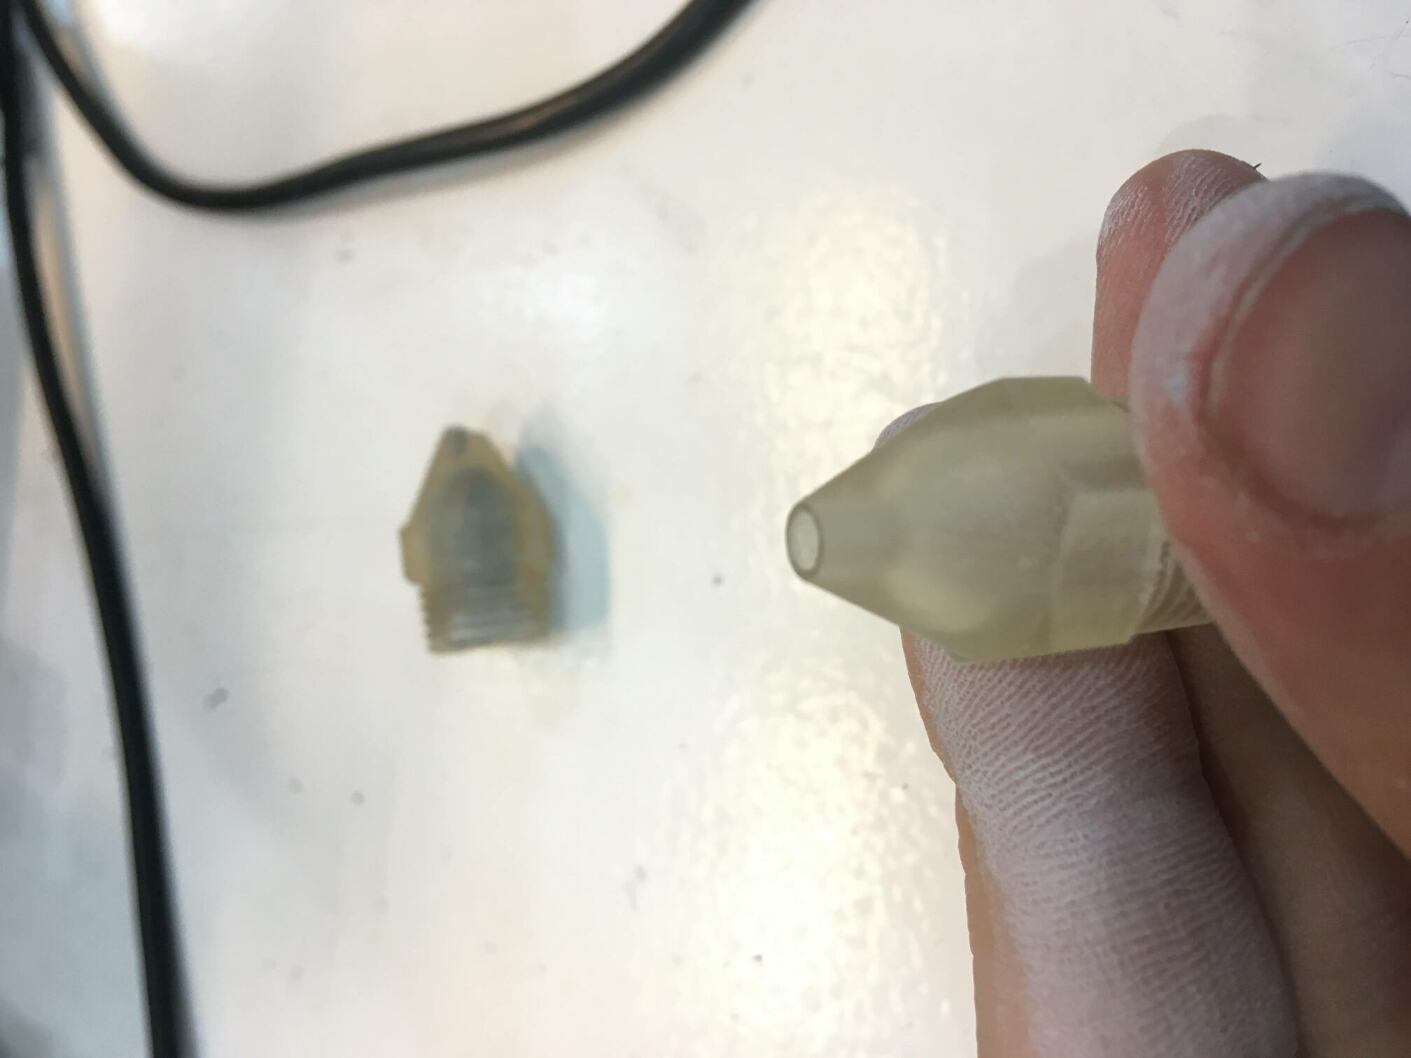
- Finaly I found that the nozzle was broken and the clay that was going out was to much and the pieces were not very precise.

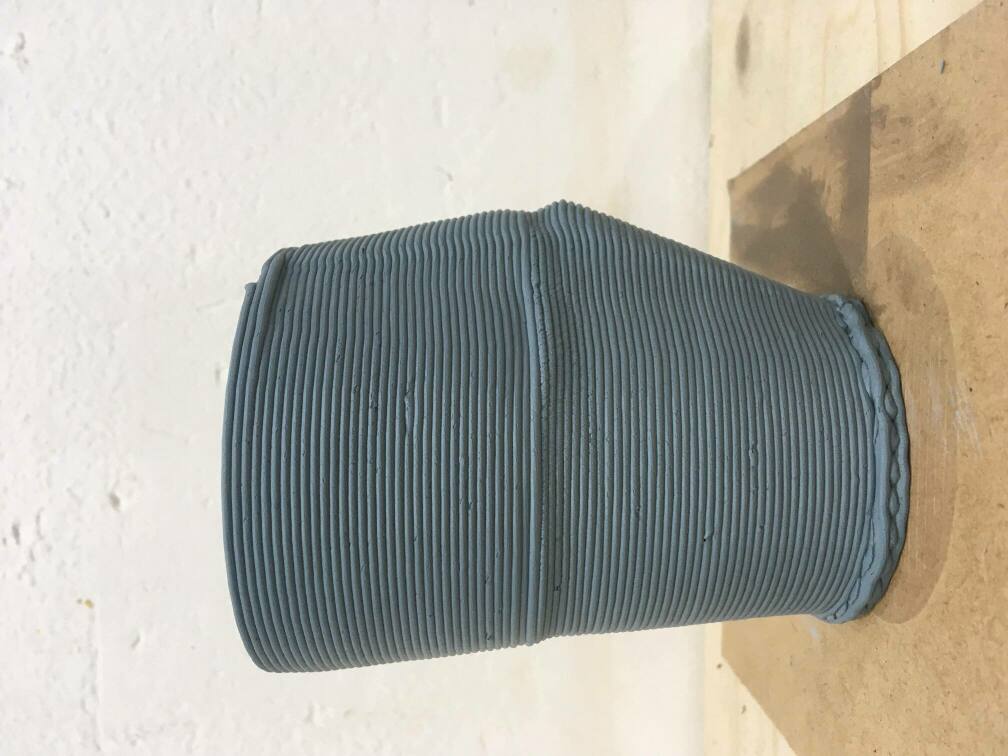
Then I changed the nozzle and the prints were much better, I also changed the tube of clay, so I had to tune the pressure and the flow rate again because evey clay is mixed with a different quantity of water, you have to adjust the parameters for each clay tube. Not very prectic but works really well, once you have done it one or two times it’s much easy to find the right parameters.
COMPOSITES
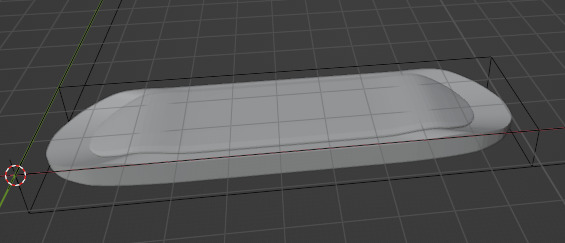
I was planning a second project thas is making a Skate Board mixing some kind of flexible wood and some layers of textile painted with epoxy and applying pressure in to it to make shape it with the profile of a mold.
This mold that I modelled is one side mold, the idea is to make the mold with high density foam and mill it in the CNC.
To make the cam operations I used BlenderCam, we have improve a little bit the work flow with blender cam making our own postprocessor and putting it as default when you use this addon (thanks to Victor Barberan work).
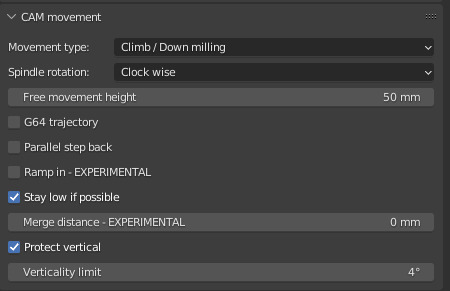
I used a finish directly becuse the foam is quite easy to mill and it does not offer musch resistance. Using a 12mm ø end mill ball ended and I was stepping down 15mm on each pass.
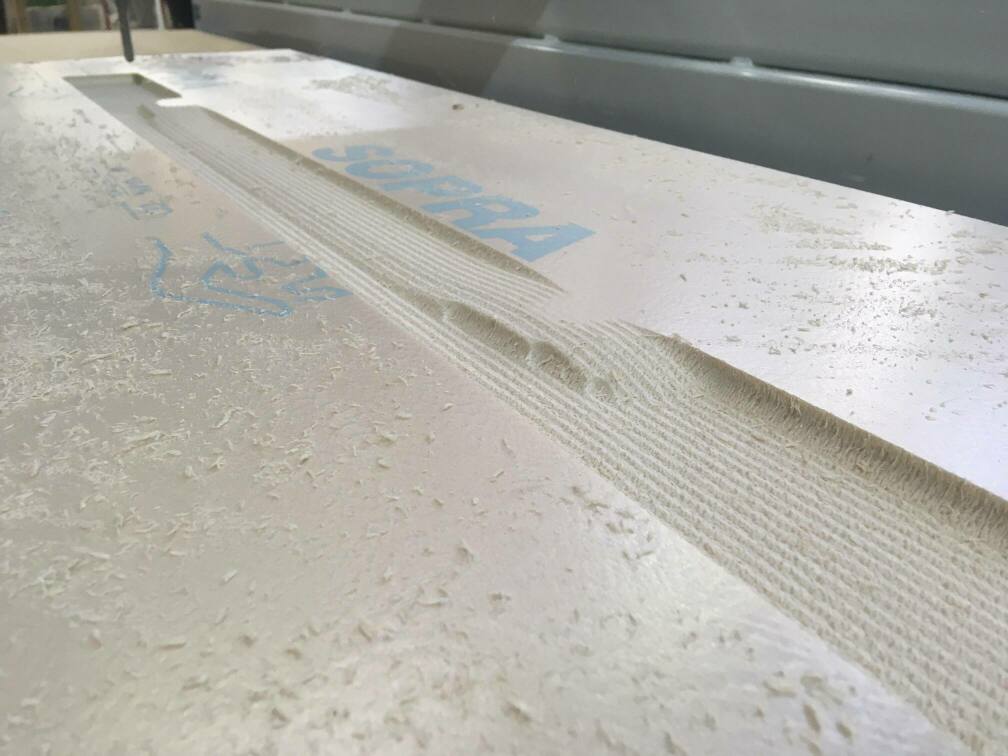
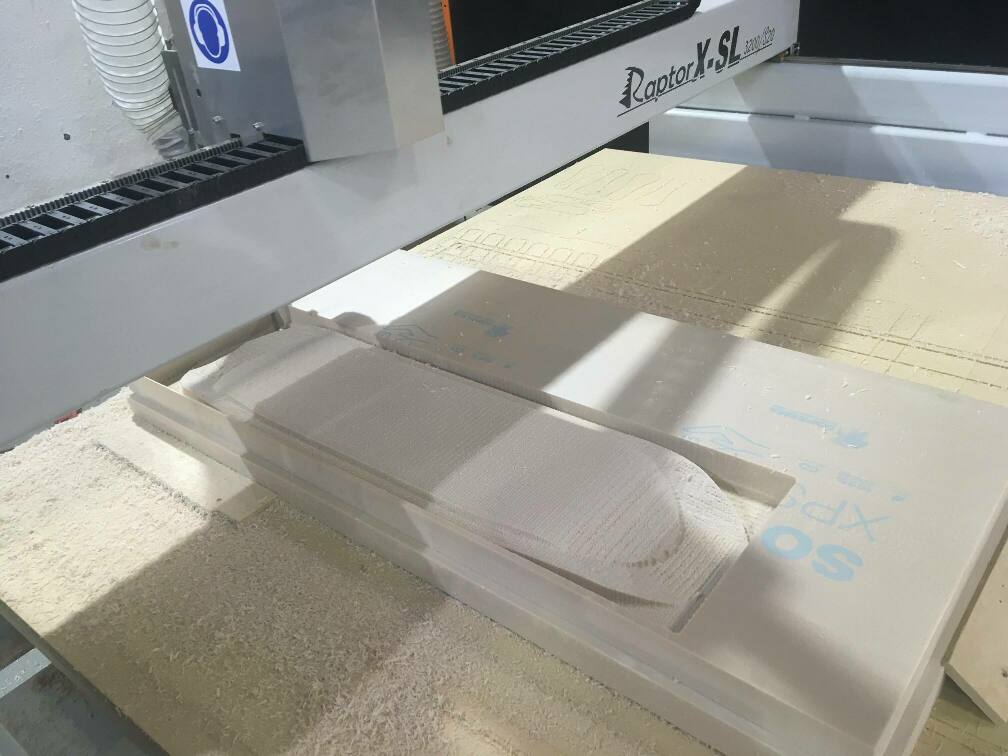
Finaly I did the mold and turn out quite well, this kind of foam is really easy to mill, the paramaters that I used were very high and the operation took just one hour.
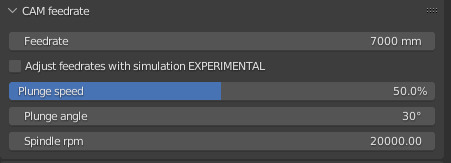
I used 7000 mm/min in the feedrate and the spindle was at 20000 RPM, when I saw that was cutting really easily I decided to increse the feedrate considerably and I ended up at almost 10000 mm/min.
Once the mold is prepered i start with the composites, I am going to use flexible wood to make the board thick and light, and burllap to make the board a little bit sronger.
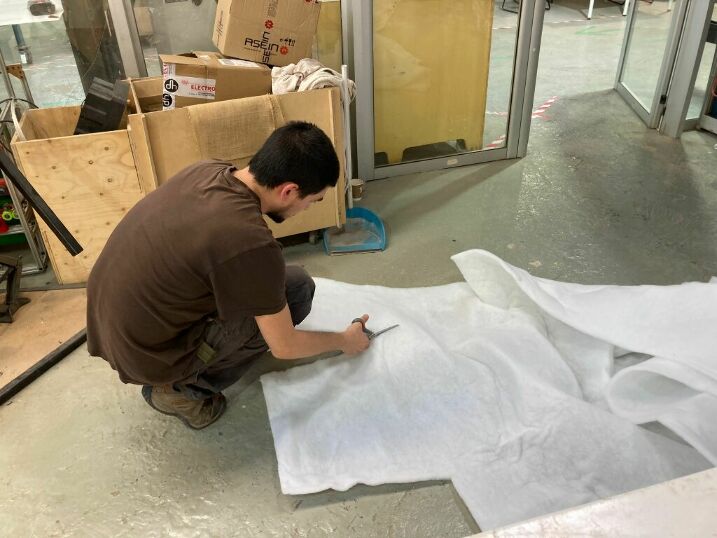
Once all the layers were cut at the derired size i prepered how the “sandwitch” have to be. At the end I used One layer of fexible wood, two layers of burllap in the middle, another layer of flexible wood and aother lyer of burllap on top. Once everything was ready and doubble checked everything was prepeded I mixed the epoxy.
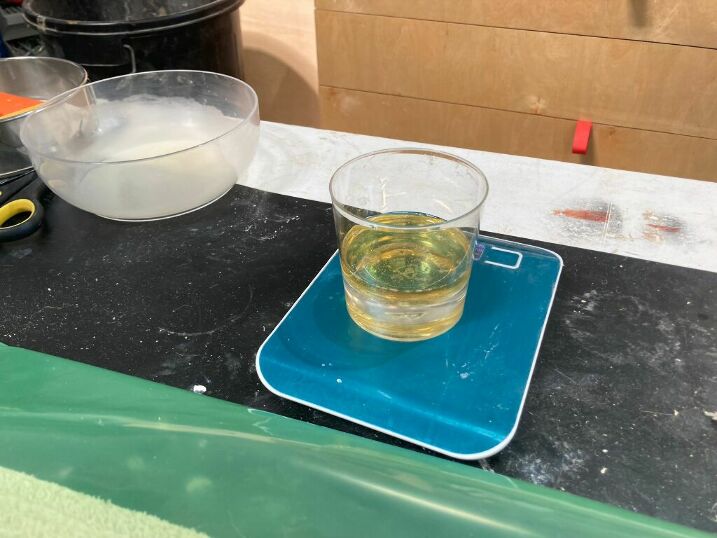
All ready to start glueing everything. But, the epoxy that I mixed wasn’t very much and at mid process i had to stop and mix more epoxy, the thing was that there wasn’t any more epoxy.
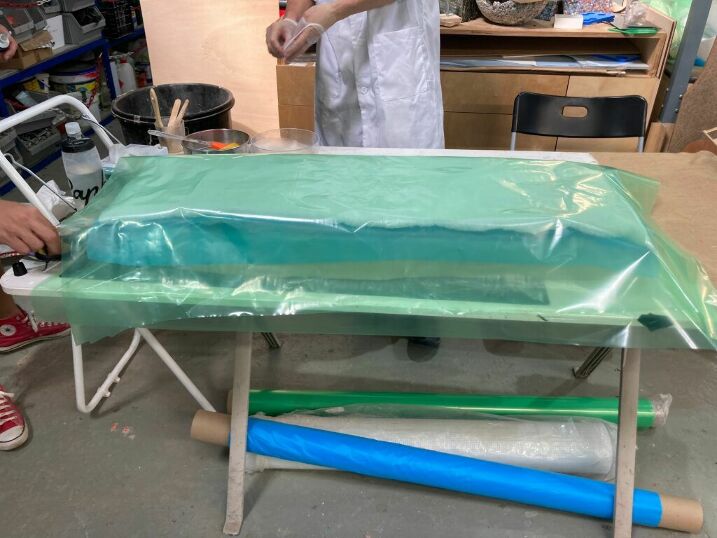
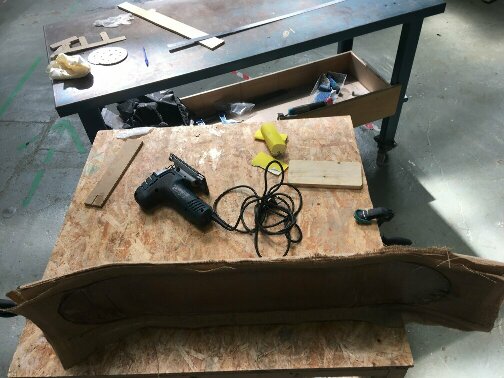
The final mold was:
- The foam mold at the bottom.
- A layer of the green plastic sheed which does not stick to the epoxy.
- The “sandwitch” of the board.
- A layer of the blue plastic sheed which does not stick to the epoxy and let the excess of epoxy go trough.
- Cotton layer to absorb all the excess.
- A layer of the green plastic sheed which does not stick to the epoxy.
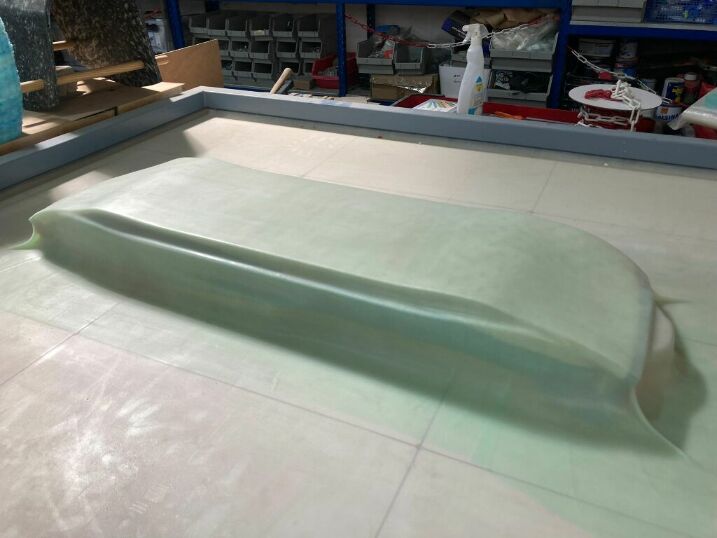
Ready to go to the vacum!
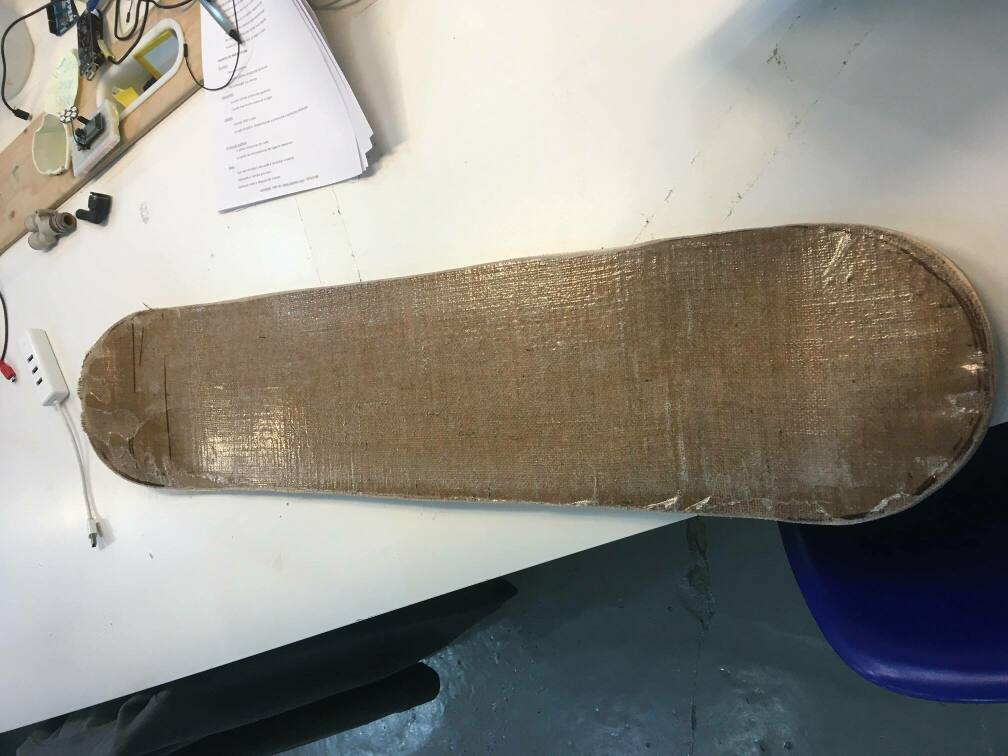
The last thing missing was to postprocess the board cutting the shape and sand the edges to make them nice and clean! The result is that I have a nice DIY shate board that is not able to be used as an skate board because it’s too flexible and it would brake really easy, and as you can see would be nice to apply more epoxy to some parts because there isn’t enoguh.