15. Interface and application programming
This week I worked on creating a mobile application to communicate with my input data and transfer it on my phone !
The assignments are below :
Creating an app with the MIT APP Inventor :
Installation
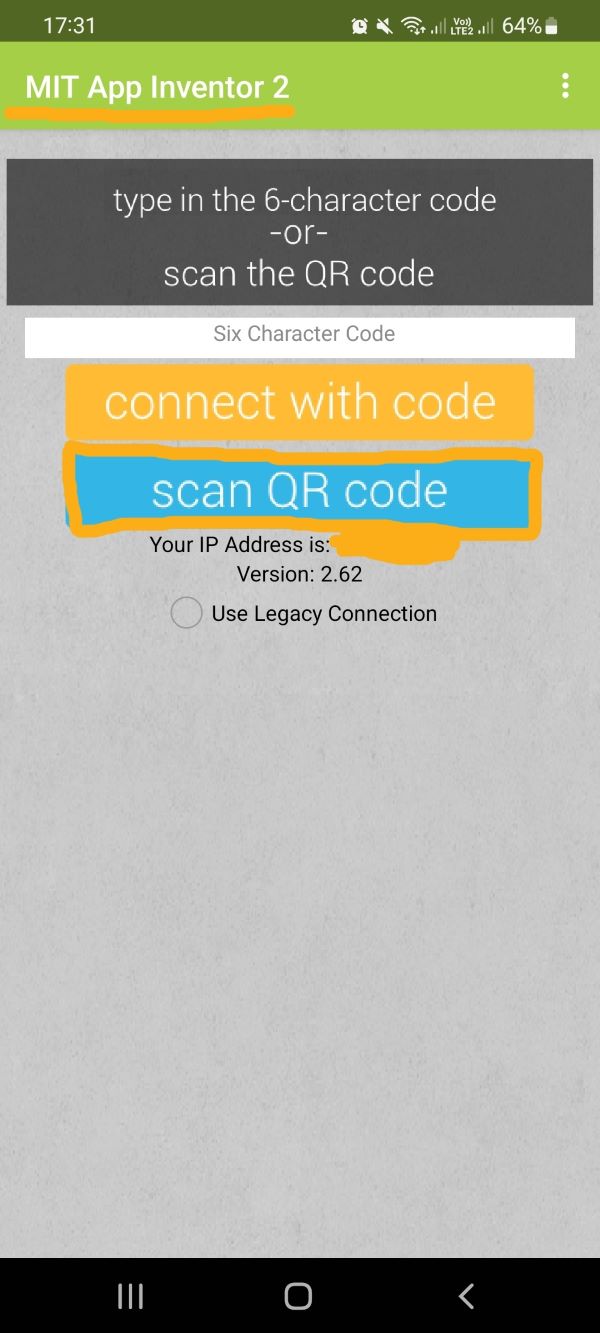
- Download the app on your phone
- Connect your google account to the MIT App website
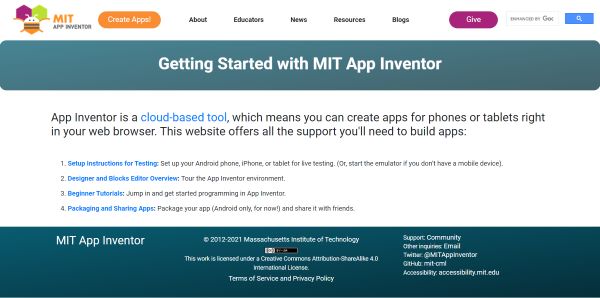
- Follow the Wifi connexion instructions, I choose it because it’s the recommended option.
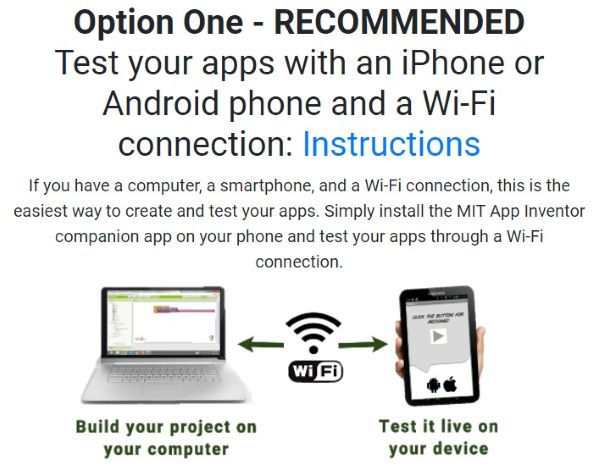
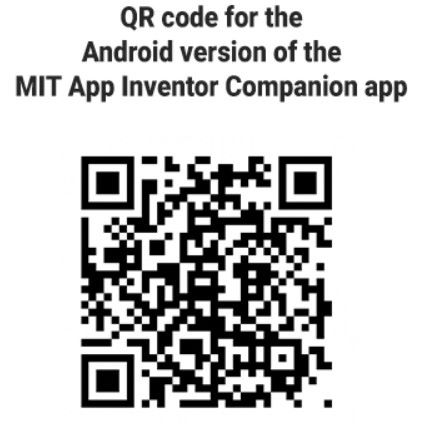
- Flash this QR Code to download the Android .APK file for the application, for iOS another code is used.
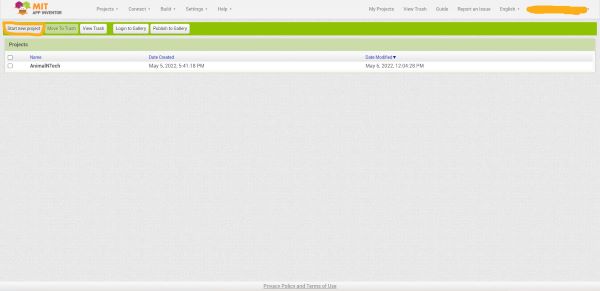
- Create a new project on the computer MIT APP website
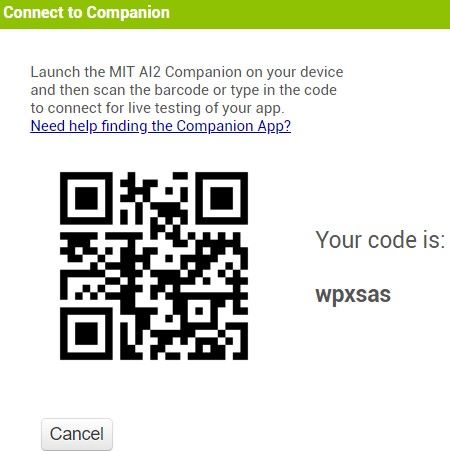
- Click on “Connect” > “AI Companion”
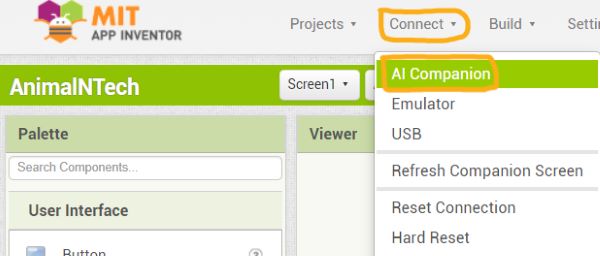
- Flash the QR code to connect your phone with your computer using the SAME WIFI network
- Then you can see on your phone the application you’re creating !
Creation
-
You have a Block and a Designer editor, with the designer you create the app’s interface whereas with the block, you programm the app’s behavior by putting the blocks the way you want Block and Designer tutorial here
-
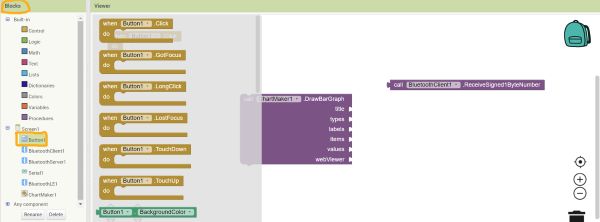
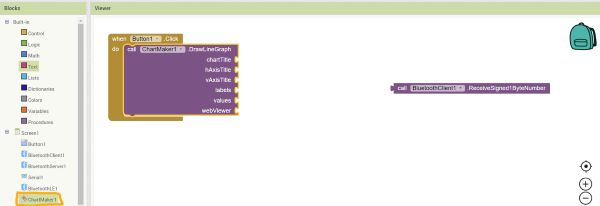
If you need to add extensions you can check this MITApp extension library and regarding my needs I use this graph library to make charts on the app !
-
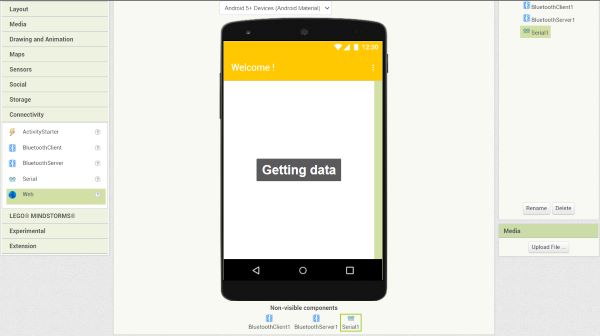
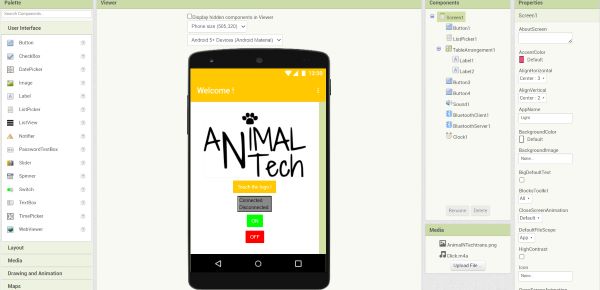
Add all the components you want and choose the colors, size, font with the tool on the right
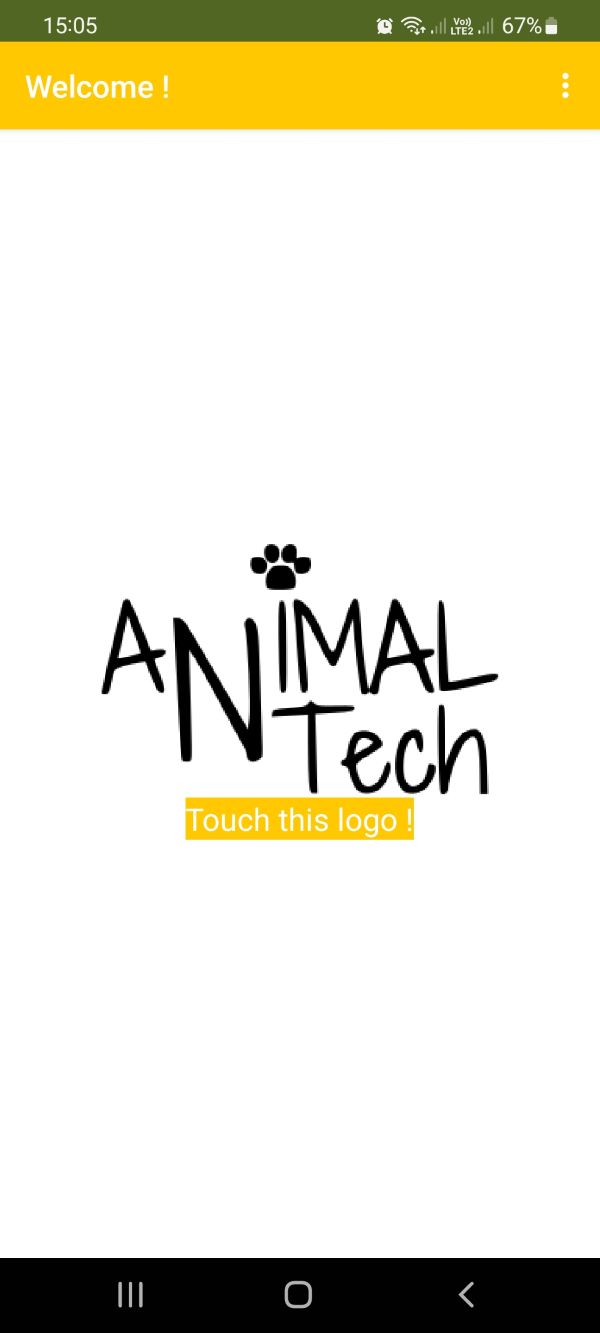
That’s my Homepage constructed with the Designer editor :
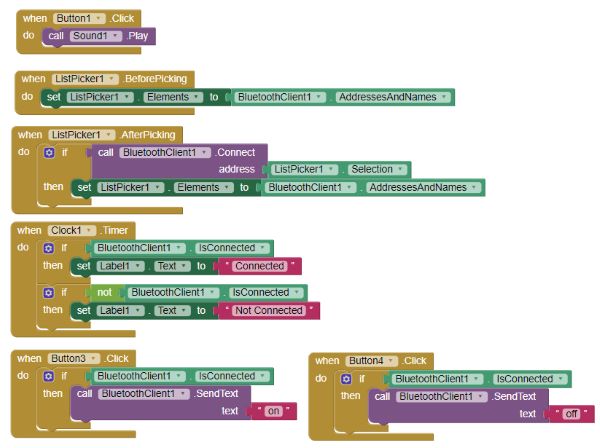
- Go to the Block editor and start putting the blocks you need and connect it regarding the fonctions you want :
Group work
I changed to a simple version because the bluetooth one was too complex for me at the moment.
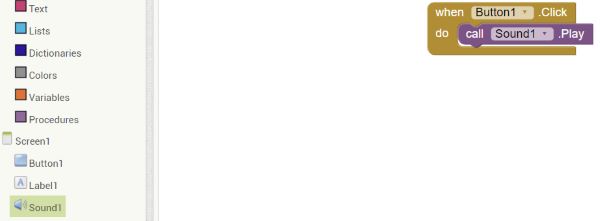
I followed this MIT tutorial to help with this basic button and clicker sound response :
Put 2 fonctions into the block editor :
Then connect the app to your phone and now it works !
When you click on the Animal N Tech logo, the sound of a clicker is emitted !!
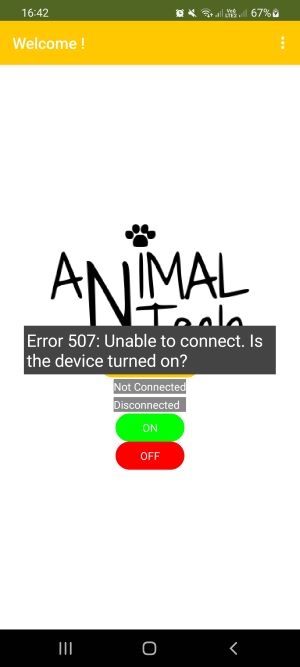
I also tried to make a different version that communicates with my bluetooth board and switch on the light when the button is clicked inspired by this tutorial
Unfortunately, It didn’t work because I couln’t connect my board to my phone…
So I tried another method :
I create an app to communicate with a board I did in the 5th week composed of a SAMD11C and a led. It switch on the light when I press a button.
I followed the example of Theo Gautier ! I started by downloaded Processing and get inspired by this tutorial.
After downloaded it, open it and then import this library called “ControlP5” by clicking on “sketch”, “import library”, “manage library” :
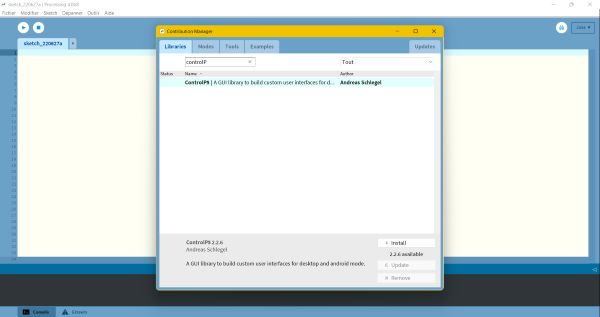
Here is the Processing code from the tutorial for one led :
import controlP5.*; //import ControlP5 library
import processing.serial.*;

Serial port;

ControlP5 cp5; //create ControlP5 object
PFont font;

void setup(){

  size(300, 450);    //window size, (width, height)

  printArray(Serial.list()); //it connect my board to COM4

  port = new Serial(this, "COM4", 9600);

  //lets add buton to empty window

  cp5 = new ControlP5(this);
  font = createFont("PFont", 20);    // custom fonts for buttons and title

  cp5.addButton("red")     //"red" is the name of button
    .setPosition(100, 50)  //x and y coordinates of upper left corner of button
    .setSize(120, 70)      //(width, height)
    .setFont(font)
  ;
 cp5.addButton("alloff")     //"alloff" is the name of button
    .setPosition(100, 350)  //x and y coordinates of upper left corner of button
    .setSize(120, 70)      //(width, height)
    .setFont(font)
  ;
}

void draw(){

  background(0, 150 , 150); // background color of window (r, g, b) or (0 to 255)

  //lets give title to our window
  fill(0, 255, 0);               //text color (r, g, b)
  textFont(font);
  text("LED CONTROL", 80, 30);  // ("text", x coordinate, y coordinat)
}
//when you press the button, it sends perticular char over serial port

void red(){
  port.write('r');
}
void alloff(){
  port.write('f');
}
And now it works !!
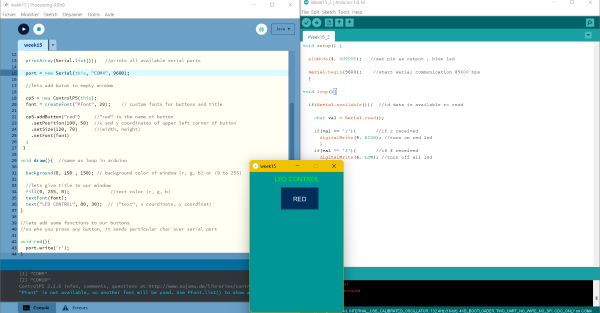
When you press the button the light is on !!

Conclusion
It was a complicated week to me. Many new things. I wanted to do bluetooth connexion but it was too soon for me. Hopefully thanks to my instructors I find an other option !
Files
Useful links
- MIT APP Inventor
- Wifi connexion instructions
- Block and Designer tutorial here
- MIT App extension library
- MIT tutorial