6. 3D Scanning and printing
This week I worked on printing with a 3D printer and scanning. The assignments are below :
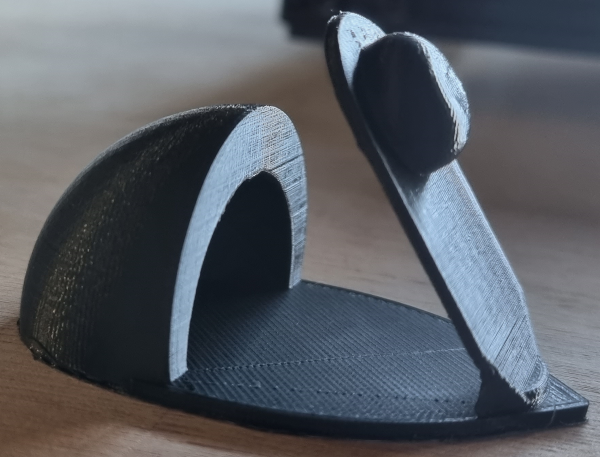
Hero shot
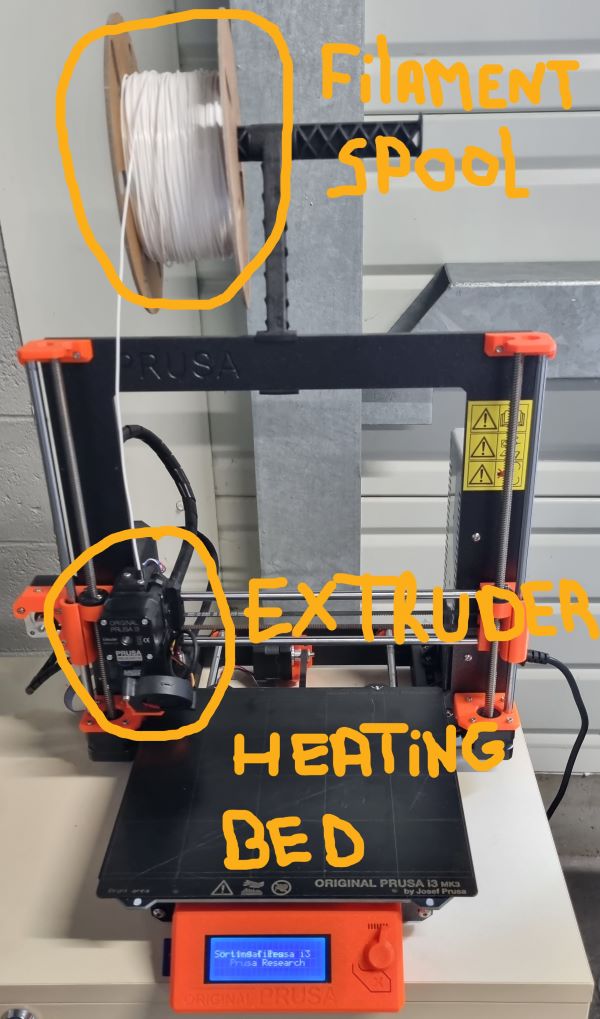
3D Printer
3D Printer description
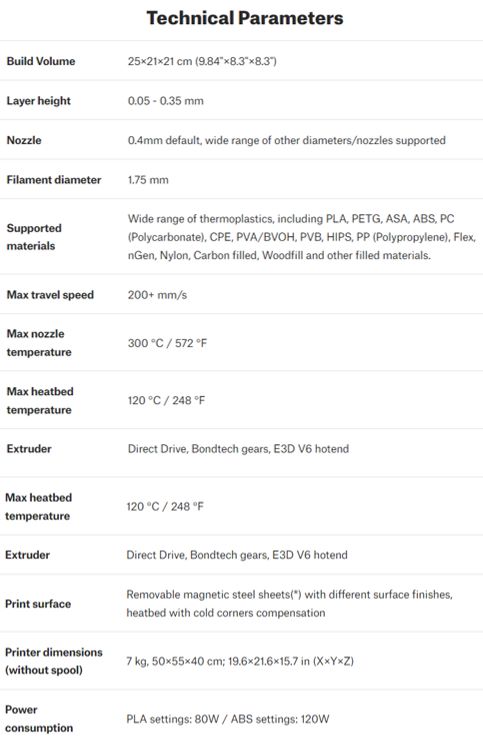
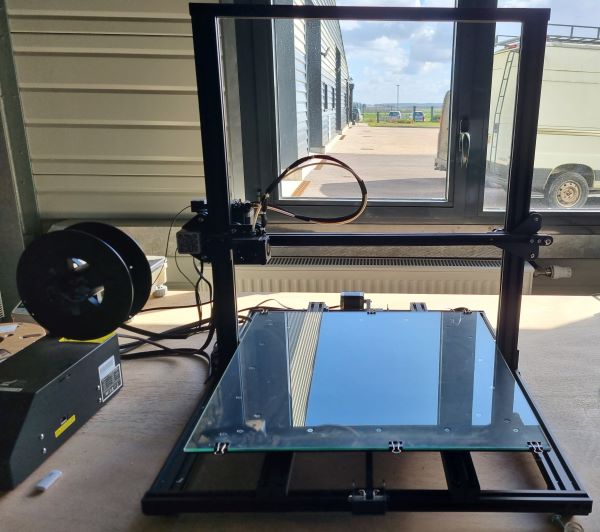
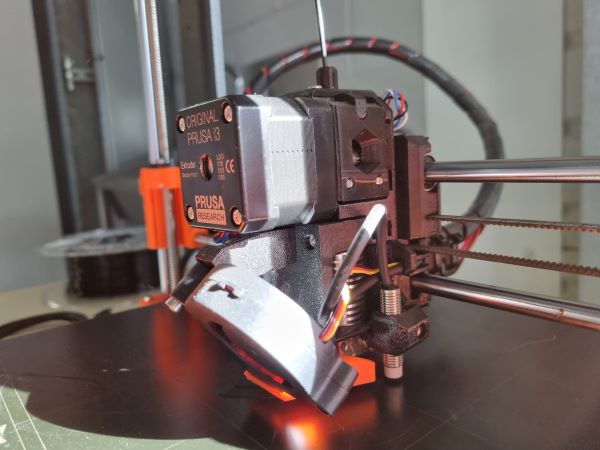
We used the machine Original Prusa i3 MK3 by Josef Prusa :
The technical caracteristics are below :
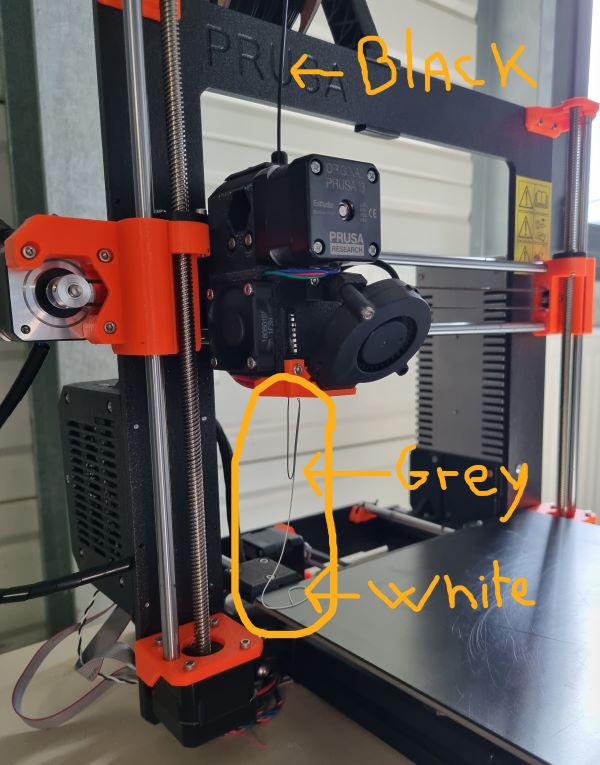
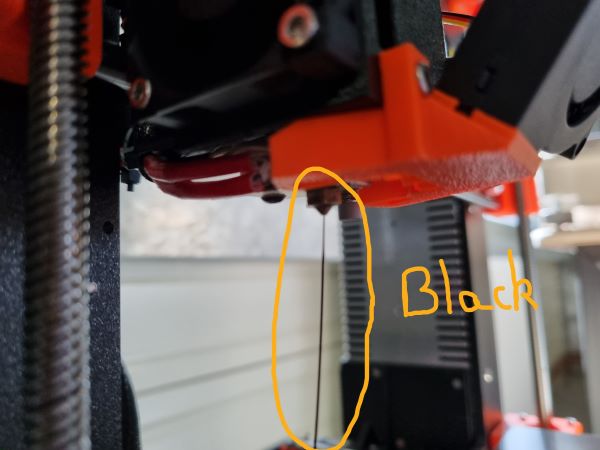
How to change the filament spool :
- First turn on the machine
- Select on the menu the option “unload filament extruding”
- The extruder starts heating and once the menu tells you it’s hit enough, you can remove the filament and change the spool
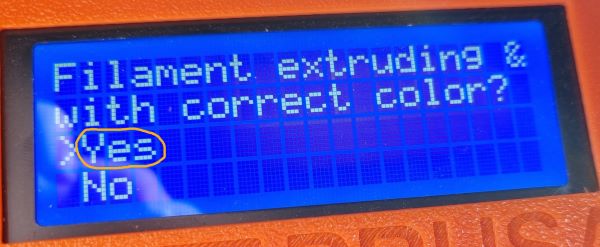
- Then click on “load filament extruding” and the machine extrudes and asks you if the color of the changed filament is correct
At Agrilab, there are others 3D printer :


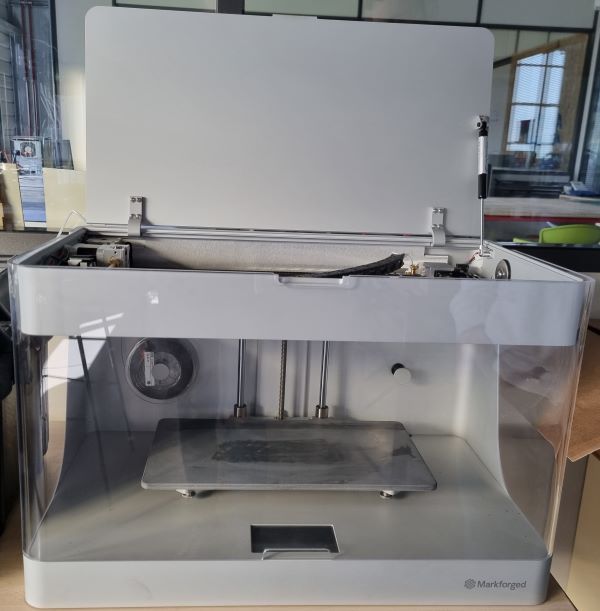
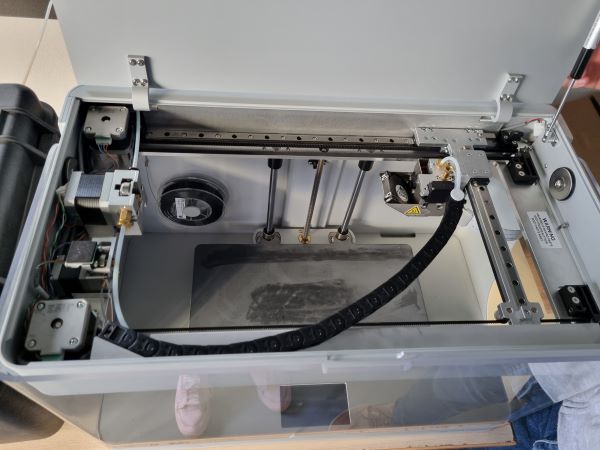
- Markforged : you can use a carbon fiber with it
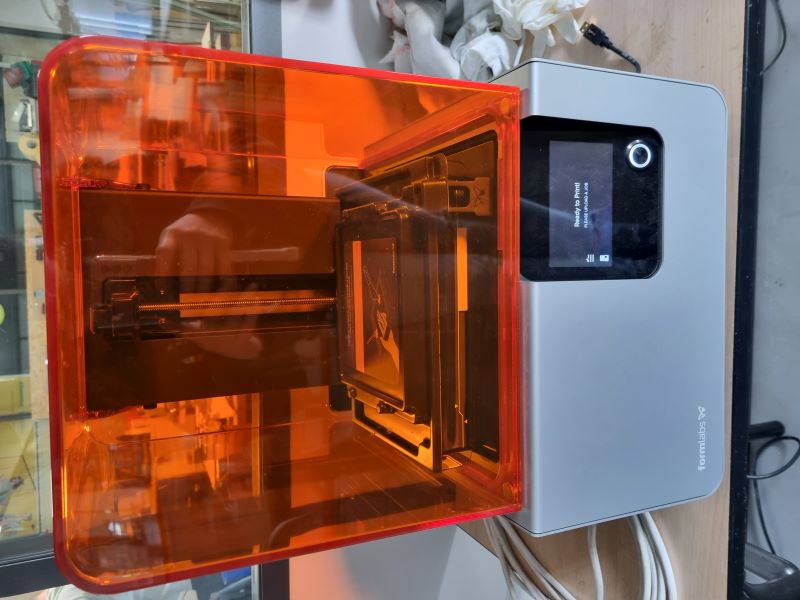
- Formlabs : you can make some resin printing with it but you need to make an alcoolic isopropyl bath in that case.
Scanning machine
Scanning machine description
We used the machine Shining 3D Einscan pro plus :
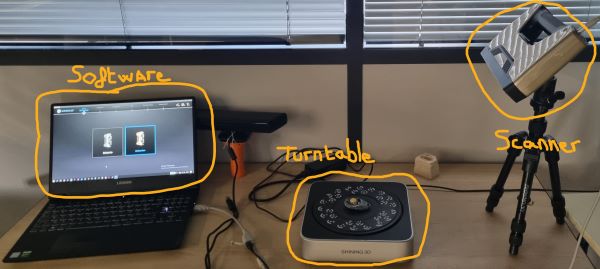
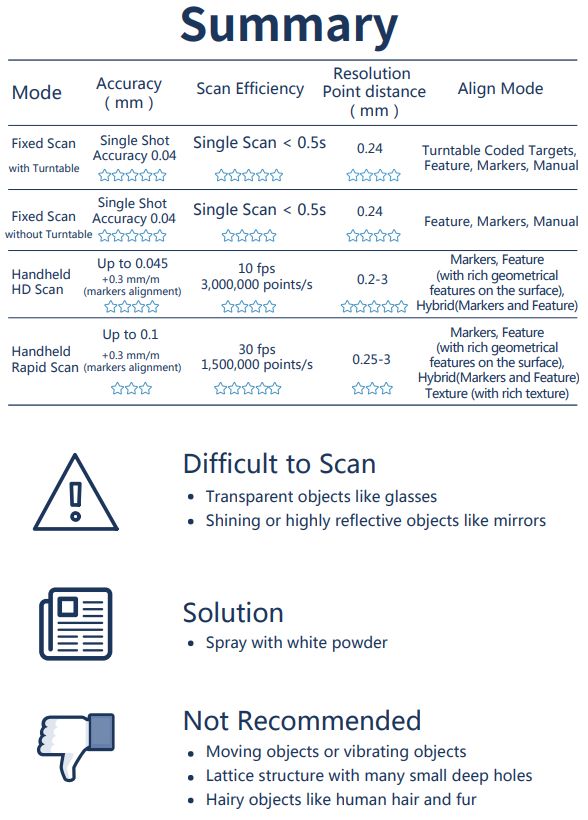
The technicals caracteristics are below :

Group work with Theo Gautier from Agrilab
We tested the limits of the 3D printer machine : Original Prusa i3 MK3 by Josef Prusa
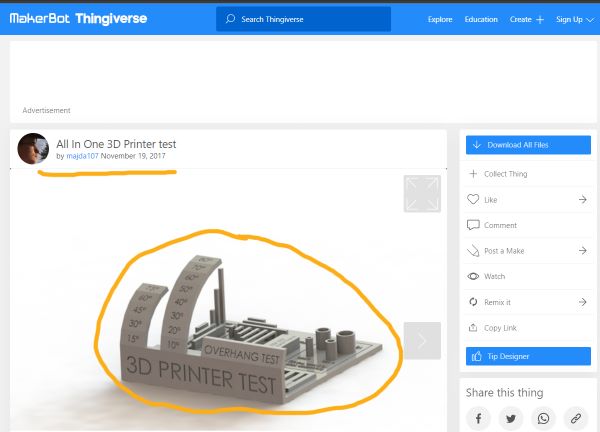
- First choose a “torture test model” for the 3D Print.
- We chose the All-In-One from All3DP because it’s a complete test that allows to see the different limits os 3D printing :
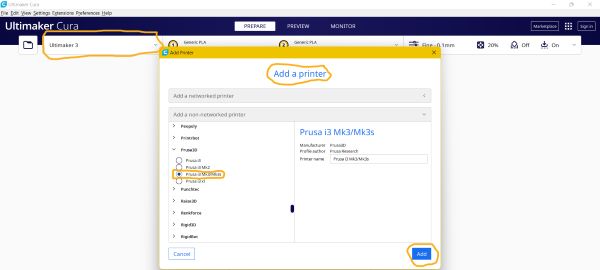
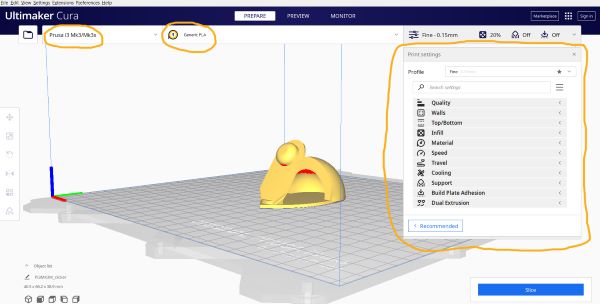
- Download Ultimaker Cura. I used this software because it’s free, intuitive and very well working with the 3D printer I used.
- Open it and add your 3D printer :
- Open the test file by clicking on “crtl” + “o”
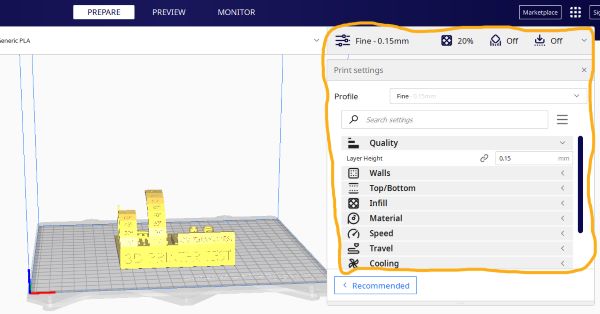
- Set your parameters regarding what you want. For the test, we kept the default parameters to not influence the result and been able to see the machine limits :
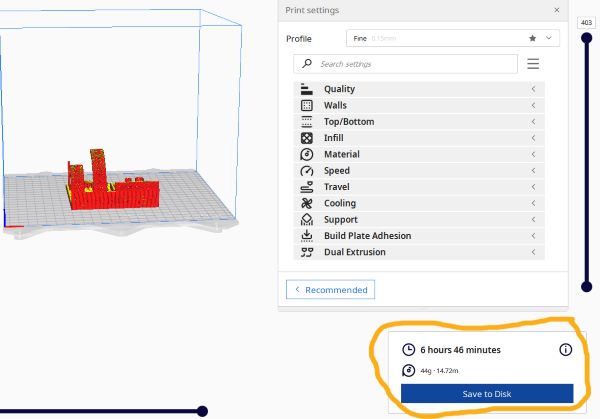
- Save your file as a “.gcode” on your computer by clicking on “Save to Disk”
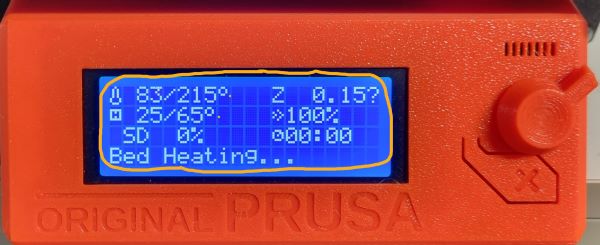
- Turn on the 3D printer
- Save your file to the 3D printer SD card
- Put it in the machine
- Select your file
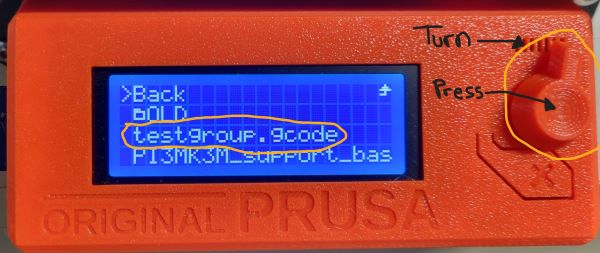
- Check the parameters on the printer screen
- Launch it ! and you will see the machine begining heating
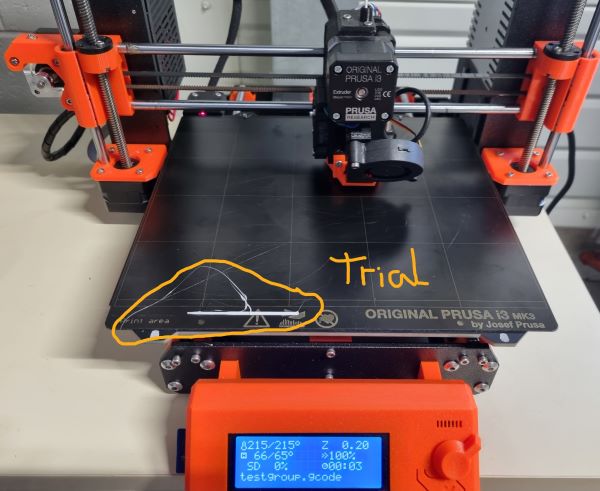
- The machine starts by making a “homing” to set its X,Y and Z coordinates.
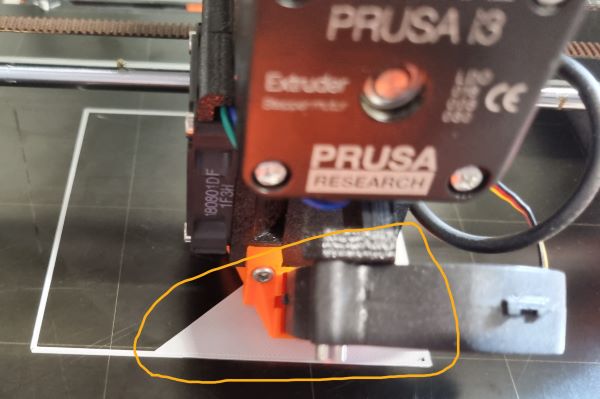
- Then it makes a first extrusion tape that I called “trial” to initiate the extruder. You can remove it.
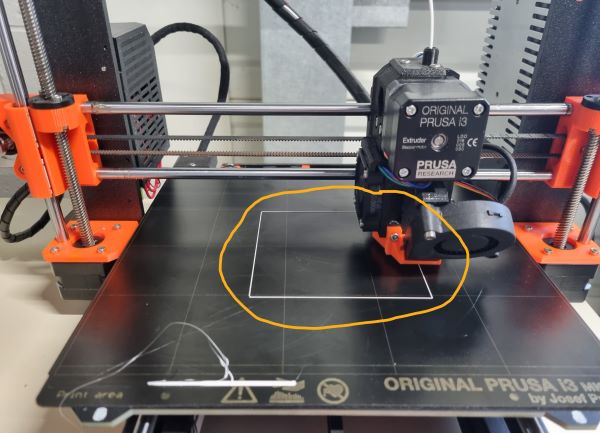
- Then it starts with the first layer :
Final result :
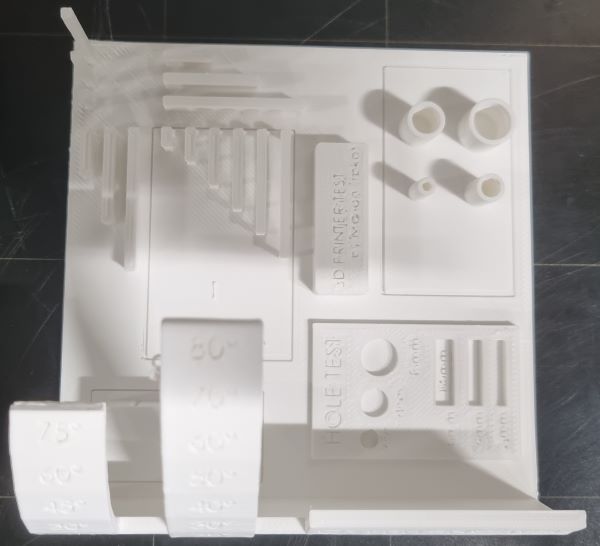
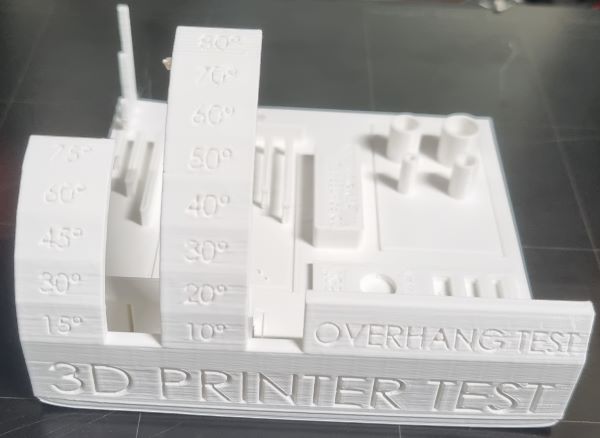
We analysed different points :
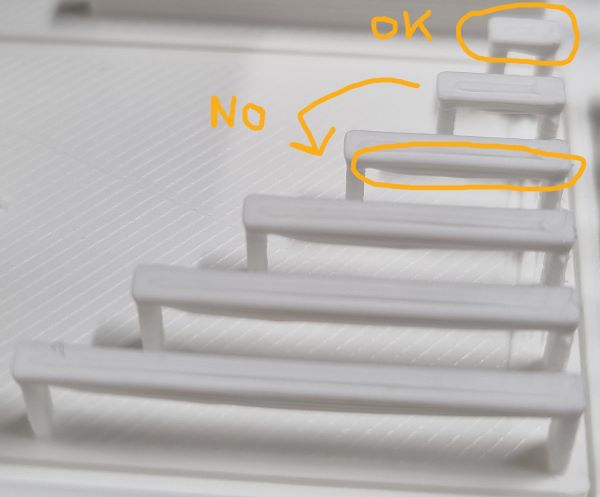
- Angle limits : beyond 60° a support is required
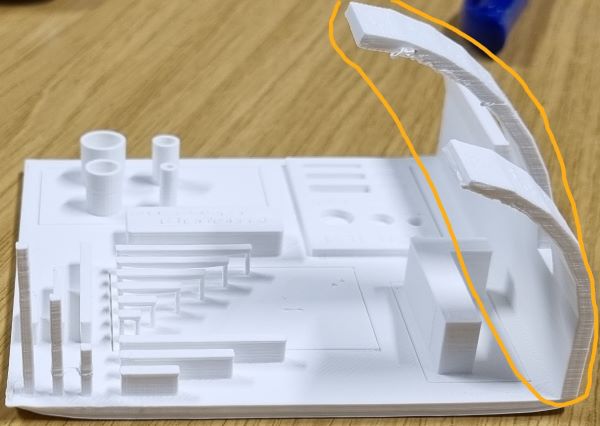
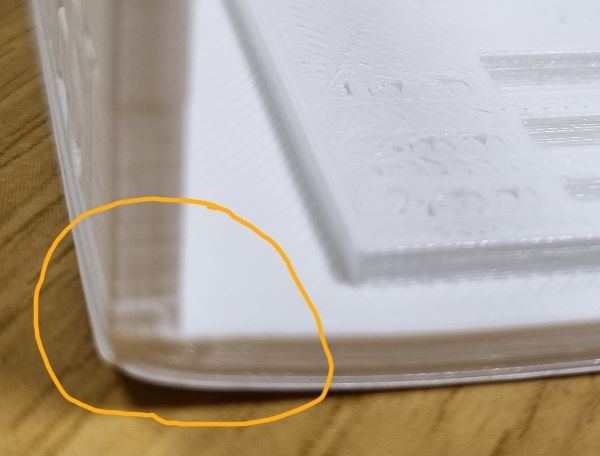
- Curling “edge distortion” without a plate adhesion :
- Bridging limit : beyond 0.7mm a support is required
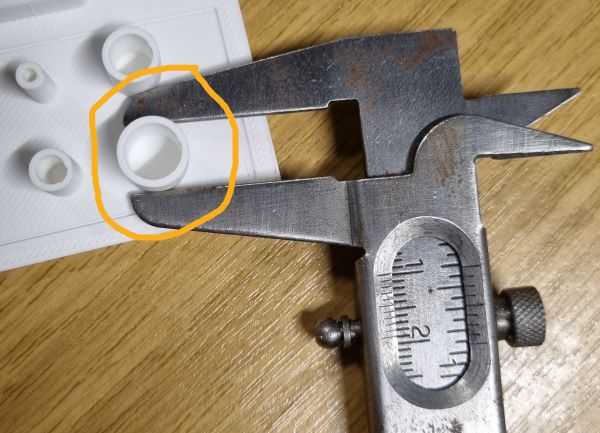
- The external diameter is as parametered (10mm) but not the internal one (0,6mm) because the nozzle is 0,4mm :
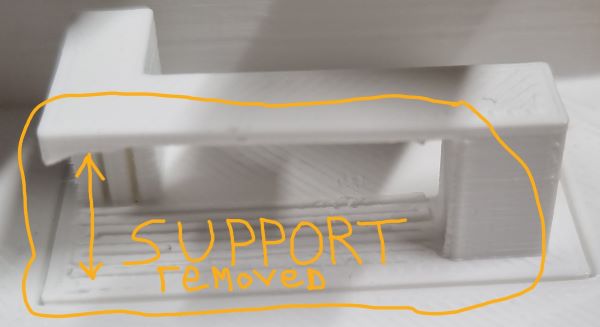
- You can add a support that you will remove if you want to go beyond the limits :
- On the X and Y axis the machine works well :
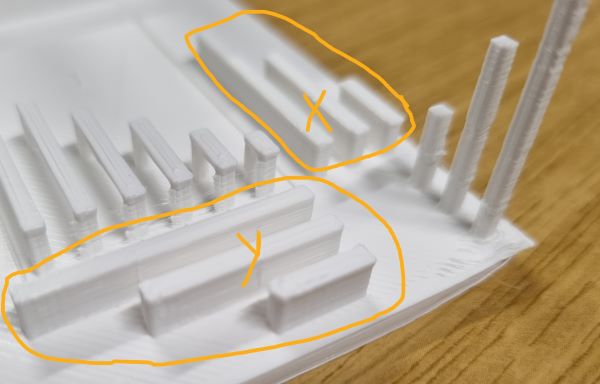
- On the Z axis, some irregularities are realised because of the nozzle moves :
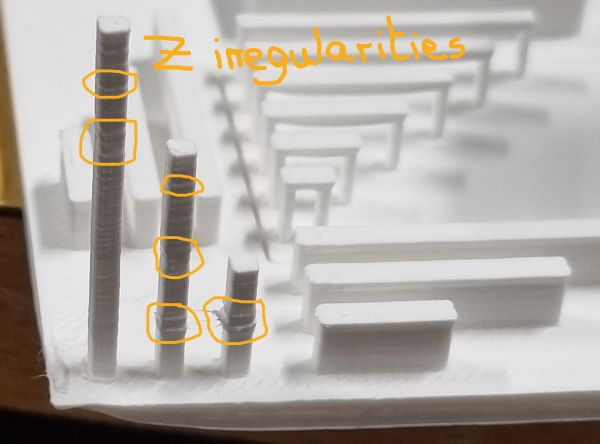
- Moreover, you can see that the shape of the angle is rounded compare to the design.
Thus, you need to take all these limits into consideration when preparing a 3D file for your 3D printer.
Making a kind of clicker with a 3D Printer
Design it with Autodesk Fusion 360
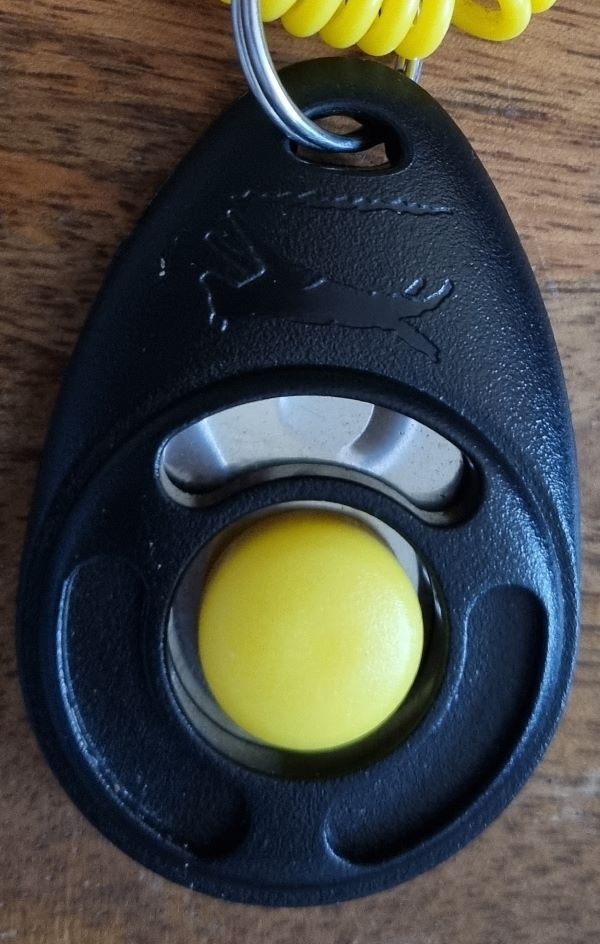
I chose to make a Clicker. As a reminder, a clicker is a small object that makes a caracteristic sound “click click” when you press it and that is used to reward animals in education.

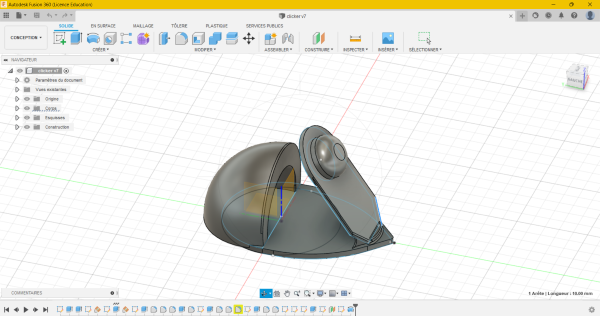
After trying to design it with Autodesk Fusion 360, I modified it because the shape was too complex. Thus, I made a strange form inspired by a clicker :
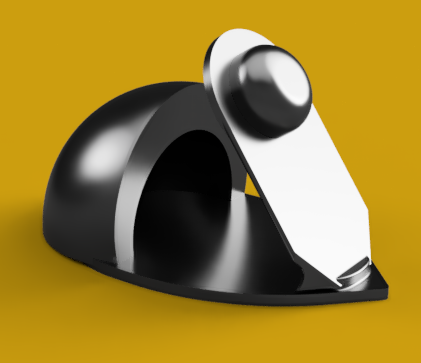
That’s the render of the object :
Use the 3D Printer software to set it up
Then I used Ultimaker Cura to set the 3D printing parameters :
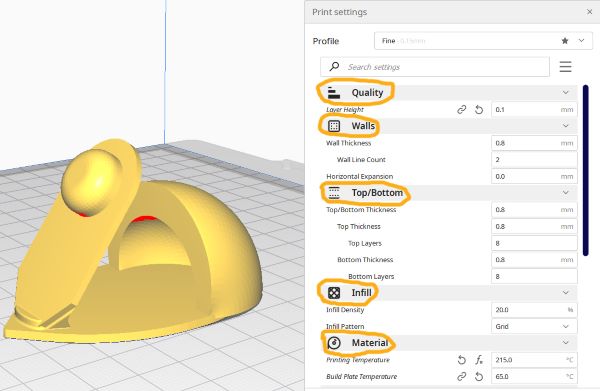
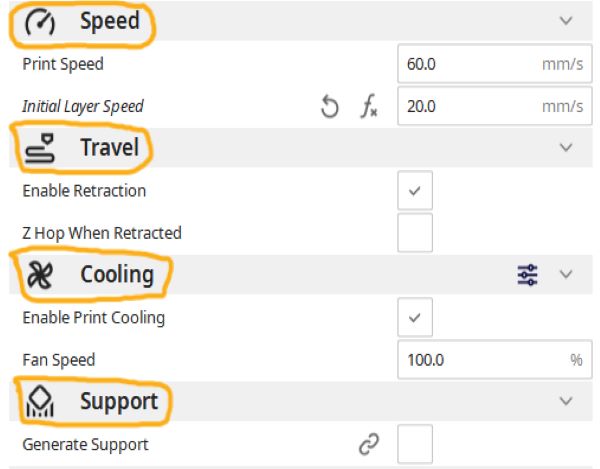

Furthermore, I choose to build a plate adhesion : “Brim” to avoid the edge distorition seen above
Use the 3D printer
- The infill pattern is a “grid” as you can see :
- Don’t forgt to remove the plate adhesion :
3D Scanning a clicker
Follow these steps :
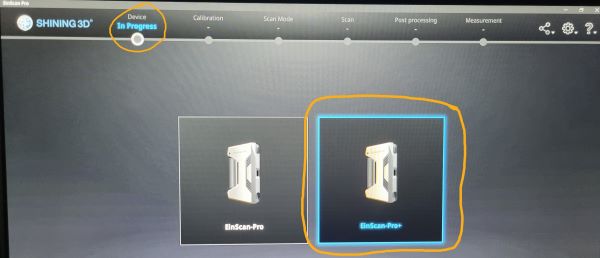
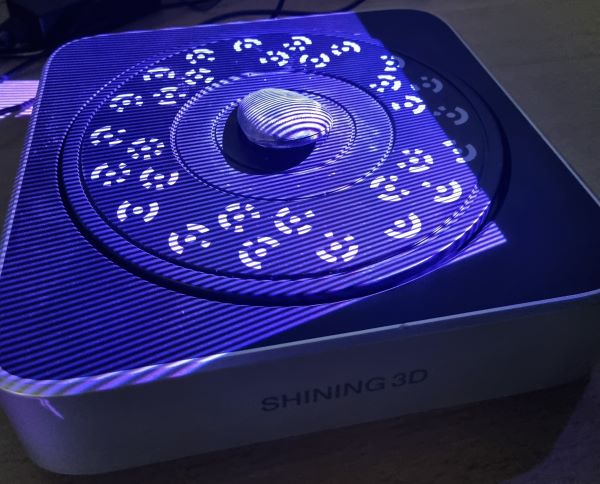
- Open the software Shining 3D Einscan plus and select your scanner :
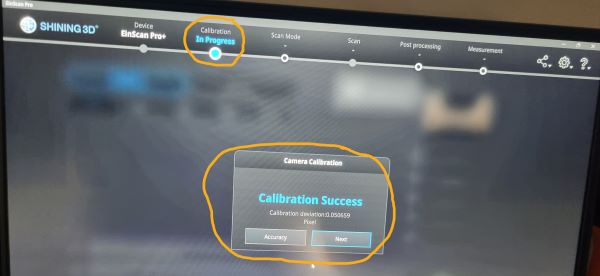
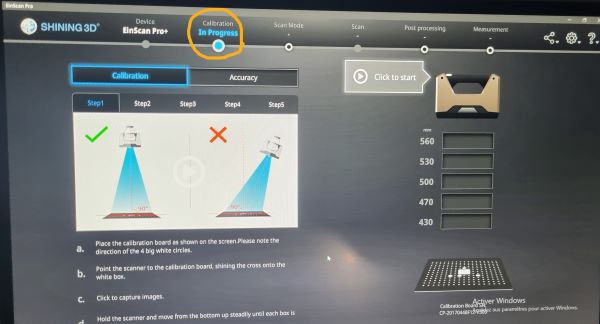
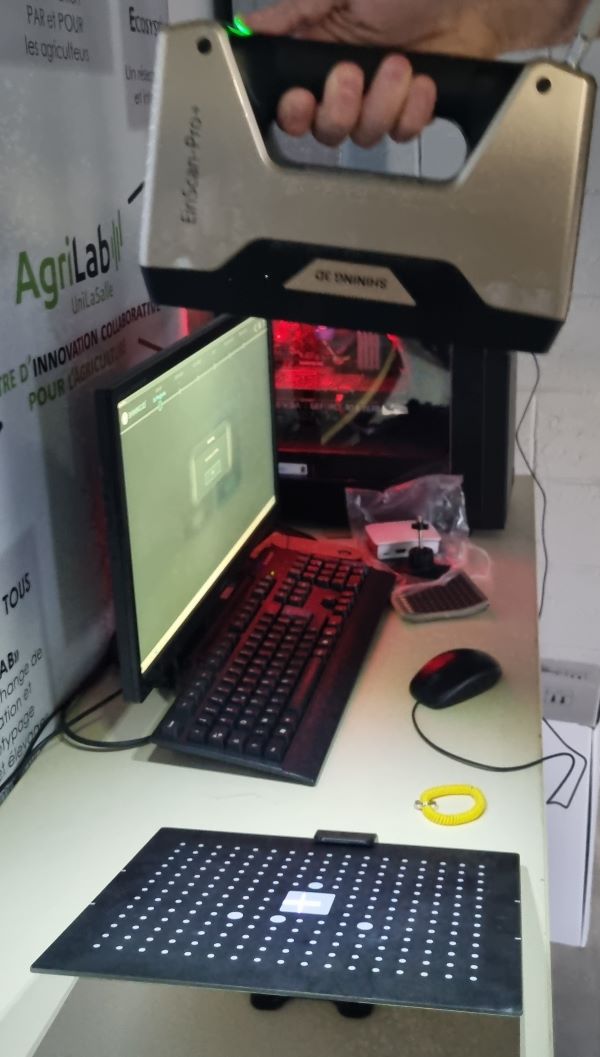
- Realise the calibration :
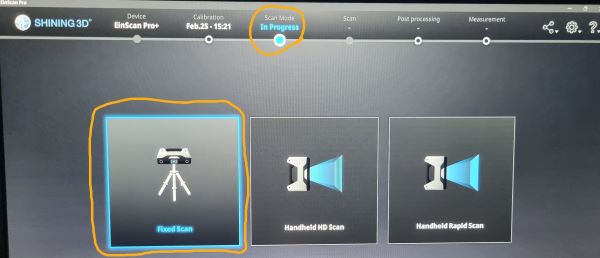
- Select the configuration of your scanner :
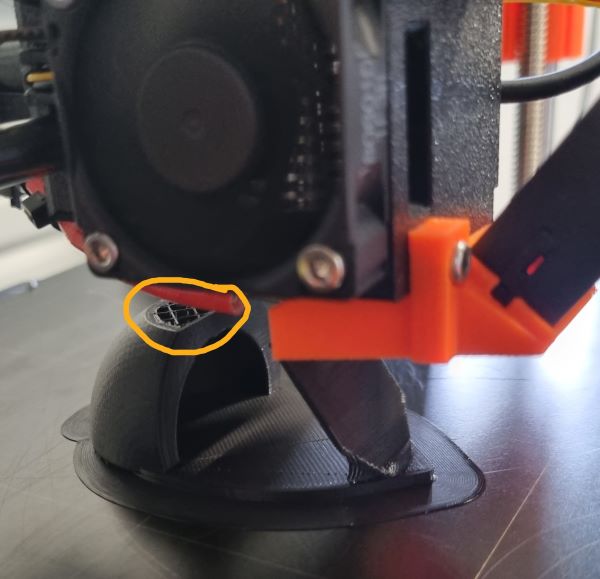
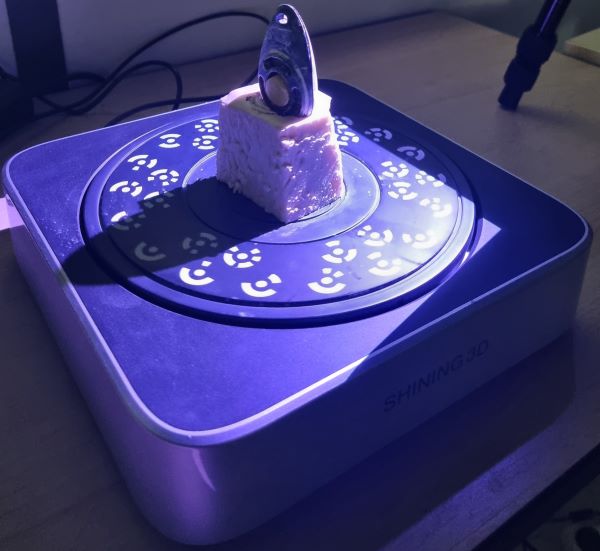
- As the scanner has difficulties to see the black color due to the bad light reflection, put some white powder :

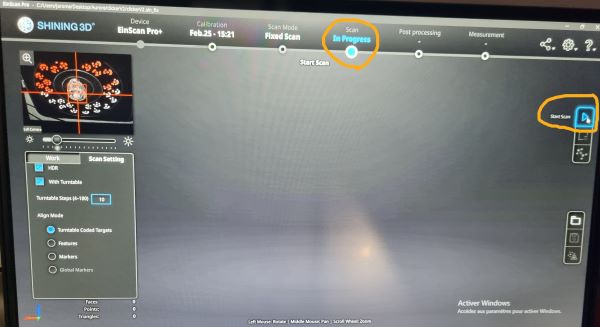
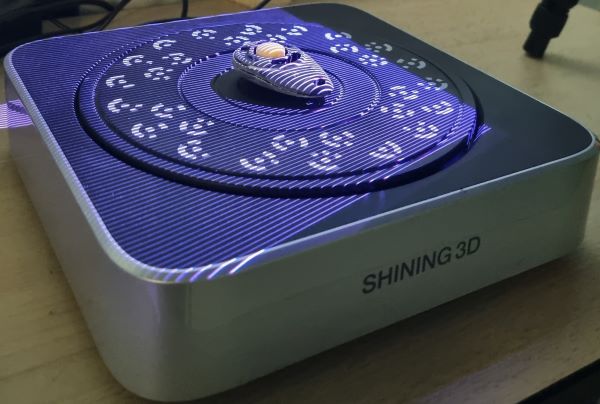
- Place your object to one side and another and scan it :
- Make sure you keep a reference face when you turn it so the software can identify. The turntable has some white references to make it easier. You can put you objet on a support to have a new view.
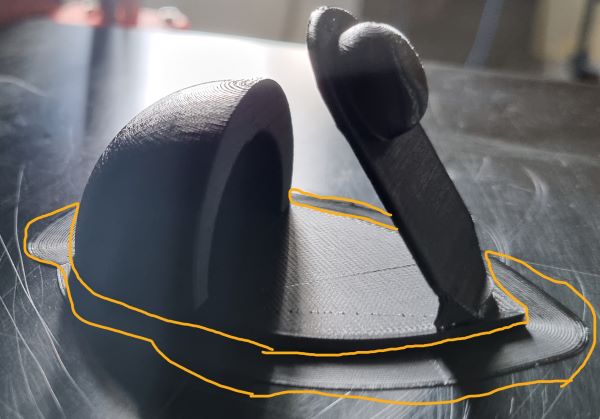
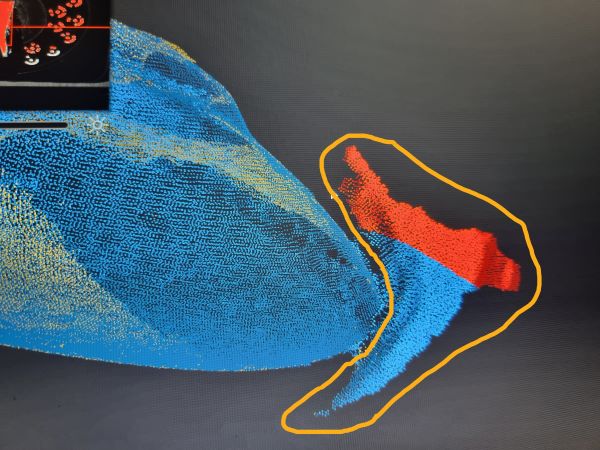
- Remove the extra blue form around the object you want to scan by clicking on “shift” + “left click” to select what you want to remove :
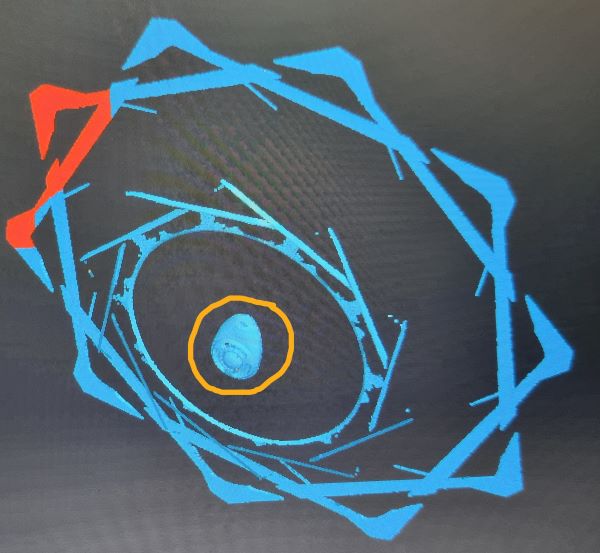
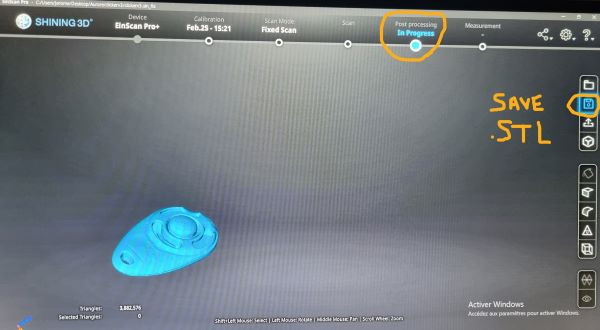
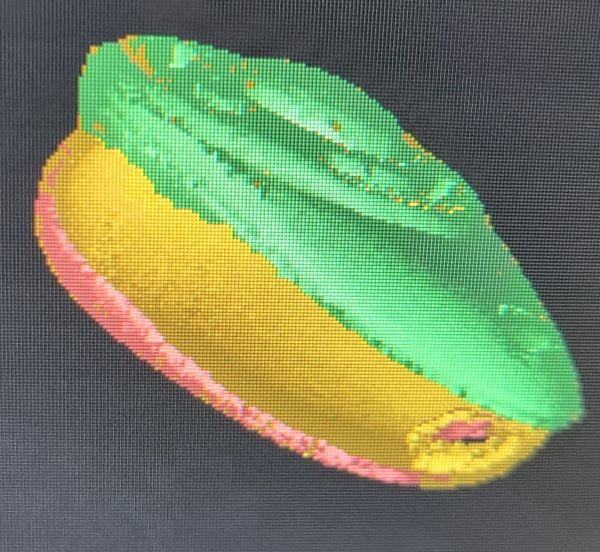
- Then merge the final object to smooth it and save it to a “.stl” format :
Week feelings
It was a nice week. I was happy to learn how to use a 3D printer. It makes possible to imagine and create a lot of things regarding the limits of a 3D printer! I would definitely use this for my final project. For exemple to design and create quickly the box of my connected object…
Mistakes
- Trying to go fast, I missed my first scan because I jumped too fast between the scanning faces and the software was lost.
Files
Useful links
- Original Prusa i3 MK3 by Josef Prusa
- Thingiverse
- Ultimaker Cura
- Autodesk Fusion 360
- Shining 3D Einscan plus
- Shining 3D Einscan pro plus
- Creality CR 10
- Ultimaker 3 Extended
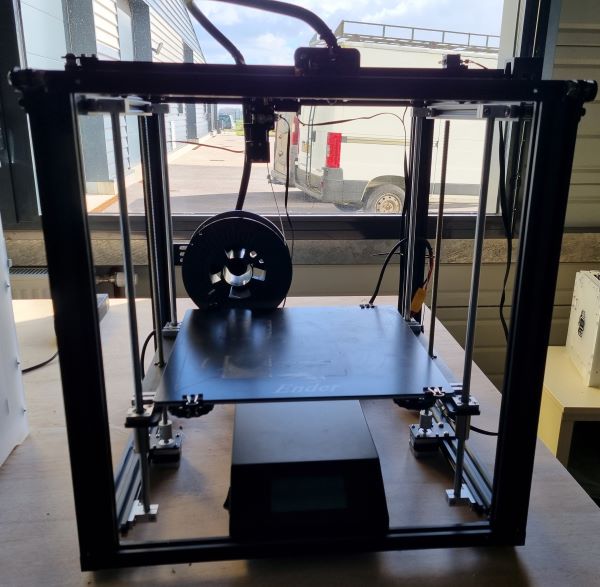
- Ender 5 plus
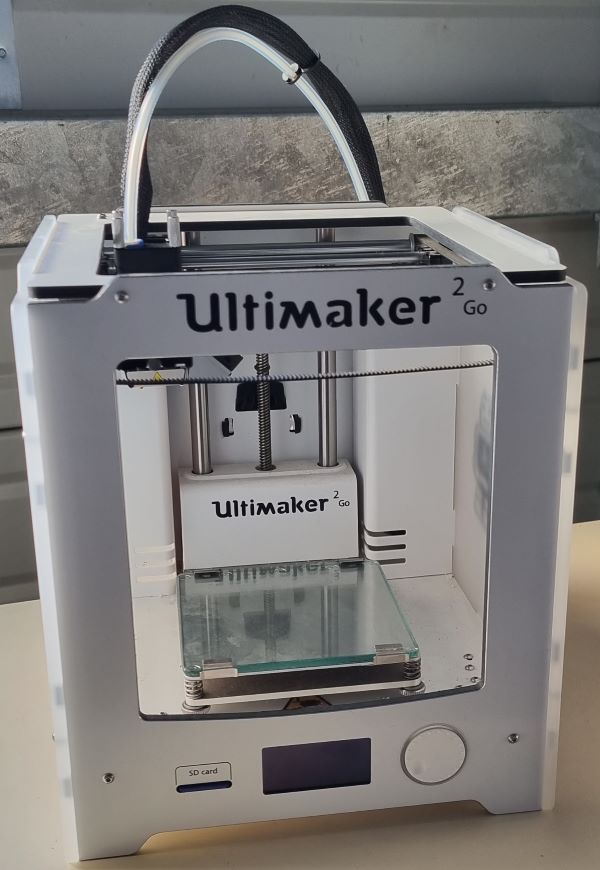
- Ultimaker 2 Go
- Markforged
- Formlabs