Final Project
You can find my final presentation and my final presentation video here
Videos of the final project in action with my dogs :
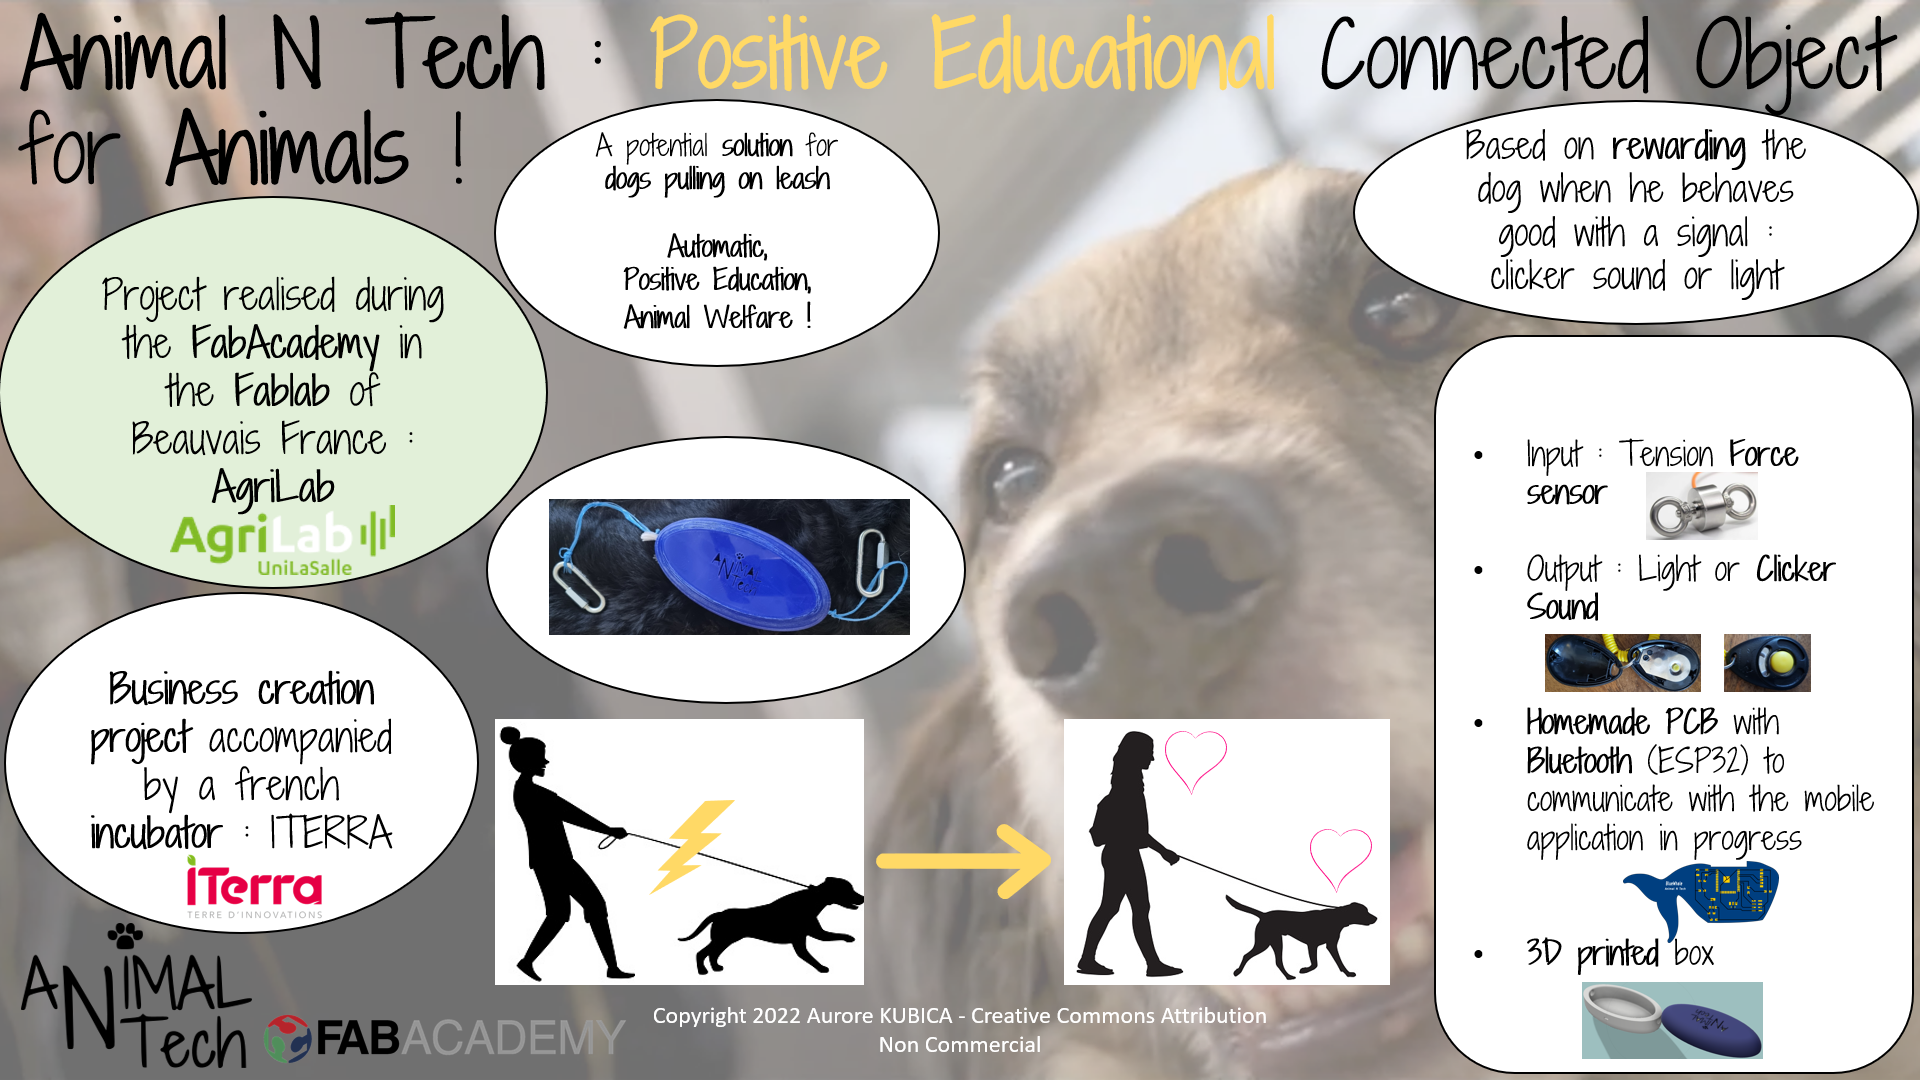
I want to create the prototype of my educational pet connected object in order to start my business called :
Animal N Tech !

Research
-
My project is about an educational connected object for animals working according to the principles of positive education. It means encouraging the good behaviours instead of punishing the wrong ones.
-
It’s a rupture regarding the currently electronic educational products proposed for pets. Indeed, they are based on punishing the animal when he behaves “wrong” according to Human.
-
For example, the anti bark collar makes a sound, a vibration and then electrocutes the animal when a bark is detected. In some European countries, this method has been forbidden because of the discomfort it causes to the pet. As no animal welfare friendly electronical alternativ exists yet, we have to make it.
My first product would be for dogs pulling on leash.

- The principle is based on the Pavlovian conditioning which consists of associating a stimulus with another. The dog will learn that when he pulls less on the leash, a friendly sound associated as a reward is emitted. I think the sound of the clicker will be perfect for this task.
Finally, the dog should eventually understand that not pulling is good. The product will be attached to the leash, small, light and with a nice design. It will responds when a significant force variation is felt on the leash.
Useful links about animal clicker training
Thus, the product should have some caracteristics described below. I also added the bill.
Caracteristics and Bill of Materials :
| Fonctions | Components | References | Price |
|---|---|---|---|
| Mesure strength | 100kg Force sensor | 100kg miniature pull pressure sensor | 41.63€ |
| Send a signal | Led | Led | 0.10€ |
| Data storage | Electronic card | Homemade PCB | To define regarding the materials used and the time spent to imagine, design and manufacturing |
| Data analysis | Software | Arduino IDE | free |
| Transmit the data | Bluetooth | ESP32 | 3,45€ |
| Energy | Rechargeable battery | Battery | 4.15€ each and I need 4 so 16.6€ |
| Energy | Battery charger | Battery charger | 5.65€ |
So I can estimate it around : 67.43€ without the homemade PCB and the engineering time spent on it but maybe the final product would cost around 130 euros to include the tradin margin and be economically sustainable for my business. I still have to define it because when I would create my business other costs would come.
A mobile application would go with the product to show the force variations walk by walk and by periods (days, weeks, months…). These variations would be represented with curves.
The main fonctions of this application would be :
- Quick user tutorial to create the associative learning between the sound and its positive value
- Strength variation by walk
- Positive educational advices provided with dogs behaviour professionals and based on scientific litterature
- GPS using the phone fonction to see where the dog is pulling the most and try to figure why
- Step counter associated with a calorie counter to make some daily goals using the phone fonctions
2D and 3D Modeling
Design thinking
The first step was to think about the design of the product regarding its use. As I want it to measure the force exerted on the dog leash, it needs to be placed where the force sensor can work. I get inspired by a horse rein tensionmeter called EC-Hand Tensiometer that I saw on the website “epplejeck”. The force sensor needs to be in contact with its 2 ends to the leash to measure the tractive force as in the “EC-Hand Tensionmeter” below. I’ve annoted the different strengths in orange with windows 11 image tool that allows to annoted the picture with the computer touchpad.

Image modified from the site Epplejeck presenting the EC-Hand Tensiometer
Then I checked a dog leash product to amortize the impacts of dog pulling on leash, called Yangbaga that I saw on “Amazon” and annoted with orange.
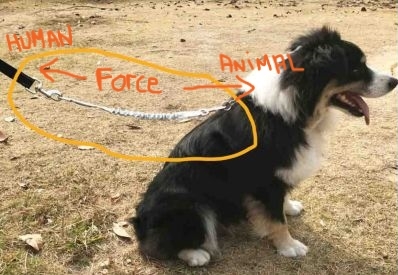
Image modified from the site Amazon presenting the Yangbaga anti-shock leash
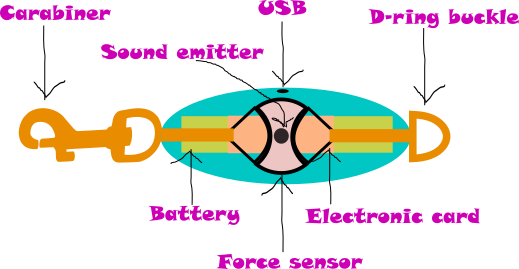
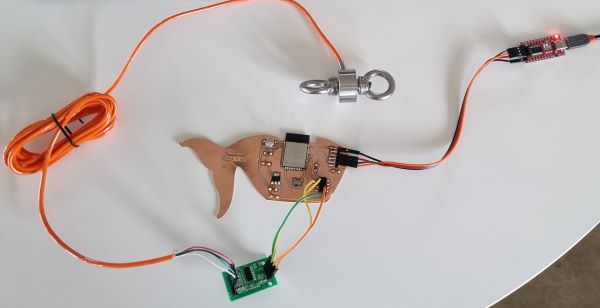
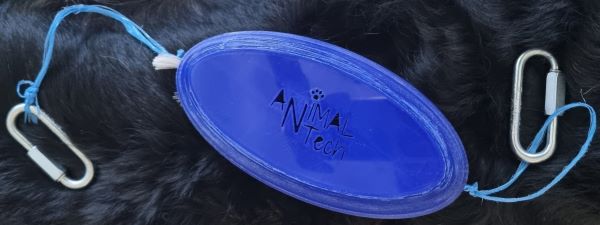
It gave me the idea with the advices of my instructors to put the electronic tensiometer at the base of the leash to adapt with the collar or the harness and so be in capacity to measure the strength exerced on the leash. As figured on the picture below :

It means that there will be a carabiner at the collar/harness side and a stainless metal d-ring on the leash side.
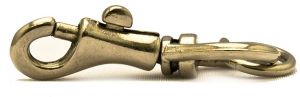
Carabiner from pixabay
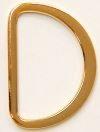
D-ring buckle from Joyce Trimming Inc
2D modeling with Inkscape
The final result :
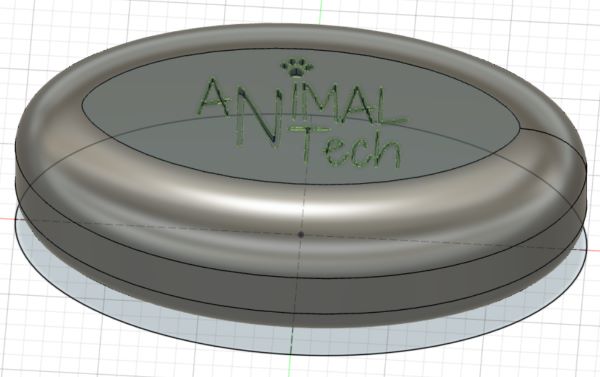
3D modeling with Autodesk fusion 360
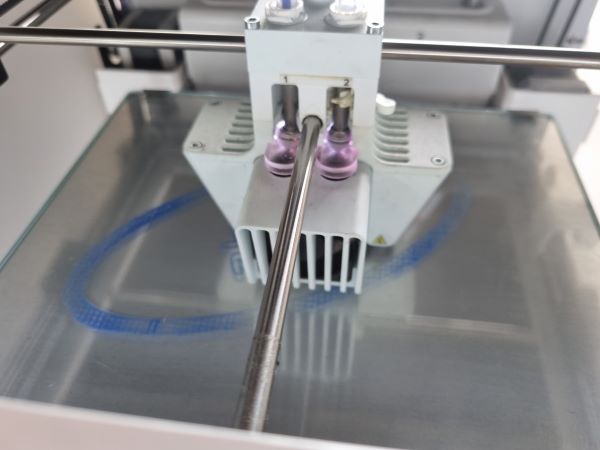
3D Printing

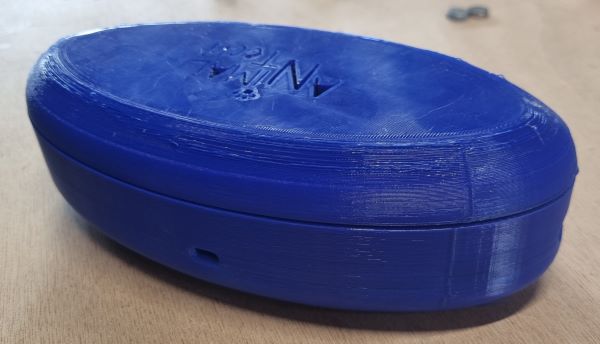
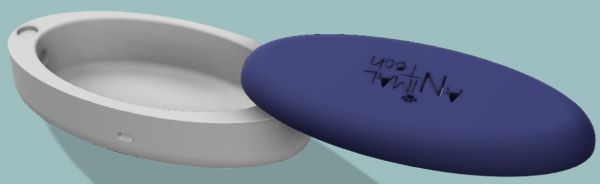
Inside :
Outside :
Intellectual property
All my work is covered by a license : “Copyright 2022 Aurore KUBICA - Creative Commons Attribution Non Commercial”. It protects me in particular from commercial use of my work by other than me. The legal code of this license is here
Code
// Aurore KUBICA code for making blink a led when the tension decreases of 50 grammes and only if the tension is bigger than 100 grammes

#include "HX711.h"

// HX711 circuit wiring
const int LOADCELL_DOUT_PIN = 18;
const int LOADCELL_SCK_PIN = 5;
int LOADCELL_Current = LOW;
int LOADCELL_Previous = LOW;
int LOADCELL_Variation = 0;

long reading;
float conversion;

HX711 scale;

void setup() {
  Serial.begin(9600);
  scale.begin(LOADCELL_DOUT_PIN, LOADCELL_SCK_PIN);
  scale.set_scale(43.637);
  scale.tare();
  Serial.println("start");
  pinMode(19, OUTPUT); // Led
}

void loop() {
  LOADCELL_Previous = LOADCELL_Current; //store old state
  LOADCELL_Current = reading; // read new state
  LOADCELL_Variation = LOADCELL_Current - LOADCELL_Previous;
  Serial.print("previous : "); Serial.print(LOADCELL_Previous); Serial.print(" current : "); Serial.print(LOADCELL_Current); Serial.print(" variation : "); Serial.println(LOADCELL_Variation);
   if (LOADCELL_Current > 100) {
    if (LOADCELL_Variation < -50){
       digitalWrite(19, HIGH);
       delay(1000);
       digitalWrite(19, LOW);
       delay(1000);
   }
  }

  if (scale.is_ready()) {
    //reading = scale.read(); //lecture du capteur
    reading = scale.get_units();
    Serial.println(reading);
  } else {
    Serial.println("HX711 not found.");
  }
  delay(100);
}
Files :
Useful links :
- 100kg miniature pull pressure sensor
- 3V mini ElectroValve
- Arduino IDE
- ESP32
- Creative Commons Attribution Non Commercial
- Creative Commons Attribution Non Commercial legal code