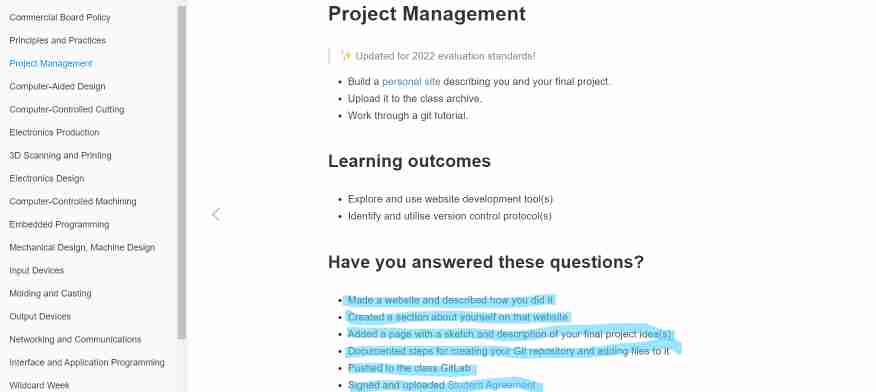
2. Project management
This week I worked on defining my final project idea and started to getting used to the documentation process.
Documentation process
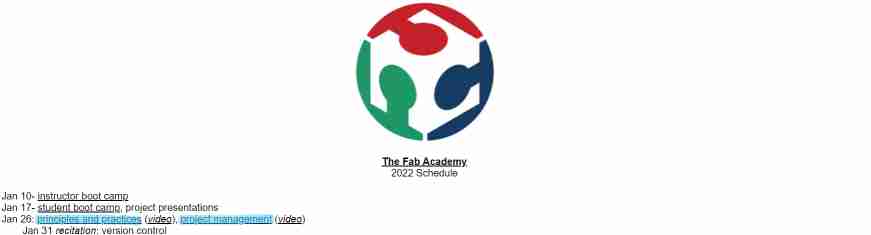
I first read the 2022 January 26th FabAcademy schedule :
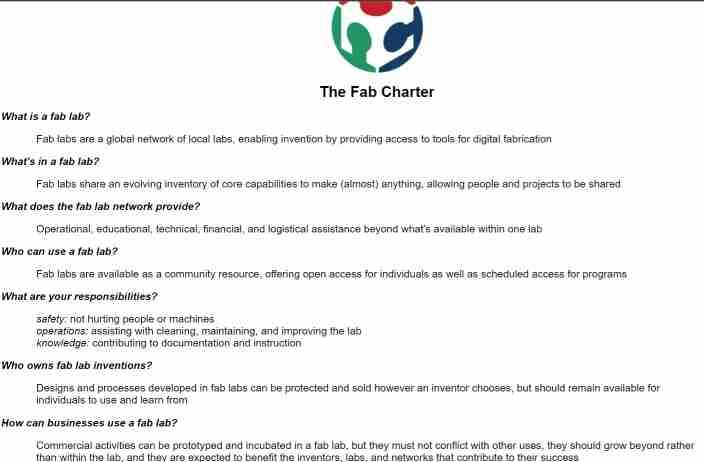
Then I read the Fab Charter and decided regarding my business project that I would add a non-commercial license on my work
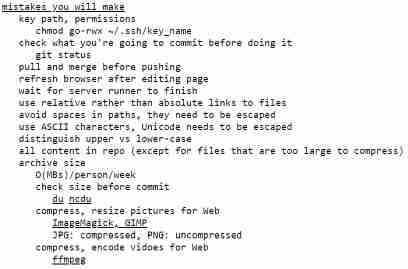
I continued by checking the class archives and specificly “the mistakes you will make” try not to do it…
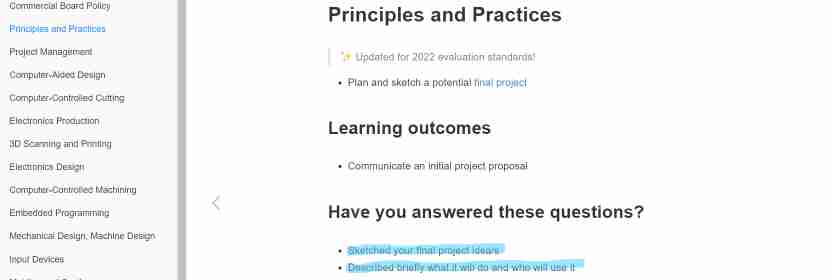
I looked at the assignments and assessment to know what I had to do this week :
Making a website
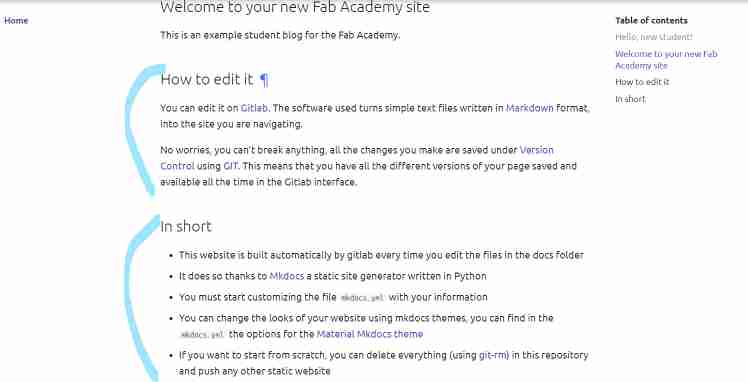
As I already knew what I had to put in the Principles and Pratices part, I continued with the unknown part : “Make a website” to deal with the documentation process and to be quickly able to start the work. Thus, I discovered my website on Gitlab and followed the script :”How to edit it” and “In short”
Creating an SSH key pair
The first step was to create an SSH key pair, so I followed the Gitlab protocol :
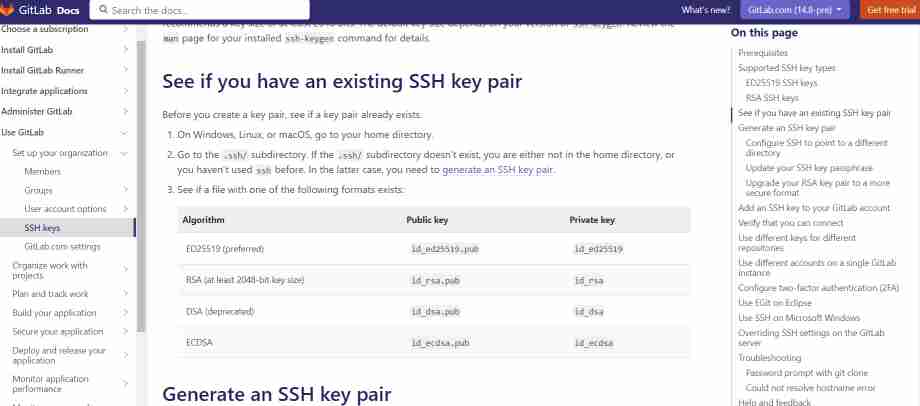
Creation of my SSH key pair :

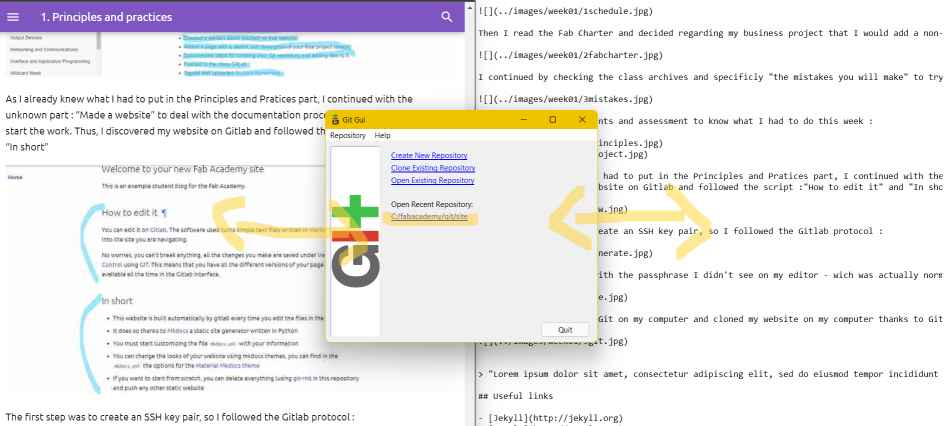
Cloning my website
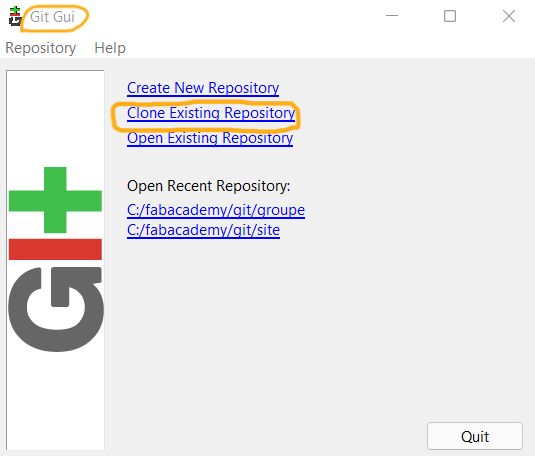
After that I downloaded the Git GUI clients on my computer which is composed of Git Gui and Git Bash that allow you to commit and browse a website.
So I cloned my website on my computer thanks to Git.
It allows me to edit the website on my computer and send it “push it” to my fabacademy website :
The different steps are below :
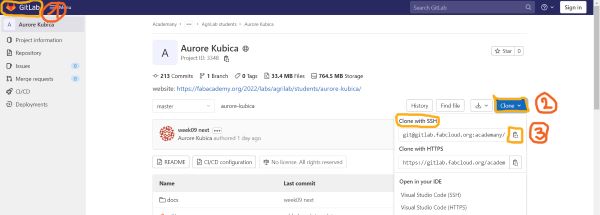
- Go to Gitlab and click on “Clone”> “Clone with SSH”
- Open Git and click on “Clone Existing Repository”
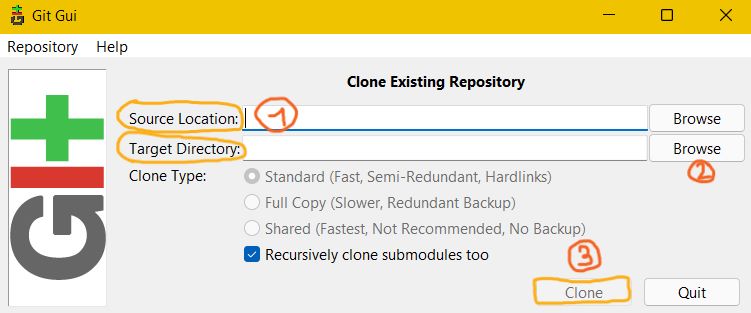
- Paste the link you copy with “Clone with SSH” in the “Source location”, select the “Target Directory” on your computer and click on “Clone”
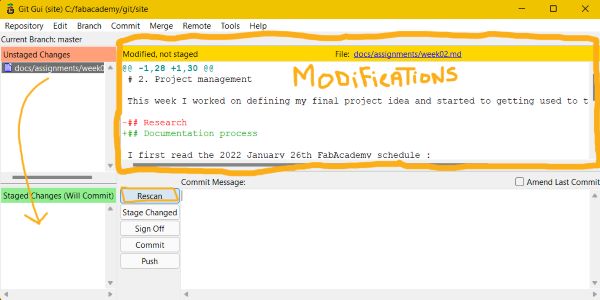
- Then you find your modifications on git and by clicking on Rescan its status goes from “Unstaged” to “Staged”
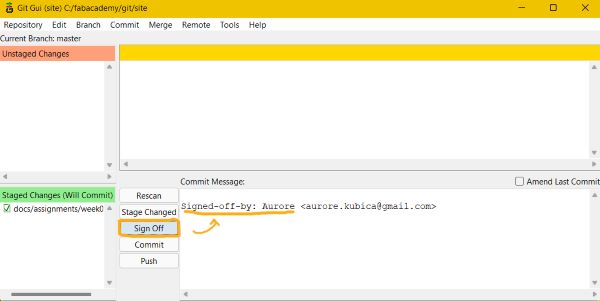
- Click on “Stage Changed”

- Click on “Sign Off” to sign with your name the change you’re about to push
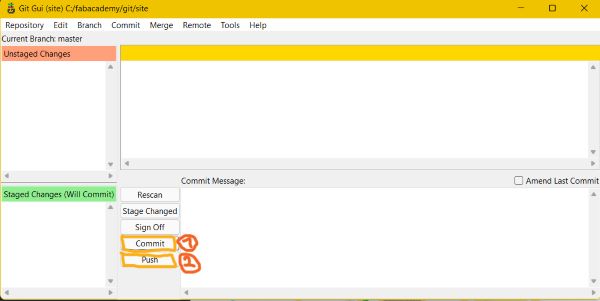
- Click on “Commit” to send your changes and finally click on “Push”
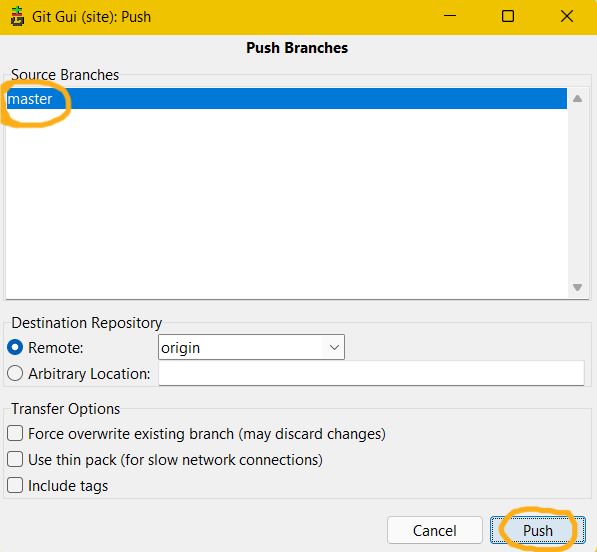
- Select the master branch and click on “Push”
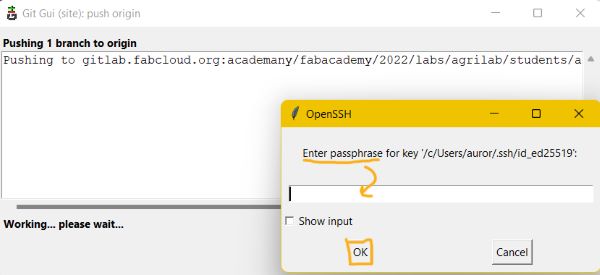
- Enter your SSH passphrase and click on “OK”
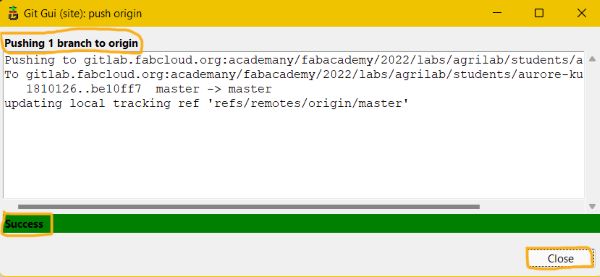
- If your push succeed you should see that :
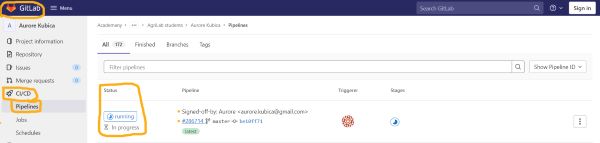
- Then if you go to your Gitlab, you can see in the pipeline the progression of your push and see if it’s accepted or not
Images resizing
- I resized it after cropping it with Windows 11 images tools. You just have to select the dimensions you want and the image quality.
Windows 11:

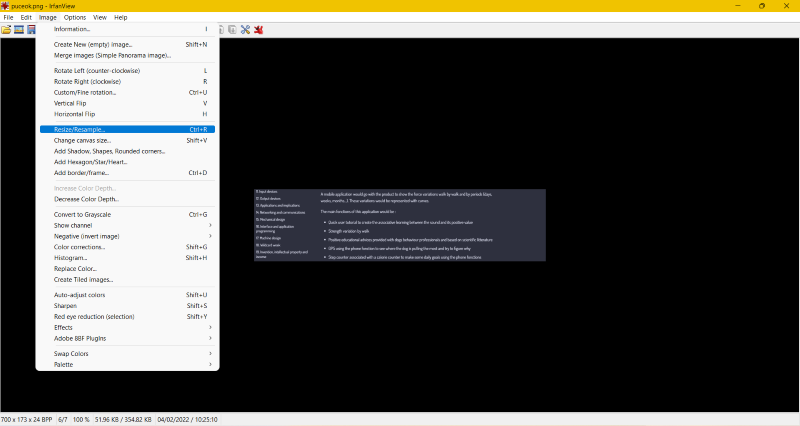
- I also used Irfanview : “resize/resample” button or you can click on “ctrl” + “r” and then you choose your dimensions and the quality of your images
Irfanview :
 The both work. For the next, I will use the Windows 11 image tool as I find it convenient.
Customization of the website
Finally, I had fun customizing my site by looking on MkDocs website and modifying the “mkdocs.yml” file
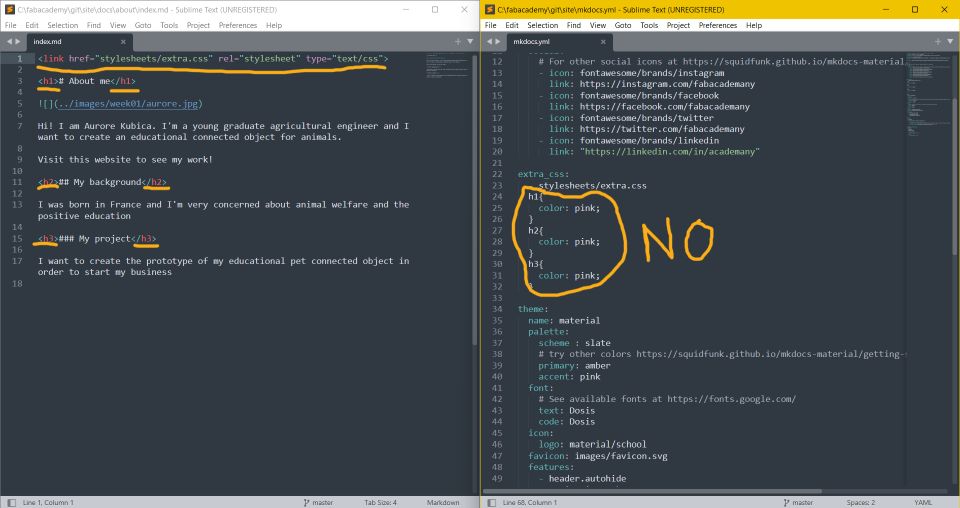
I had some suprises when I first tried to change the colors of the title. I didn’t really know how to do so I tried many things :
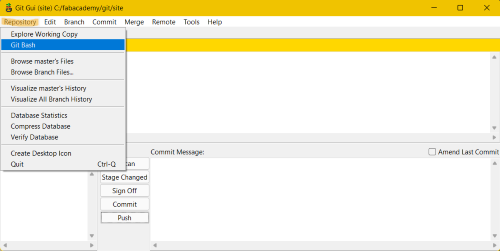
That provoques a failed notification on Git :

That I tried to fixed on Git Bash with the command “git revert” but it wasn’t enough so I had to make a “git reset” following my instructors advices BUT BEFORE that I SAVED all my files on another folder to make sure all my informations are not deleted by the git reset command.
Git Bash :

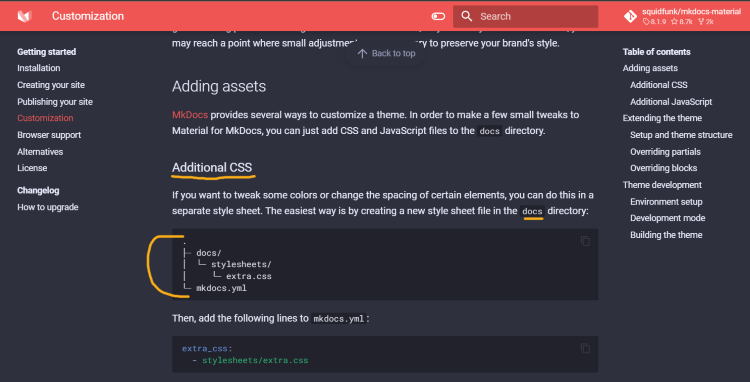
So I finally succeeded changing the colors after created a correct css file in the docs folder after created a “stylesheets” folder inside :
Script modifications :
I’m not sure about the H1 because the color doesn’t change on the site :

Mistakes
- I had difficulties when creating my SSH key because I didn’t see my passphrase on my editor but it was actually normal
- I met an issue during the step of pushing images because of the arborescence name. Regarding where the images are on the files, I have to call them “(../images/)” or just “(images/)”.
- Also, trying to make compressed images to respect the authorised size, the images were unreadable and so I had to find the good size.