10. Molding and casting
This week I worked on molding and casting. The assignments are below :
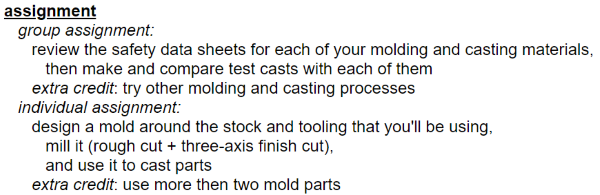
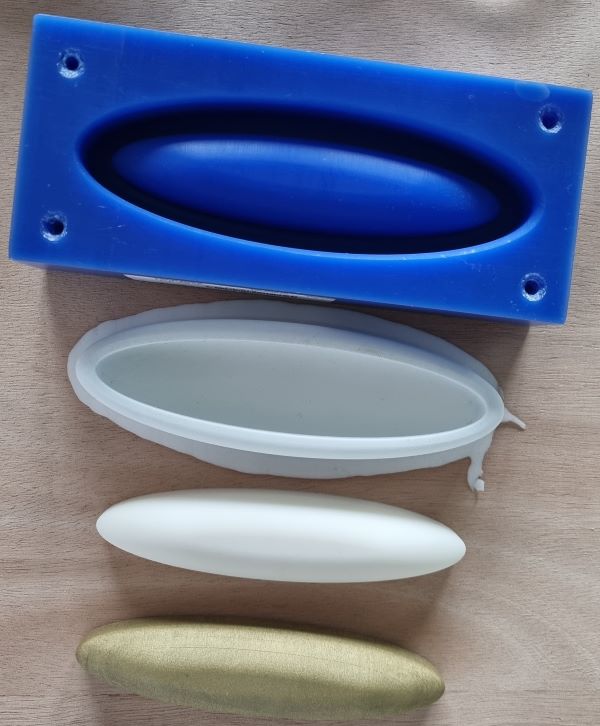
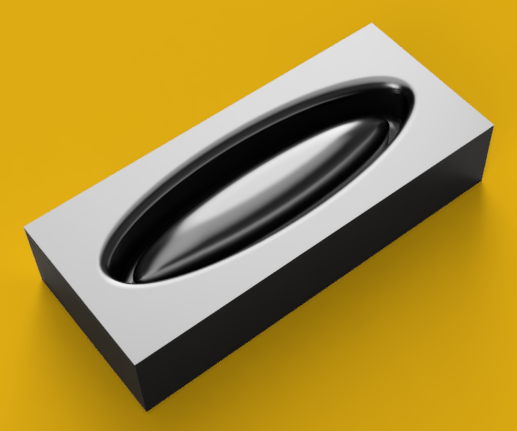
Hero Shot
Designing a mold of your object with Autodesk fusion 360
First, think about the object you want to mold. I chose to realise the box of my connected object.
- Open Autodesk Fusion 3D.
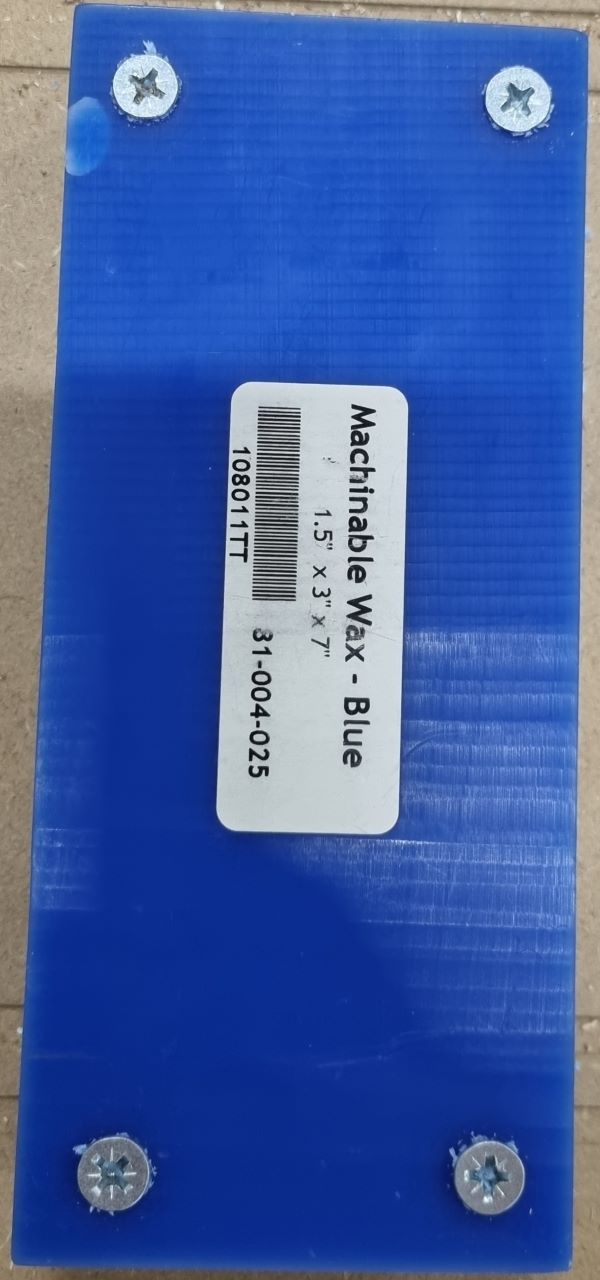
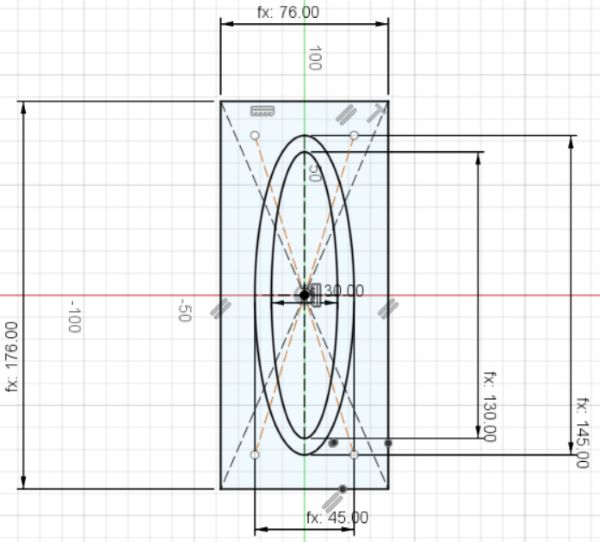
- Create the sketch in a parametrical way with the exact dimensions of your wax :

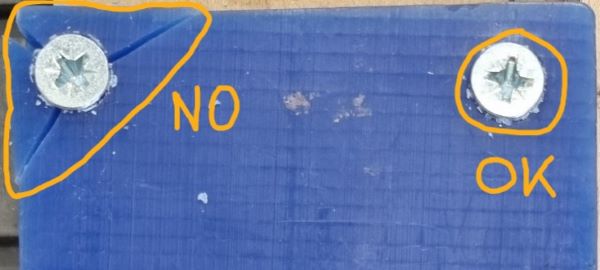
- Think about your fixation system for the wax because it impacts your design.
- In my case, I chose to fix the wax with 4 screws so I had to let a 2 cm square on each corner because if the screws are too close to the corner it breaks the wax :
- First design a centered rectangle
- Put the parametrical dimensions
- Design a centered ellipse in a parametrical way and another one
- Then extrude it regarding the dimensions you want !
- Add a filet on the two ellipses, it will help with demoulding !
Set the configuration on the fabric mode
- Set the origine
- Parameter the tools you use
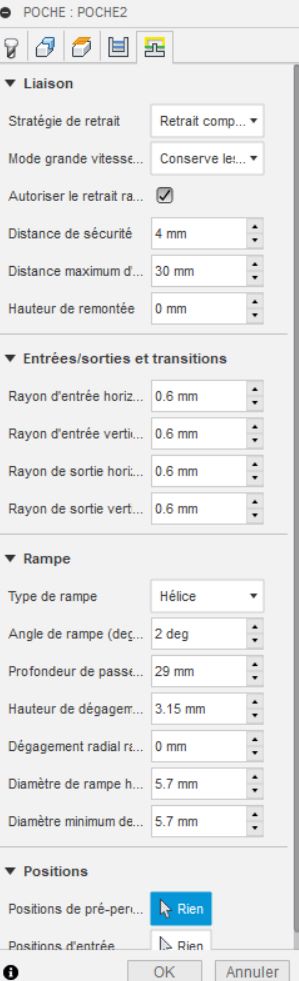
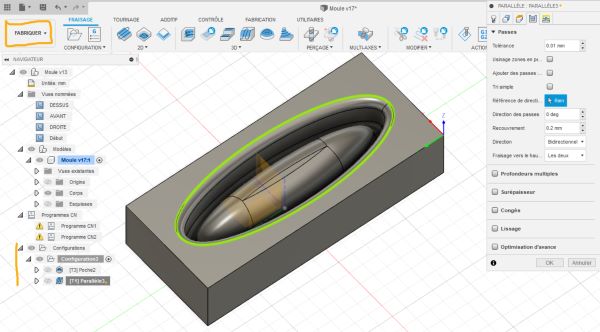
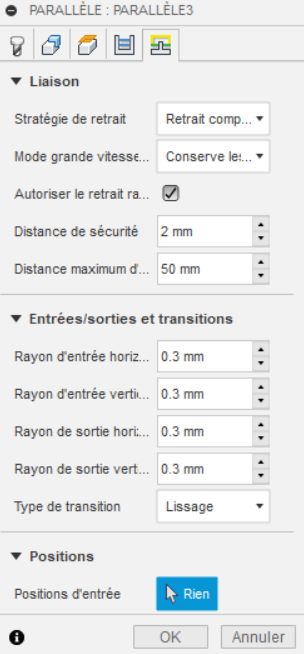
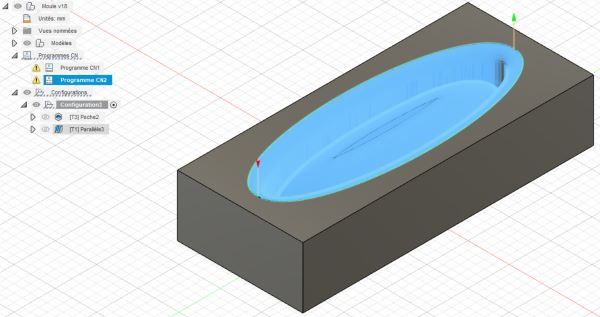
Create a 3D pocket and a parallel
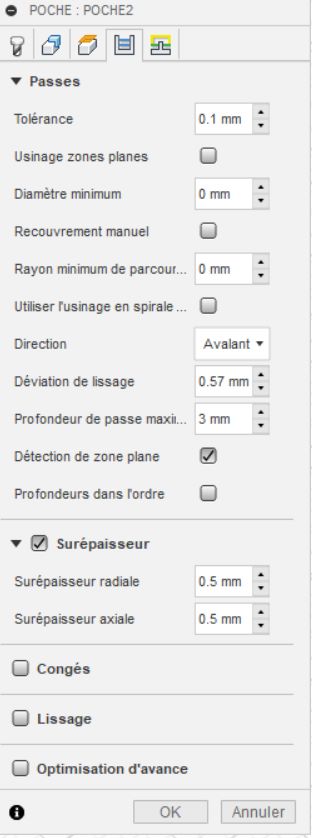
3D Pocket
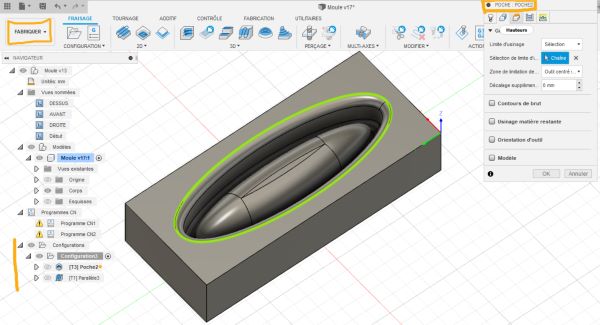
Parallel
Cut it !
After you fixed it on the sacrifice layer you can :
-
Launch your CNC programm which is composed of 2 programms :
-
The pocket cutting with the 6mm mill to go quickly and deep (about 15 minutes)
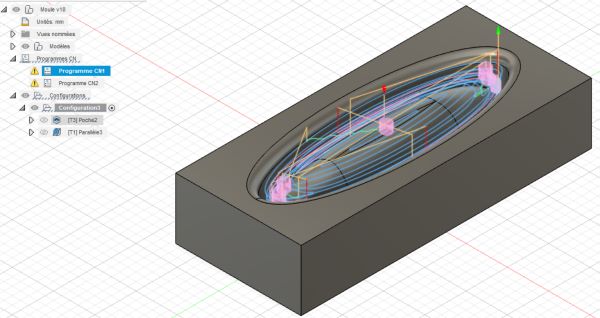
- The parallel cutting with the 3 mm to slowly go smoothing the mold (about 75 minutes)
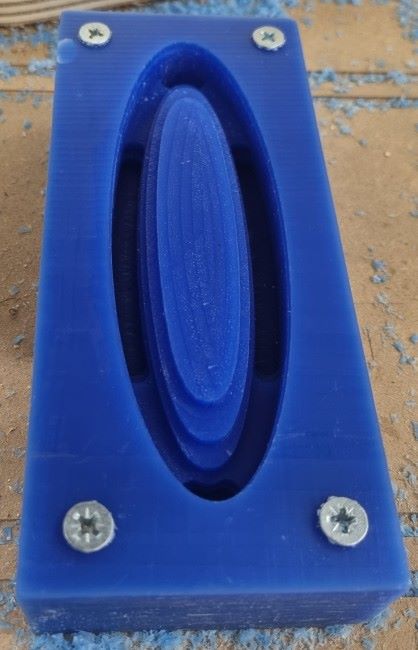
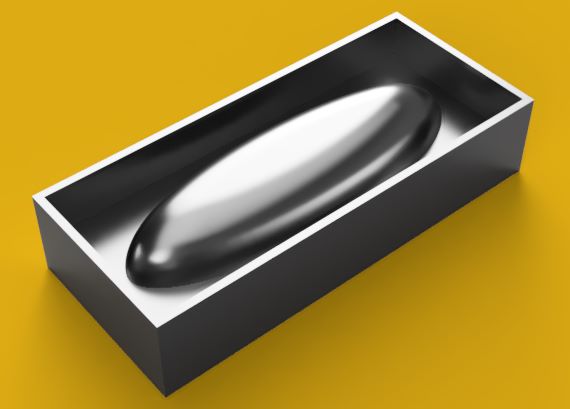
That’s the render :
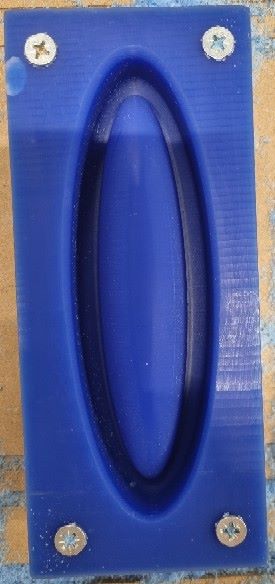
Then it’s ready for the next steps : making the silicone mold !
Group work with Theo Gautier from Agrilab
Chose the molding material
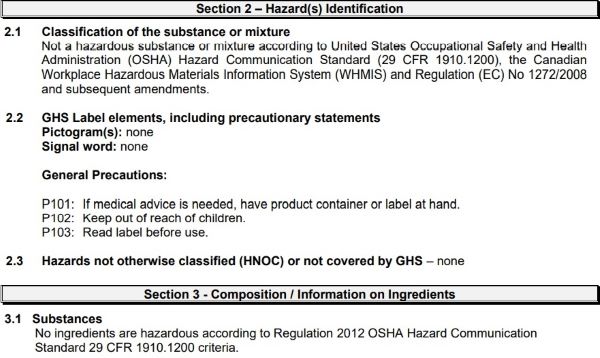
I first wanted to take the OOMOO 25 Smooth-On material because it’s simple to use, you just have to mix the same volume quantity of the two fluids, mix it, pour it slowly in the mold and wait only 75 min. Unfortunately our Oomoo was rigid even if it was new. I think it’s probably because of the temperature storage wich should be around 20°C, but during the summer, the temperature storage room is way higher…
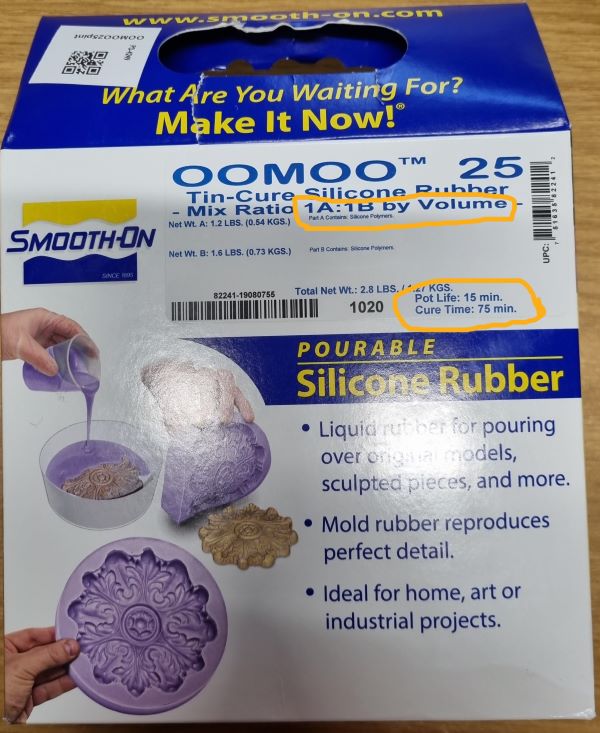
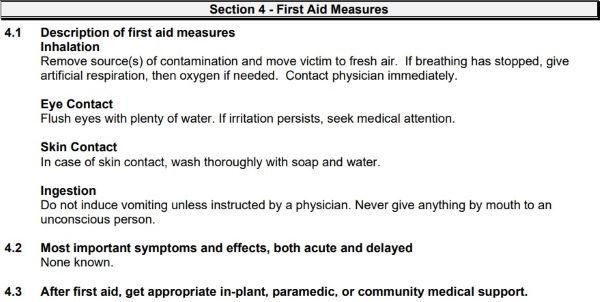
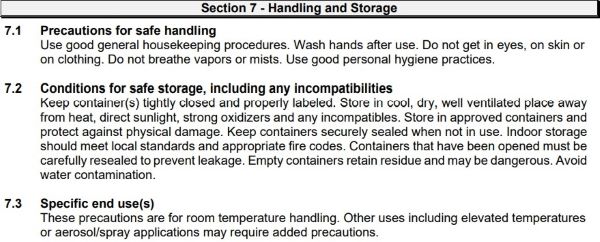
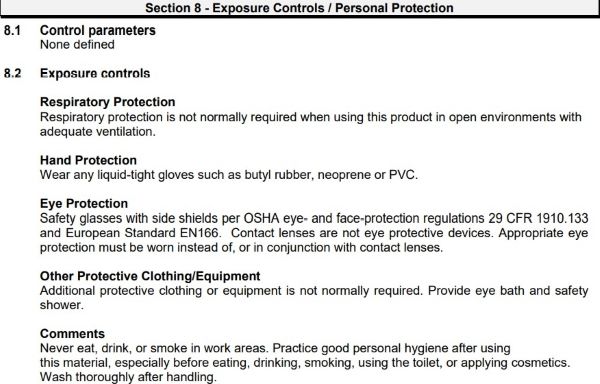
Here is the Smooth On Safety datasheet.pdf. This product is a Silicone Elastomer.
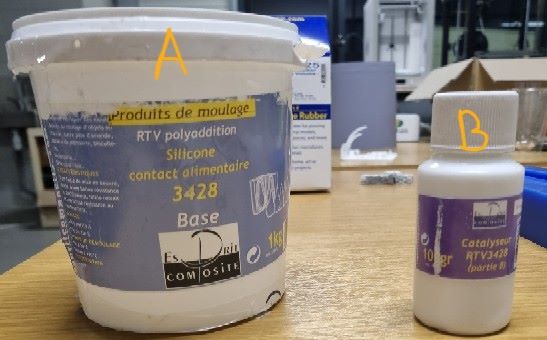
Thus, I chose to use the Esprit Composite Alimentary Silicone 3428 because the cure time is 15 hours at 20°C and furthermore it’s compatible with food and biocompatible. You have a base called “A” and a catalyser called “B”. You have to put 100g of “A” for 10g of “B”. It’s a “two-component silicone elastomer crosslinking by polyaddition reaction. The Vulcanization takes place at room temperature but can be accelerated by heat.” The silicon is no irritant or skin sensitizer. The product meet standardization requirements in several countries, in particular those of Class I medical devices as in European Directive 93/42/EEC or those of Class VI of the American Pharmacopoeia.
Esprit Composite
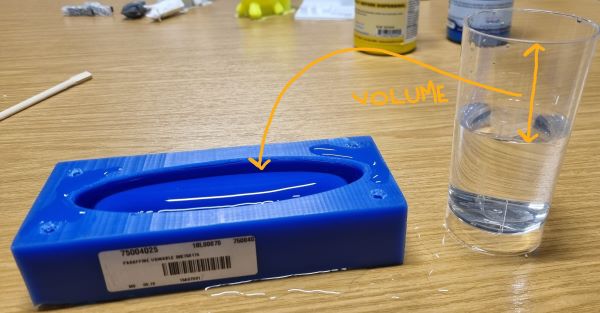
- First estimate the volume of my mold by filling it with water :
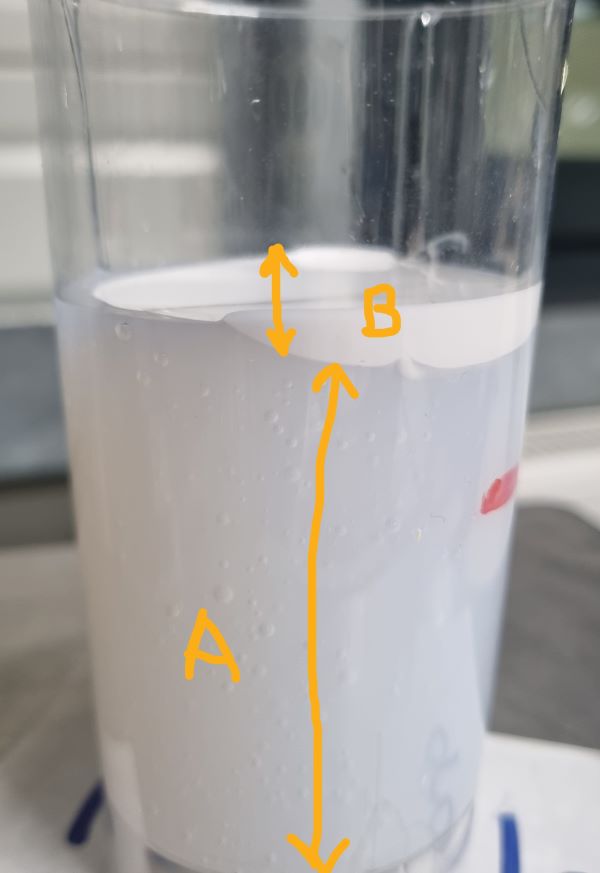
- Weigh the quantity of A and B I had to put to fill that volume by respecting the “A” and “B” recommended proportions (100 A for 10B).
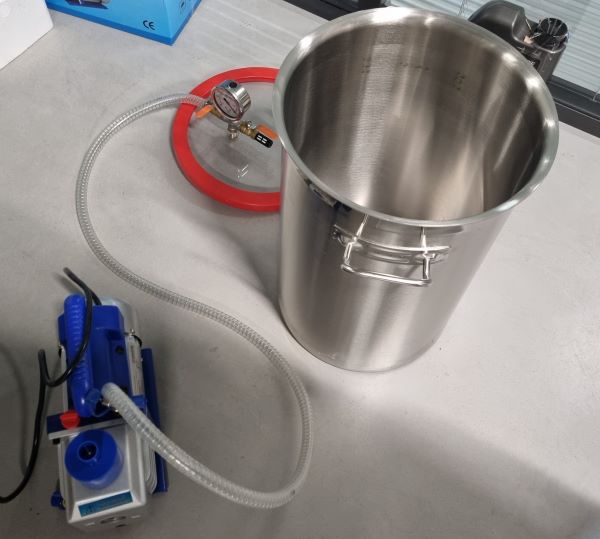
- Mix it and put the mixture in the air depression pump to remove the air bubles :
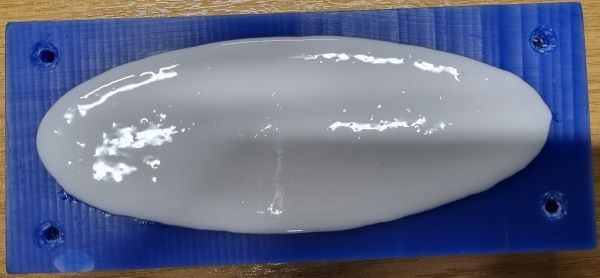
- Pour the mix slowly into your wax mold to completely fill it :
- Put it into the air depression pump another time to remove the last bubles :
Then you have to wait 16 hours for the mold to be created :
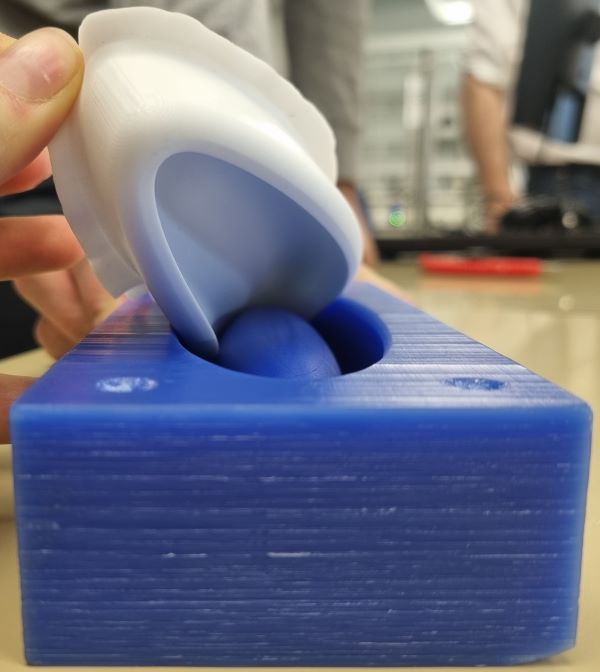
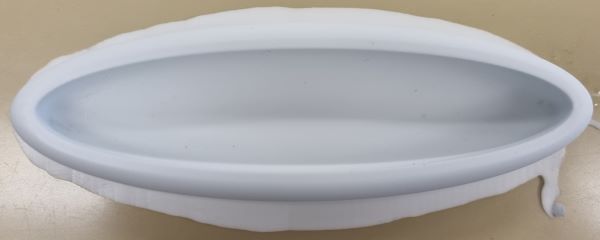
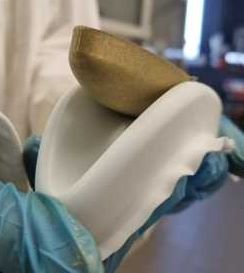
When it’s ready, demold it carefully :

Filling the mold
I chose the polyurethane 78B resin from Esprit Composite and I added some golden powder !
- Take the same volume of the 2 products
- Add 10% of the Golden powder !
- Mix it until it gets warm
- Pour it slowly into your mold :
- Wait 15 minutes for the mold to get solid
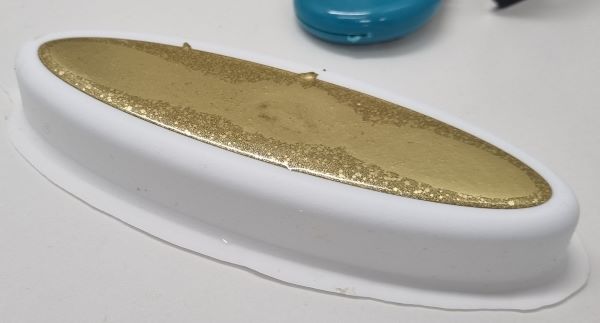
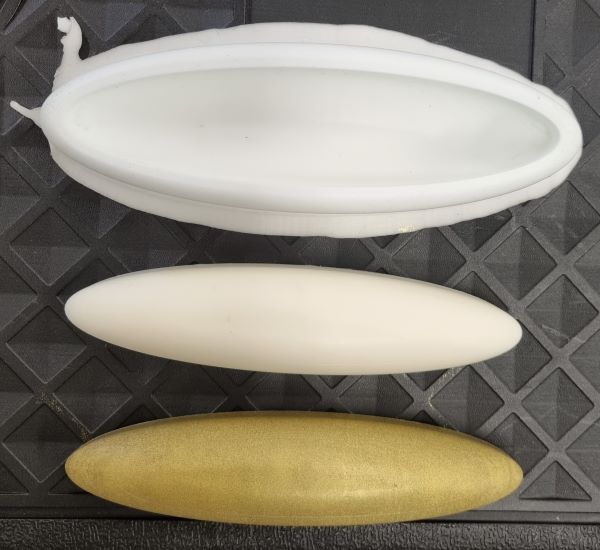
- Demold it
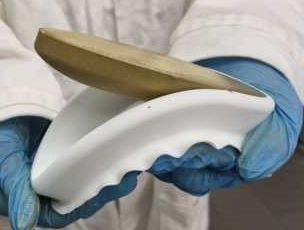
I did it again without the golden powder :
Make sure you work with the correct security equipment :
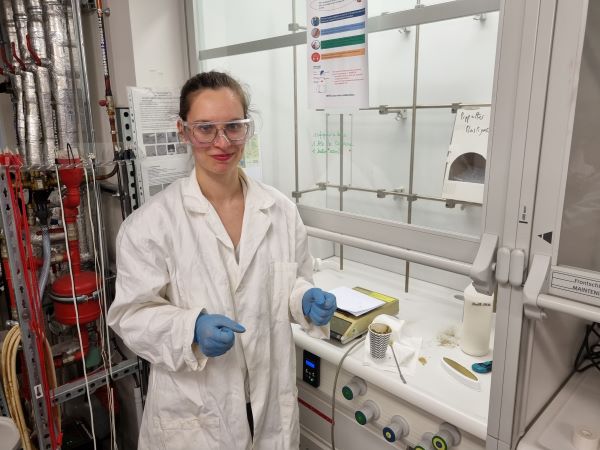
Safety measures
- Wear gloves, eyeglasses and chemistry coat to protect you when handling some dangerous chemical substances
- Work under a suction hood when manipulating a product with a dangerous inhalation
Compress a video and remove the sound by Chloé Laurent documentation site
- Go to this ffmpeg documentation site and download the ffmpeg file
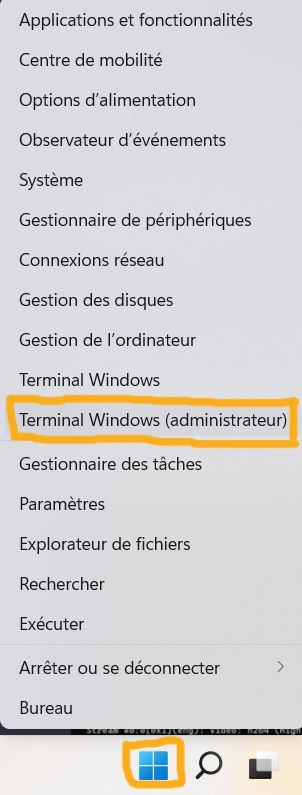
- Download Chocolatey by opening your administrator Windows PowerShell by cmaking a right click on the windows logo :
- Go to the file where your video is by addind “cd” and the path to your video :

- Write this :
Set-ExecutionPolicy Bypass -Scope Process -Force; iwr https://chocolatey.org/install.ps1 -UseBasicParsing | iex
Then :
choco install 7zip -y
And :
choco install ffmpeg
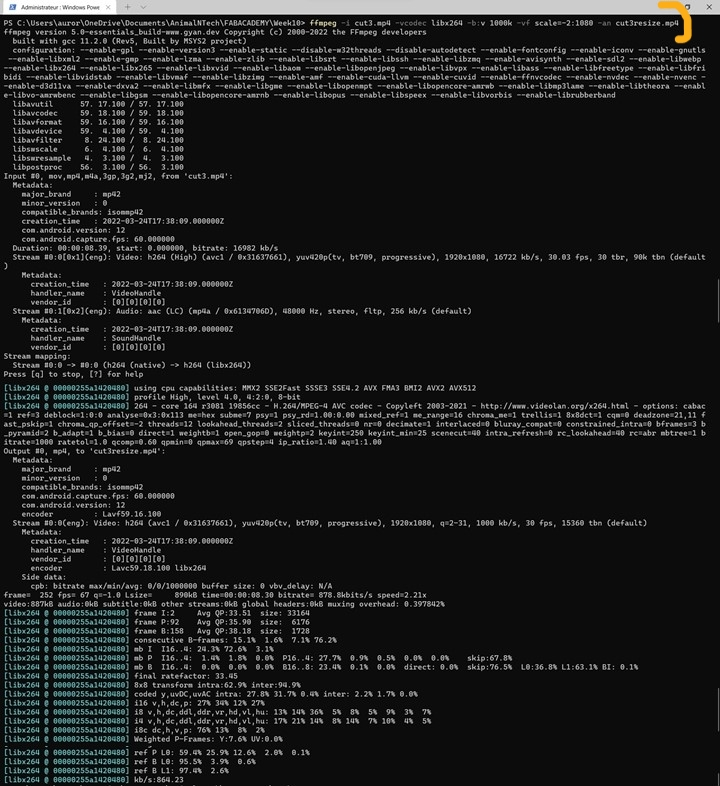
Once You have downloaded Chocolatey and Ffmpeg you can resize your videos directly on your Administrator Windows PowerShell :
ffmpeg -i input_video.mp4 -vcodec libx264 -b:v 1000k -vf scale=-2:1080 -an output_video.mp4
That’s my Administrator Windows PowerShell screen with the video resized from 16.9 Mo to 890 Ko without the sound :
Then I went to my code editor, Visual Studio code and write this :
<video width="400" height="200" controls autoplay>
    <source src="../../files/folder/videoname.mp4" type="video/mp4">
</video>
Mistakes
- Wrong sketch regarding the fixation system :
Conclusion
It was a nice week ! The moulding and casting technique is quite funny and allows to do anything ! I liked to see the objects different steps creation : design, CNC cutting, prepare the moulding material and then filling the mold with the glitter material I chose. Also, a very important point of the week is that regarding the materials you use you have to follow the safety recommandations. Furthermore, I was very happy to meet the Sorbonne’s Fablab team !!
Files
Useful Links
- Autodesk fusion 360
- OOMOO Smooth-On
- Esprit Composite Alimentary Silicone 3428
- Chloé Laurent documentation site
- ffmpeg documentation site
- ffmpeg file
- Chocolatey
- Smooth on Safety datasheet.pdf