3D Scanning and Printing
Group work with Theo Gautier from Agrilab
We tested the limits of the 3D printer machine : Original Prusa i3 MK3 by Josef Prusa
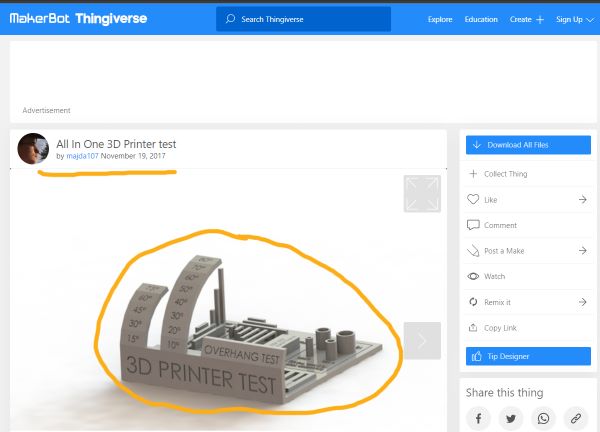
- First choose a “torture test model” for the 3D Print.
- We chose the “All-In-One” from All3DP
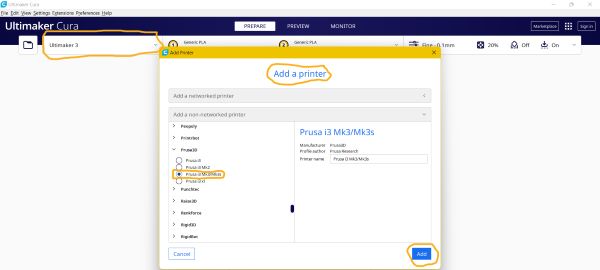
- Download Ultimaker Cura
- Open it and add your 3D printer :
- Open the test file by clicking on “crtl” + “o”
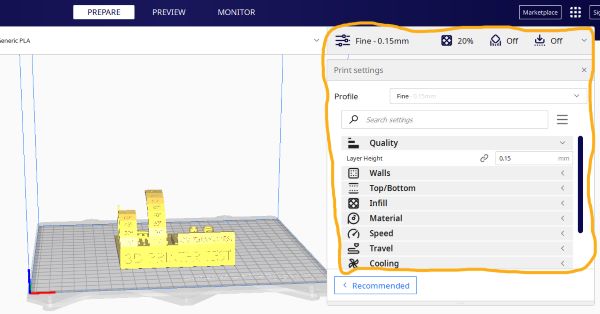
- Set your parameters regarding what you want. For the test, we kept the default parameters.
- Save your file as a “.gcode” on your computer by clicking on “Save to Disk”

- Save it to the 3D printer SD card
- Put it in the machine
- Select your file
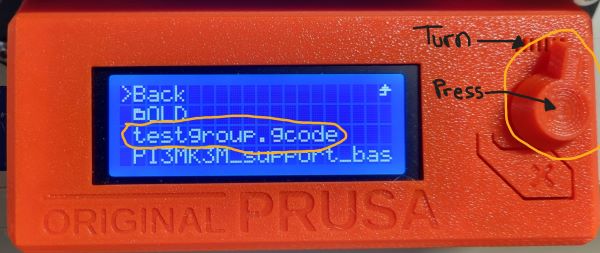
- Check the parameters on the printer screen
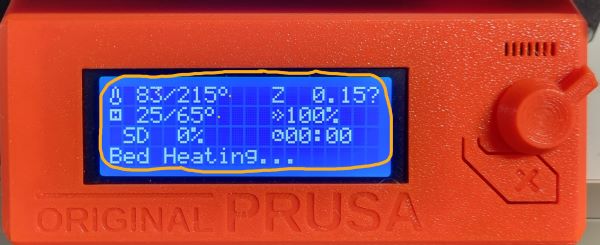
- Launch it ! and you will see the machine begining heating
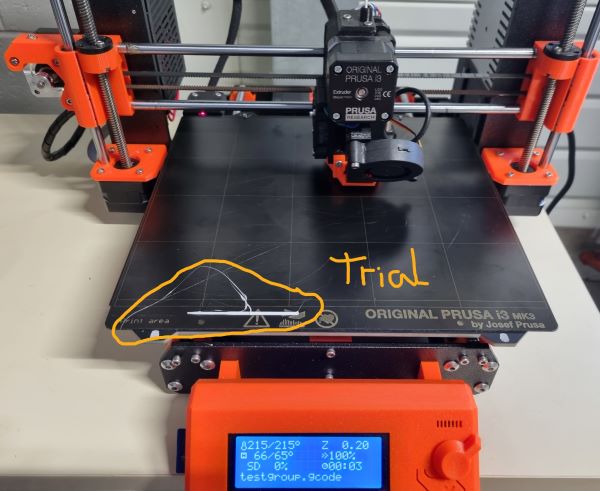
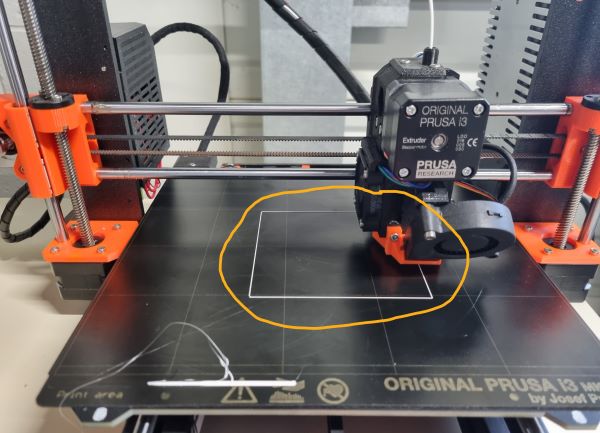
- The machine starts by making a trial to set its X,Y and Z coordinates. You can remove it.
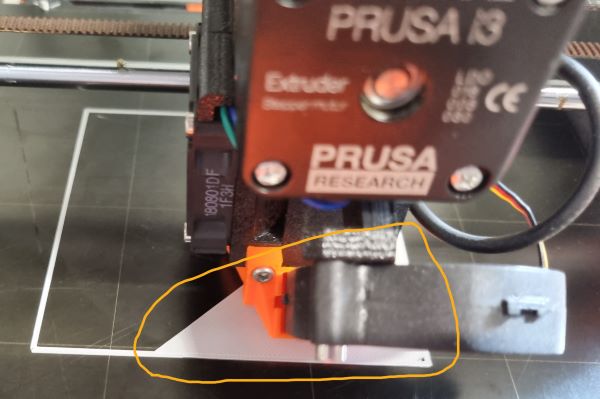
- Then it starts with the first layer :
- Make sure you have enough time because printing lasts more than 6 hours for this model.
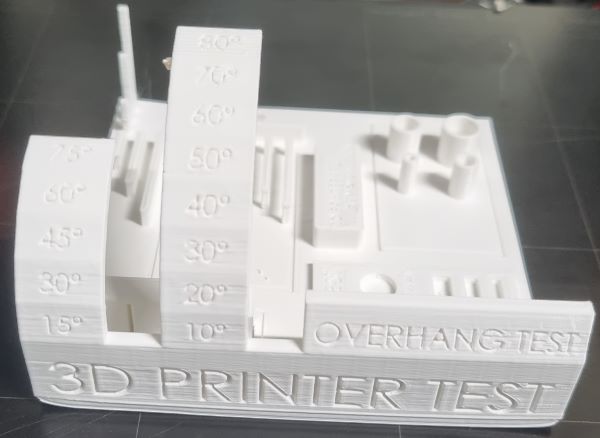
Final result :
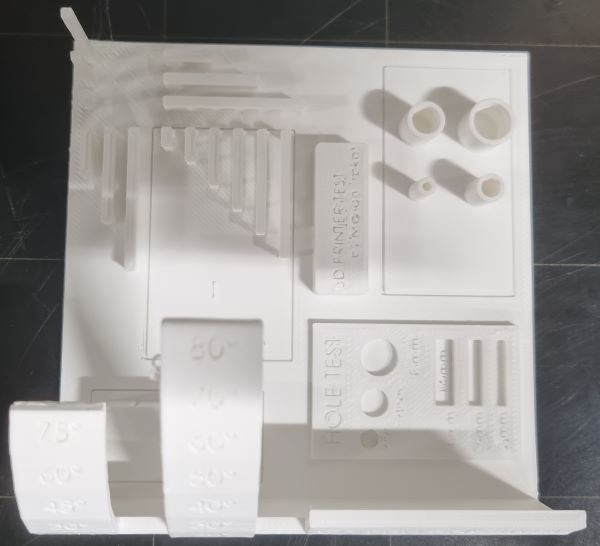
We analysed different points :
- Angle limits : beyond 60° a support is required
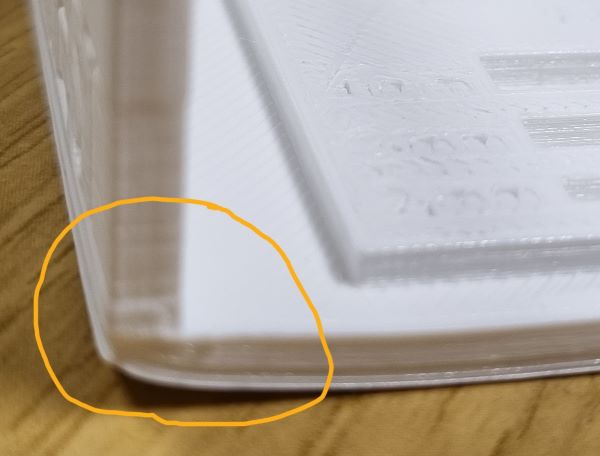
- Edge distortion without a plate adhesion :
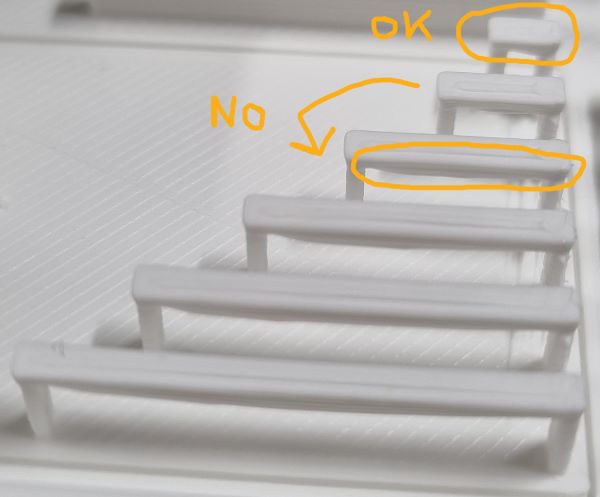
- Bridging limit : beyond 0.7mm a support is required
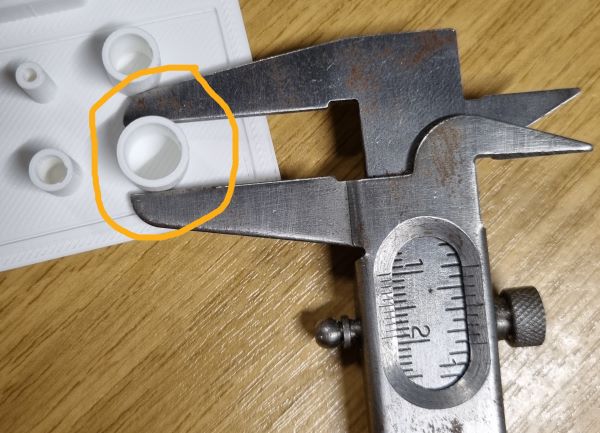
- The external diameter is as parametered but not the internal one because the nozzle is 0,4mm :
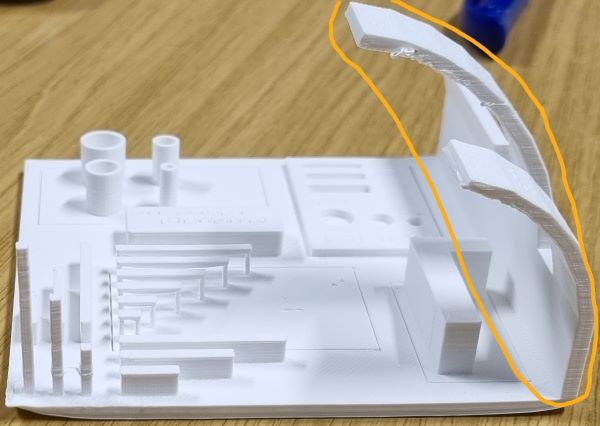
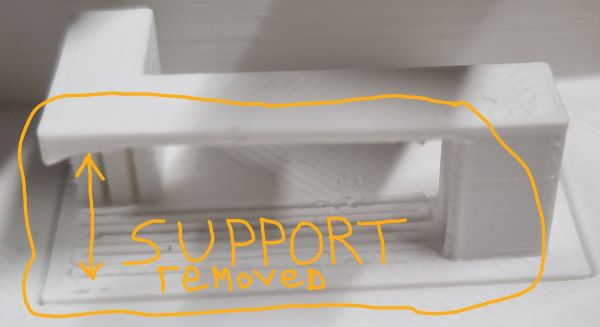
- You can add a support that you will remove if you want to make a large bridge :
- On the X and Y axis the machine works well :
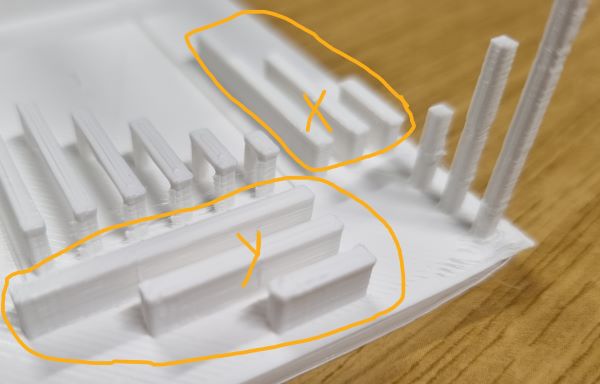
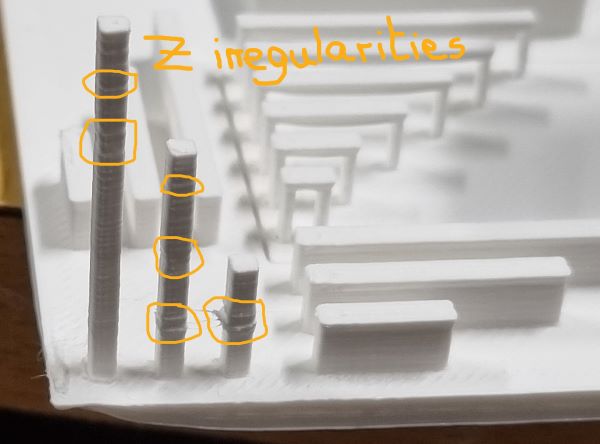
- On the Z axis, some irregularities are realised because of the nozzle moves :