Computer Controlled Cutting
Group work with Theo GAUTIER from Agrilab
- Kerf measures :
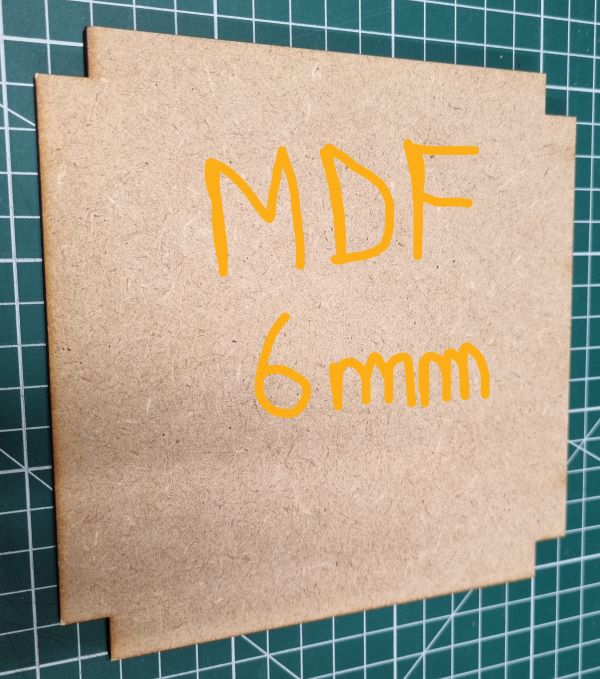
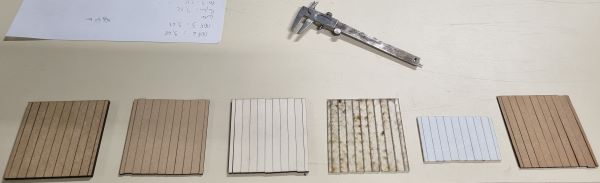
We started by measuring the kerf because regarding on the material used, the laser cuts wider than the line and that measure can impact your final kit construction if you don’t take it in your parameters design. So we tried to measure it with several materials : MDF (3 and 6mm), carton heavy duty (2 mm), poplar (4.8 mm) and plexiglass (3 and 6mm).
- The first step was to choose the material :
- Open the software Lasercut 6.1, design a 10 cm square with 10 lines inside, select the speed (15% or 60% for mdf 3mm, carton and poplar), the power (100%) and then select the “cut” action on the right menu and send the files to the laser by clicking on download
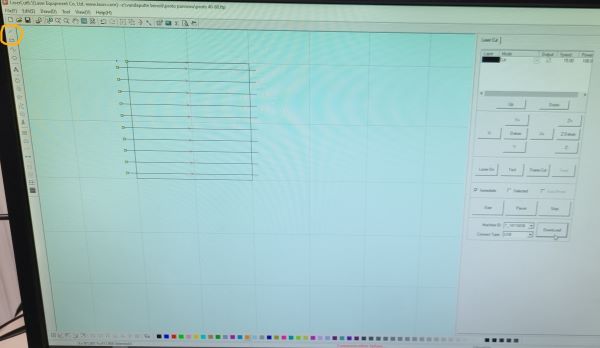
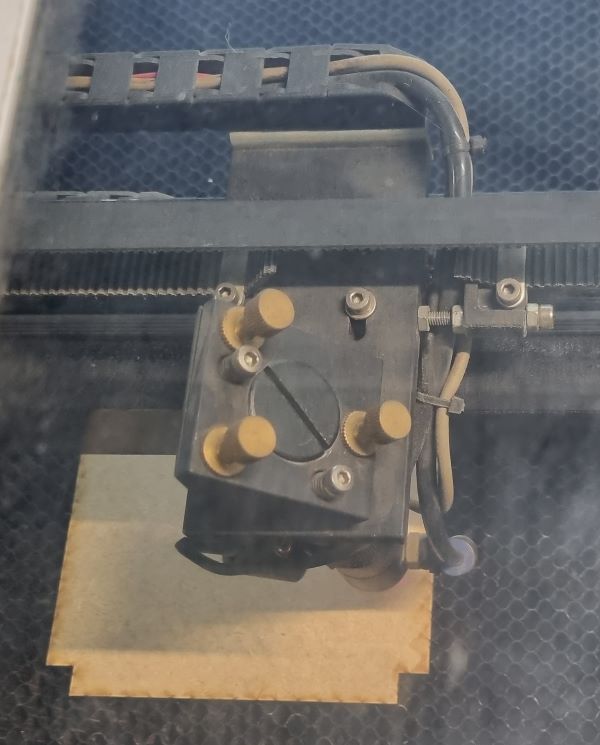
- Place the material on the honeycomb and do the autofocus with a magnet place between the laser and your material and click on “Datum”. Once it’s done, remove the magnet, put down the security glass, active the ventilation and press on “Started” on your laser menu.
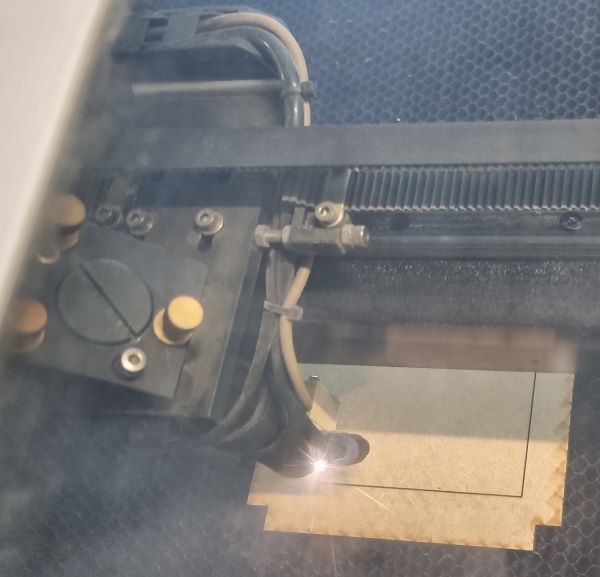
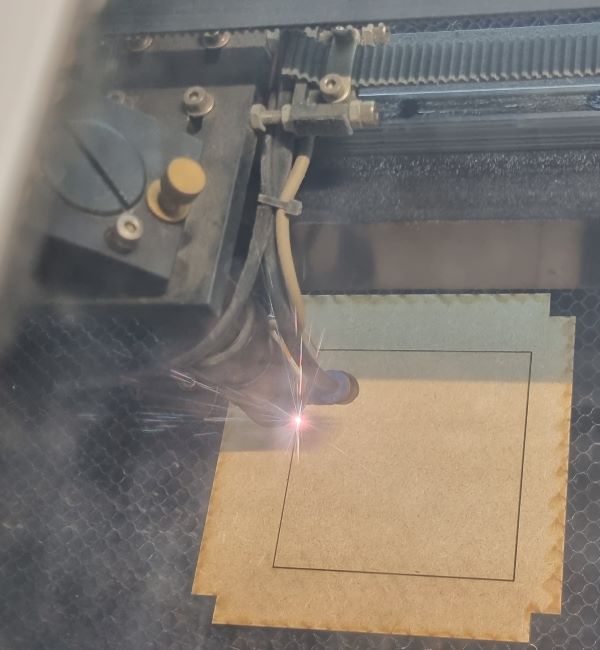
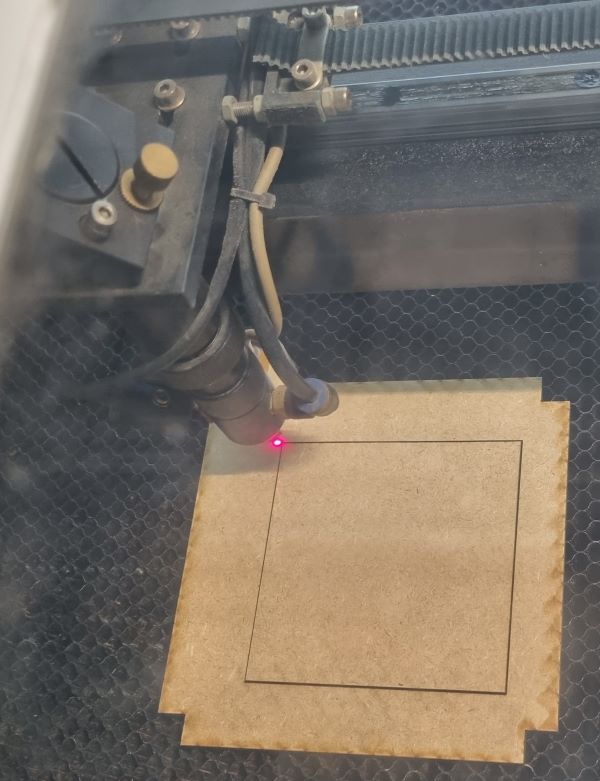
- Take the final cut square after waiting view seconds to let the smoke being evacuated by the ventilation and measure the extremities by gripping it with a vernier caliper :
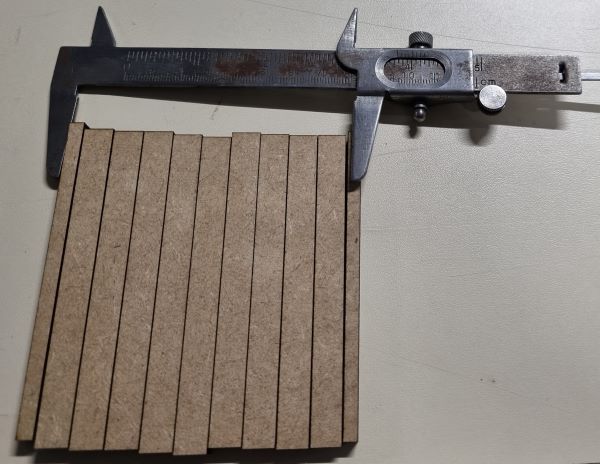
- and do it again for the different materials :
- The kerf is then calculated by making the difference between the initial value : 10 cm and the after cutting value. The values are below :
Kerf values
| Materials | Side measure (cm) | Kerf (mm) |
|---|---|---|
| MDF 6mm | 9.68 | 0.32 |
| MDF 3mm | 9.82 | 0.18 |
| Poplar 4.8mm | 9.78 | 0.22 |
| Plexiglass 3mm | 9.35 | 0.65 |
| Plexiglass 6mm | 9.52 | 0.48 |
| Carton heavy duty 2mm | 9.52 | 0.48 |
-
Thus, we can see that regarding the materials, the kerf value is different and must be taken into account in your design if you want your pieces to fit correctly together.
-
Focus test
The aim was to do a focus test of the lens manually in order to check if the line of the laser is as fine as possible.
- First : put a papersheet on a MDF material, start to press on “laser” to make a hole on the paper and move to the right and dowm the laser to make manually the finest point.
- Between each point you have to measure the distance between a point you choose on the laser and the surface of the paper sheet
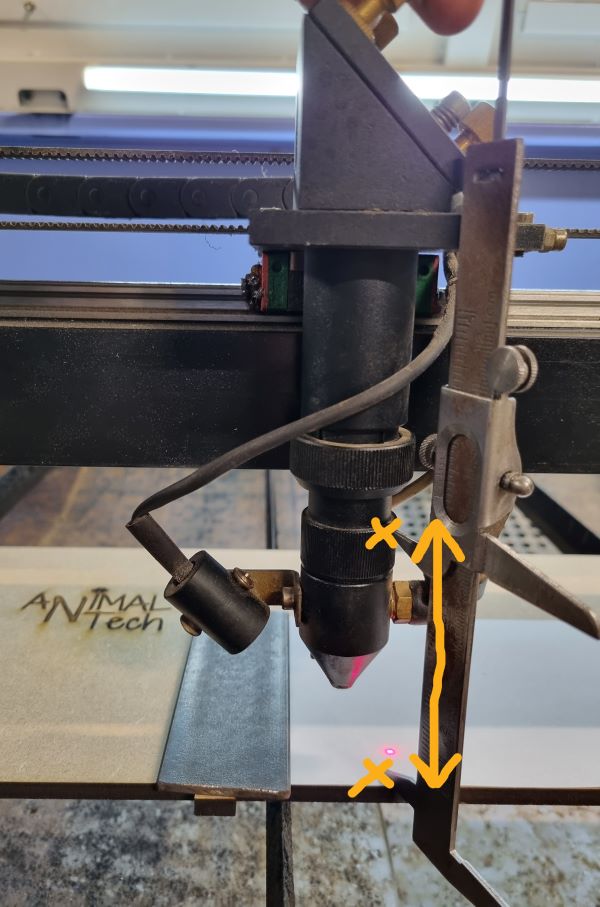
- Finaly, use the “Autofocus” button of your laser to compare the size of the point with those you made manually.
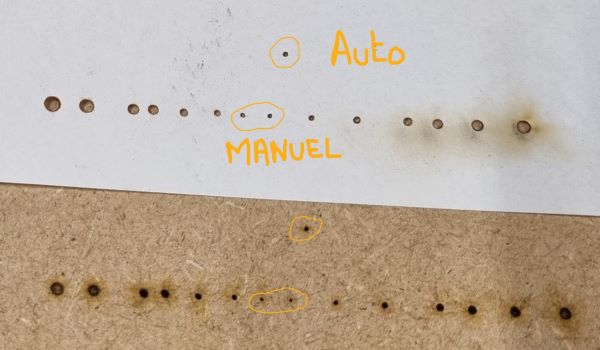
- In our case, we found that the autofocus of our laser were not optimized because we made a smaller point. As represented below :
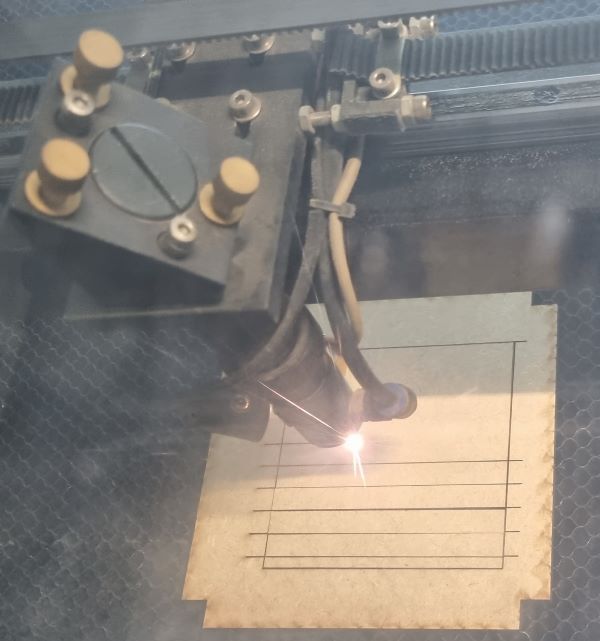
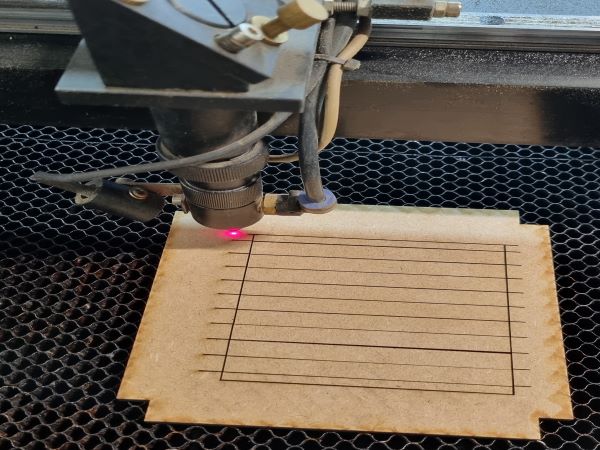
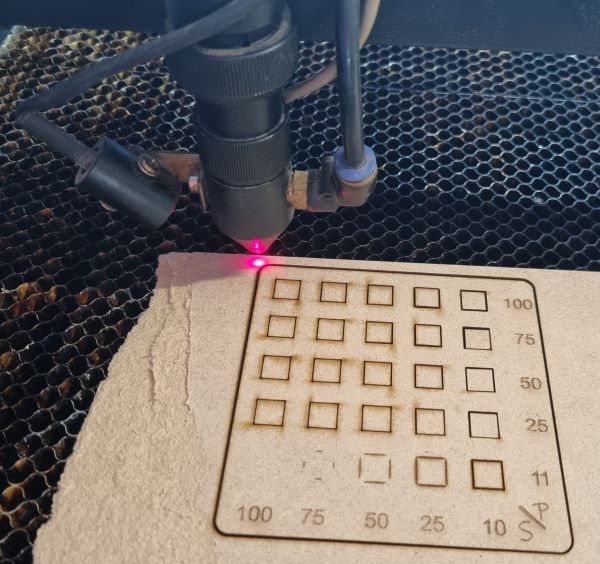
- Speed and Power test
We tested the impact of speed and power on different materials with our laser. The first observation was that below a power of 11, nothing is happening.
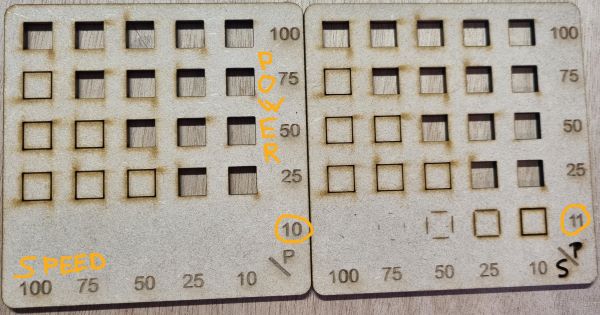
- Then we cut the different materials :
- That’s the final result : (From the left top corner to the right : MDF 6mm, Plexiglass 3, Carton 7, MDF 3mm, Poplar 4.8, Carton 2, Paper 80g, fabric)

-
We can see that regarding the material, the speed and power required are different.
-
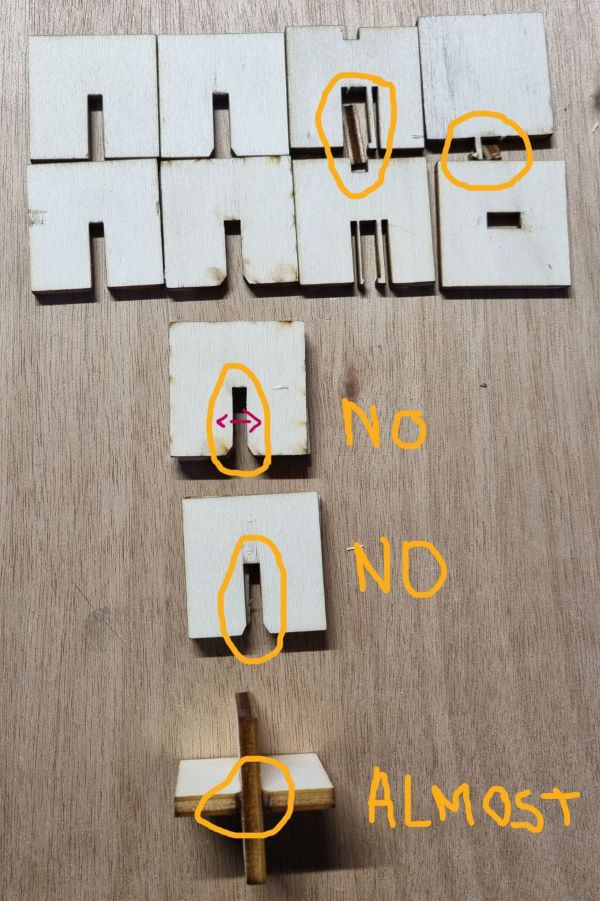
Joints test
We tested different kind of joints with the poplar 4.8mm material, regarding the tests previously done last year :
-
The dimensions between the joints were not large enough so the pieces didn’t fit. The mistake was the width of the polar, I noted 4.2 mm instead of 4.8 mm. We added an extra value of 0.1 mm to make it smoother.
-
Some pieces were to fragile and broke when we try to join it.