14. Networking and Communications
Group Assignment with Luc Hanneuse from Agrilab
Adding the ESP32 Arduino IDE Board Manager URL :
- Go to this ESP32 Arduino IDE tutorial
- Copy the ESP32 Arduino IDE Board Manager URL
- Open your Arduino IDE
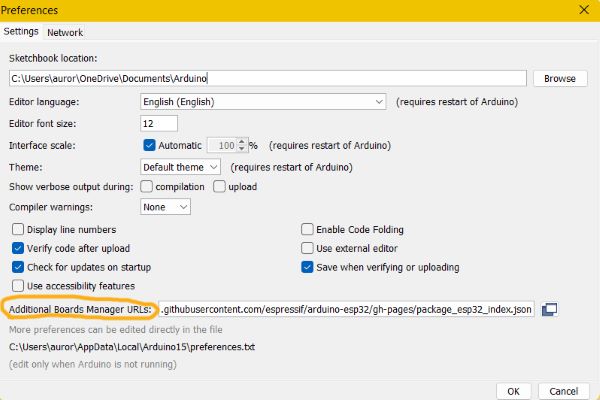
- Go to “file” > “preferences” and paste it into the “Additional Manager URLs”
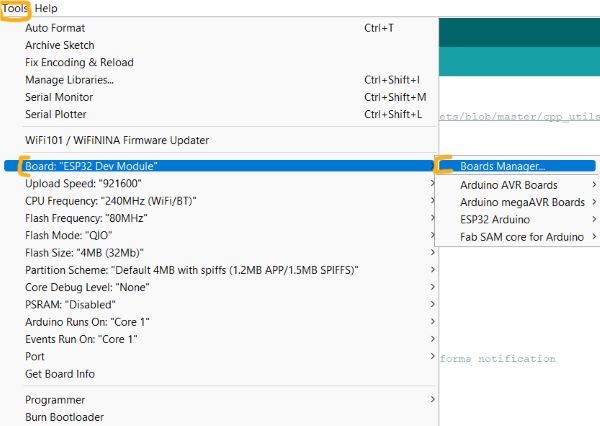
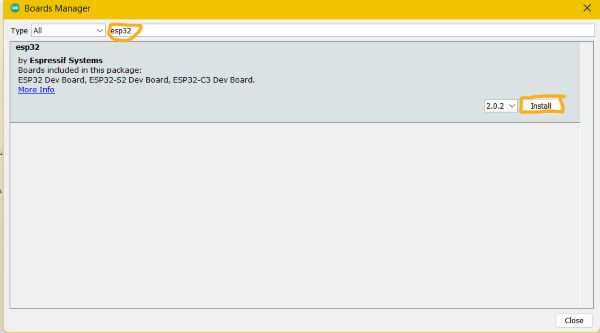
- Go to “Tools” > “Board” > “Boards manager” and search for “esp32” and then download it !
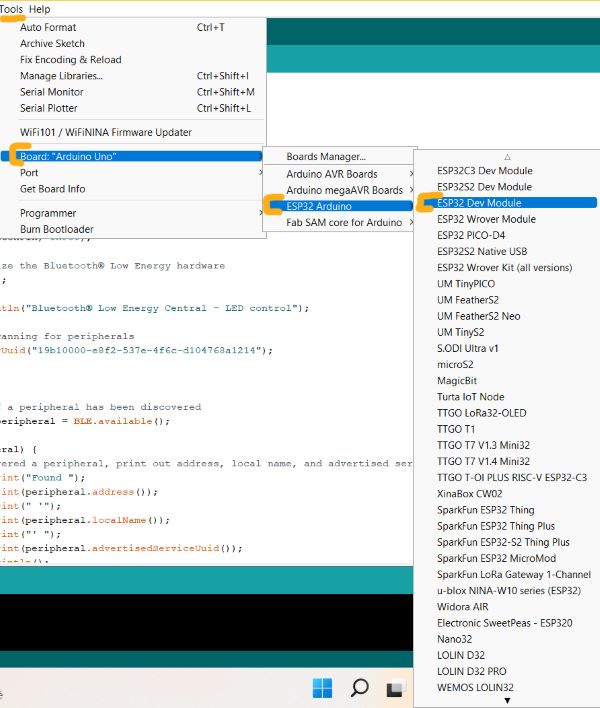
- Then go to “Tools” > “Board” > “ESP32 Arduino” > “ESP32 Dev Module”
- Select the port where your ESP32 is plugged
- Choose an ESP32 example from the library and test it !
Blink and ledbrightness coding thanks to Dabble
- Download the Dabble Arduino library
- Download the Dabble mobile app
- Open the Dabble library examples
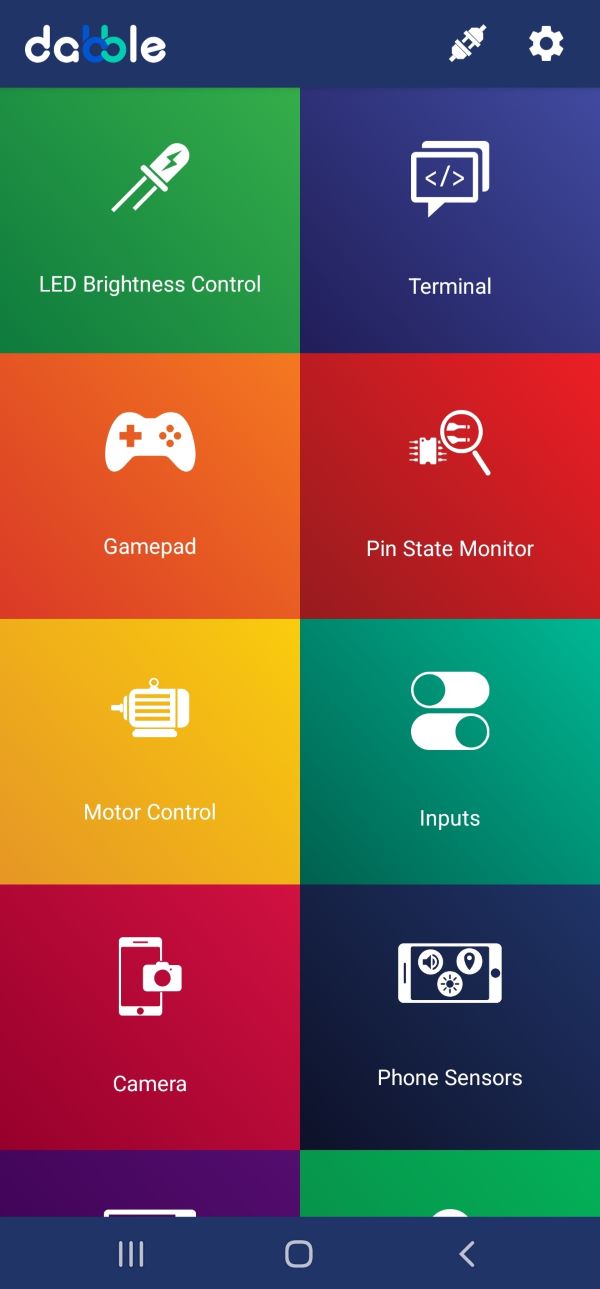
- Open the Dabble mobile application :
Blink example for ESP32
int led = 2;
// the setup function runs once when you press reset or power the board
void setup() {
  // initialize digital pin LED_BUILTIN as an output.
  pinMode(led, OUTPUT);
}

// the loop function runs over and over again forever
void loop() {
  digitalWrite(led, HIGH);   // turn the LED on (HIGH is the voltage level)
  delay(1000);                       // wait for a second
  digitalWrite(led, LOW);    // turn the LED off by making the voltage LOW
  delay(1000);                       // wait for a second
}
Ledbrightness control example for ESP32
/*
   This is Led brightness control example for ESP32 that uses LED Brightness Control Module in Dabble app.
   This module allows you to control state of pin. You can make pin HIGH or LOW or can also assign any PWM
   value to it.

   NOTE: As in esp32 any channel can be configured as a PWM channel hence any first eight pins controlled by Module
   will be treated as PWM and others will be treated as normal digital pins.


   You can reduce the size of library compiled by enabling only those modules that you want to
   use.For this first define CUSTOM_SETTINGS followed by defining INCLUDE_modulename.

   Explore more on: https://thestempedia.com/docs/dabble/getting-started-with-dabble/
*/
#define CUSTOM_SETTINGS
#define INCLUDE_LEDCONTROL_MODULE
#include <DabbleESP32.h>
unsigned long lasttime=0;
void setup() {
  Serial.begin(115200);     // make sure your Serial Monitor is also set at this baud rate.
  Dabble.begin("MyEsp32");     //set bluetooth name of your device
}

void loop() {
  Dabble.processInput();    //this function is used to refresh data obtained from smartphone.Hence calling this function is mandatory in order to get data properly from your mobile.
  //uncomment if you want to check if paramters read correctly
  /*Serial.print("Led:");
  Serial.print(LedControl.getpinNumber());
  Serial.print('\t');
  Serial.print("State:");          //0 if led is Off. 1 if led is On.
  Serial.print(LedControl.getpinState());
  Serial.print('\t');
  Serial.print("Brightness:");
  Serial.println(LedControl.readBrightness());*/
}
Communicating from your phone to your monitor thanks to Dabble
/*
   Terminal Module is like a chat box. It allows you to send and receive commands between your
   board and smartphone.

   You can reduce the size of library compiled by enabling only those modules that you
   want to use. For this first define CUSTOM_SETTINGS followed by defining
   INCLUDE_modulename.

   Explore more on: https://thestempedia.com/docs/dabble/terminal-module/
*/
#define CUSTOM_SETTINGS
#define INCLUDE_TERMINAL_MODULE
#include <DabbleESP32.h>
String Serialdata = "";
bool dataflag = 0;
void setup() {
  Serial.begin(115200);       // make sure your Serial Monitor is also set at this baud rate.
  Dabble.begin("MyEsp32");    //set bluetooth name of your device
}

void loop() {

  Dabble.processInput();             //this function is used to refresh data obtained from smartphone.Hence calling this function is mandatory in order to get data properly from your mobile.
  while (Serial.available() != 0)
  {
    Serialdata = String(Serialdata + char(Serial.read()));
    dataflag = 1;
  }
  if (dataflag == 1)
  {
    Terminal.print(Serialdata);
    Serialdata = "";
    dataflag = 0;
  }
  if (Terminal.available() != 0)
  {
    while (Terminal.available() != 0)
    {
      Serial.write(Terminal.read());
    }
    Serial.println();
  }
}