12. Molding and casting
This week was hard because I was leading a design course and it was the final presentation of the design students in my school. Managing prototyping projects for students and Evaluating session.
my project
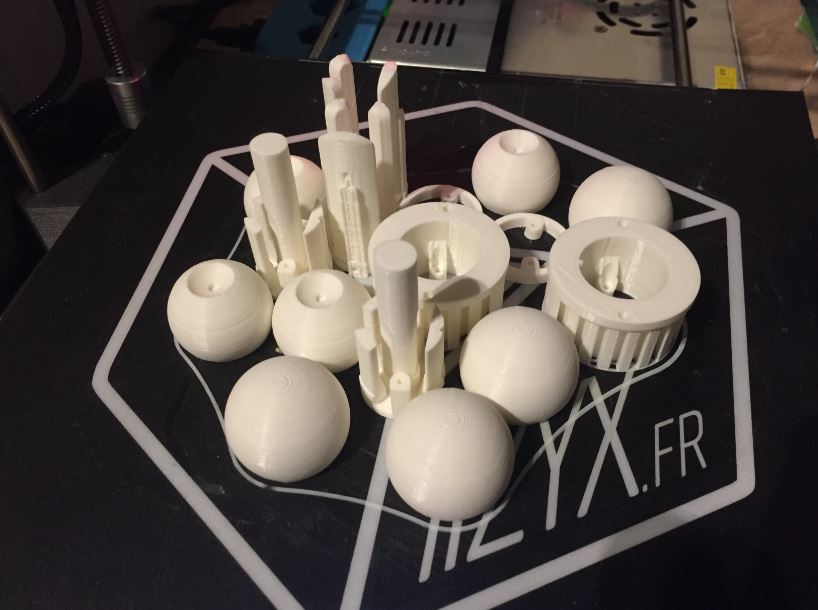
My goal is to create a nice eye for my animatronics.

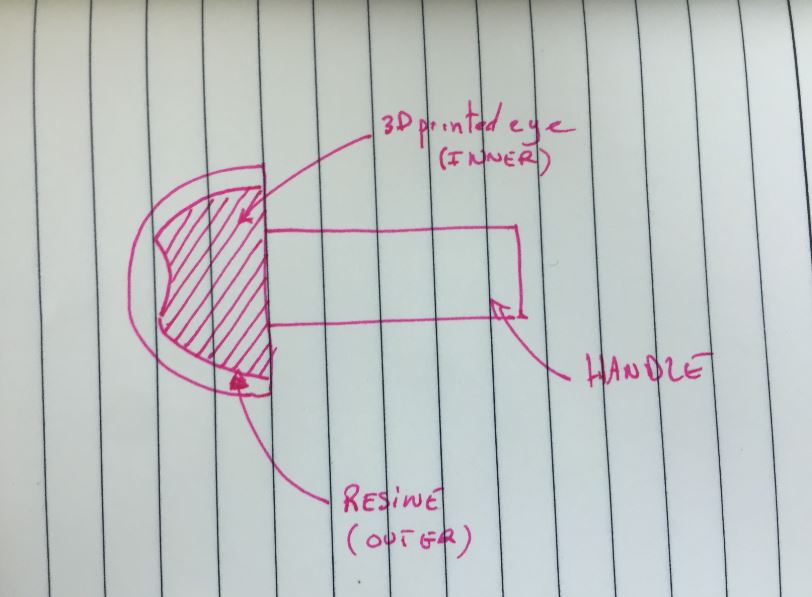
I will use an inner part to get the colors of the iris by using the 3D printing (PLA) The outter part will be 3D printed as well, and I will create the mold. After polymerisation of the mold, I will add resin for the casting.
A.Purchasing from the lab.
At the beginning we ordered more than one week ago some materials such as :
A.1 Resine
Molding products are bi-compounds, they interact by using a complex chemical reaction. You need to strictly follow the amount of products.
There are different kind of resins:
- Polyester + Hardener
or
- Epoxy + catalysor (chosen)
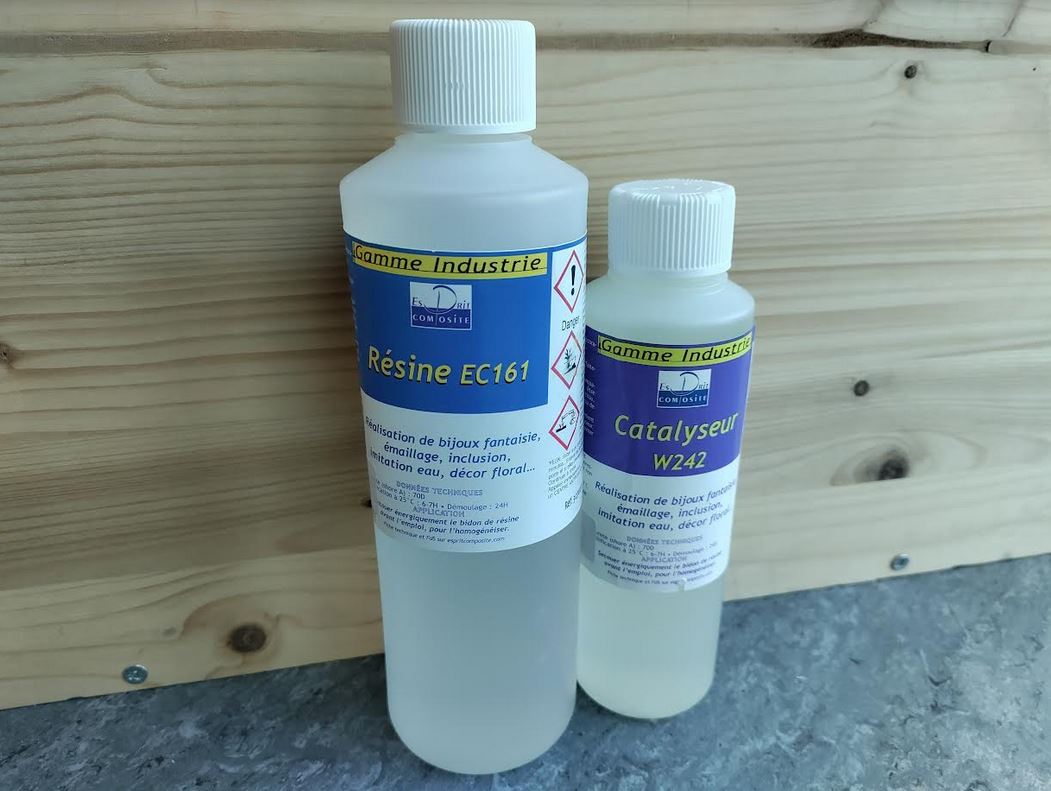
Use our clear epoxy resin for all of your casting AND coating applications. Hardens crystal clear and hard as a rock. Our resin is self leveling, self degassing, odor free, resistant to yellowing from sun exposure, and is made in the U.S.A. 100% resin to 50%catalysor mix ratio is fool proof and has a forgiving 35-45 minutes work time Use to coat tables and bars, encapsulate objects, cast figurines and jewelry, make resin paintings and more.
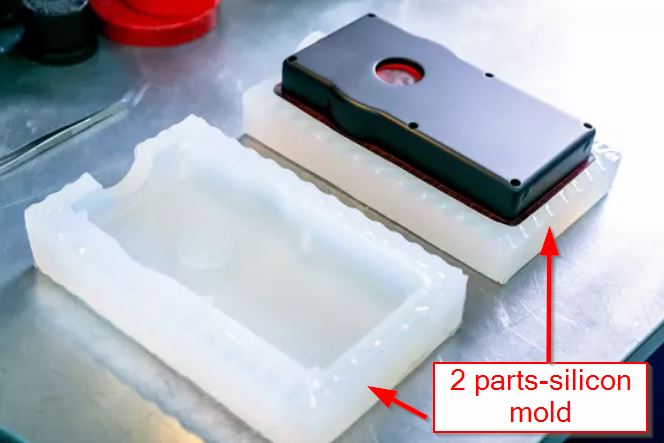
A.2 Silicon.
Basically you can see all silicon molds for cakes!!
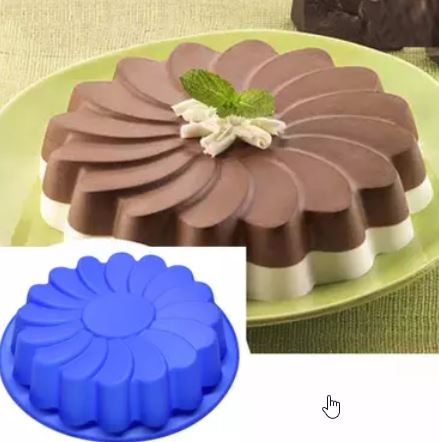
But nothing came in so I have chosen an alternative path by asking around me. So I decided to use the ressources of my engineering school.
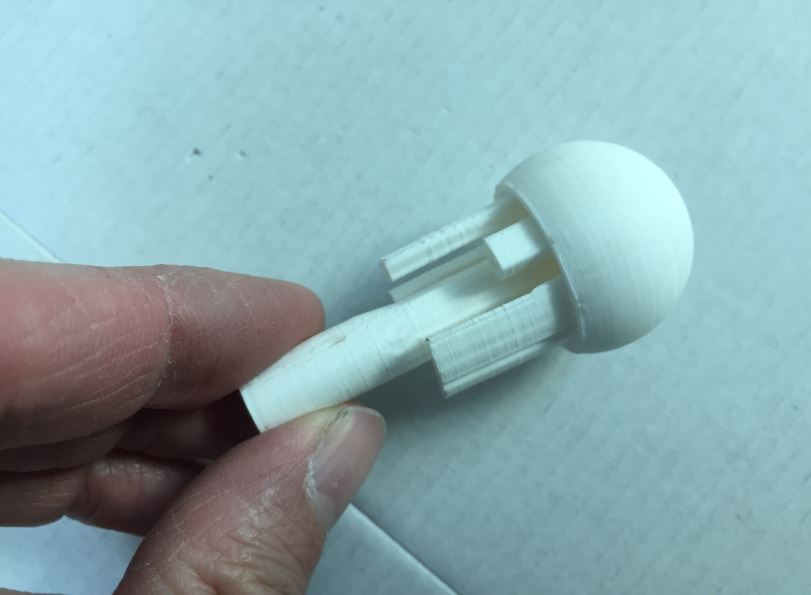
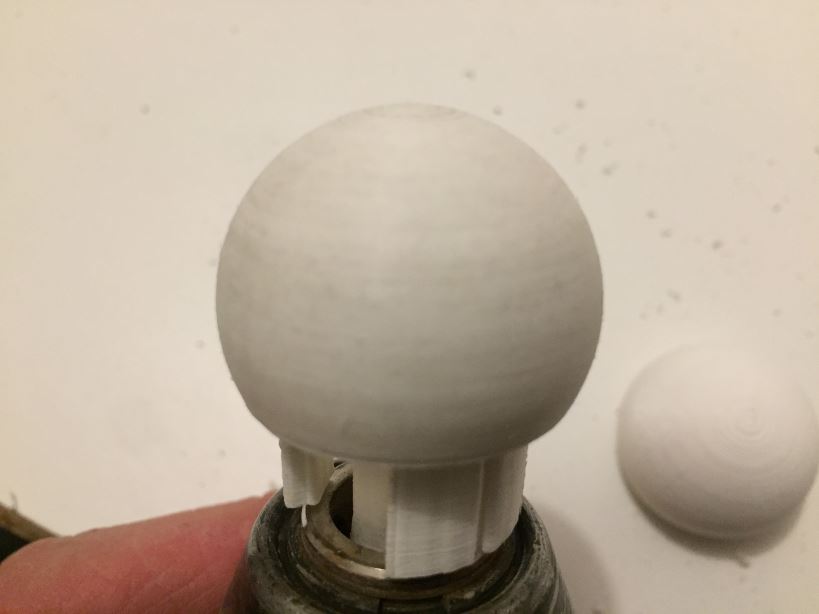
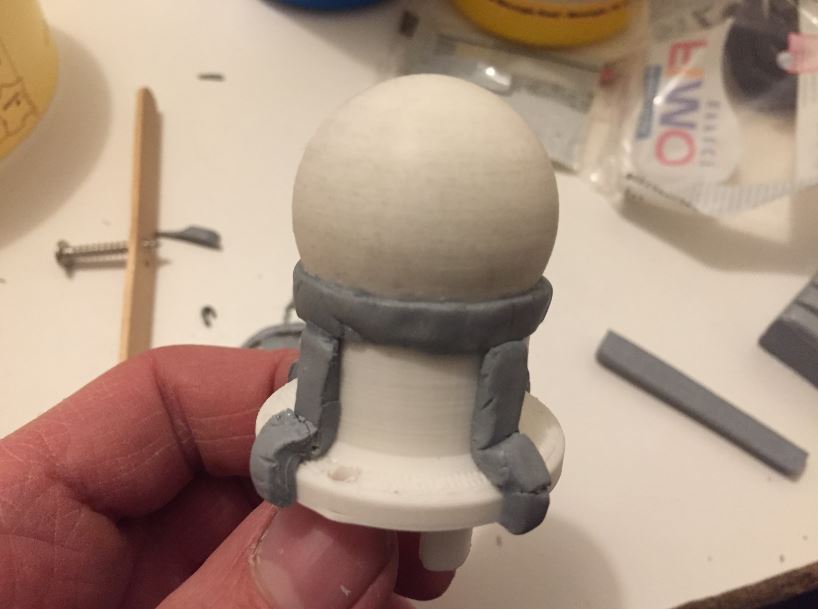
B. 3D printing and sanding
A support help to maintain to drill or to paint the eye.
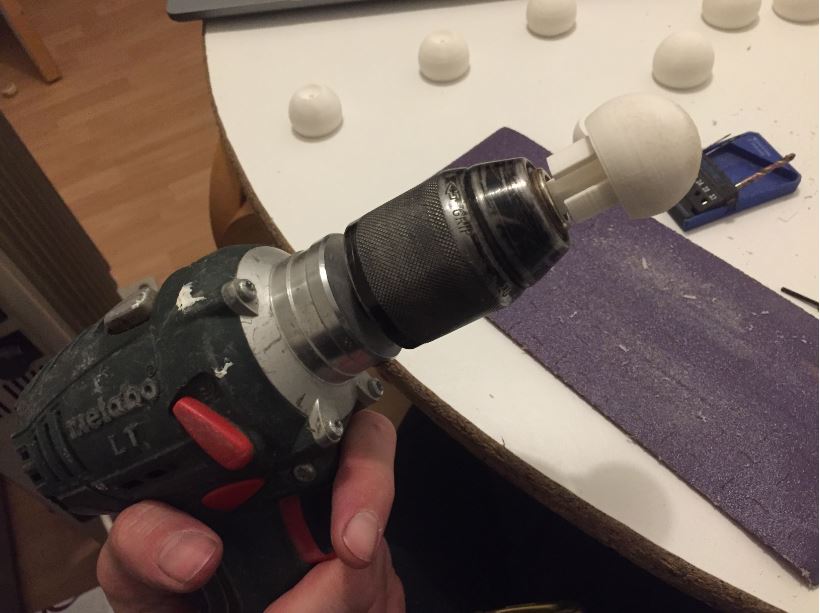
If you insist on sanding a PLA part, it starts to melt…
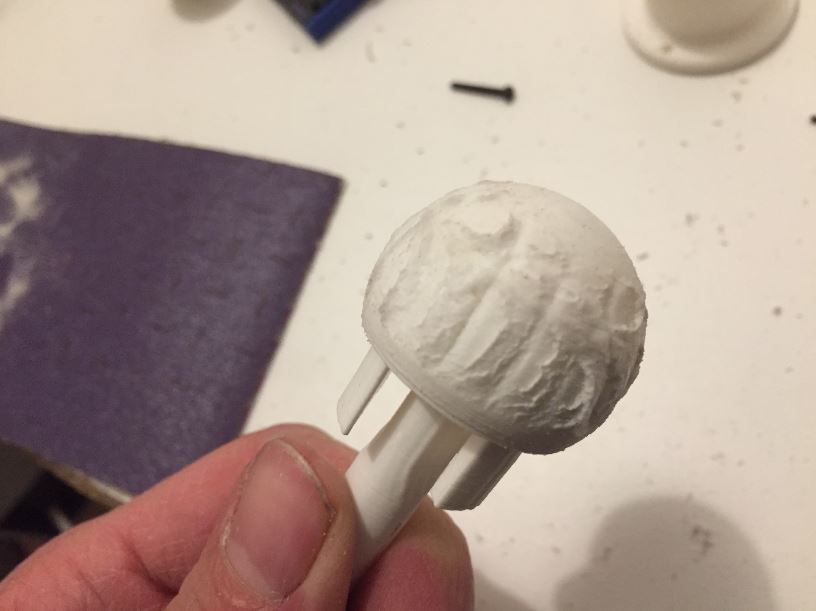
I gently sand by using 1000 papersand.
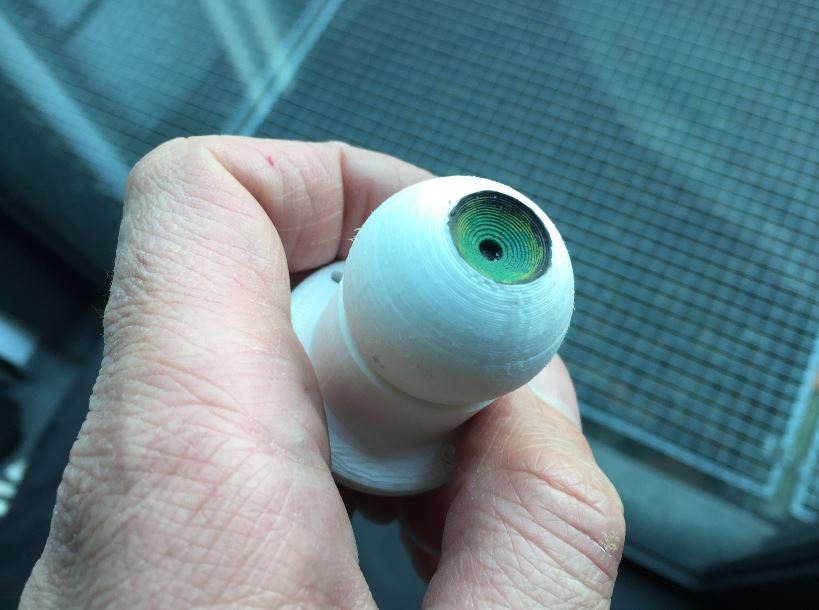
The eye is painted by using acrylic colors.
C. Molding
I had to deep my 3D parts to the mold.
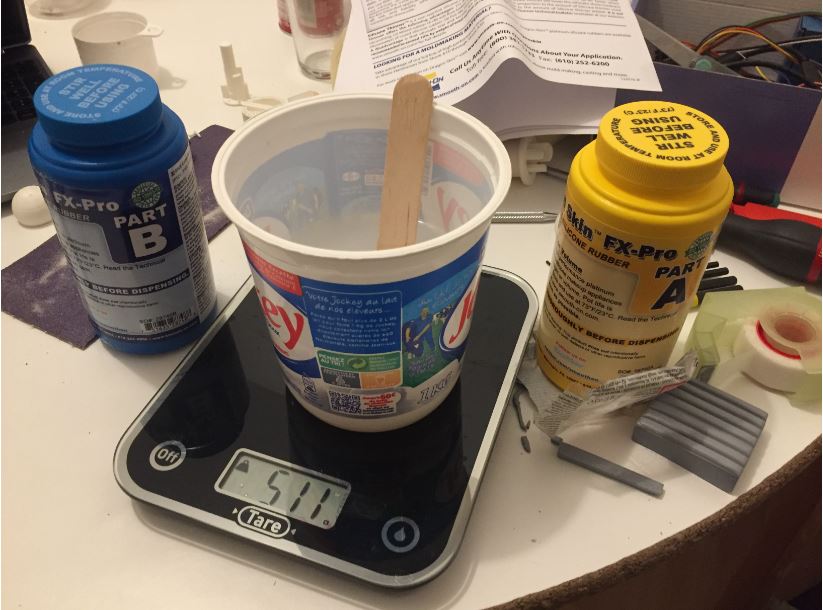
I will use silicon from the “Smooth-on “manufacturer: Dragon Skin™ FX‑ Pro™
Dragon Skin™ FX-Pro™ is a soft, stable, high performance platinum silicone rubber specifically designed for creating silicone makeup appliances and skin effects. Dragon Skin™ FX-Pro™ is compatible with Skin-Tite™ silicone adhesive as well as medical grade pressure sensitive adhesives for adhering silicone appliances temporarily to the skin. Soft and stretchy FX-Pro™ has a Shore hardness of 2A. FX-Pro™ can be combined with SLACKER™ deadening agent to create a very soft silicone gel for filling encapsulated silicone pieces. An infinite number of color effects can be achieved by adding Silc-Pig™ silicone pigments. Cured rubber can also be painted with the Psycho Paint™ system.
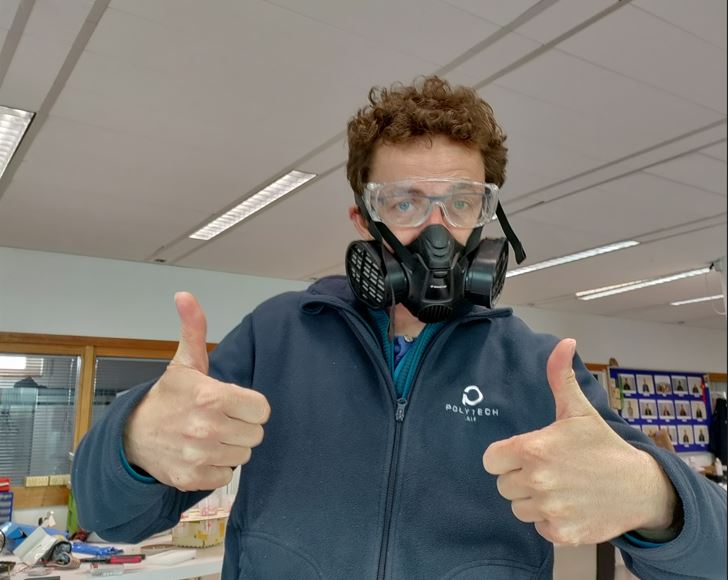
C.1 Safety instructions:
- Good ventilation.
- Some plastic board to save your furniture, easy to clean.
- Wear waterproof gloves, such as butyl rubber, neoprene, or PVC.
- Safety glasses with side shields.
- Mask
C.1 Measuring & Mixing
Manufacturer instructions:
Before you begin, pre-mix Part B thoroughly. After dispensing required amounts of Parts A and B into mixing container (1A:1B by volume or weight), mix thoroughly making sure that you scrape the sides and bottom of the mixing container several times. Pouring
For best results, pour your mixture in a single spot at the lowest point of the containment field. Let the rubber seek its own level. A uniform flow will help minimize entrapped air. If using as a mold material, the liquid rubber should level off at least 1/2” (1.3 cm) over the highest point of the model surface. Curing
Allow rubber to cure for 45 minutes at room temperature (73°F / 23°C) before demolding. Time to demold can be reduced with mild heat or by adding an appropriate amount of Plat-Cat™ cure accelerator (See Plat-Cat™ technical bulletin available at www.smooth-on.com for details). The pot life and cure times can be extended using Slo-Jo™ cure retarder (see Slo-Jo™ technical bulletin available at www.smooth-on.com for details). Do not cure rubber where temperature is less than 65°F / 18°C._
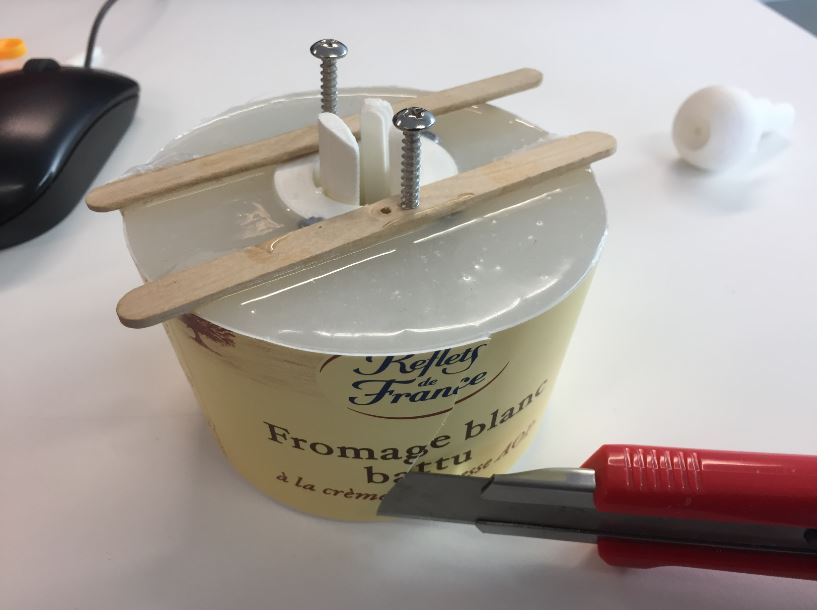
To my case, I use a 450ml yahourt container, the ratio is easy 1:1 for the 2 compounds. (around 225ml each)
I mixed and pour directly to my container.
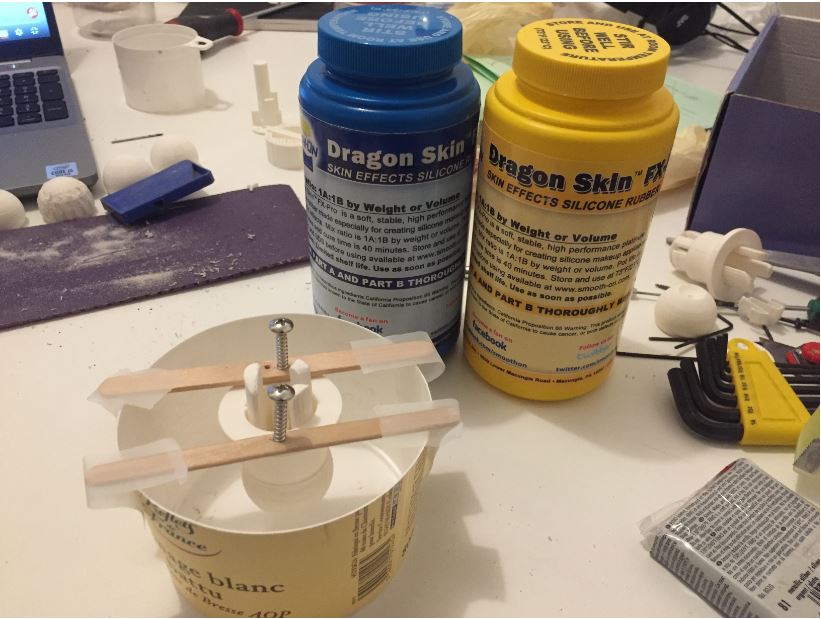
I added some plasticine channels to help the resin getting out.
Let’s mix A to B ! 12 minutes to work !!!
 The silicone takes place in my container by pouring the mix.
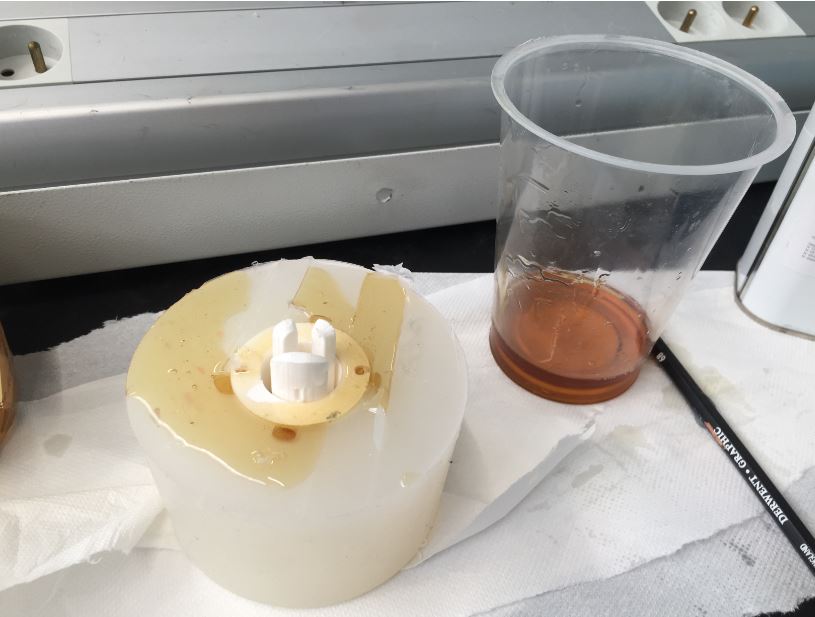
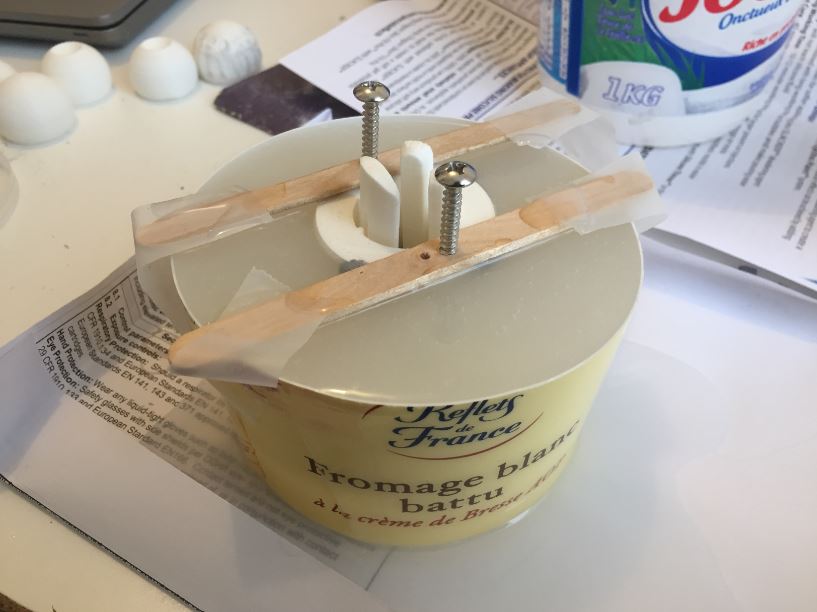 It is 40 minutes for the cure time. But I did it very late, I woke up and discovered my beautiful mold:
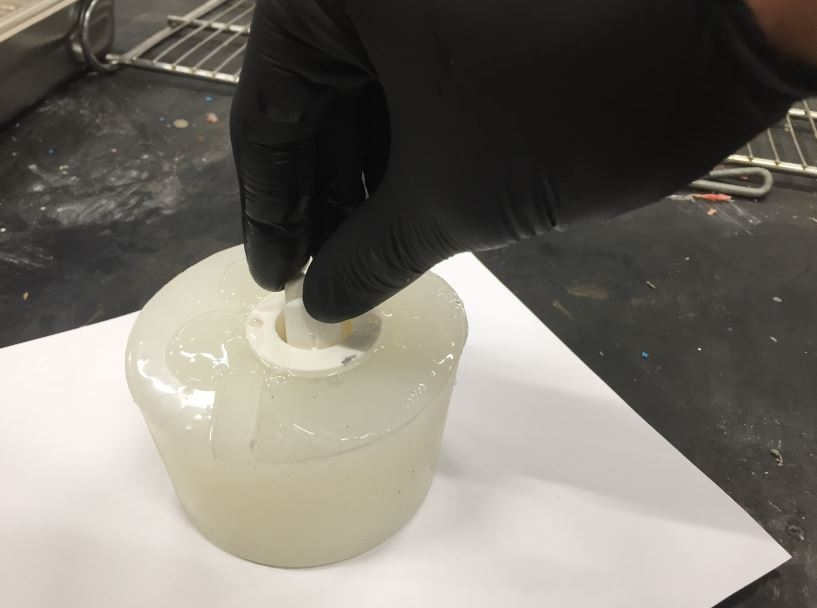
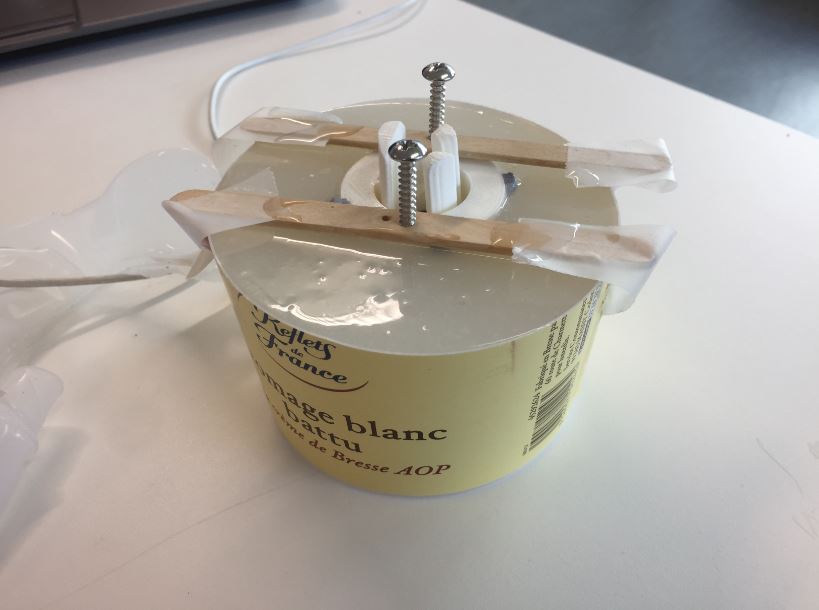 I removed all my accessories and cut the container to get it.
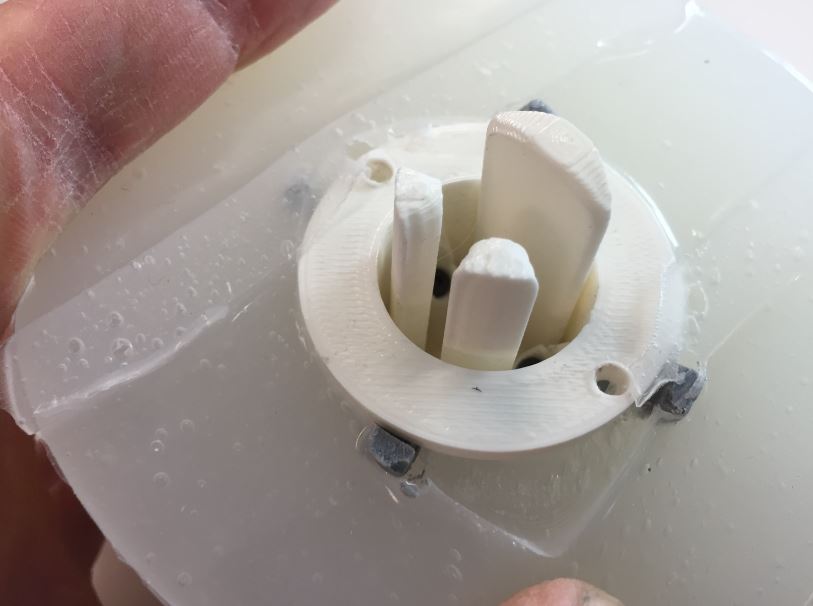 There was still plasticine in channels and in the main cavity.

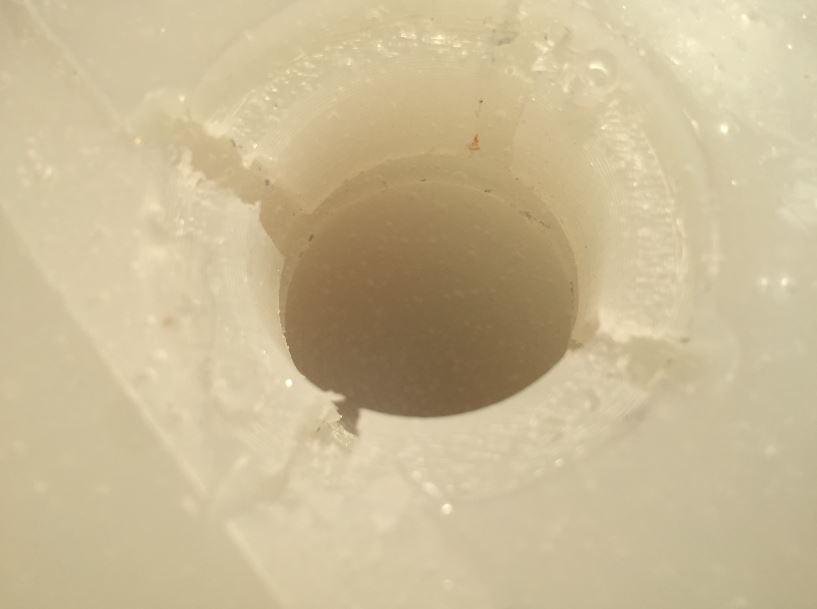
I have cleaned by using high pressure.
 It was sunday I was happy to be on time…
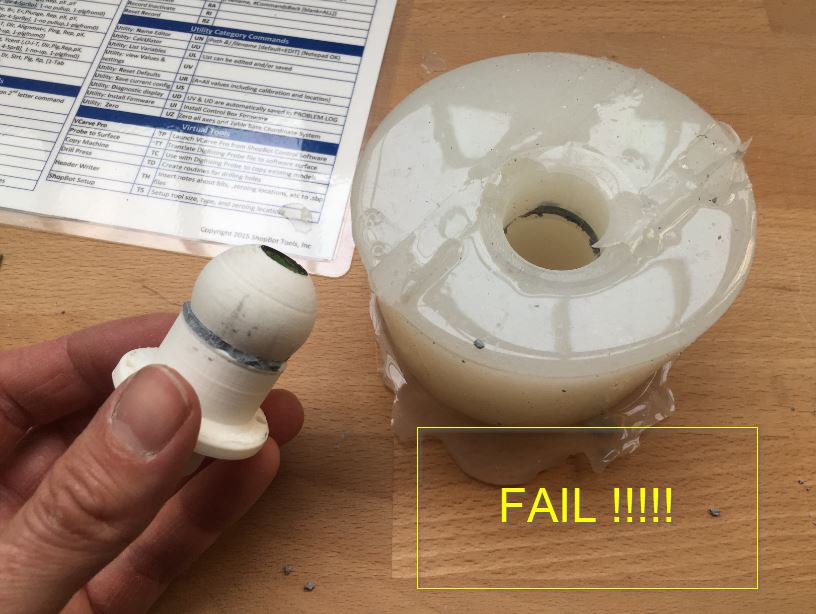
D. Casting FAIL
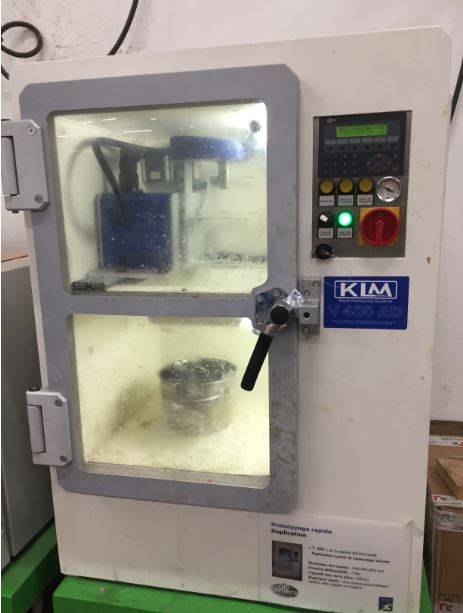
I was waiting the Machinerie to say that the resine is arrived but no news. So I ask a colleague from my university to give me a hand. He did not have much time and show me a quick oveview of his casting and molding workshop. That was the beginning of my bad day.
I thought I was mixing catalysor and resine but …
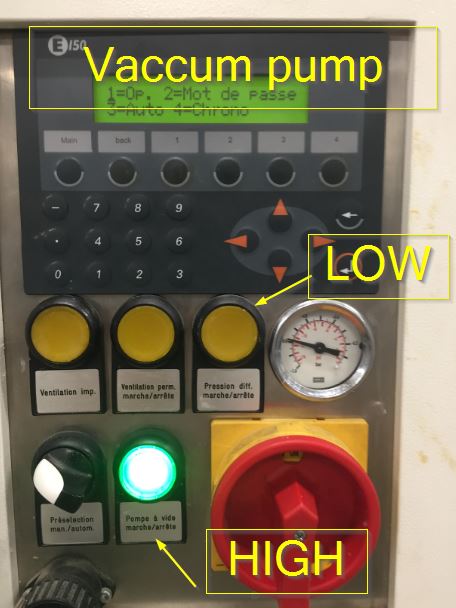
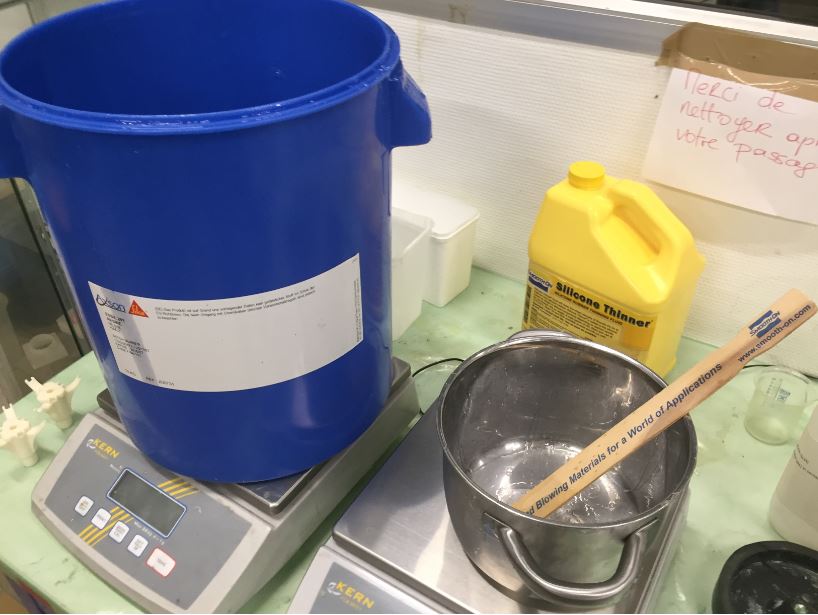 The workshop is well-equipped, there is a vaccum pump.
 I was happy to dive my eye in the resin… and let it polemerize for one night…
 This morming I was surprised, I thought the resin was too old but…


I came back to the workshop and checked the silicone: AXSON PX220. full infos
| Parameters | PX-220 | |||
|---|---|---|---|---|
| PART A | PART B | MIXING | ||
| Coupound : | ISOCYANATE | POLYOL | ||
| Mix ratio (weight) | 100 | 50 | ||
| Aspect | Liquid | Liquid | Liquid | |
| Color | straw Yellow | straw Yellow | White | |
| LVT Brookfiled Viscosity at 25°C (mPa.)s | 100-200 | 800-1000 | 500-700 | |
| Density of parts before mixing at 25°C | ISO 1675-85 | 1.15-1.20 | 1.06-1.10 | - |
| Density of Mix polymerized at 23°C | ISO 2781-88 | - | - | 1.16-1.20 |
| Pot Life at 25°C on 150g (min) | 4-5 |
I am right now doing a new mold and try to have my perfect eye. We will see it is possible…
CASTING In Progress.
As the dragon skin is really flexible, my colleagues do not advice me to put an release agent.
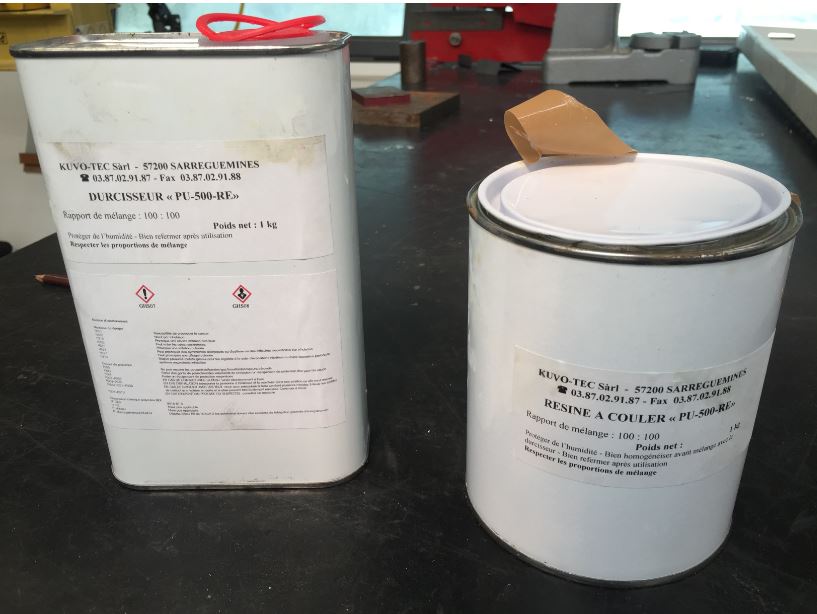
First try: PU-500-RE
| parameters | PU-500-RE |
|---|---|
| RATIO | Resin 1 :catalysor 1 |
| Viscosity | Resin 1 :catalysor 1 |
| Pot life 20c | 40minutes |
| demolding time | 24h |
After 12 hours, I got my eye done, but it is a disaster…
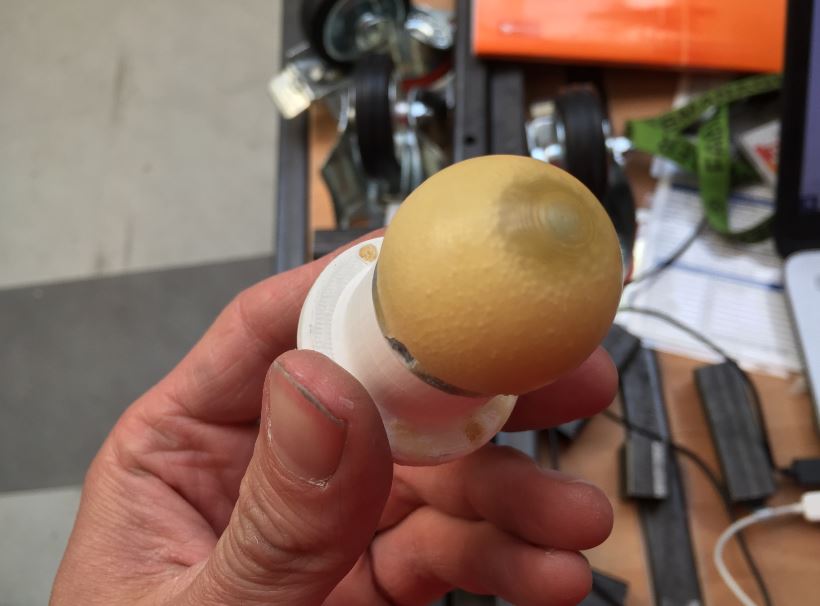
I will wait the sunclear resine from La machinerie. Keep it updated soon!!