8. Computer controlled machining
This week I worked on building a mobile storage box for nurse.
Research
During the summer 2020 the fablab was busy to build stuffs for hospitals, doctors, retirment house. One of them was a mobile storage box for nurses working in a retirement residence.
Several students were interested in building research and development teams. All the communication was focused on the Discord platform.
 Discord
I helped them in order to simplify their solutions. When the University authorised us to visit the place. We came back with a lot of users’feedbacks. It has to be easy to move if necessary. The alzheimer’s people must have no access. Nurses has to get new suit quickly, materials easily. A basket to throw away their suit after working.
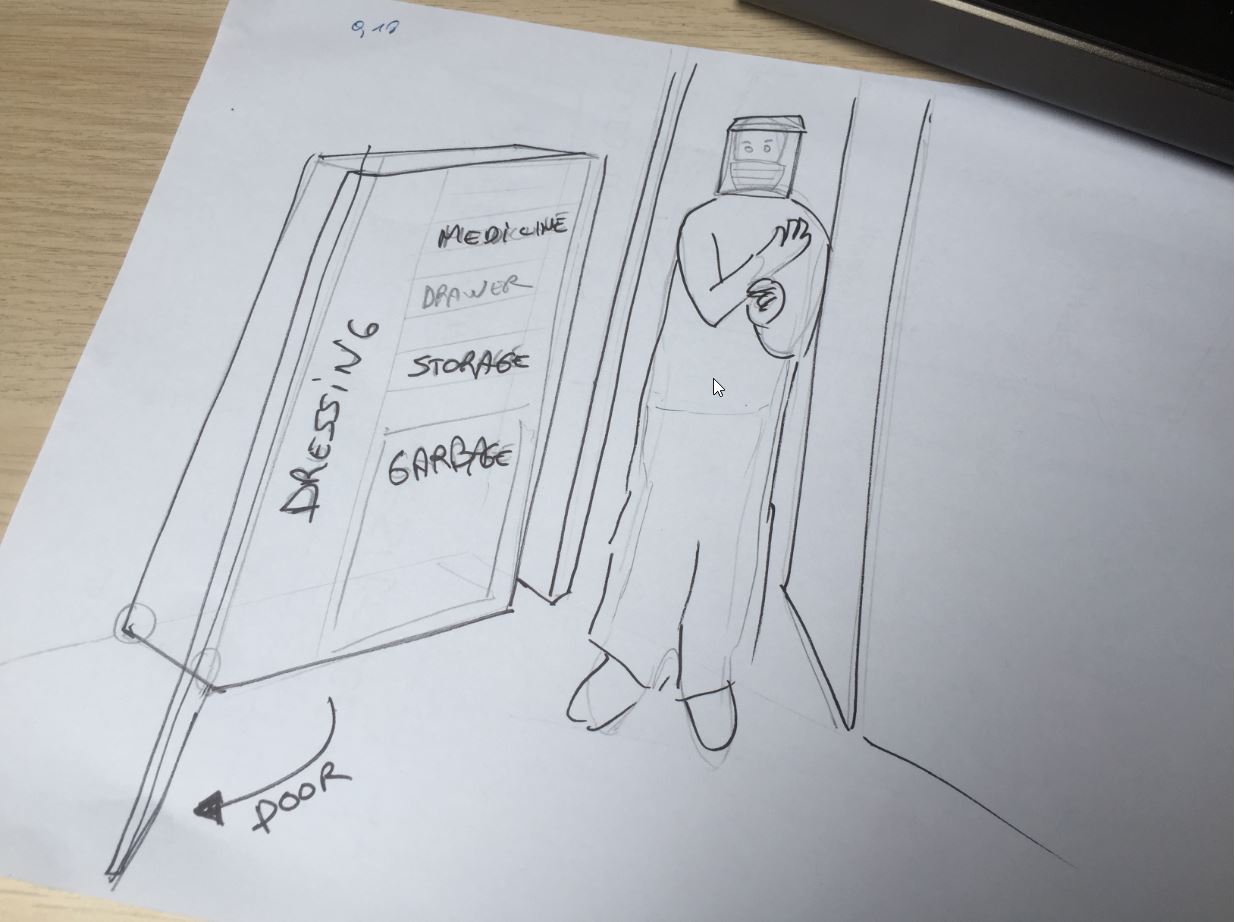 sketching
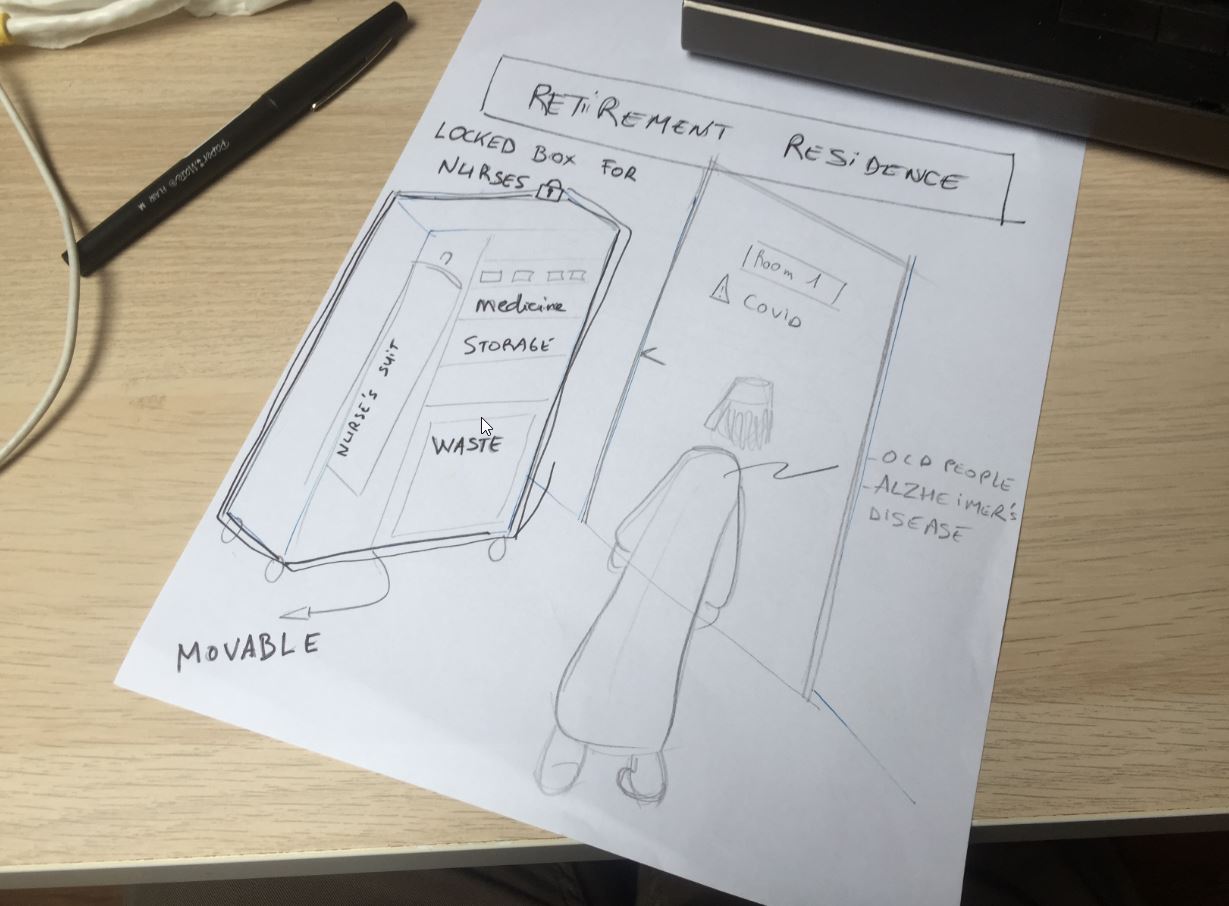 sketching
The students were not able to come to the lab, so my colleague and I built the first prototype.
 first prototype
and we fixed a lot of things such as:
3d modelling
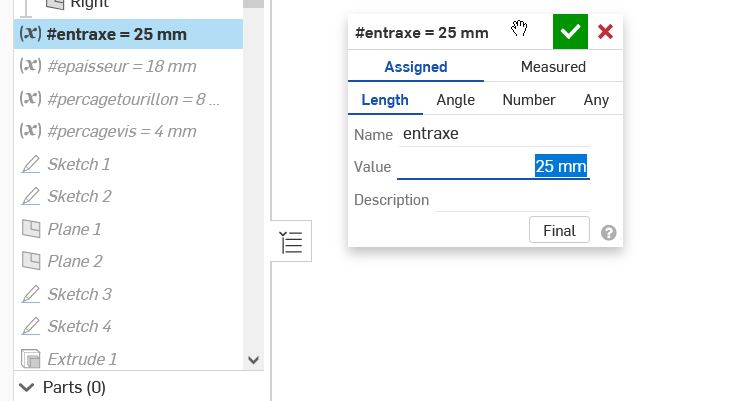
I get back on the project and I designed it on onshapde. I also created parameters for the thickness, length , width, axes…
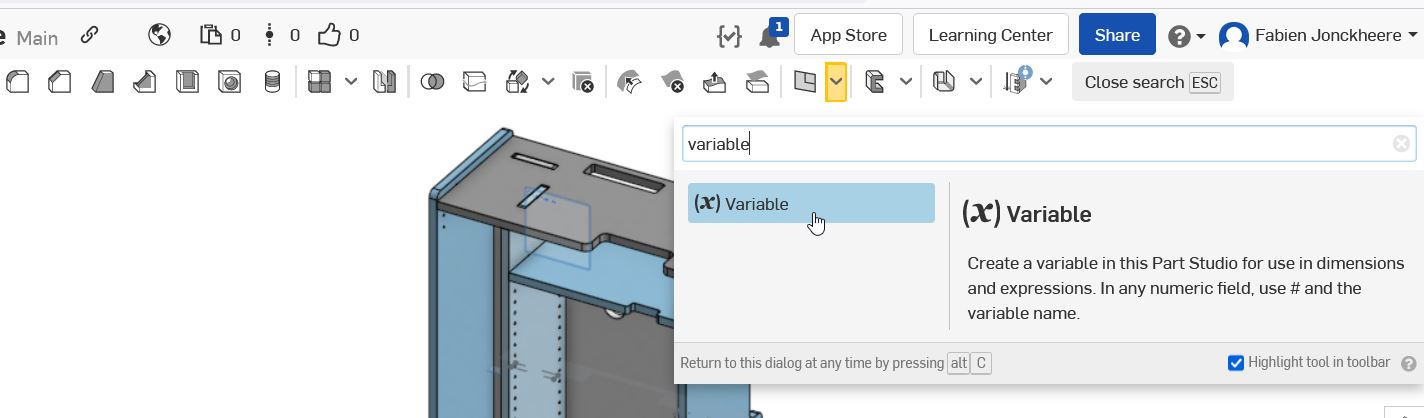
You can look for the option in the search tools
Variable function
You can type your parameters:
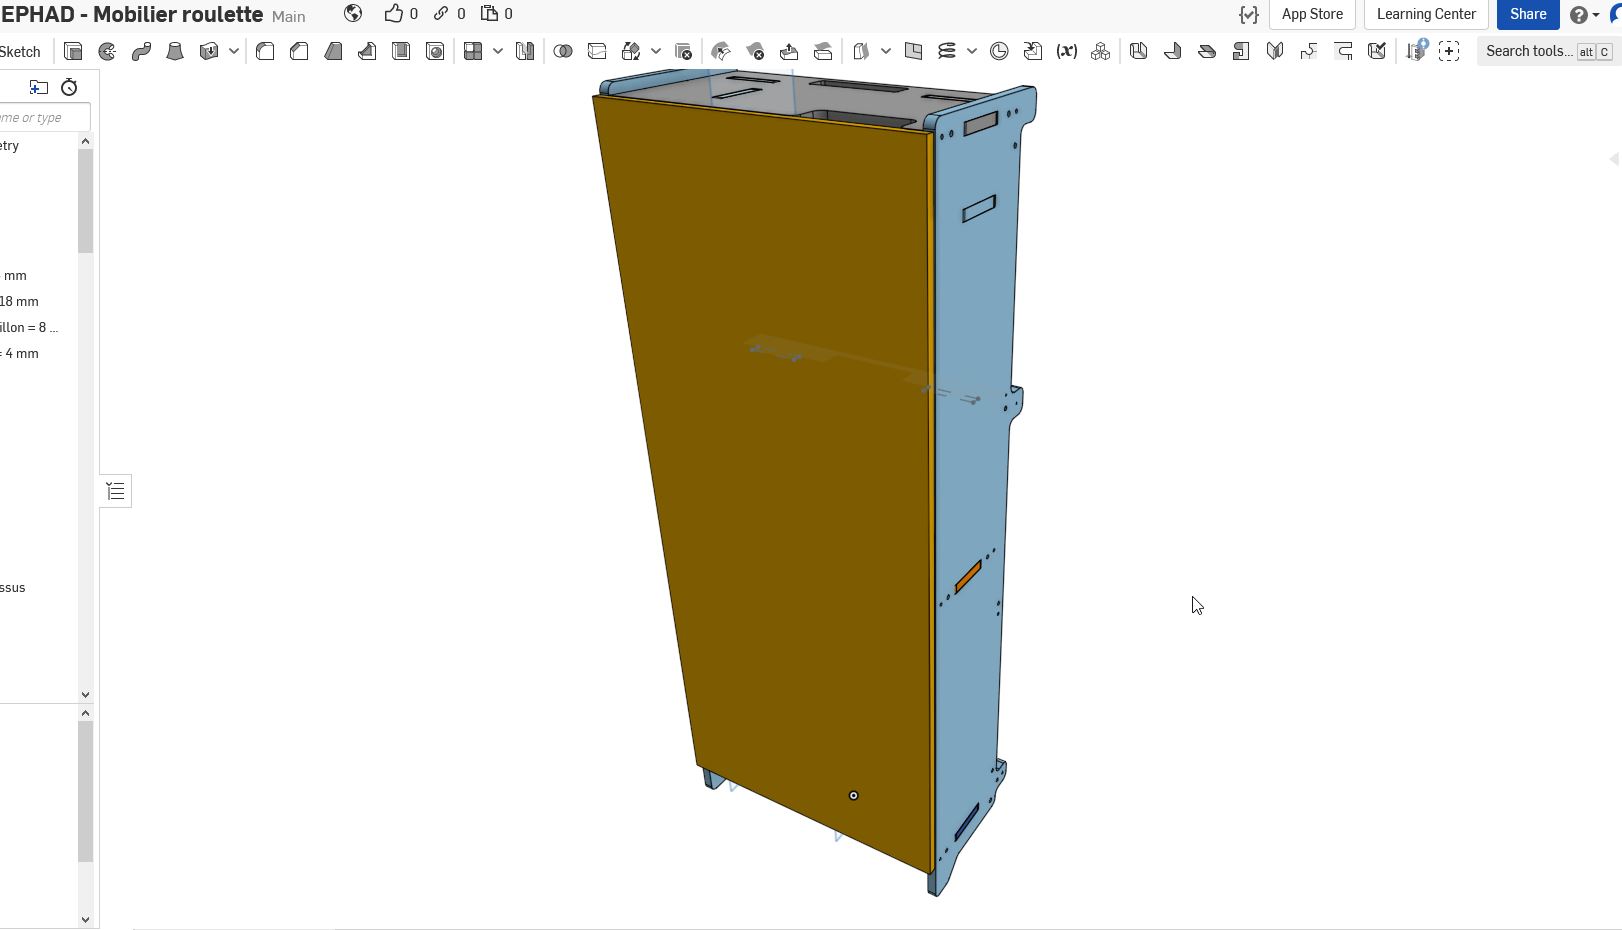 storage box front perspective view
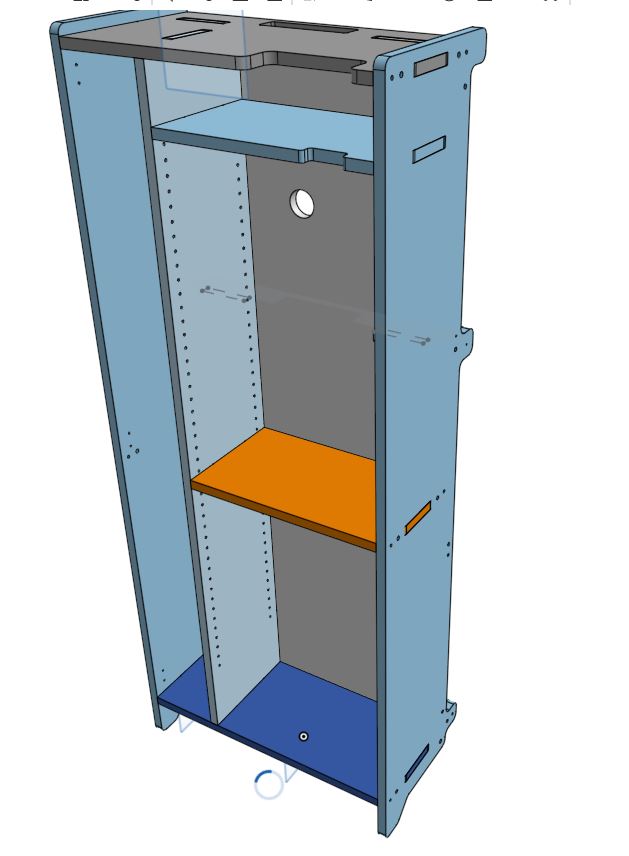 storage box /no front door/ front perspective view
I designed the project in order to work both: in a lab and in an industrial process. I used a lot the boolean function in order to get quickly the assemblY.
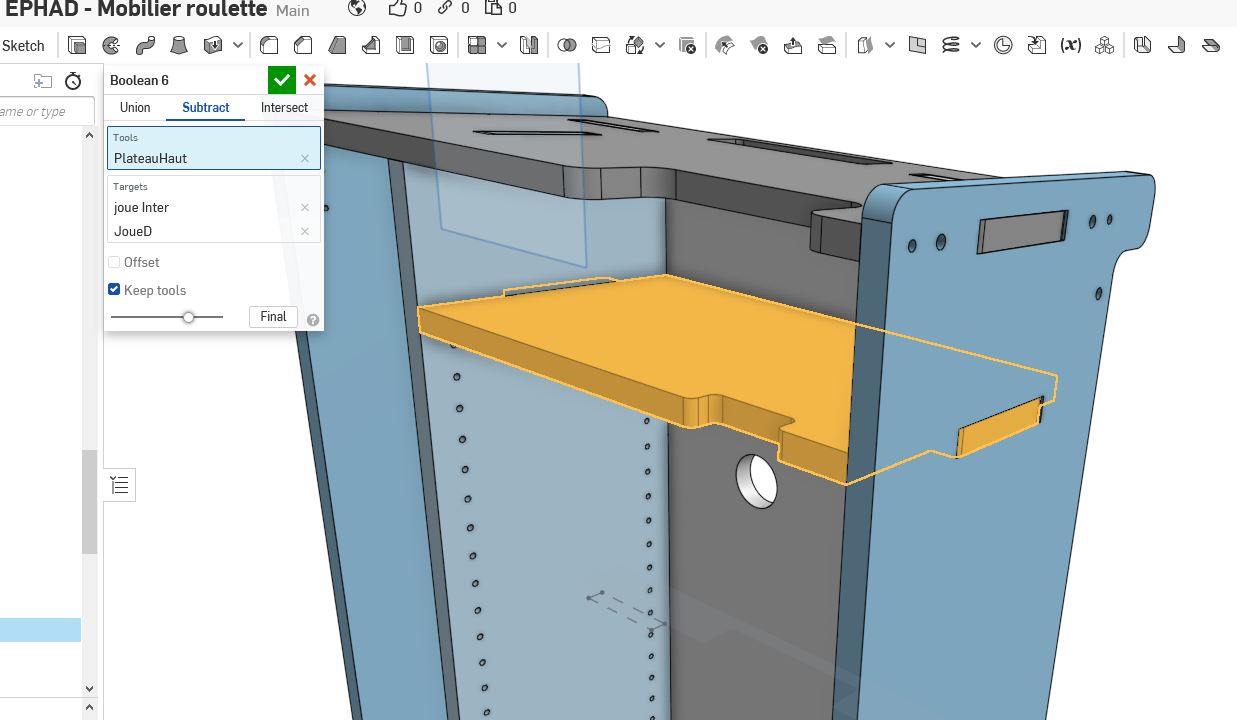 boolean function
I use the “export as dxf/dwg” in order to get the tool paths.
N=1000xVc /TTxd
| Symbols | Unity |
|---|---|
| Vc | m/min |
| N | tr/min |
| d | mm |
a=Nxfxz
| Symbols | Unity |
|---|---|
| a | mm/min |
| N | tr/min |
| f | mm/tr/teeth |
| z | number of tooth |
a=2400mm/min
N=14000 tr/min (maximum frequency of the shopbot)
V carve pro.
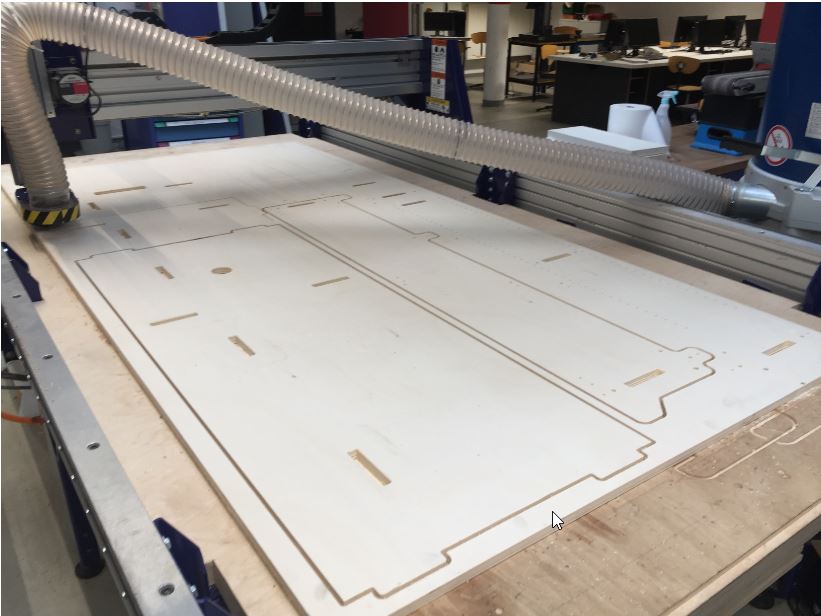
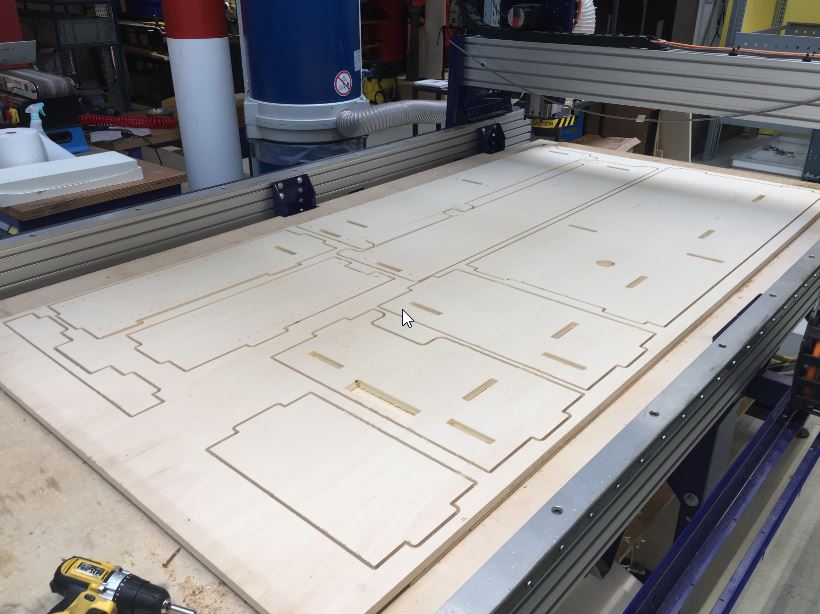
To make the file for the shopbot, I use VCarve Pro software. First I imported all the dxf file
 routing paths
After that, I just need to select all the parts and select the tool I would like to use. Here, I choose a upcut tool of 6mm diameter. the softaware will generate all the paths for the machine. I will just add some tabs ta maintain the parts during the production.
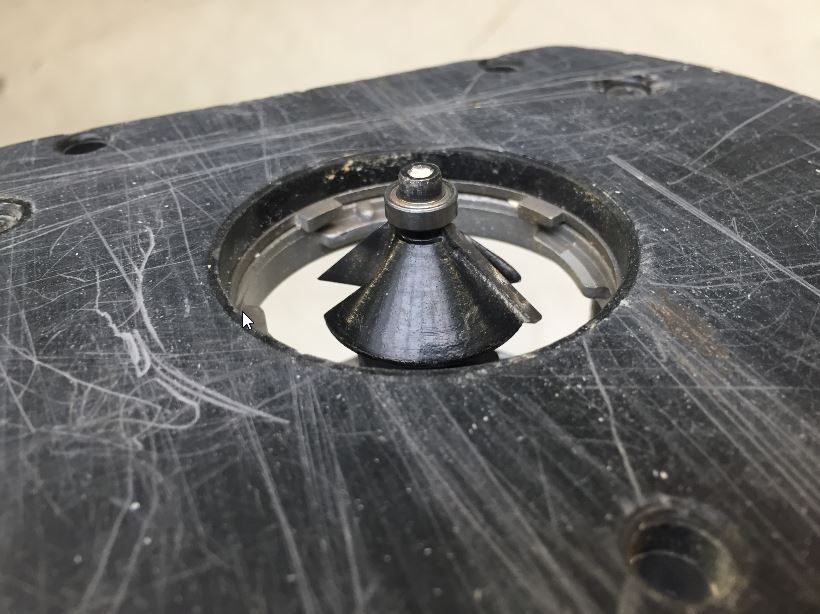
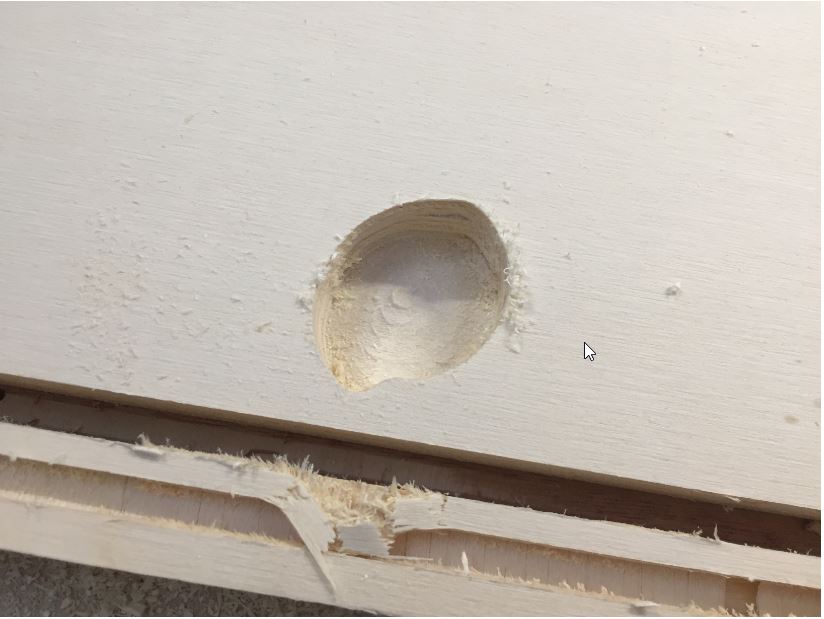
I have selected 5.5 , 8 , 10mm drills to make the linear holes and I measured the difference between the end of the tool and the main surface.
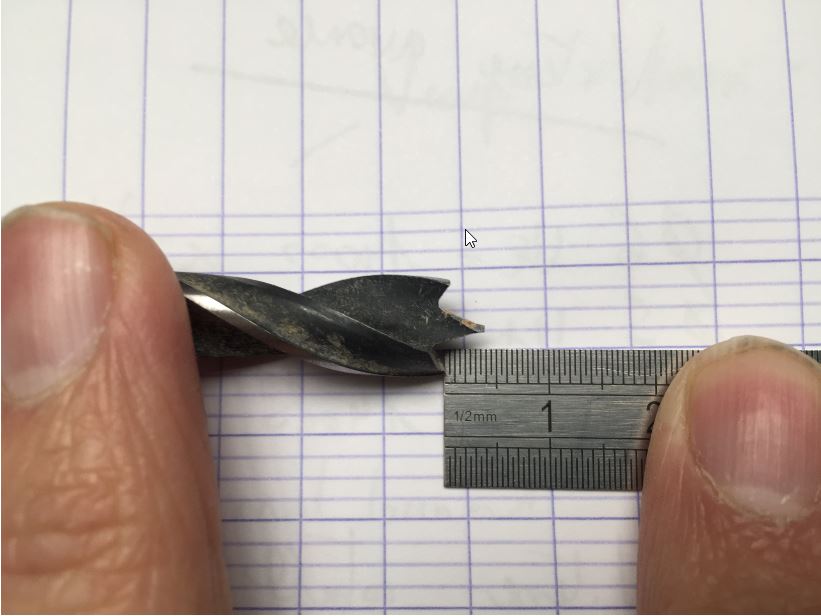 drilling difference
Probe
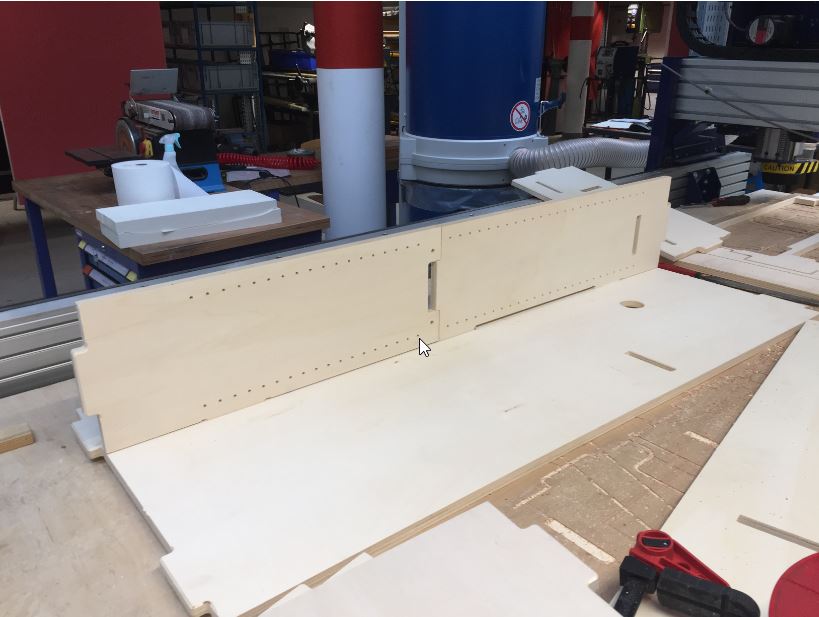
2 - Milling the project
To mill my project, I use the shopbot. After putting the tool and the material into the machine, I’ve made the zero for the Z axis using the dedicated tool. I have also verified that my design fits into the machine before launching the milling.
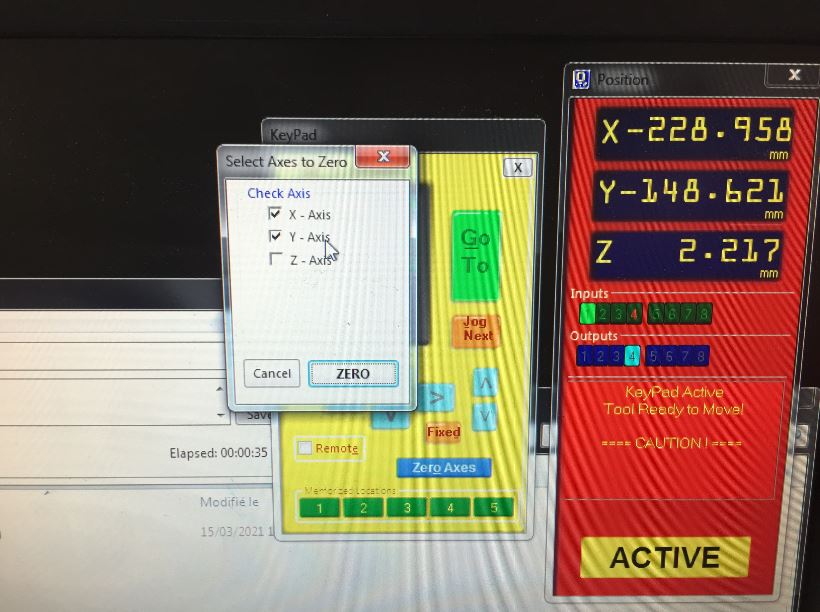 probe
probe
 processing
 job done
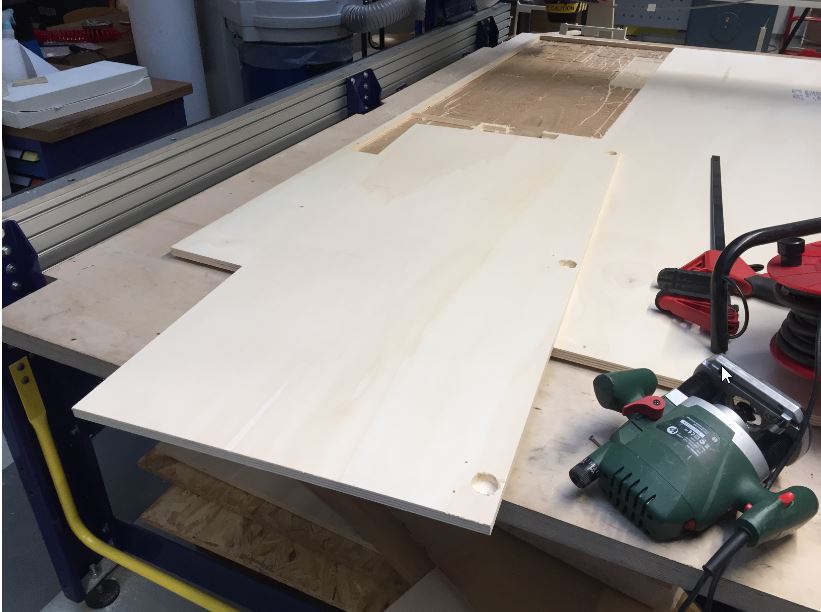
 wood router
Testing
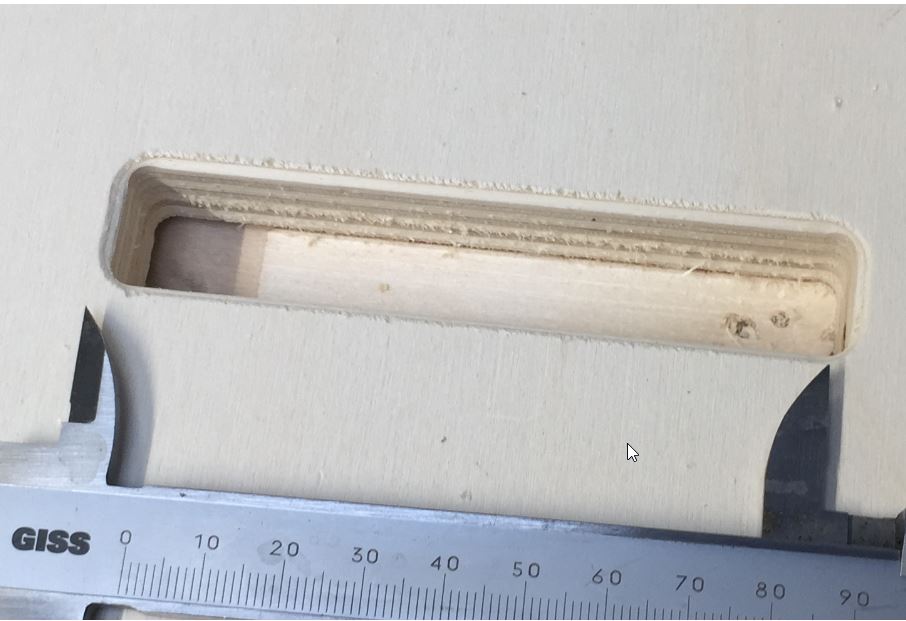
For this part, I cut three times a slot of 18 by 100 mm,
 Measurements
I got this measurements:
For 100mm 99.42 /99.56 /99.50 mm For 18mm 17.56 mm
wood router
I would like to use a hammer to make a strong assembly, so I kept it like it was.
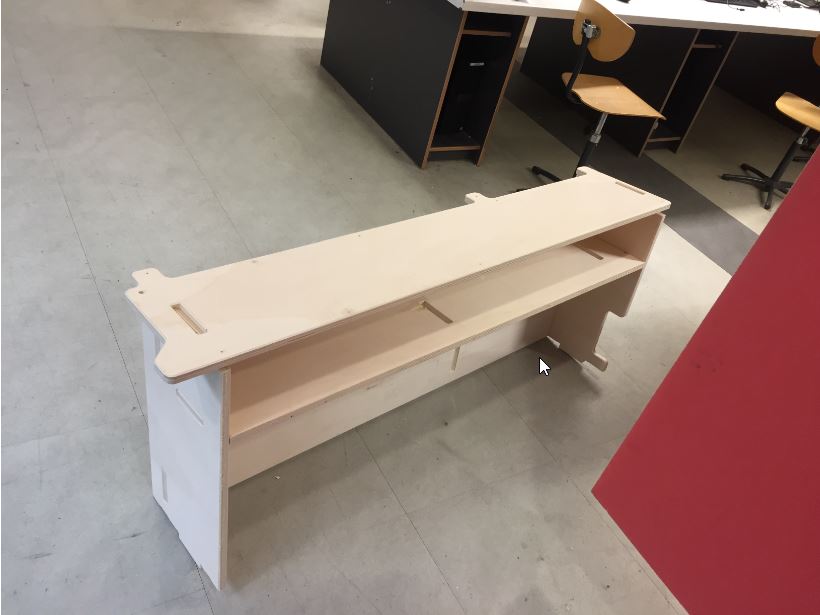
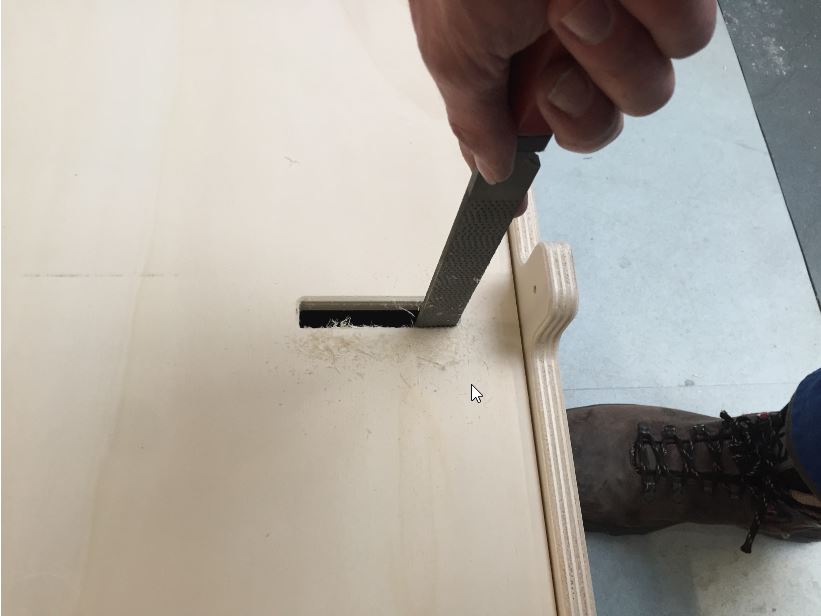
Assembly
 step 1
 step 2
 step 3
 problem03
 problem04
 doord
doord
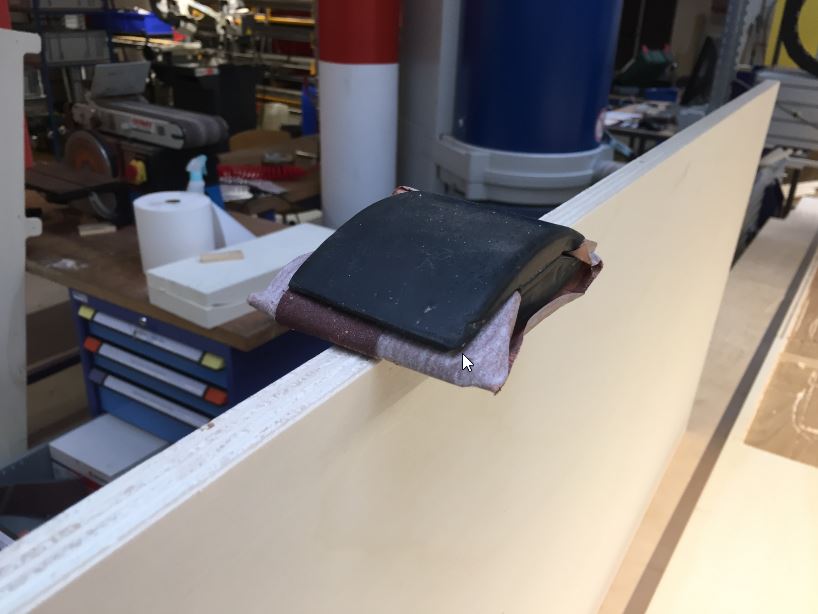 Sanding
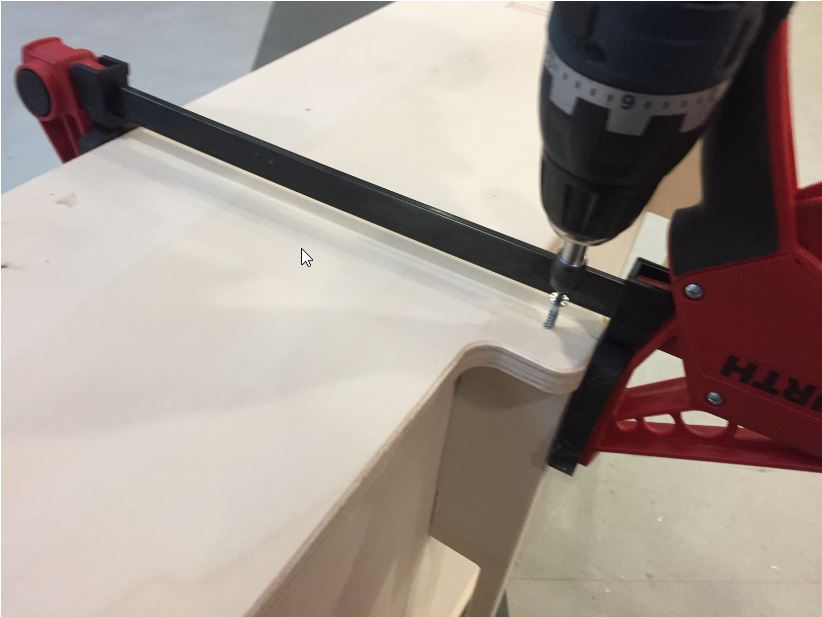 clamping
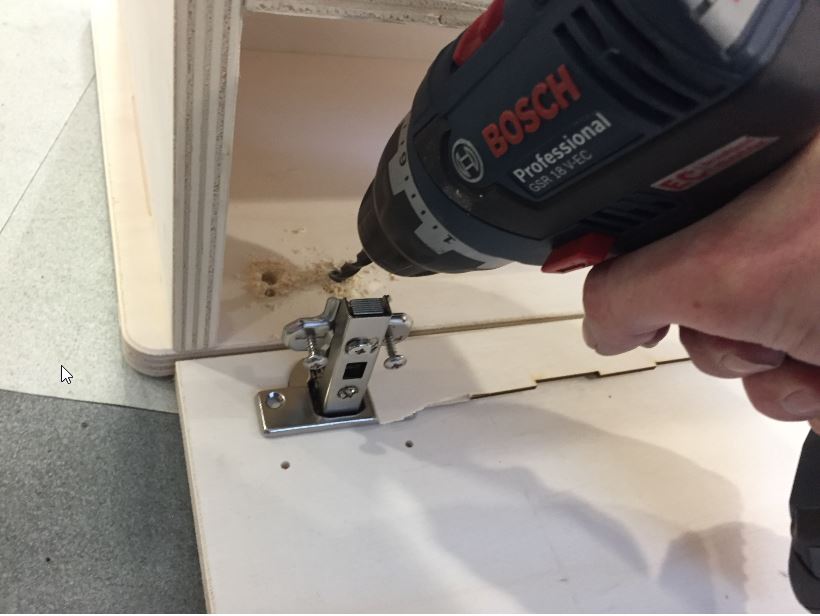
I had some issues because the standard measurements did not equall to “IKEA measurements”. I am waiting for standard hinges.
 problem 05
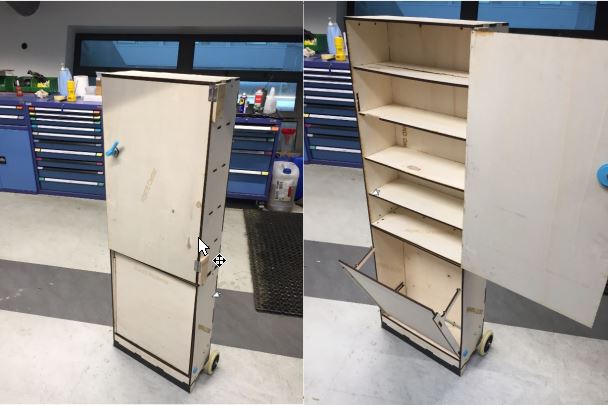
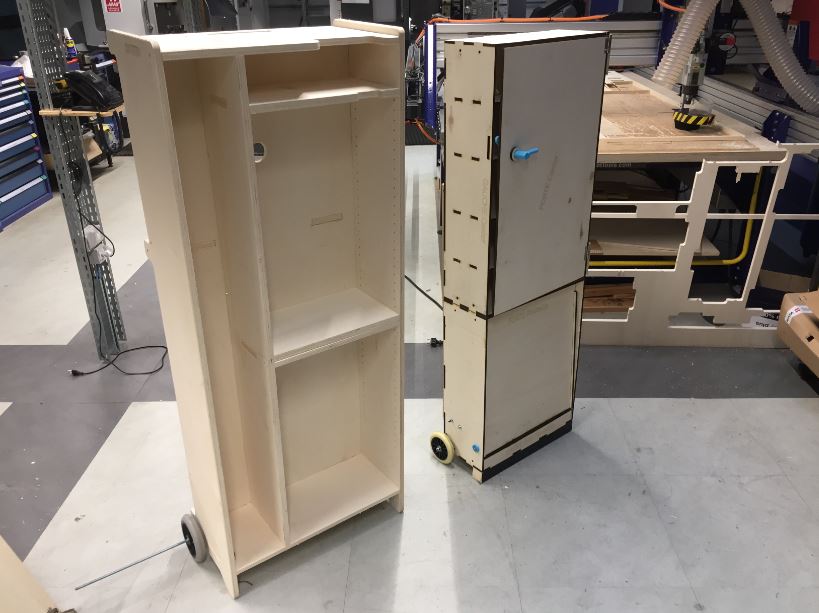
So, this is the comparison V1 and V2.
 compared version
 compared version
I will take some extra time to finish it and present to the future users.
 testing
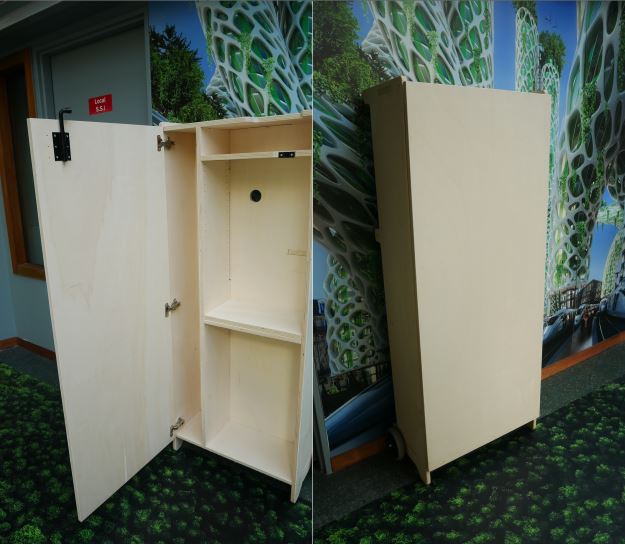
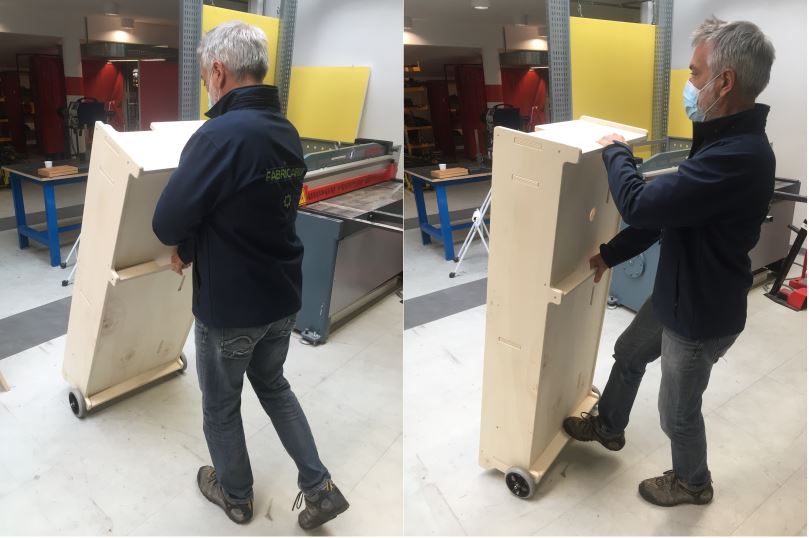
Opening the door:
Let’s roll:
Final pictures.