Machine Making Machine !
This week we dive into mechanical & machine design! It is super amazing. We will learn how to design and build a machine that includes:
This assignment will be a group work only. We have to build the mechanical parts of the machine and operate them manually. Then, actuate and automate our machine.
After the Prof. Neil's session, we discussed the requirements of the assignment with our instructor to see how we can work on this assignment as a group without going to the lab. Our group has 4 students ( Sarah, Mohammed, Duaa and I ).
First, we discussed the idea of the project to identify the machine that we want to make it.
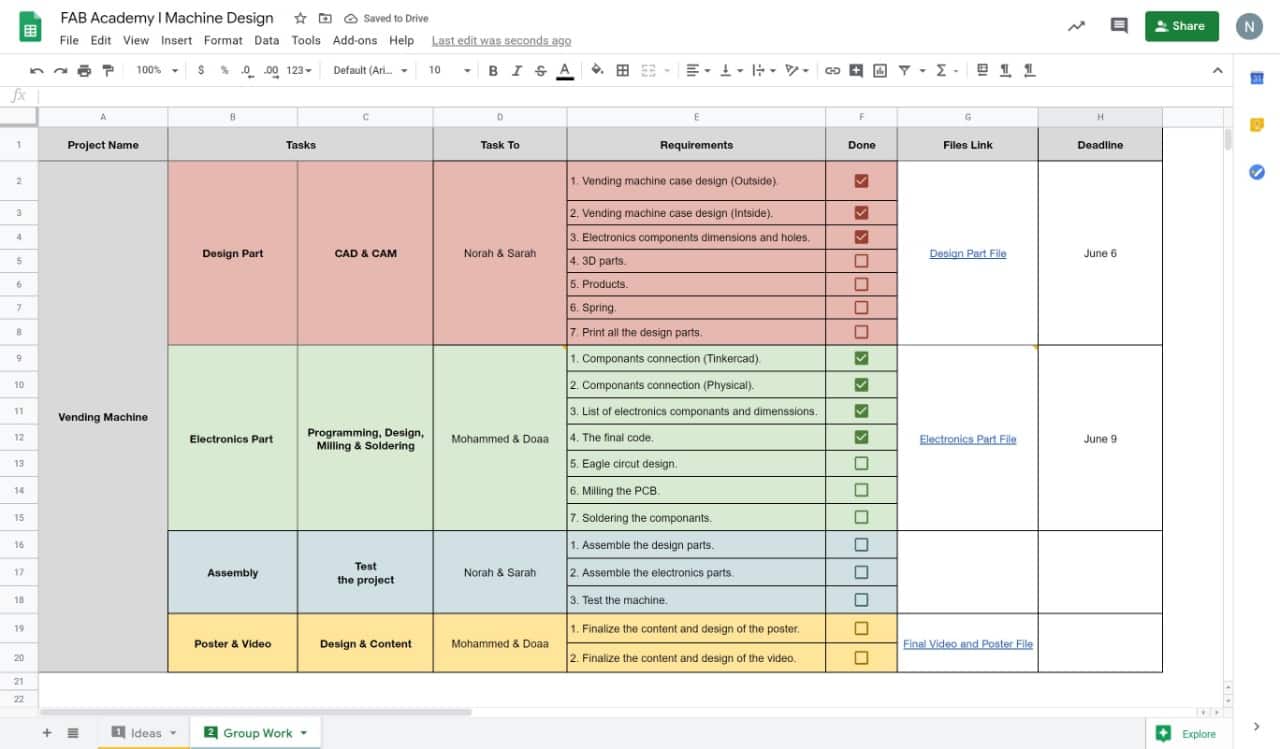
As we agreed that I am going to lead the group and manage the whole process. The tasks were divided and distributed among us into 4 main parts :
- 1. Design Part : Sarah and Norah.
- 2. Electronics Part : Mohammed and Duaa.
- 3. Assembly : Sarah and Norah.
- 4. Designing Poster/ Video : Mohammed and Duaa.
We used google sheets to manage the tasks and files.
After suggesting different ideas for the machine project. We voted to make a vending machine.
The Idea of the vending machine:
Sarah and I thought about designing a vending machine that is related to the makerspace. We usually have a problem in our lab which is we do not have a space to store the filaments correctly. So, we decided to make a filament vending machine to store the filaments so it does not come into contact with moist air. Also, to allow anyone to buy any kind of filement in an easy way.
Now, let’s design the machine!
We decided to design the machine by using Onshape software. While designing we put in our mind the electronics components that we are going to use in this machine to take the exact measurements of them.
The electronics components are :
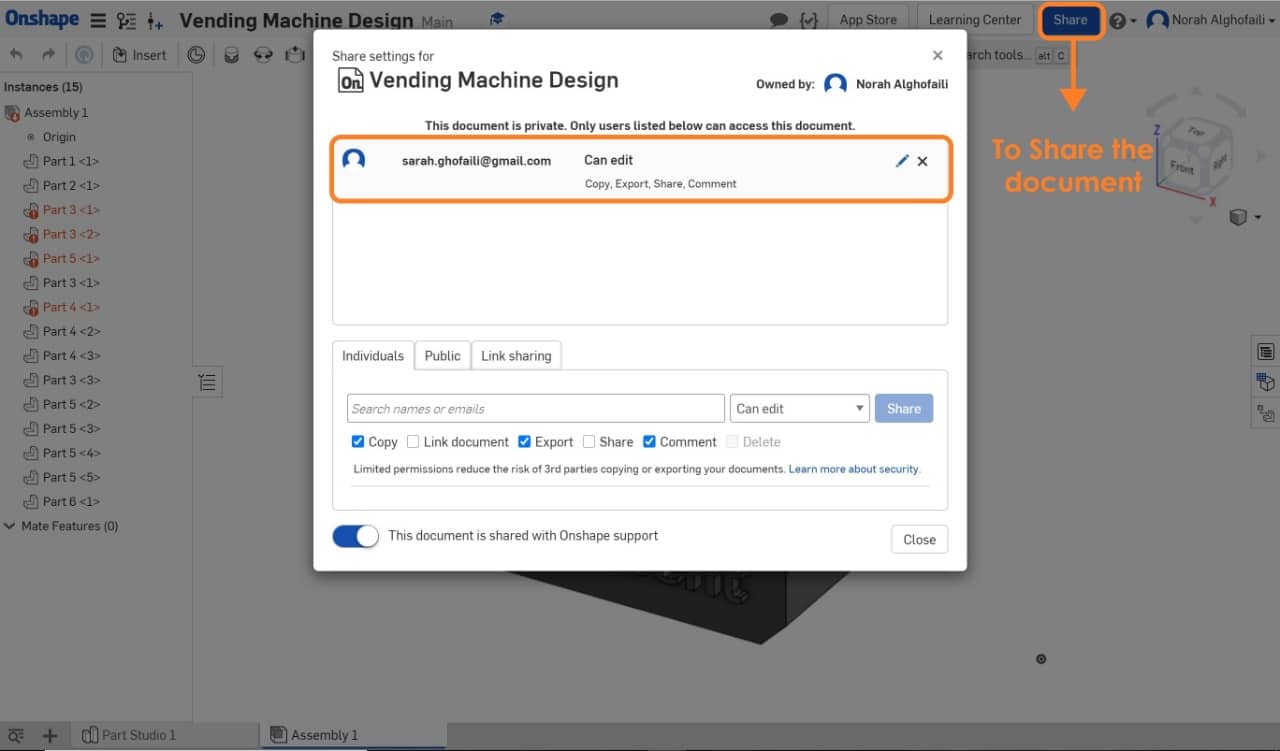
l shared the document with Sarah. So, we can work together at the same time.
2D Design:
The design will contain two parts :
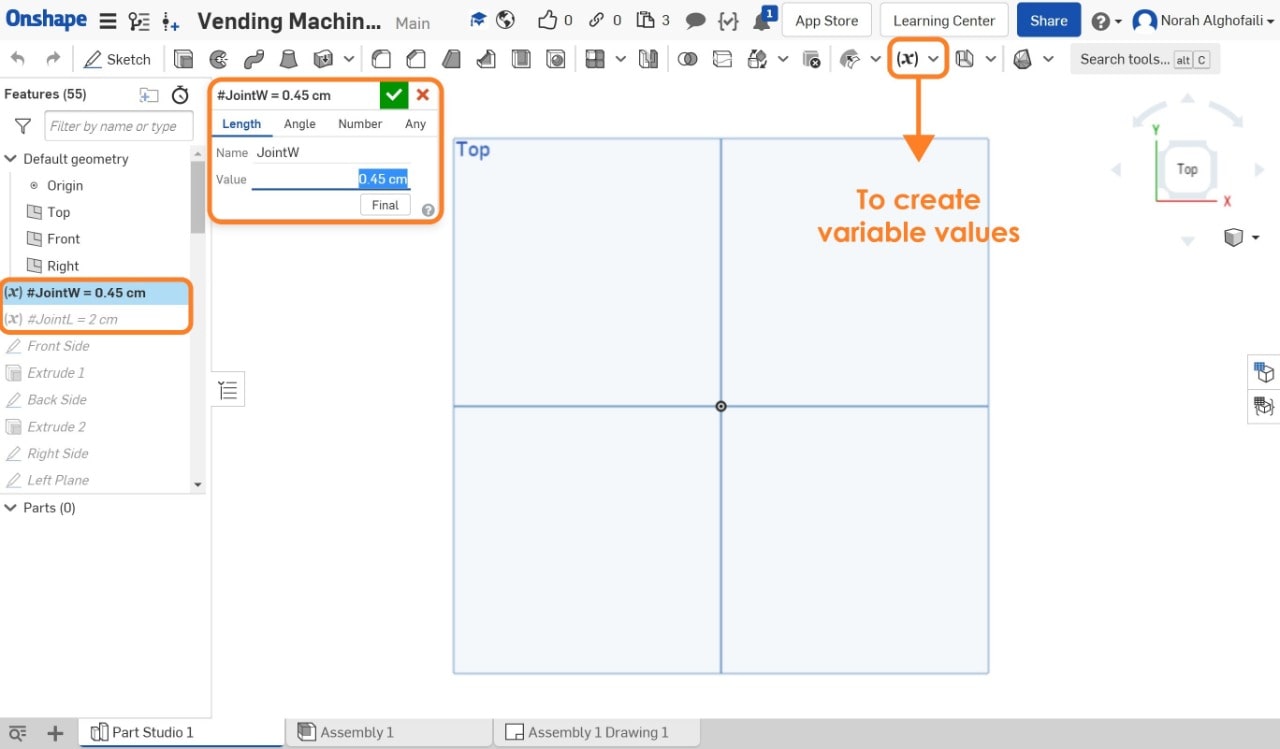
First, we determined a particular value to each variable. So, we can change the dimensions at any time.
- #JointW = 0.45 cm.
- #JointL = 2 cm.
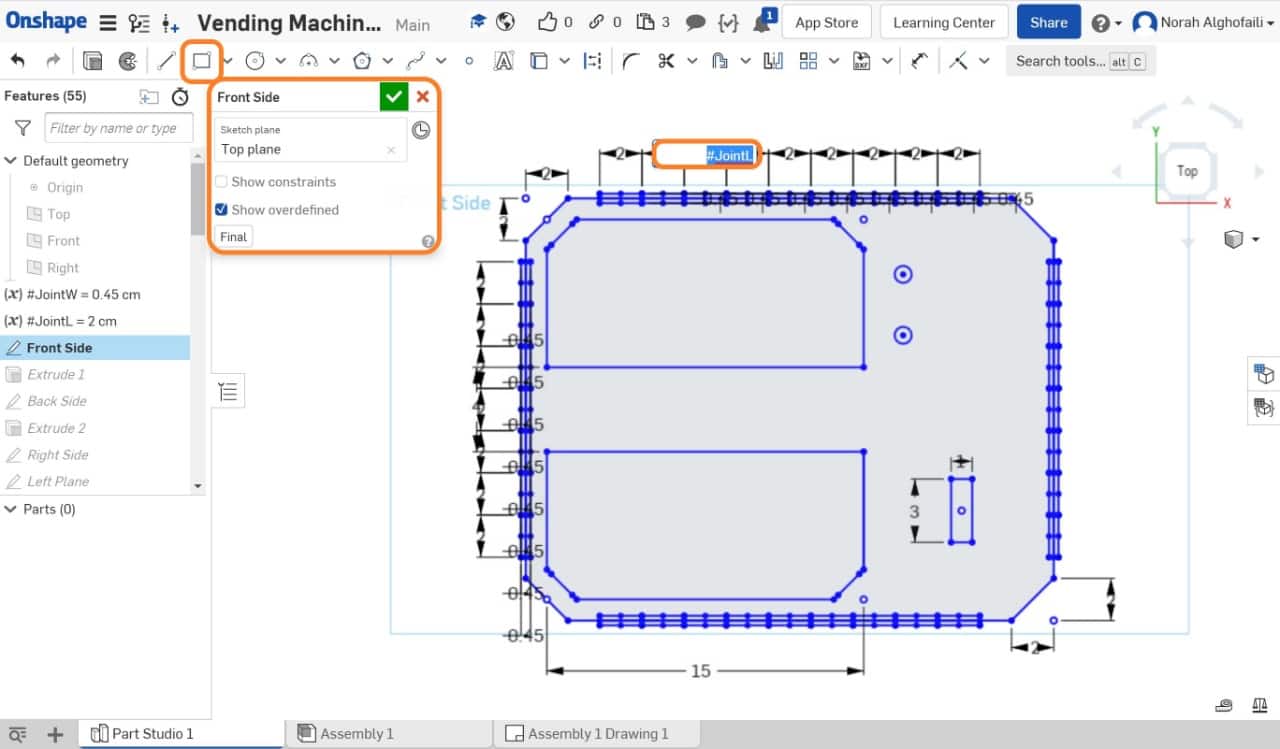
We drew the front side of the machine by using a rectangular with dimensions ( 25 cm x 20 cm ). Then we added the joints by using the variables values. After that, we made the electronics components holes.
Then, we extruded the object with thickness 2 mm.
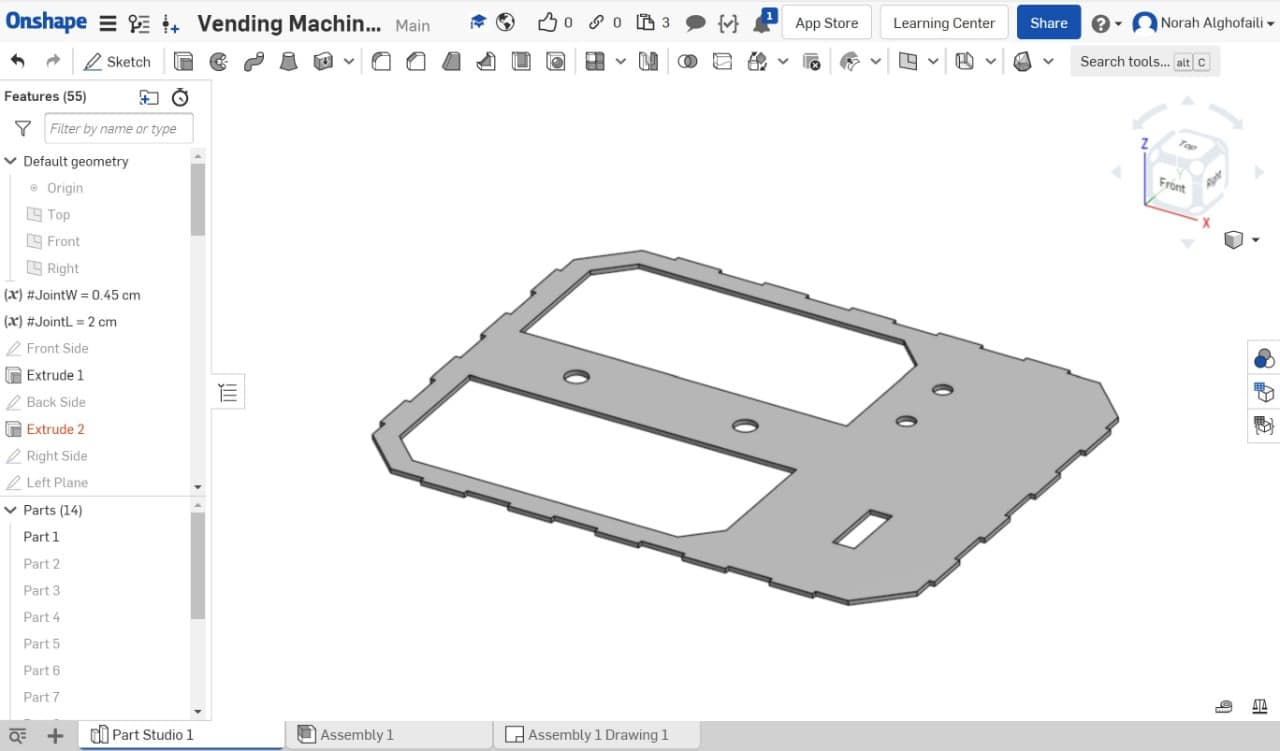
We also designed the side, top and buttom parts.
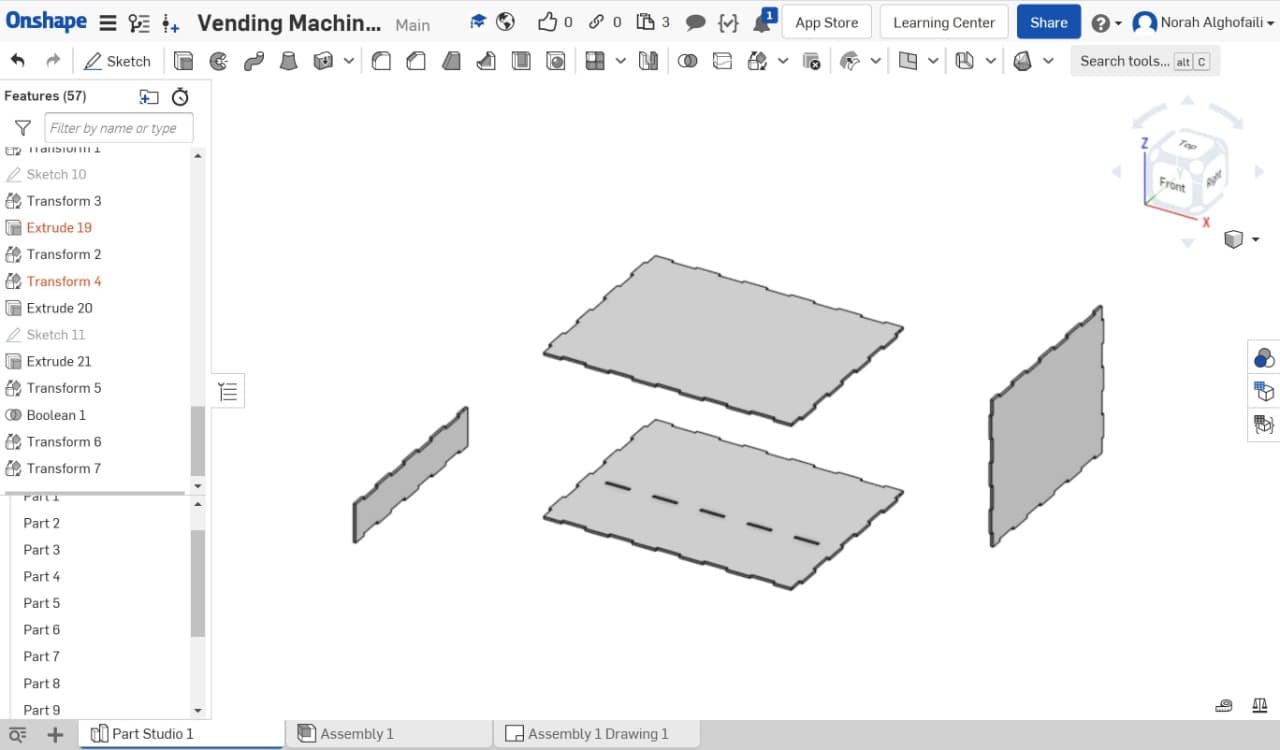
We designed the base to put the machine on it.
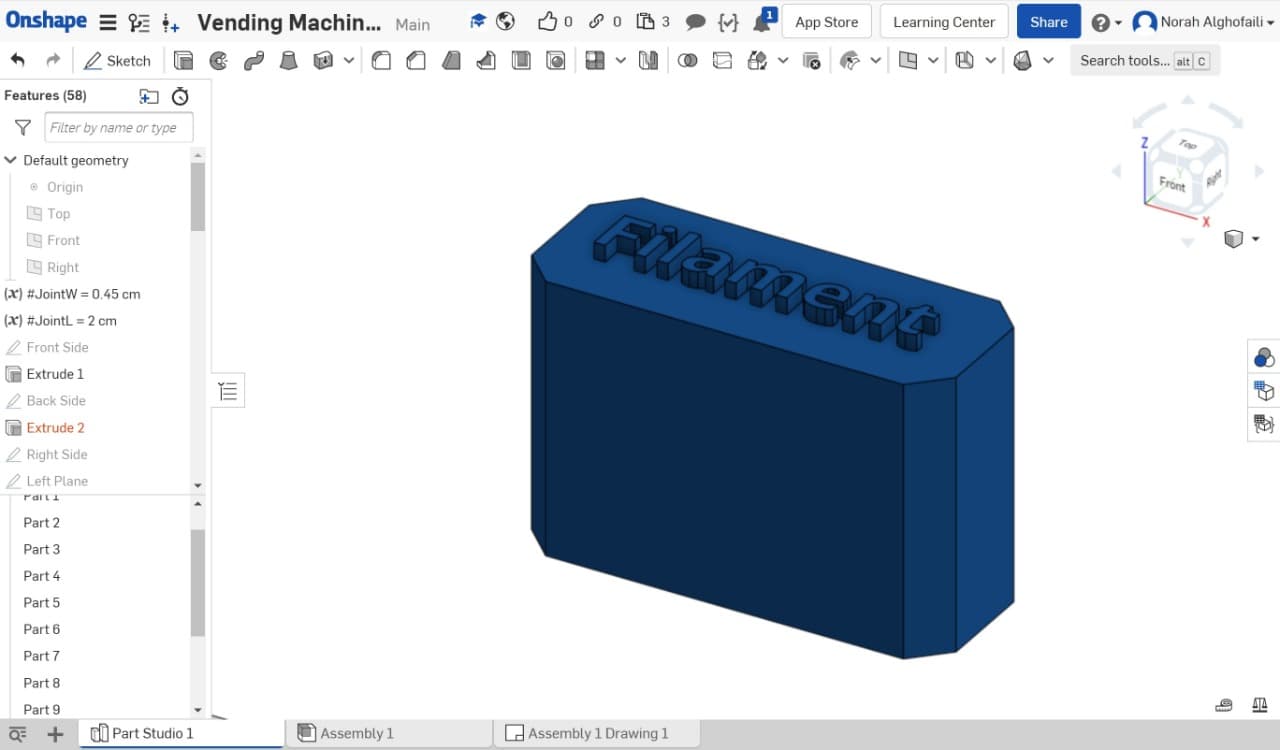
To see other parts of the machine you can check Saras’ page.
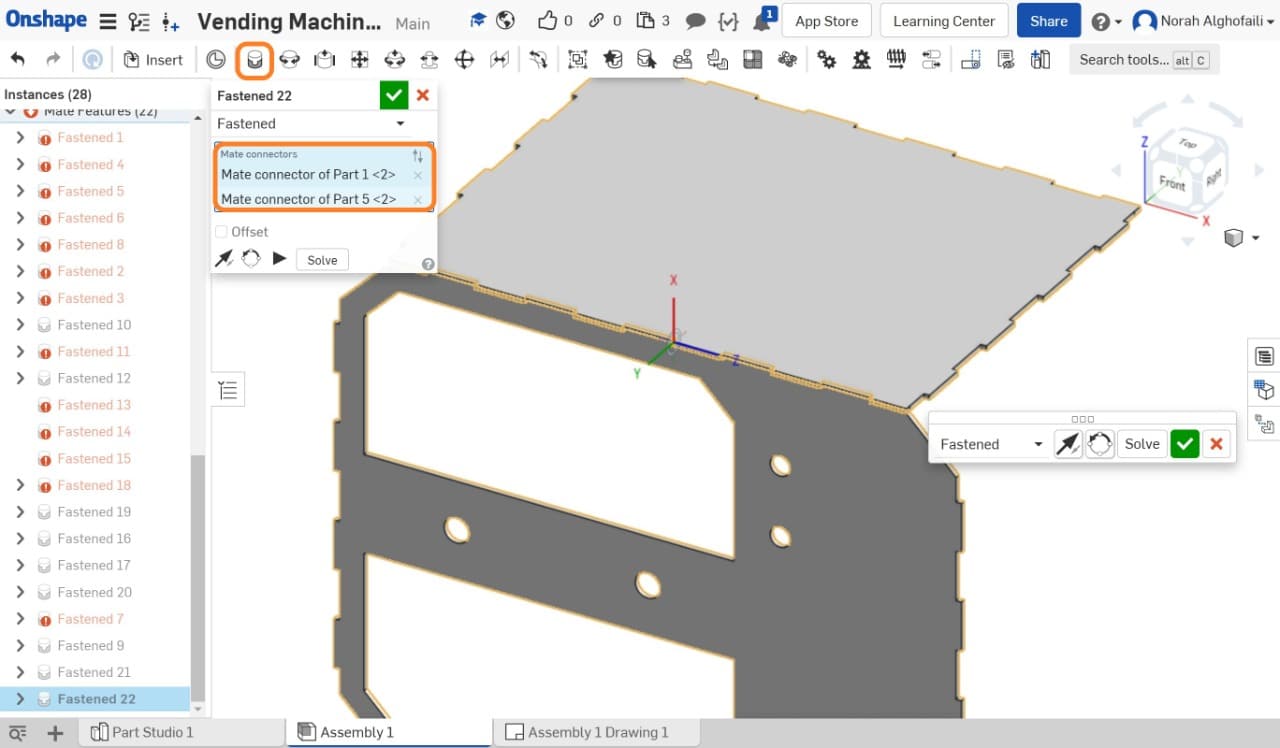
To assemble the object, we clicked on assembly window then Insert button. We selected all the parts that we need.
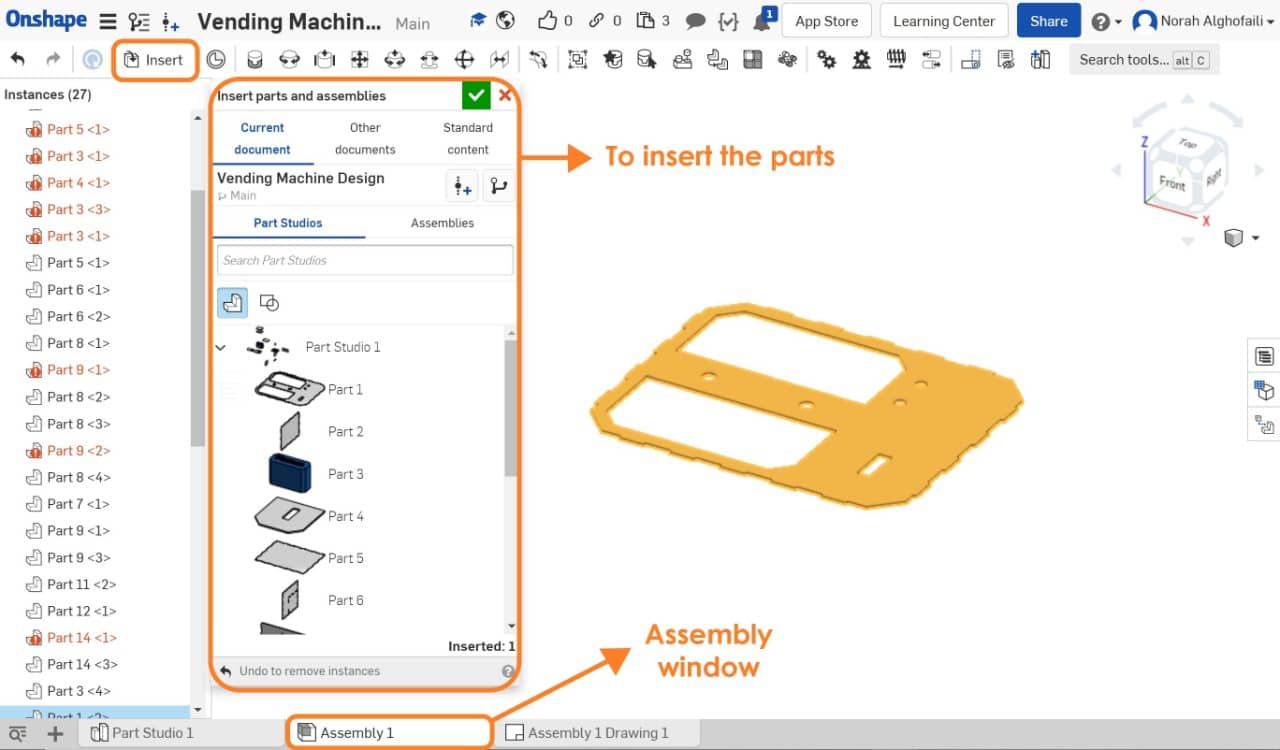
After that we used fastened mate feature to connect the parts together.
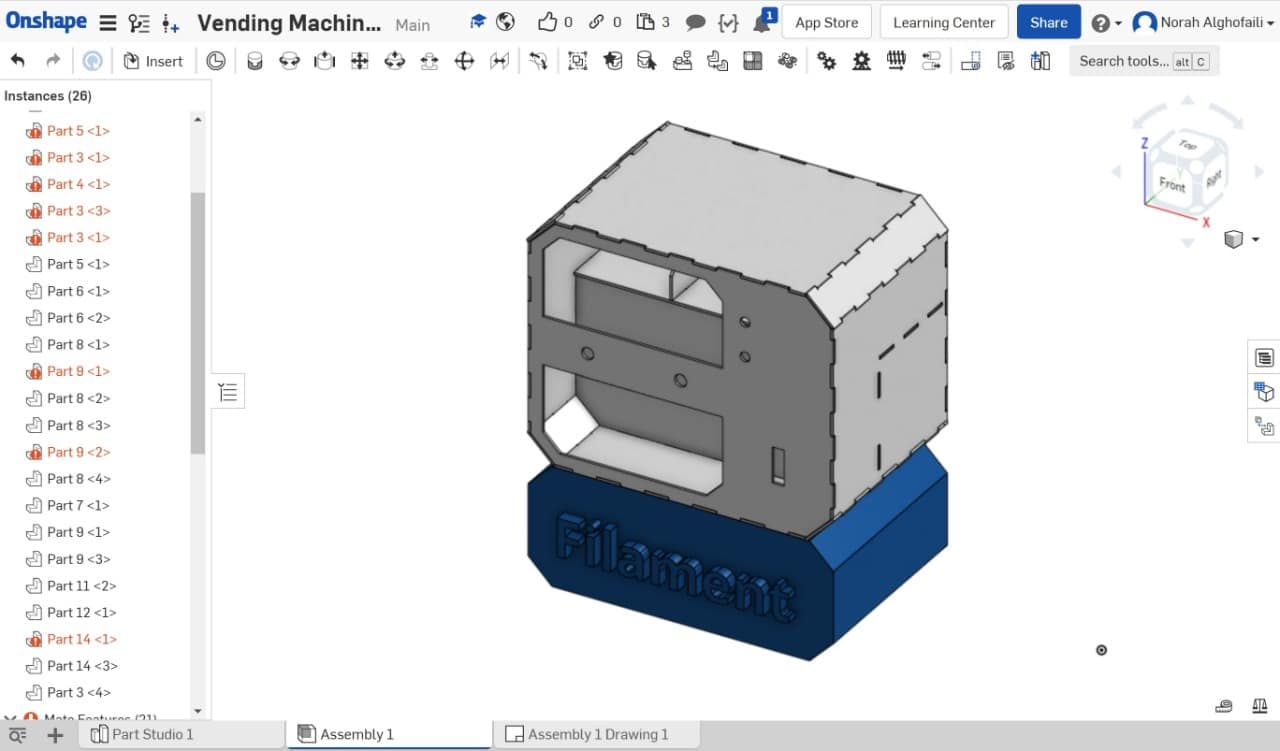
This is the final result!
Laser Cutter:
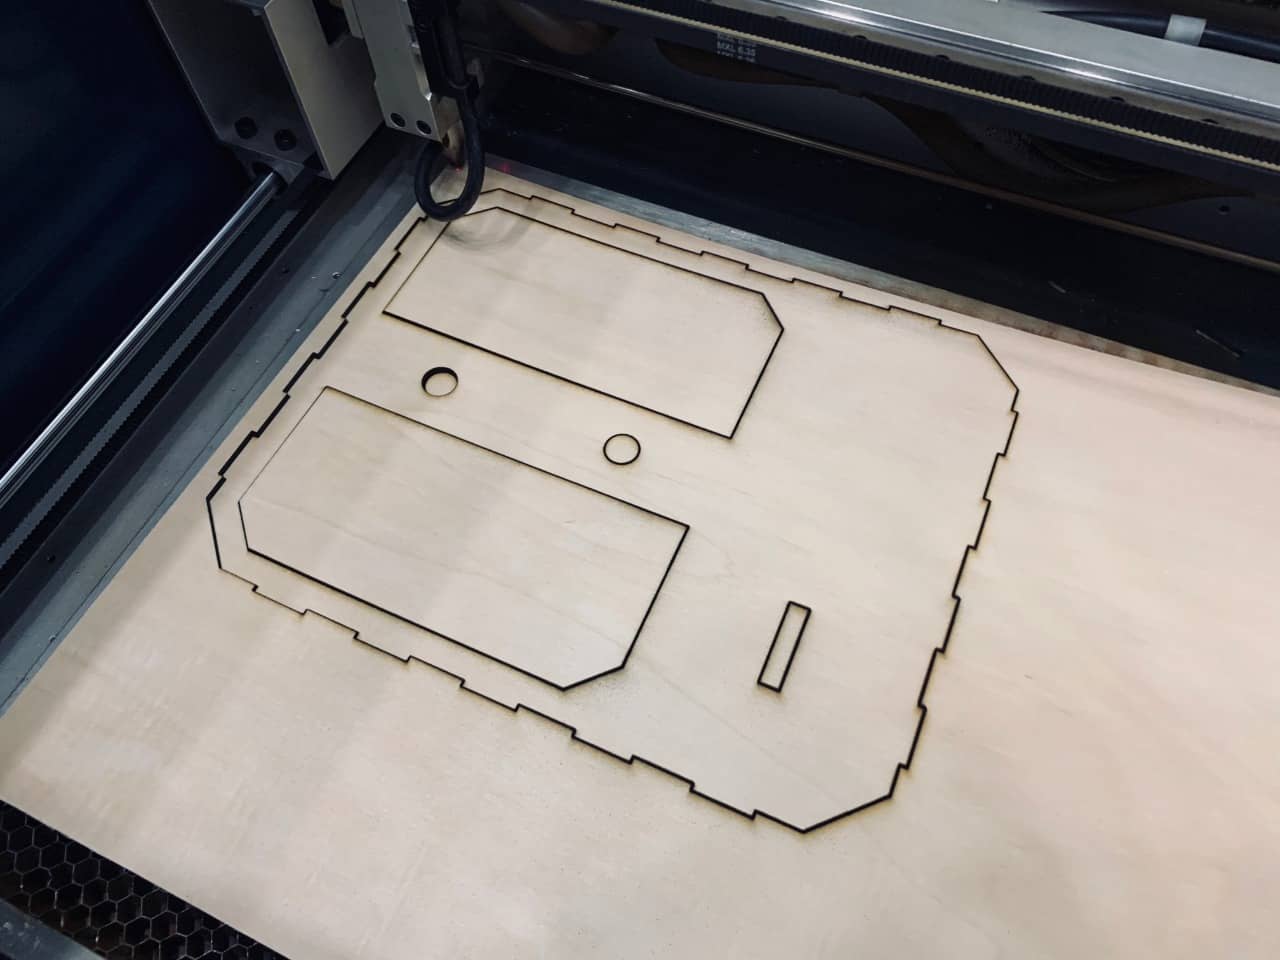
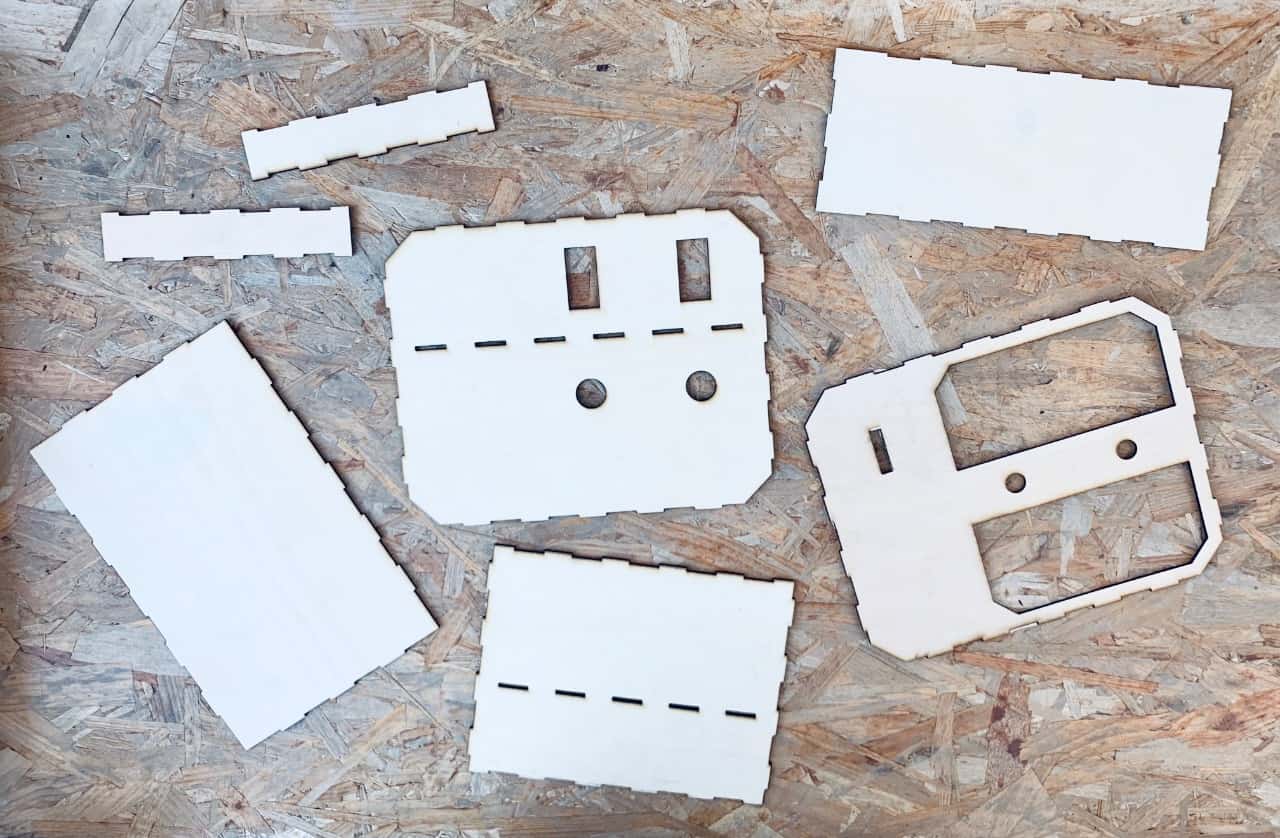
We used laser cutter machine in order to cut the design. The material that we used for the case is wood.
3D Part:
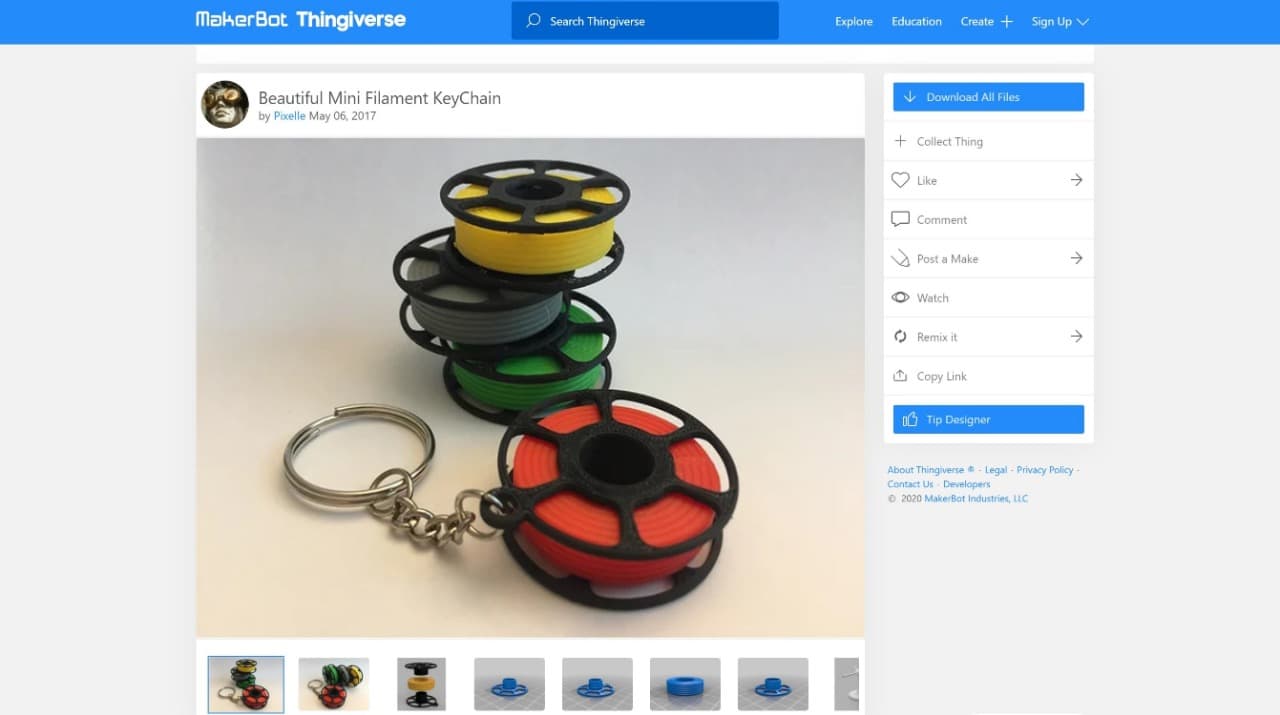
We 3d printed filaments objects to put them as a product in the vending machine. We took the design from an open source website called Thingivers.
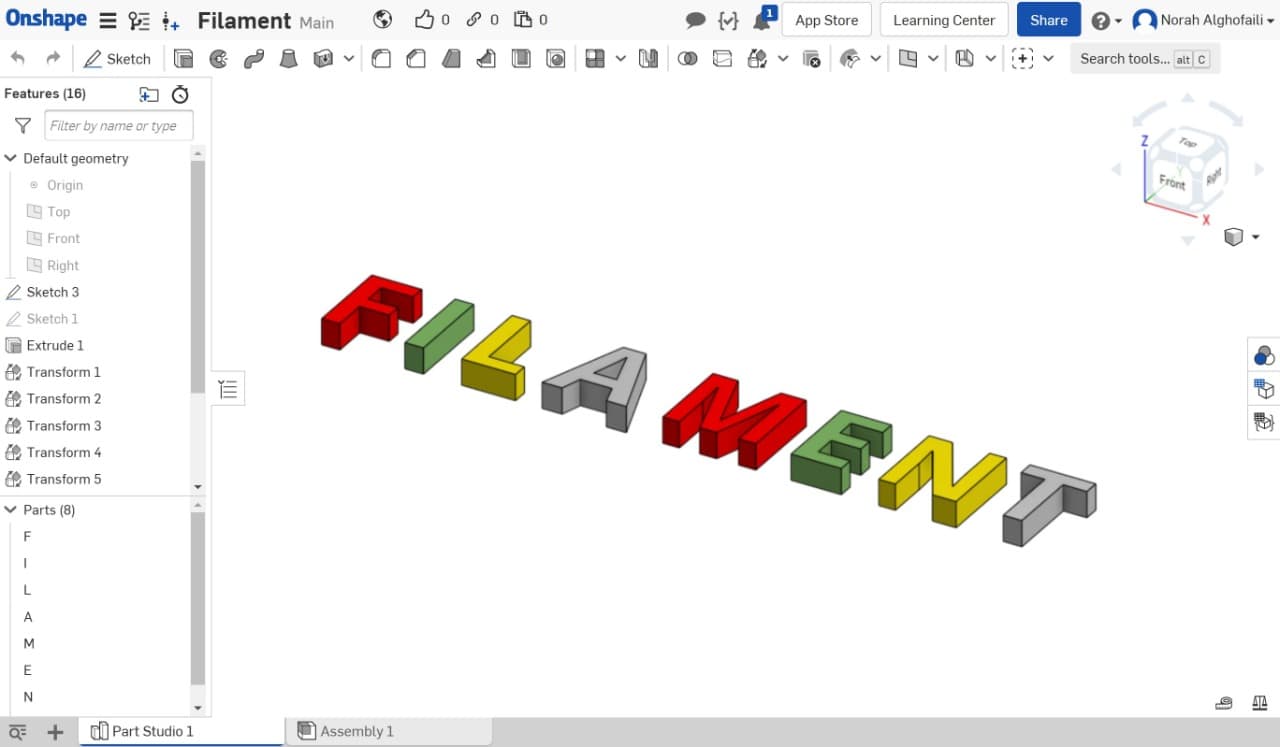
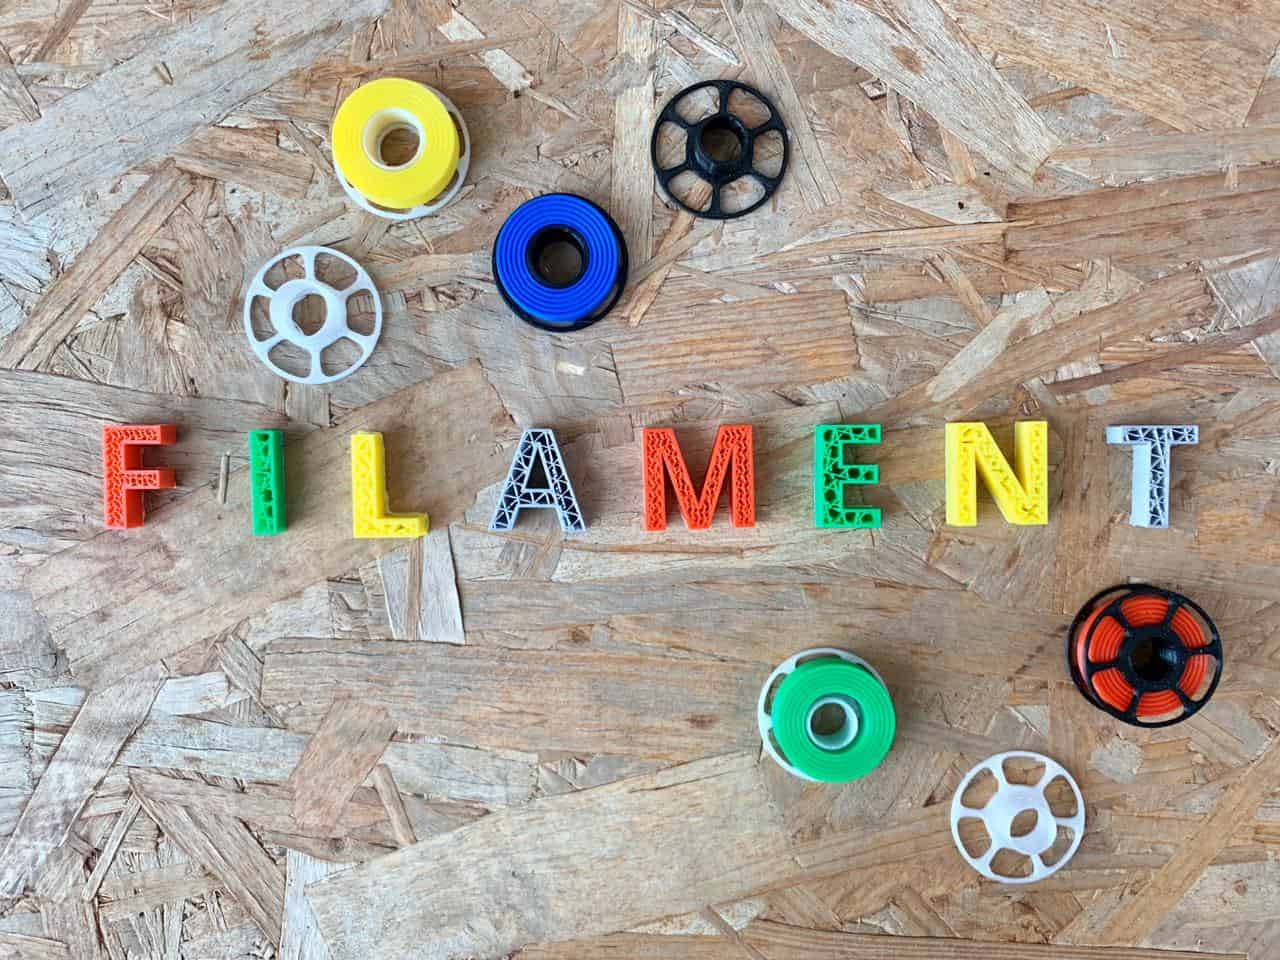
We also made the letters of the word FILAMENT. Then, we printed them by using CR10 3D printer.
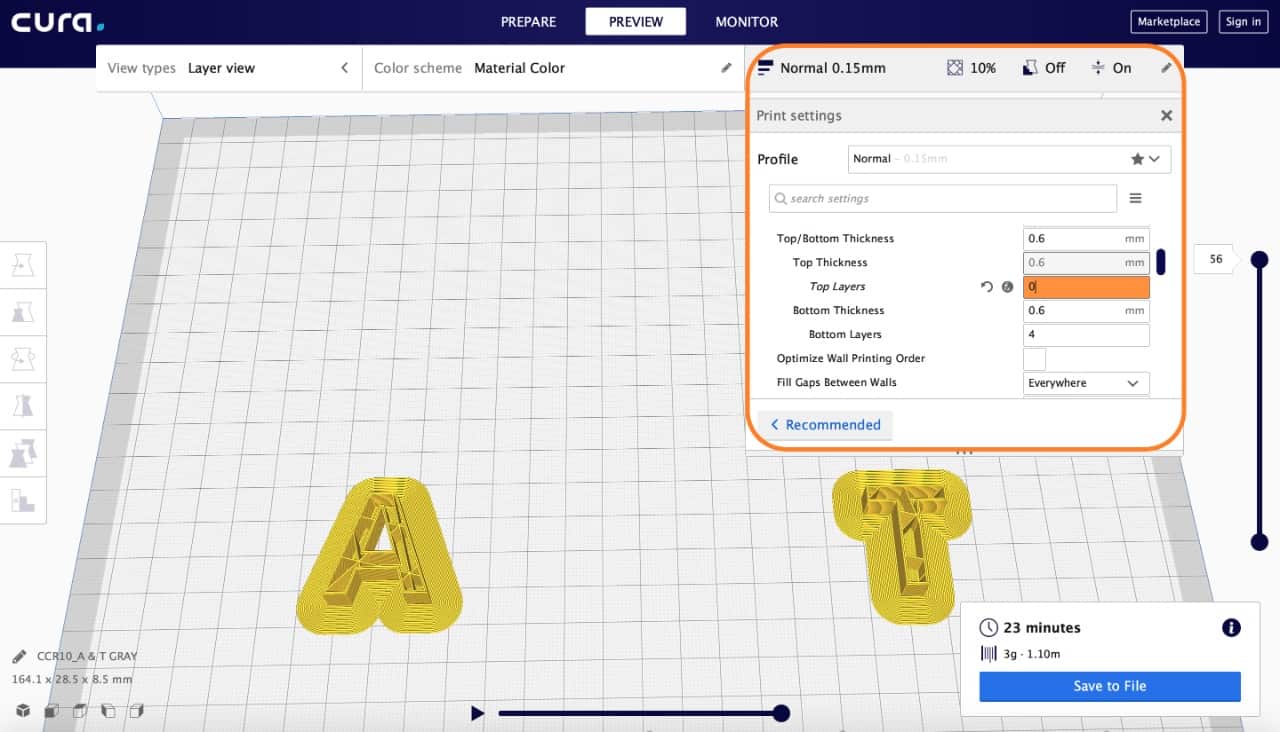
Before printing the letters, we used cura software to make the settings. We decided to remove the top layer to show different types of infill patterns. We used the following settings.
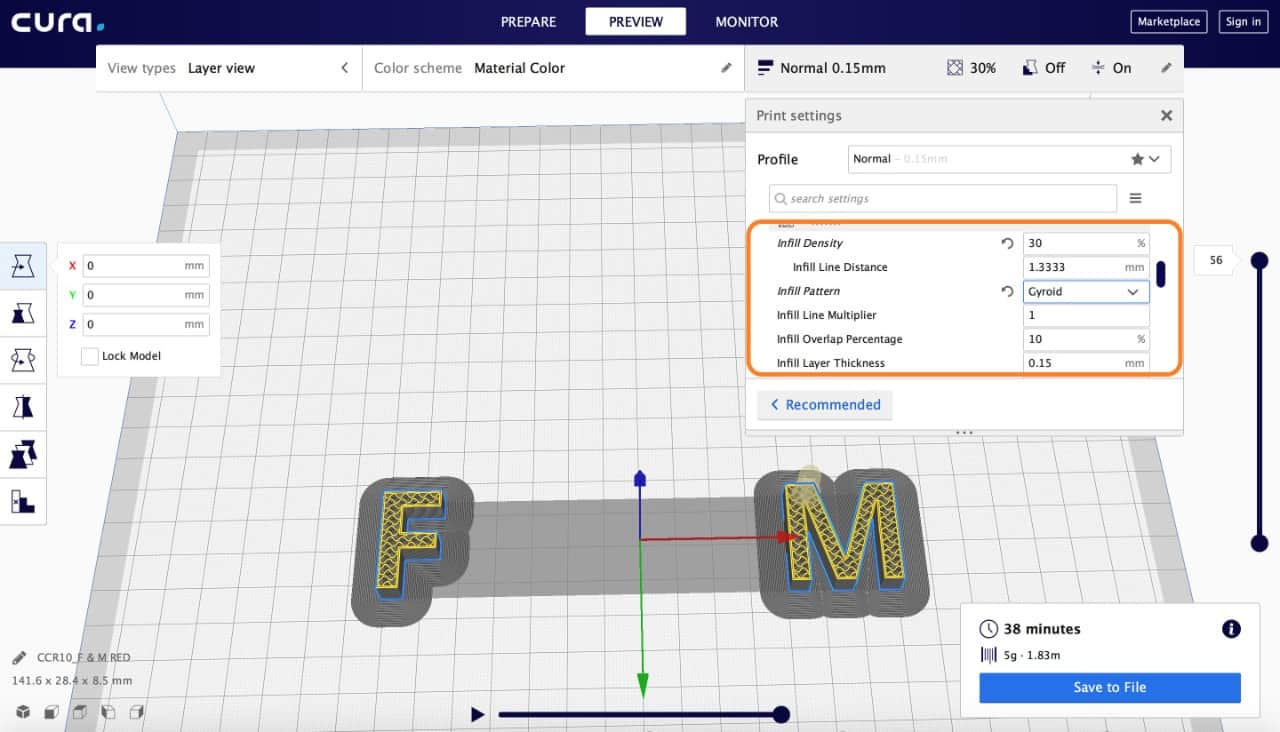
After that we printed them with different filament colors ( Red, Green, Yellow and Gray ).
Electronics and Programming:
You can check Mohammed and Doaa pages to follow the electronics process.
Assembly:
We assembled all the design parts and the electronic components to test the machine.
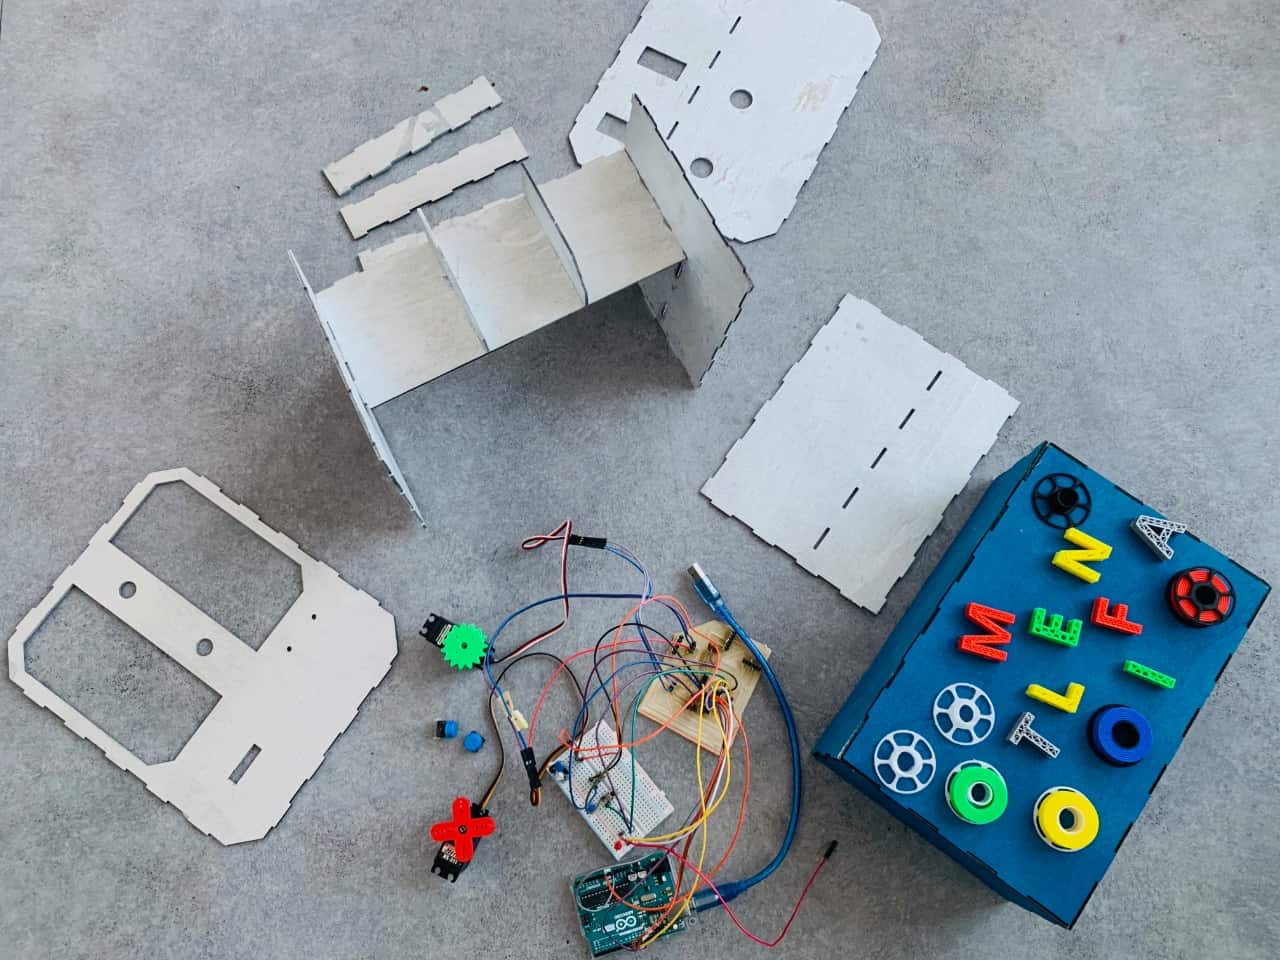
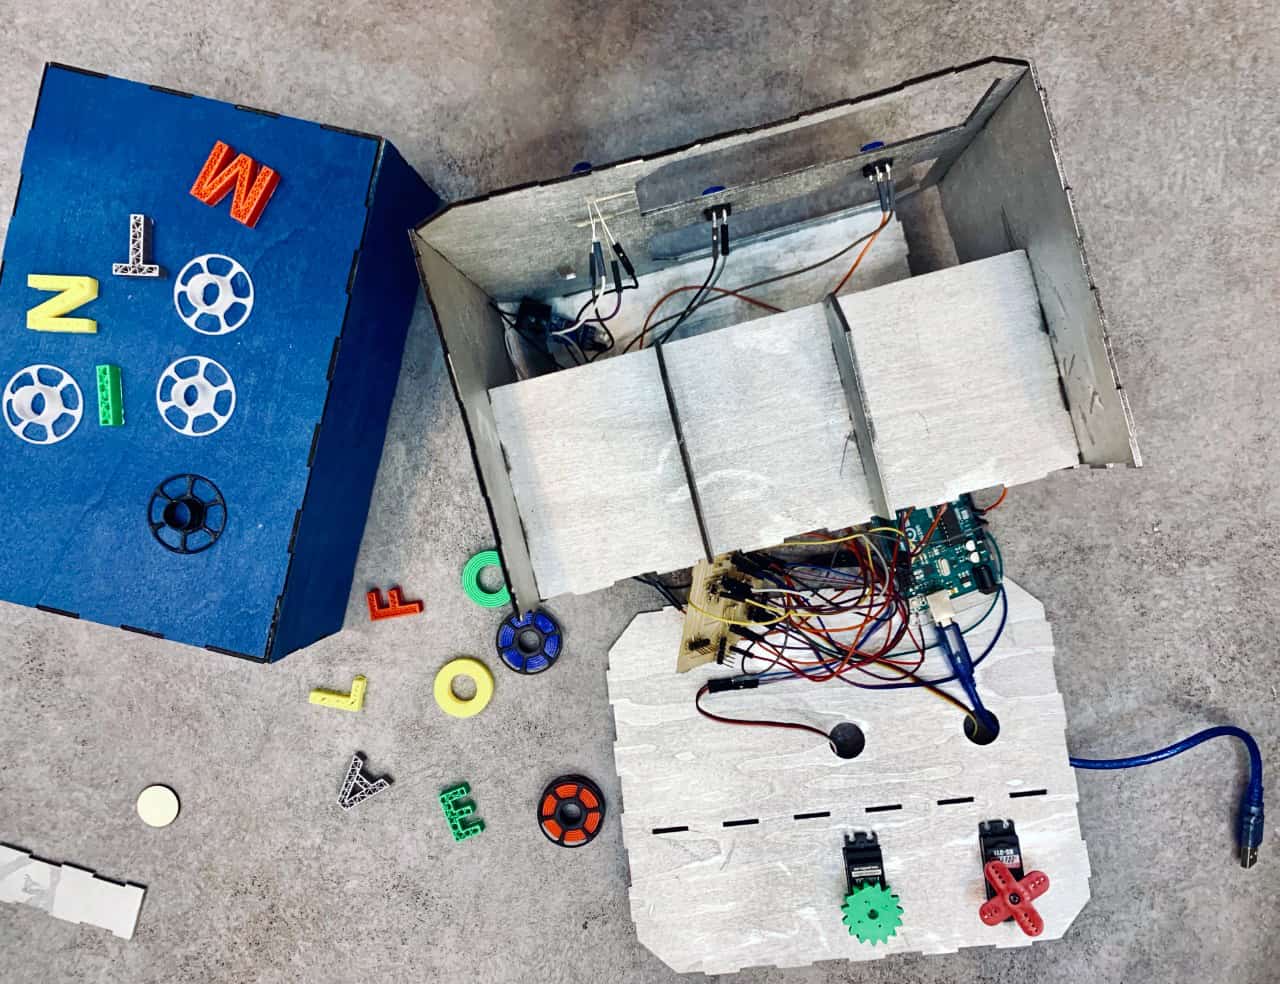

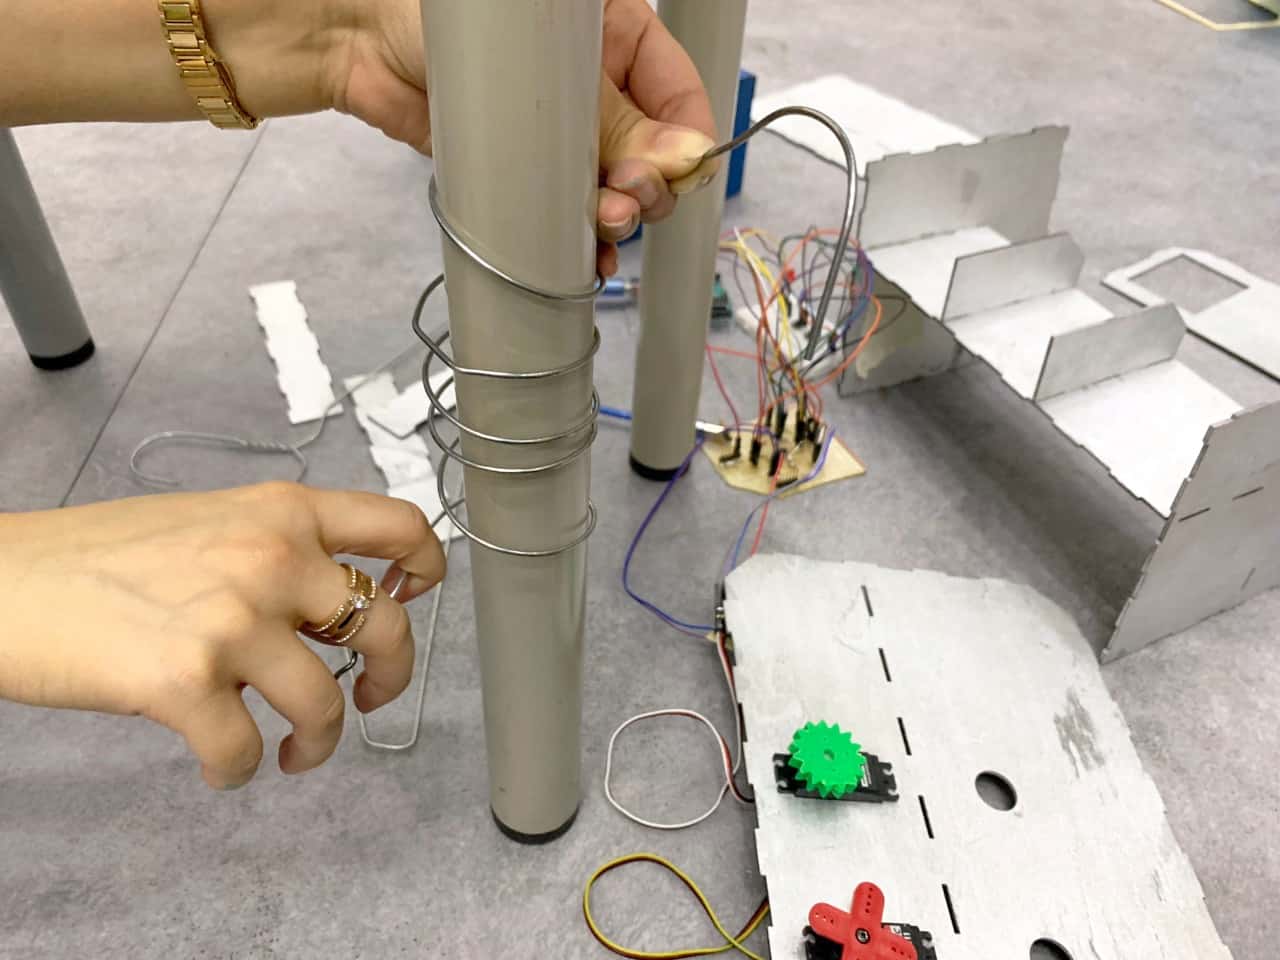
We made a spring by using clothes hanger and shaping it around a table leg. Then, we tested the spring manually.
Wahooo the vending machine has been completed! Let's test it!
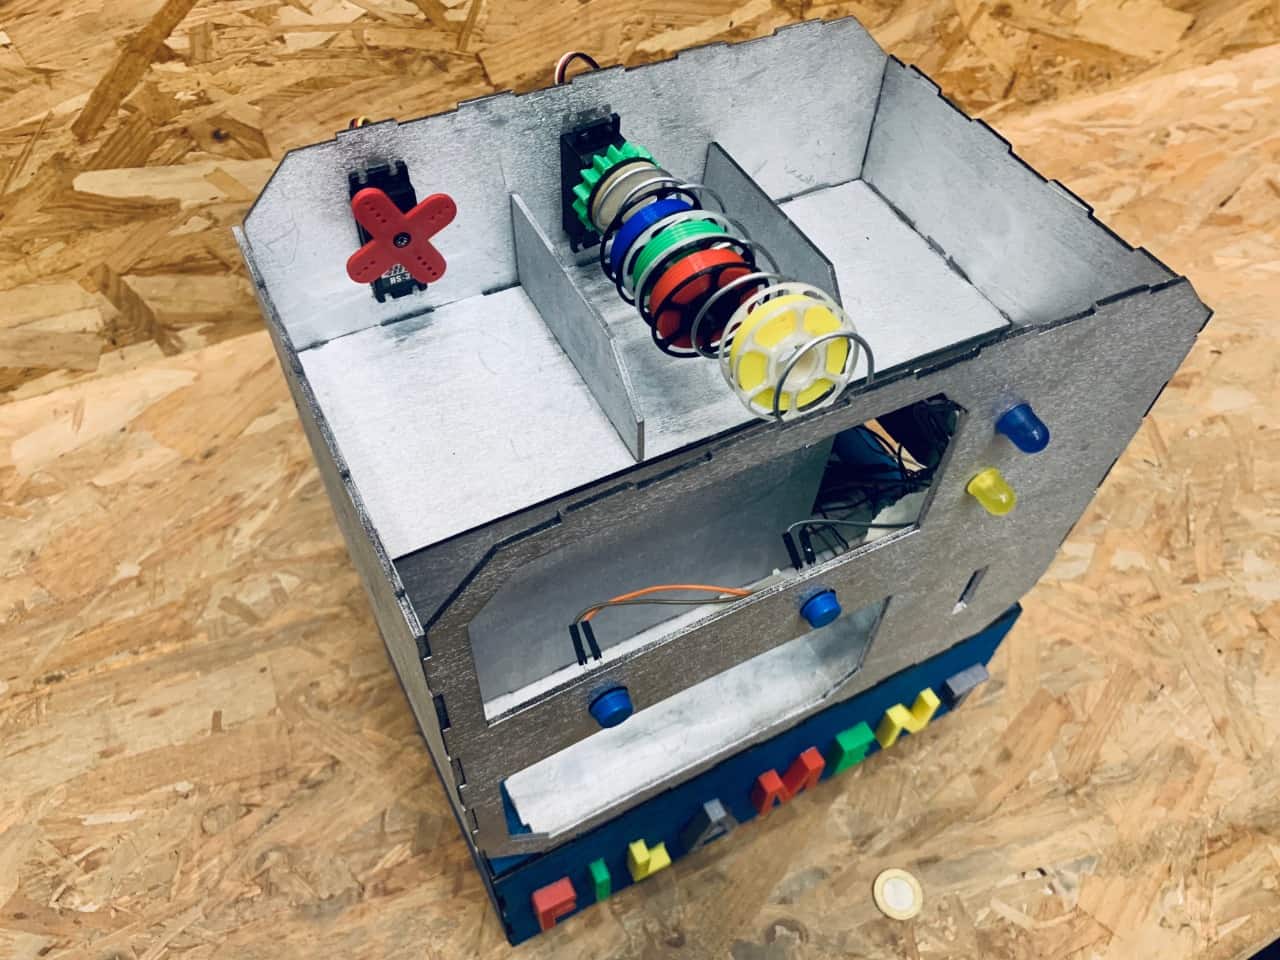
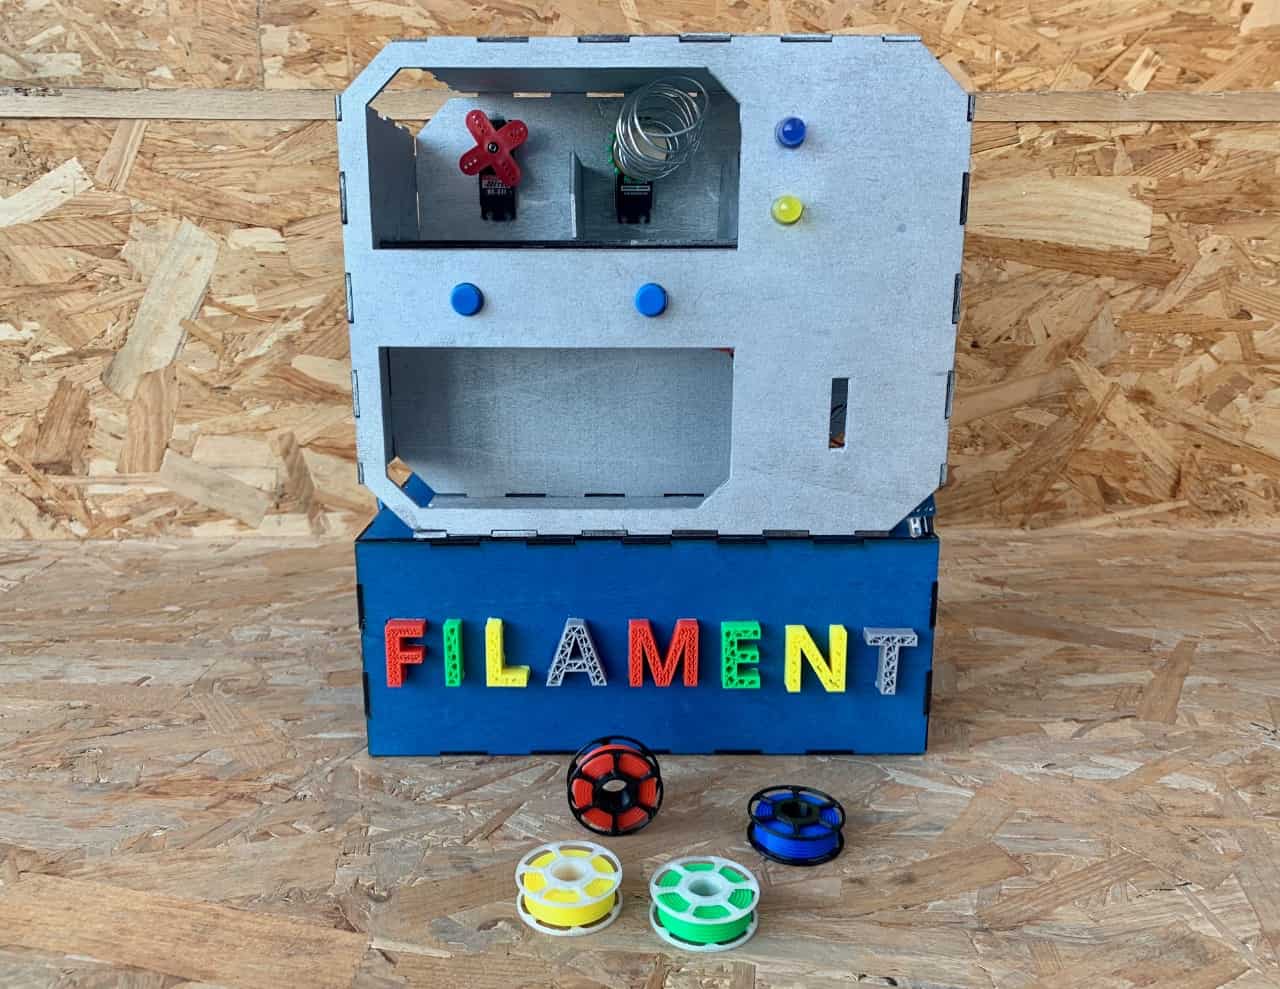
Test the machine!
Finally, it works!