Week 6. 3D Scanning and Printing
The main objectives were to test the design rules for your printers for the group assignment and to design and 3D print an object that could not be made subtractively and to 3D scan an object as individual assignments.
Test the design rules for your printers
For this group assignment, the design by thingiverse was used and it was printed with 3 different 3D printers. We printed the test object with Leapfrog, Sindoh 3D VOX and Stratasys 380mc. Here supporting material wasn't used in order to check the printing abilities of the printers.
Printing with Stratasys Fortus 380MC 3D Printer
This printer uses ABS (Acrylonitrile butadiene styrene) as material to print and it is based on the Fused Deposition Modeling (FDM) technology. It is an additive manufacturing process which prints from bottom to top, layer-by-layer. The 'Insight' software is used as the printing software.

To begin with, the Insight software was opened and the design file was loaded into the software. Here we have used a design file with .STL extension.

Next, the design dimensions were checked on Insight before printing and after that, the supporting was done only for the base using the support material setup.

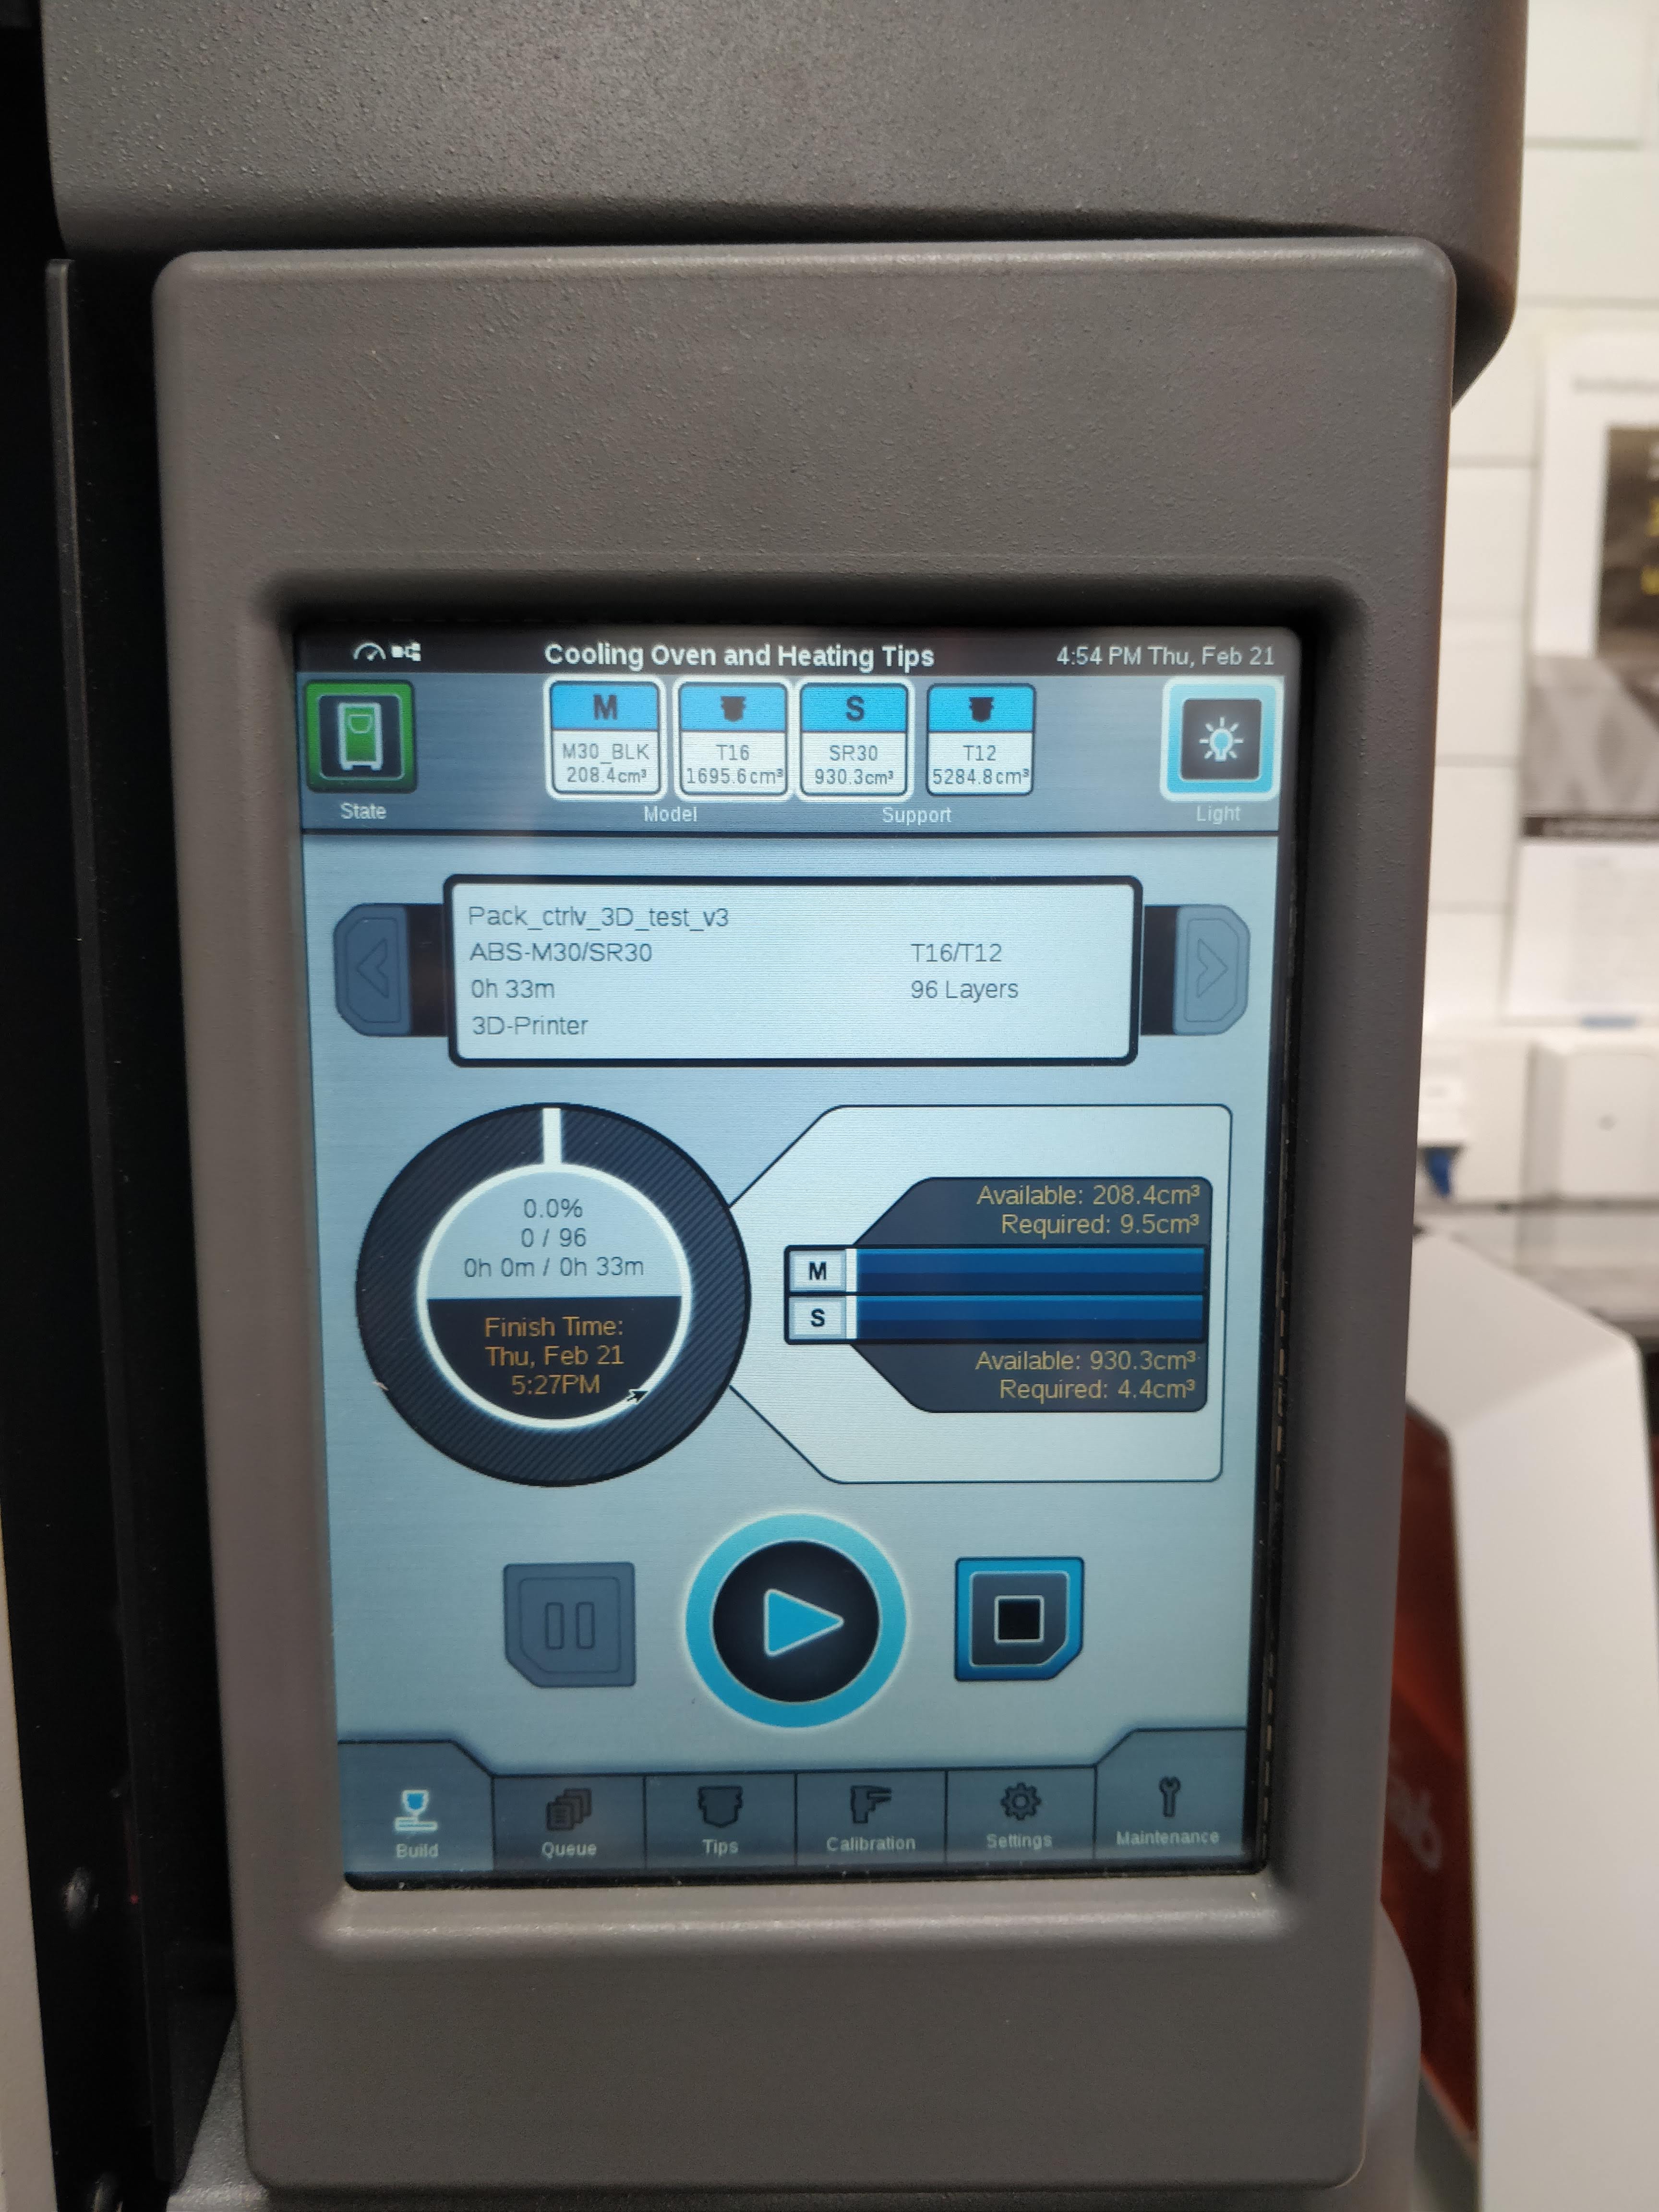
After generating the toolpath and building the job control window pops up. Hereafter placing the object according to the sheet, we placed on the printer we pressed Build job.

Later, in the Stratasys touch panel, we navigated our way to 'Queue' and selected the job we wanted to build and pressed build.
.PNG)
Here when preparing the printer we had to make sure the sheet touches the metal pieces on the back side and left the side of the building area. Moreover, gloves have to be worn when placing the sheet and removing the sheet after printing the object for safety purposes
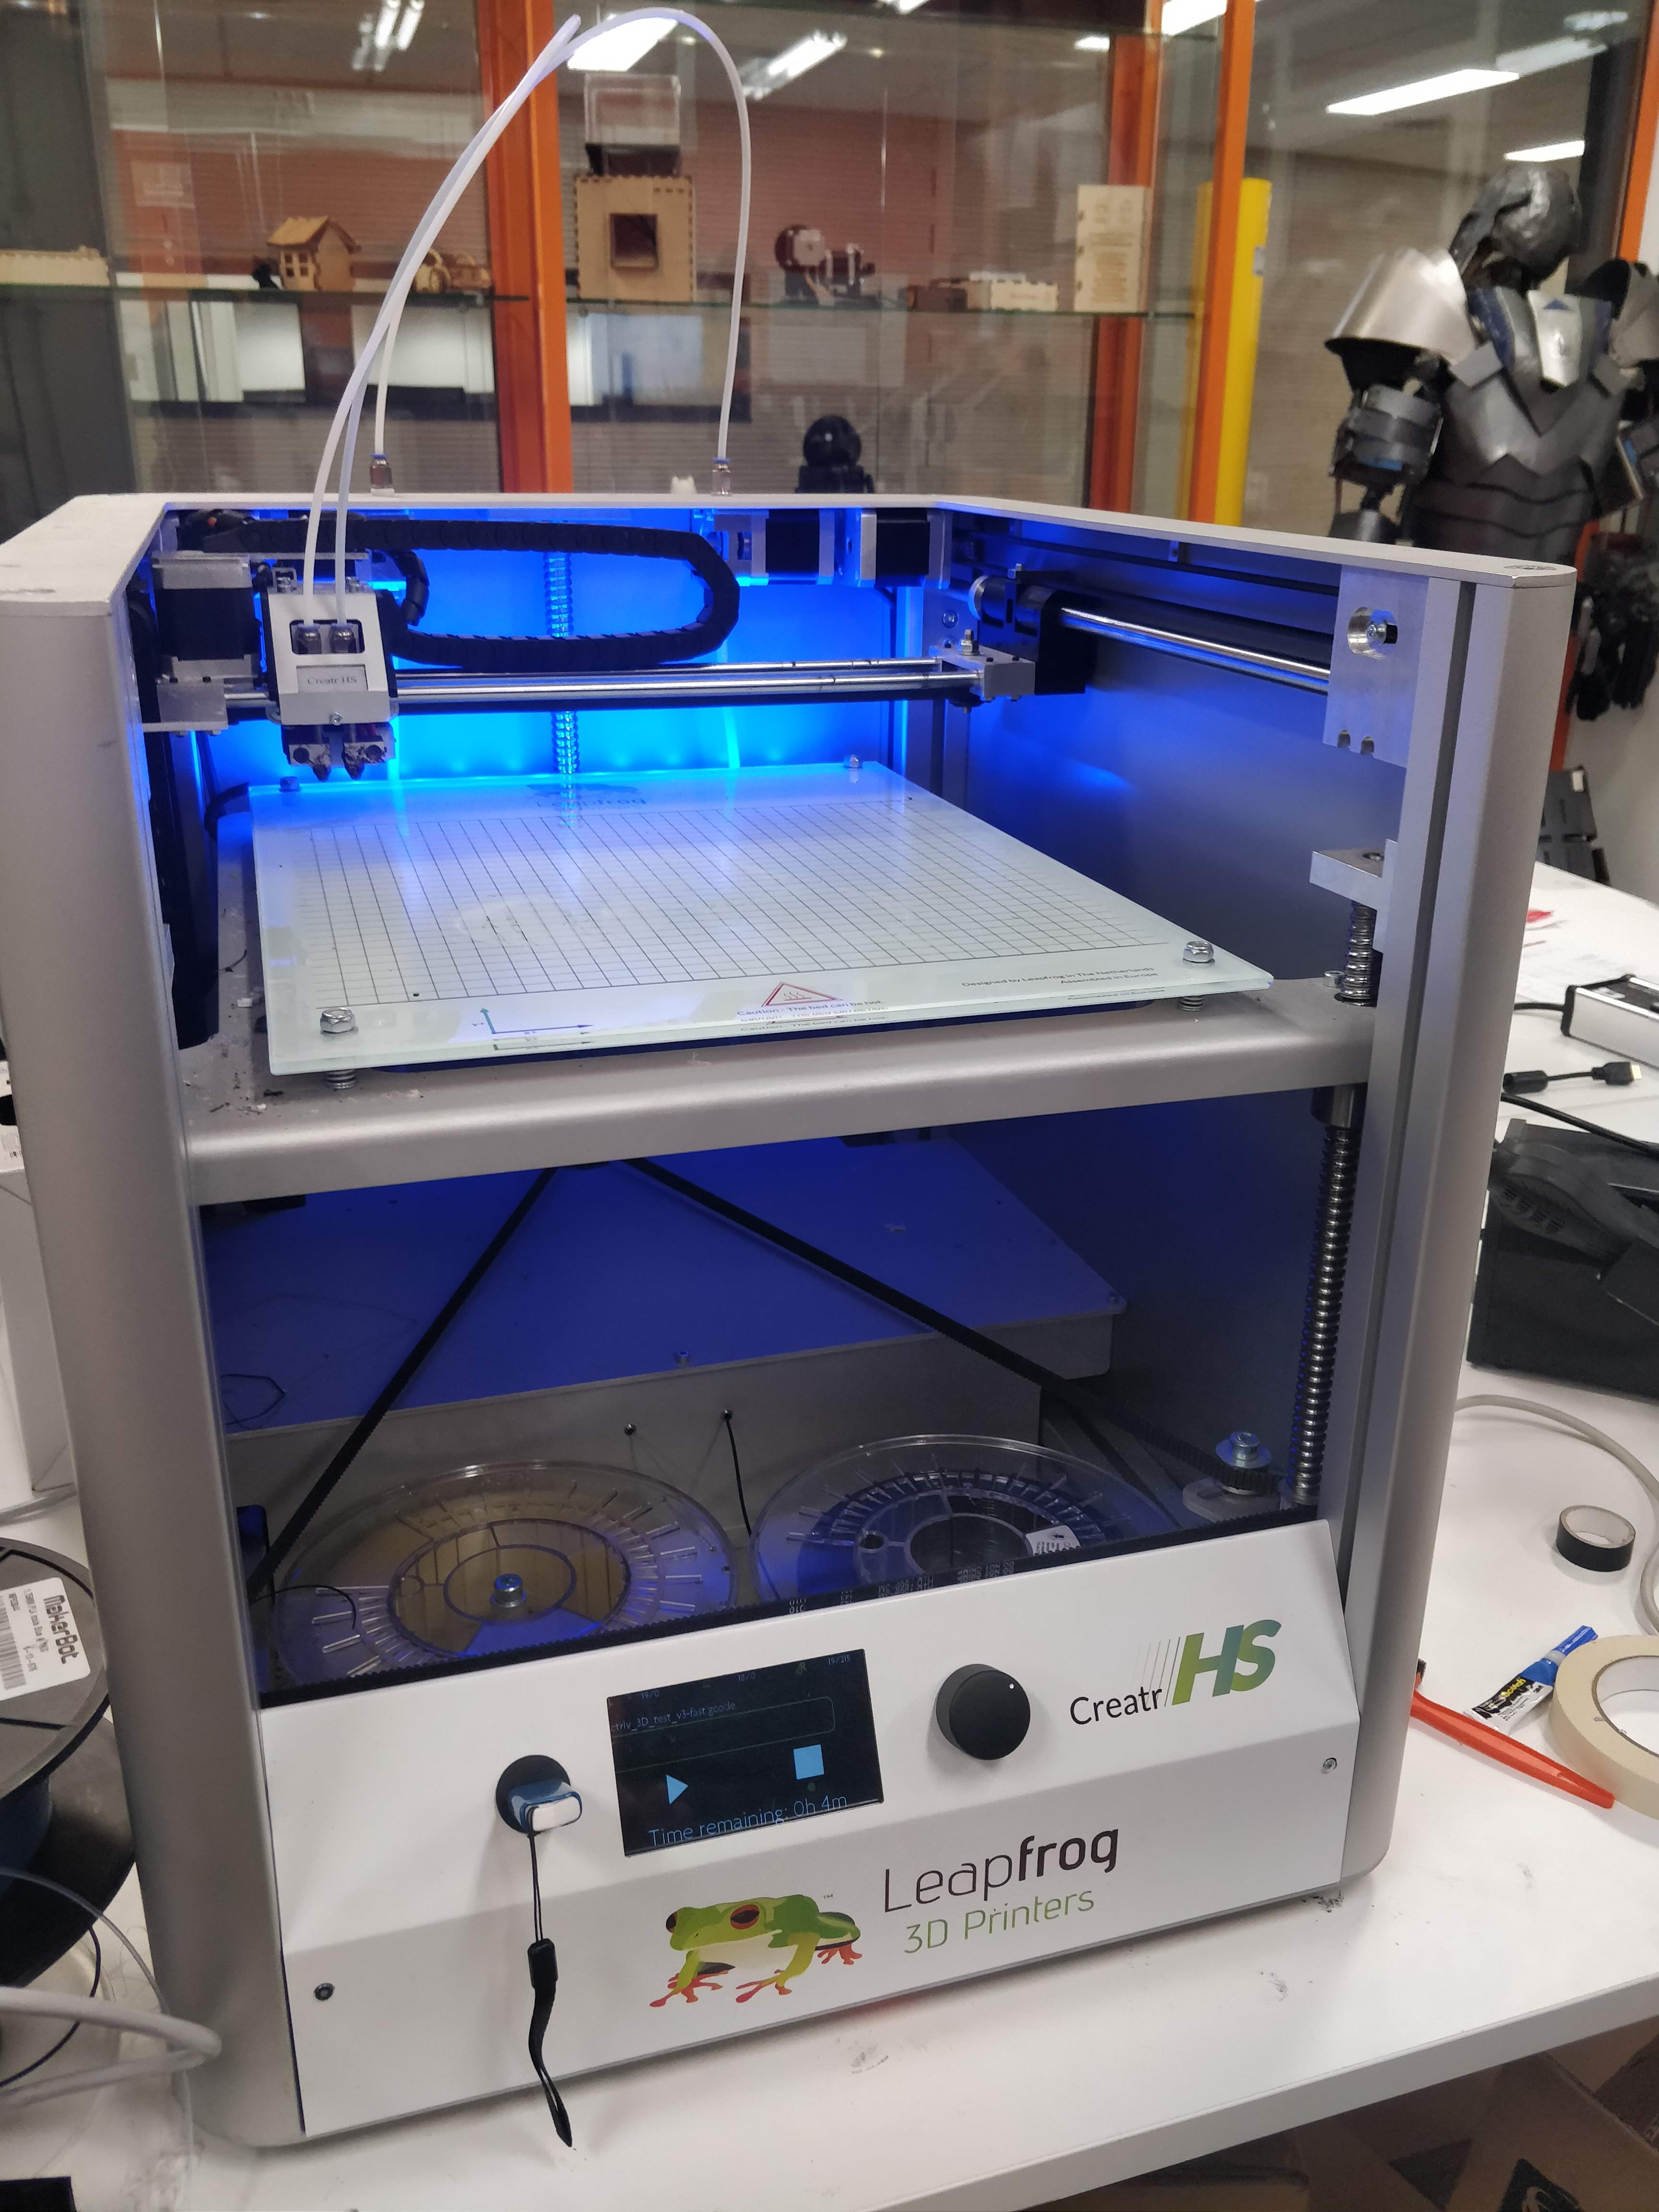
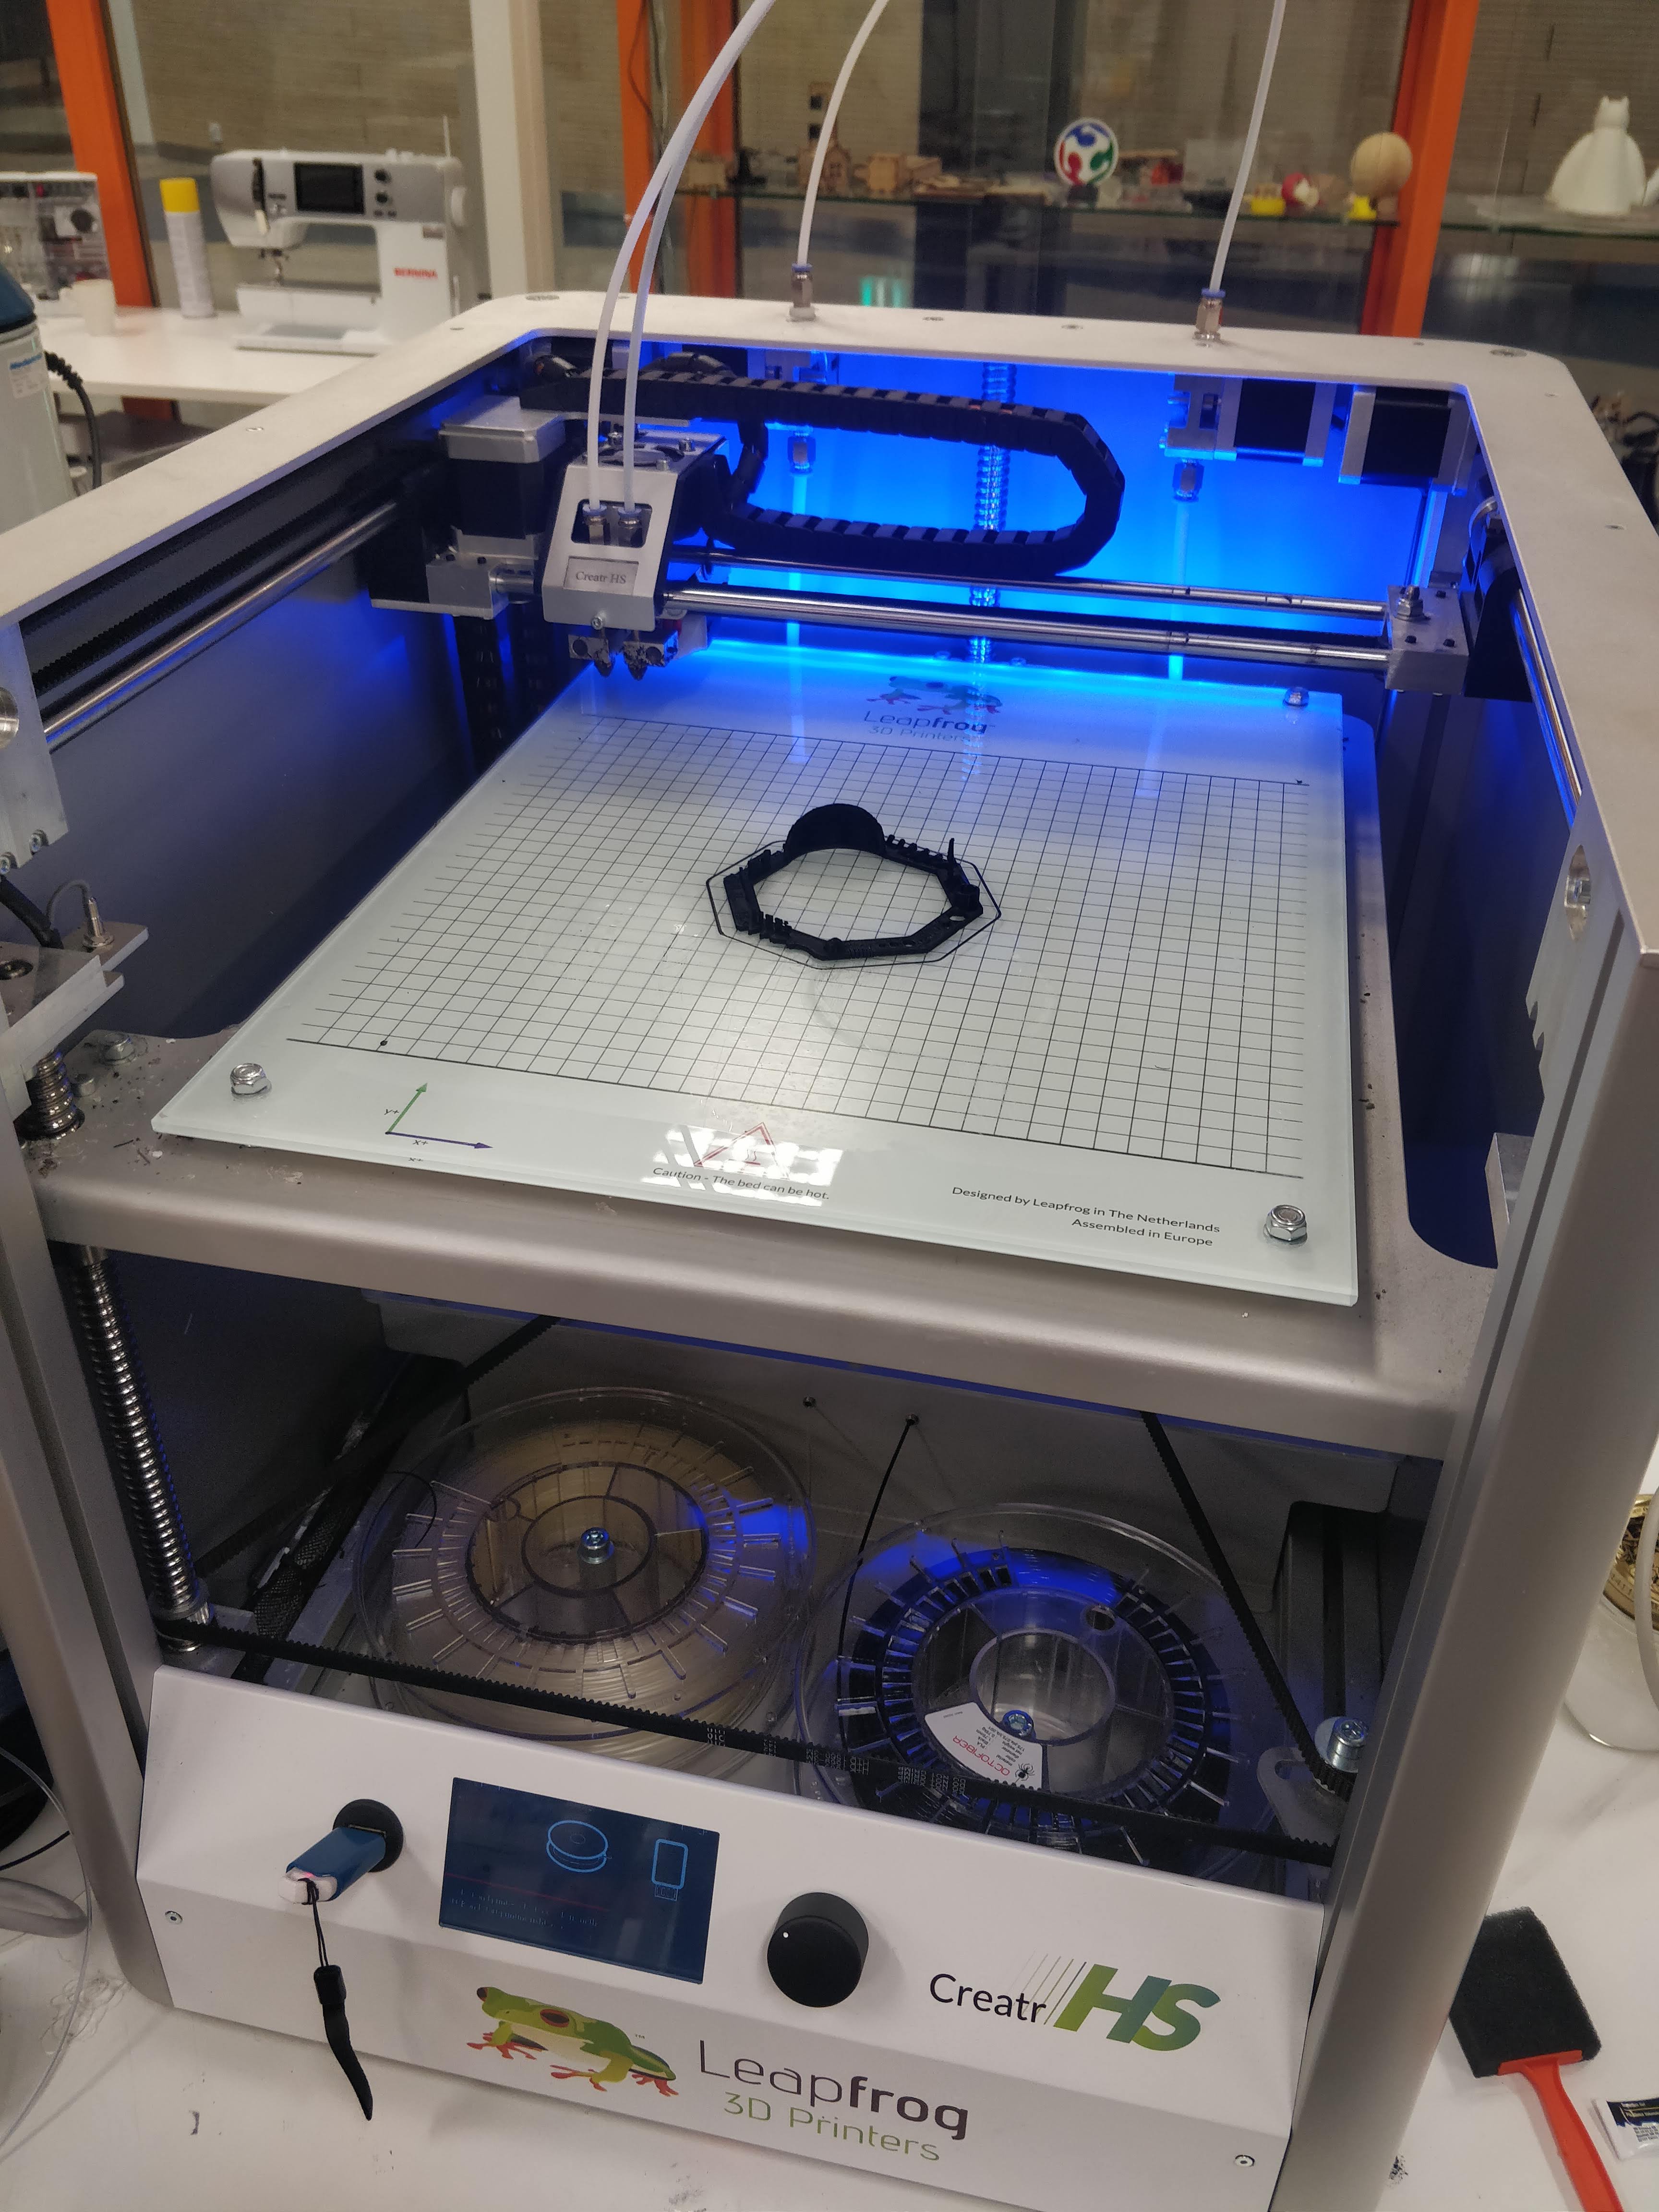
Printing with LeapFrog 3D Printer
The software used for this printer was slic3r and the material used in this printer is PLA and PVA (water-soluble support material) is used as the support material.
After opening the software we opened our design. Next, a Gfile was created in order to input to the printer.


After that simply a flash drive was inserted to the printer with Gfile and printed with the help of the touch panel in Leapfrog printer.

One important feature with this printer is that it can be used to print with different colors.
Sindoh 3D VOX Printer
The technology used in this printer is fused filament fabrication (FFF) which is a 3D printing process that uses a continuous filament of a thermoplastic material.
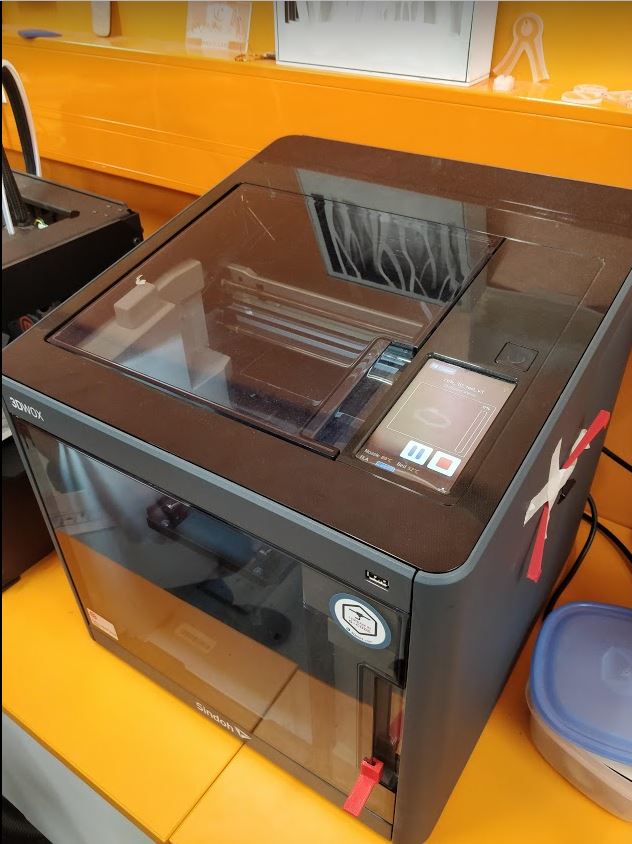
This printer supports Ply. Obj, STL. file formats. The filament material used in the printer change its state based on the melting point and 3D printer will put the layers on top of each other till the design is made. ABS or PLA used as the material.
It uses the same material for both model and support. Thus, some further design considerations are needed.

Software used is Sindoh 3DWOX. We opened our design from the 3DWOX and made the tool path first. Then, made the support material 'none' in order to check the printing boundaries of the printer.
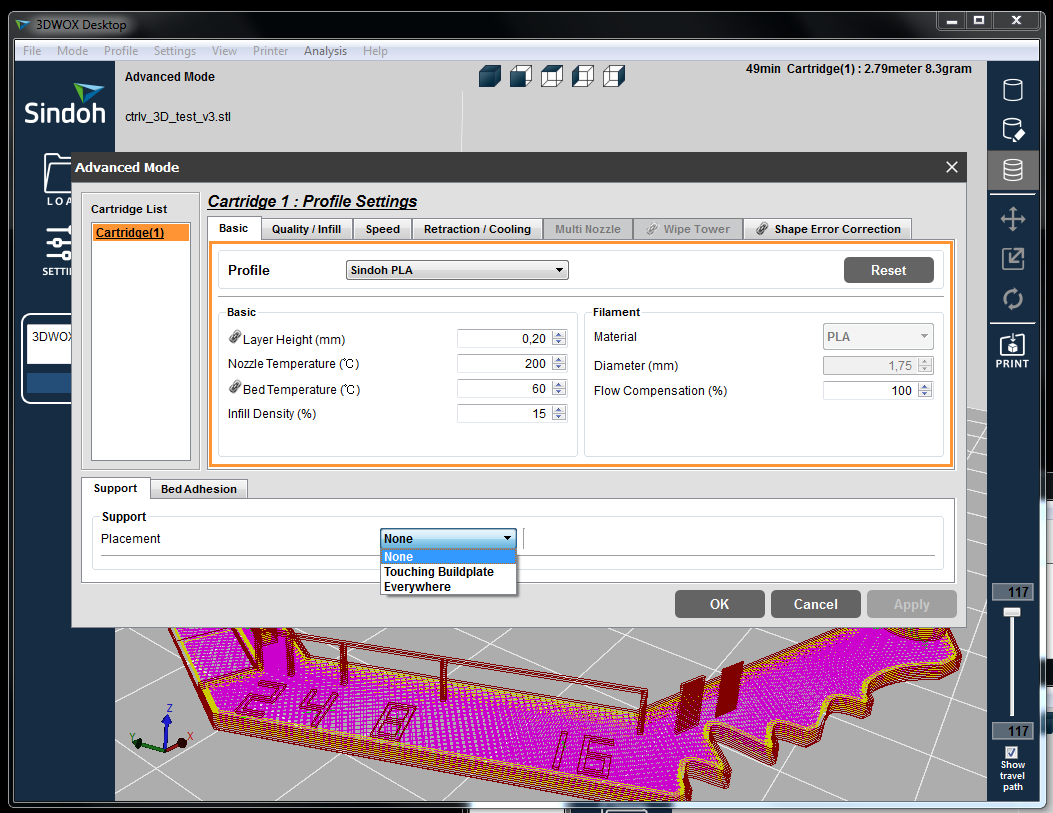
Finally, it was sent to the printer. Here one window pops up to double check the printing board is clean. After that, it automatically starts printing.

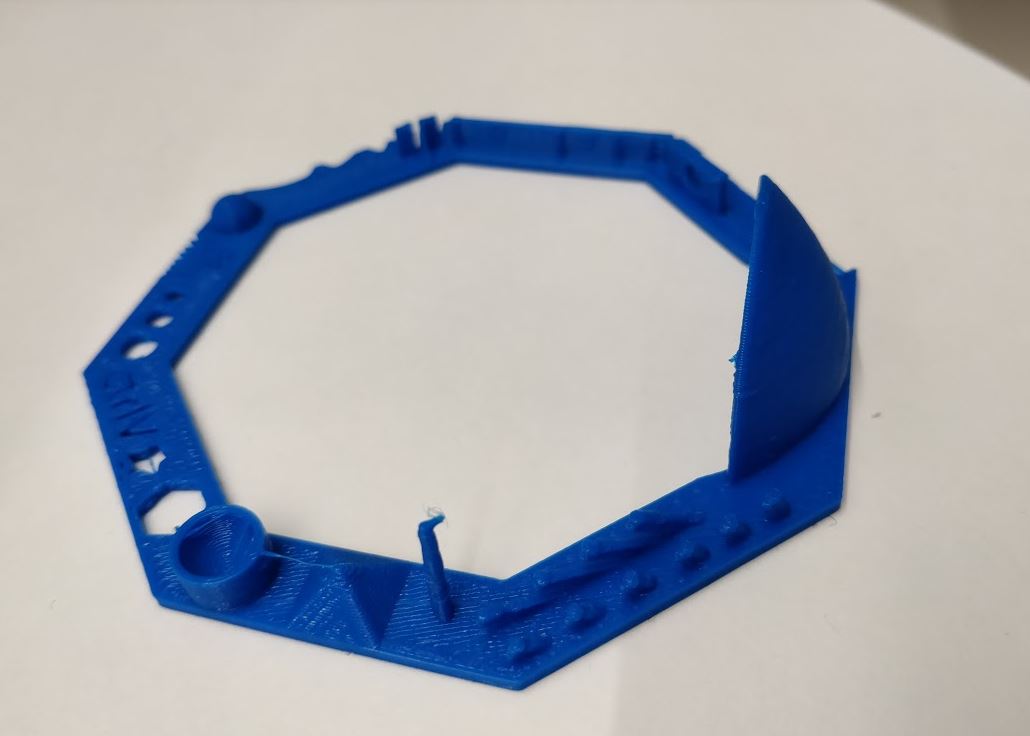
Comparison between printers
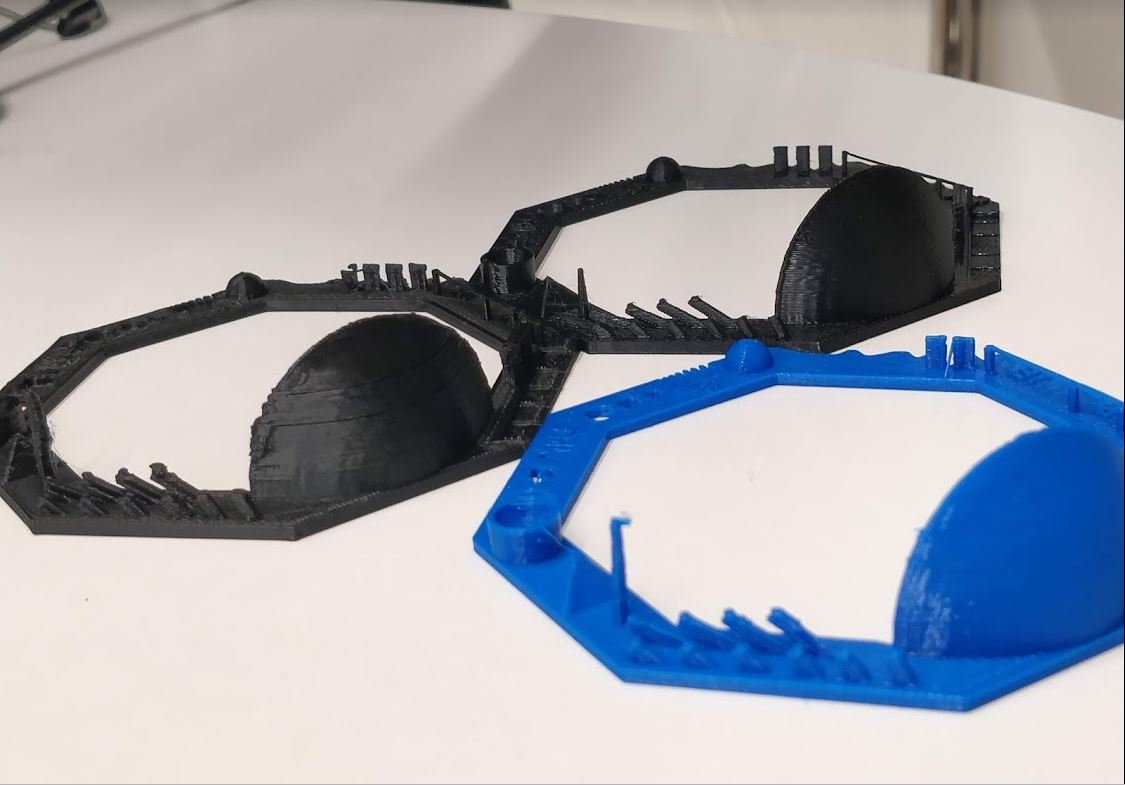
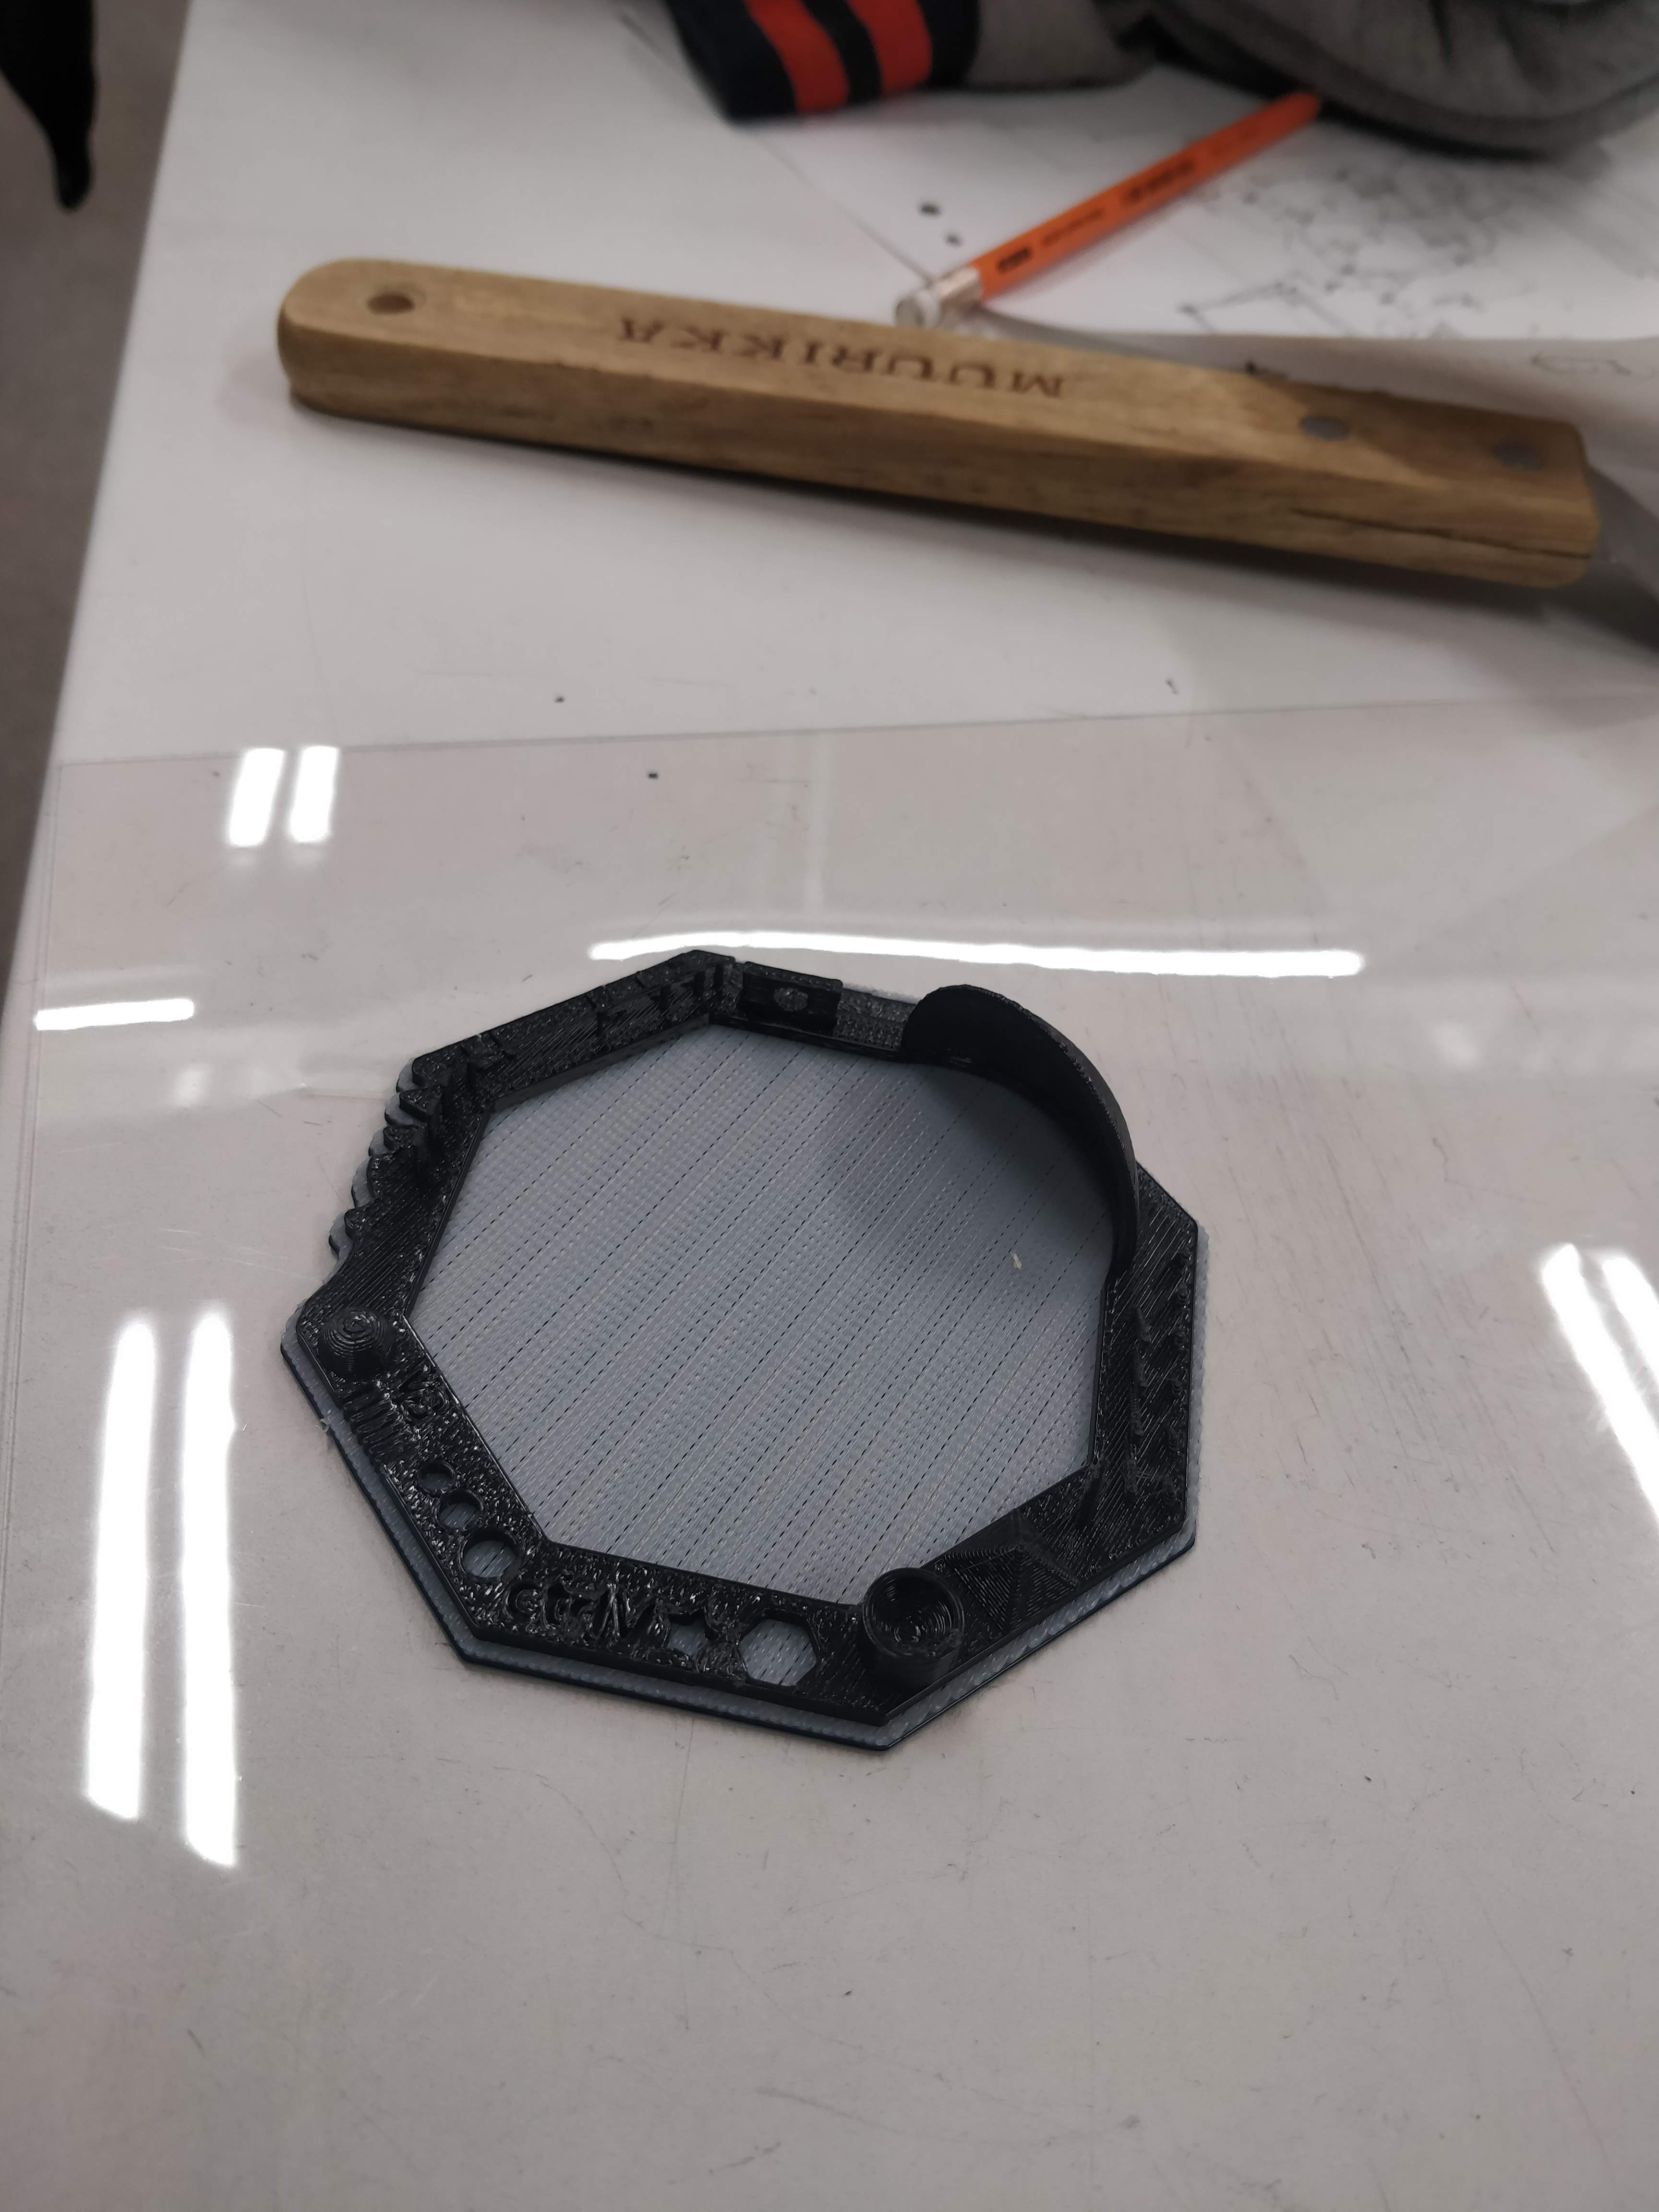
when compared with other two models it can be observed that the model printed by Fortus 380 printer was better in quality. Although the design by sindoh was btter compared with the design made by leapfrog printer.
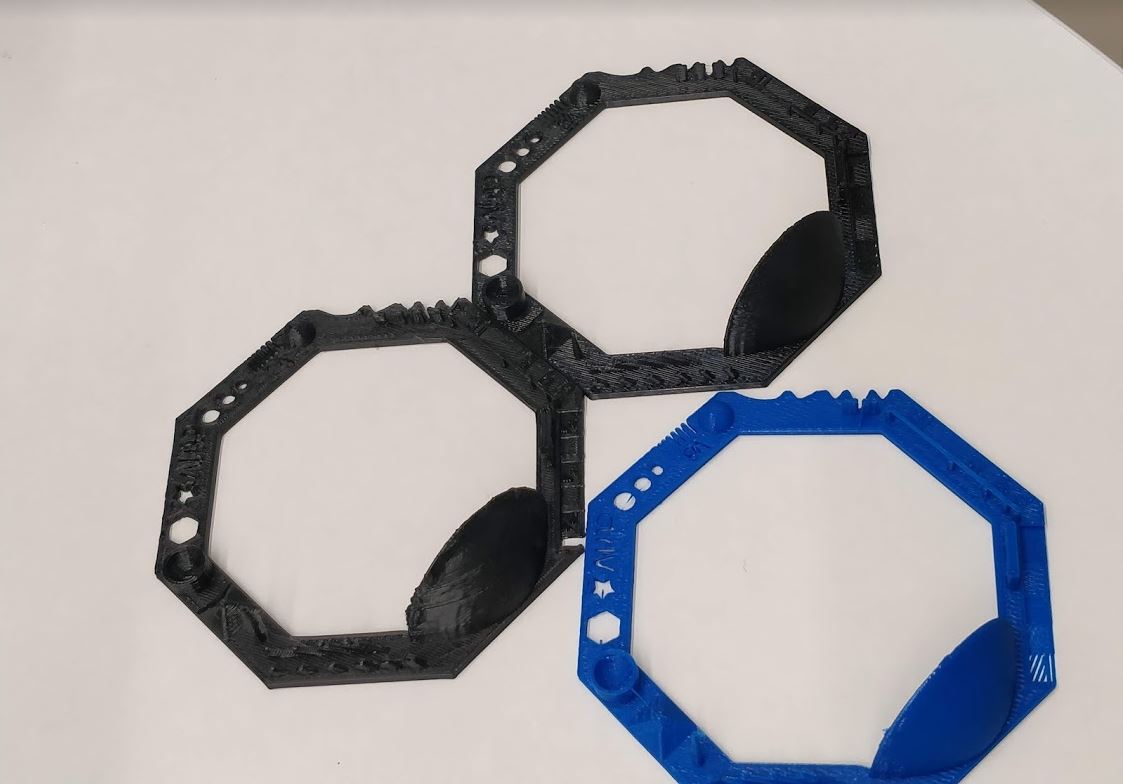
.jpg)
Design and 3D print an small object
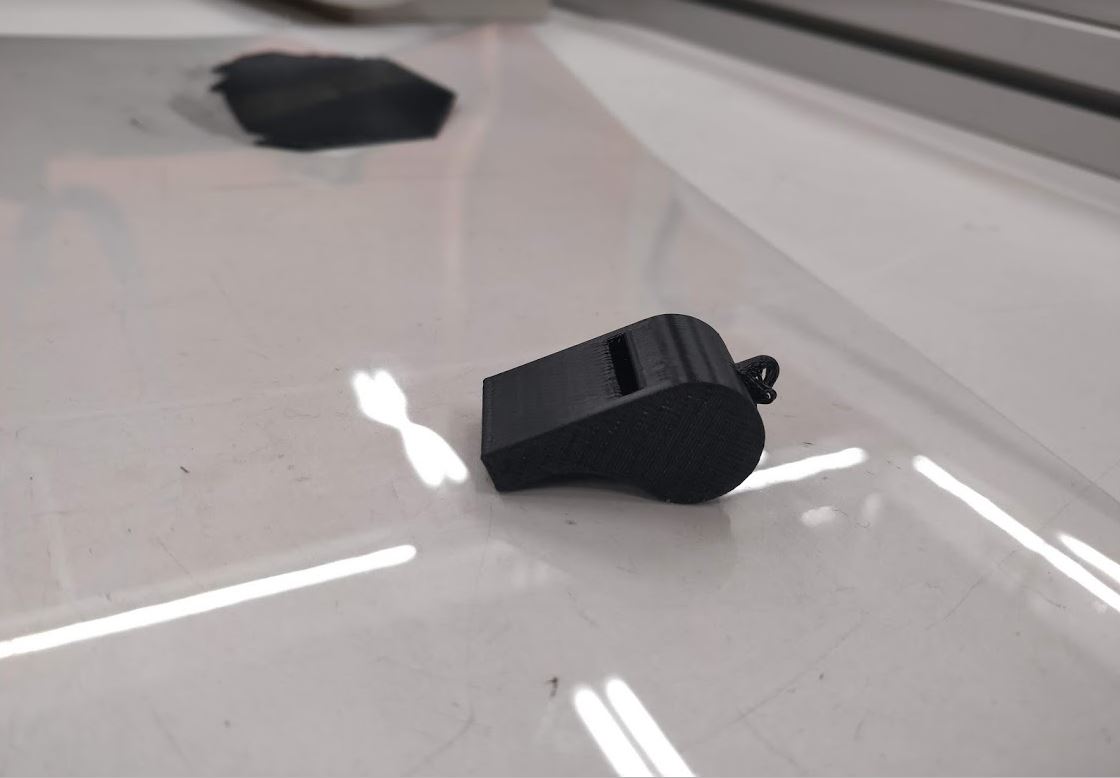
For the individual assignment, I wanted to make a whistle which is small enough and it also cannot be made by subtractive design. I decided the use Fusion 360 as the design software.
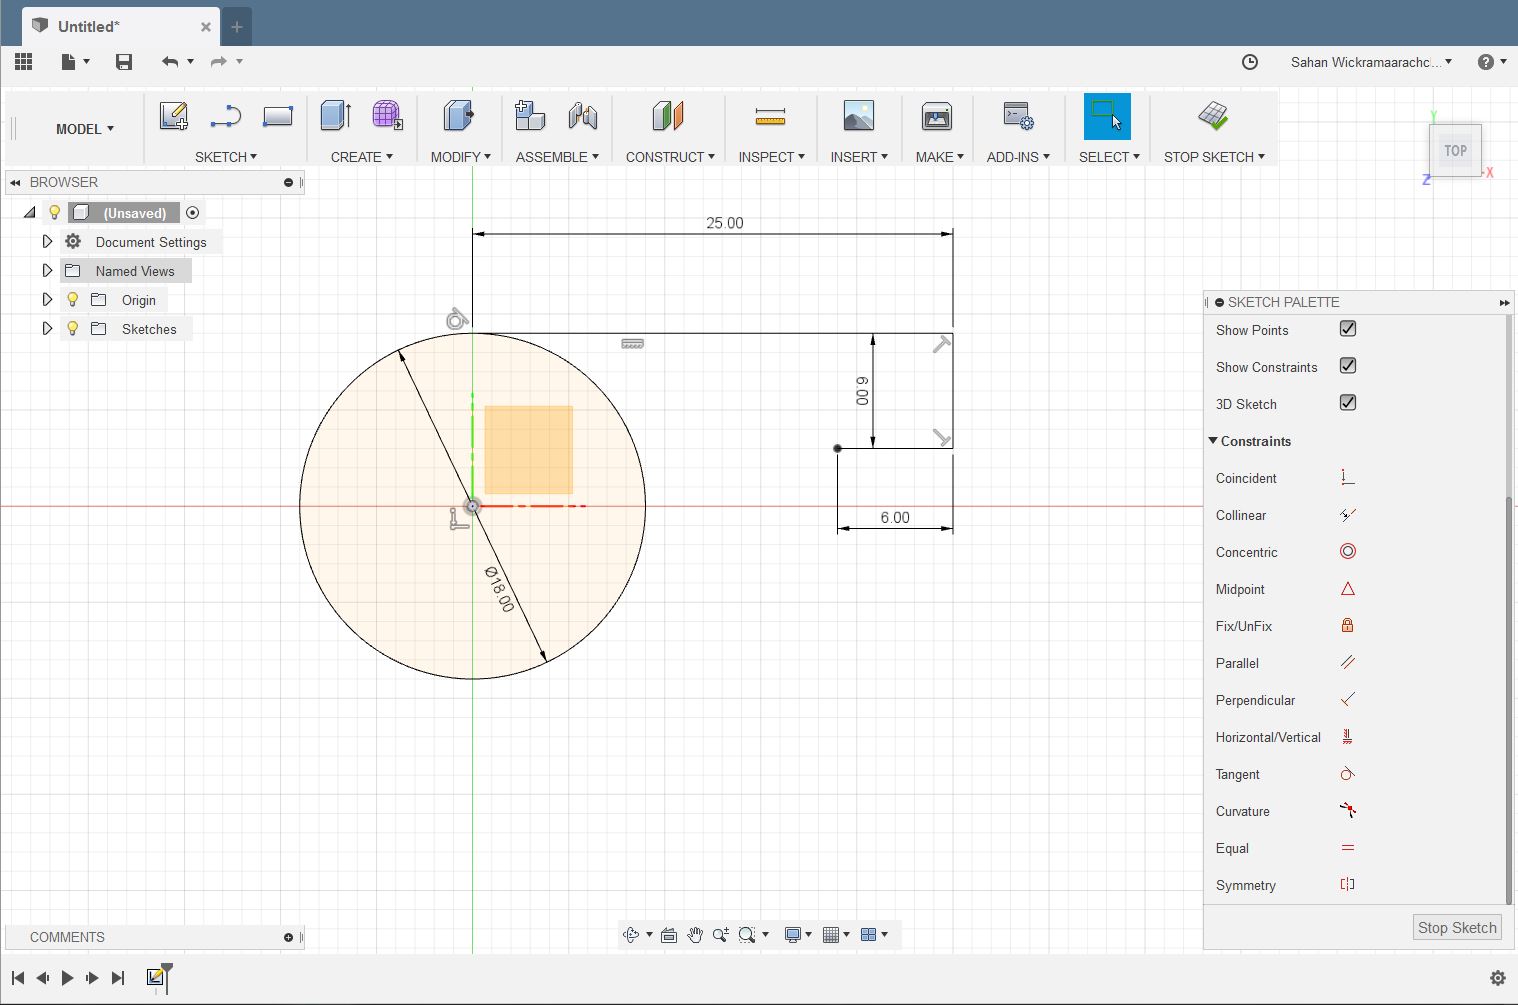
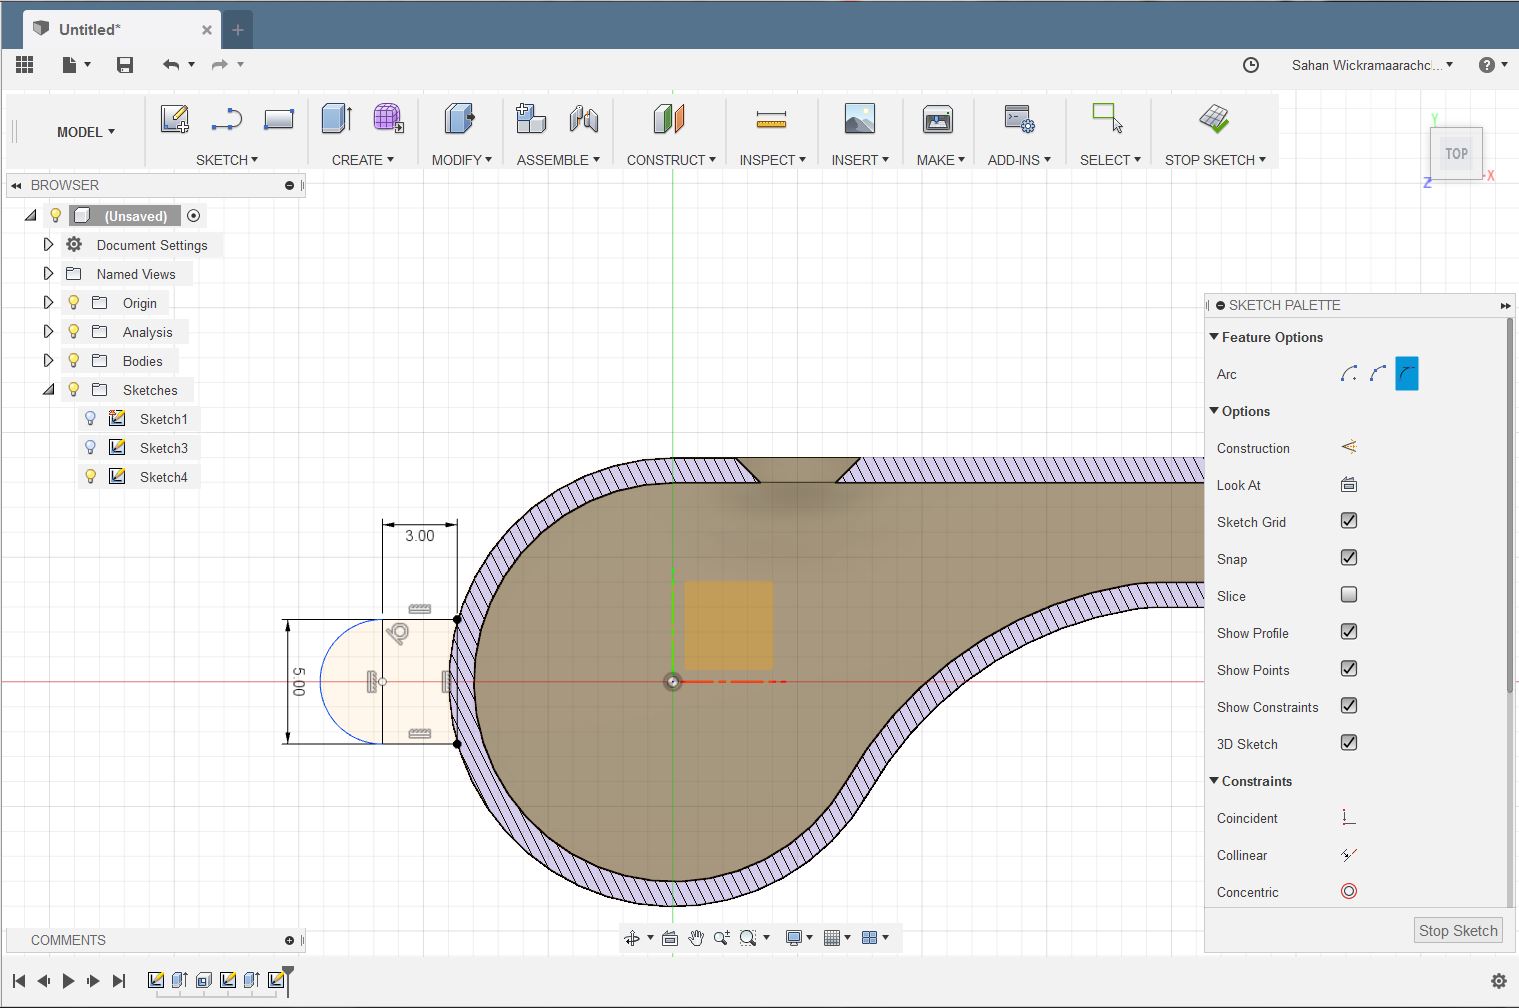
I have used this youtube tutorial as a reference to make the design. First I made a circle and a rectangle using sketch-> circle tool and rectangle tool respectively,and combined them both to make the basic shape of a wistle.
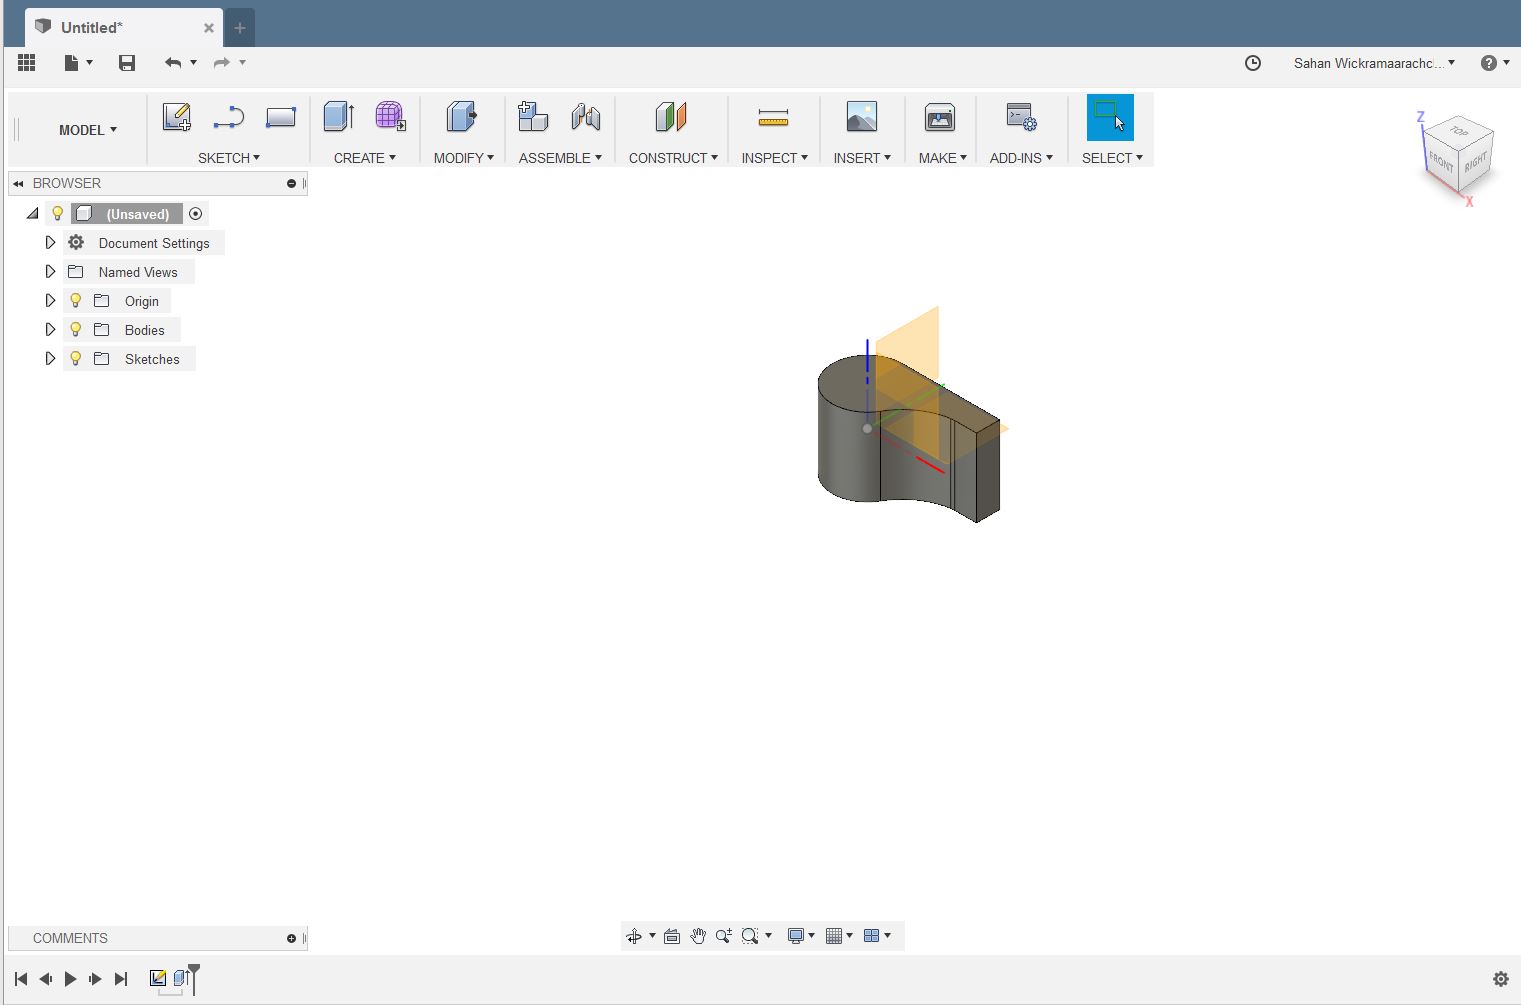
Next step was to extrude the shape upwards using the extrude feature. 'e' is the shortcut.
After making a hole using the hole feature (shortcut 'H') I tried to make a small window for getting air out.
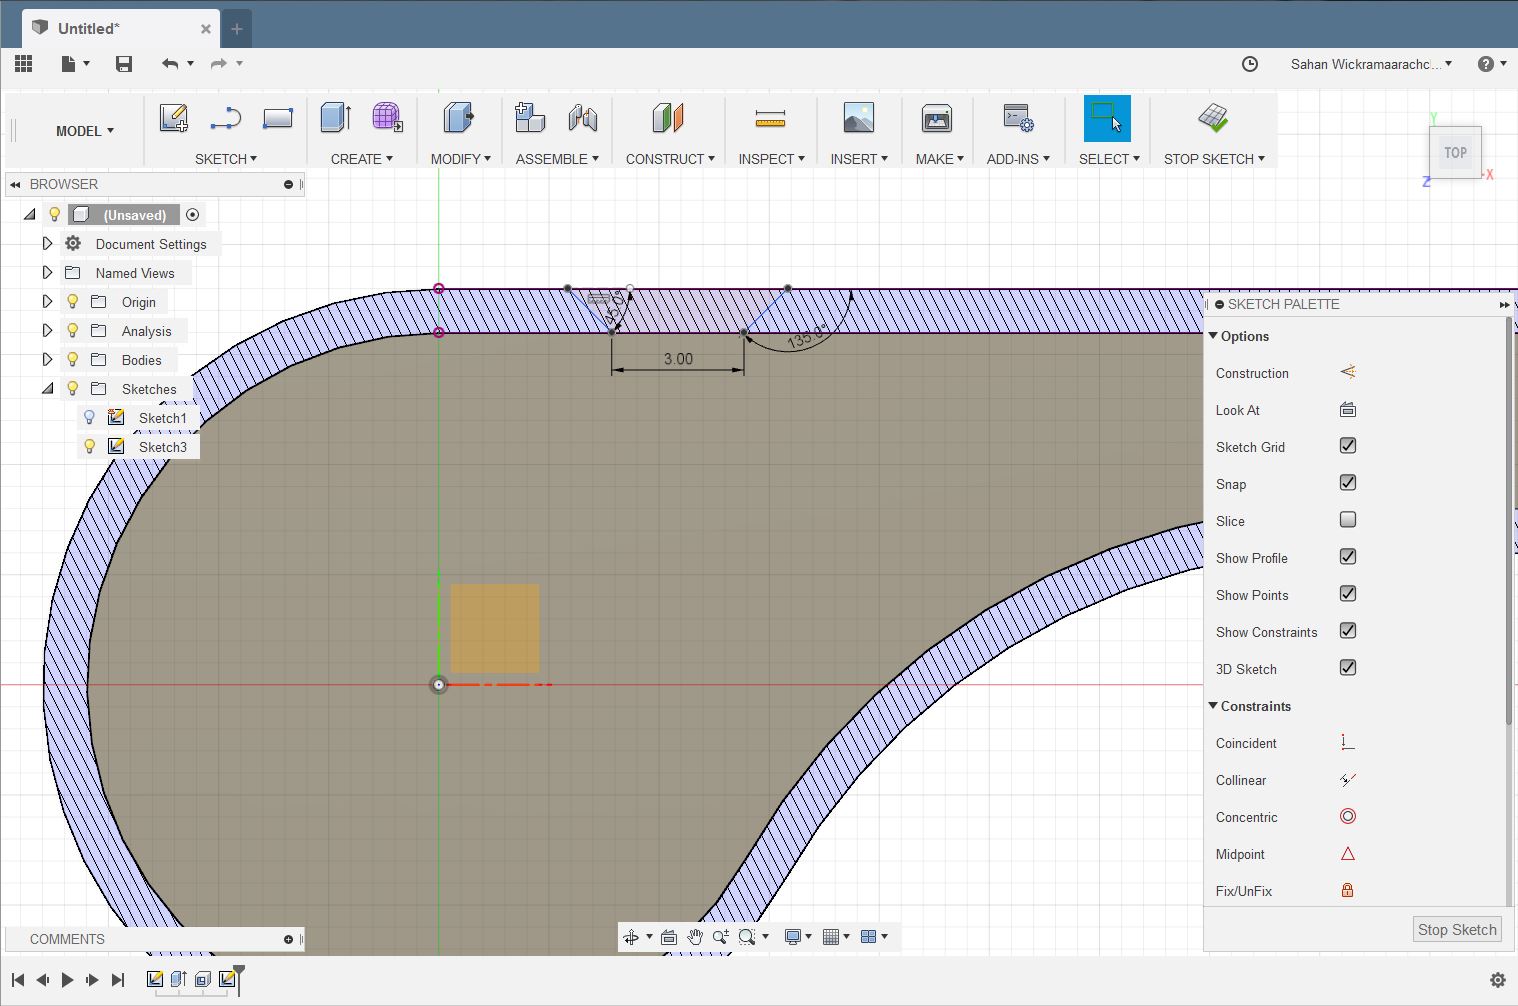
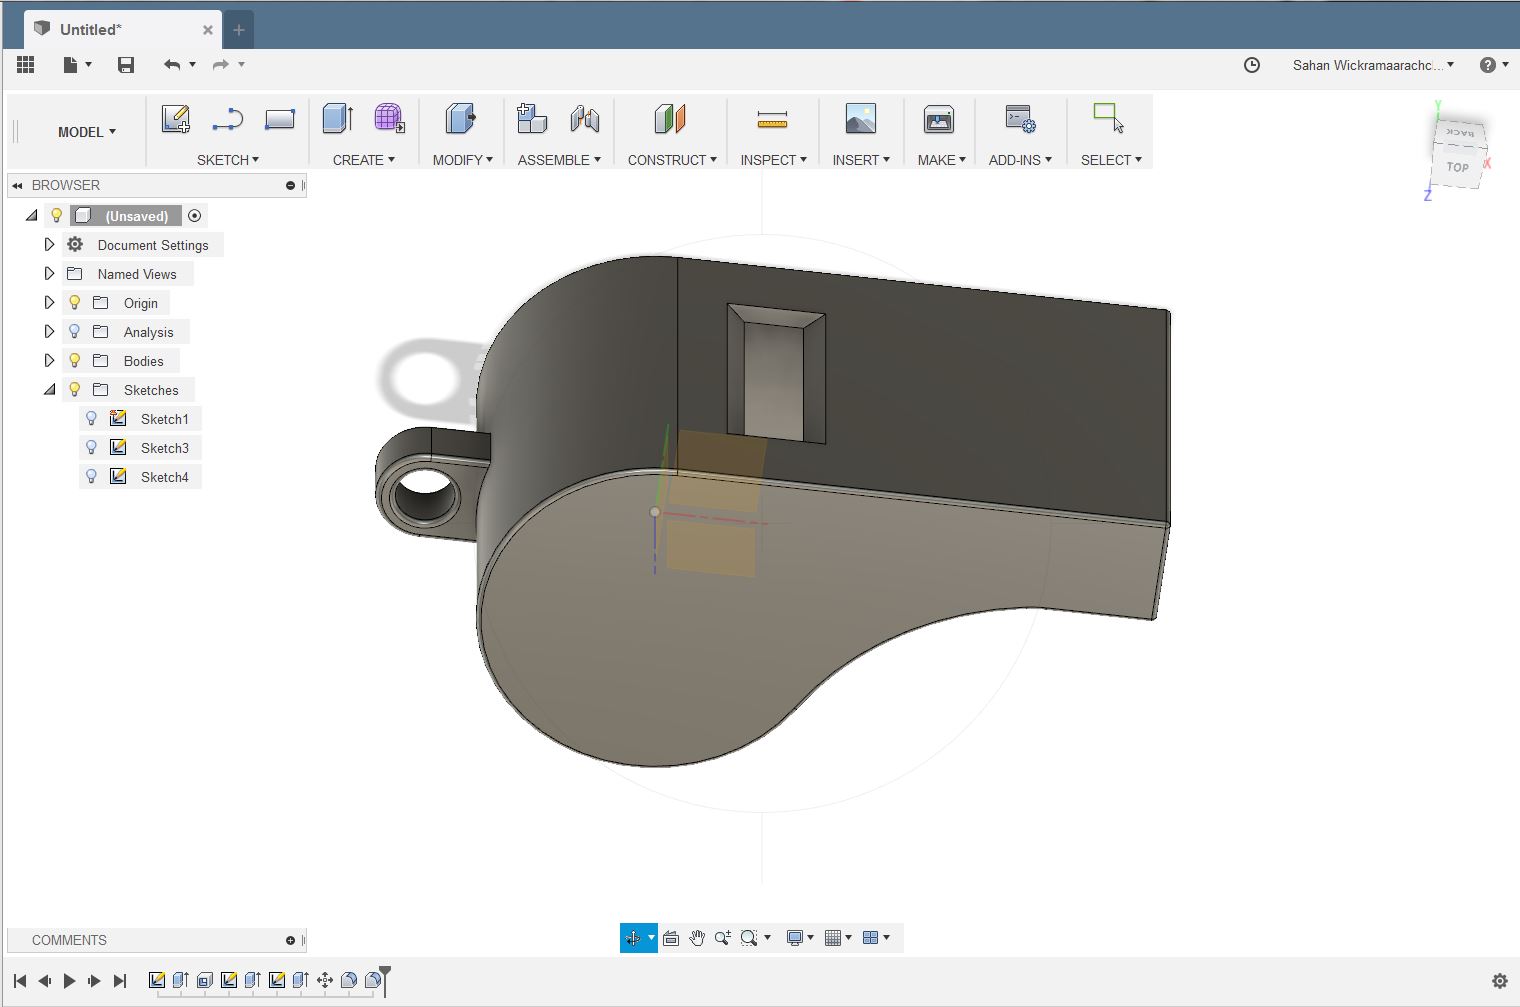
Next, I made a small handle for the design using basic shapes as described earlier and extruded and moved the shape accordingly. This design cannot be made subtractively because this is a hollow structure as well as there's a component inside the hollow.
I used Stratasys Fortus 380 mc 3D printer to print the design. I used the same steps for printing as explained earlier. First I started the Insight software and imported my STL design file to the software. Then I used the following settings for the printing. In the modler, Setup-> Part interior style-Solid normal, Visible layer style-normal, support style-smart. Then I pressed Build-button and the Control Center-window opens. I chose the placement for my design and pressed the “Build Job” to send the job to the printer. In the Stratasys printer, I opened the door and attached the build sheet to the bottom. In the screen, the correct job was chosen from the job list and the placement checked. After that, I started the job by pressing the start button.
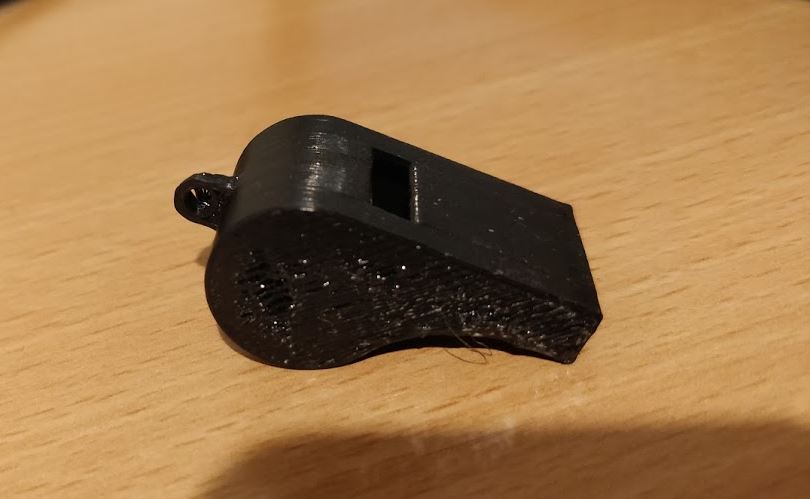
The final result after printing was not bad but it didn't make any sound unexpectedly.
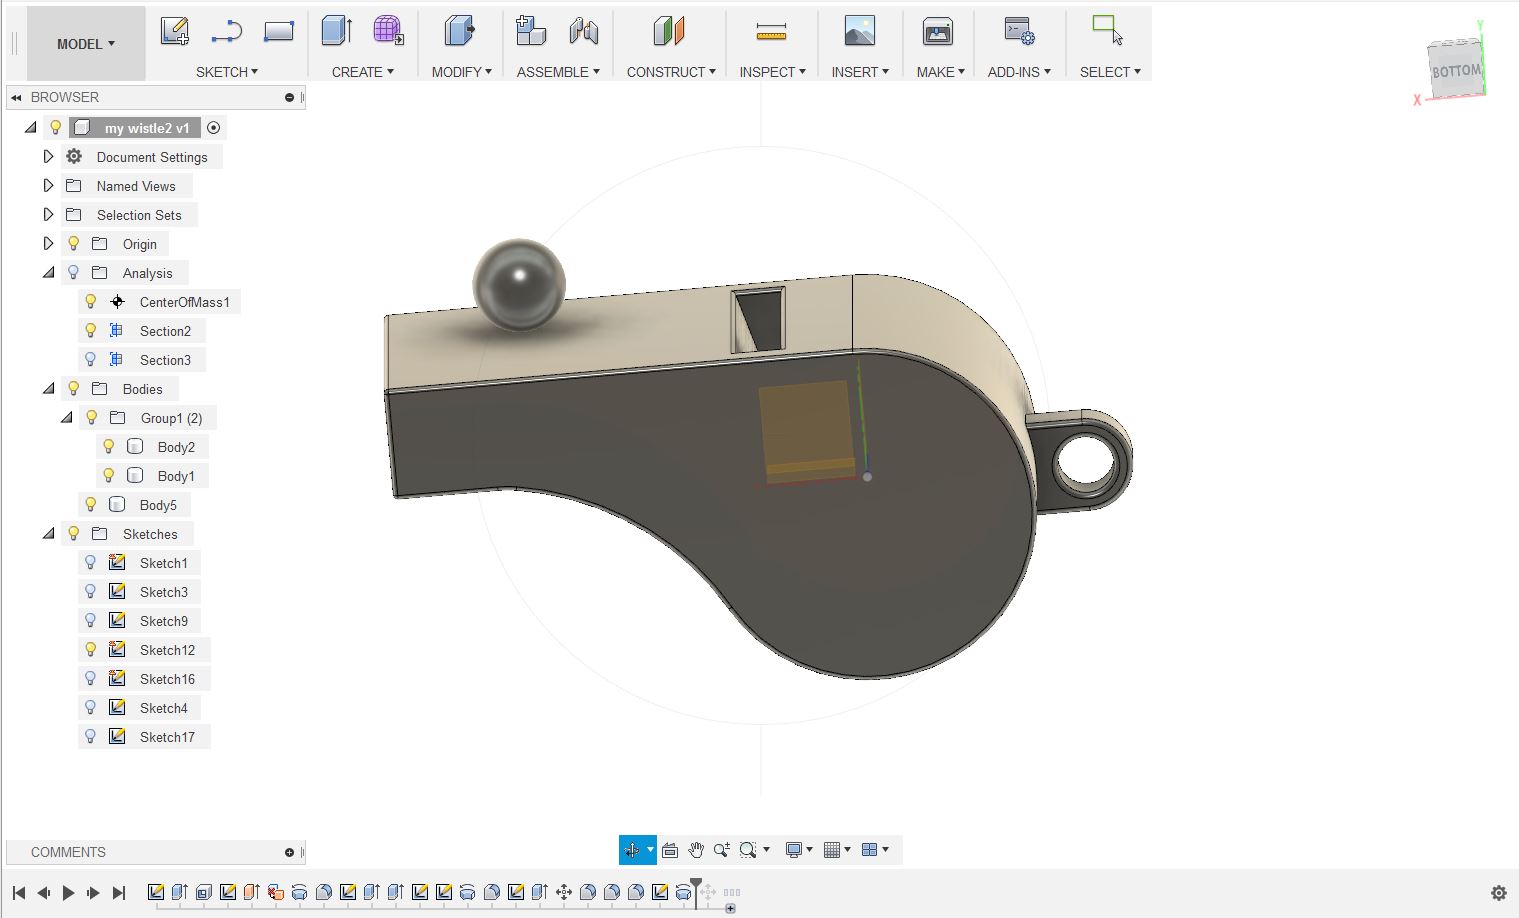
Therefore I made a few changes to the design as following pictures. Moreover, I added a small ball inside the whistle too.

The first print without support material was not good therefore i decided to cut it open.
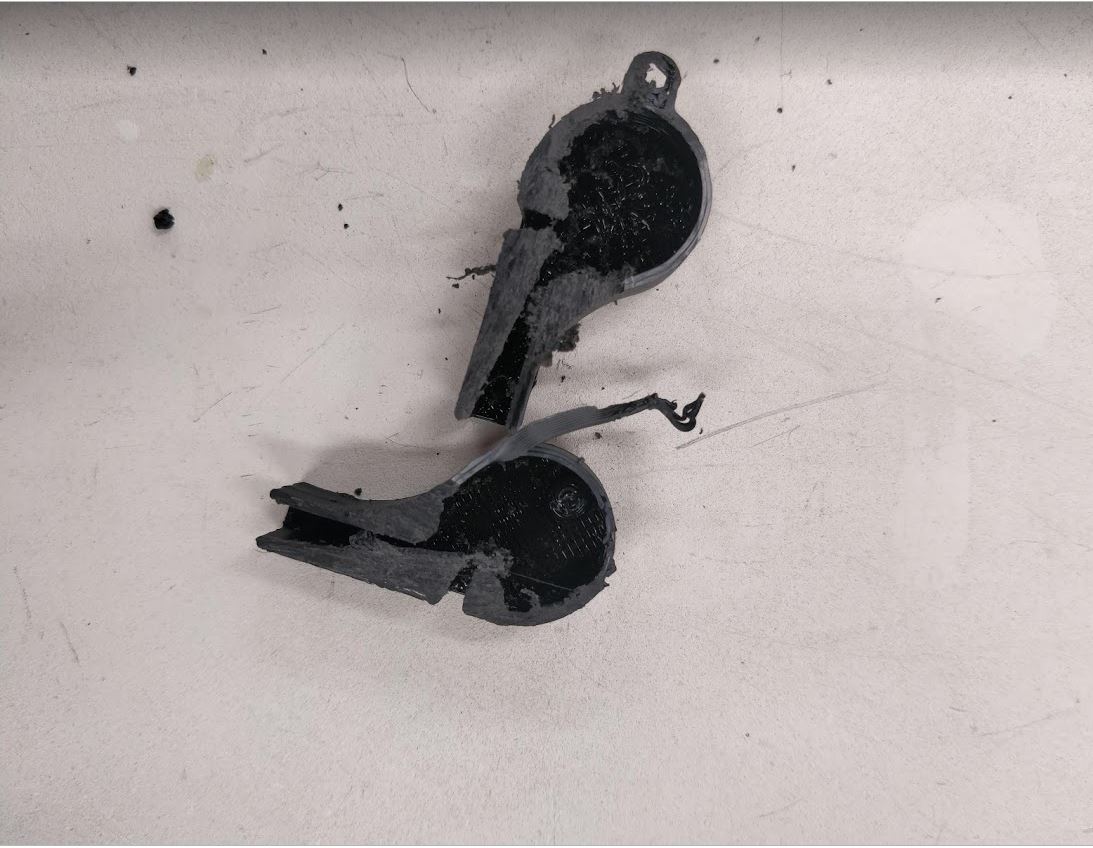
Then I got to know that the small ball was made inside the whistle but it didn't separate from the body.
3D scaning a small object
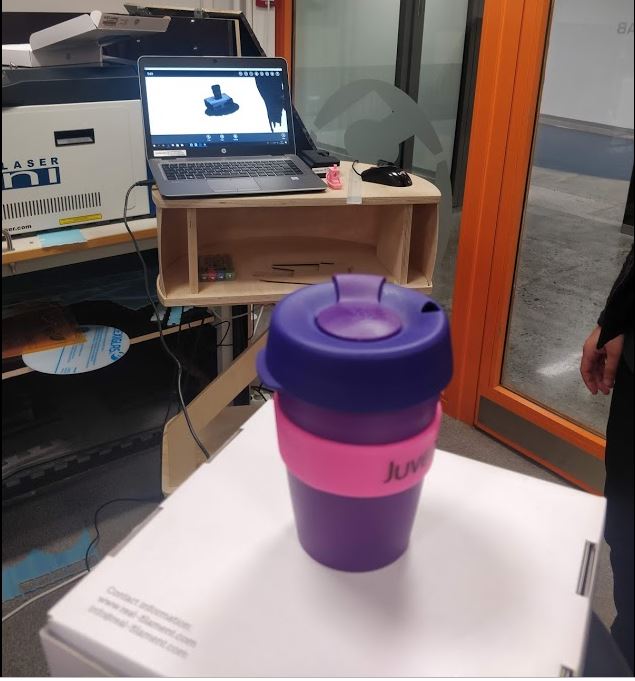
For the 3D scanning, I decided to use the sense 3D scanner. It uses Sense software to edit the result.
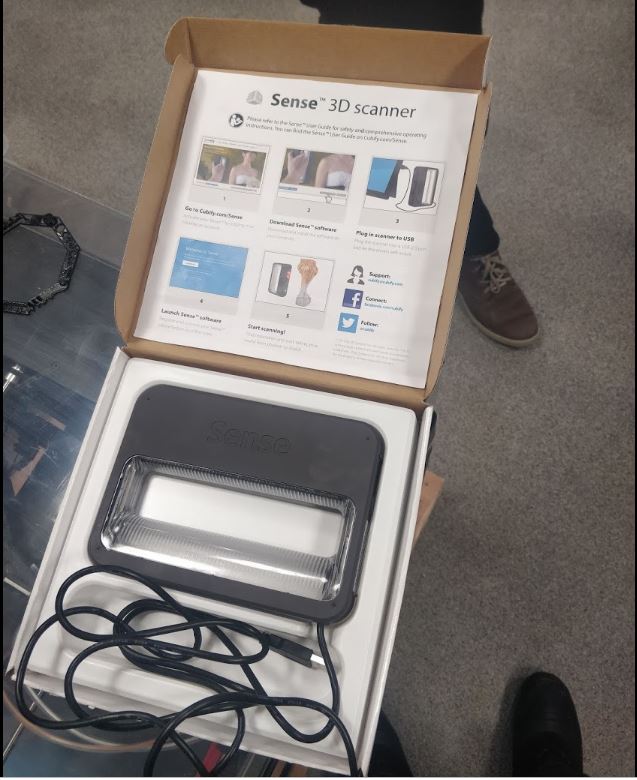
Using this scanner either we can rotate around the object or the person can stay still and make the object rotate.

The sense 3D software is a very user-friendly software which can be used easily. In the beginning, we have to select either person or an object to scan and then we have to select it is either small medium or s large object.
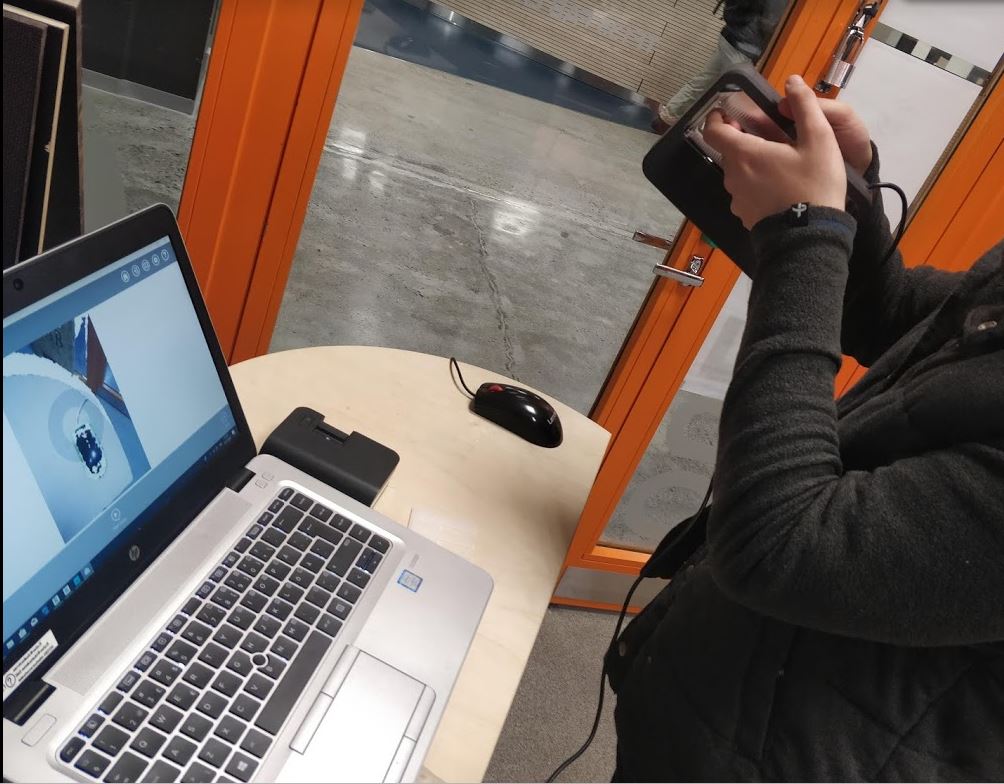
First I tried to scan a computer mouse using the scanner and the result was not as good as expected.

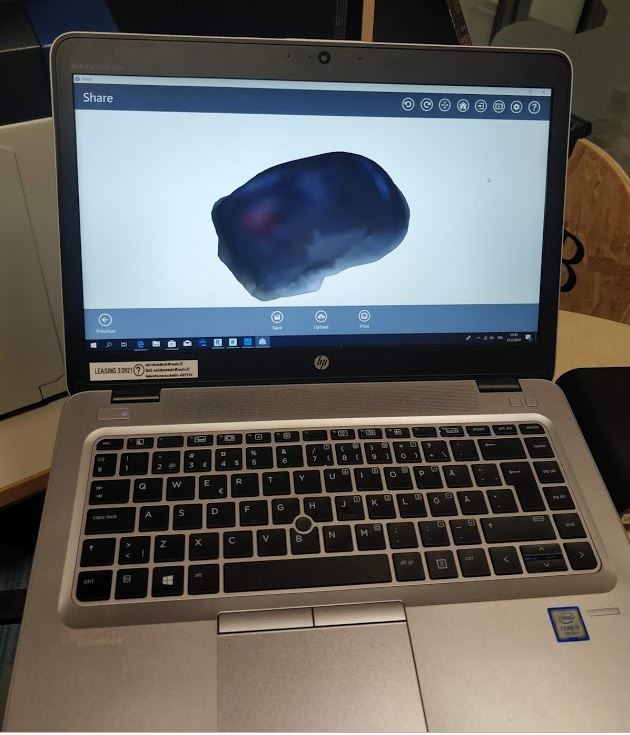
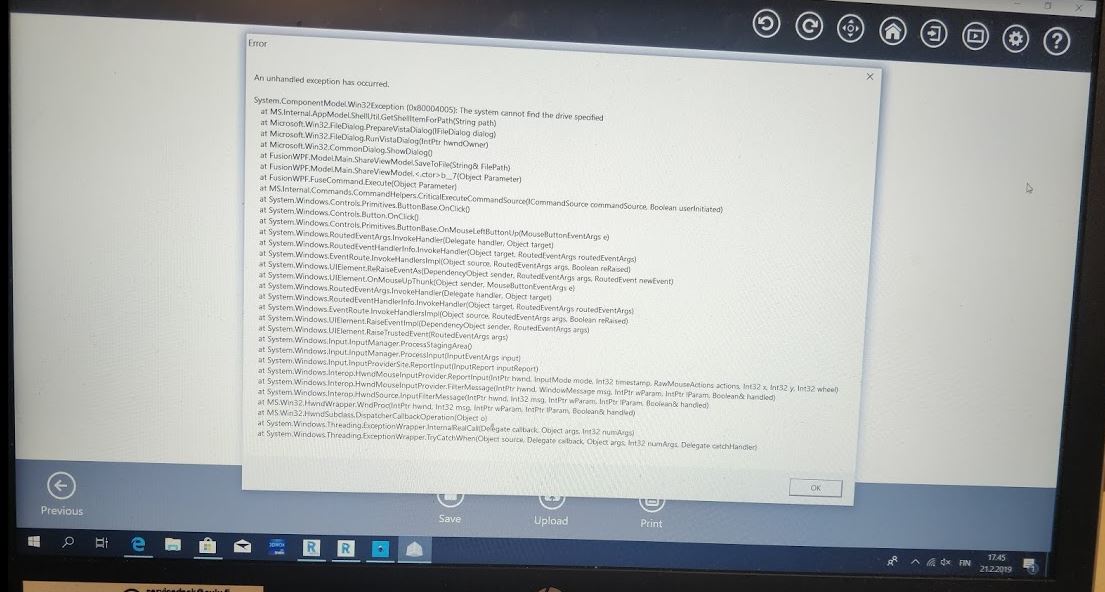
Then I tried with a Mug and the results were comparatively good enough. Although when I tried to save the design, an error message popped up. This might probably be because of software issue which needs to be reinstalled.
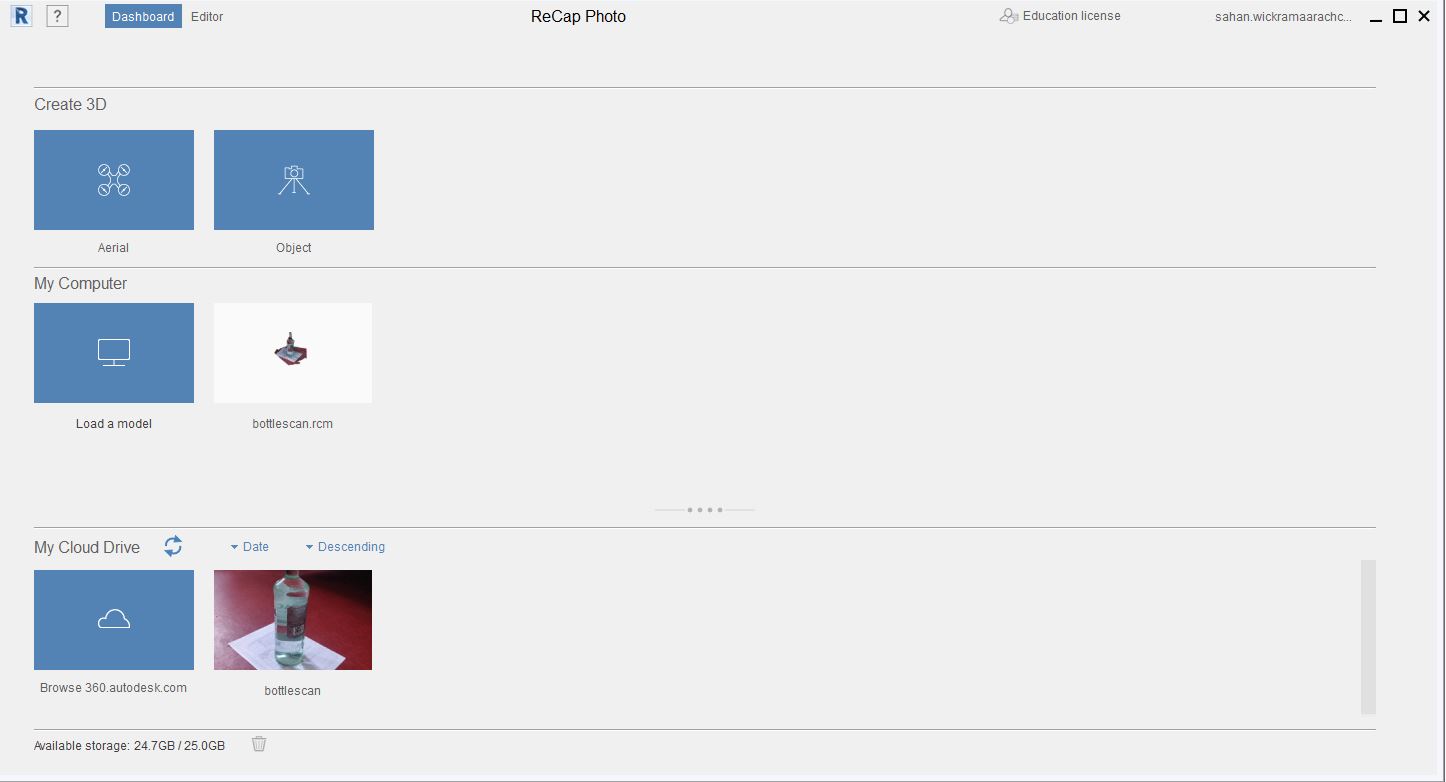
Next, I used auto desk recap software for scanning an object. It was easy to use and minimum 20 pictures have to be uploaded to the cloud and it will automatically make a 3D model of it.
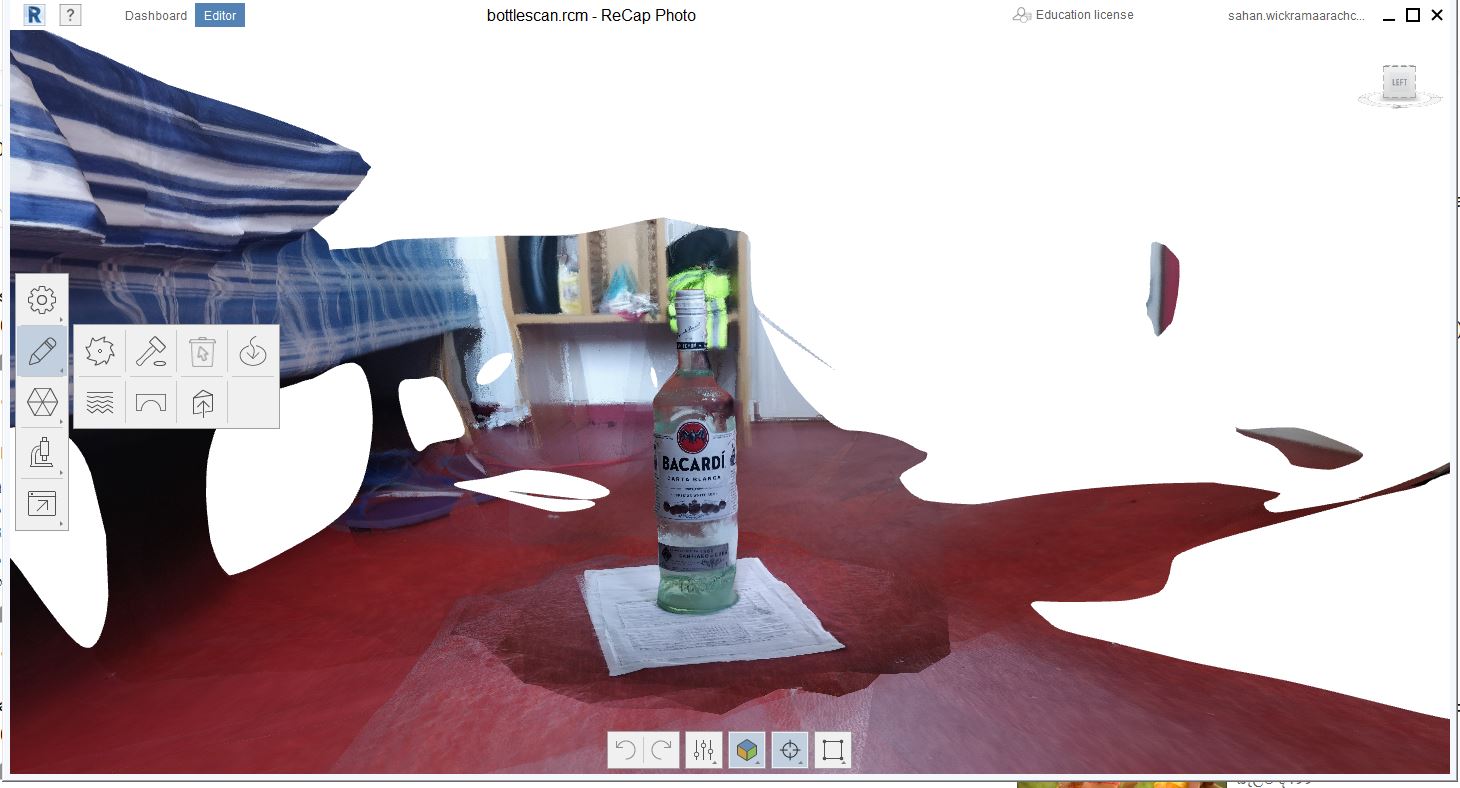
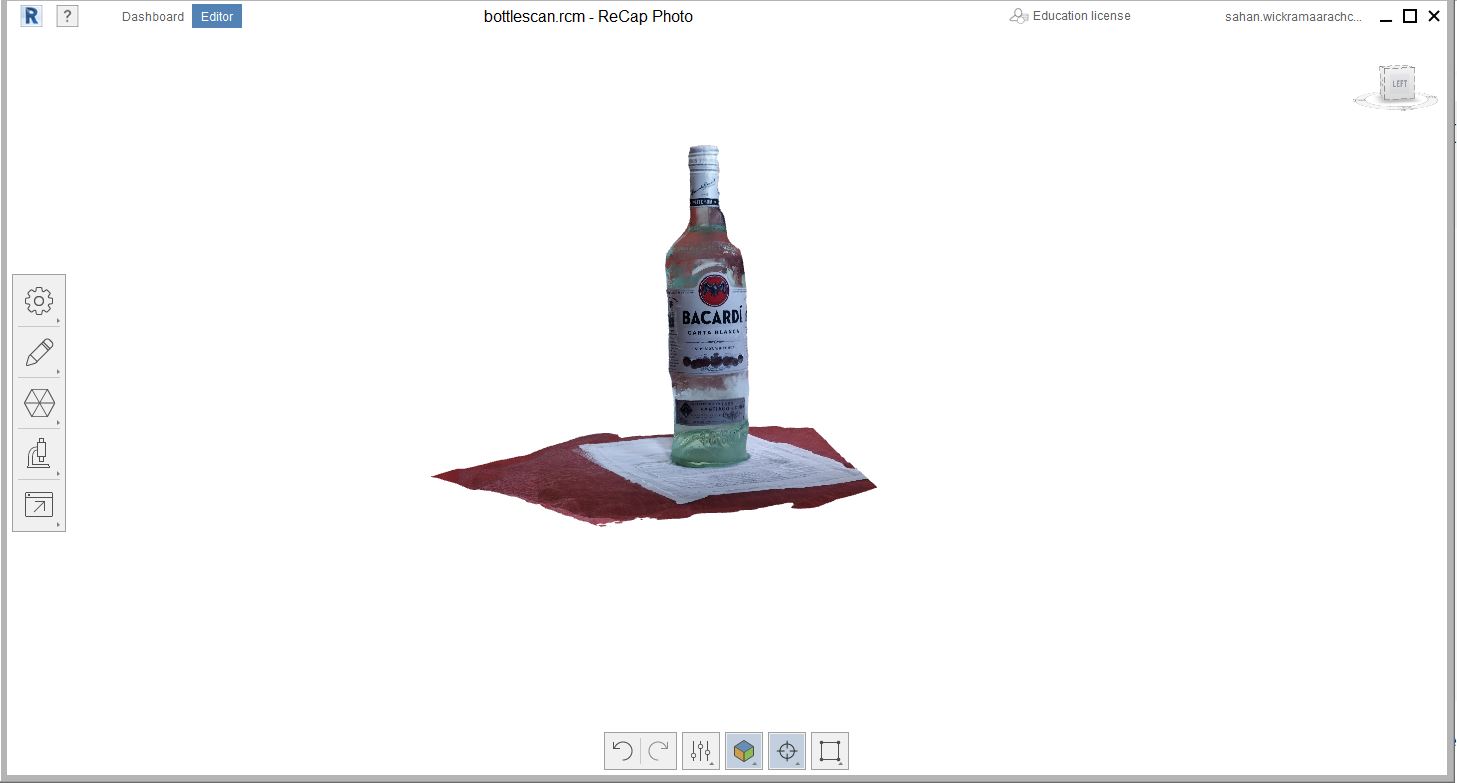
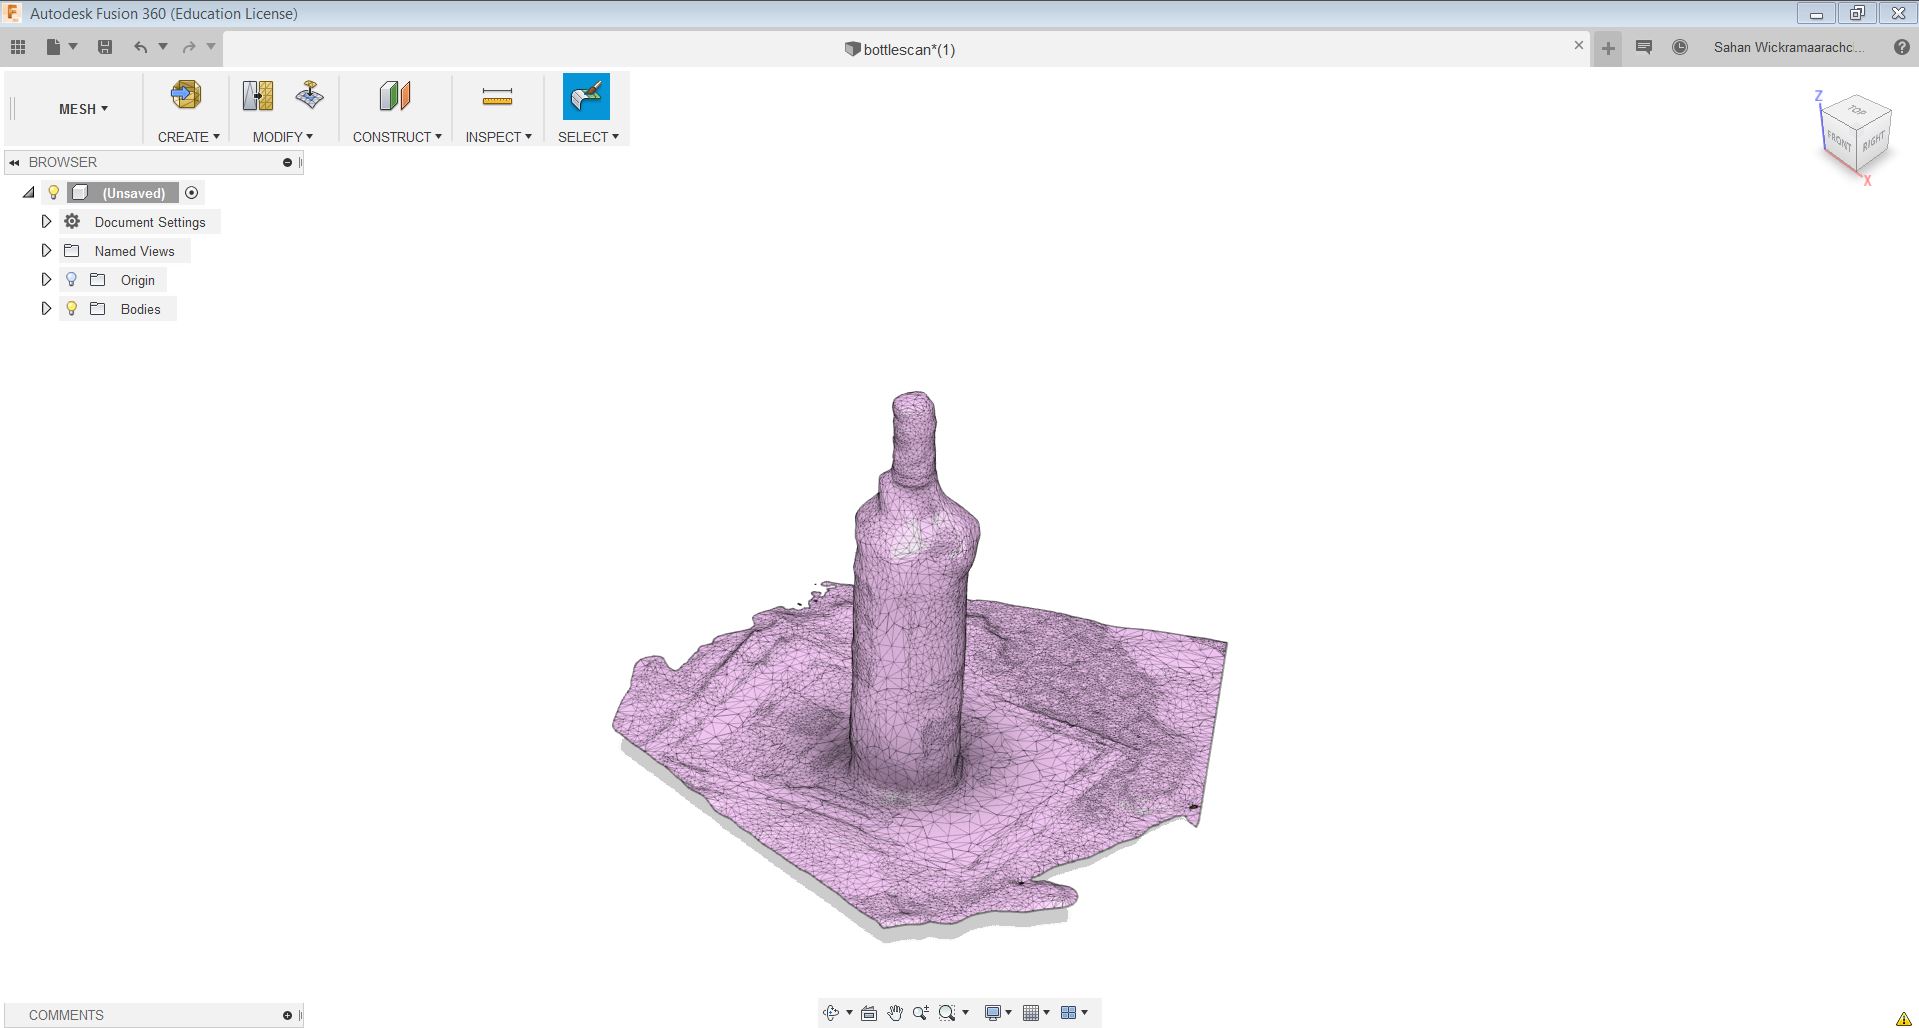
First I took pictures of a bottle and I uploaded them to the Autodesk recap software. When taking the pictures I put a printed paper with some letters in order to distinguish between the object and floor for the software. I tried to more pictures as possibles from every angle of the object. Finally I was able to cover the whole object from 360 degrees with the pictures I took. Then I pressed the 'create a 3D object' option.
After making the 3D model I used edit->slice&fill option to crop the unnecessary parts it created.
Then I exported the object as the .obj file to Fusion 360 and opened Mesh workspace.
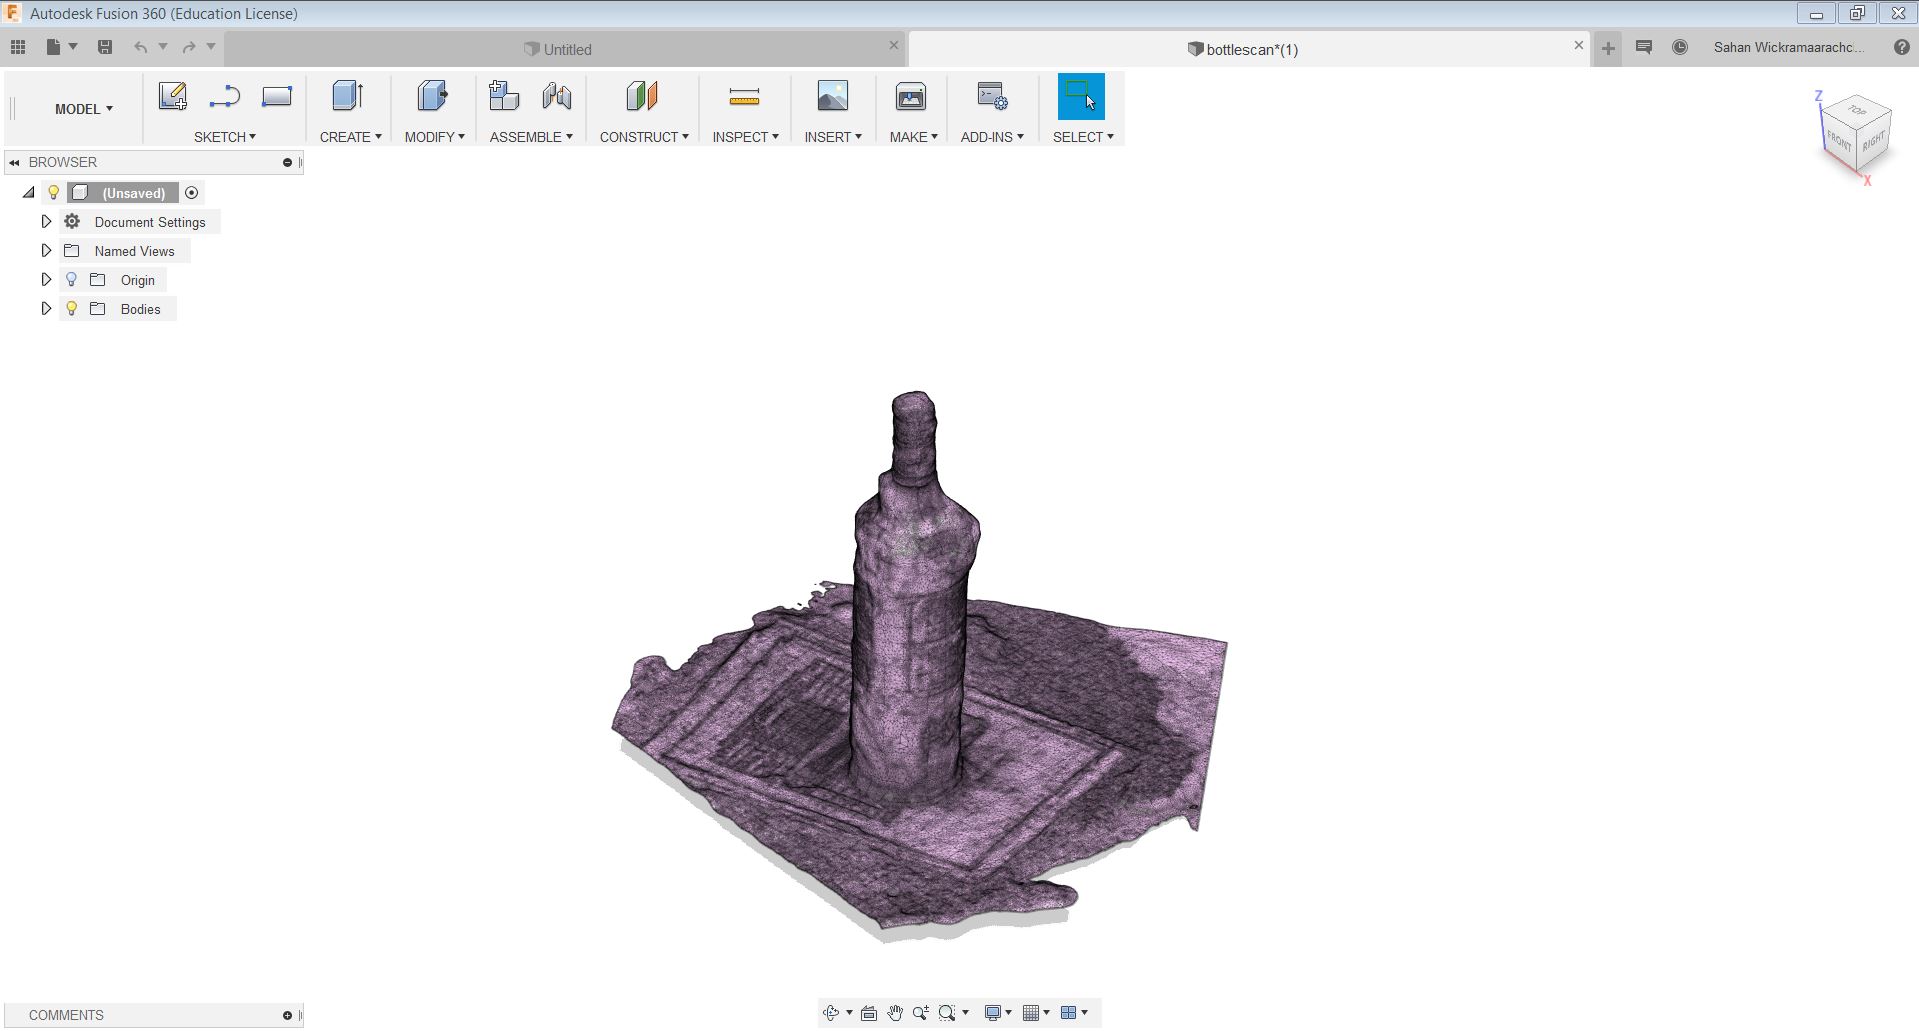
Then selected the body and used Modify/reduce -tool and changed the Density from 0.25 to 0.14 to reduce the file size.
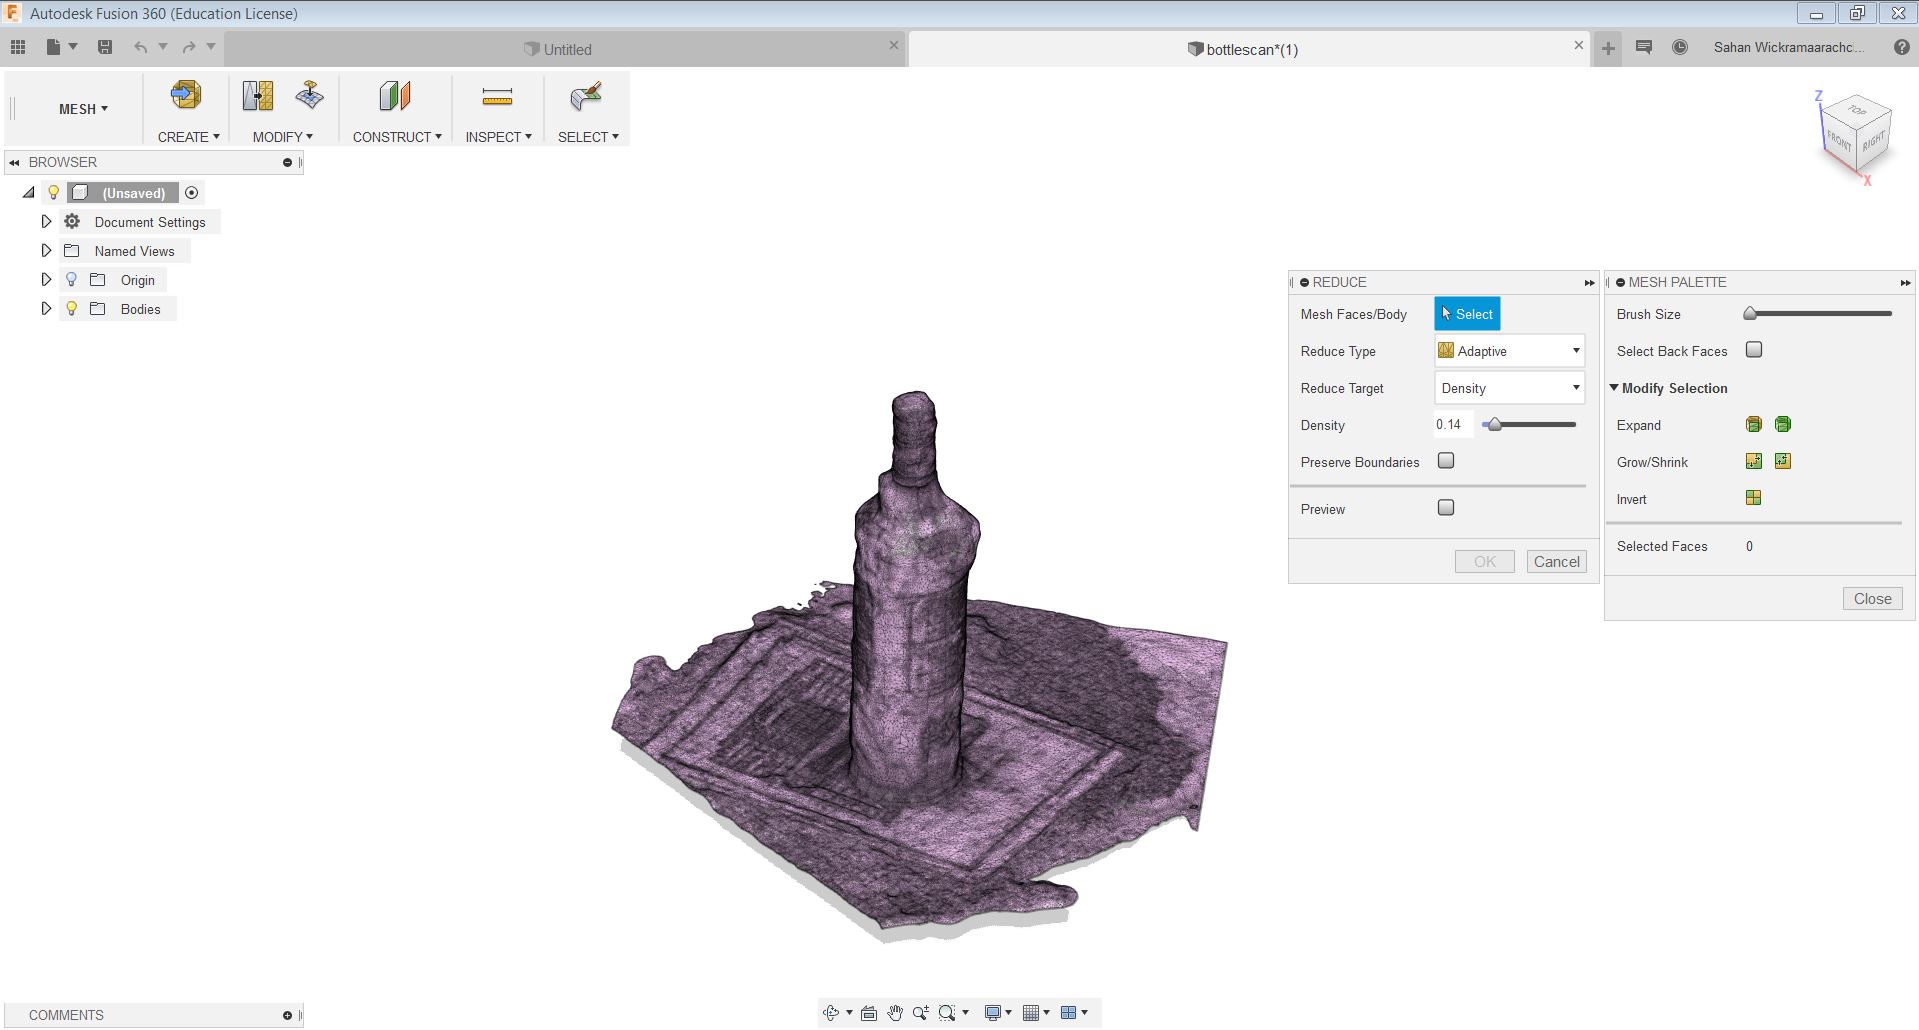
Later I exported the file as .f3d format as well as .stl.
Reflection
For this week's group assignment and individual assignments, I learned how to 3D design using Fusion 360, characterize the various printers used for 3D printing and the various factors which affect 3D printing as well as limitation of 3D printing. After the group work it was observed that the FormLab printer can print good 3D models for high-resolution Among the other printers, and it uses a stereolithographic process by a bottom-up approach. The main disadvantage of this printer is it uses the same material for support and printing design which limits the functionalities some extent. For the 3D scanning, I used Autodesk recap tool after failing to use the sense 3D scanner. It was observed that after scanning the software recognize the paper underneath as a part of the object dur to the similarity in color. It is better to put a paper below the object which can properly distinguish between these two in order to get a proper result from the 3D scanning.
Models files
F3D file for wistle design
Improved design for the wistle STL file
Improved design for the wistle F3D file
Print test file
STL file for scanning object
F3D file for scanning object