Week 3. Computer-Aided Design
The main objective of this week was to get familiar with different 2D, 3D modeling tools and to model/sketch a possible final project.
2D Vector Modeling
Since I was not familiar with most of the listed tools, I had to go through lots of 2D or 3D modeling software to find which one works best for me.
Finally, for the 2D design, Inkspace was selected because it is a free and open-source vector graphics editor. Moreover, GIMP was installed as well which is a free raster graphics software.
Out of the 2D programs which were used, Inkscape was much easier to use and seemed like a simple, clean software. Gimp seems useful for adjusting any images or photos, so it will be explored later.
In this assignment, a helical antenna which can be 3D printed was modeled in Inkscape. This was envisioned as a possible final project on week 1.
The process of the modeling was started with referring series of youtube tutorials.
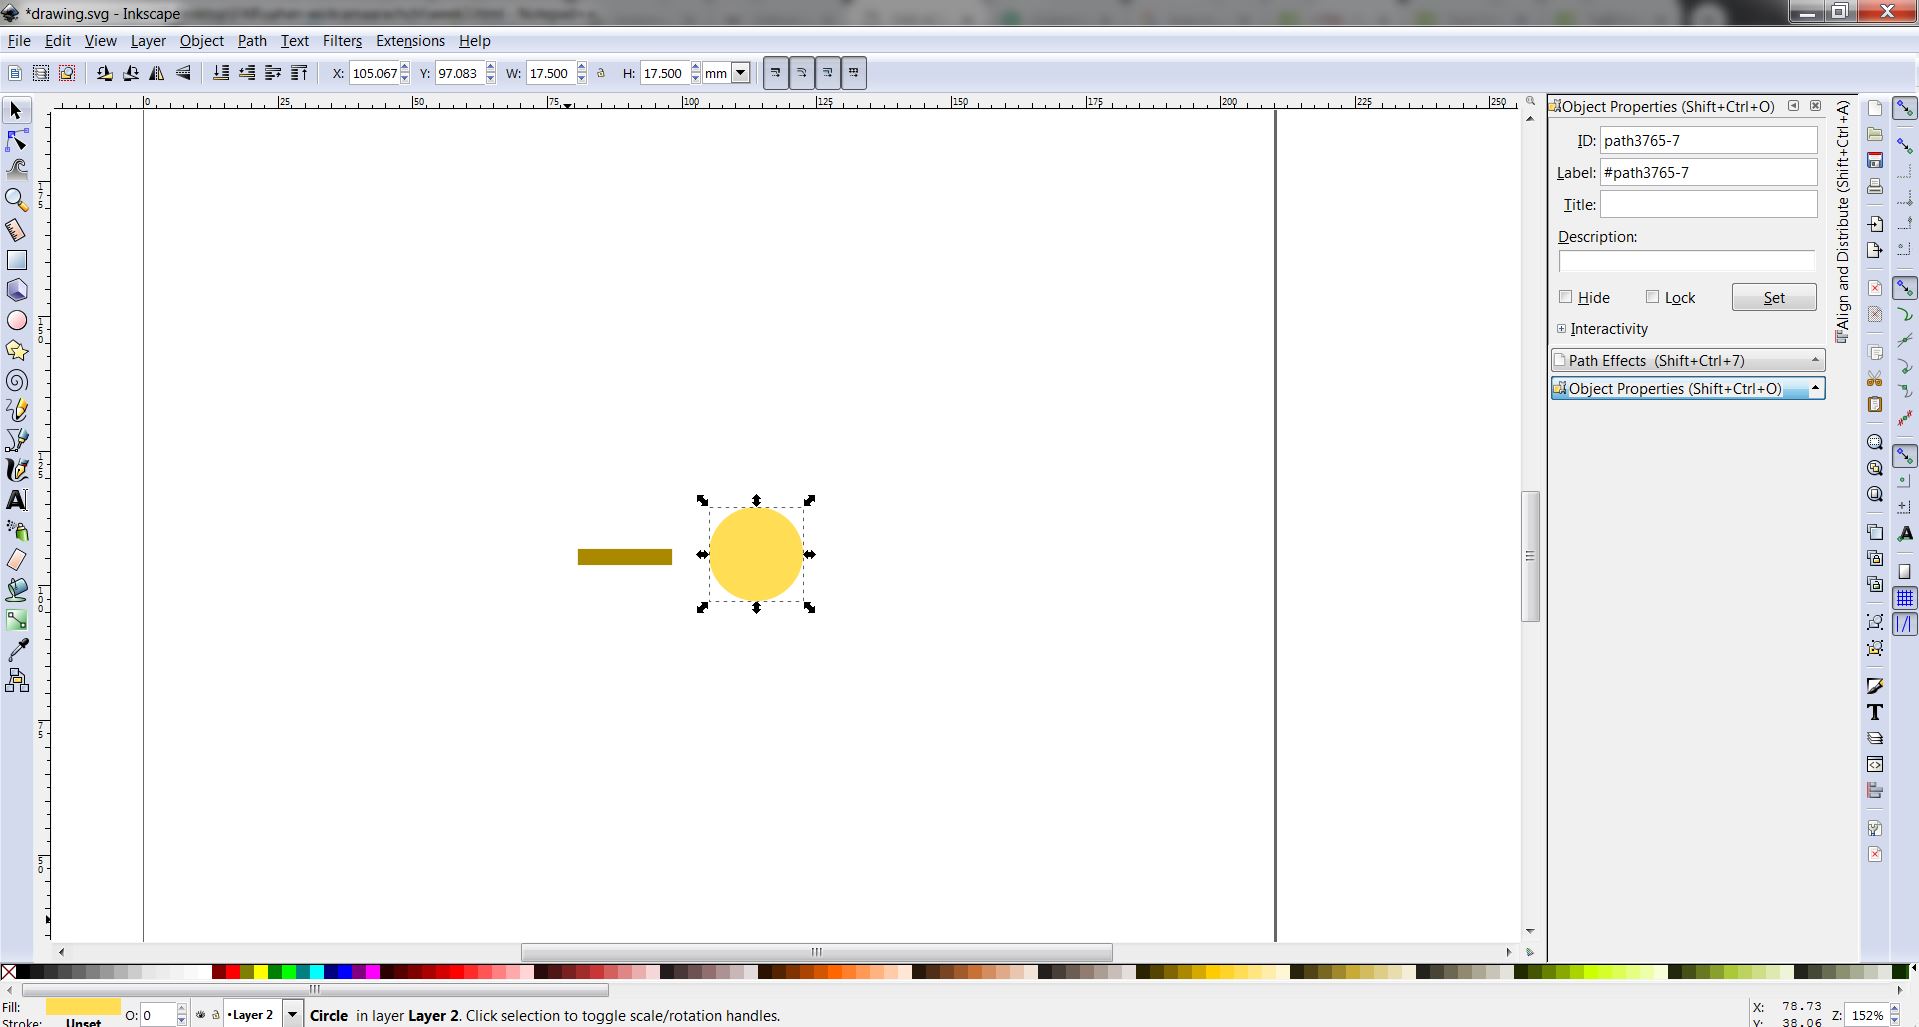
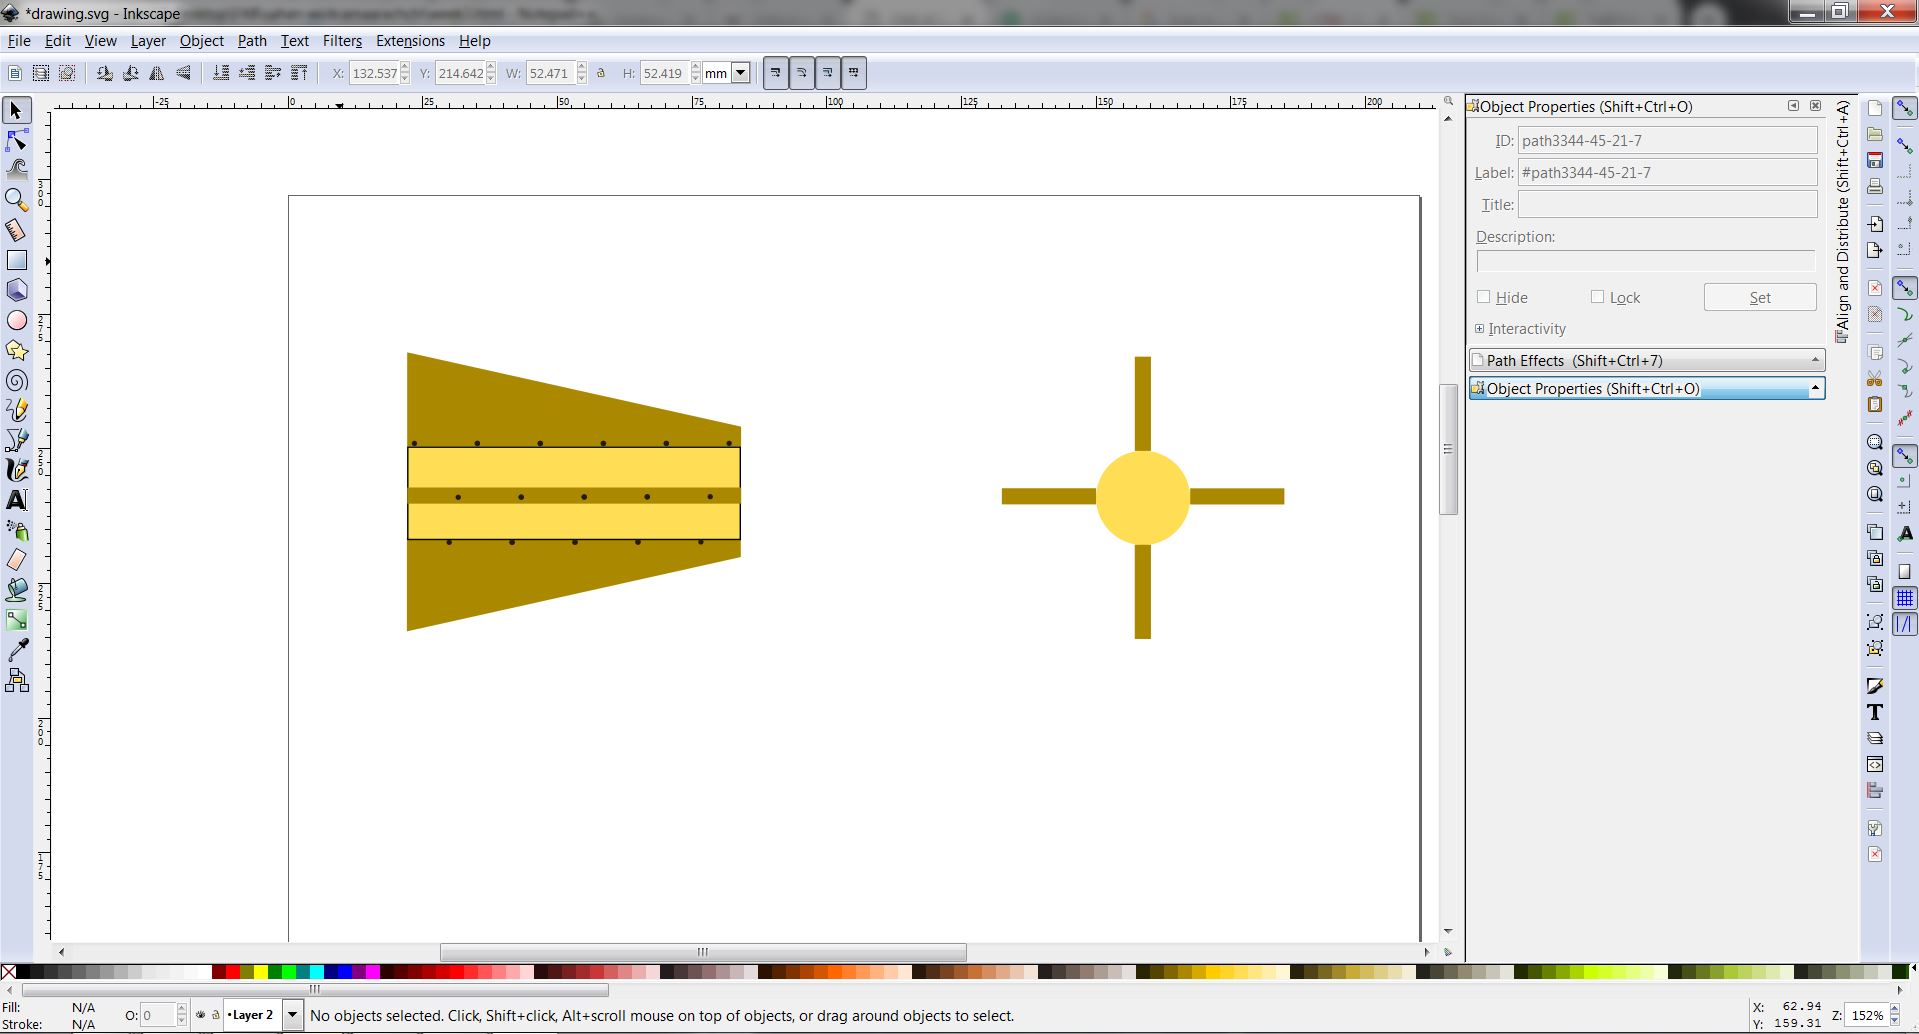
After calculating the dimensions of the helical antenna (more details on final project page) , first I decided to start the design with the top view. A rectangle was created using the 'create rectangles and squares' tool. Its dimensions were changed according to the calculated dimensions. Next, a circle was also created using 'create circle, ellipse and acrs' tool. The diameter was changed accordingly.
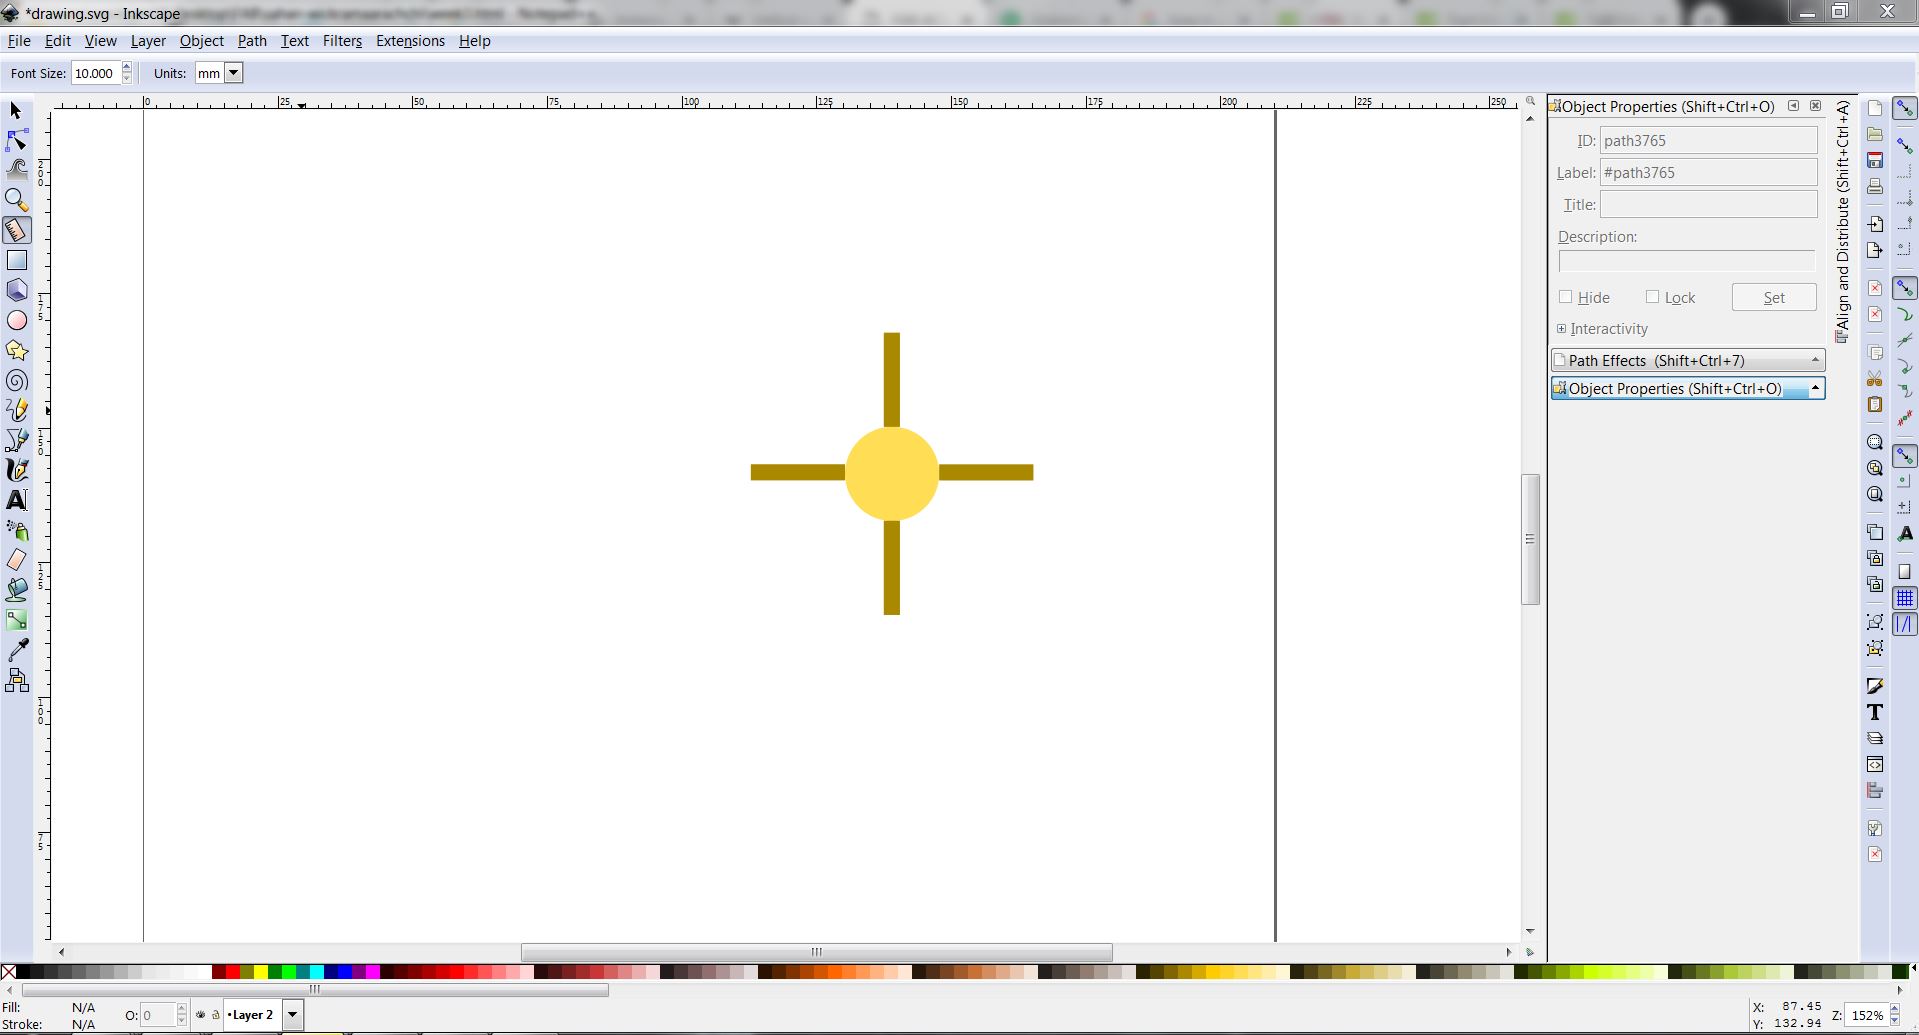
Next, all shapes were combined to get the final top view of the antenna.
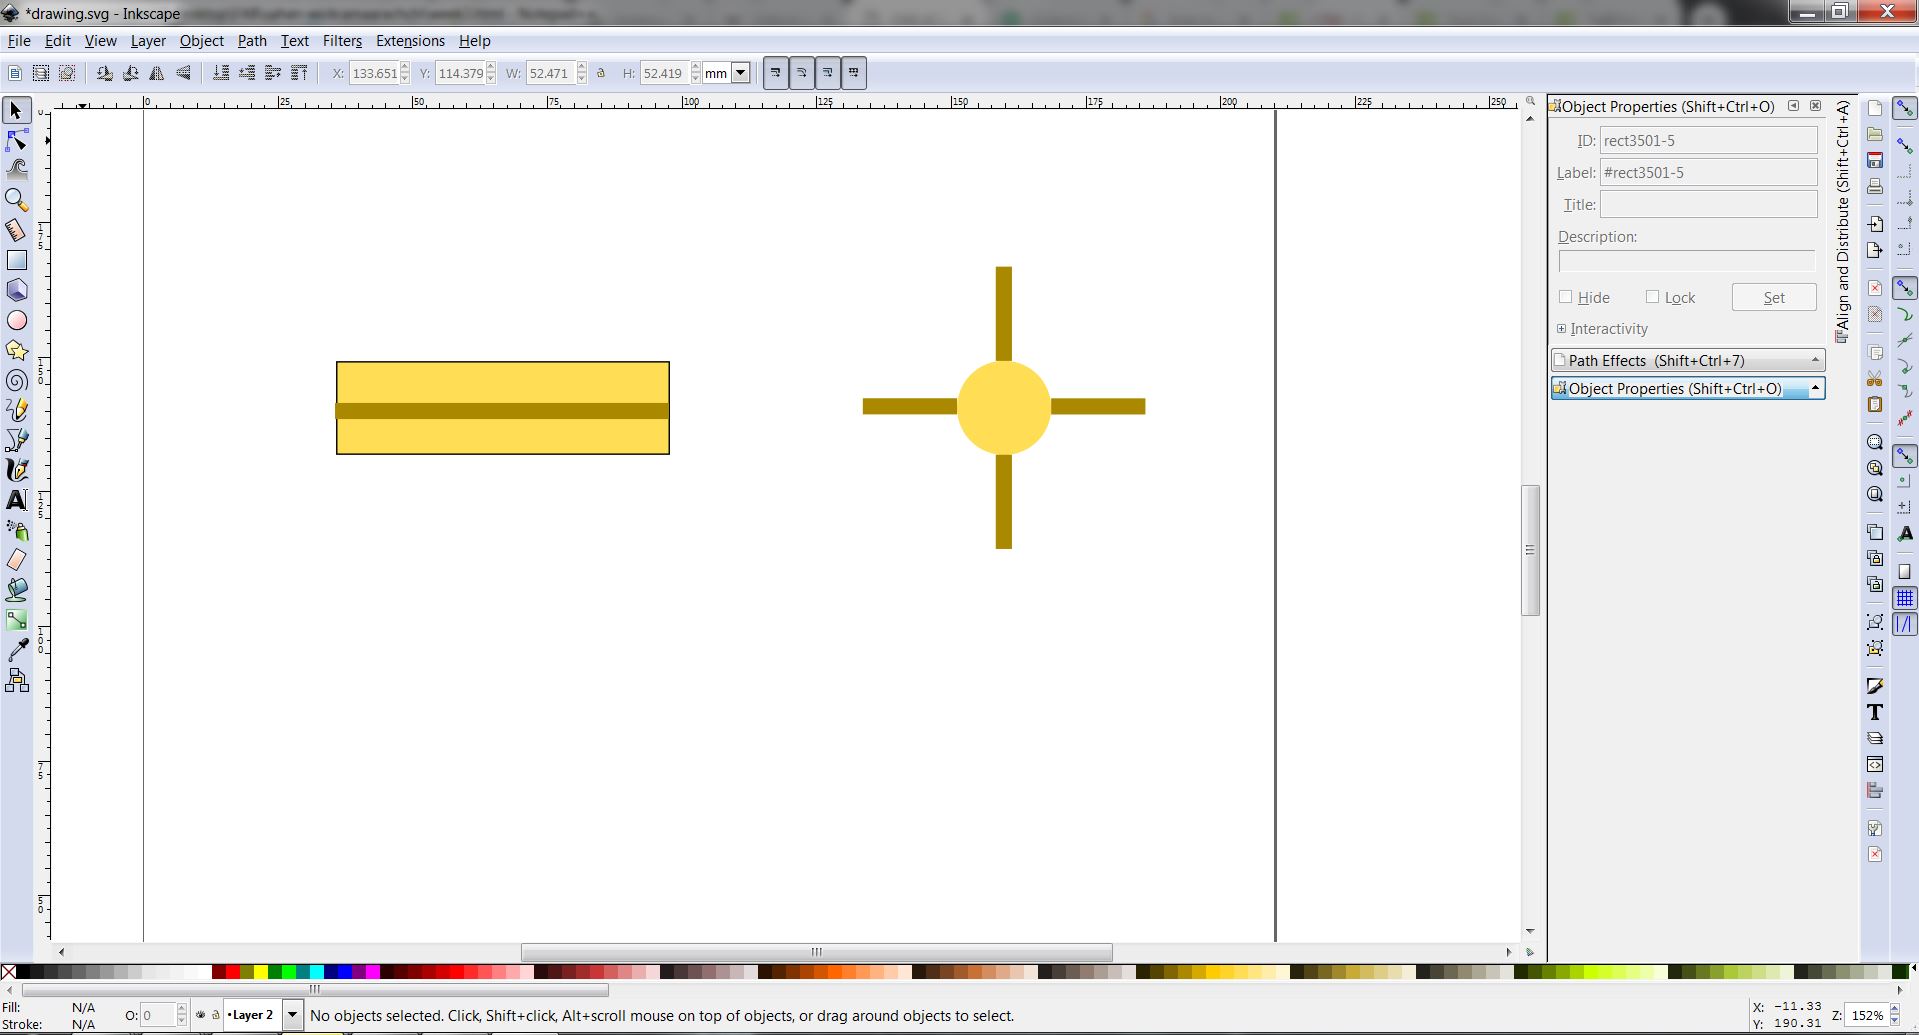
Next step was to model the side view. First two rectanglees were created for the side view. Then in addition to that, a tapered rectangle was designed using the ' pattern along path' effect in the path effects menu.
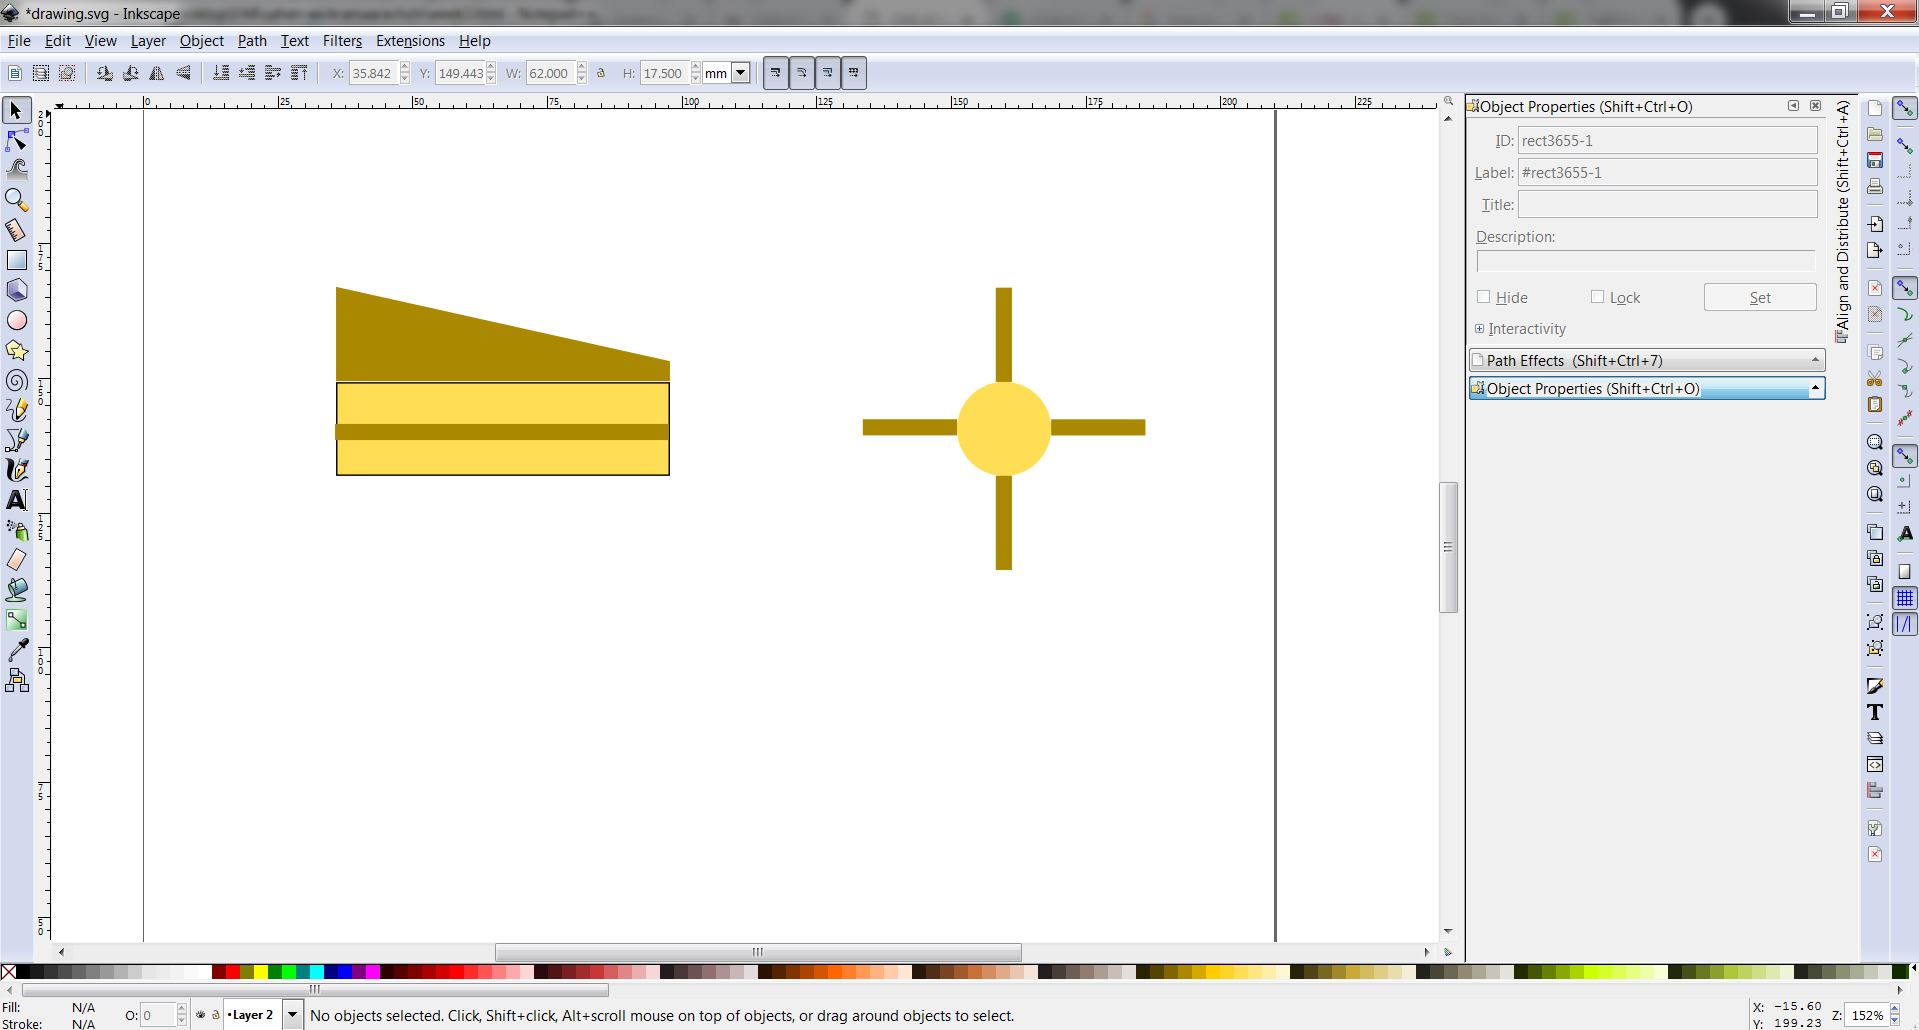
Finally, all tapered shapes and rectangles were combined to get the final side view of the antenna. Moreover, 1mm holes for copper wire was created on the rectangles accordingly.
2D Raster Modeling
I have used GIMP software to make a raster design. The difference between Inkscape and GIMP is the program is vector based or raster based. The lines of raster graphics are drawn as colored pixels while the lines of vector graphics are mathematically calculated and shown on the screen. So when a line drawn in GIMP is zoomed, many colored pixels are seen. Raster graphics tools are suitable for photo editing or detailed images, while the results of vector graphic tools are more abstract. The files of raster graphics can be saved as PNG, JPG..etc format.
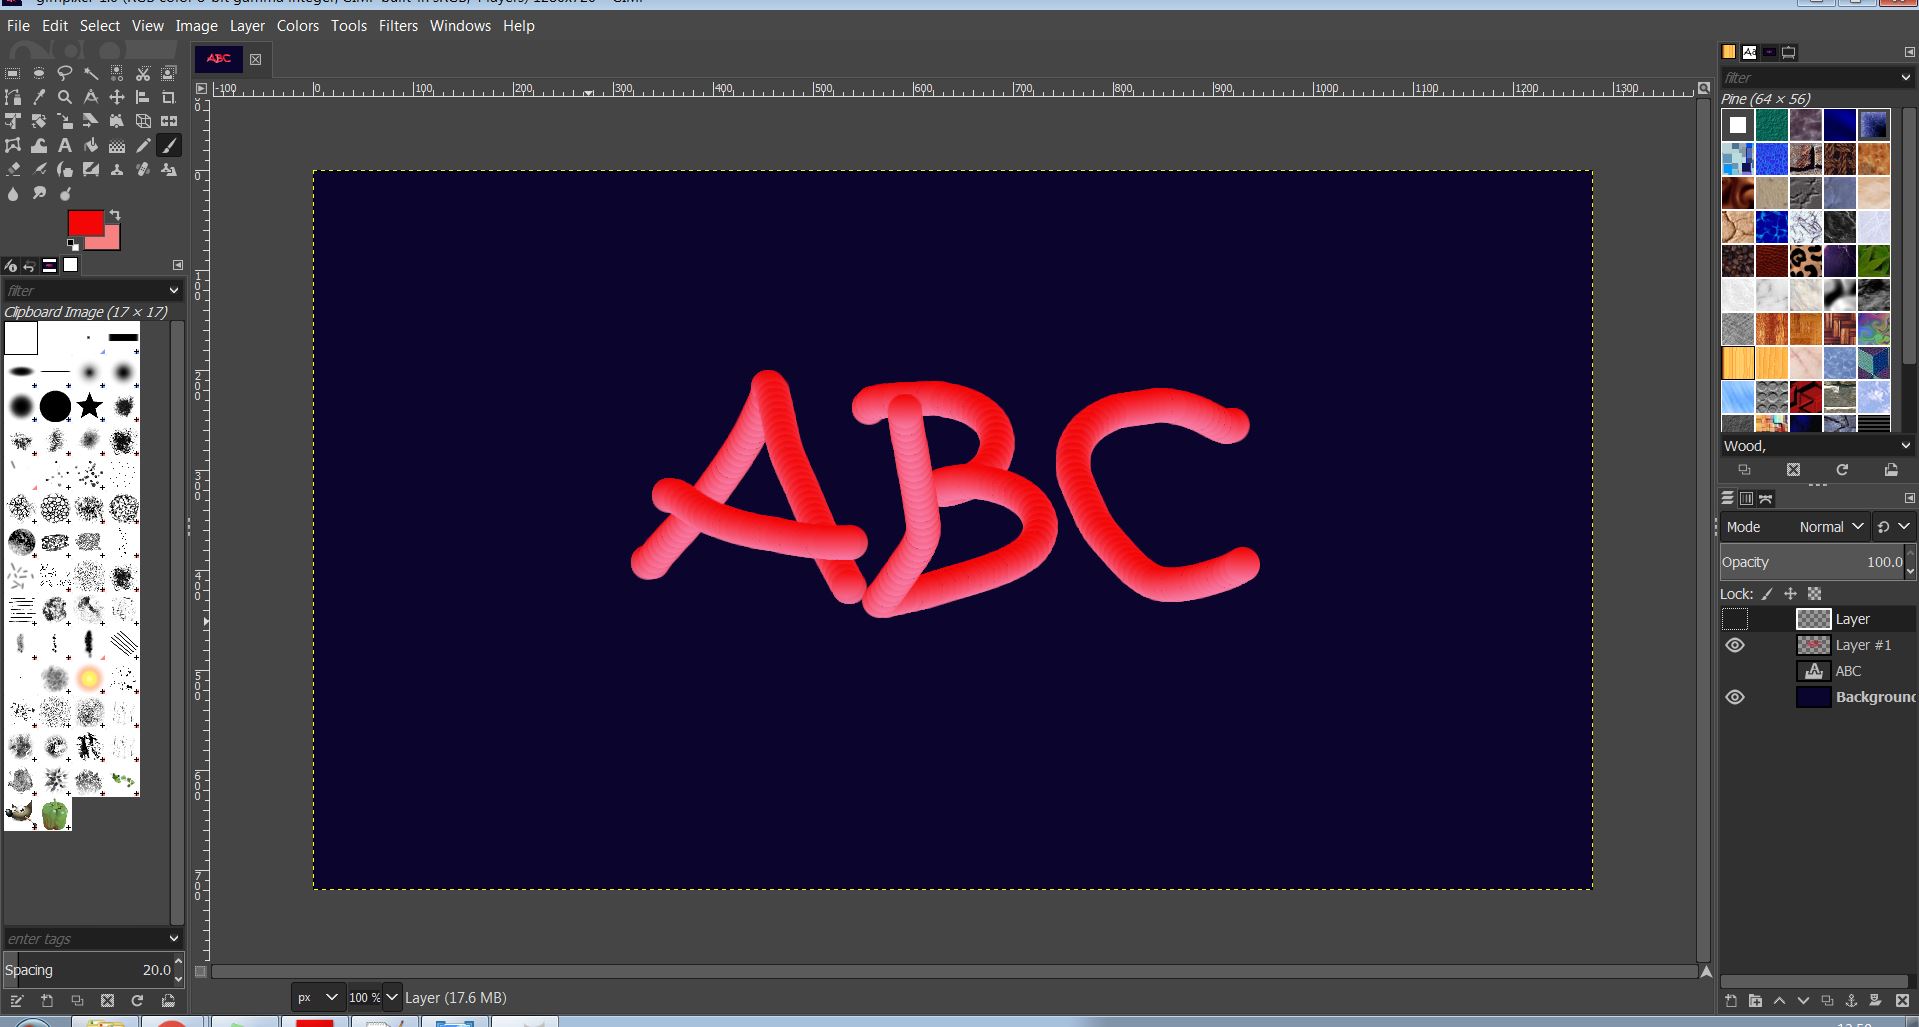
In this design, I have given a 3D look for the fonts. For that, I have followed this tutorial.
To begin with, I created a new file with 1280x720px.
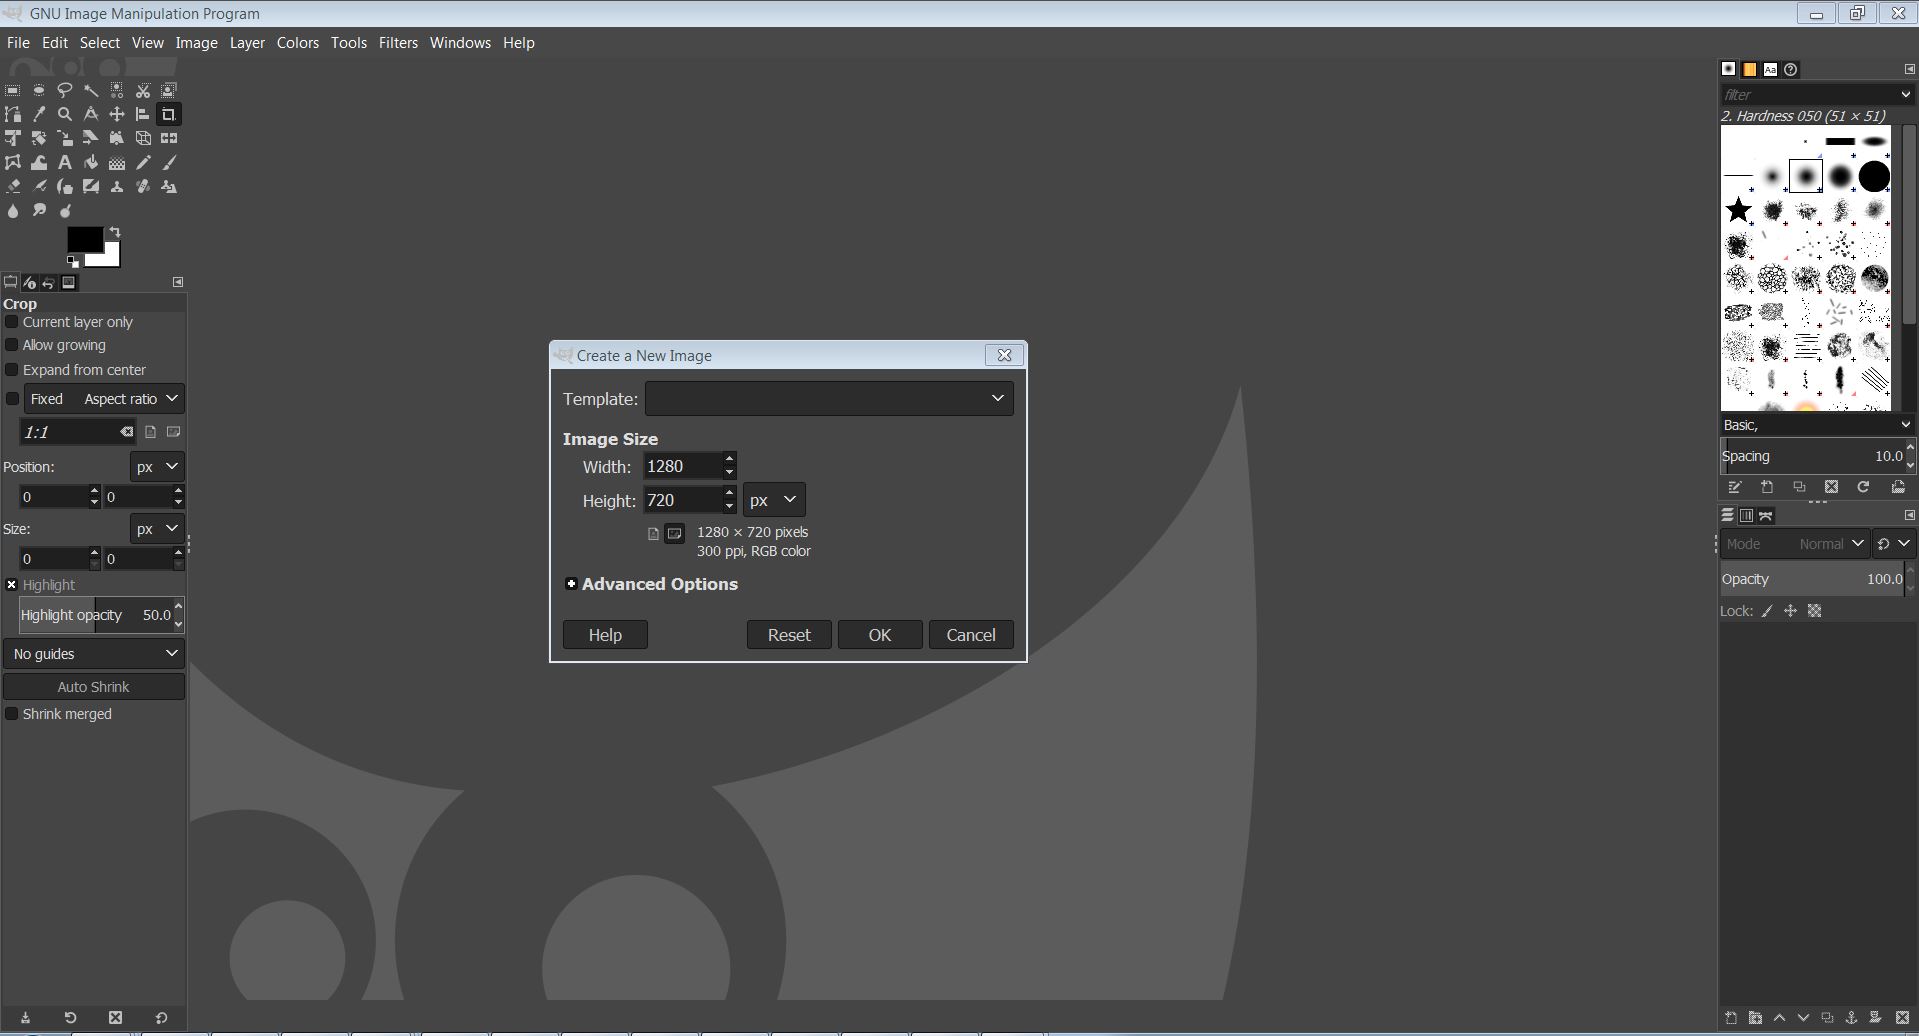
Then I added a background color to the page. After that, I created a new text layer with any font. Next step was to create a new layer and make a circle with 'ellipse' tool./p>
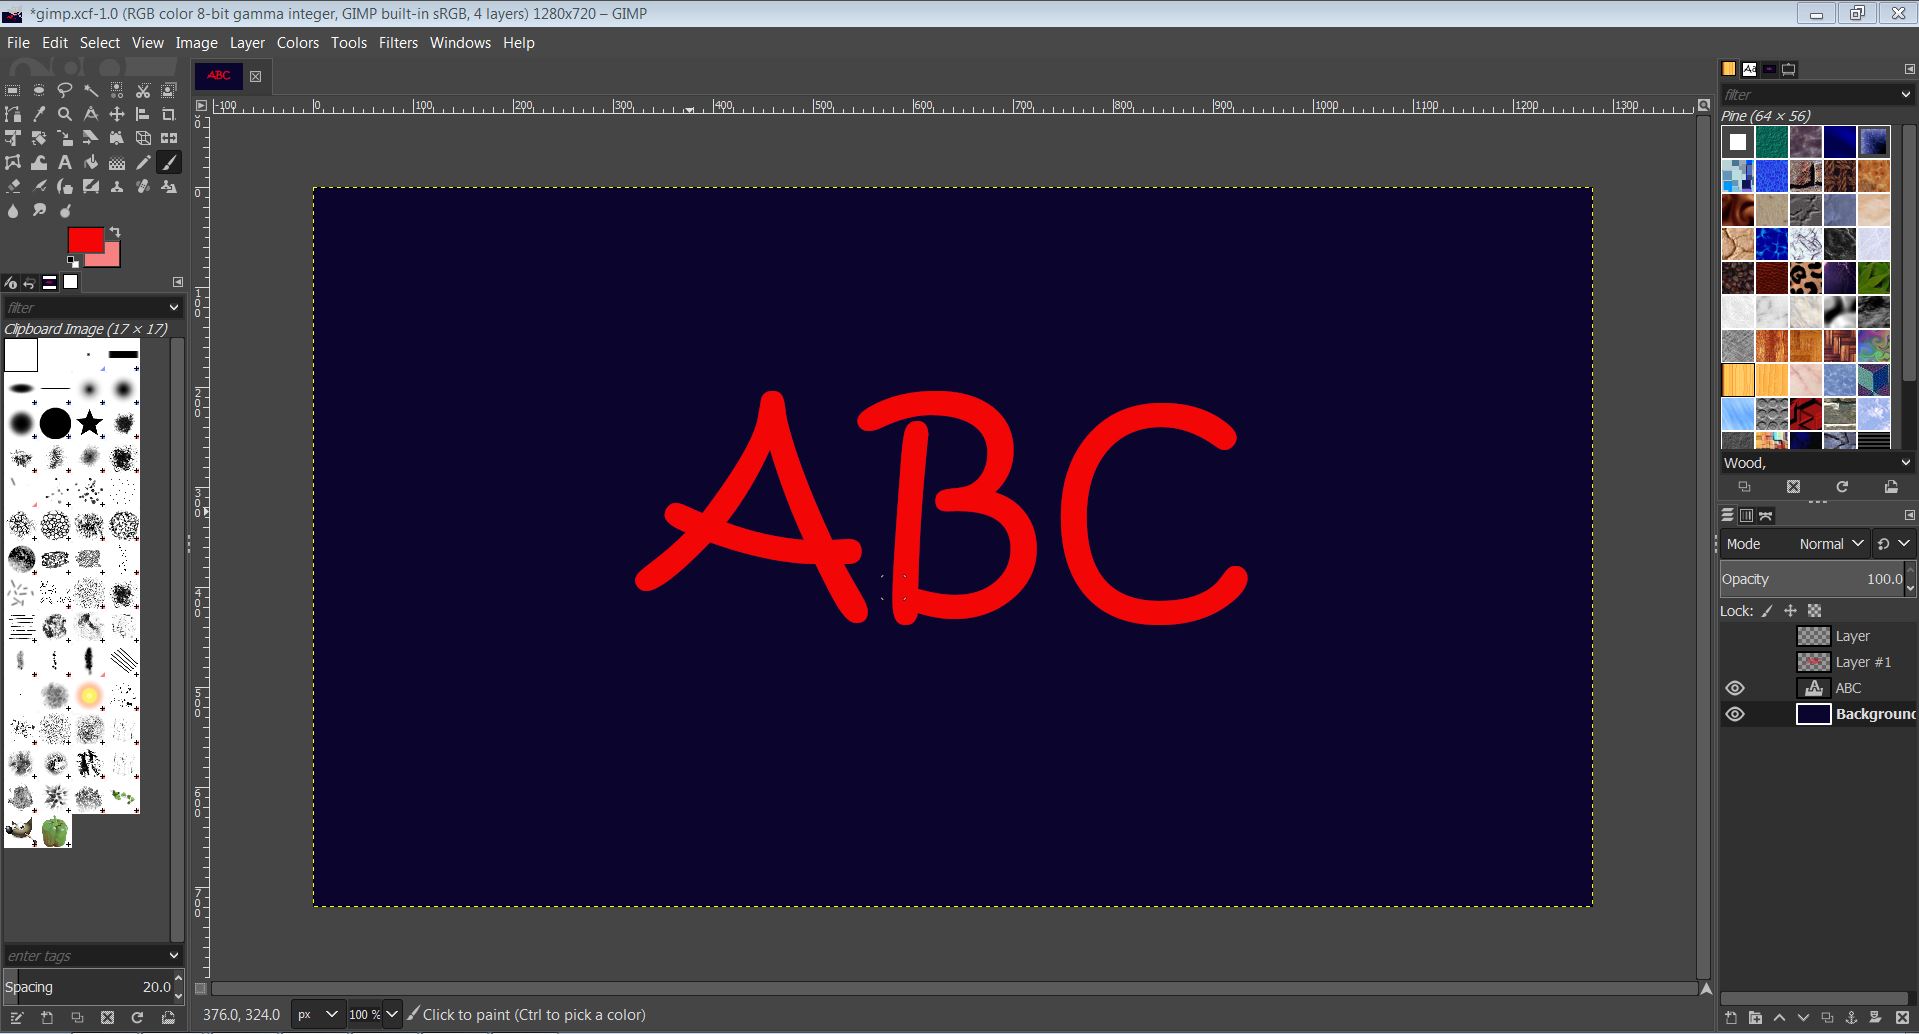
I added the gradient to the circle with the help of the gradient tool. After that, I right clicked the layer and chose 'alpha to selection' option. Next, I selected edit -> copy. After that using the pen tool I painted over the letter to look 3D.
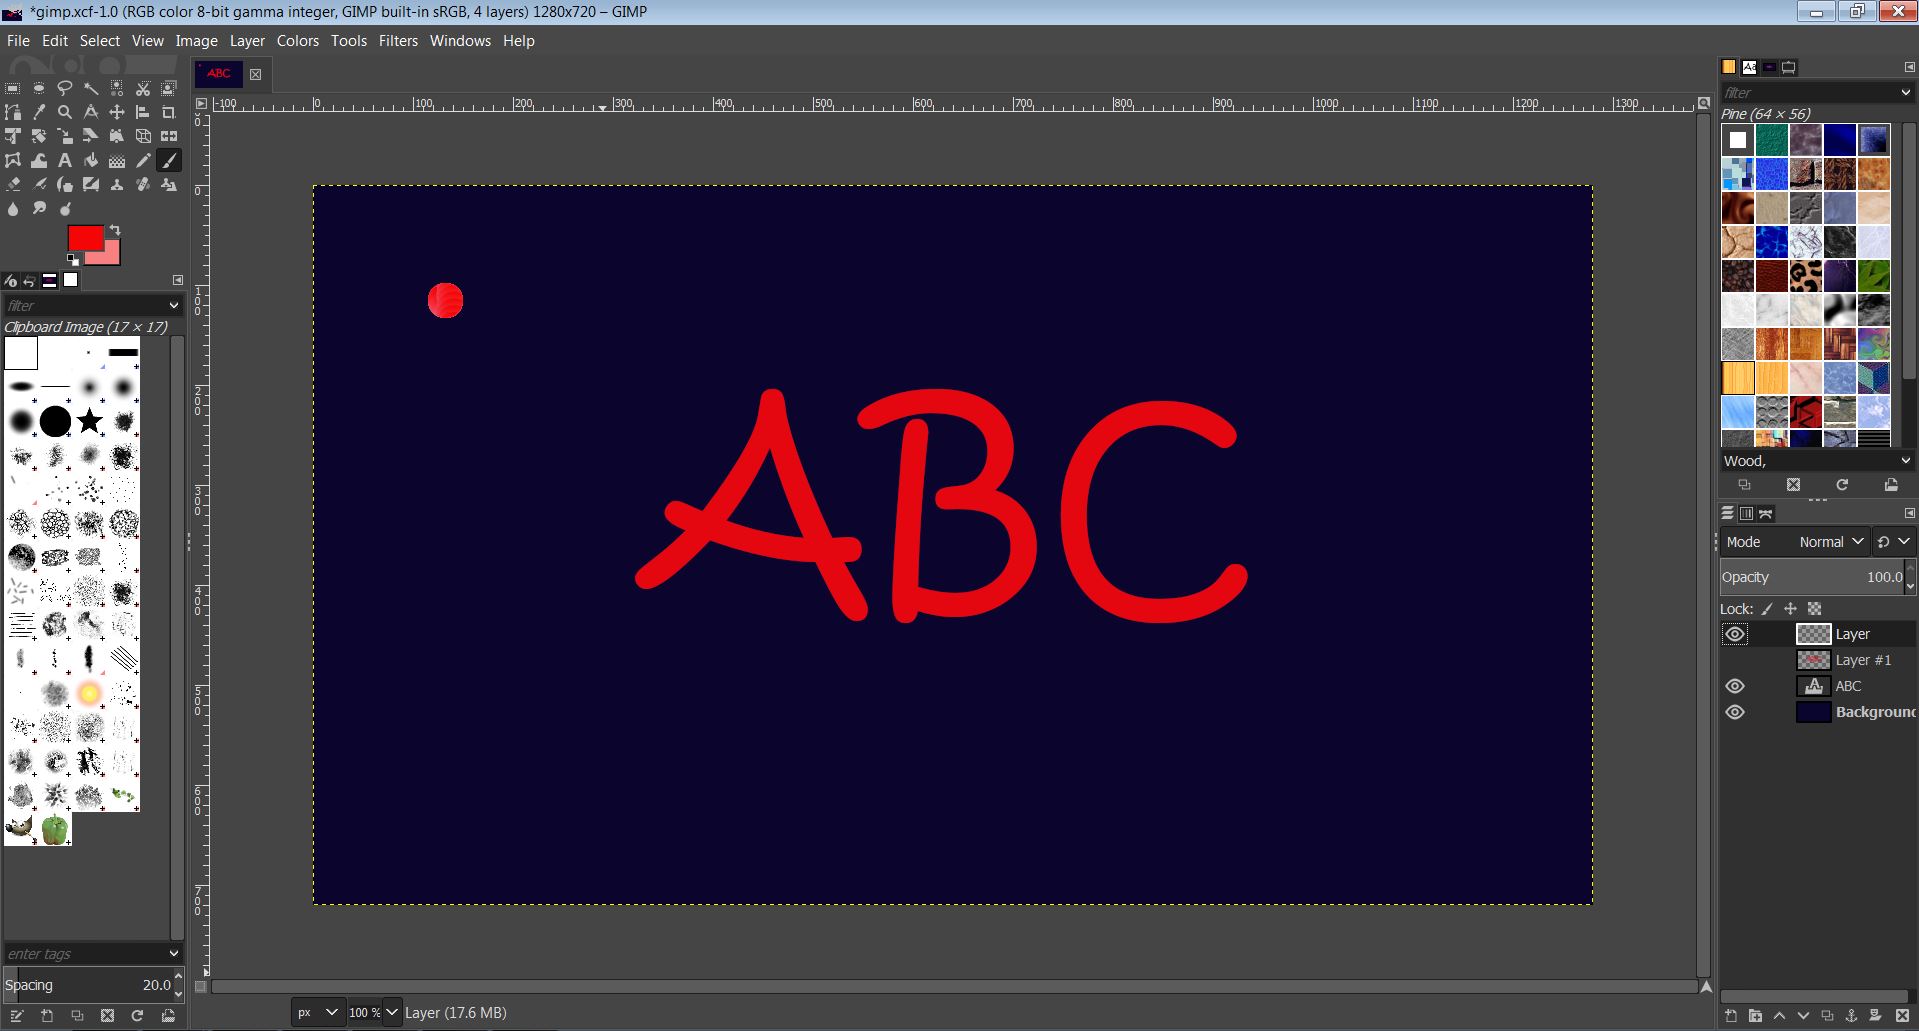
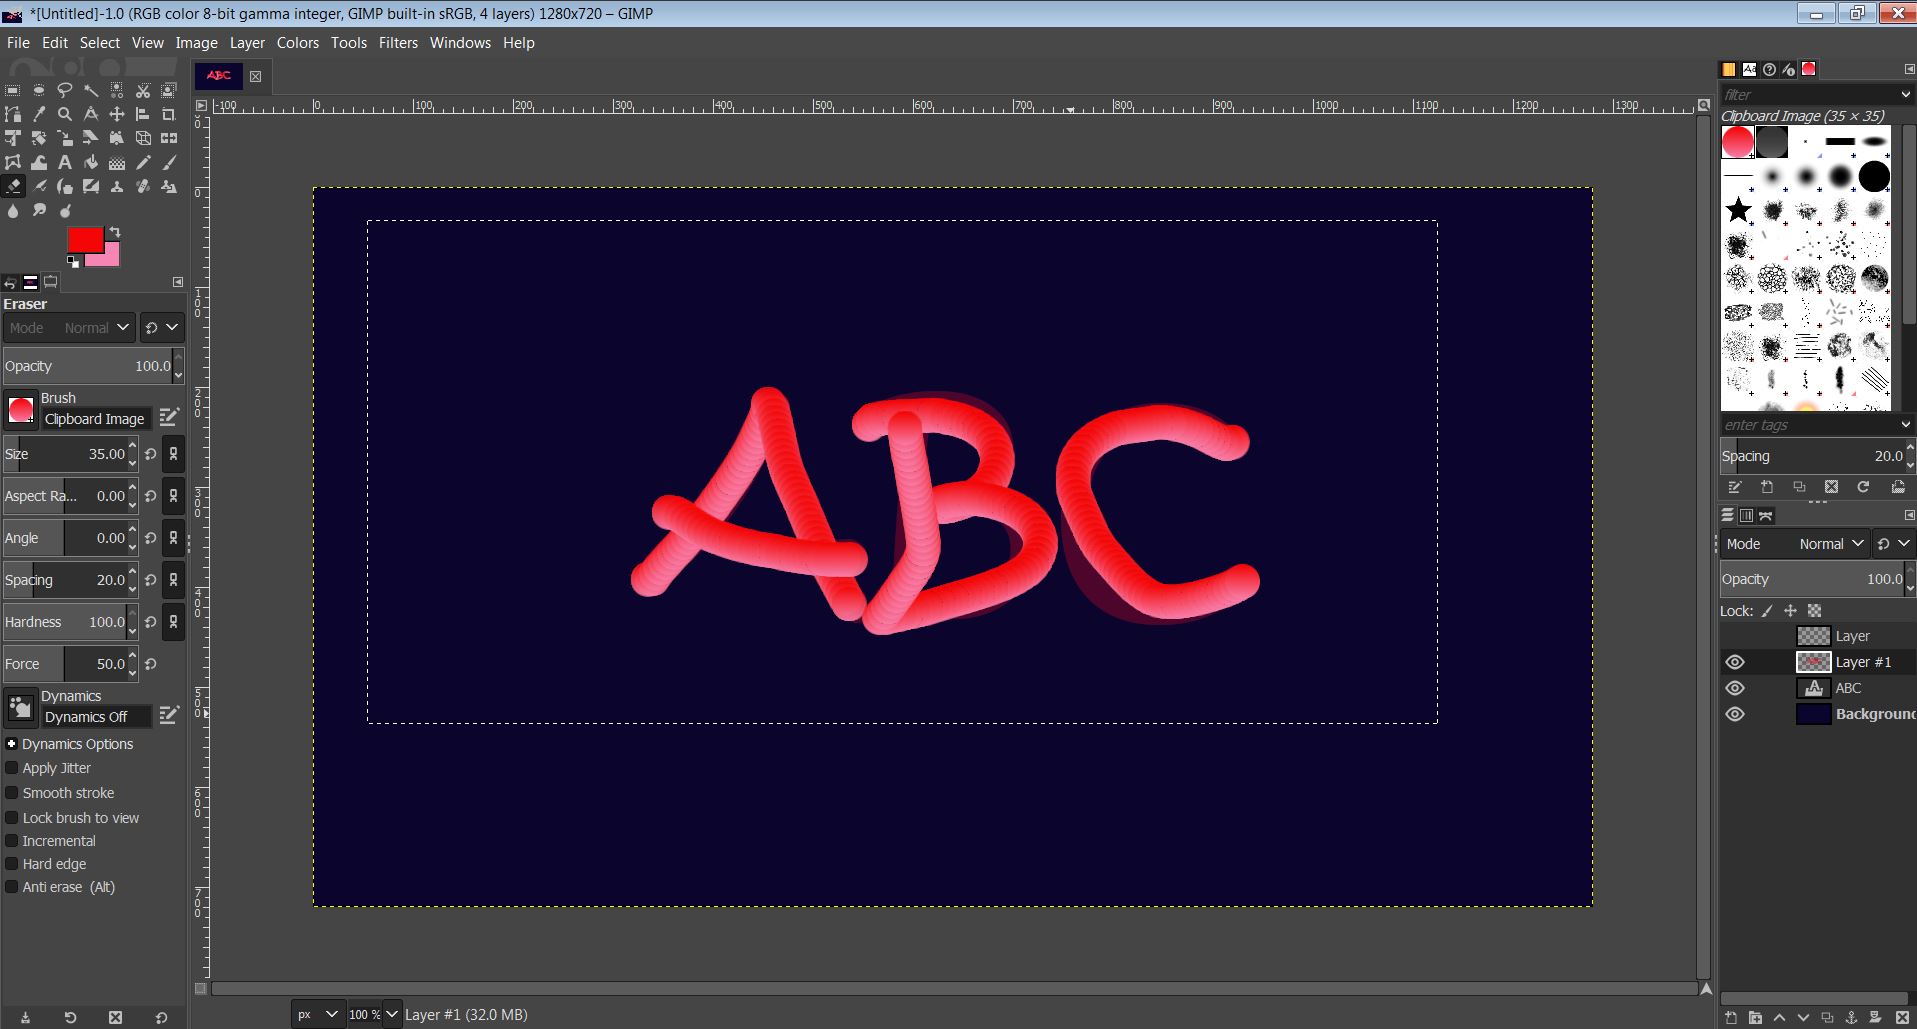
The final design is shown below.
3D Modeling
To begin with, I referred some well explained youtube tutorials which were helped me to understand the basics of Fusion 360.
Next using the Inkscape model as a reference, I tried to make a 3D structure of the helical antenna. First a cylindrical structure was made after using the 'Extrude' feature. After that, a spiral was made on top of the cylinder with 'cut' feature enabled.
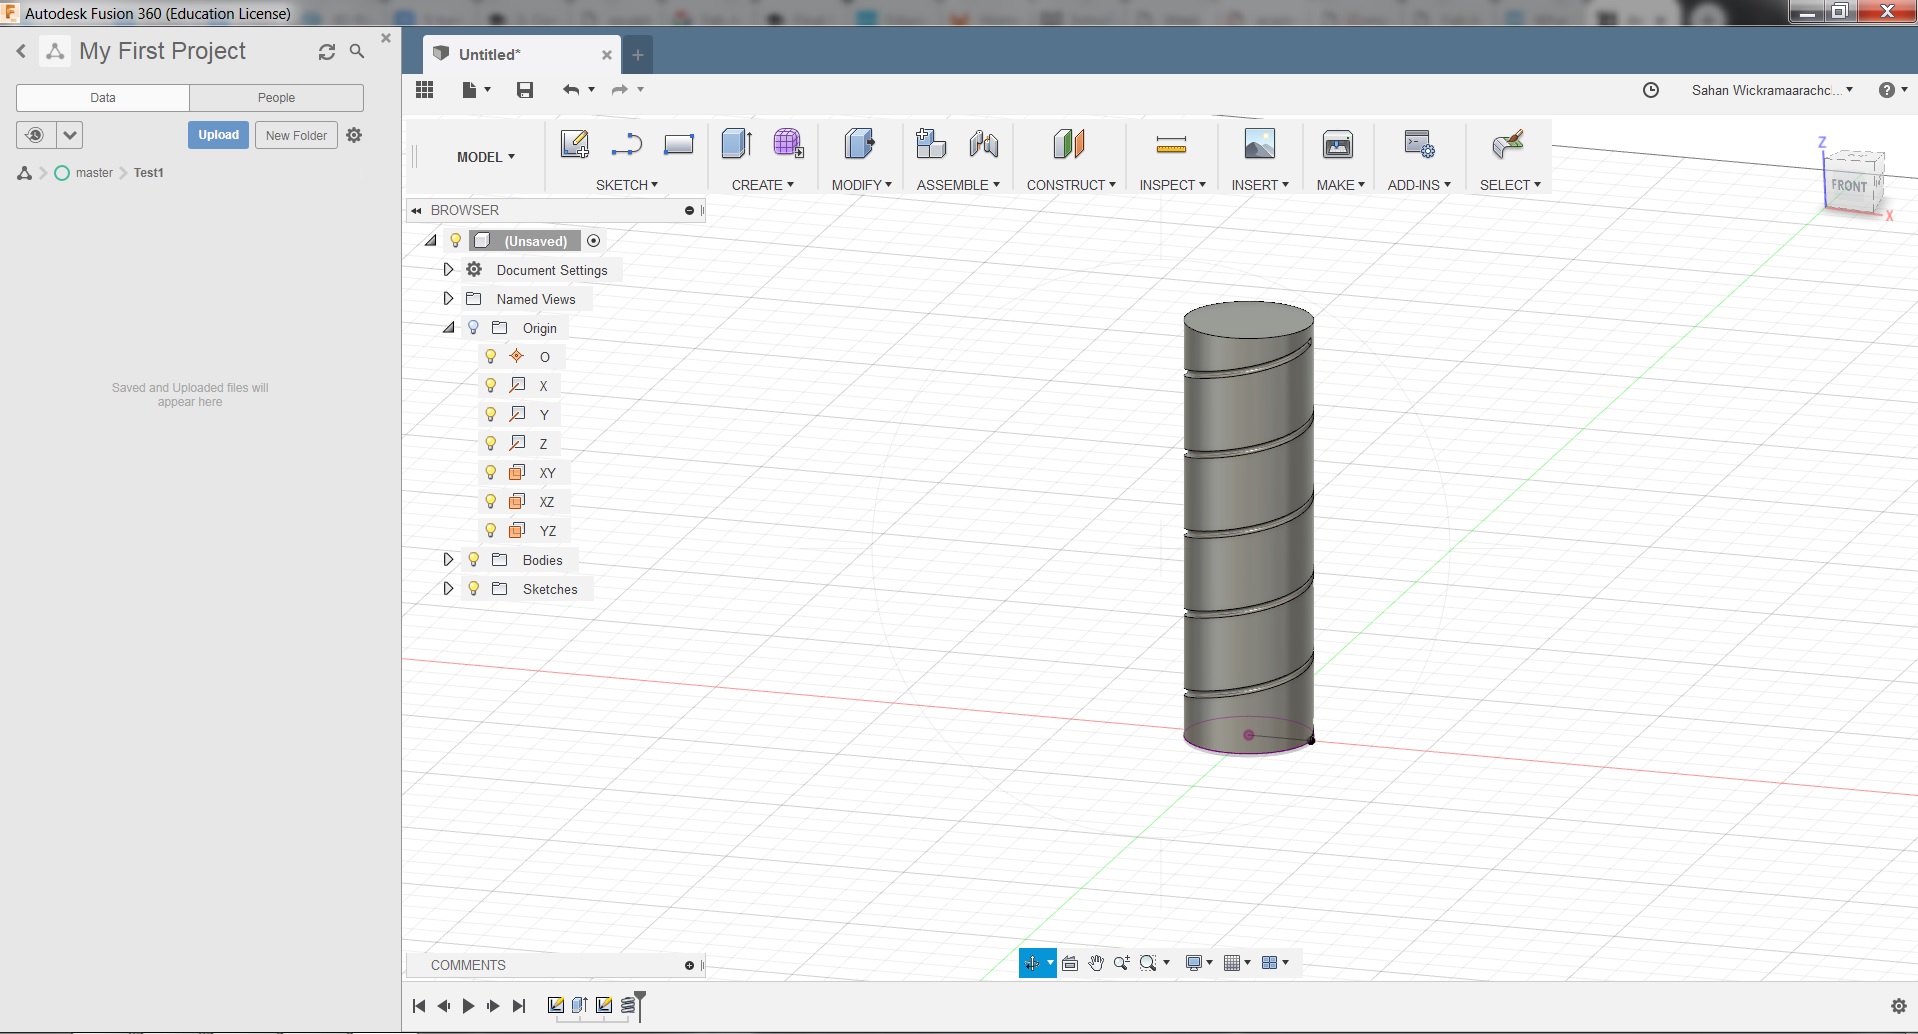
Then a bottom circular plate was made for antenna feed. After that, some support structure was created for the wire.
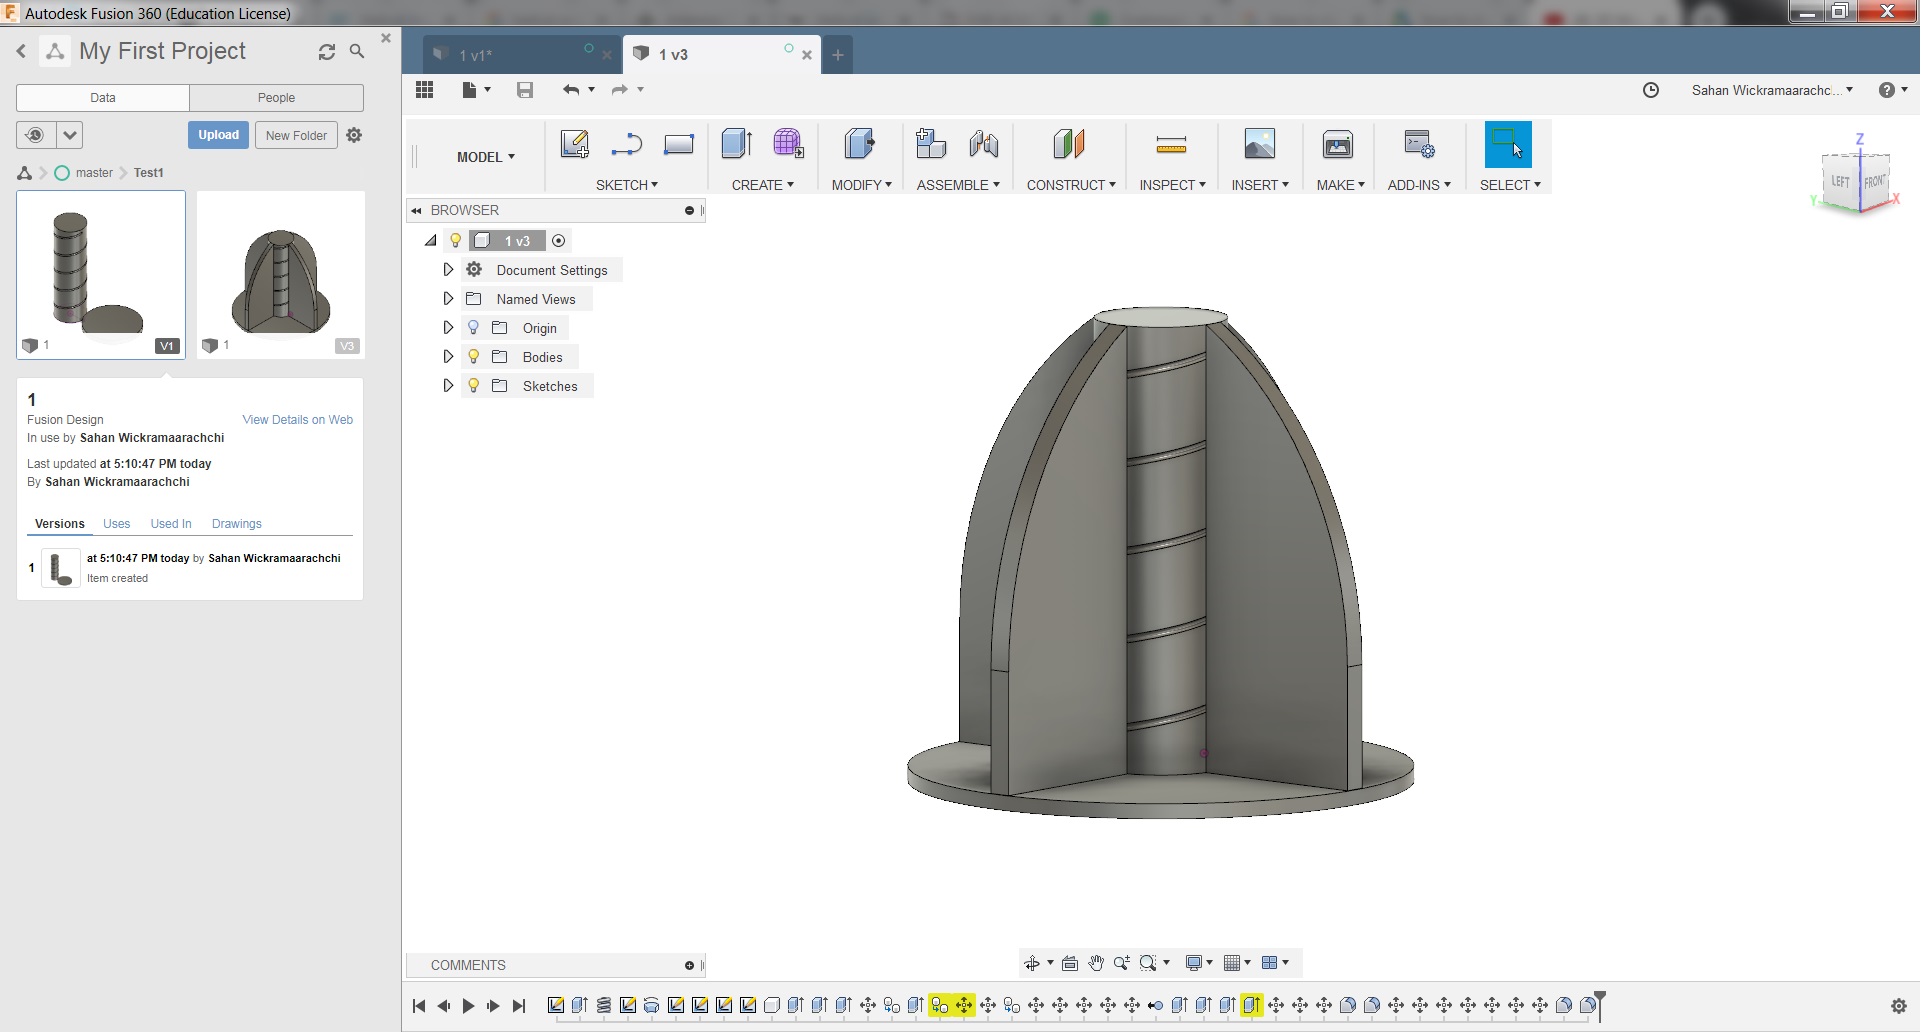
The final design can be seen below.
Models files
SVG file on Inkscape
XCF file on GIMP
PNG file on GIMP
F3D file on fusion 360
STL file on fusion 360