Week 18.Wildcrd week
Sandblasting with Vinyl cutter
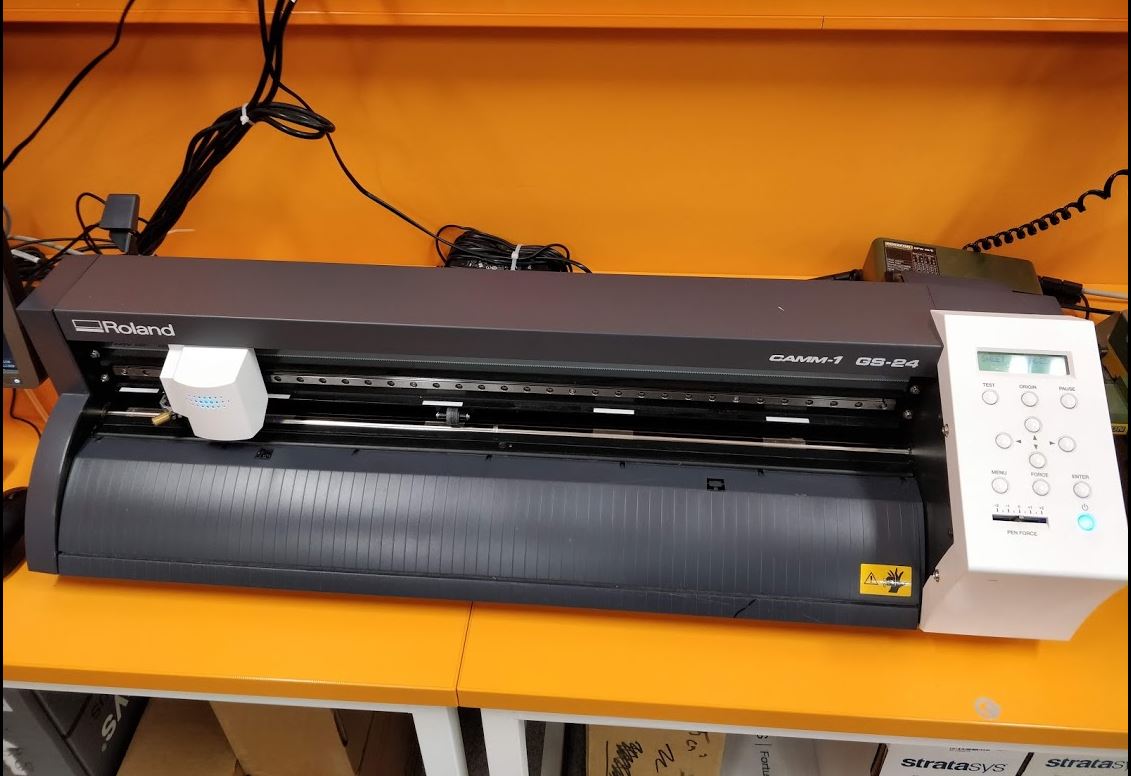
For this week's assignment, I decided to try the Sandblasting process.I'm going to engrave a piece of acrylic using sand blaster. I started with Vinyl cutting a design I selected. The process of Vinyl cutting is described in the computer controlled cutting week. Next, I cut the 3mm acrylic board for the sandblasting. Laser cutting process also described in the computer controlled cutting week.
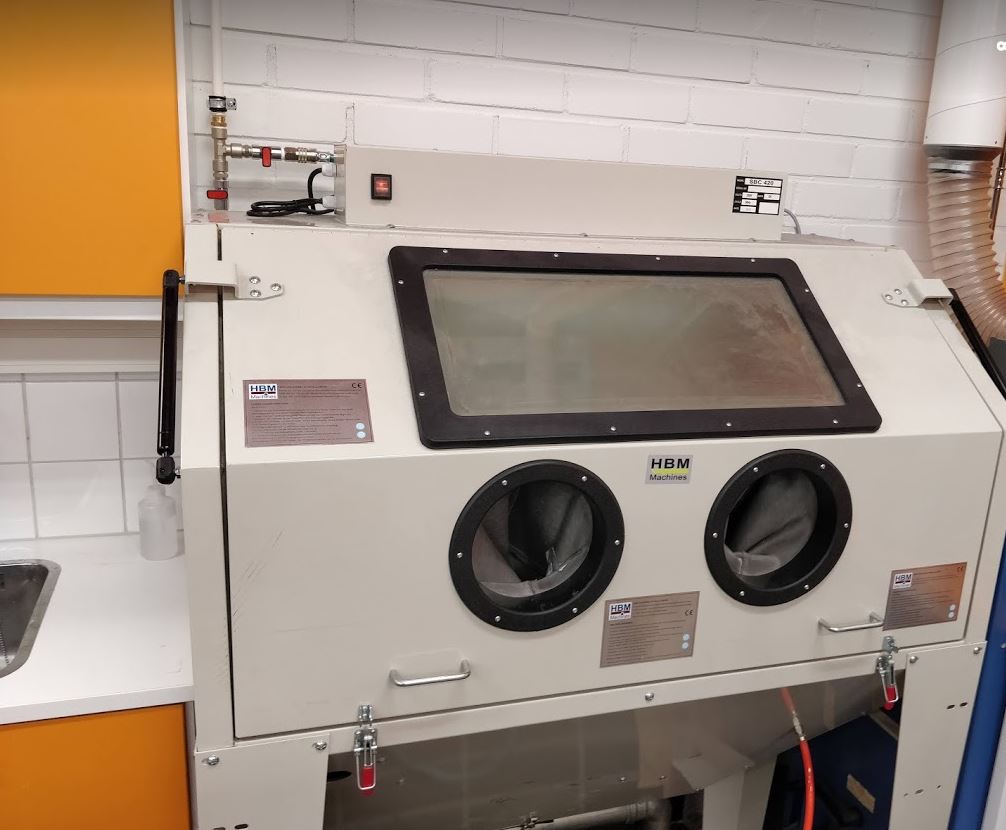
The Sandblasting cabinet available in Fablab oulu is an SBC 420 with attached vacuum system.
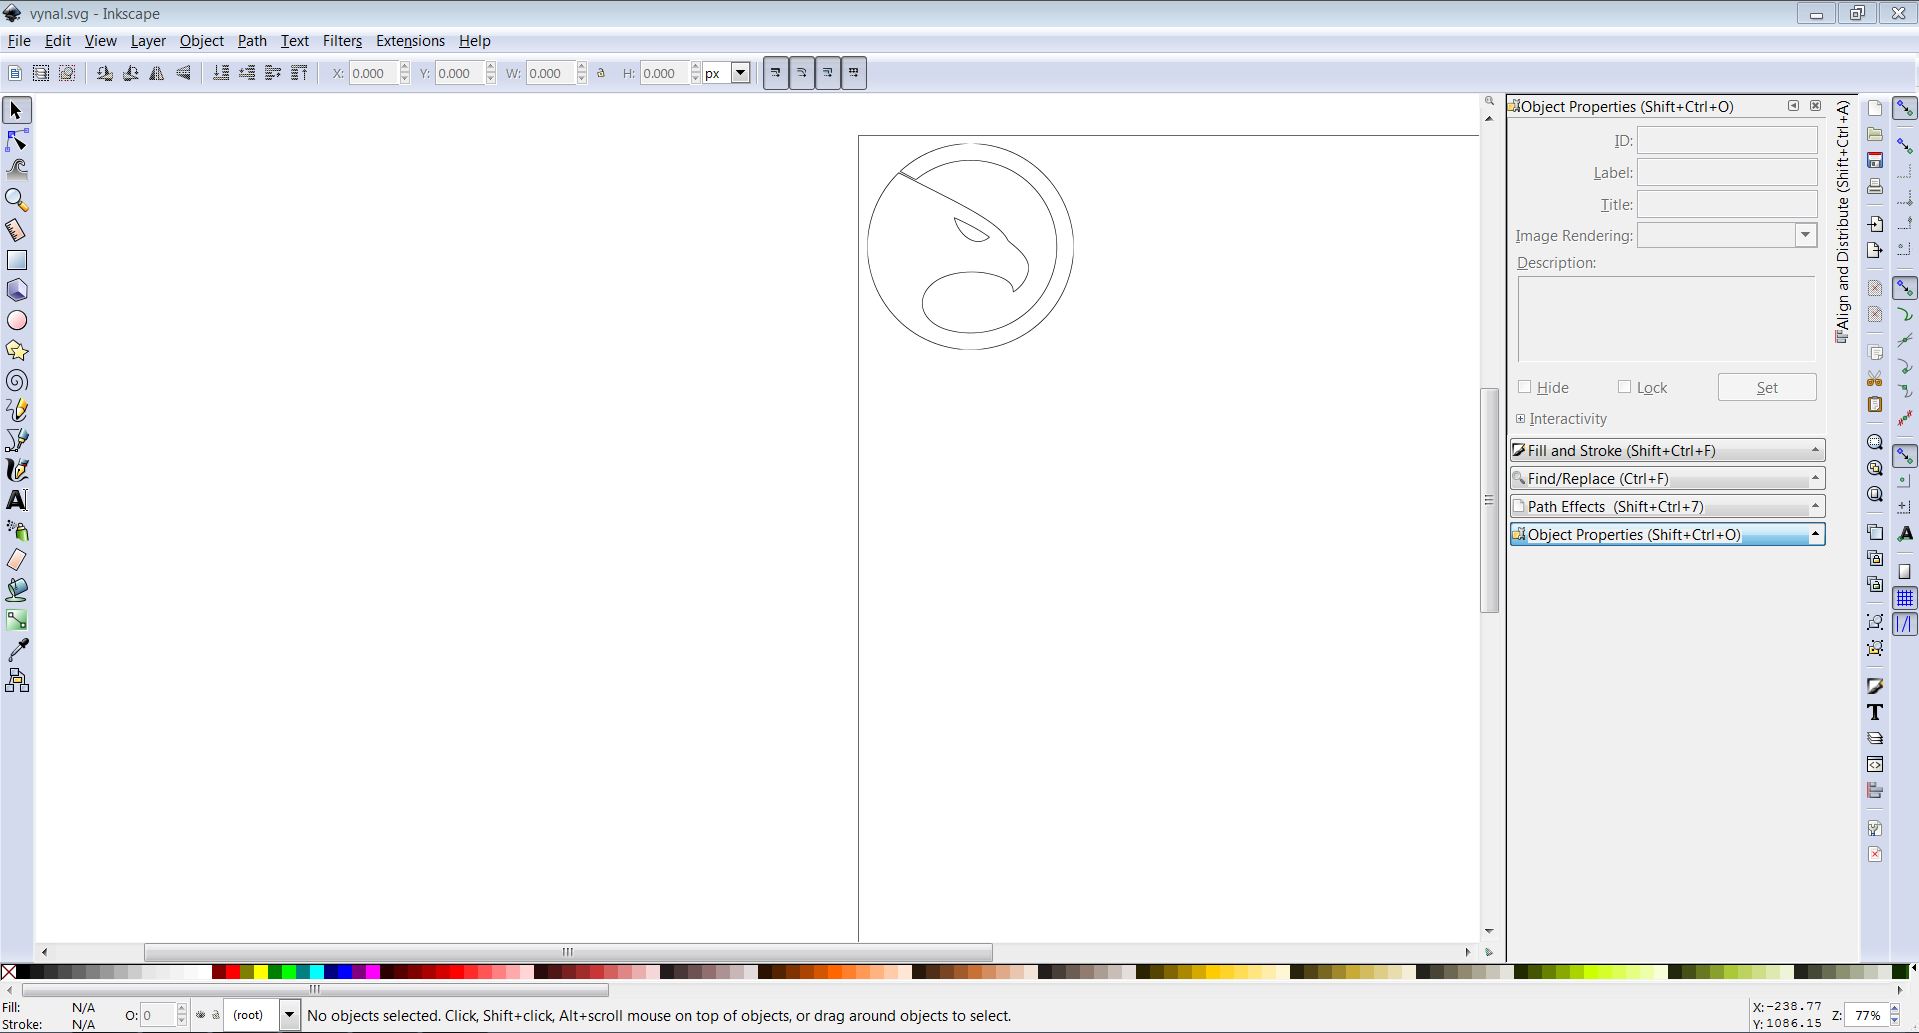
I downloaded a simple picture which I liked and I imported it to the inkscape. Then using tracebitmap I created a copy of the outline of picture before proceeding to cutting process. More about this process can be found on computer controlled cutting week.Then I saved it as a pdf file for printing. I did not do anything more in comparison with the vinyl cutting week.
The Laser cutting process of the acrylic is described in the computer controlled cutting week
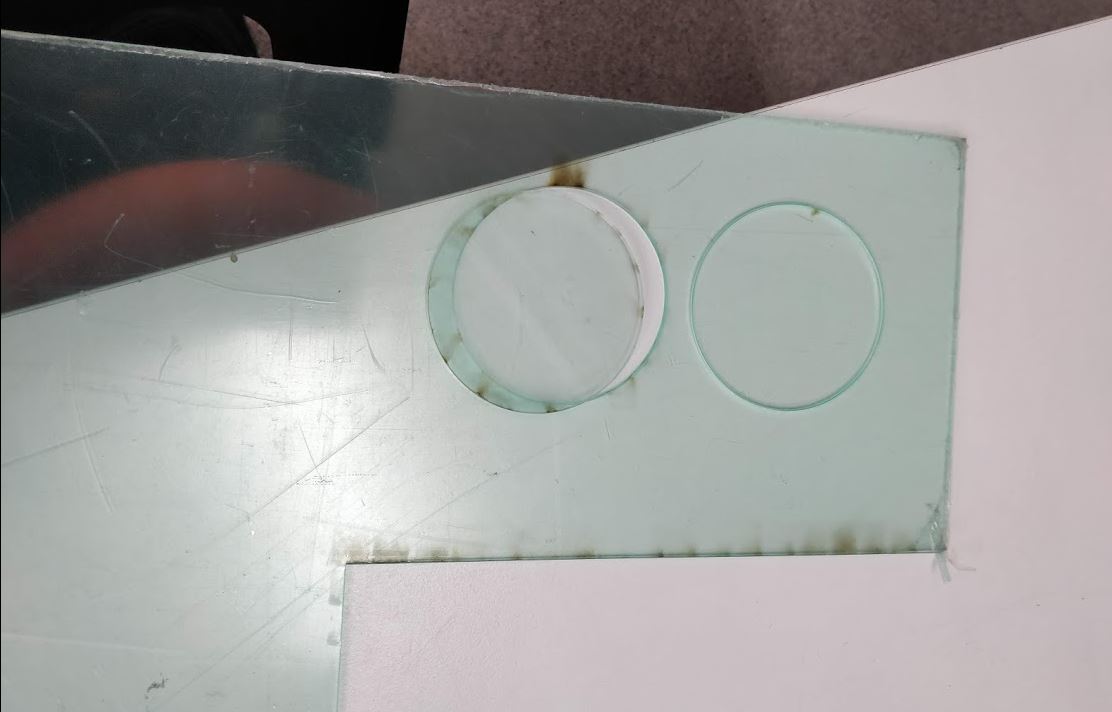
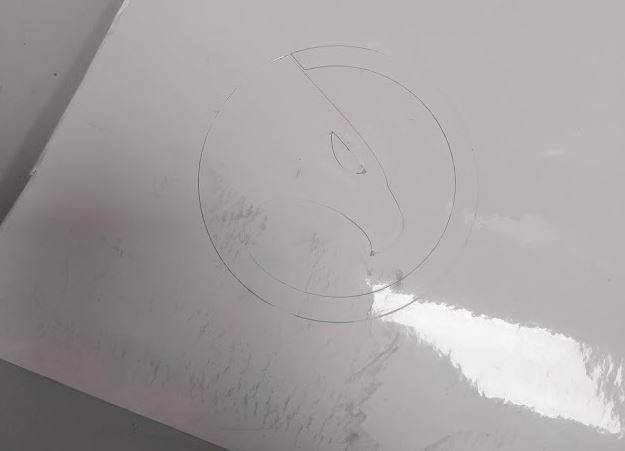
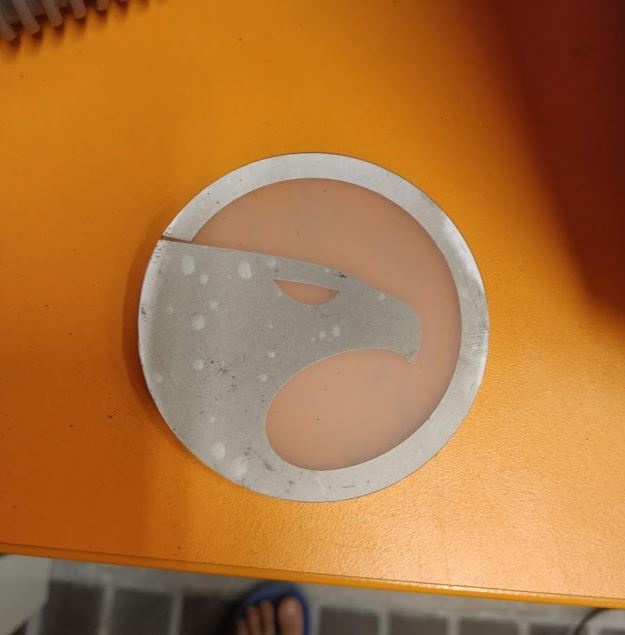
Before the sandblasting, I put the design on the acrylic which I cut from the vinyl cutter.
Next, I inserted the acrylic to the sandblasting machine.
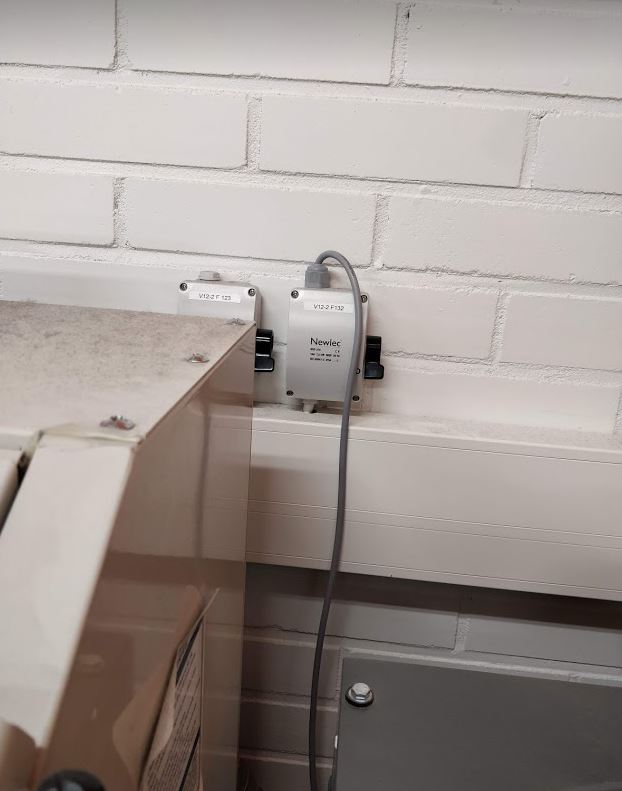
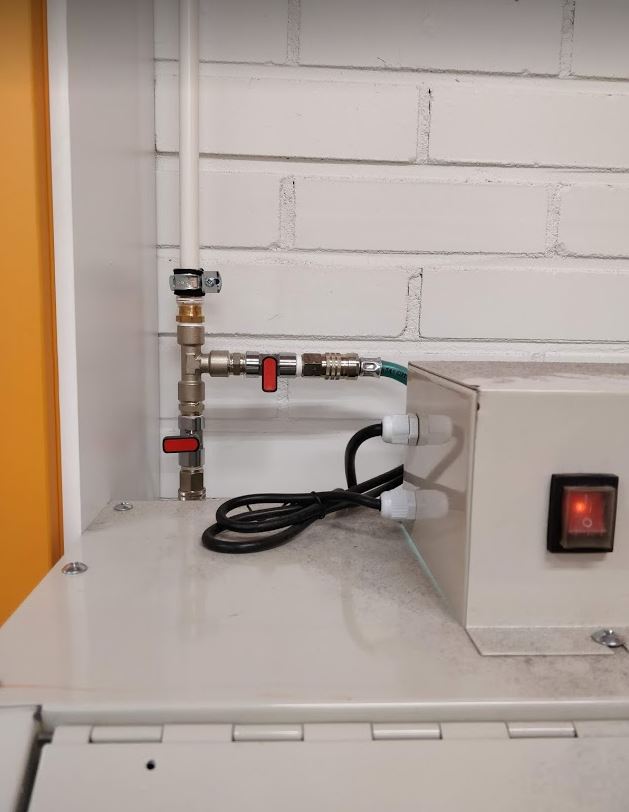
Before we start the process we have to make sure the suction pump is on and the sand is getting in. The following pictures show the pedals which have to be turned on.
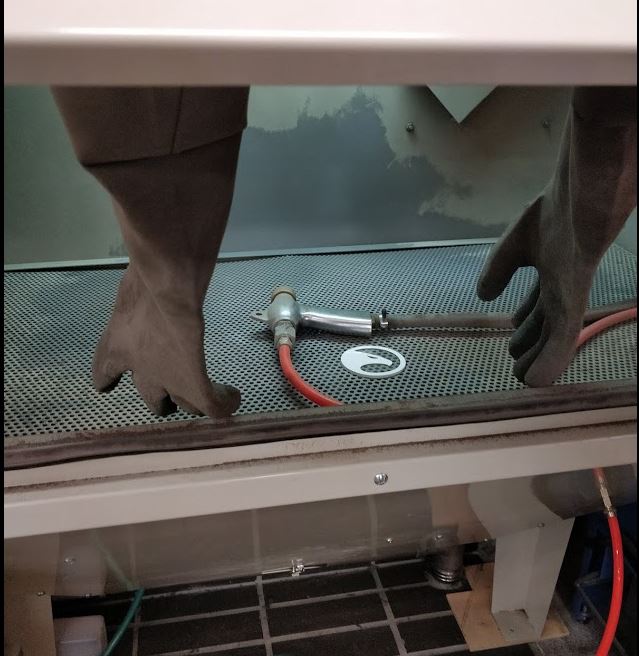
To operate the machine, you first turn on the ventilation switch on the right side of the cabin, open the door, place the item to be sandblasted inside the machine, close the door, turn on the air pressure and press the light switch to be able to see through the glass opening. Then, place hands inside the rubber gloves, take the sandblasting hose, step on the foot pedal gently to release more pressure if needed and blast the surface. How long you do it depends on the material, but it does not take so long. In between blasting, the item should be inspected and blasting repeated if necessary.
Next, I inserted the acrylic to the sandblasting machine.
Next, I inserted the acrylic to the sandblasting machine.
Then we have to hold the object in one hand and keep the hose in the other hand. For better results, it is good to hold the gun as far from the surface as you can because it will make the sandblasting more even as possible.
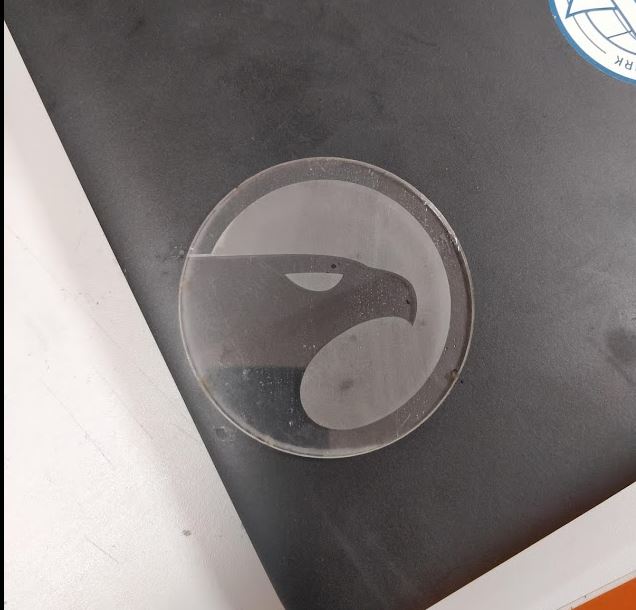
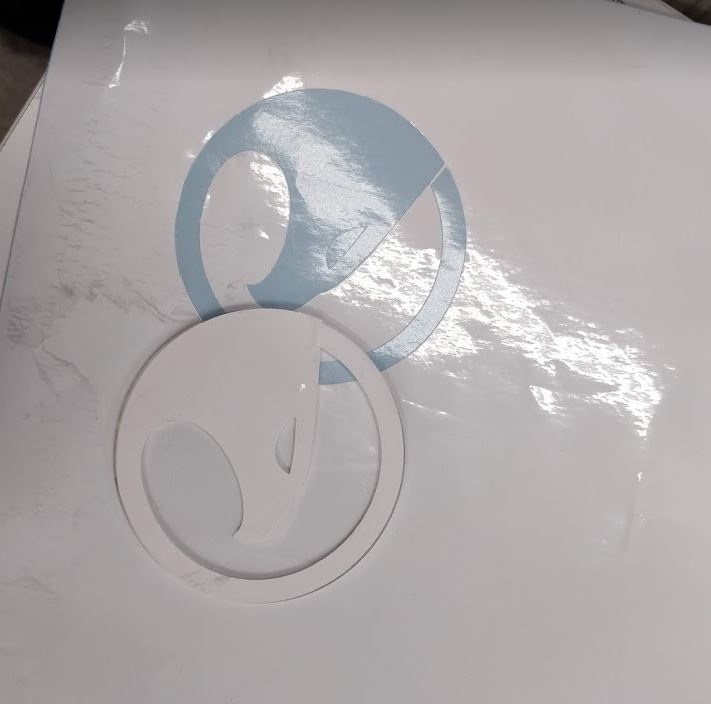
It can be observed that the final product after sandblasting is looking better since I kept the sand hose little bit distance from the acrylic while sandblasting. This helped to get an even surface roughness.
Relative to the other weeks this process was simple and straight forward therefore, I did not have any challenges worth mentioning
Models files
SVG file for Vinyl cutting
PDF file for laser cutting
SVG file for laser cutting