
week 3: computer-controlled cutting
week 4: electronics production
week 5: 3D scanning & printing
week 8: computer-controlled machining
week 13: networking & communications
week 14: interface & application programming
week 15: applications & implications
week 16: mechanical design & machine design
This week we are working with the techniques of molding and casting. The process consists of milling a positive image of what we want to create out of machinable wax, using that to make a negative mold out of urethane rubber, and finally casting the positive object out of (in my case) Hydrostone.
I started with a file I downloaded from Thingiverse, a bust of Carl Sagan. (Next year my classroom is going to be full of things I made in Fab Academy.)
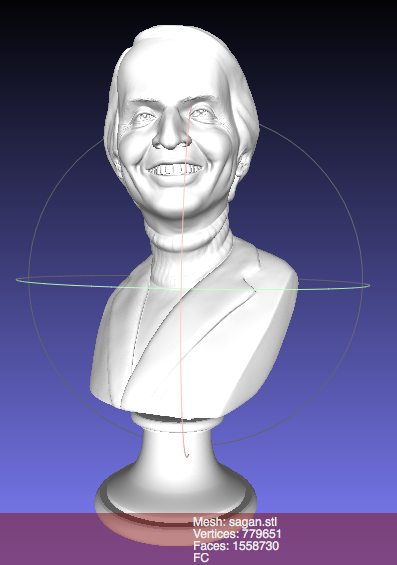
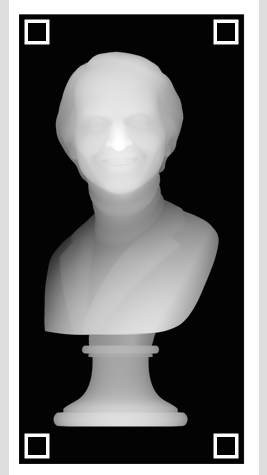
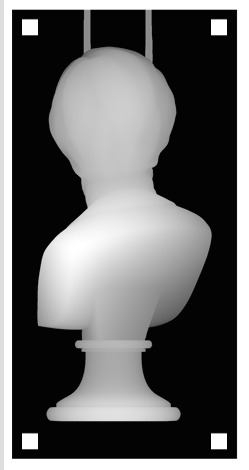
I used the stl_png program to create the grayscale image from the 3D figure, then manipulated it in The GIMP and in Inkscape to make it ready to turn into a mold. In The GIMP, I made the black background around the image a bit bigger, and I added the fill and vent holes just by drawing in gray bars connected to Carl's head. Then in Inkscape, I changed the size of the image so it would fit in the brick of machinable wax, and added keys to each side of the image so it would be easier to fit the mold together correctly. I did these in Inkscape because that let me use the X and Y positioning tools to make it so they'd line up and fit exactly. When I was done the images looked like this (it reminds me of an x-ray):
We'll be using a 1/8" bit on the Modela to carve out the molds, and I'm a little nervous about some of the fine detail in Carl's face. As a backup, I used the same process to make the png files for a simple moebius shape.
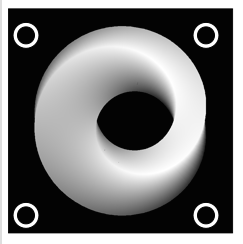

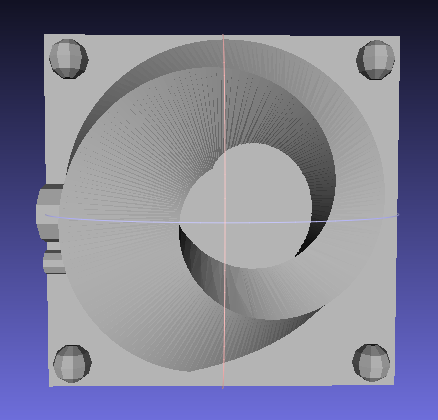
Another way to create the files for milling is to add the fill holes and keys directly to the stl file before converting it to a png. I decided to try this with the moebius shape, because this would provide the very best guarantee that the keys would be placed correctly. I used OpenSCAD, importing the stl file then adding a flat background, four spherical keys, and cylinders for the fill and vent holes. I then exported it as a new stl file:
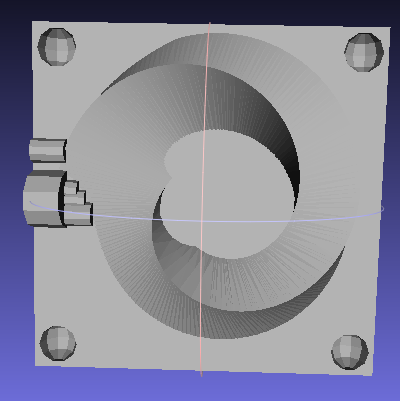
To get a separate stl file for the back of the image, I altered the OpenSCAD file by moving the flat background to expose the other half of the moebius shape and using the difference function to make the keys be indented spheres. I also had to modify the fill hole a little bit. The finished stl file looked like this:
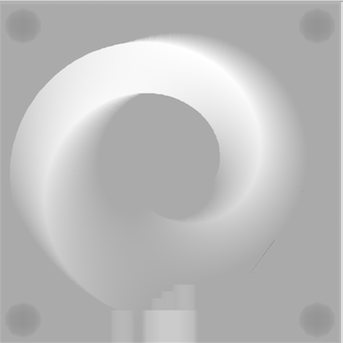
Then I just used the stl_png program to create the png files, without having to modify them in any 2D design software.

I was a little nervous about milling, because there's no way to arrange the moebius so that there are no overhangs (the edge changes its slope continuously). I tried to place the parting line as carefully as possible, but the sides of my finished piece may still be a little wonky.
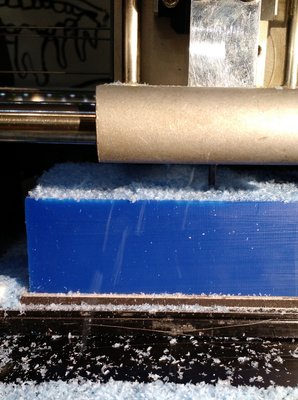
As it turned out, when I started milling I had a completely different problem. In order to make a 2-part mold, I had specified the top height when cutting to be -10mm, so that the negative mold would be able to be filled later. But when I started milling, the machine tried to do the entire -10mm cut on the first pass and slowed to a stop (it made a terrible noise, too). There were two possible fixes: either make a file that was a square the same size as the png, completely black, and mill that first to a depth of 10mm, or set the top height to 0mm and put some "walls" around the square when filling the wax mold with urethane. I decided to do it the second way, because it would save a bit of time milling.
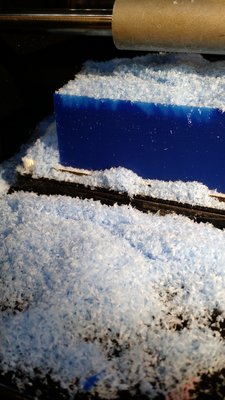
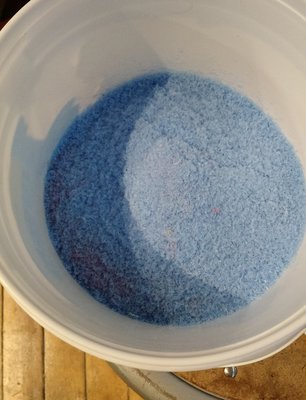
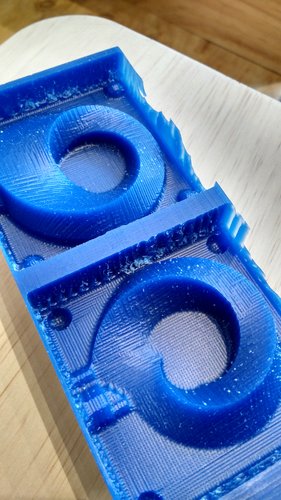
Once that problem was fixed, the milling went smoothly. The rough cut took about an hour and generated a surprising amount of wax, which was saved to be remelted. The rough cut looked really cool; I was almost tempted to leave it like that.

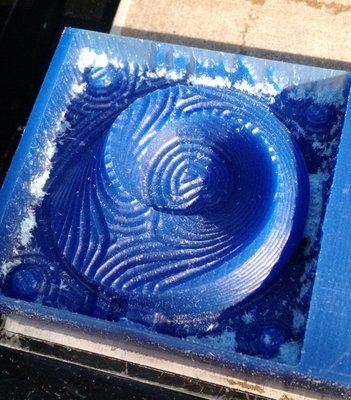
The first finish cut ran with an overlay of 0.5, and the lines were really obvious. I ran it a second time with an overlay of 0.7, for better resolution.

The surface of the finished wax mold is still a little textured, but I'm happy with it.
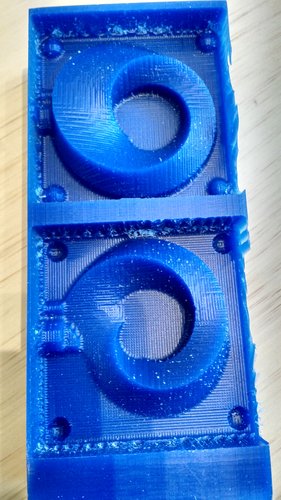
The tops of the moebius shapes were still even with the top of the wax block, and I had made my shape almost too big, where the side of the block kept breaking, so I built a raised edge around it before pouring the urethane.
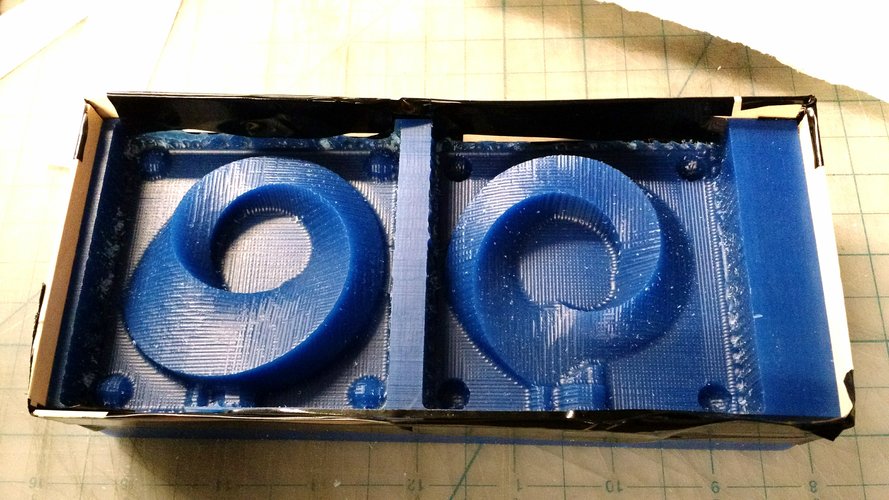
I carefully mixed the urethane, poured it in, and let it cure in the convection oven. This is where I had another small hiccup - my "walls" were not as sturdy as they could have been and the urethane leaked. As it cured, though, the leak plugged the hole, so remembering that "like sticks to like" I added a little bit more urethane and hoped for the best.
The urethane that I used was the "wet" type, with a lubricant incorporated. This meant that the finished mold was, well, kind of gross. It was sticky and greasy and the two layers (from where I had topped it off after it leaked) were noticeably different. I don't think this is because I mixed the urethane any differently, but because the second time I didn't cure it in the convection oven, but at room temperature overnight.
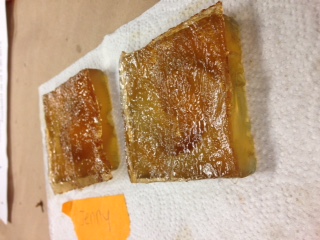
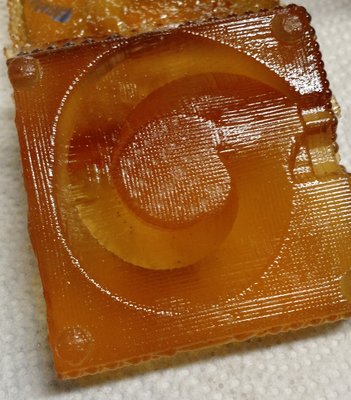
Despite the slightly messy mold, I used it to cast the moebius in Hydrostone. It came out a bit rough:
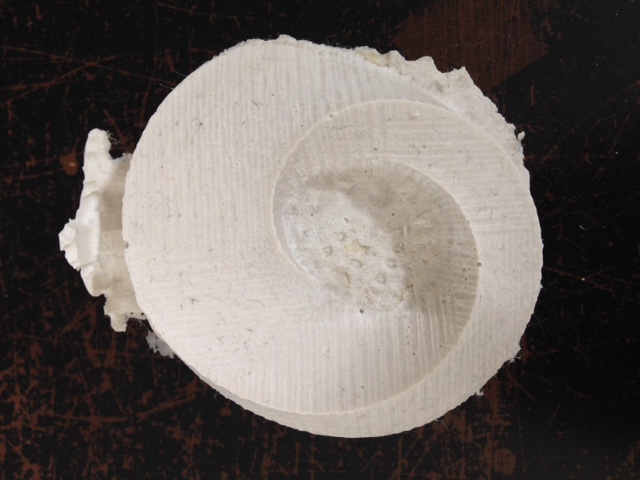
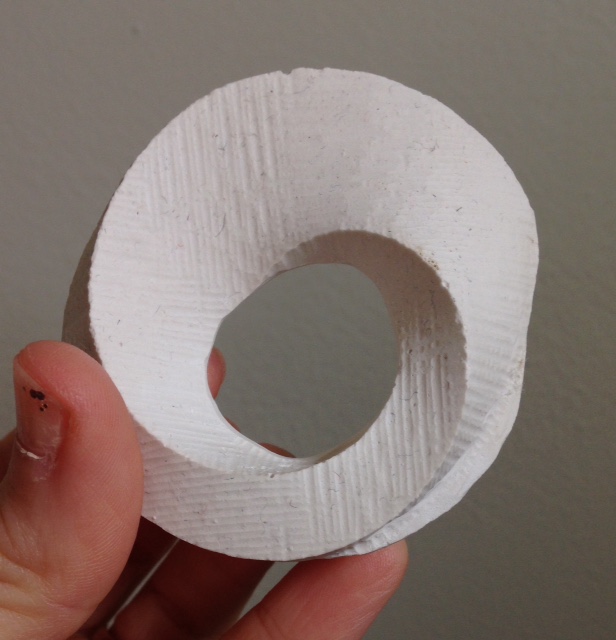
I first sanded off parts like the fill hole, and where the center had ended up filled in, then gave the whole piece a final sanding.
Jenny Kostka Fab Academy 2015
