
week 3: computer-controlled cutting
week 4: electronics production
week 5: 3D scanning & printing
week 8: computer-controlled machining
week 13: networking & communications
week 14: interface & application programming
week 15: applications & implications
week 16: mechanical design & machine design
This week we're making composites, materials that consist of fibers in a solid matrix. As an avid knitter, when I hear "fiber" I think of knitting and wool, so I'd like to experiment with using that as the fiber part of my composite. If it goes well, I could possibly make the backing of my final project out of composite, which might be a cool alternative to MDF.
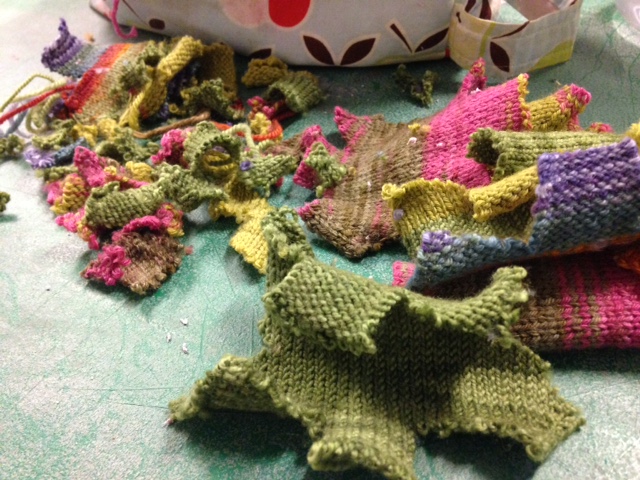
As a test piece, I plan to make a small hexagon. This is because I already have a bunch of brightly colored hexagons that I've knit. (They're intended for a quilt someday, but I can spare a few.)
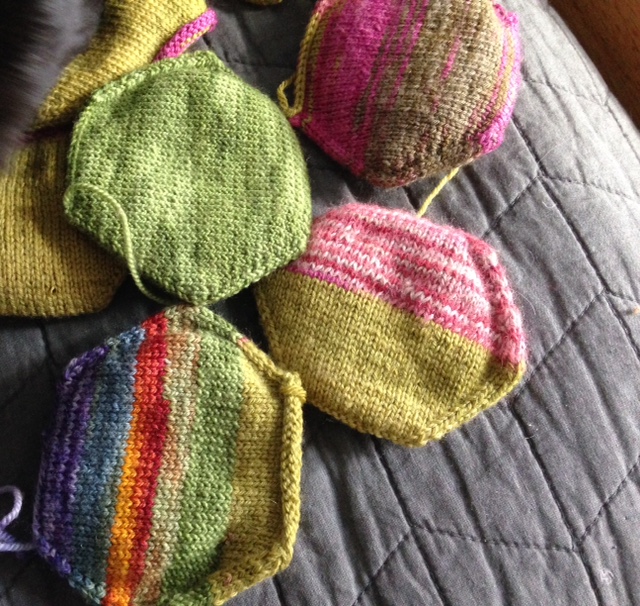
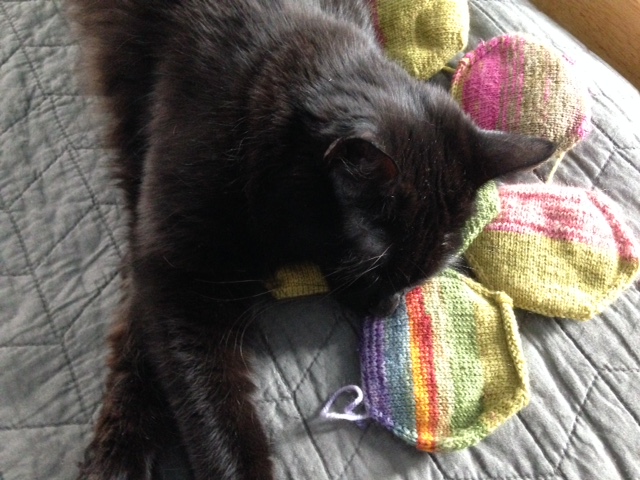
The first challenge this week was photographing the knitting; I kept getting photobombed by my cat.
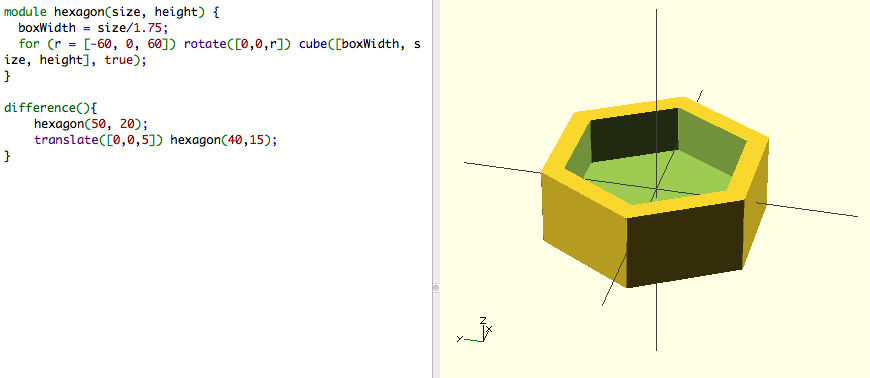
In OpenSCAD, I created a model to use for the test piece, a small hexagonal bowl (so the piece might still be something useful).
I then redid the design as a two-part mold, and since it was small enough to make on the Modela, grayscale png files.
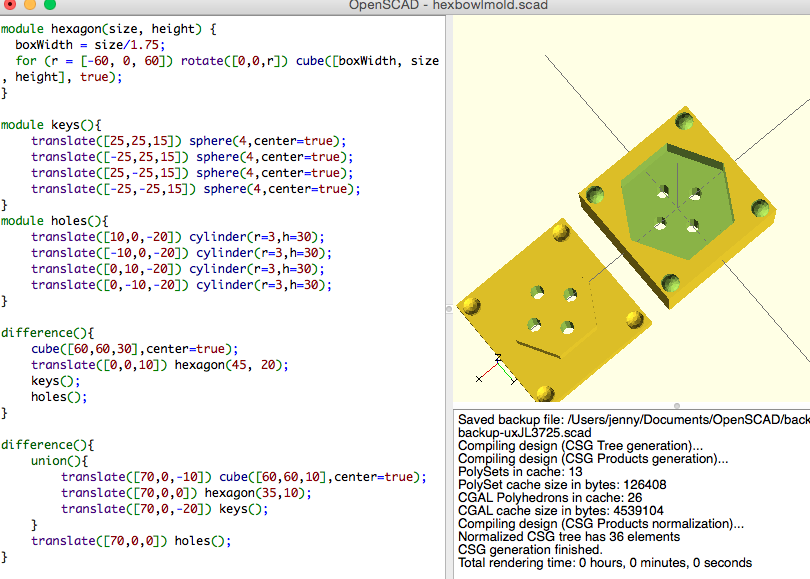
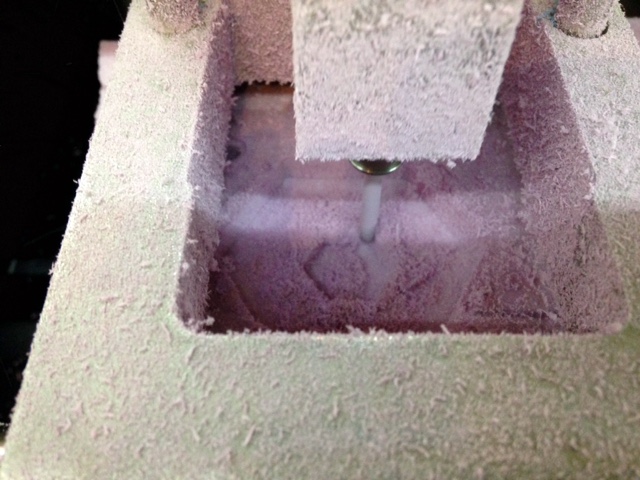
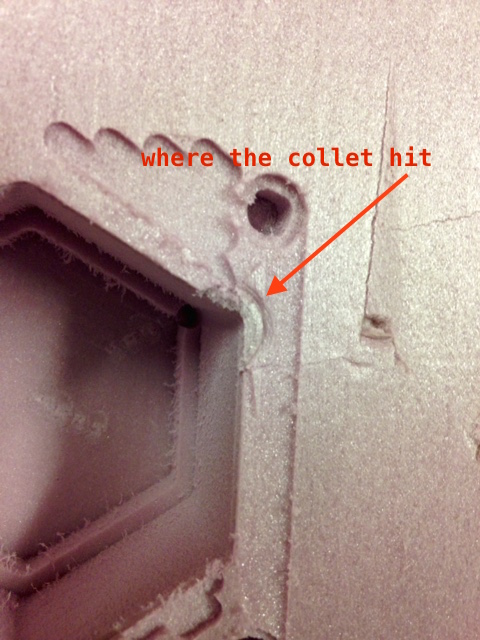
I started milling the design out of foam, but I ran into some trouble. The problem was the height of the foam in relation to the length of the bit - on the deepest pass along the inside of the hexagon, the collet hit the edge.
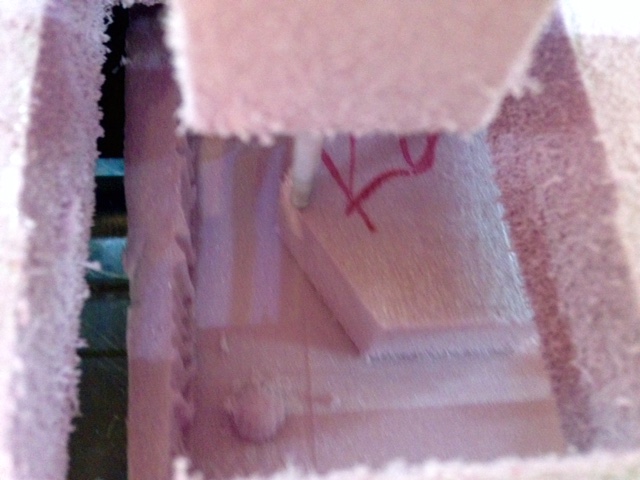
So I redesigned the bowl to make it a little shallower and removed the holes that I had put in for epoxy overflow (I'll drill those by hand later). This made it possible to make the mold on the Modela without a problem.

I then used the mold as a template to figure out how to cut the darts on the knitted hexagons, to get them to fit nicely without wrinkling or overlapping. Knit fabric is a lot more flexible than woven fabric, though I'm not sure if this makes it more forgiving or more difficult to cut...
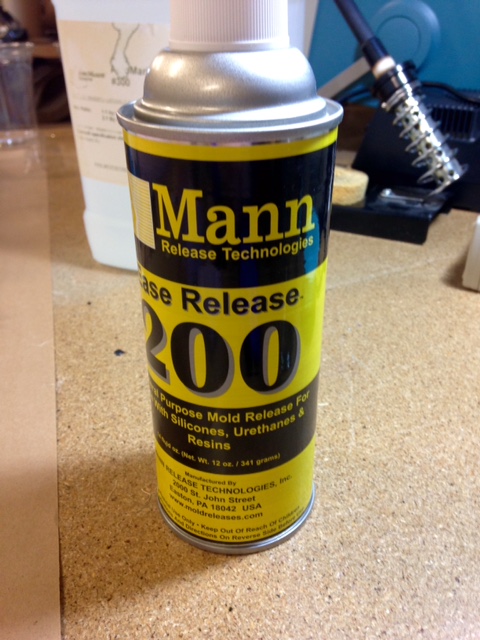
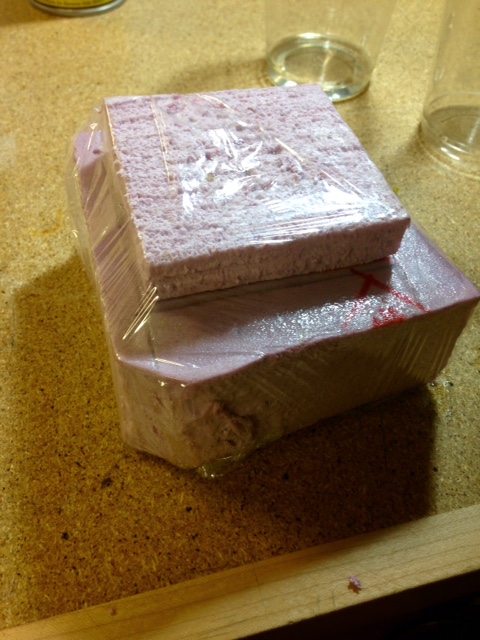
I sprayed the foam mold with mold release spray, then mixed the epoxy.
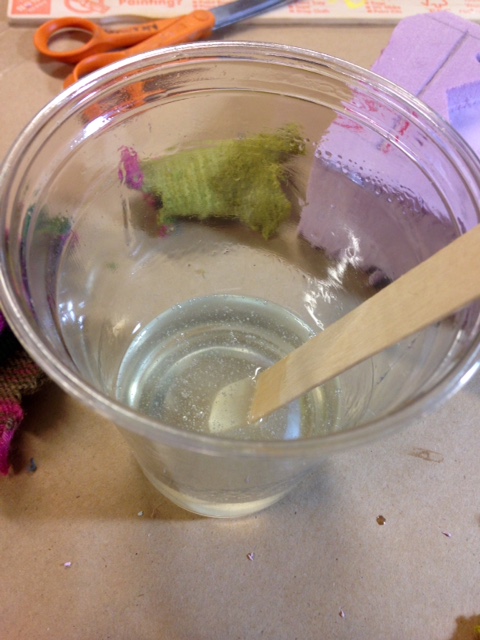
I was a little disappointed when I started spreading the epoxy on the knit pieces. The color got very dark as the wool absorbed the epoxy, which sort of defeats the purpose of using the brightly colored pieces in the first place. I was hopeful that it wouldn't be quite as dark when it was dry.
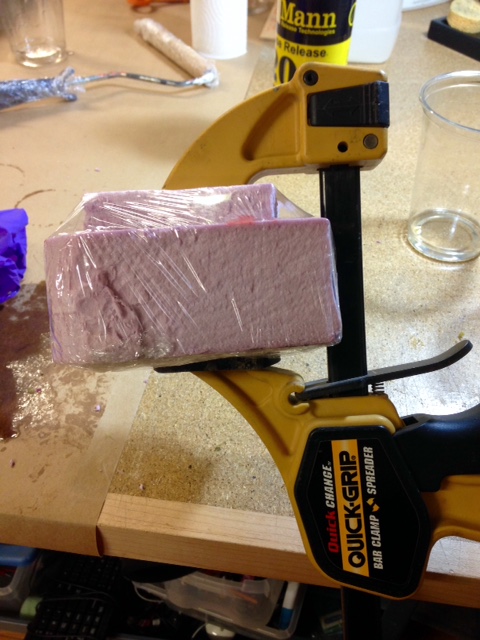
I cut enough pieces for seven plies, but the knitting was so dense I only ended up using four. Once they were laid in place I put the other half of the mold on top and wrapped the whole thing in cling wrap, to catch leaking epoxy. Then I added pressure with a clamp.
After curing, the piece came out of the mold with quite a bit of difficulty. I think the lesson there is that I should have used a different mold release, or used some of the cling film in addition to the mold release.
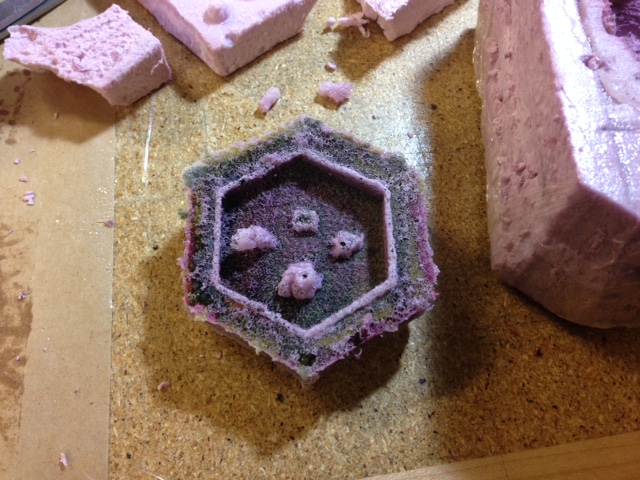
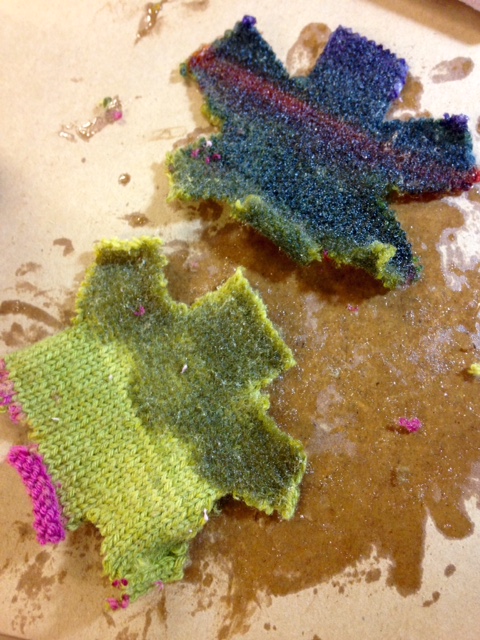
The piece did look a lot better after sanding, if for no other reason than the purple foam residue and the lumps of epoxy were removed. It's still a little messy - I think some of the dye from the yarn soaked into the epoxy, because the residue from sanding was also purple, pink, green, etc. (contributing to the messiness).
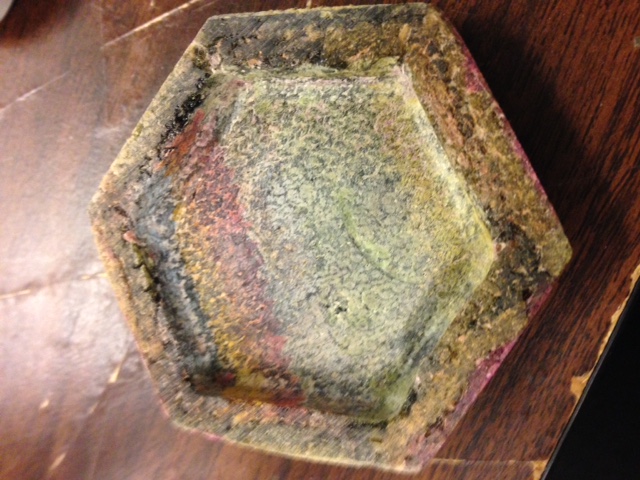
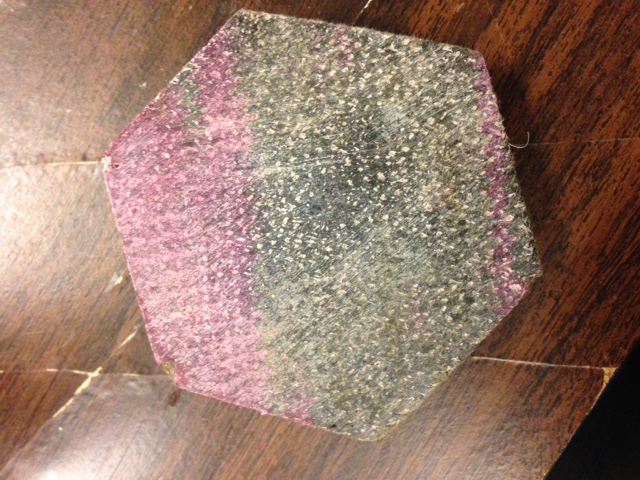
What can't be seen in the pictures, though, is how cool the texture of the piece came out. It's really dense, because of how absorbent the wool is, and it feels sort of papery, almost soft. What I still need to decide is whether or not I'll add another layer of epoxy. This will probably make it look nicer, but I might lose the soft-ish feel.
Jenny Kostka Fab Academy 2015
