
week 3: computer-controlled cutting
week 4: electronics production
week 5: 3D scanning & printing
week 8: computer-controlled machining
week 13: networking & communications
week 14: interface & application programming
week 15: applications & implications
week 16: mechanical design & machine design
This week's assignment is to "make something big". I thought about using the assignment to make the base for my final project, but in the end I decided it's too simple. I would rather make something that would give me the opportunity to play with joints and living hinges and assembling parts, plus I've been using a metal lab stool as my chair in my classroom for five years, and it's time for something better.
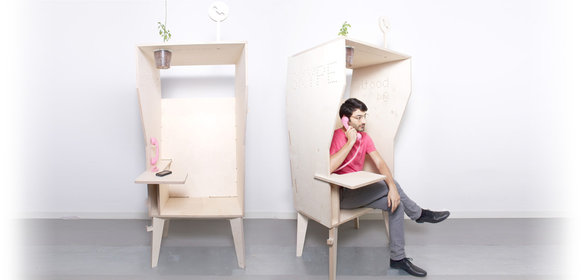
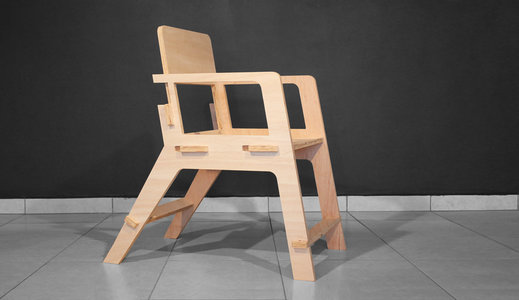
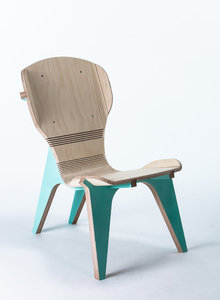
Looking at OpenDesk for chair designs, I found a lot to inspire me. In particular, I liked the Kuka Chair, the Wiki Booth, and the kerFchair, though none of them had all the features I would like. In particular, I wanted to add a desk that can attach to one armrest and fold over the top via a living hinge, resting on the other armrest. I also needed to make it taller, because my work computer sits at a workstation that's higher than a traditional desk (hence the lab stool).
My initial sketch was heavily based on the Kuka Chair, with the fold-over desk.
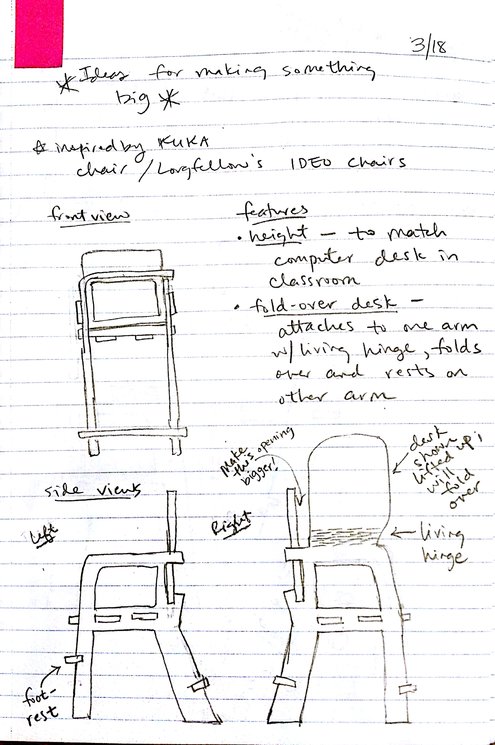
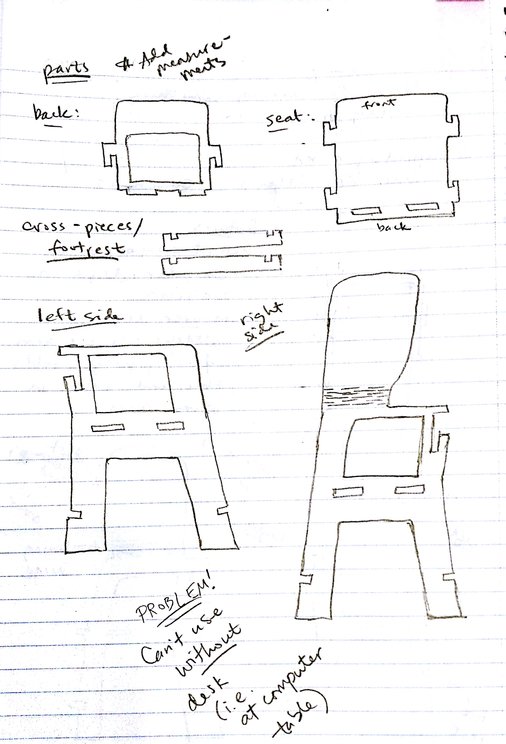
I saw a few problems with this design right away. First of all, I had drawn the desk too close to the back of the chair, so I wouldn't be able to actually sit behind it. While that could be fixed pretty easily, what couldn't be fixed as easily would be the fact that the chair wouldn't be able to be used without the fold-over desk. This would make it much less useful in the classroom, at the computer's workstation.
So, drawing more from the Wiki Booth and its removable desk, I sketched a new design.
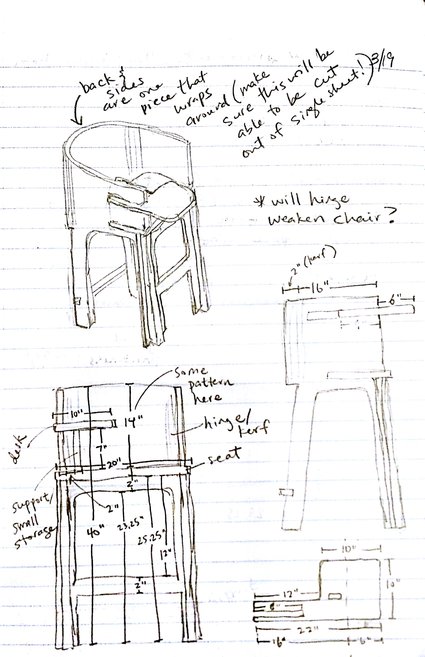
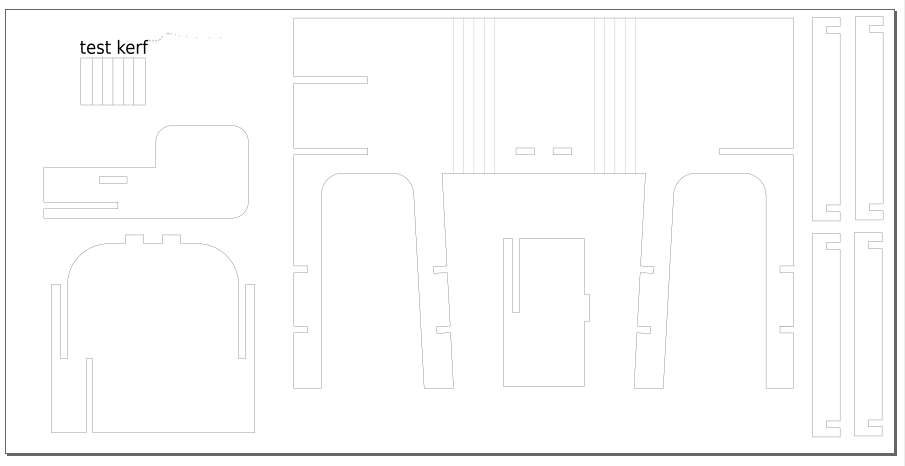
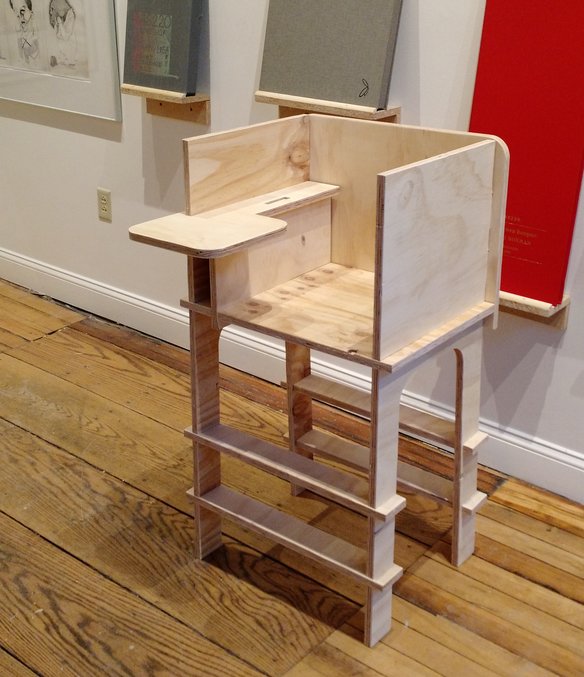
This design has the entire back and sides of the chair combined into one piece that uses kerfs to bend into a U-shape. Then the seat, desk, and supports on the legs would be slotted in. This design was the one I modeled in Inkscape.
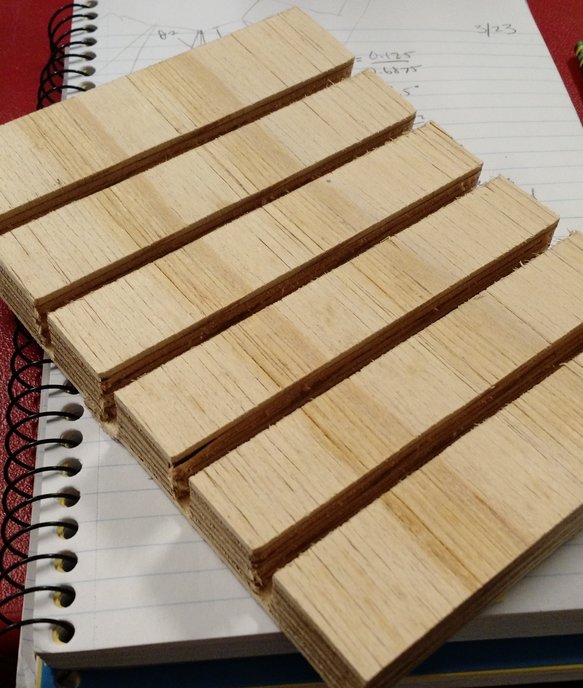
The part of the design I was most unsure about was the kerf to bend the body of the chair into a U shape. I first did some calculations to figure out how many cuts I would need to bend around a 90 degree angle in a span of 7 inches.
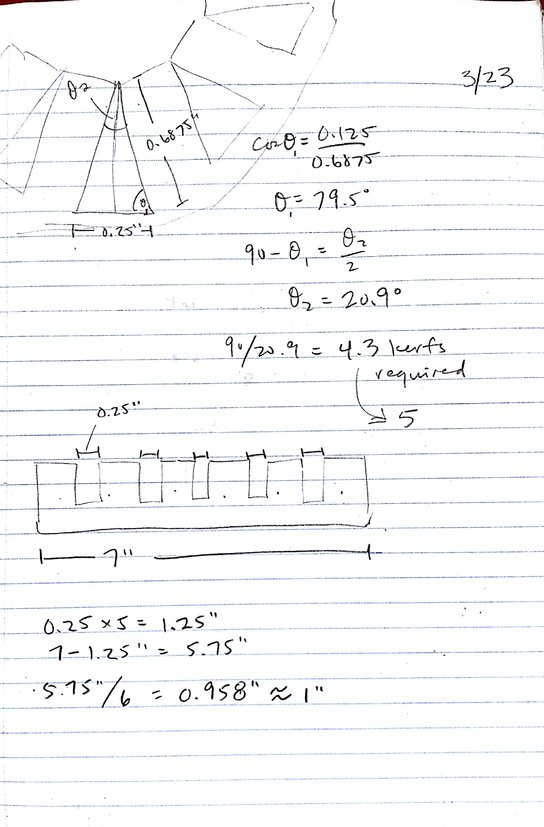
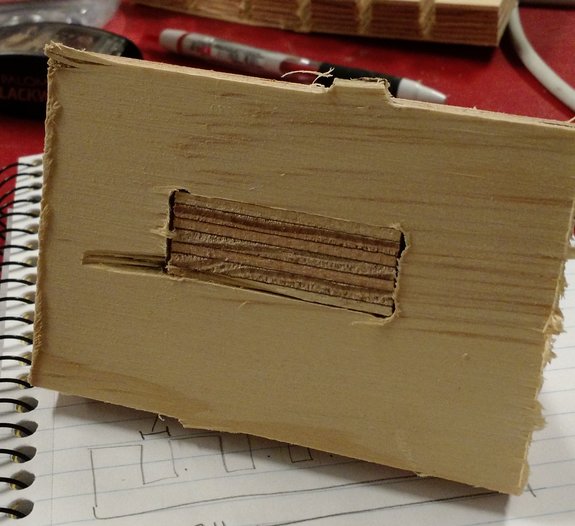
I used those calculations to do a test cut, and while I was cutting, I tested a joint as well.
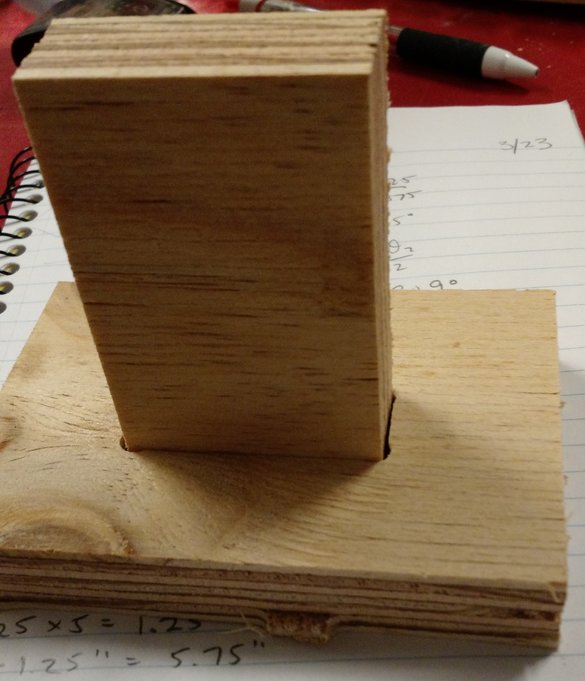
The test cut of the joint was really successful; the fit was tight but not too hard to put together.
The test cut for the kerf was less successful; it broke when I tried to bend it.
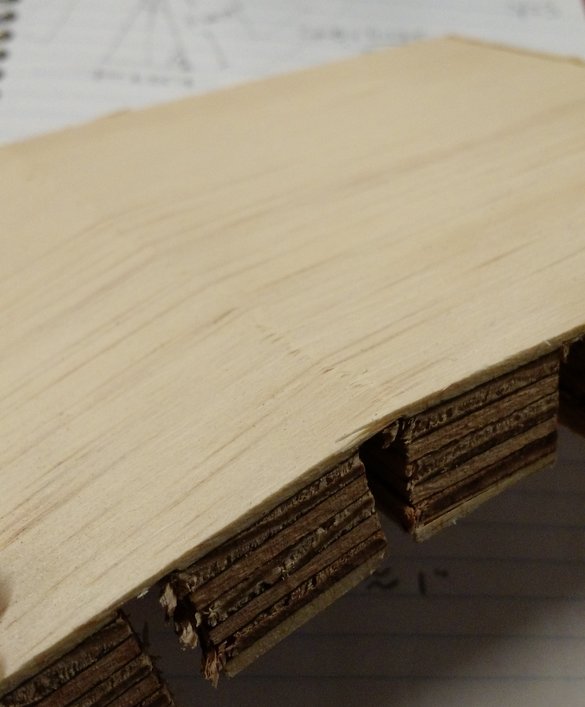
The problem turned out to be the direction of the grain on the plywood. Unfortunately, the single piece comprising the chair's back and sides was too long to be rotated and still fit on the sheet of plywood. So my choices were to get a new sheet of plywood with the grain running the other way (not really an option within the timeframe), figure out a different way to do the kerfing (such as adding a fabric backing or something like that) or to redesign the chair in pieces. With a little bit of a heavy heart, I chose to redesign. I would definitely love to revisit the idea of the one-piece curved structure in the future, though.

The rest of the project was time-consuming, but went really smoothly. I set up the file and created the toolpaths on VCarve, cut out all the pieces using a 1/4" downcut bit, sanded off all the tabs and rough edges, and assembled the chair.
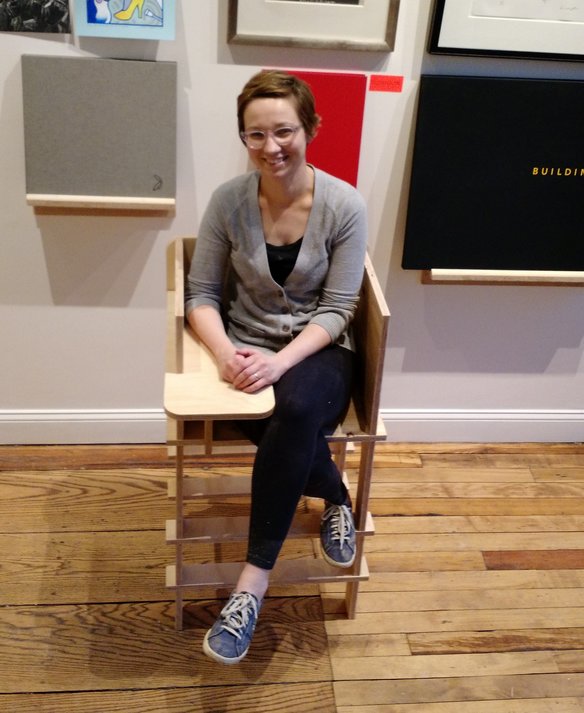
Proof that it is functional:
I'm happy with the end result, but given more time, I would make some changes.
First of all, I didn't change the back and sides much when I broke them up into separate pieces. I should have given them more shape, cutouts, etc. once they were no longer a single curved piece.
Secondly, I thought I had made sure to add dogbones to all the parts that would press-fit together, but I missed the bases of the tabs. So I would fix that and make the chair fit together more snugly.
Lastly - and this I plan to atually do on the chair I made - it needs a cushion of some sort on the seat. This is especially true because there is an unfortunately-placed knot in the plywood, right at the front edge of the seat, that will definitely cause problems with use unless it's covered.
Next stop: my classroom!
Jenny Kostka Fab Academy 2015
