week 3: computer-controlled cutting
week 4: electronics production
week 5: 3D scanning & printing
week 8: computer-controlled machining
week 13: networking & communications
week 14: interface & application programming
week 15: applications & implications
week 16: mechanical design & machine design
My goal for this week was to model my project at least once in both 2D and 3D.
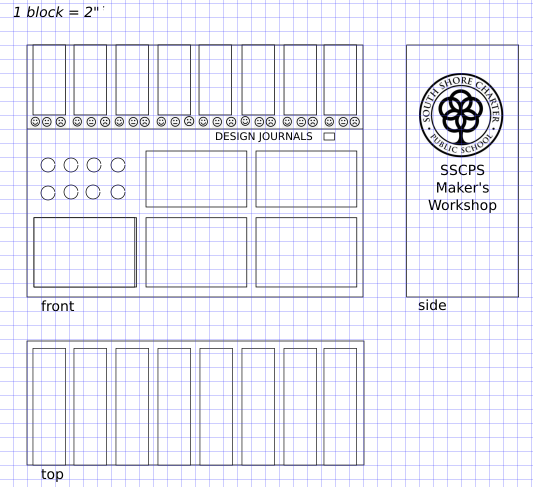
The first tool I used was Inkscape, for 2D modeling. I decided to do an orthographic view of the top, side, and front of the shelving unit. I found Inkscape to be pretty intuitive to use all the features I did, namely drawing shapes and lines, adding text and imported images, grouping, and resizing/moving parts. I also liked that I could use the grid to include scale, and that I could use x and y coordinates to change dimensions and positions precisely.
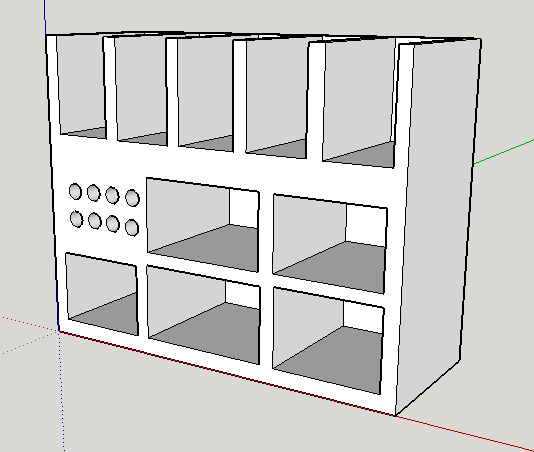
For 3D modeling, I first tried Sketchup. While I managed to get a rough overview of the shelving unit, I found Sketchup difficult to use for getting details. This meant I could include the shelves and cubbies, and I could make the entire unit the correct size, I had a hard time putting in the smaller details and labeling.
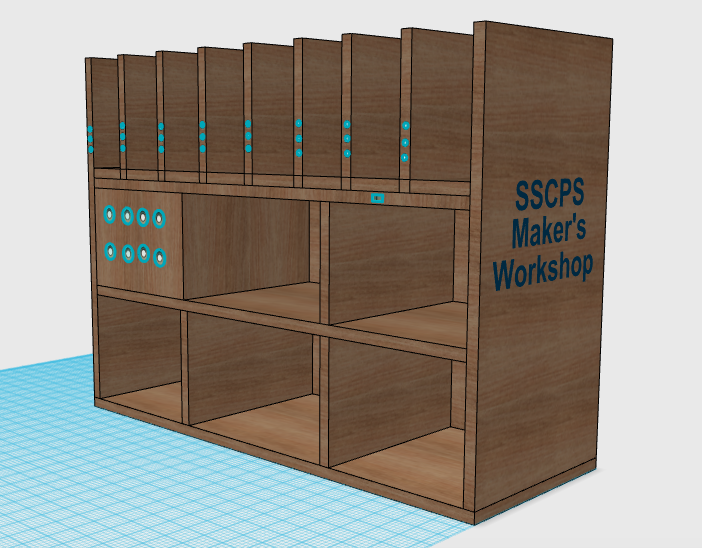
The other 3D modeling tool I tried was 123D Design. As with Sketchup, it was much easier to complete the overall shape of the shelving unit than it was to get the small details. I was able to put the "SSCPS Maker's Workshop" text on the side and the buttons on each cubby but I could not put the SSCPS logo or change the buttons' color. For the logo, I converted the jpg file I had to an svg file, which allowed me to import it into 123D Design, but I couldn't move it or attach/snap it to the side of the object. I also built the project differently in 123D Design than I did in Sketchup. In Sketchup, I started with the entire piece and "carved out" the shelves and cubbies, and with 123D Design, I built it in parts that I snapped together. This is much more realistic, and I hope next week (after doing the press-fit kits) to gain more insight on how the pieces of my project will fit together.
Jenny Kostka Fab Academy 2015
