week 3: computer-controlled cutting
week 4: electronics production
week 5: 3D scanning & printing
week 8: computer-controlled machining
week 13: networking & communications
week 14: interface & application programming
week 15: applications & implications
week 16: mechanical design & machine design
This week is the start of the group project, in which we'll be building a machine in the lab. As Jill has documented on a whole-group level, AS220 is building a machine that will "draw" with LEDs on photopaper. Unfortunately, I won't be as much help as I'd like to be due to end-of-the-school-year activities for my kids and myself (including my commencement ceremony).
In the first week of the group project, a lot of progress was made. The stages that will act as the x and y axes were cut out, assembled, and made to move. Tests were carried out with the LEDs and the photopaper to help determine the resolution and physical setup of these components, and a housing for the LED was designed and 3D printed.
I wasn't able to be there at all for the second week of the machine building, but I worked from home on some Python code that will do several things:
I used the xy_plotter.py program as a starting point, as well as some other examples and pseudocode that Shawn had provided.
The part of that code that ended up being used in the final machine - called the Man Ray Machine - was the part that read a bitmap image into an array and had the machine reproduce that image by making dots on photo-sensitive paper with the LED. We tested the code with a small 15x15 pixel image of a donut:

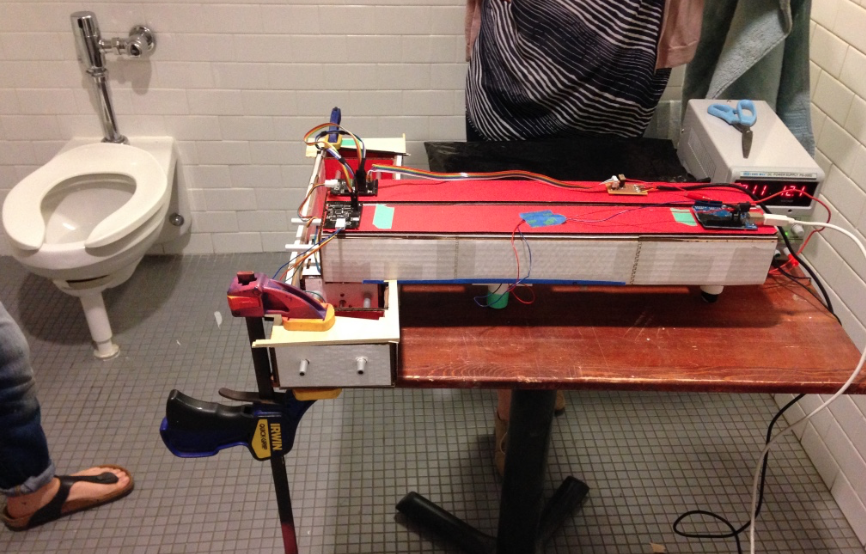
To test the machine, we had to go to a dark place, so we took over one of AS220's bathrooms. The laptop controlling the machine sat on a folding chair with a dark cloth draped over it, and we put the paper in place and initiated the program essentially by touch.
After developing the image, it did somewhat resemble the donut, though I'm not sure why it printed the line of dots at several of the edges:

What I learned from this project is largely connected to research and programming, especially since I was working remotely part of the time. I found Python libraries for mapping the keys on the keyboard to numbers and for reading an image and translating it to an array of 1's and 0's that could correspond to the LED being off/on. I learned how to modify code from those libraries to the specifics of our Man Ray Machine, and to do a bit of translation, since some of the code examples I used were Processing, not Python.
For troubleshooting, though I wasn't there for all of the machine building, I was there for the testing. Troubleshooting during the testing process consisted of things like changing the amount of time the LED was on each time it blinked, to get the best exposure on the photopaper, as well as things not immediately connected to the machine, like keeping light out of the bathroom and figuring out how to set up the paper in the dark.
Jenny Kostka Fab Academy 2015
