
week 3: computer-controlled cutting
week 4: electronics production
week 5: 3D scanning & printing
week 8: computer-controlled machining
week 13: networking & communications
week 14: interface & application programming
week 15: applications & implications
week 16: mechanical design & machine design
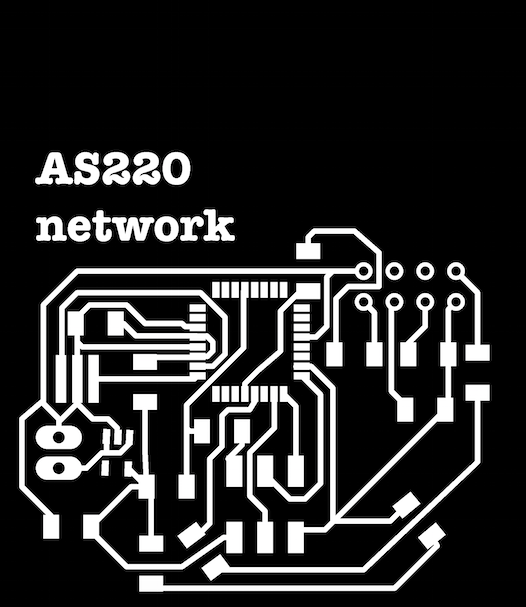
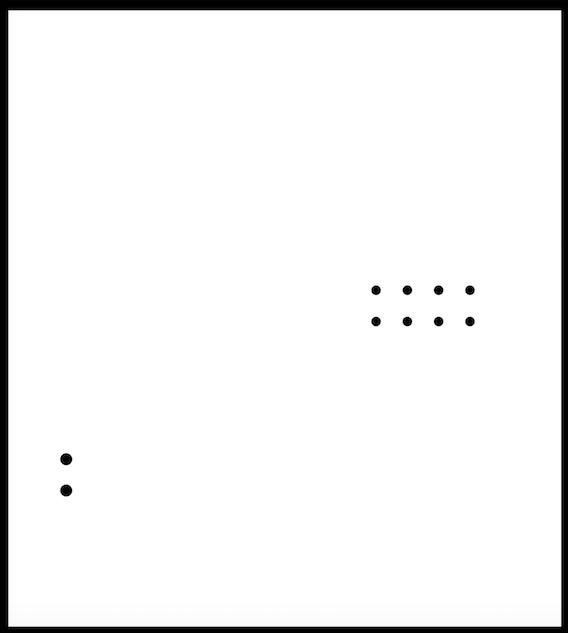
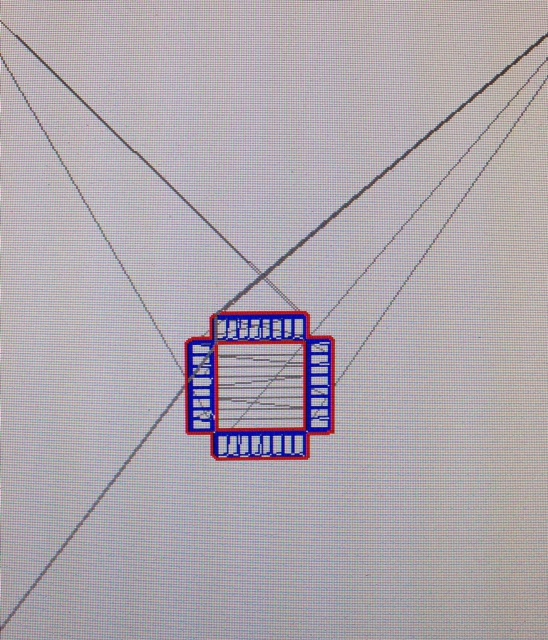
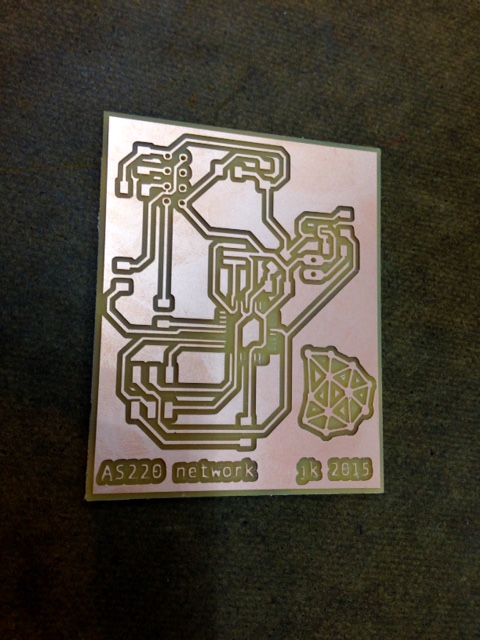
This week is communications and networking - making microprocessors talk to each other - and at AS220 we are building a "class network" using the ESP8266 wireless breakout boards. Shawn went over the parts and connections that need to be on the board, and everyone made their own schematics and boards with those parts. The traces and outline were made by exporting to The GIMP.
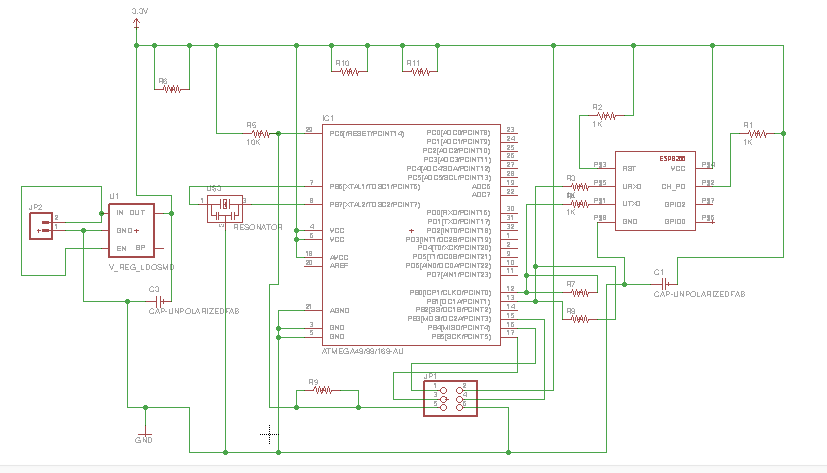
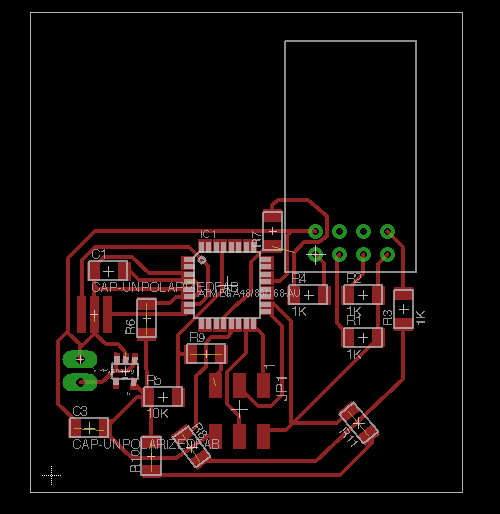
We needed to use the ATMega, because there wasn't sufficient memory on the ATTiny. This caused a little bit of a problem when milling, because the pads on the ATMega were so close together the 1/64" bit couldn't get between them. As a possible solution, I made two separate png files for the traces: one with the full board and one with just the ATMega. That way the ATMega's traces could be milled by altering the tool diameter setting on the fab modules to make it small enough to get between the pads, and the rest of the traces could be milled afterward.
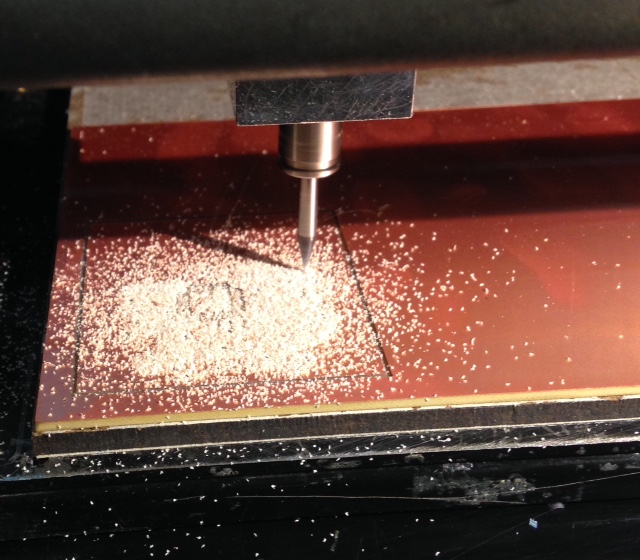
Unfortunately, that solution didn't work - for a reason I should have noticed before milling. The trace with just the ATMega cut all the way around each pad, so any connections to those pads was cut. I tried fixing this problem with small pieces of copper tape, but once I applied any solder to them they came right off, and many of the pads were ripped off too. It was really frustrating.
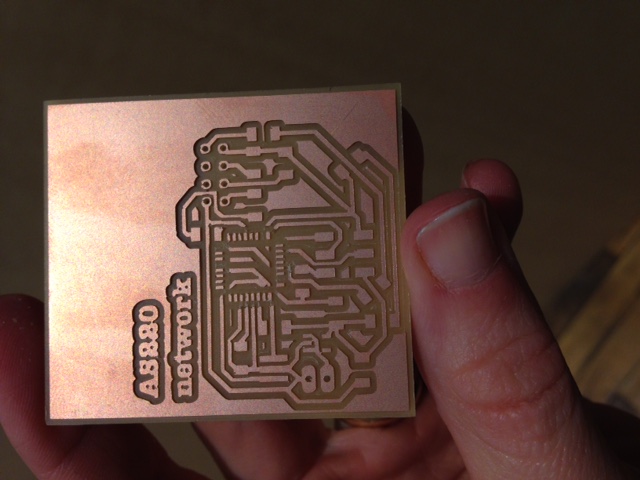
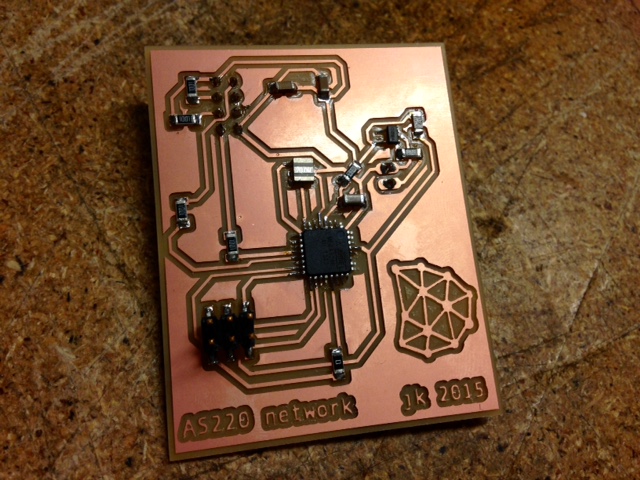
I ended up redoing the board itself, using the "ATMega thin" part, which was a bit more milling-machine-friendly. This was definitely the most complicated board I've made so far, and it took a few cycles of ripping and redoing all the traces in EAGLE to get it to work.

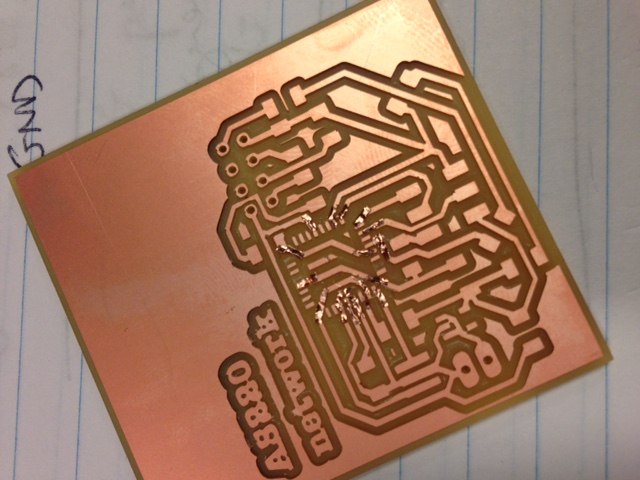
This time, though, milling and stuffing the board went successfully. Some of the ATMega's traces came off during milling, but only the ones that weren't connected to anything.
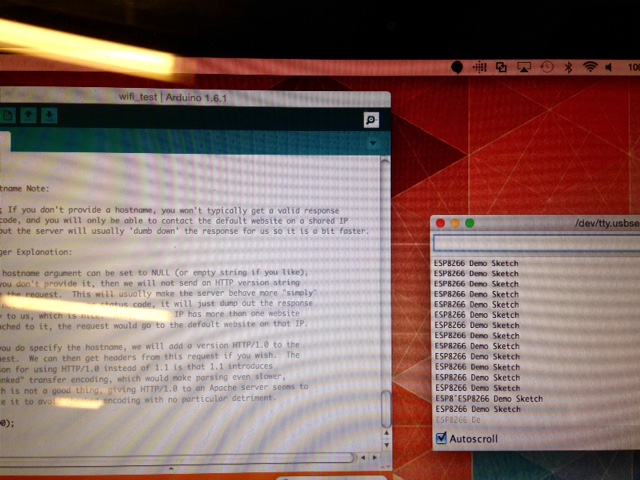
I programmed the board using this wifi test sketch, written by James Sleeman, for the ESP8266.
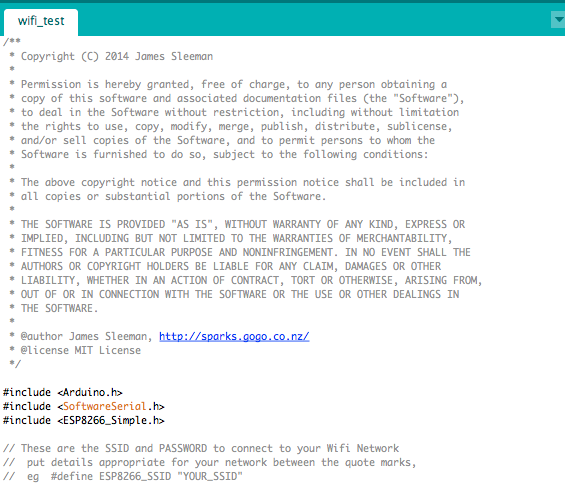
The board was able to be programmed without a problem (hooray!), but the sketch isn't running as expected. The demo line "ESP8266 Demo Sketch" prints to the serial port, but it continues to loop there - the code following that doesn't run.
Shawn suspected this was an issue with power (we were powering the board with a 9V battery), so we tried using a power supply. This caused the voltage regulator (used to bring the power down to 3.3V) to get really hot, even when the voltage was only around 7 or 8V and the current was only around 0.14A, which should have been fine for the regulator. As a test, I bypassed the regulator by removing it and soldering in a 0-Ohm resistor to connect the traces for Vin and Vout, then running the circuit directly from the power supply at 3.3V.
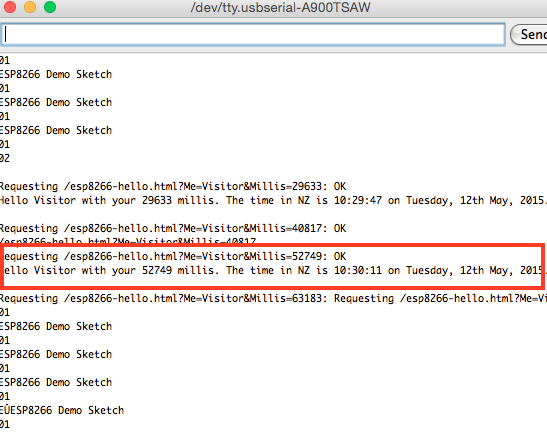
Success! When running directly from the power supply at 3.3V, it drew 0.07A, and the code executed successfully. It sent an HTTP request, and got a reply in the form of the time in New Zealand.
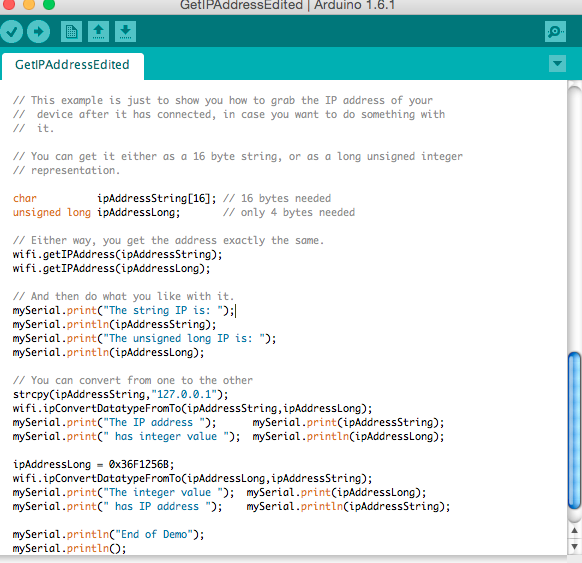
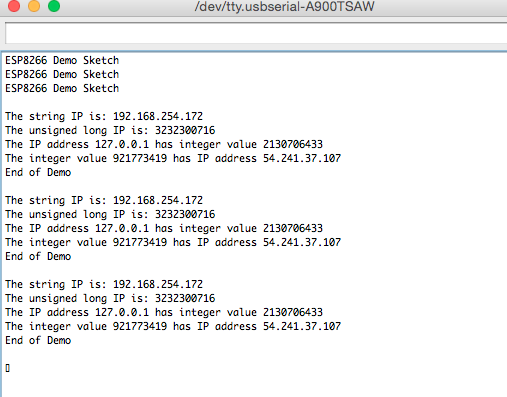
Another sketch from the ESP8266 library, to get my IP address, also worked with the same setup. The one edit that was made on both sketches was to use SoftwareSerial.
For my final project, I need to figure out how to use this to get information from the RSS feed of a spacecraft - for example, when the ISS is directly overhead - and display this information somehow.
Jenny Kostka Fab Academy 2015
