Skulina Hlif Kjartansdottir
How to make [almost] anything
Week 16: Machine Building - Machine Design
This week we will learn about mechanical design and machine design - and work together as in a group to build a machine, by our own design.
Week 16: Assignment
This week the assignment is to make a machine, including the end effector. We are to build the passive parts and operate it manually. We will document the group project and our individual contribution.
I suggested to the group if we could make a drawing machine and the idea met with acceptance. We studied the basics for mechanical design and machine design and started planning how we would start working on the modular machine and the gestalt to make the control system in order to make the machine draw.
The laser cutter was turned on. Press pointer. XY off - go. Used the tool to set distance of laser to cardboard, tightly. Move laser to the top left corner with arrow buttons. Set home and reset. The file is selected, first the redlines for engraving, and opened. Print - select right or left lasercutter. Check actual size, set orientation on portrait. in Properties: force to use, different for different materials.
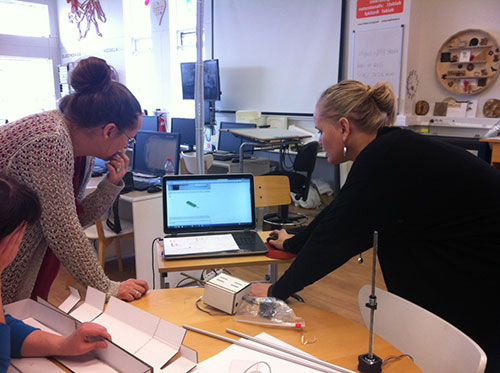
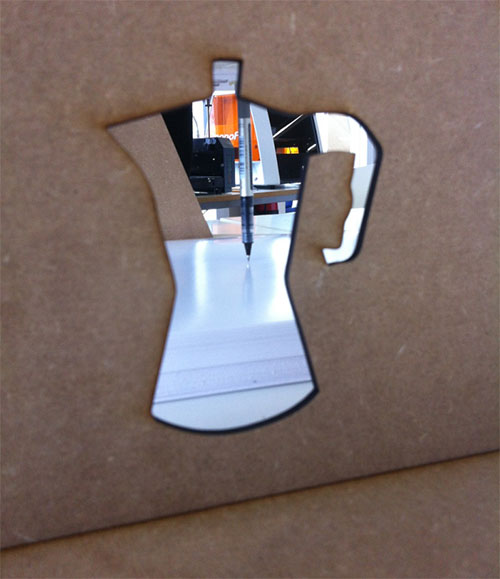
Other students worked on different tasks, such as research, coding and control - and documentation. When we had a group meeting we discussed problems and potential variations. The idea surfaced to create a machine to stir coffee in a cup for fun. We started assembling the cardboard pieces guided by the Coleman & Peek's framework for the rapid prototyping of rapid prototyping machines. Modular hardware, modular electronics, and modular software.
We started by looking at different examples of drawing machines, made by others, in order to develop our ideas, such as the arduino drawing machine, a record player drawing machine and a bicycle drawing machine.
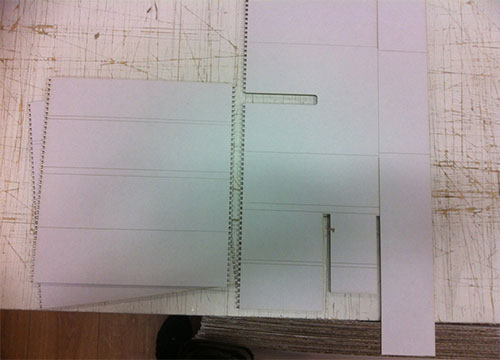
We divided tasks and I started to prepare the files for cutting of the SCIENCE cardboard in the lasercutter. I opened the Ulinecardboard.dxf in Rhino and saved it as .ai. The file is then opened in Illustrator and the lines that need it are joined. Next, the red lines are cut. The file was saved an an Illustrator default pdf. The blue lines were now deleted. Paste in place (leaving the canvas as is) and save the file as pdf.
In Rhino the model lines were selected and exported as pdf. The engraved lines are saved as red, the cutting lines as blue.
Select oversise, clic view and output scale – 1:1.
In Scale – on paper 1.0 and in model 1.0.
Position – Upper left.
Settings for engraving - vector, speed - 80%, Power - 10%, Frequency 500 Hz. For Cutting, speed - 30%, Power 80%, Frequency - 500 Hz. Press Print. The resulting cardboard were numbered for easy assemby.

We studied and discussed the various options of directing the movement of stirring and how we could set up the machine for controlling it.
In the second week we did some testing and further tweaking of the machine. Coffee stirring was tuned and tested.
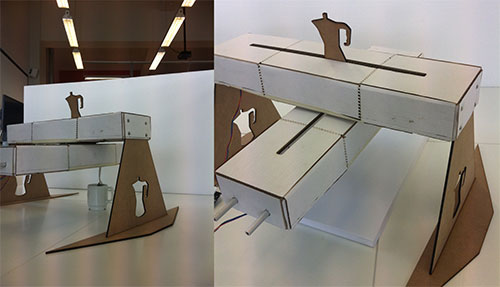
We also experimented with the alternative uses, such as using the mechanism for drawing, as originally intended, and worked on the interface.
The progression of the work, work division and outcome can be viewed on the Reykjavik FabLab web - Machine Week webpage.
Plans for next Week
To follow up on the documentation.
Notes
My Notes from this week.