Networking & Communications
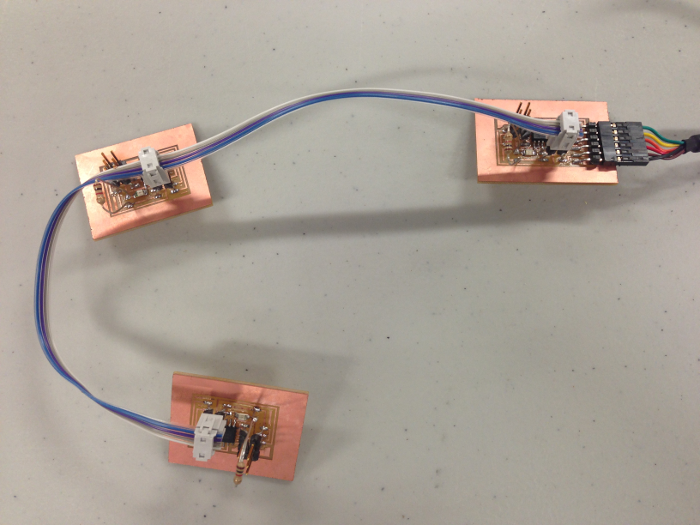 Hello Bus Bridge & Node Network
Atmel Studio (to program the boards)
New Project> GCC C Executable project Device Selection> ATtiny45
Paste the C code into the command window
Build> Compile (you should not get any error messages, warnings are sometimes OK)
Build> Build Solution (this generates the .hex file, which is what the microcontroller reads)
Tools> Device Programming: [Tool: AVRISP mkii, Device: ATtiny45, Interface: ISP > Apply. >Target Voltage- Read >Device Signature- Read >Memories- Click on the ellipses next to Flash and navigate to the folder where your project is saved. There should now be a .hex file in there. Select this file, then hit the 'Program' button. This should give you a "verified" message, so that you know the device has been properly programmed.
Arduino IDE (to talk to the boards)
Board> ATTINY45V 10 MHz
Serial Port> /dev/tty.usbserial-FTGS52PE
Serial Monitor> 9600 baud
COM6
Code: http://academy.cba.mit.edu/classes/networking_communications/bus/hello.bus.45.c
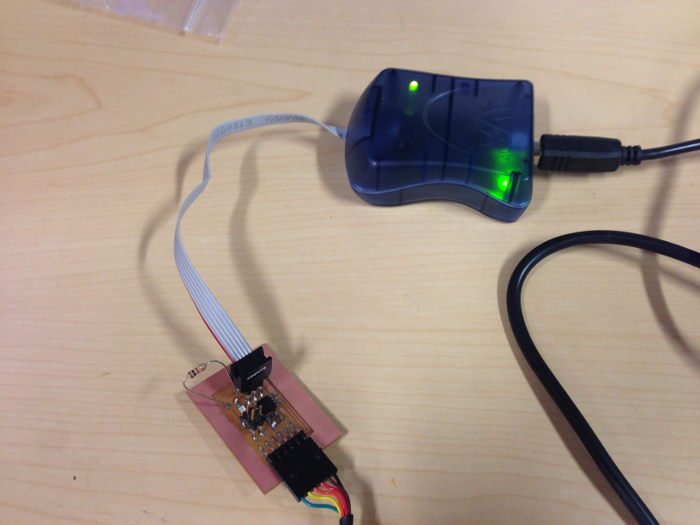
To flash the bridge board:
Connect Bridge board to AVR
Modify Code: #define node_id '0'
To Flash node 1:
Connect Node 1 board to AVR
Modify Code: #define node_id '1'