Interface & Application Programming
interface from Kelly Zona on Vimeo.
For this week's assignment, I decided to build an interface using Processing and Arduino.
I began with a great tutorial that I found on the Arduino website: http://arduino.cc/en/tutorial/Graph
I made some modifications to the code as follows:
size(1250, 500); changed interface size
myPort = new Serial(this, Serial.list()[4], 9600); changed to 4 for my port
inByte = map(inByte, 0, 1023, 0, height/1.5); changed % height
stroke(45,130,15); changed stroke color
background(255); changed background color (note you have to change this value in two places)
Instructions
Connect a switch to the Arduino board via Analog Input 0, V, and GND
Connect the Arduino to the computer via USB
Open the Arduino IDE Make sure to select the correct board and port (under Tools)
Paste the Arduino code example into the Arduino IDE
Verify
Upload
Open Processing
Paste the Processing code example into Processing
You may have to change this line: myPort = new Serial(this, Serial.list()[0], 9600); the number in bold represents the computer port that your Arduino is plugged into
Run the code. The graph should appear in a new window. Turn the switch on and off to change the graph.
Code for Arduino and Processing available here
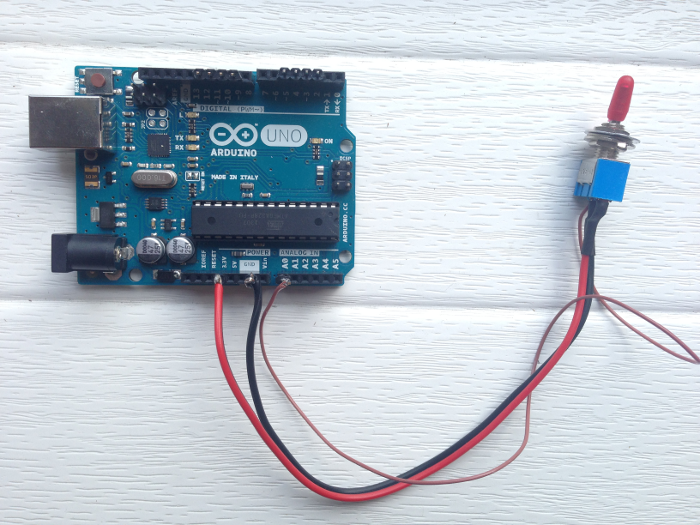 Arduino with a simple switch as an input device
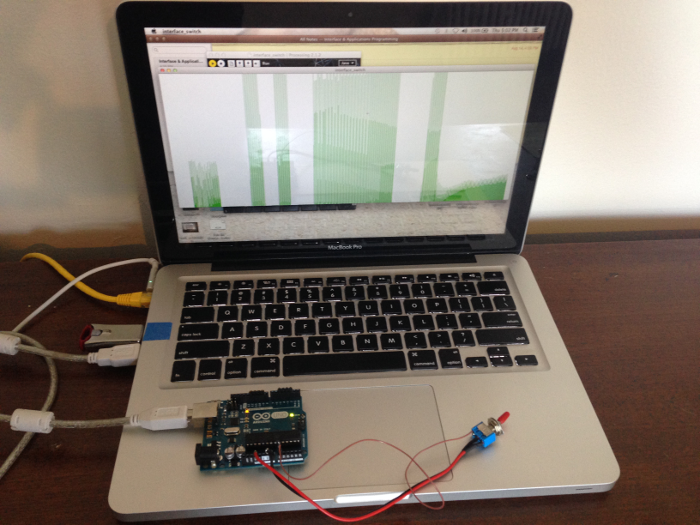 Arduino with switch + Processing Interface