3D Scanning and Printing


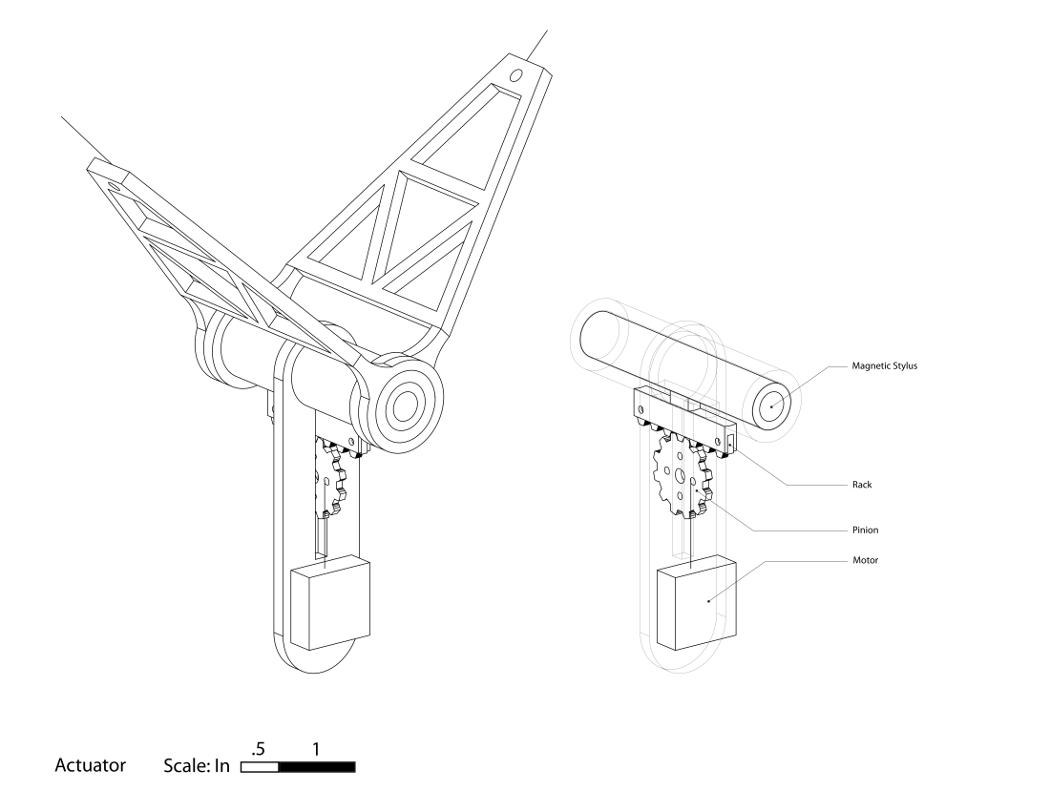
This week, I decided to 3D print the actuator mechanism for my final project. The shape of the actuator was determined by how I want it to perform. Two triangular pieces hold a hollow tube, which will hold a magnetic stylus. This stylus will activate the individual facade components. A secondary reason for this shape is that, if time permits, I would like to program the stylus to slide longitudinally, so that when slid forward, the actuator is "on", and when slid back, the actuator is "off", thus enabling non-continuous patters.
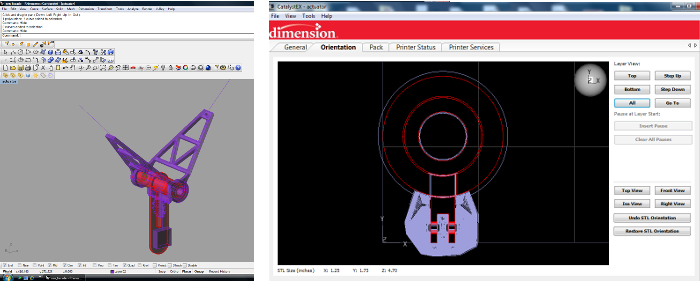
I began by modeling in Rhino. I then separated the model into pieces and oriented them for optimal 3d printing. Based on past experience, I decided that I should print all of the circular pieces with the circular face oriented parallel to the build platform, which tends to produce the most accurate result. When printing rounded parts with the circular face perpendicular to the build platform, I find that they tend to distort.

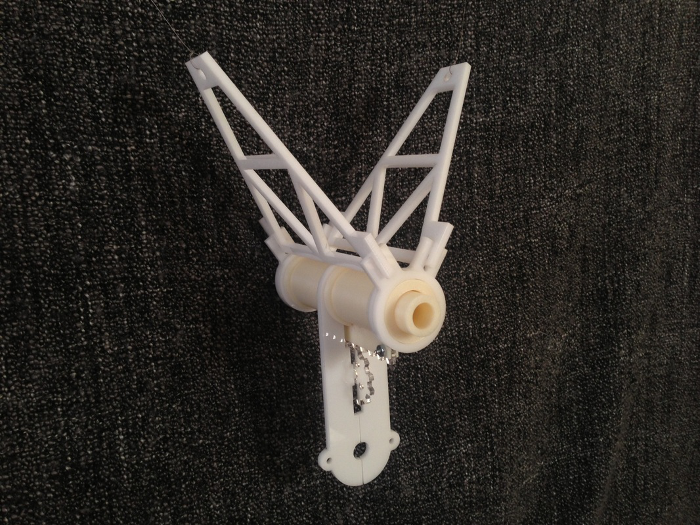
The initial model worked fairly well. The 3d printed piece did everything that I wanted it to- it slid back and fourth quite smoothly. However, upon assembly of all the pieces- I realized a few areas were in need of change.

I added spacers around the tube to prevent the laser cut pieces from slipping off. I also redesigned the slot that holds the gear so that it is narrower, keeping the gear from wobbling.
Scanning
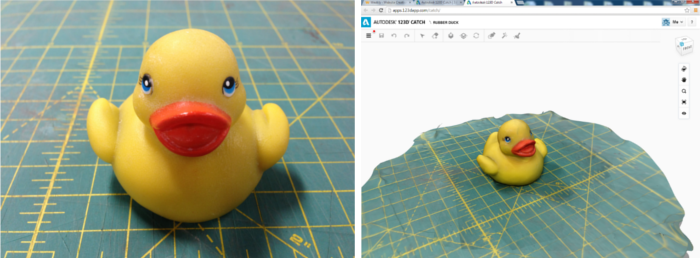
I decided to experiment with Photogrammetry using 123D Catch. My first scan was of a small rubber duck. I used a cutting mat for my background, thinking that the ruled lines would help the algorithm to stitch the photos together. The mat's saturated colors also seemed to help the object stand out.

The scan turned out well. Overall, it appears very true to shape. The biggest issue was color consistency. In some areas, especially in the back, there are light and dark patches of yellow oddly morphed together. Perhaps the lighting was not even enough.