Molding & Casting
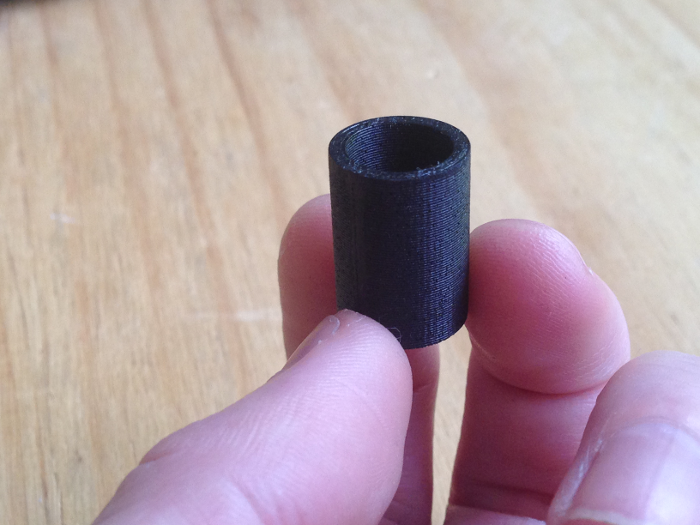
My plan for this week is to experiment with different ways to make the pin components for my final project. I had already tried 3d printing, which works for a small model, but is impractical for a larger project. I believe that some form of casting is the best way to do this.
I am also experimenting with different materials for the pins themselves. I had initially though about some type of plastic resin, but after making my first study model, I realize that I am not happy with the sound of the pins hitting the clear acrylic layer as they are pulled forward by the magnet. I am currently researching magnetic rubber alloys.
Mold Making
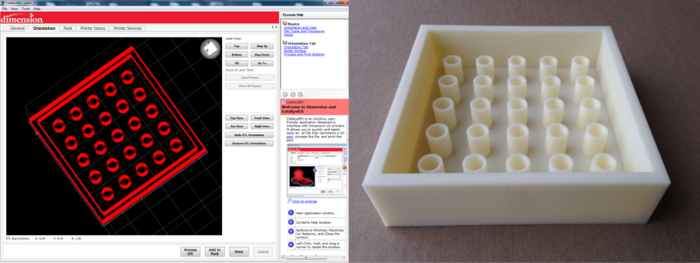
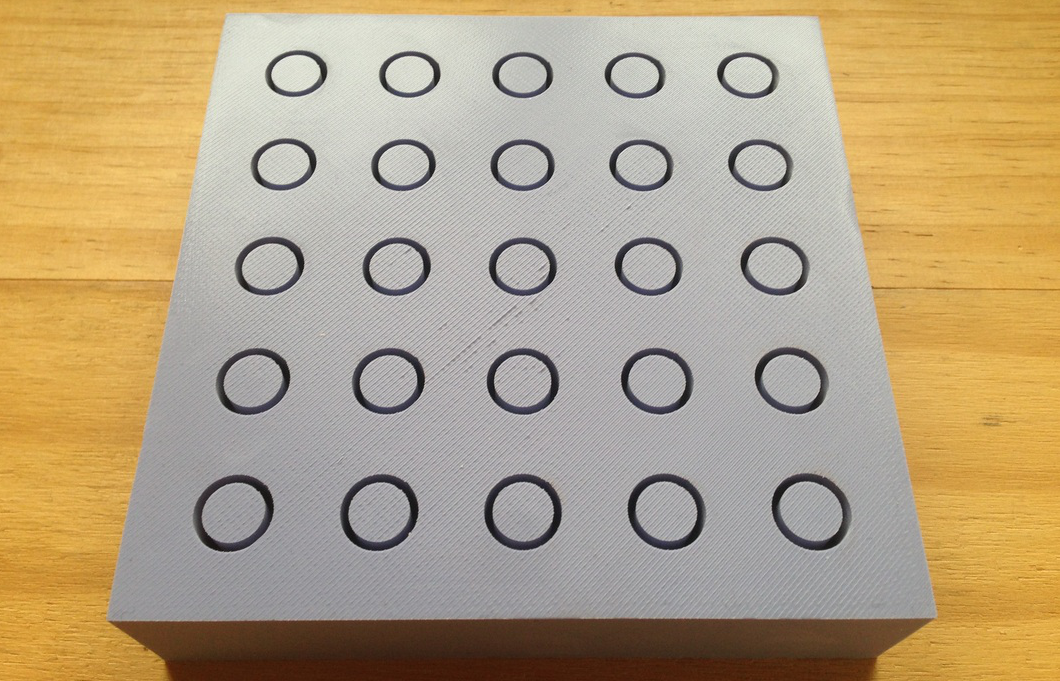
Positive mold in the Catalyst 3d printer software, and resulting print
I designed a mold in Rhino and saved a .stl file. I printed this on our uPrint Plus printer out of ABS plastic. I did some light sanding to remove the seam on each pin- the part where the printer head starts and stops for each pass creates a slight bulge.
Afterward I cast my 3D print in silicon rubber- Smooth-On's OOMOO 30.
The mold took forever to release from the positive. I had done a small test prior to this larger cast, and the silicon released from the 3d print quite readily. I think that in this case it was due to the geometry and large amount of vertical surface area. If I had to cast this again, I would find a way to add some cutaways to help the silicon to release. I don't think that release agent will help much in this case, it would have a difficult time getting into the narrow slots without pooling.
Casting
I did a series of tests to figure out what material would be best to create the positives. I used both Smooth-Cast 305 resin and ECON-80 urethane rubber from Smooth-On. I choose the ECON-80 because it has a high Shore-A hardness, close to that of shoe soles. I needed a rubber that would be fairly durable with such a thin wall size. I used the Smooth-Cast 305 mainly just to have something to compare the rubber to. I tried casting both of these materials with magnetic additives- iron oxide and nickel. I had wanted to use nickel since the lighter color would be preferable for a facade application.
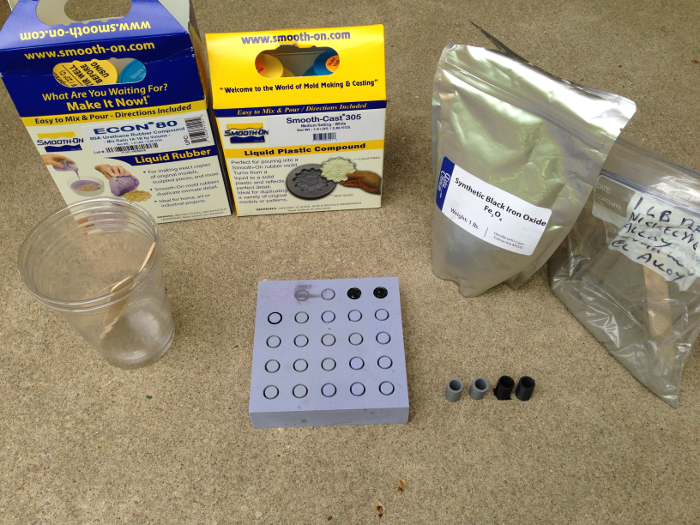 Experimenting with various additives
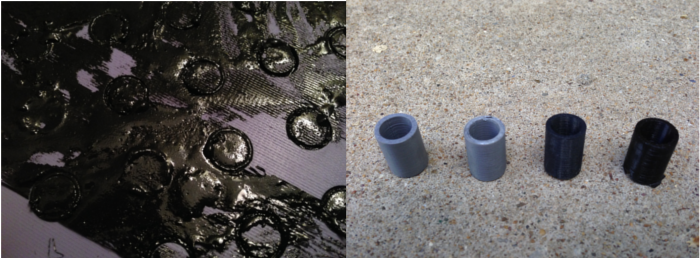 Casting
After all of the experimentation, I settled on a resin-iron oxide mixture. I found that there was not much difference between the resin and rubber in terms of noise. What made the most difference was the density of the material. The metal additive actually reduces density, so this helps to keep the pins quiet as they slide against the clear acrylic layer. I also found that the rubber was very difficult to cast into such small openings. It has a much higher viscosity than the resin. So I ended up choosing the resin for my final material. I chose iron oxide as my additive because I found that nickel is only very, very slightly magnetic. The downside is that all of the pins will be much darker so I will likely need to paint them in the end. Here is my final mixture: 6 parts resin (Smooth-On Smooth-Cast 305) 1 part iron oxide (Alpha Chemicals Black Iron Oxide)
In the end the pins came out beautifully. The final casts were true to size and will fit perfectly in the perforated screen. The only drawback is that I have to sand each pins top side where the liquid expands over the top of the mold as it cures.