

About the assignment: molding and casting
Assignment: design a 3D mold, machine it, and cast parts from it.
I am a sculptor, so I have a good experience with traditional casting techniques. My idea for the molding and casting class was to explore non-traditional techniques and materials. I used a model from the 3D Scan and 3D Print assignment to develop the project:a cast in hydrostone from mold in silicon made from a wax milled negative...but at the end I did something completely different: a choccolate sculpture and a bronze cast sculpture with my lost abs casting technique.
design the 3d mold
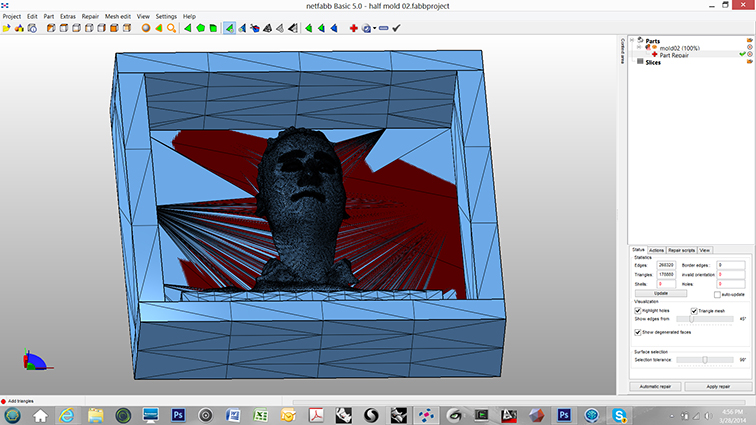
I prepared a positive and a negative 3d molds.

First, I created a box around the model with Rhino.
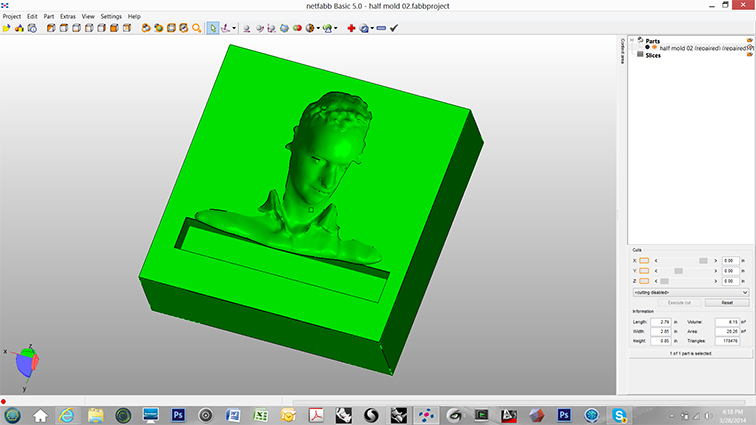
After I fixed it with Netfabb, I export the stl file.
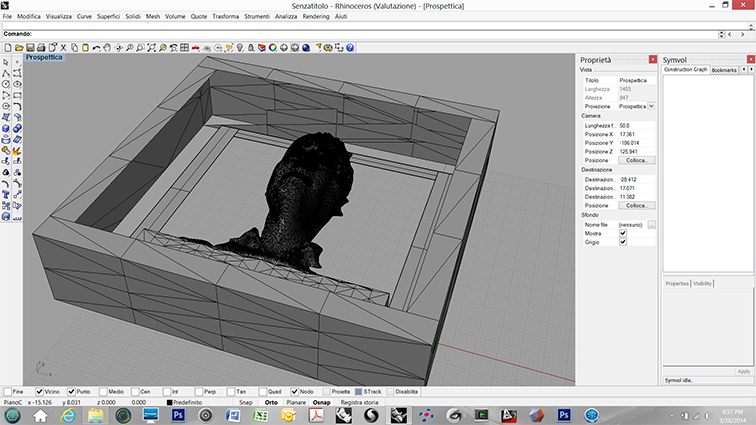
Same process for the second model (positive)
mill the machinable wax with modela
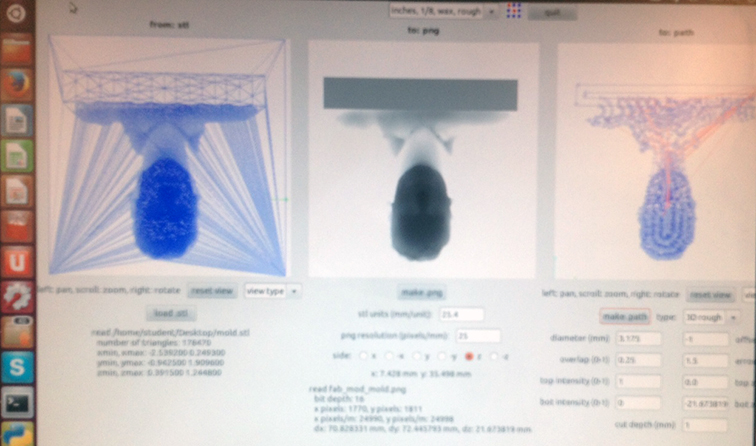
With the Fab Module I opened the file, made the png and the path.
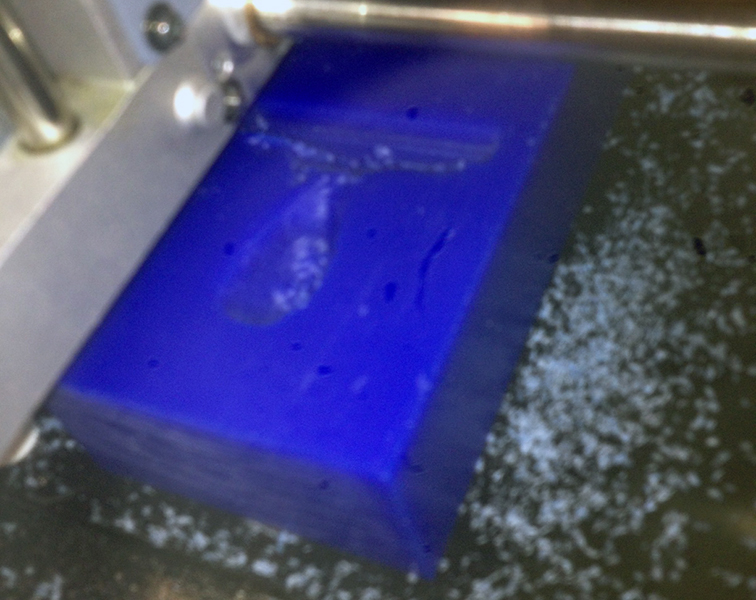
Rough mill and finish mill for the negative.

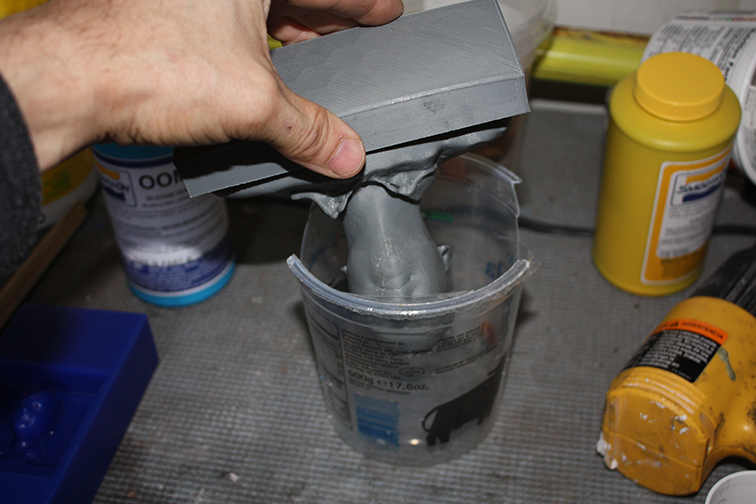
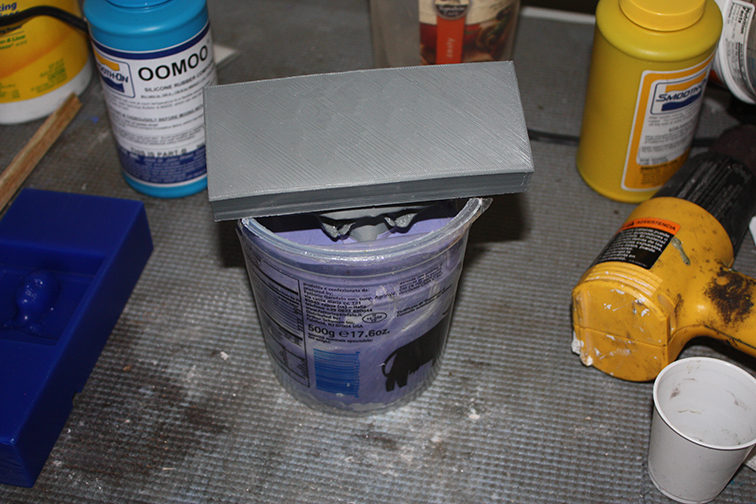
Silicon mold
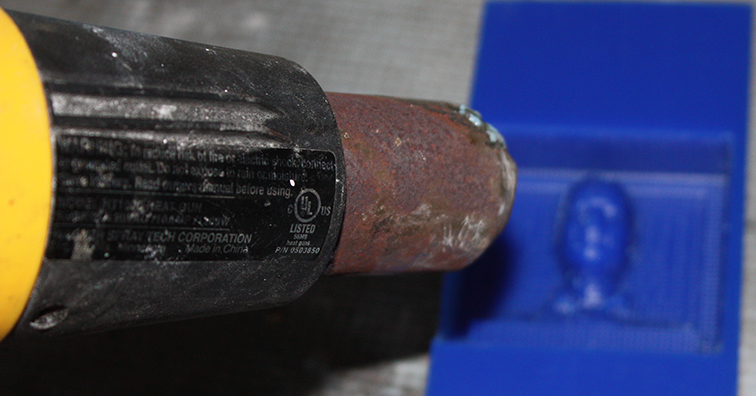
Before to prepare the silicon I smoothed out the surface with the heat gun.

After mixing the silicon I tried to vibrate it to avoid air bubble, but the negative wasen't perfect.
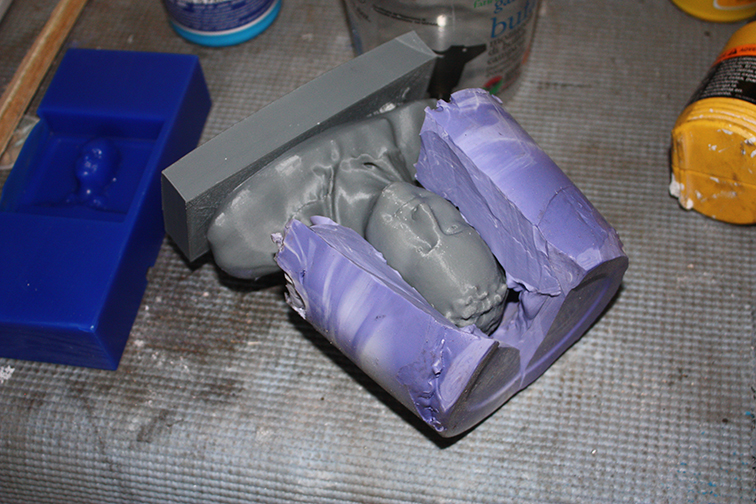
food safe silicon mold and choccolate positive
Instead of waiting for the shipping I went to the closest art store to buy more silicon, but they had only a food safe silicone available.
Before to try it with the mold in wax (a high relief) I had the idea to use the 3D Printed positive I prepared before.
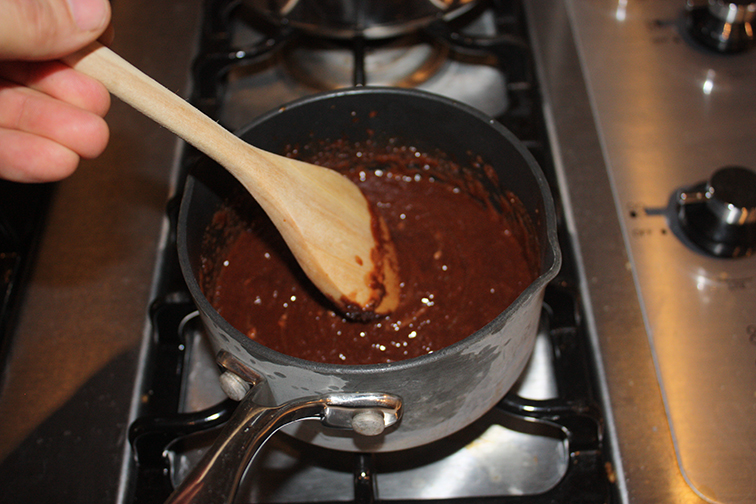
choccolate!!!!
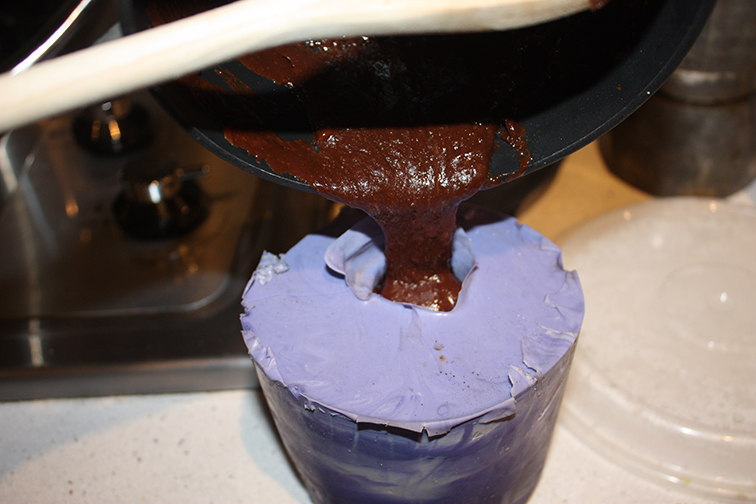
I have to find a good recipe for molded choccolate....I think it is too solid.
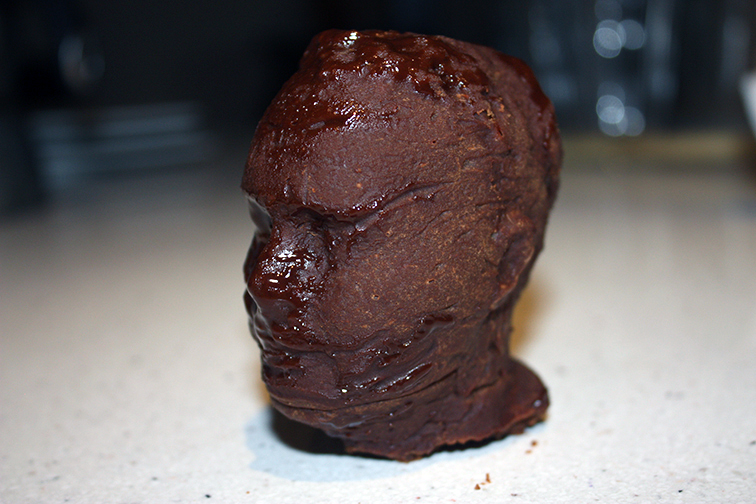
....really bad surface, but interesting...
Ok let's find out what didn't work....here the explanation from wiki.
I am going to re-do it and brush two lasyers of choccolate directly over the mold.
lost abs casting
Here the second project I would like to share: Lost ABS Casting.
Four years ago, when I was studying for my MFA I figure out that we can use a plaster mold to cast bronze, using the ancient lost wax casting technique without creating a wax model.
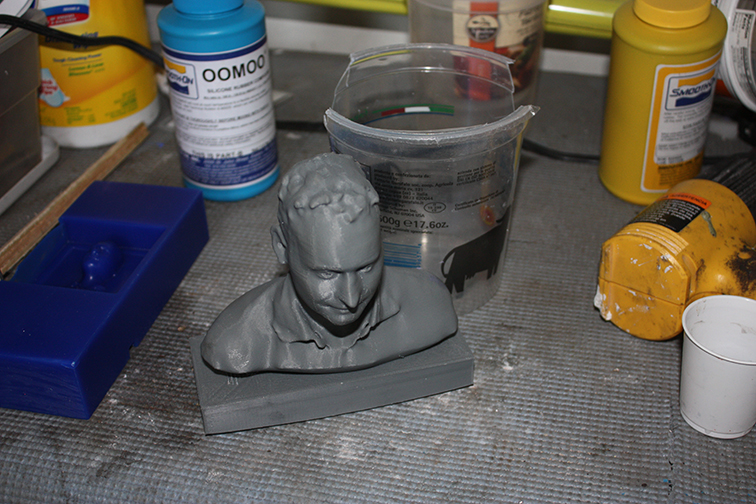
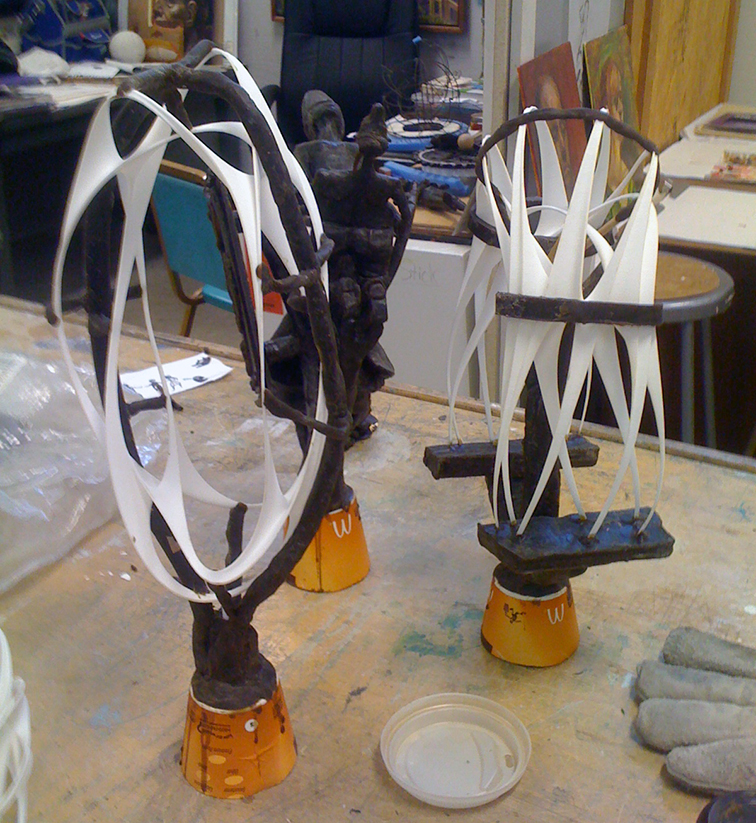
First of all, you need a 3D Printed model in ABS or PLA and for this example I am going to use one of my model.

Second, you have to prepare the spruing system with a main sprue connected to a pouring cup (Mc Donald is the best, Dunkin Donuts is too soft)
Third, you prepare your support for the core, in this case chicken wire and roofing paper.
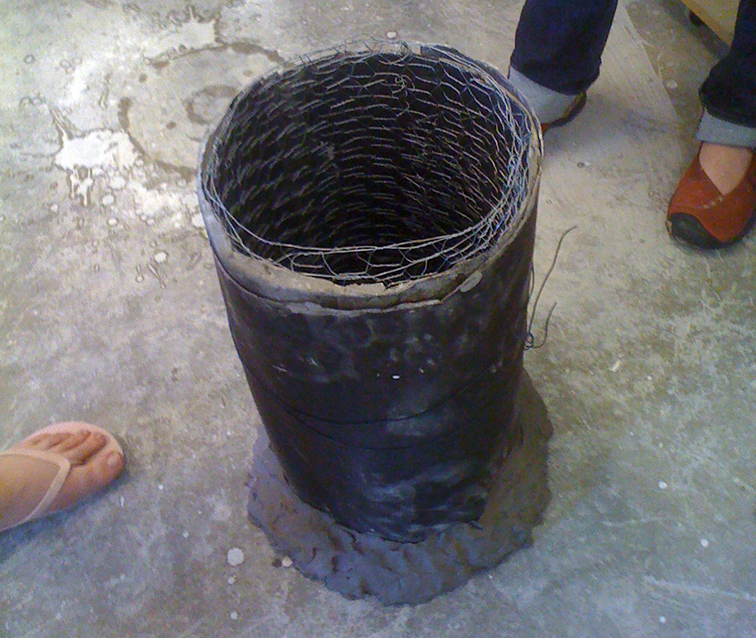
The flip flop shoes is an example, from one of my students, of "what don't wear in the lab"
Fourt, you have to make an investment mix (a slurry of half sand and half plaster in volume with water) and pour it into the flask. (Cover the entrance with clay or something else so you will have a clean mold inside)
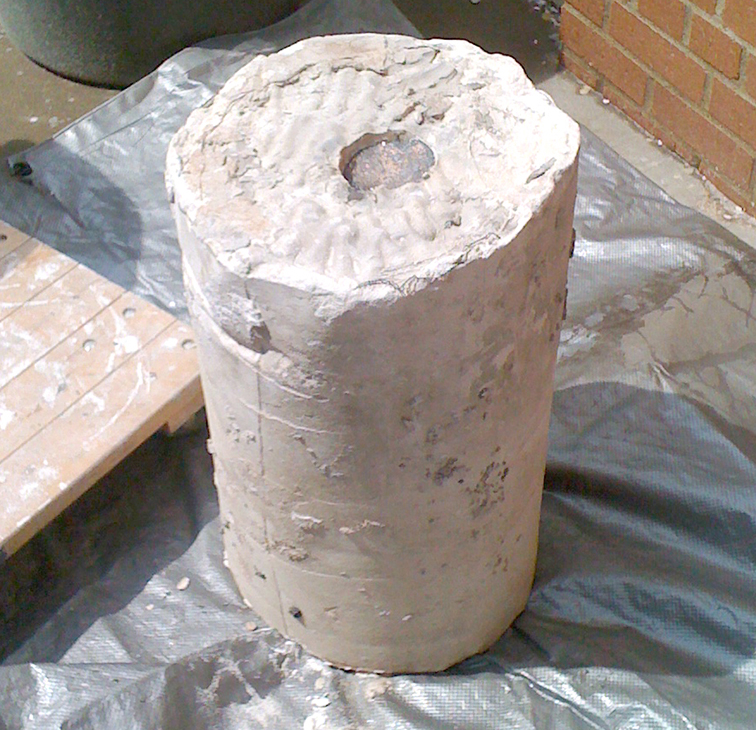
The Investment has to burn out for 6 hours at 1000 F (540C) so the ABS melts away and the investment dries completely . Good way to see if it is ready is to check color and smell of it.
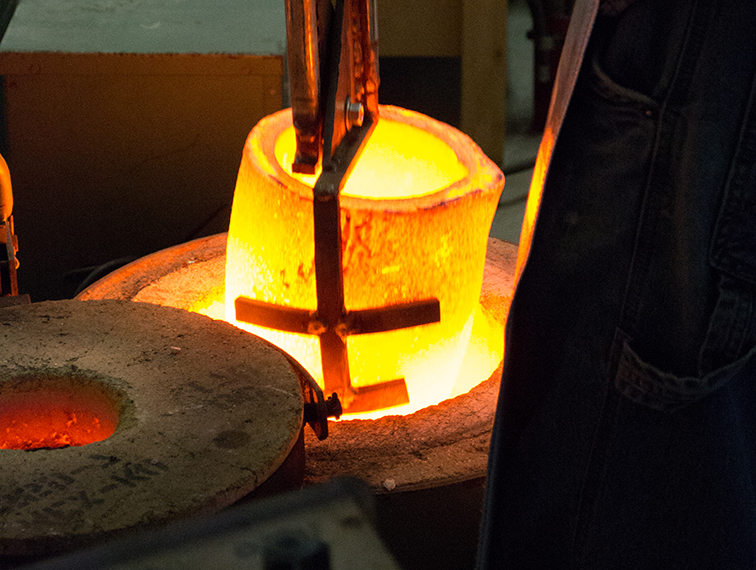
Fifth, you have to melt the bronze ...
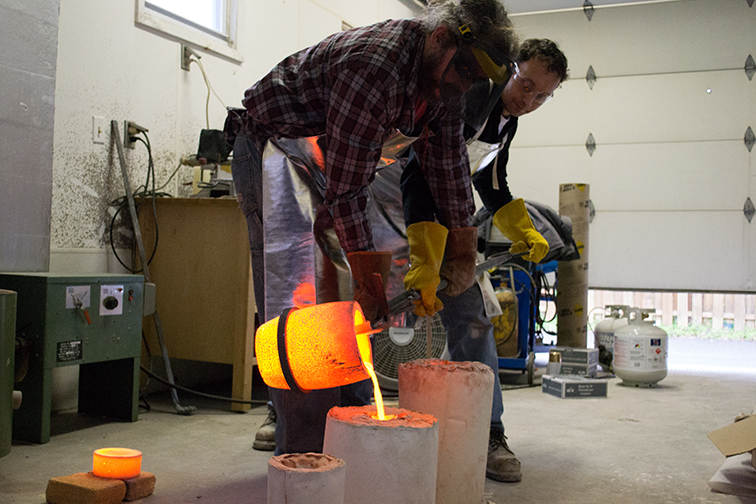
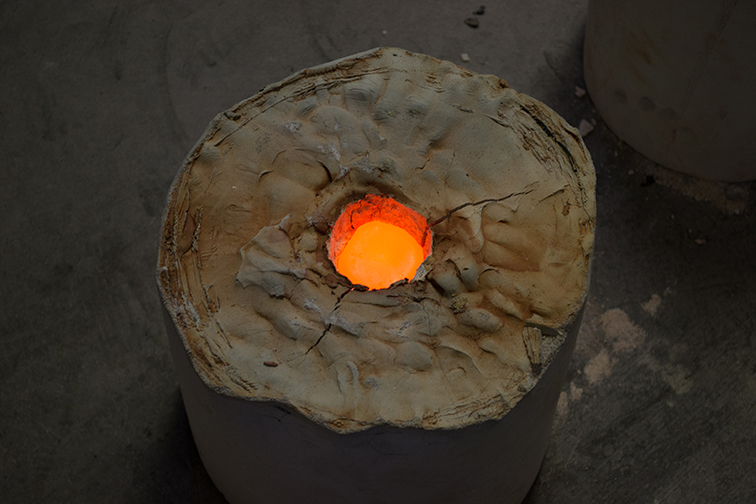
pour it....
break the investment...

clean the model...

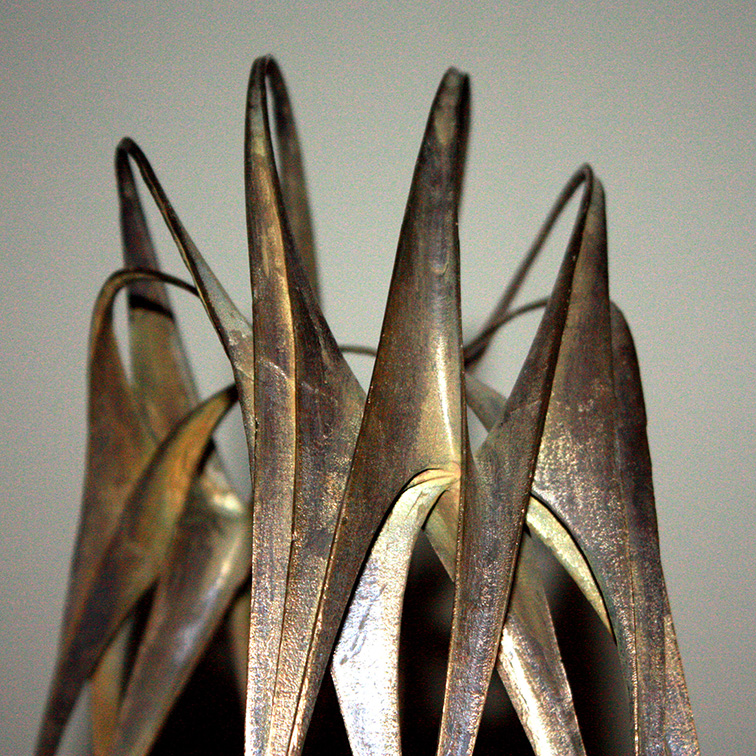
patina and woila'!!
The advantage of this methode is that is cheaper of 3D Printed metal (over a certain dimension) and you skip the mold making process of the wax positive from a silicone mold.