


About the assignment: electronic production
Make the FabISP in-circuit programmer David Andy Valentin hello.ISP.44.cad board components traces interior hello.ISP.44.res.cad board traces interior inventory microcontroller crystal USB connector ribbon connector Zener diode jumper firmware.zip USB power make clean make hex (sudo) make fuse (check programmer in Makefile, may need to repeat) (sudo) make program desolder SJ1 and SJ2 make IDC ISP cable, connecting header pin 1 to pin 1
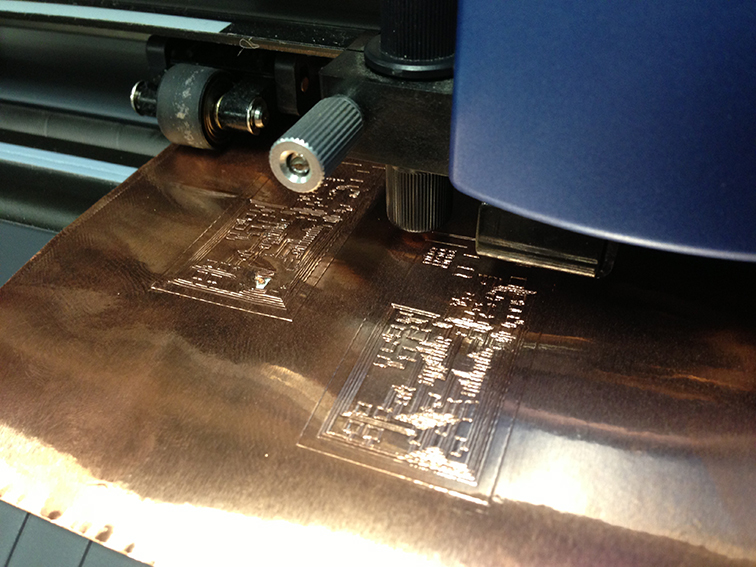
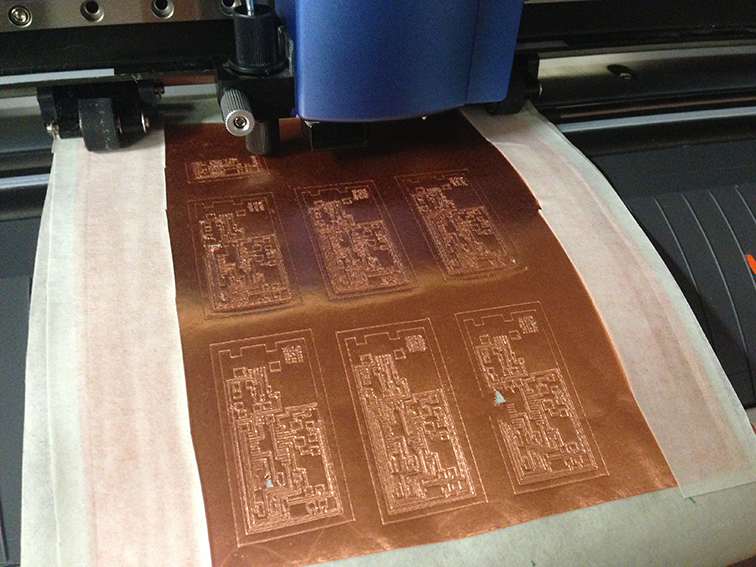
FabISP with vinyl cutter
For my electronics production project we first used the vinyl cutter to create our PCB.
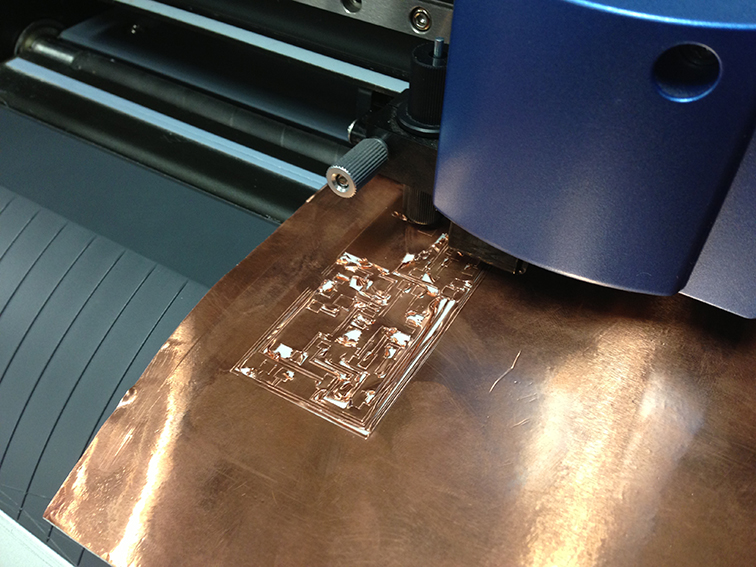
At the first attempt with the vinyl cutter we didn't have to much luck...it is really difficult to set the pressure...sometime the pressure it is not enough to cut through and sometime it is too much
Even if the cut seems good we cut and recut several time, to be sure!
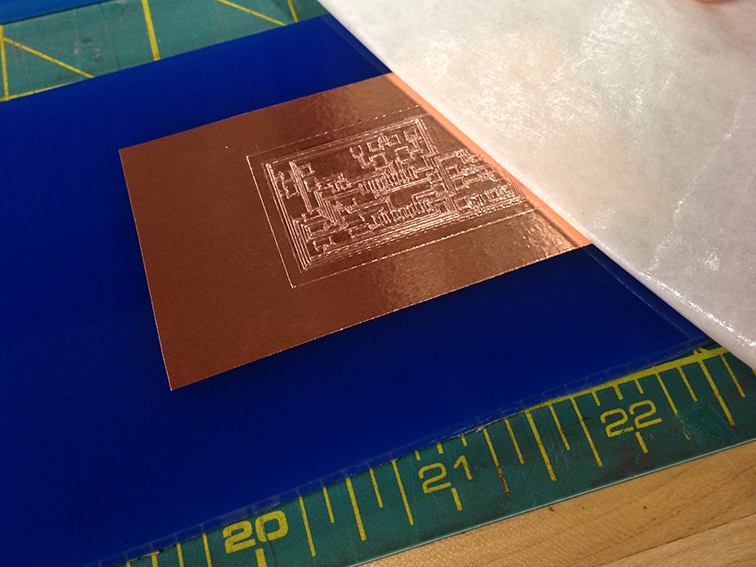
No luck with the vinyl cutter....no way to detach the cuts and atach them to the base without destroying them...so lets try another way!
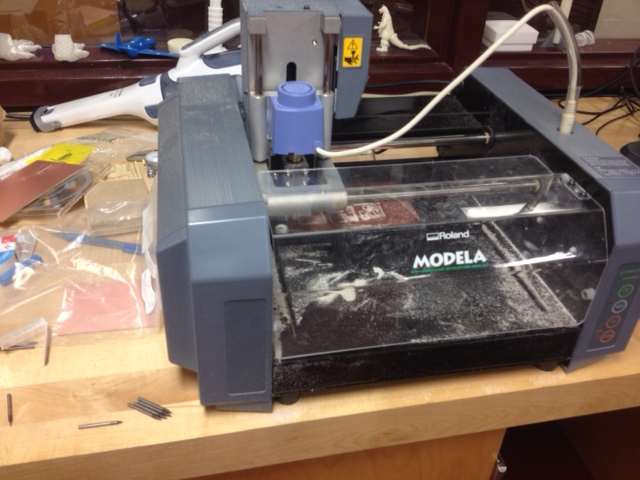
Fabisp milled with modela
We received our Modela after a month and we spent few hours to set it up (Install Linux and find the right USB port). Meanwhile I tried the Modela 3D Engrave to mill the ISP board.
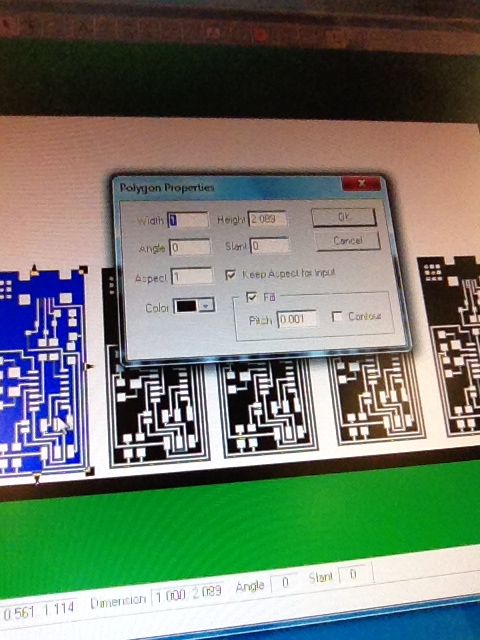
First, I inported the the hello_isp.44.png in 3D Engrave and I click on the image and "Convert to Polygons" . I checked the size of the board on "Properties".
I created the path with "Create 3D Engraving Path" with a Pitch set at 0.004, depth 0.01.
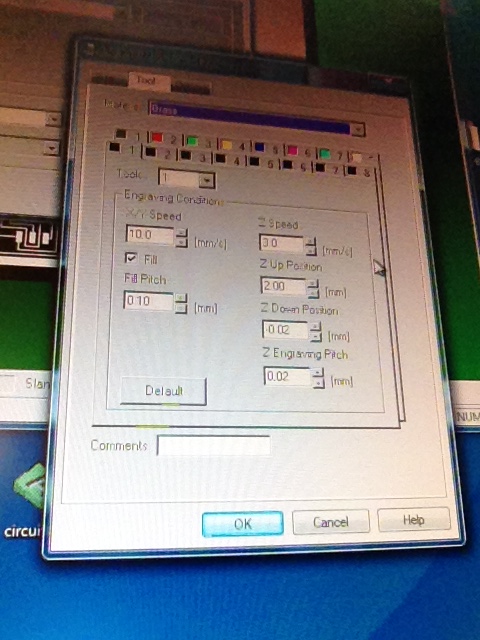
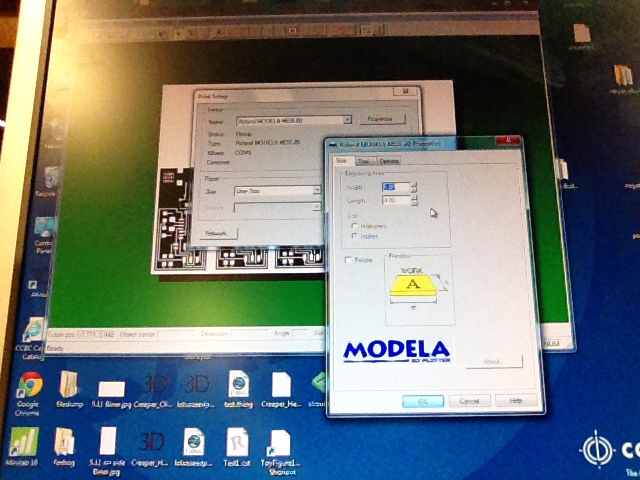
In "2D View tab File", in "Output Device" I set the "Setup" and "Properties" " Tool" in material to aluminum.
After saving it I Started the "Cutting".
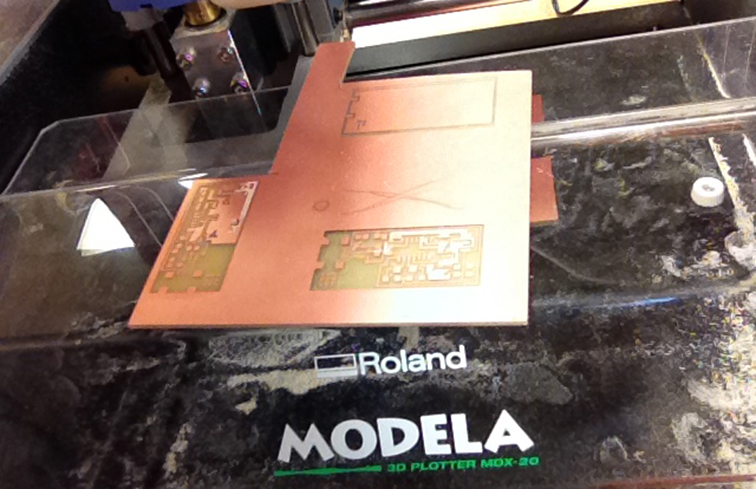
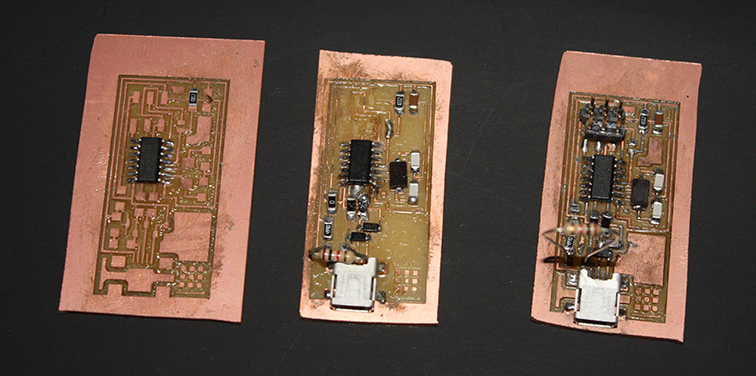
The quality of the milling wasen't great,. but it was a good test.
Meanwhile, we finally installed the Fab Module....much easier with it!
The engraving of the board was clean and good to solder!
Ihad to spend some time to find all the components. I had to make my own 6 pins header but it seems working...
![]()
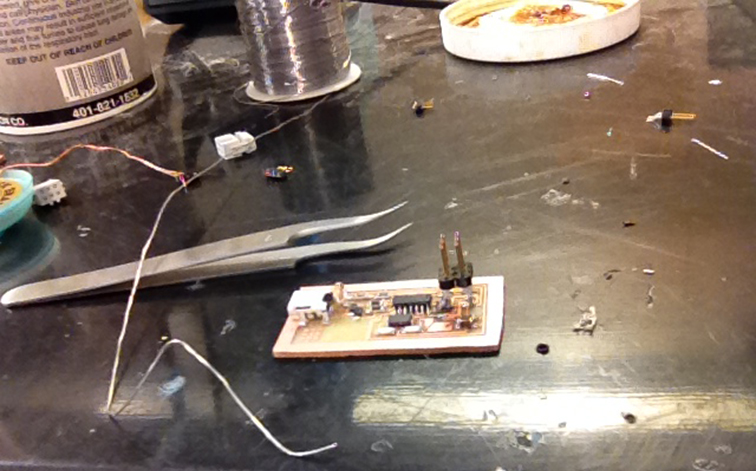
I made so many boards that now I am an expert in soldering...
After seweral attempts I finally connected and programed the ISP.

Green light and ready to go!
programming the board
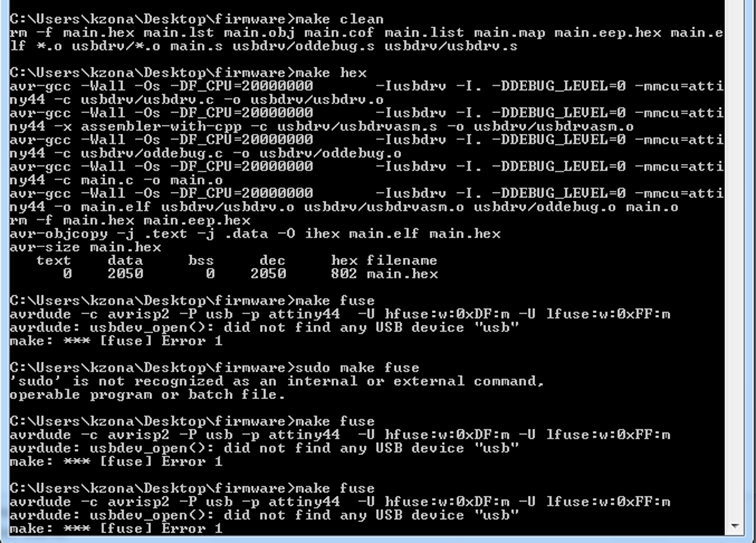
I am using a PC and I used Cygwin (the Windows Linux emulatior) to run AvrDude. At the first attermpt I had a problem in programming the Fab Isp (I don't know what was the problem and neither Merceds was able to find a solution), we tried with Kelly computer too and it didn't work.
With Mercedes we decided to program the board with Atmel Studio.
First, I downloaded the firmware.zip here.
Second, I downloaded and installed Atmel Studio from here.
Third, I connected the FabIsp with the Usp cable to my laptop and the 6-pins header to the AVRISP mkII connected to my laptop too.
The workflow to program the board using Atmel Studio is the following:
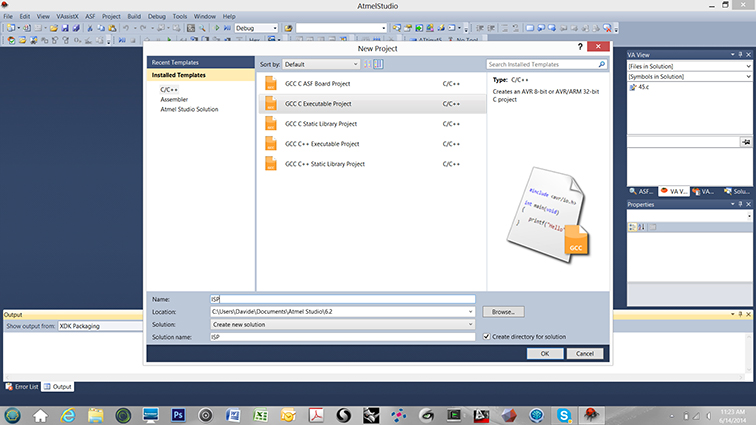
New Project> GCC C Executable project Tools, Name ISP
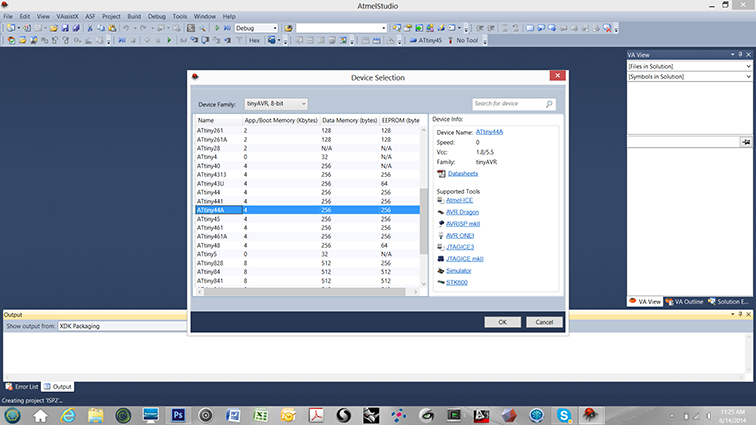
Device Programming:"Tool: AVRISP mkii, Device: ATtiny44A, Interface: ISP]" and Apply.
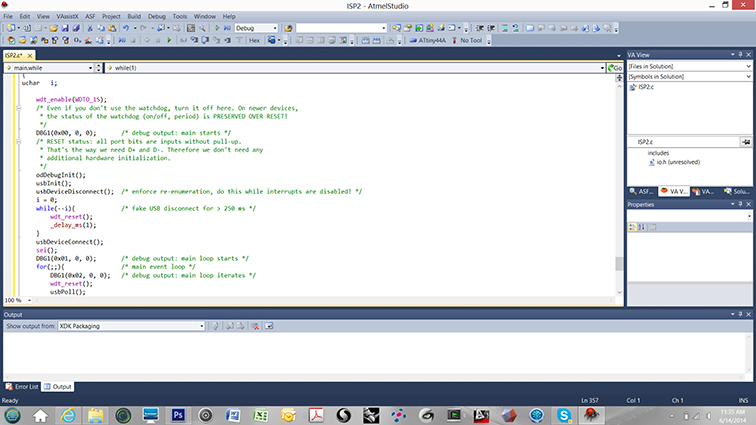
I download the firmware here, and modify it where it says "avrdude -c ..." and replace "usbtiny" with "avrispmkii".
With F5 I started the debugging and created the isp.hex file.
After that I went to "Device Programming where I checked the "Target Voltage" Read (should be 5V) , the "Device Signature" Read, "Memories" and I navigated to the firmware folder. I selected the ".hex" file and hit the 'Program' button. The "verified" message confirmed that the device was properly programmed.