

About the assignment: embedded programming
The task: read a microcontroller data sheet and program your board to do something as many different programming languages and programming environments as possible.
microcontroller data sheet and programming
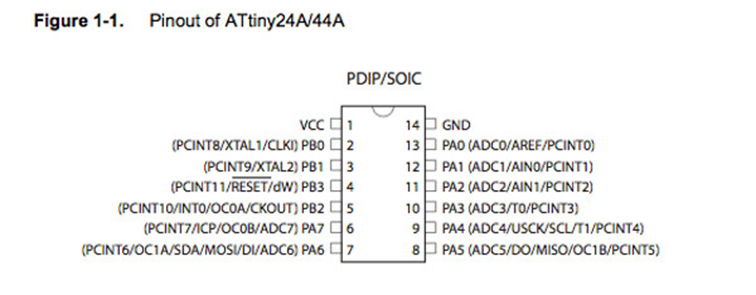
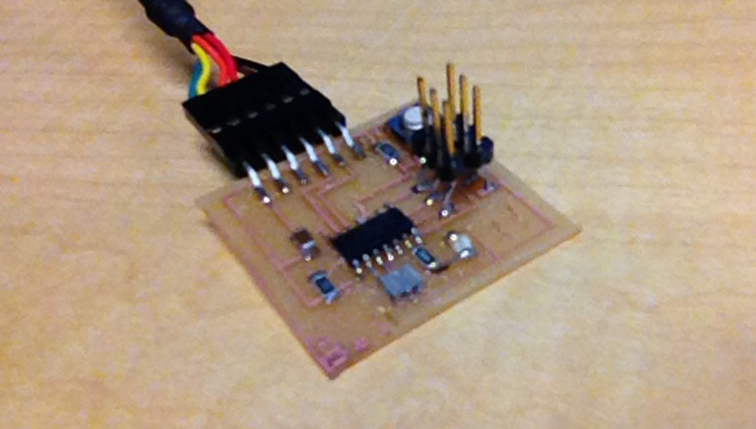
![]() The task: read a microcontroller data sheet and program your board to do something as many different programming languages and programming environments as possible. For my assignment on embedded programming I started reading and studying the micro-controller on my board, the Attiny44, data sheet can be found here.
The task: read a microcontroller data sheet and program your board to do something as many different programming languages and programming environments as possible. For my assignment on embedded programming I started reading and studying the micro-controller on my board, the Attiny44, data sheet can be found here.
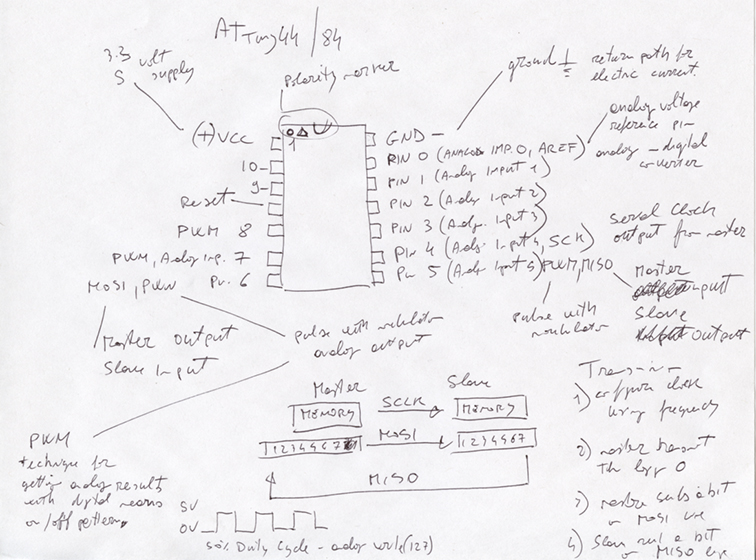
It was overwhelming!, but I understood some of the key points, such as the uses of pins and how some important pins are working (MISO,MOSI,PWM,SCK).
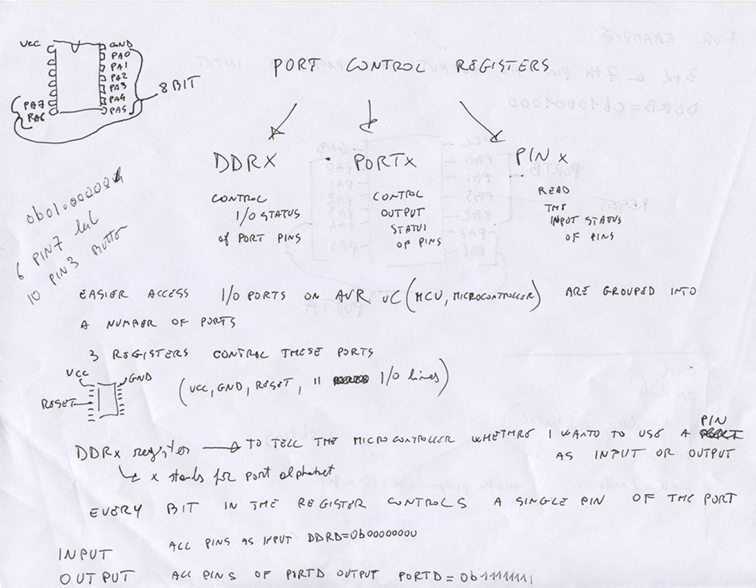
I started studying the microcontroller Attiny 44A and how to program my board.
 I divided the task of the week in three different languages: C, Assembly, Arduino. First, with the help of Mercedes, I developed the C code for my board.
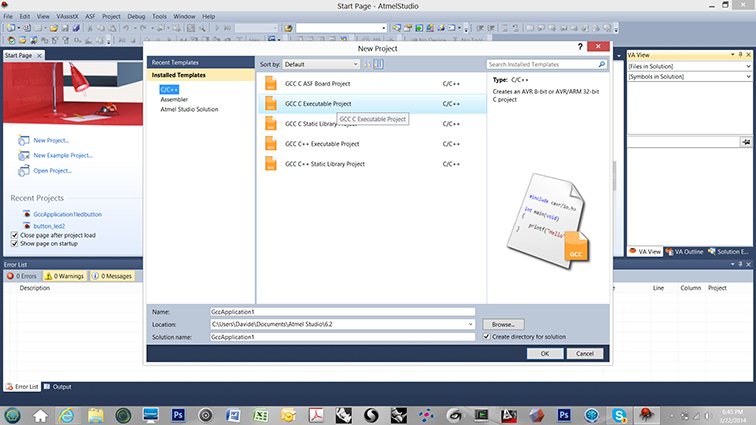
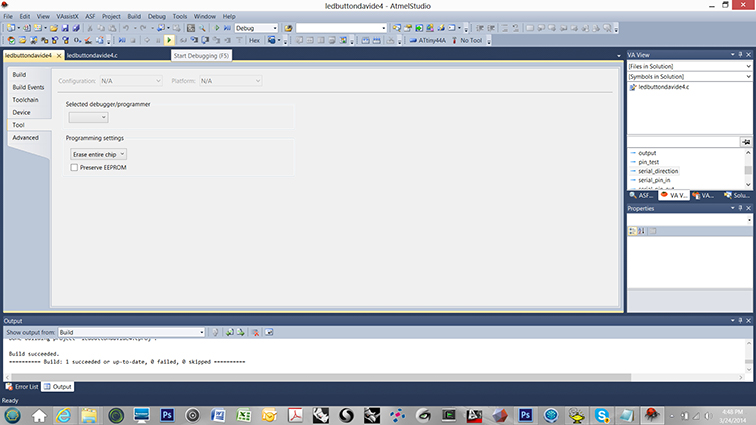
I started with Atmel Studio, wich runs on Windows 8. It has its programming module.
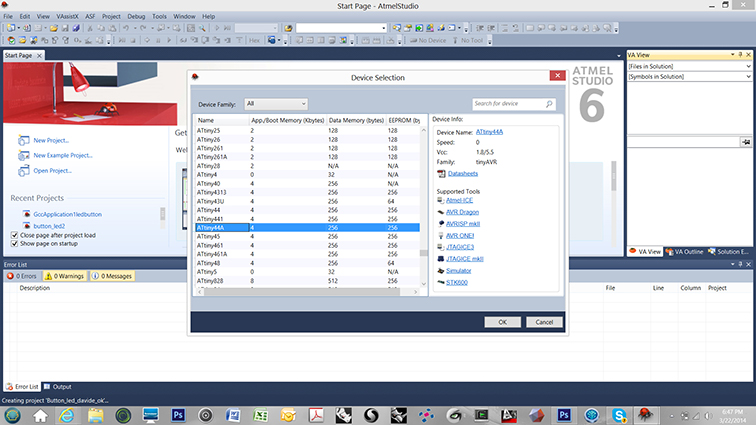
After creating a new project (C / C++ Executable) , I set the device family (Attiny44A).
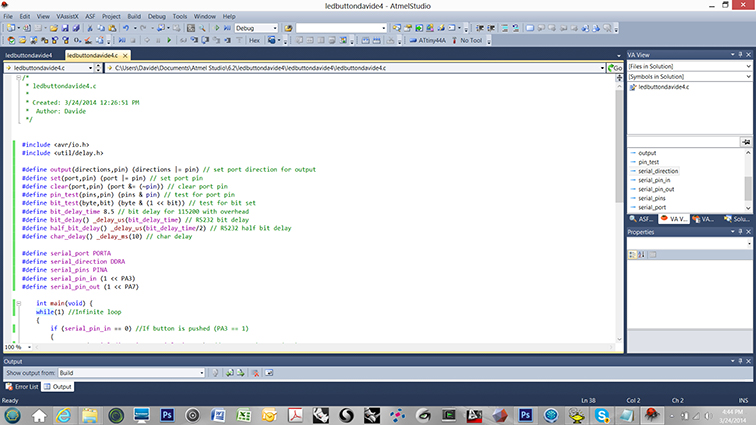
I typed my C code, I compiled it and I started the debugging to create my *.hex file.![]()
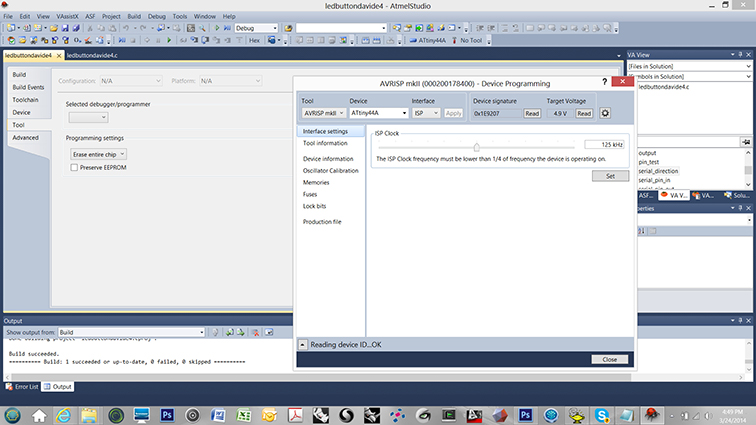
On "Tools" / "device Programming" I set my Device and I red the signature and voltage.
![]()
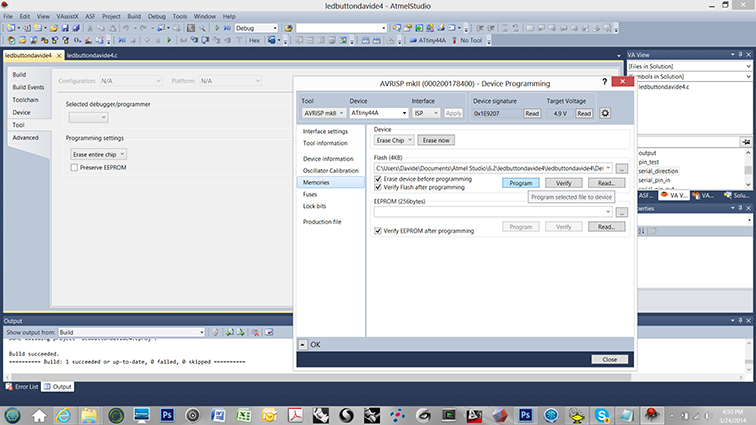
After chosing the hex file, "read" and "verify", I programmed my board with the AvrIsp.
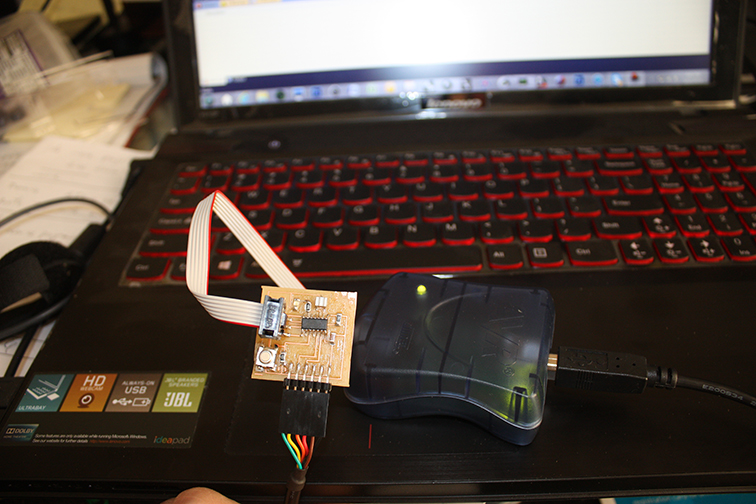
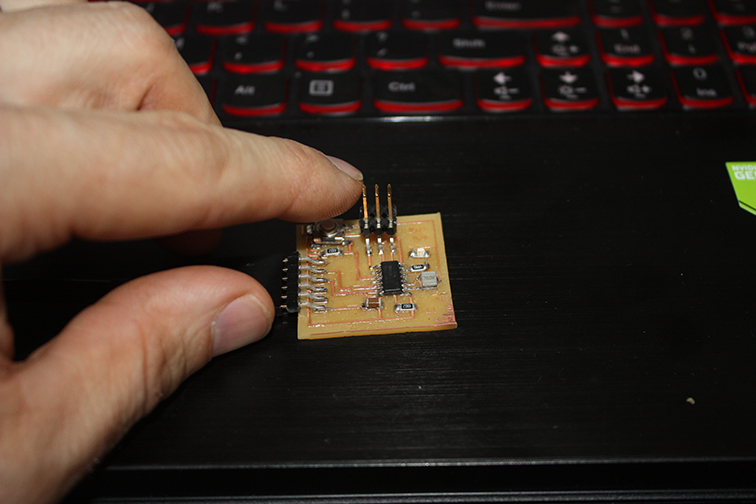
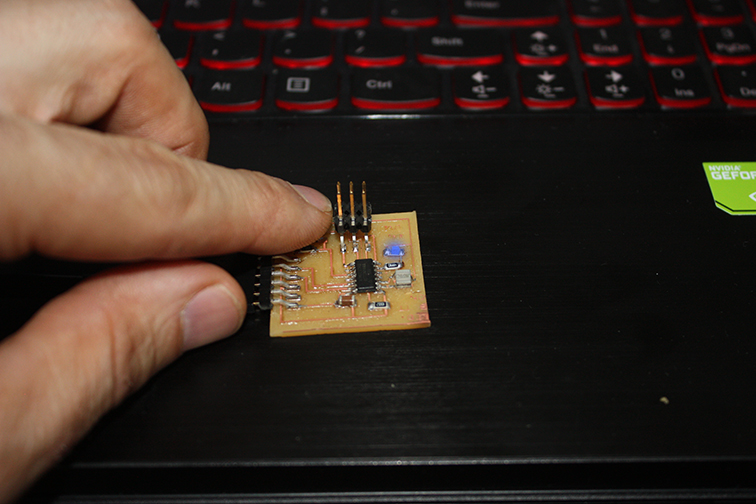
The led was solder in wrong direction so I had to desolder and solder it again...
![]()
![]()
After my first attempt in C and Atmel Studio, I decided to try with Arduino language.
After installing Arduino software, I downoladed the Attiny hardware files and I installed them into the "hardware" directory so Arduino can "talk" with my board.
I wrote a simple code setting the led to pin 13 and button to pin 13.
Here the program I made with Arduino software:
/*
Davide Second program
*/
int switchPin = 8;
int ledPin = 13;
void setup()
{
pinMode(switchPin, INPUT);
pinMode(ledPin, OUTPUT);
}
void loop()
{
if (digitalRead(switchPin) == HIGH)
{
digitalWrite(ledPin, HIGH);
}
else
{
digitalWrite(ledPin, LOW);
}
}
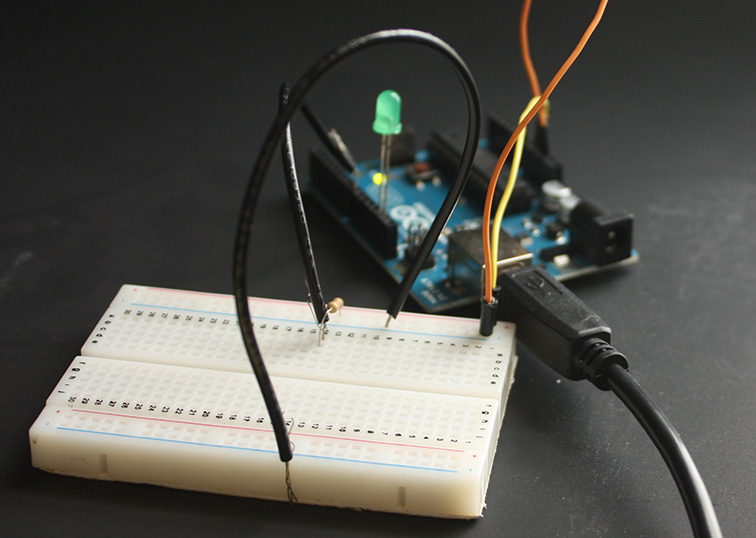
I tested the code with an arduino board I had and a simple connection with a bread board (don't worry, I'm am making my own Arduino board.
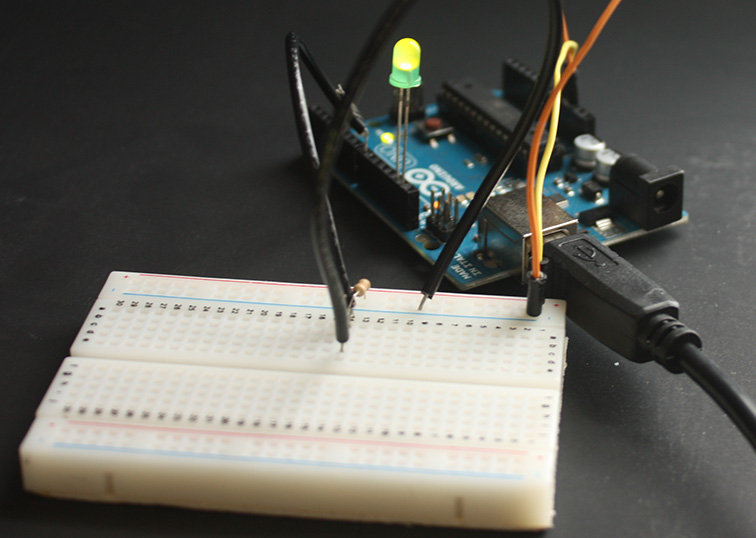
After, I played with the code to set the controller so when I push the button the led turn on and when I push the button again the led turn off (I followed the tutorial for Arduino):
/*
Davide Second program led on off
*/
int switchPin = 8;
int ledPin = 13;
boolean lastButton = LOW;
boolean ledOn = false;
void setup()
{
pinMode(switchPin, INPUT);
pinMode(ledPin, OUTPUT);
}
void loop()
{
if (digitalRead(switchPin) == HIGH && lastButton ==LOW)
{
ledOn = !ledOn;
lastButton = HIGH;
}
else
{
lastButton = digitalRead(switchPin);
}
digitalWrite(ledPin, ledOn);
}