THE FAB ACADEMY 2014
CIRO MEJIA ELIAS

THE FAB ACADEMY 2014
|
|
|
Embedded Programing In this assignment we need to program "Hello World" board, created in Electronics Design assignment. It must be programmed with different programming languages and environments to do something . I found it difficult to understand the C language,but I was able to practice and understand something about this language. Some guides, here: - Basic Manual for C + + ( provided by our friend and teacher Francisco Camacho ) - C++ Software These are the components that will be used in this task: 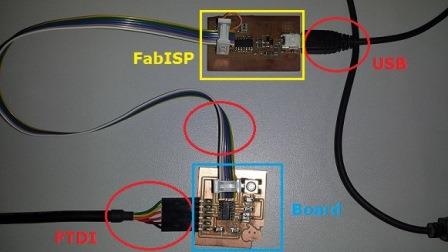 I tried this assignment in two environments : arduino and ardublock . Below I will explain step by step this experience: a) Arduino IDE This environment is easy and if you understand a bit of C + + , there is also lots of information on it. Check the following steps : - Download the software from here.
- Download Microcontroller Attiny libraries . - Download drivers and FabISP - Download drivers FTDI cable Installing the software is easy and intuitive. 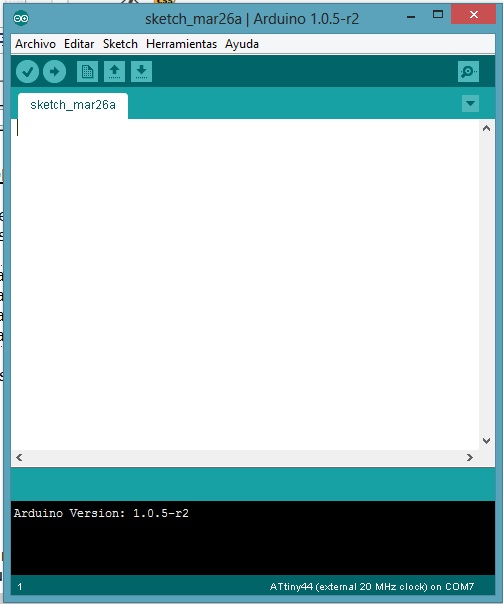 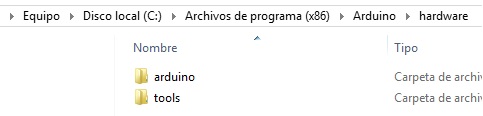 I had some problems with FabISP drivers , the operating system did not accept unsigned drivers 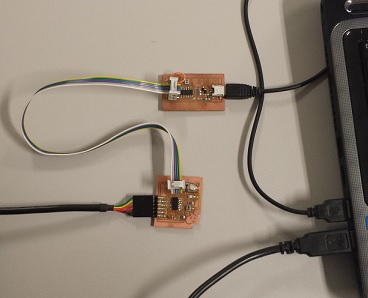 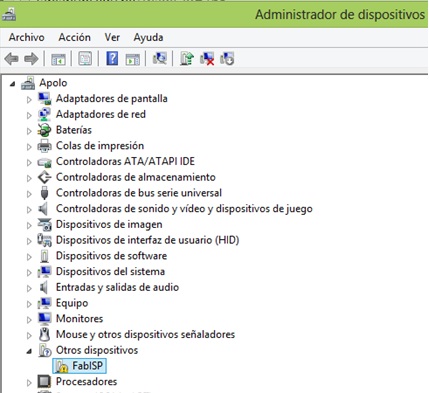 So I had to make some changes to the configuration of Windows 8 (Thanks to Isaac Robles for the tip ) :
Following these steps will be able to install the driver FabISP by the device manager. 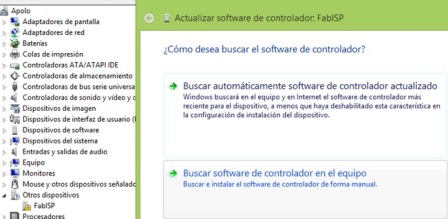  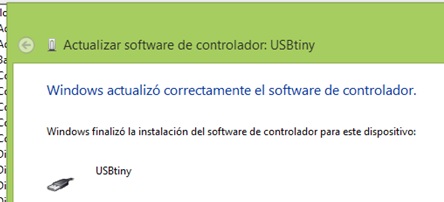 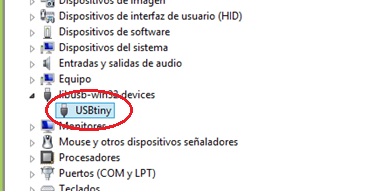 After having installed all the necessary start our own settings in the Arduino hardware.
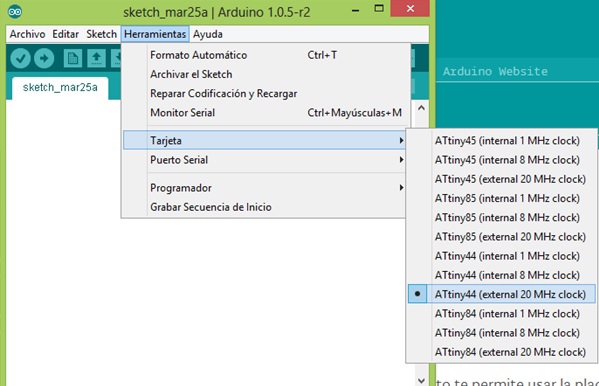
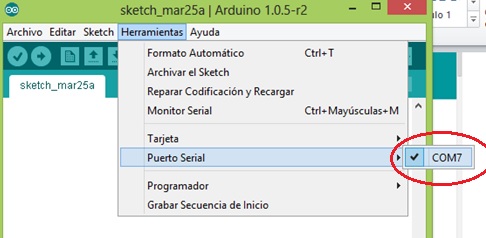
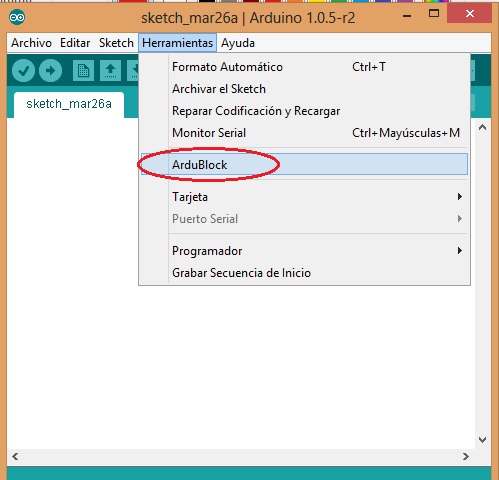
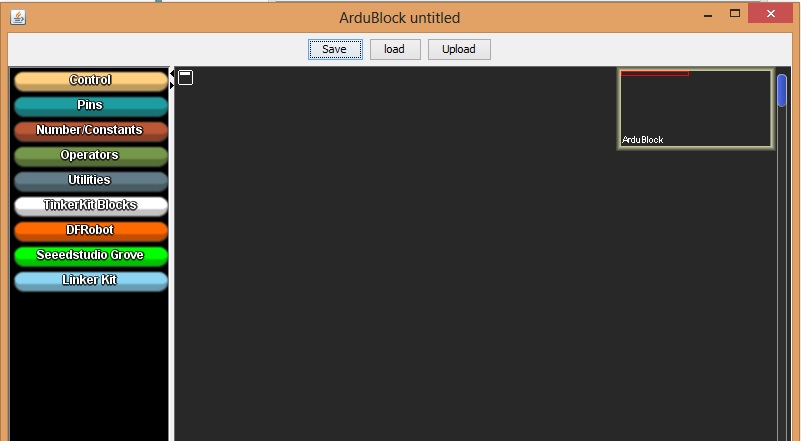
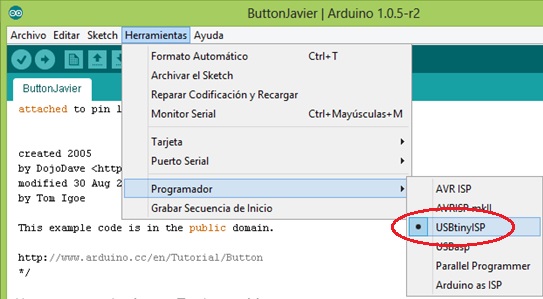 After all these installations and configurations start programming the arduino based on the examples of the software itself. I tested the examples of the button and the LED and they run properly. Then I modified some values in the programming so that pressing the button a few seconds turns on the LED, then turns it off. The code is as follows: 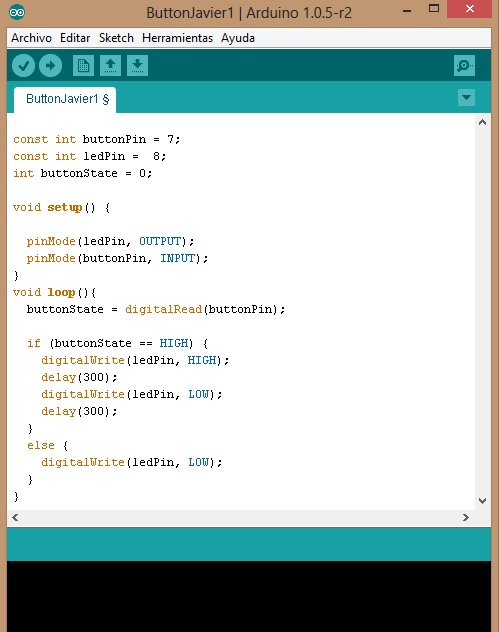 When scheduling you must take into account that the identification of the inputs and outputs of our microcontroller ATtiny44 does not correspond to the same arduino. For this there is a table in order to make the comparison, and according to this program: 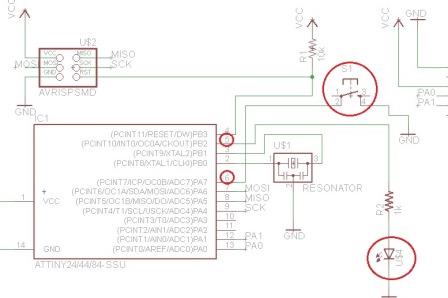 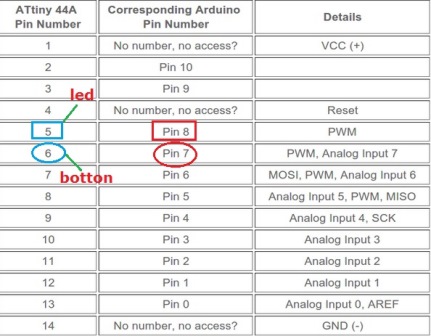 After having programmed checked and compile the program: 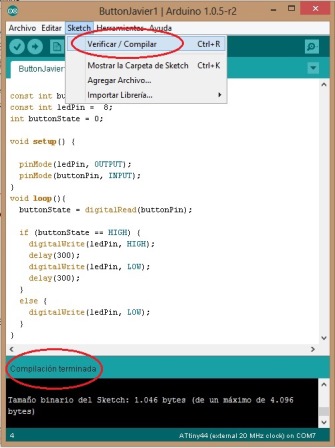 Then load the program on our plate: 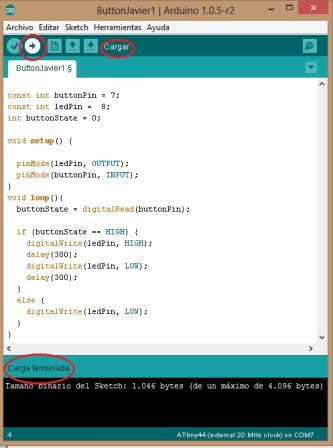 And see if it works on the sequence. 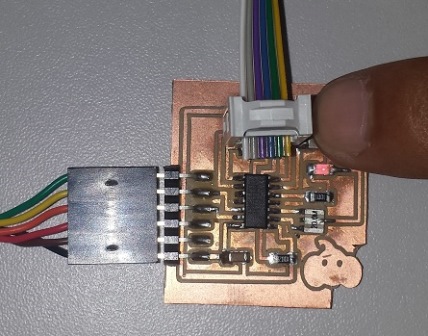 b) Ardublock The first step is to obtain the software from this link. Then you need to copy that file in the arduino folder located in the following path: 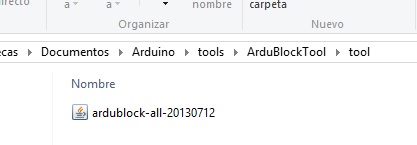 Activate the checkbox updates. 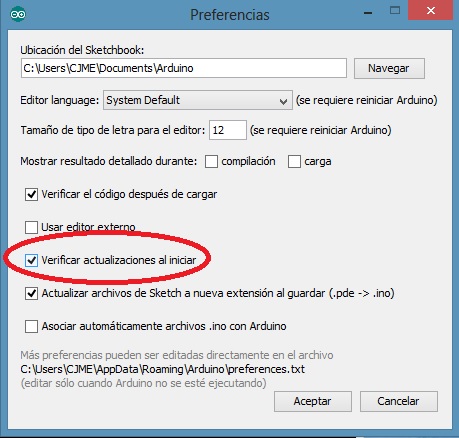 Load the "Ardublock" from the Arduino tools.
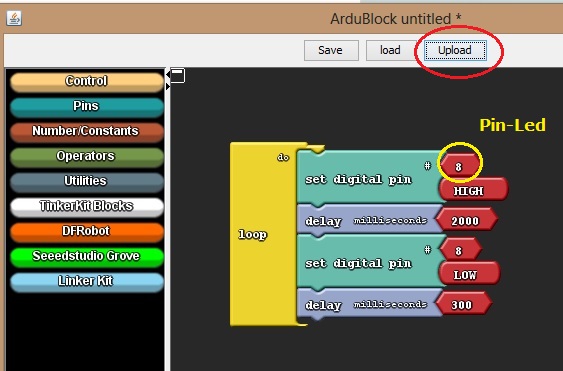
  This
software is easy, you just have to have logic in the construction of
the diagram. There are established only objects you drag and complete
the requested parameters, taking into account the inputs and outputs
seen before. Take an example of the LED on and off.
We program in Ardublock and then download the code to the board and go.
 Attached is a photo and video
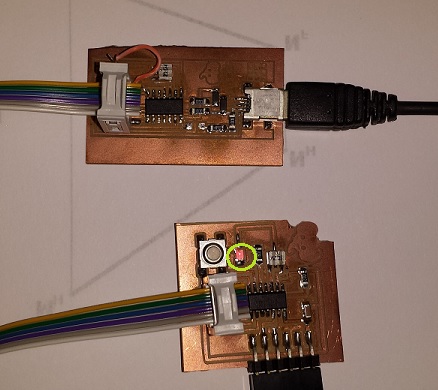 | |