THE FAB ACADEMY 2014
CIRO MEJIA ELIAS

THE FAB ACADEMY 2014
|
|
|
Composites This assignment was to create a heterogeneous mixture of synthetic materials to form a compound. This compound becomes significantly higher than the initial raw materials, such as resistance and lower weight properties. A clear example of these compounds are the bricks, used by our ancestors. I had the idea to create the shape of an elephant and then use it as a mold resistant as a toy or a nightlight for that assignment. Inspiration is always my son. Perform three experiments, the first two were unsuccessful: Experiment 1: Work with vacuum bag Work steps were as follows. a) Design of the mold. Design was performed in Inventor Professional and then export it as AutoCAD DWG to DXF and then as the Part Works. 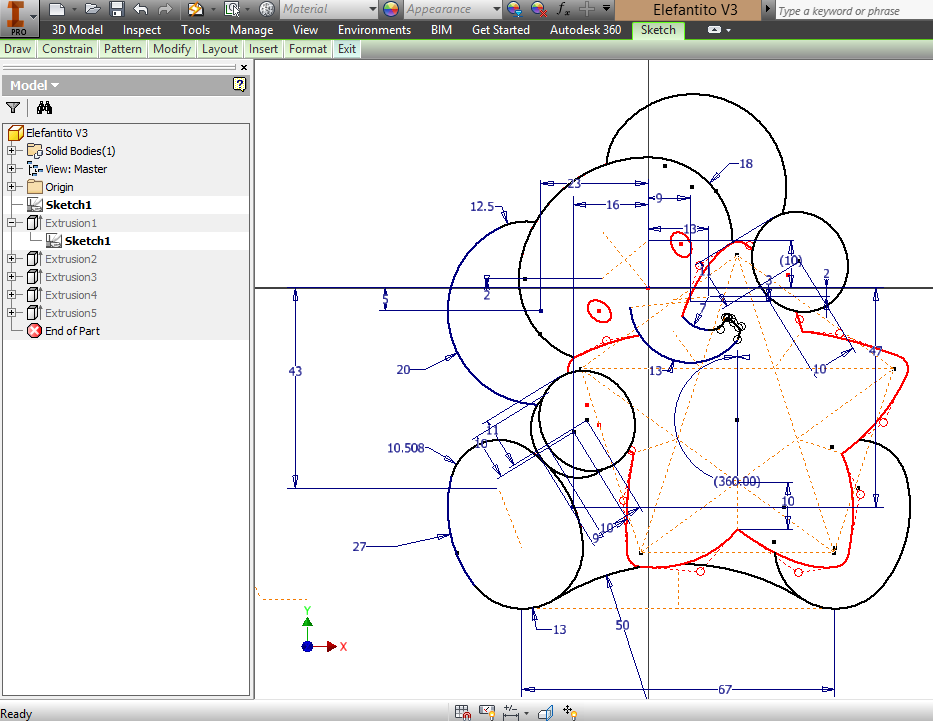 Modeling 2D 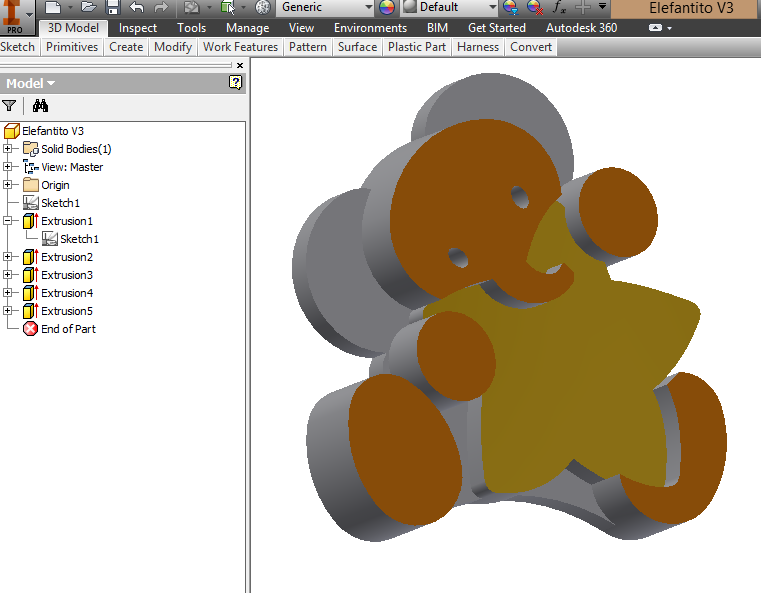 Modeling 3D 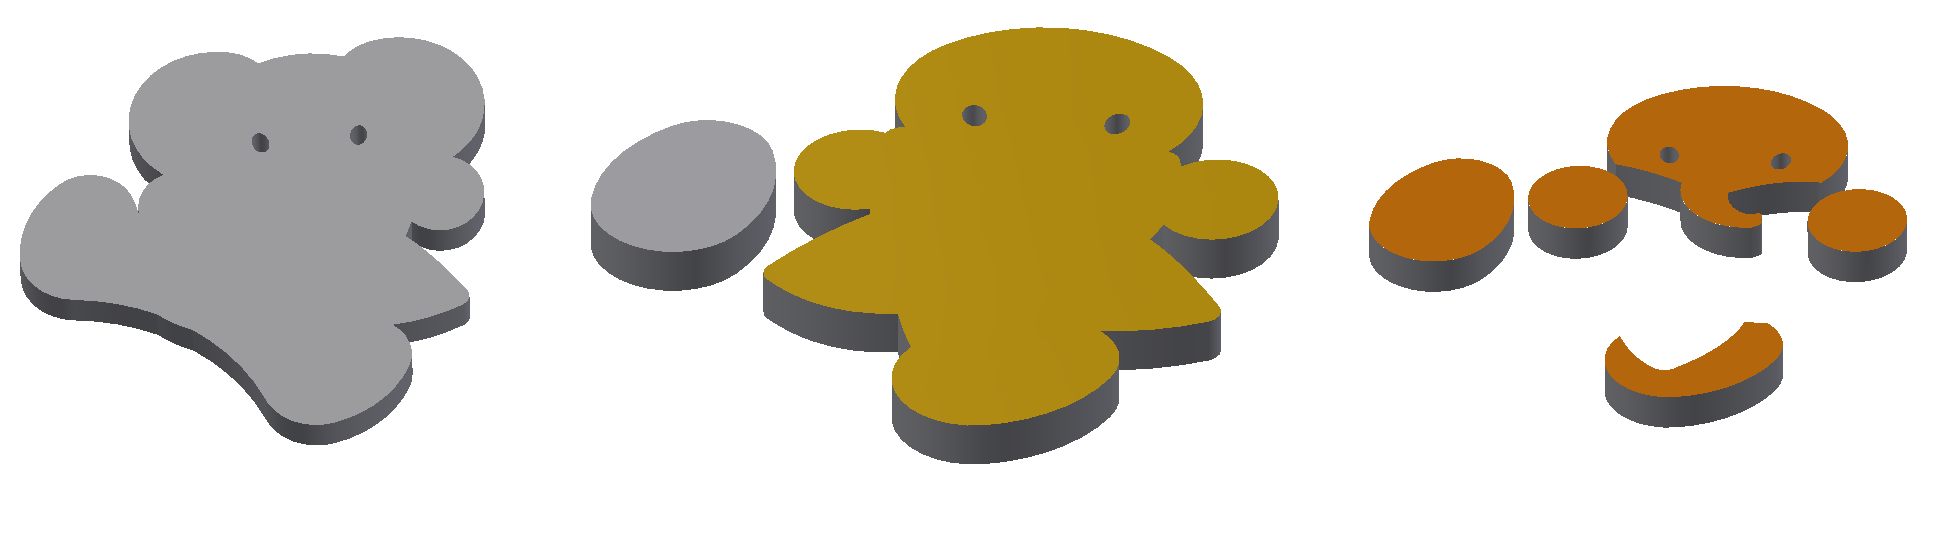 Mold Parts 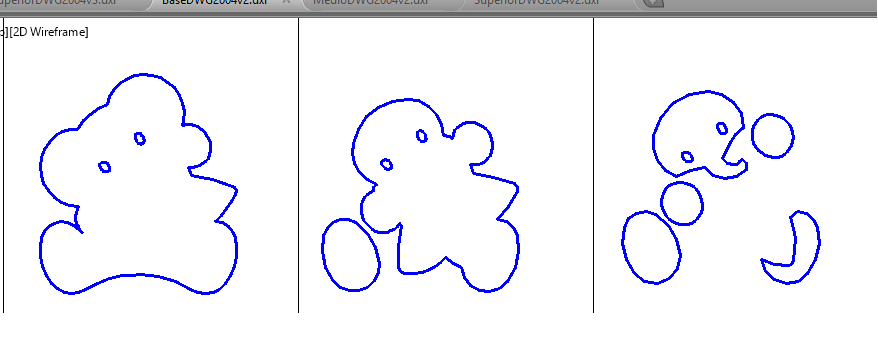 Export DXF
b) Establishment of the mold. Mold design in ShopBot on 18mm plate was machined MDF. The mold is made with three layers of MDF and then joined with synthetic glue and lag bolts. General measures of the mold were 25cm high and 5cm thick 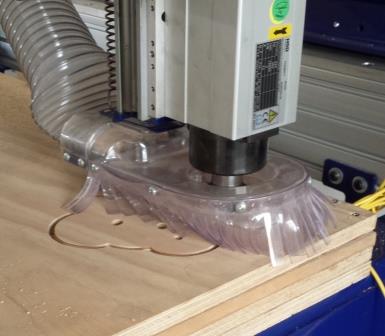 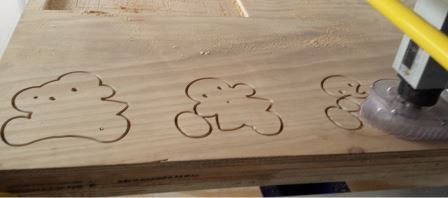 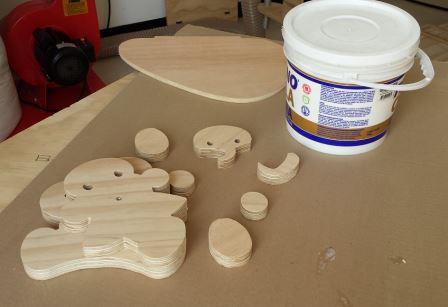 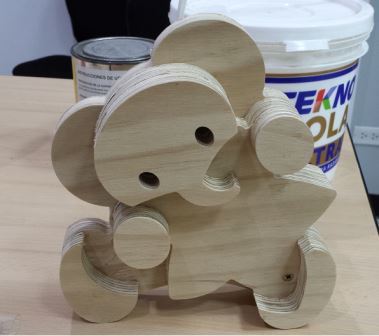 c) Construction of the vacuum bag. Tests were conducted with various types of plastics, was chosen to achieve that take the form of the mold and not too thin to prevent tearing. Bag was then constructed two ways, the first attached to a table with paper tape and a nozzle for connection to the vacuum pump. The second bag also complete with paper tape and a nozzle formed. 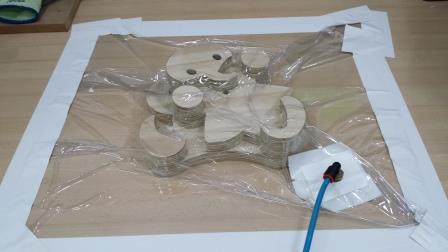  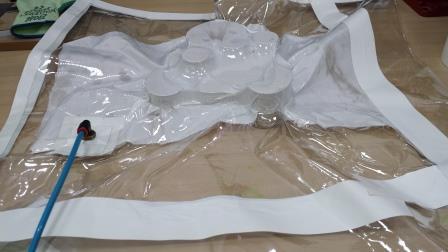 d) Composite. To perform this step is necessary protection for the type of compound to be used, you need gloves for handling. Epoxy resin (poxbak plane) was used by mixing two components in a ratio of 1 (part B) to 2 (part A). Part B is homogenized for 5 minutes and then mixed with part A until a homogeneous solution. After the final mixture to have approximately 10 minutes use. The base material was jute which in this experiment was cut into small pieces to make take the shape of the mold, which has a complex shape. Vaseline as a release and plastic wrap (film) was used. For the complex shape of the mold and the plastic adherent parts jute did not adhere to this. The goal was not achieved.general the steps are known from past work, the new sensor is measuring. I created three types of sensors: temperature, load and transceiver. 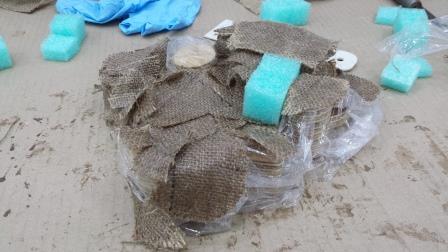 Experiment 2: Working with a mold and model
a) Design of the mold. Increased the initial design was modified model dimensions. The mold with a difference of 1.5 mm from the model is also designed. 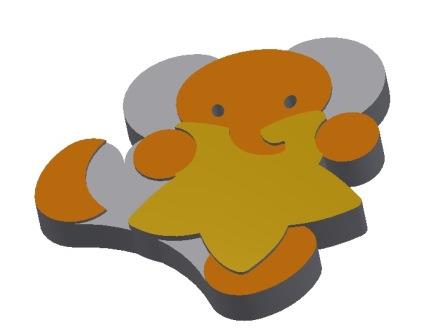 b) Establishment of Model and Mold. Both were machined in the shopbot on MDF board and armed with glue and self-tapping screws. 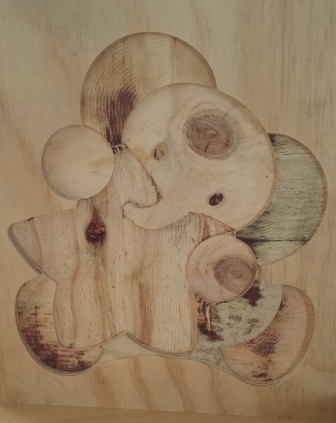 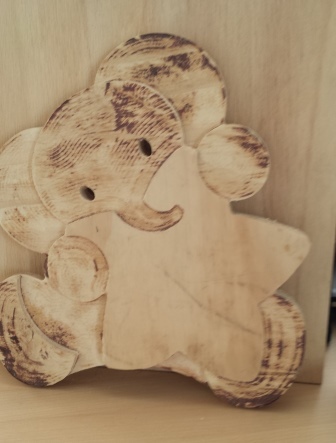 Mold Model c) Composite. The process is similar to that used in the above scenario, the difference was used as a release material, in this case was wax, which was rubbed into the mold and model. 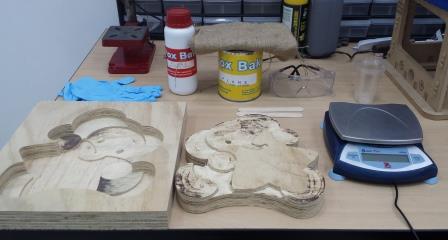 Materials and supplies to be used 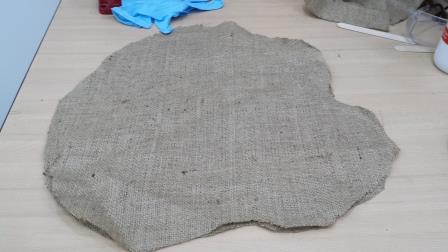 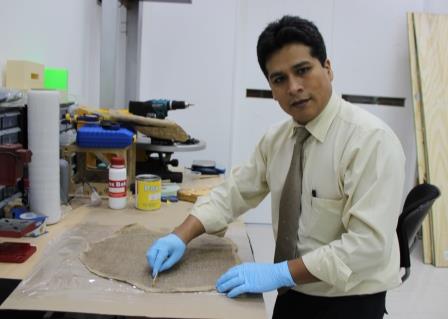 Yute Smearing the compound 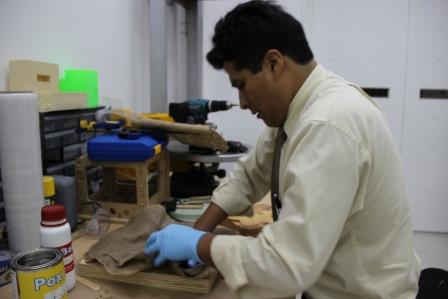 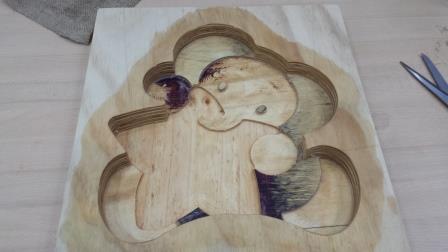 Placing the material Mold with wax 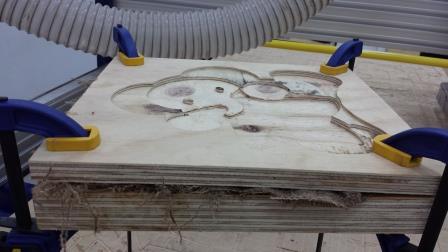  Pressing the composite Unmold 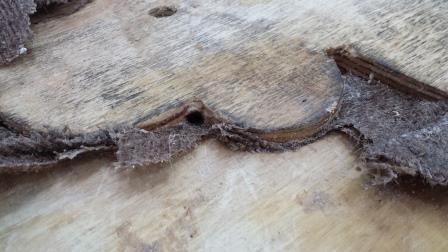 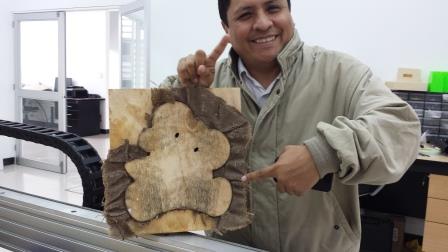 The model was left attached to the mold The target for three reasons was not possible. The complex form of the model, which features a lot of depth, the release agent and the short distance between the mold and model. Experiment 3: Working with a mold and model a) Design of the mold. He turned to amend both designs, in this case the difference between measures increased mold and 3mm model. 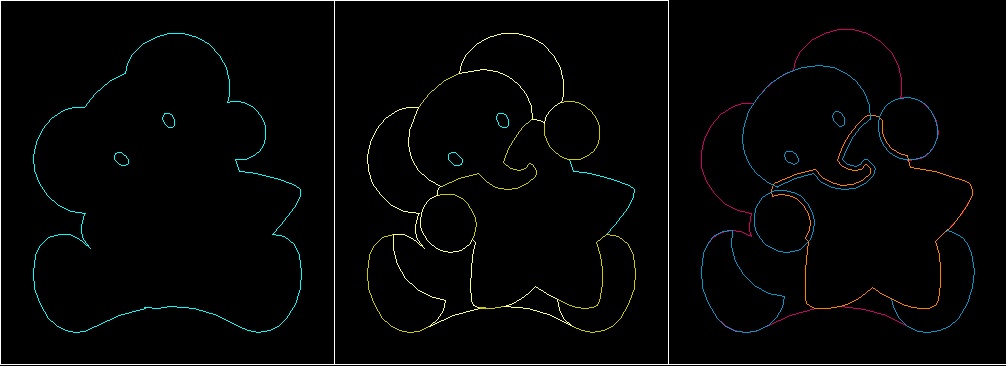 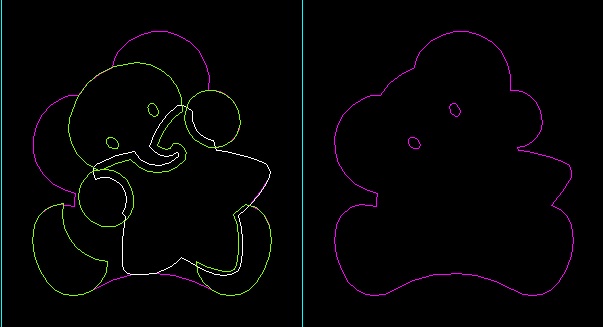 b) Establishment of Model and Mold. The same procedure that was performed the previous scenario. c) Composite. The same steps as the above difference scenarios with a release agent, wax is used in addition, the adhesive plastic (film) on both sides of the pattern were followed. 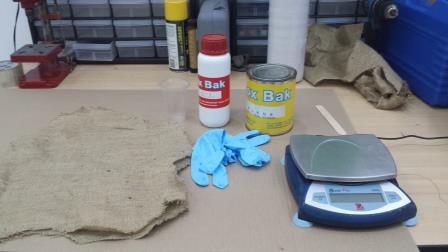 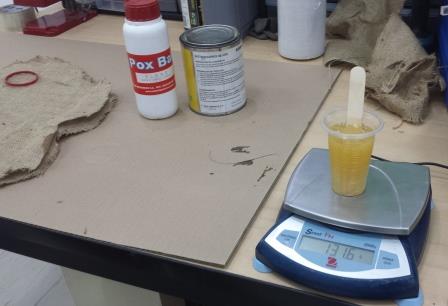 Materials and supplies to be used 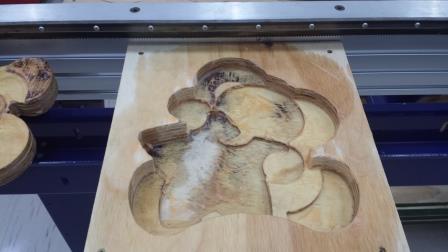 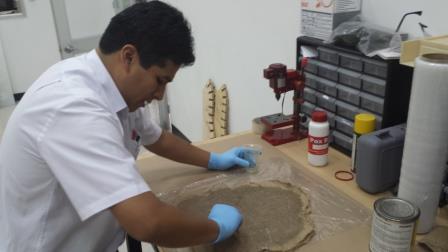 Wax mold Smearing compound 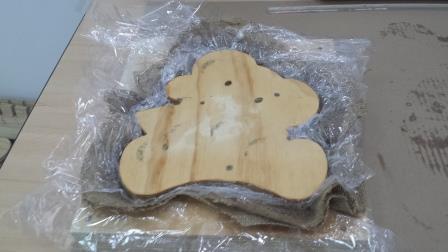 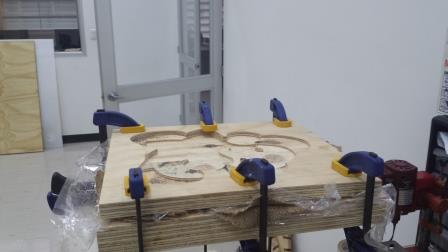 Model embedded in the mold Pressing the composite 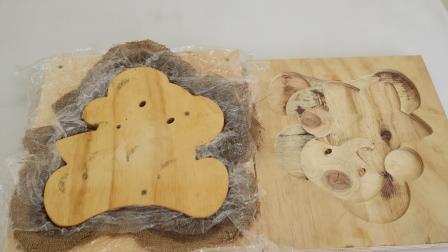 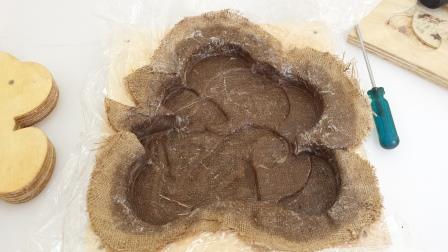 Unmold (Easy) 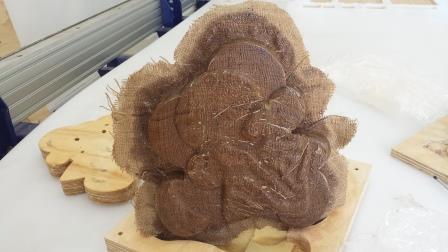 | |