THE FAB ACADEMY 2014
CIRO MEJIA ELIAS

THE FAB ACADEMY 2014
|
|
|
Molding and Casting This task is divided into three stages: a) Design model and mold b) machining of the mold c) Casting The most difficult stage was machined and was easier casting. The idea is to model a crab, to take it as a model in baby soaps or chocolates. a) Design and mold model: In this stage the crab modeled in Inventor Professional software, taking approximate to fit into the block of wax, which has the following dimensions measures 204 x 89 x 32 mm The difficult part of the modeling was to generate the curved portions, the threads do with variables. Modeling step is shown from the initial sketch to the operation to generate eyes. 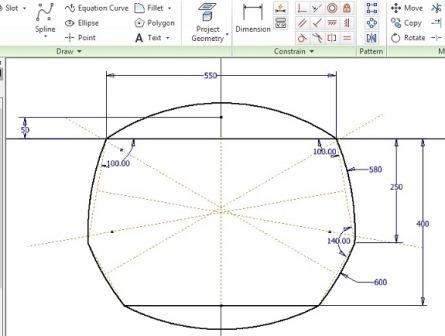 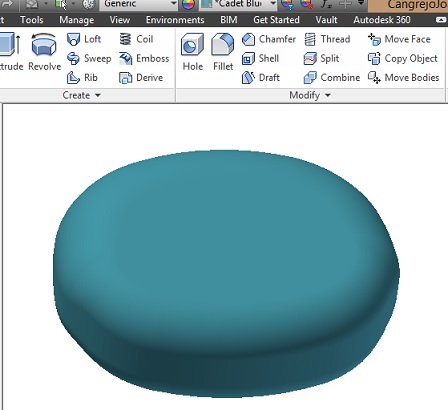 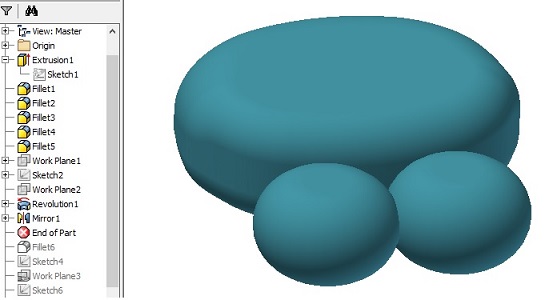 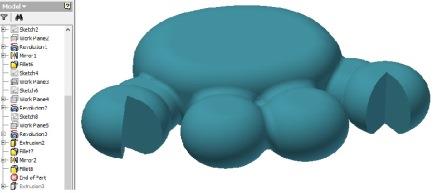 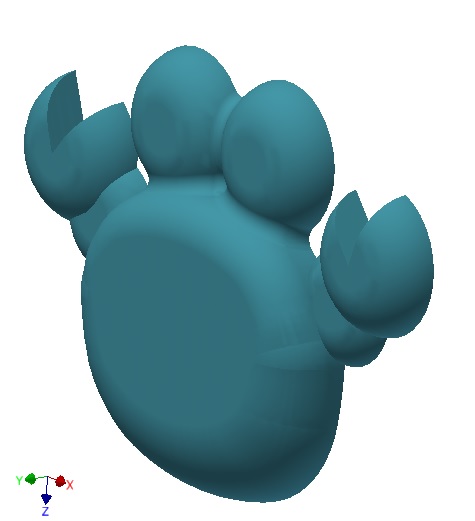 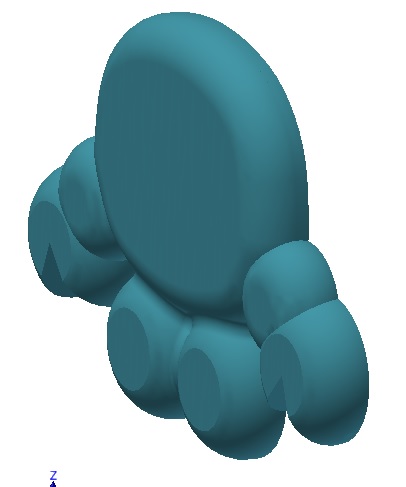 The next step was to model the mold box, where anger crab.
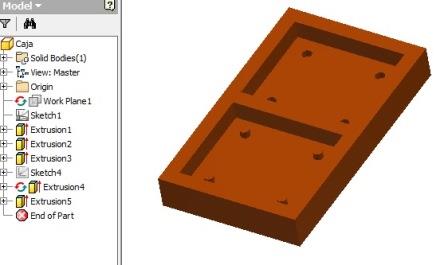 Assembly with the box and the two parts of the crab, which will help us to obtain the final mold is then performed . 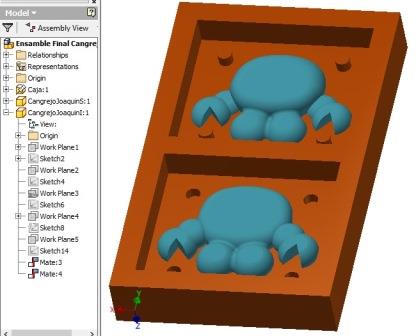 The final step was to export to STL to send the MODELA. b ) Negative Mold Machining : The material to be processed was in a block of wax , with dimensions : 204 x 89 x 32 mm . The first attempt was to work with the Player software MODELA but good results are obtained , however the steps to where he came shown . a. Load the software STL PLAYER MODEL 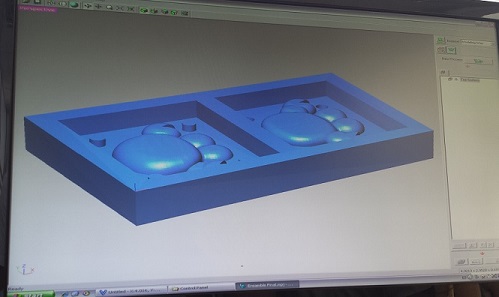 b . Assign material roughing 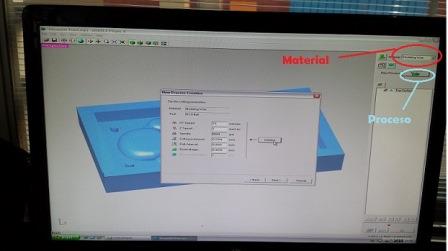 c . Show the path of the process 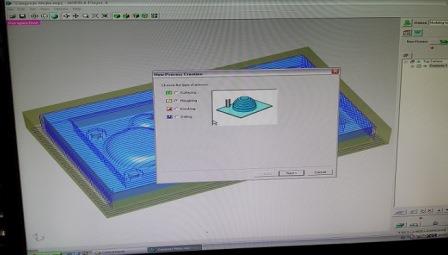
d . Selecting the cut surface ( axis )
e . assign tool
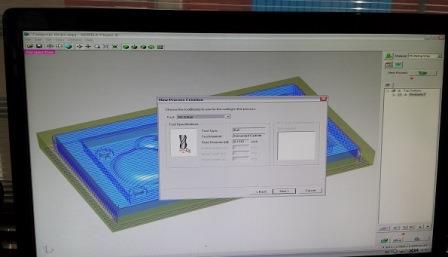
f . Select cutting area and depth
g . Select cutting parameters
 When you start the machining path followed by the tool was not correct.
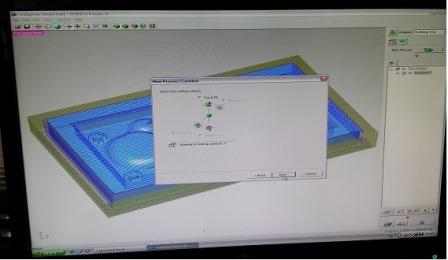
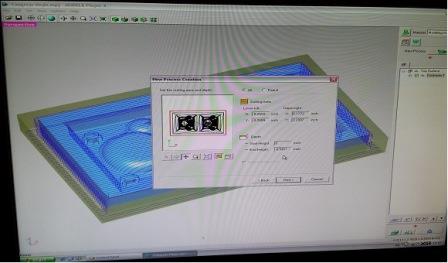
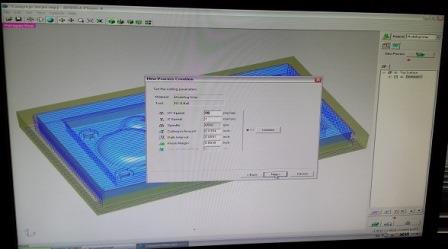
The second attempt was with the Fab Modules, the same software that we have been working for machining plates and scanning. We worked in two stages: roughing and finishing, following these steps: Roughing Stage: Download the respective module of the machine to work with STL extensions. 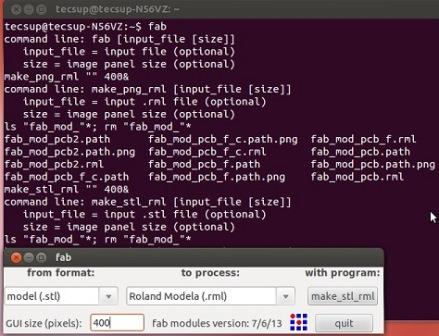 Select the bit size and type of operation, in this case will be rough. We suggest working with a round nose bit to get a good surface. Enter parameters for the job and start. Note that the estimated time for this step was 4 hours. 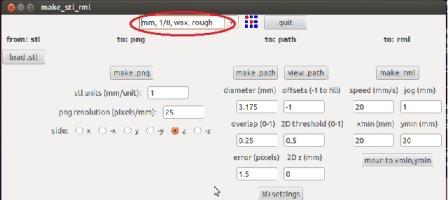 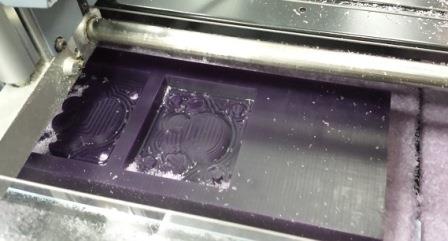 Changing a bit smaller . Select the new drill diameter and the finishing operation , the other parameters are maintained and start the process . This operation takes about 3 hours. It is suggested to restart the machine after a tool change, to start in the desired position . With this operation, the machining process of the mold is finished . 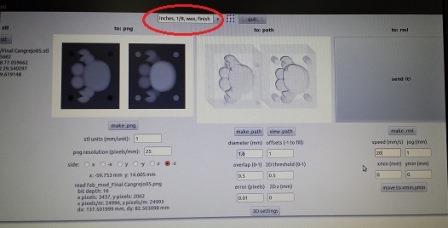 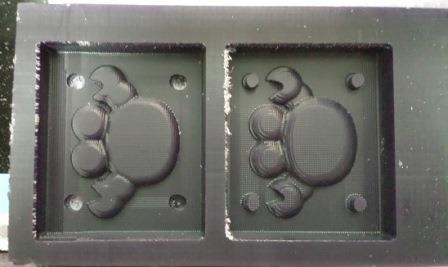 c) Casting: In this process draining the material is performed , in our case for mold maquinamos in wax and then for the model . Emptying step to the mold . The material selected for this phase was the combination of rubber and urethane in equal proportion. Mix until a homogeneous solution and then poured into the negative mold . No need to add any fat component because the wax will not stick rubber and can be easily removed . The time required for solidification is 3 to 4 hours, in my case leave a day. 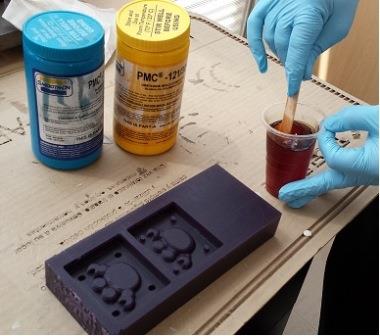 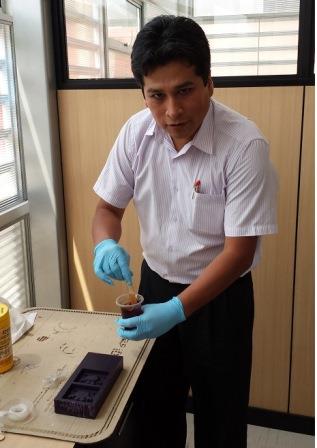 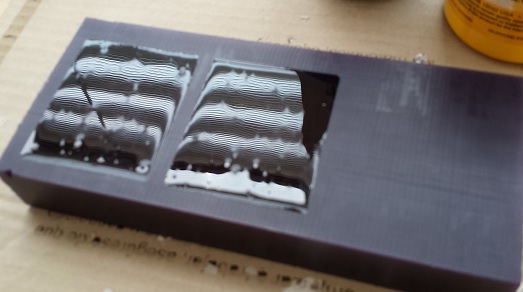 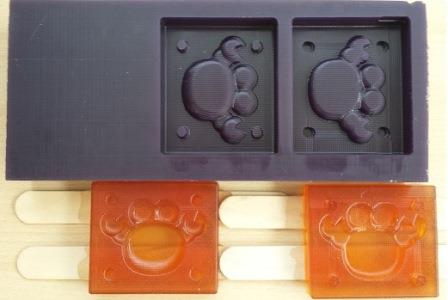 Emptying stage of the part.
The material selected was cement was combined with water at a ratio of 5 parts of cement and 1 part water, until a consistent solution. To make a hole for emptying the trough in the center of the mold was made. Because the workpiece is small syringe was used for this process. Drying time is 2 to 3 hours, in my case wait 3 hours. Disassembling suggested before complete drying, since the burrs can solidify and be difficult to remove subsequently. 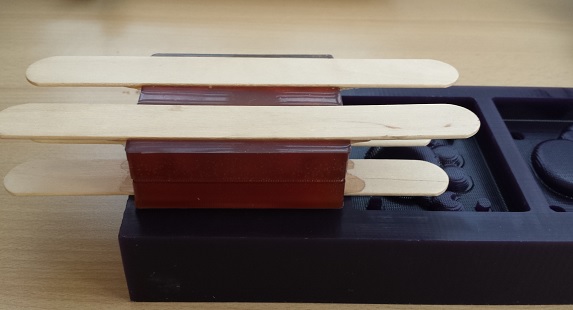 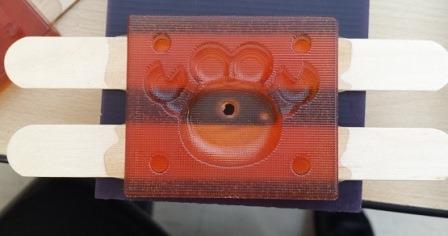 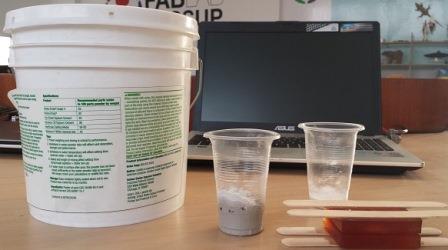 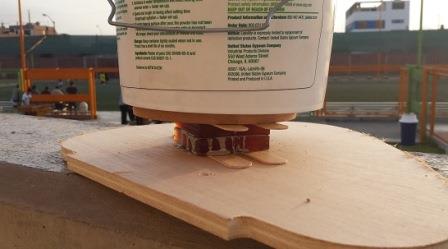 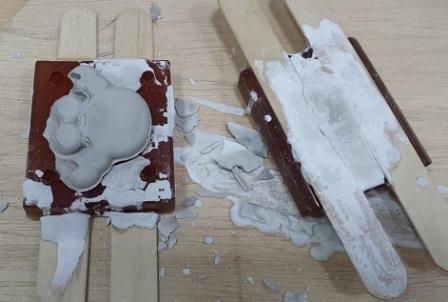 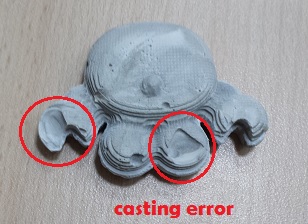 | |