10. machine building
After some brainstorming we decided to make a 2D draeing machine. I had a old prusa printer we used for parts. I dismanteled this machine and lookt for the parts i needed.
The parts I re-used where:
- 2 NEMA 17 stepper motors
- 2 endstops
- the power supply
- mini RAMBo 1.3 board
- LCD screen
- 6 roller bearings
- 4 steel rods
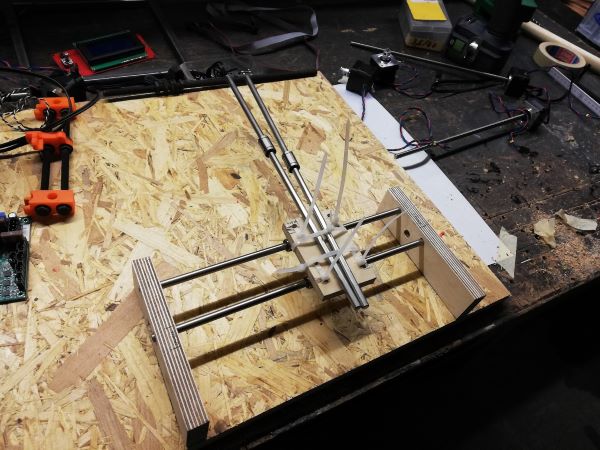
Prototyping
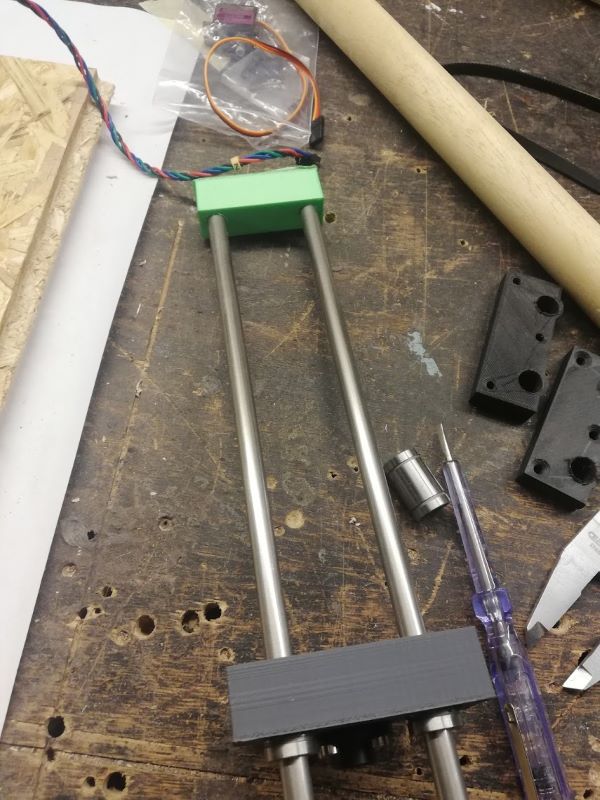
Before manufacturing the parts I prototyped the machine with wooden parts. I did this to know the dimensions and which parts I needed to manufacture.
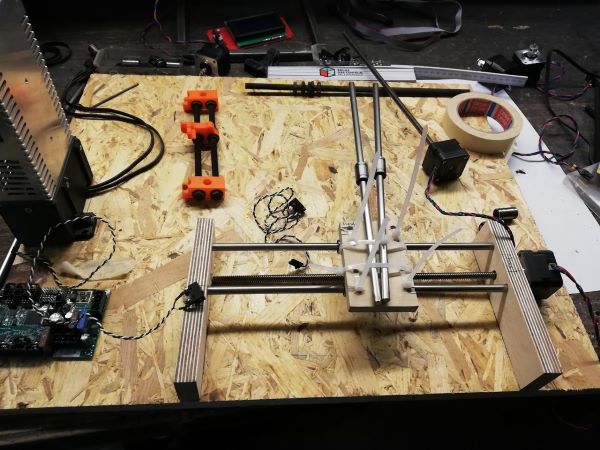
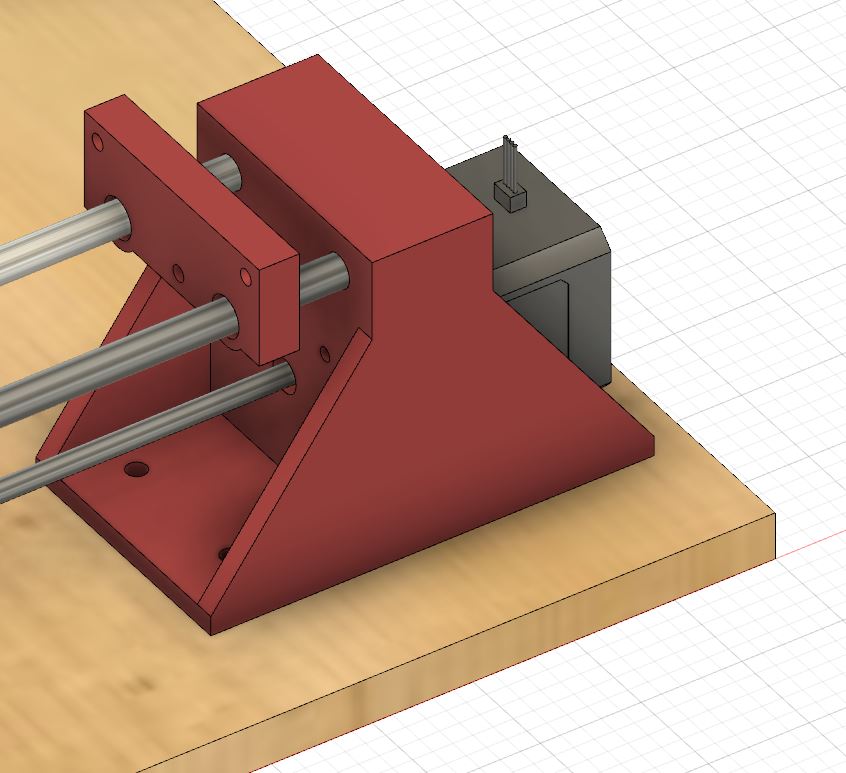
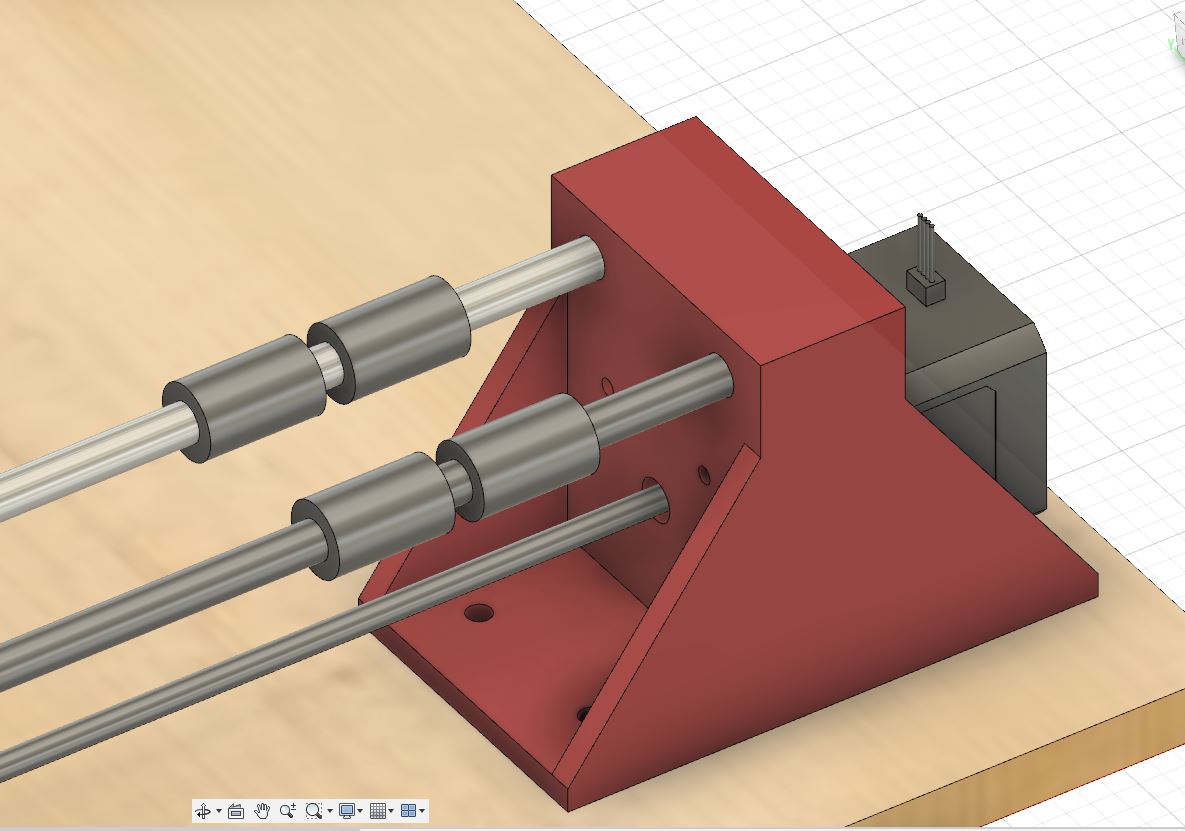
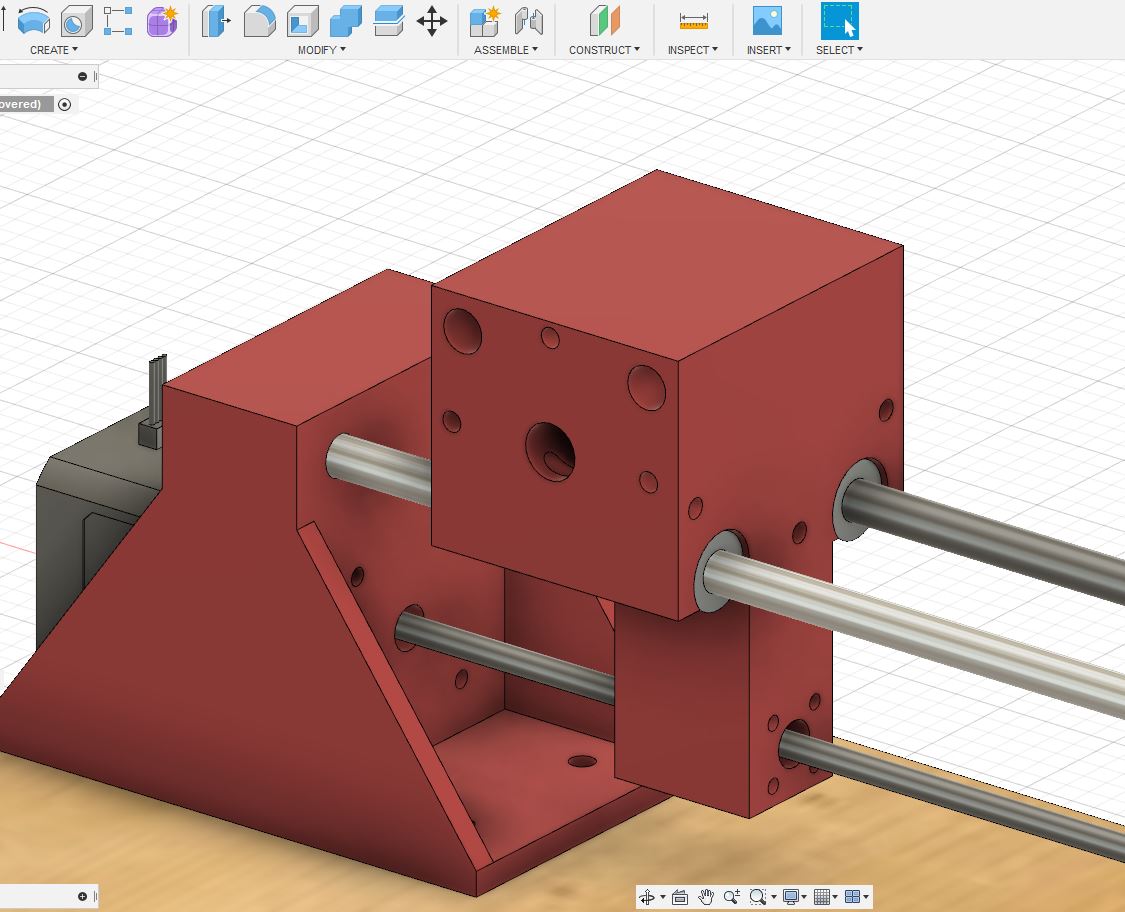
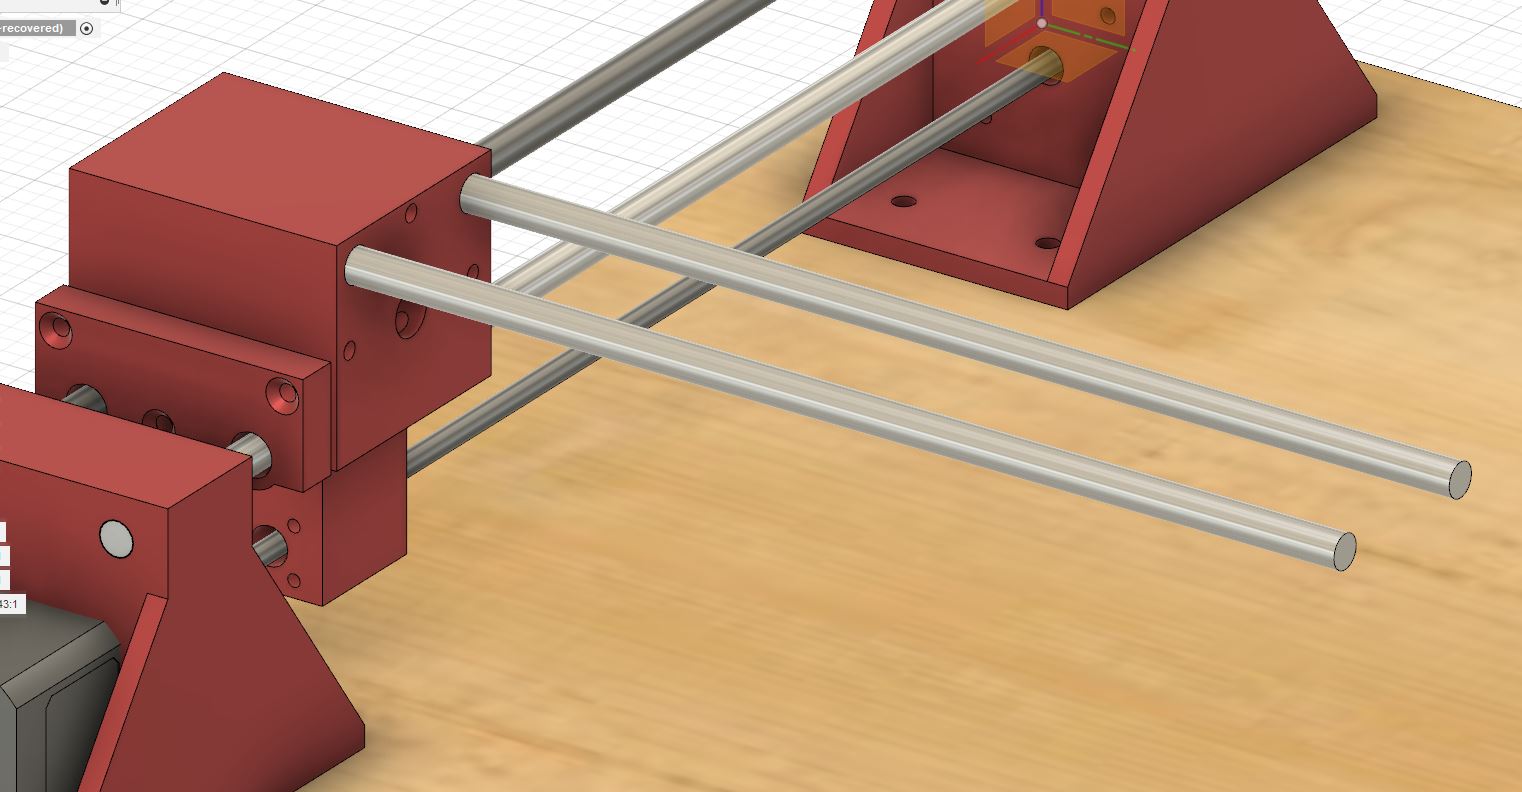
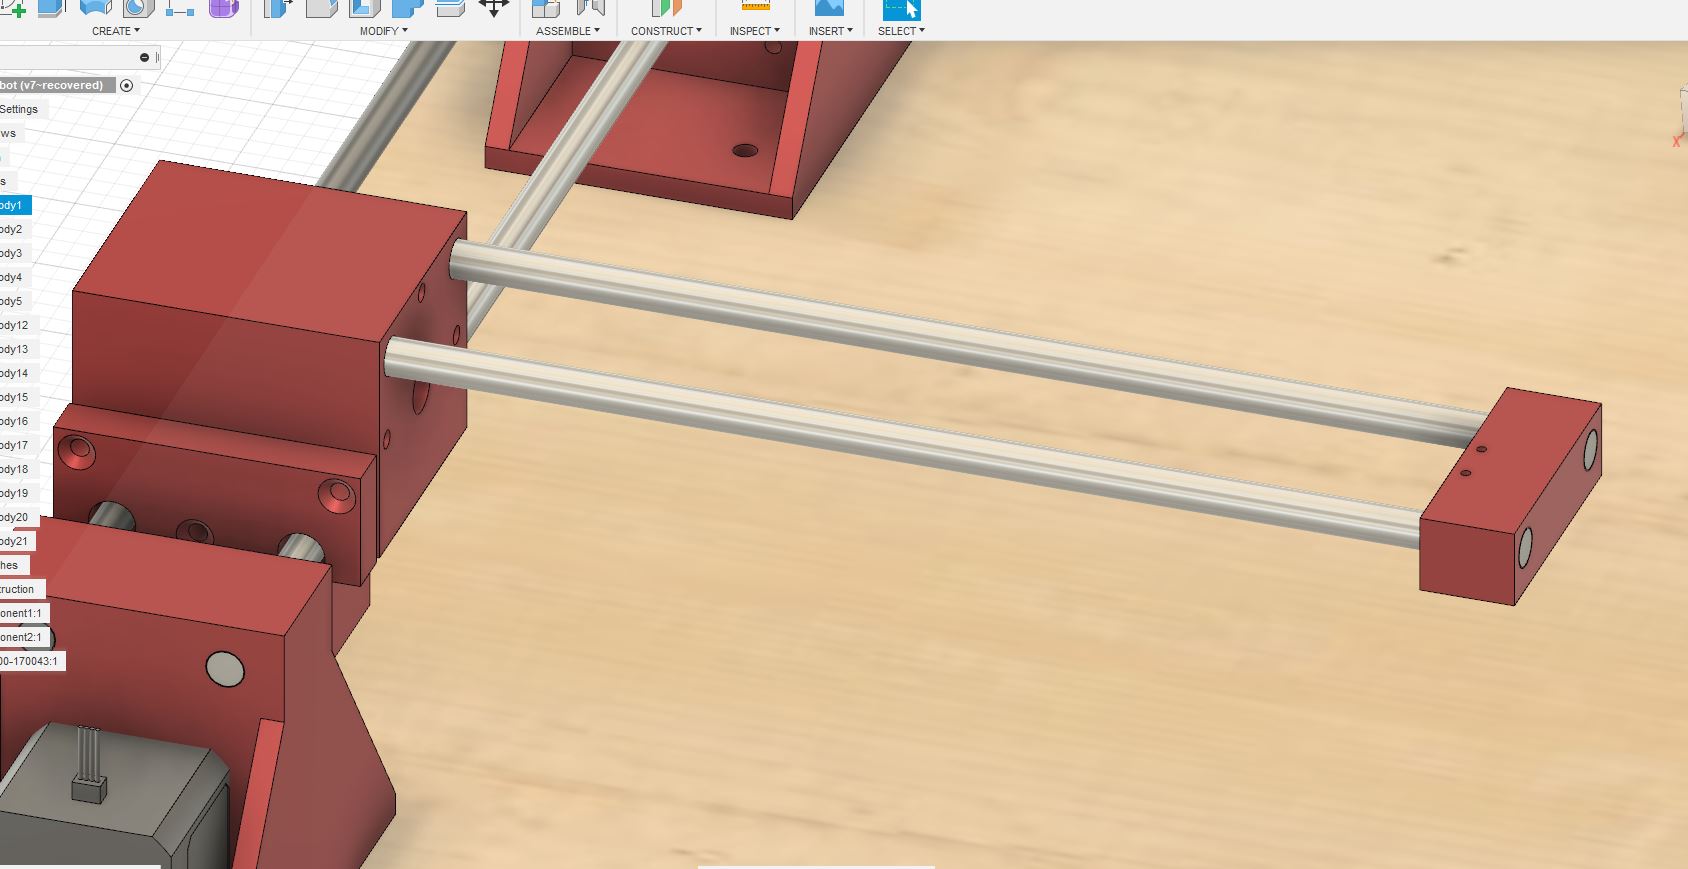
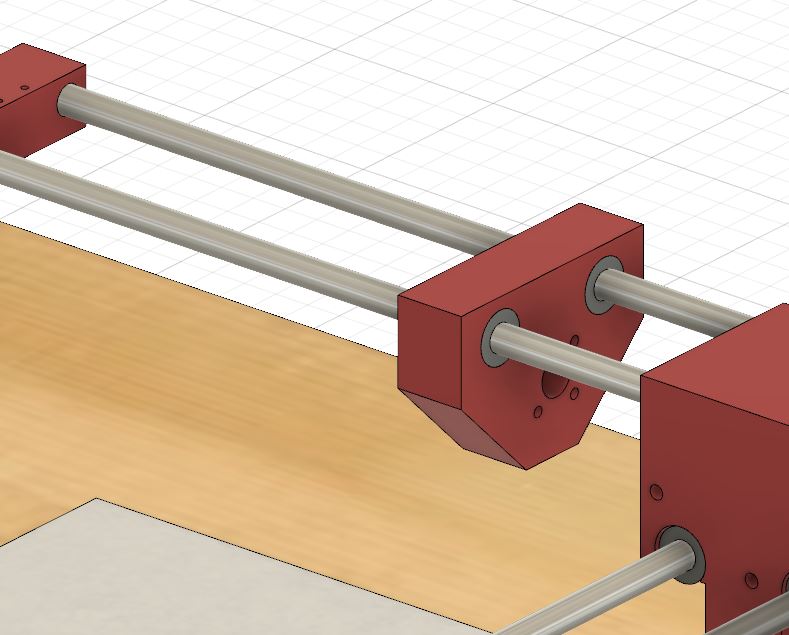
After the quick and dirty prototype was finisched and more or less fuctional I started designing the different parts in fusion360
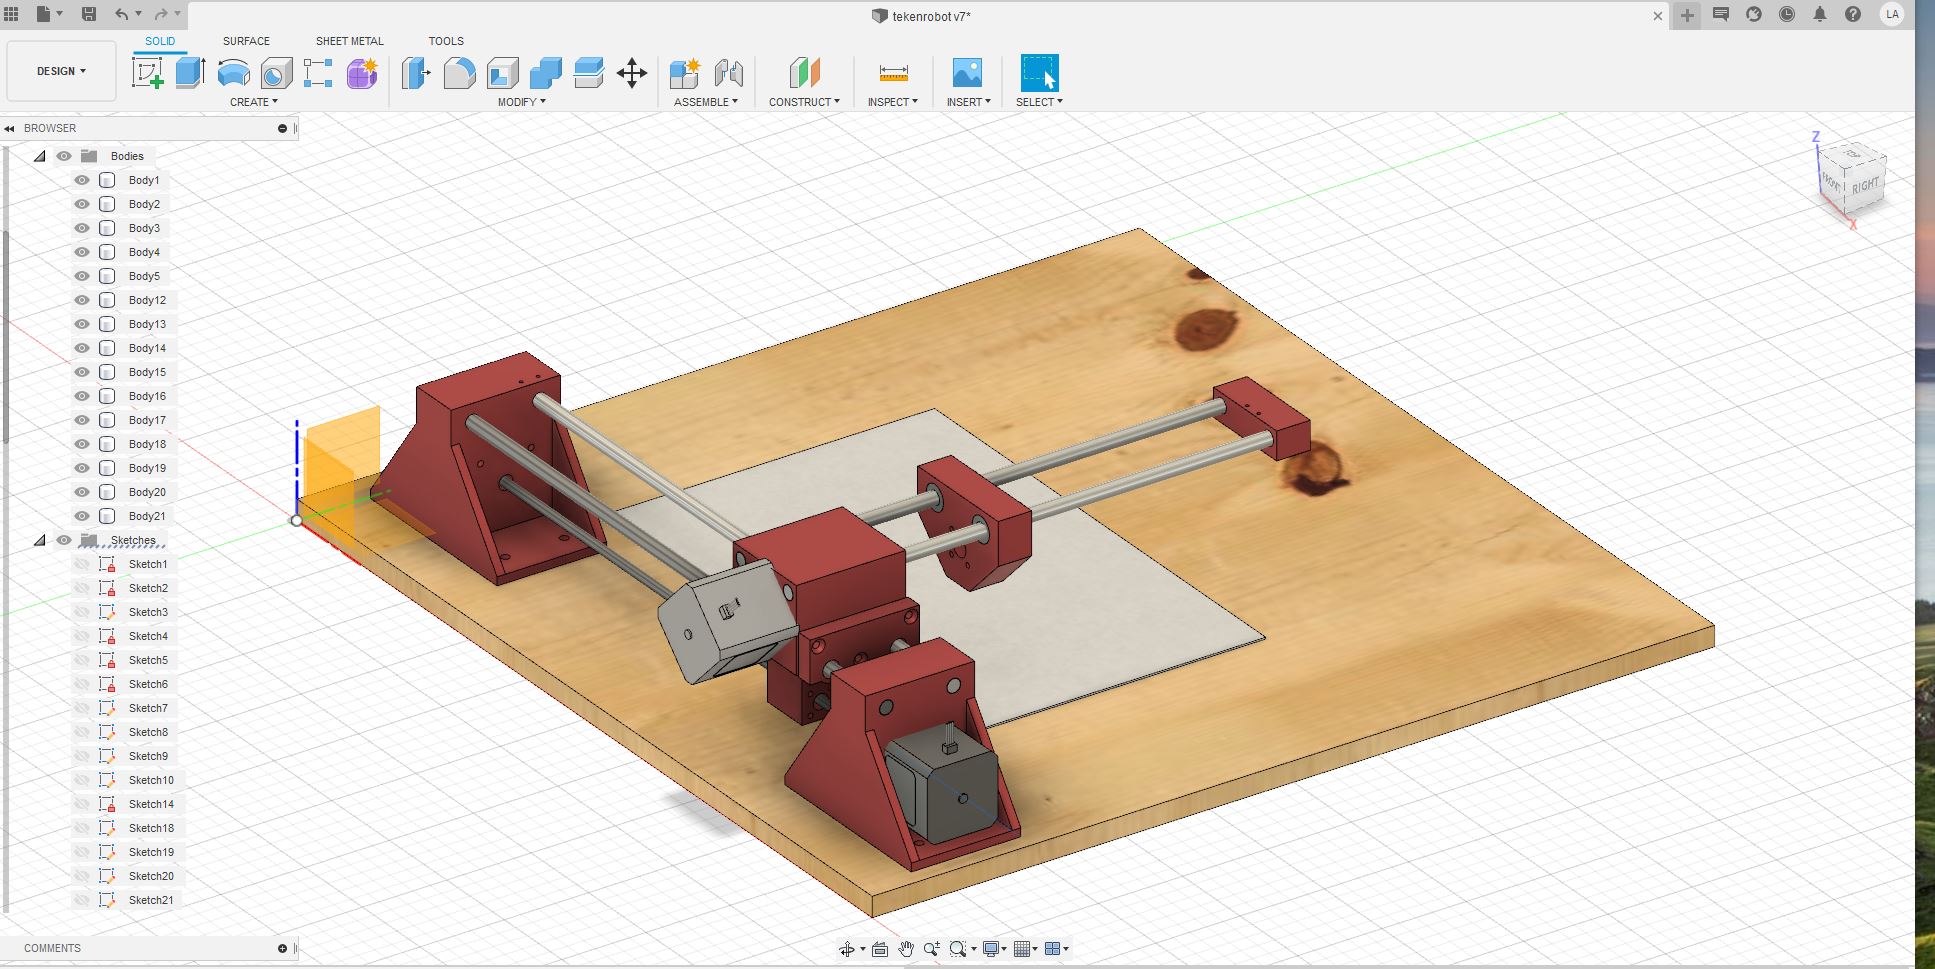

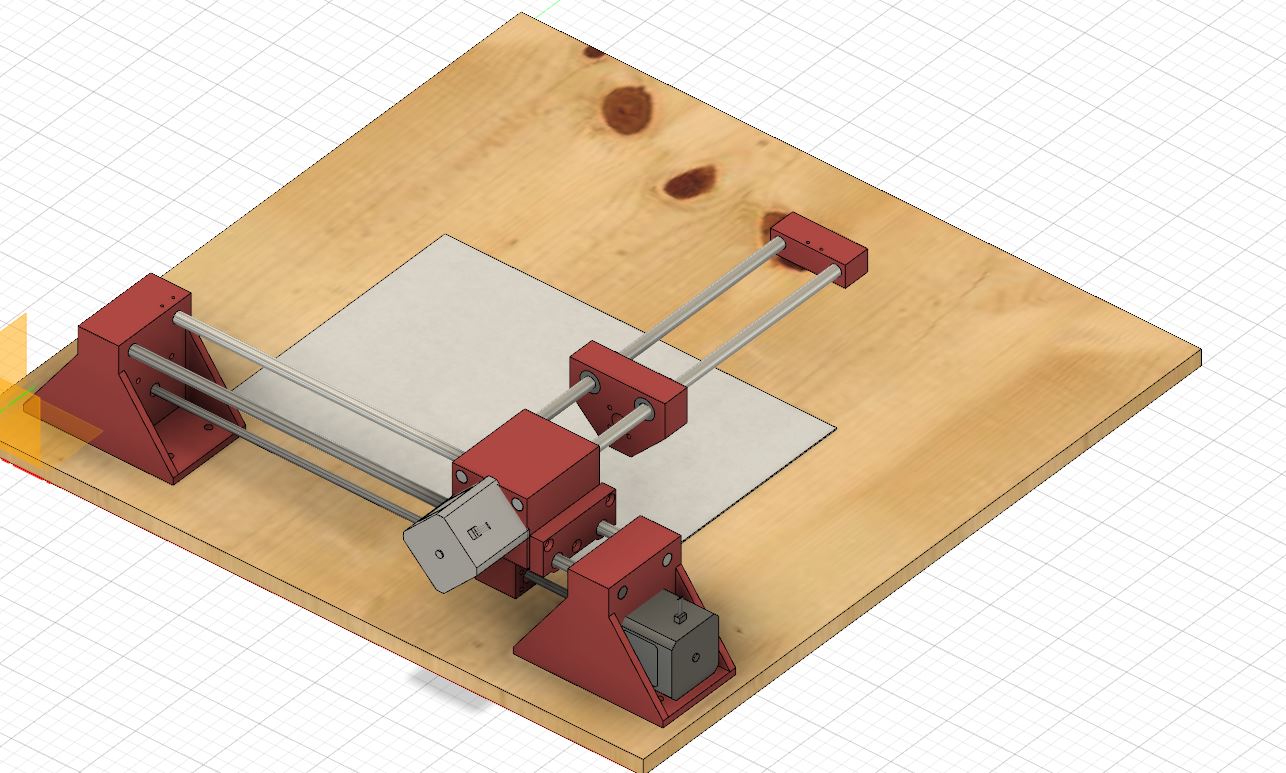
I designed the parts to 3D print them later.

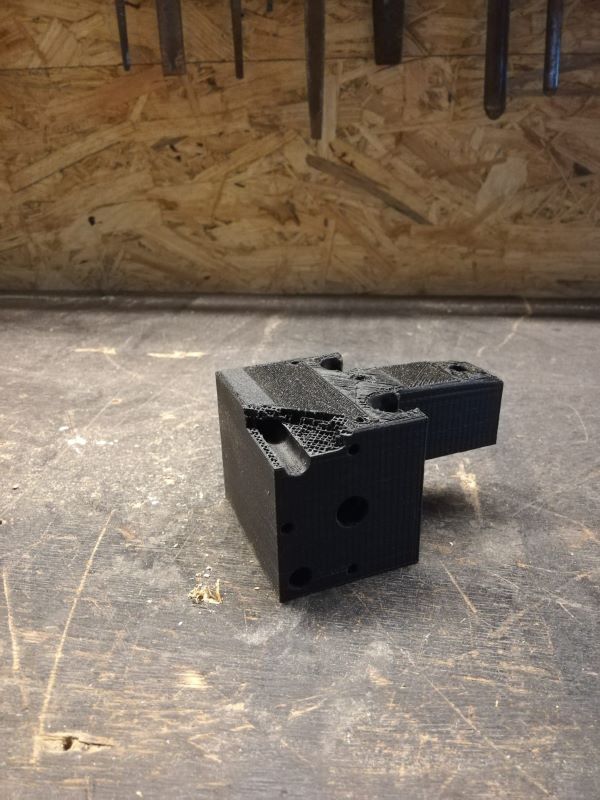
I printed them on a ender 3 with the following settings :
- layer height 0.1mm
- infill 50%
- print speed 50mm/min
At first I did 2 prints with a infill of 30% but one of the parts broke when I inserted the steel rod.
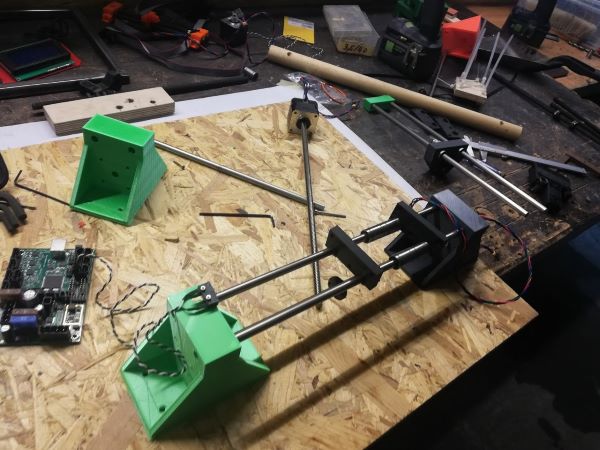
Assembly
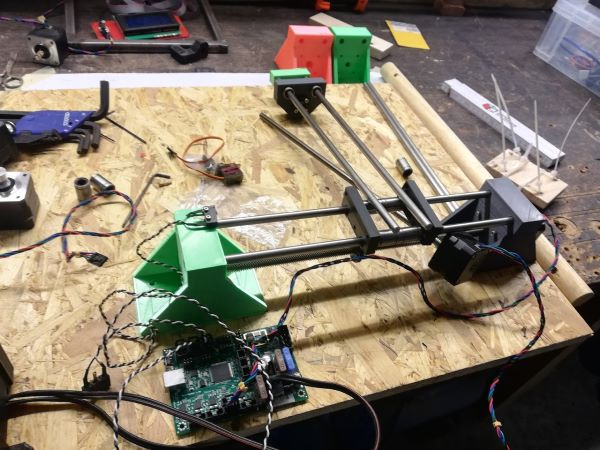
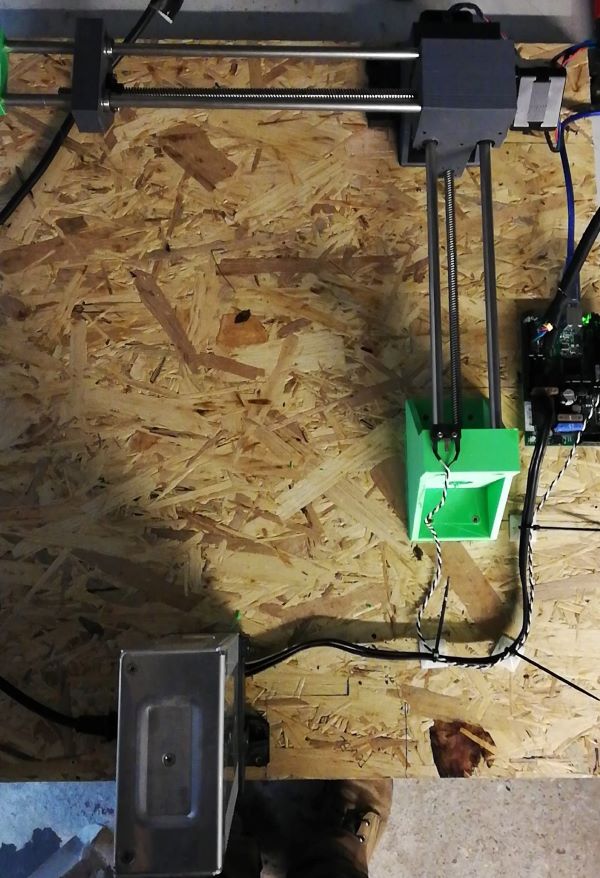
When all the parts where ready i started to assemble the machine.
connecting the board
We used a mini RAMBo 1.3 board for this assigment.
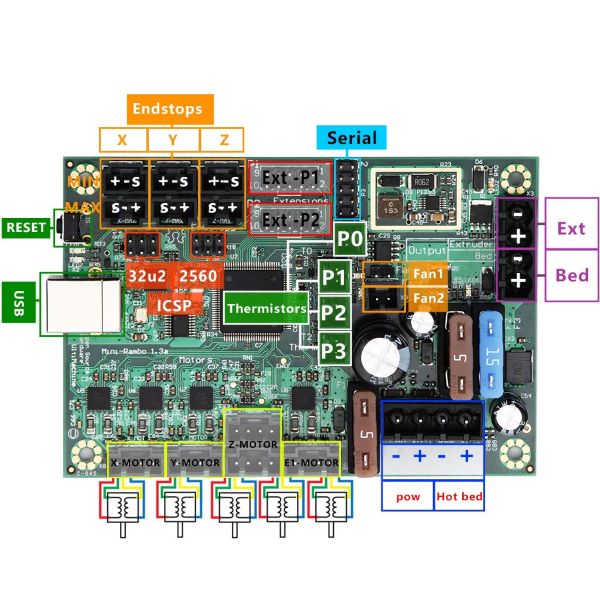
I connected everything on the right place and tested the movement of the axises with the LCD We used 2 motors and 2 endstops.
setting up the board
Now is the part were it became very difficult for us. To check if every part was on the right place with enough slack on the part we were able to let the x-axis and the Y-axis move manually with the LCD screen. this was with the firmware from the 3D printer.
generating the Gcode
Parallel to builing the machine we needed a way to generate a Gcode from a 2D drawing, our plan was to draw someting in Inkscape and then send it to the machine. We found a online tool to convert .svg files into a Gcode.
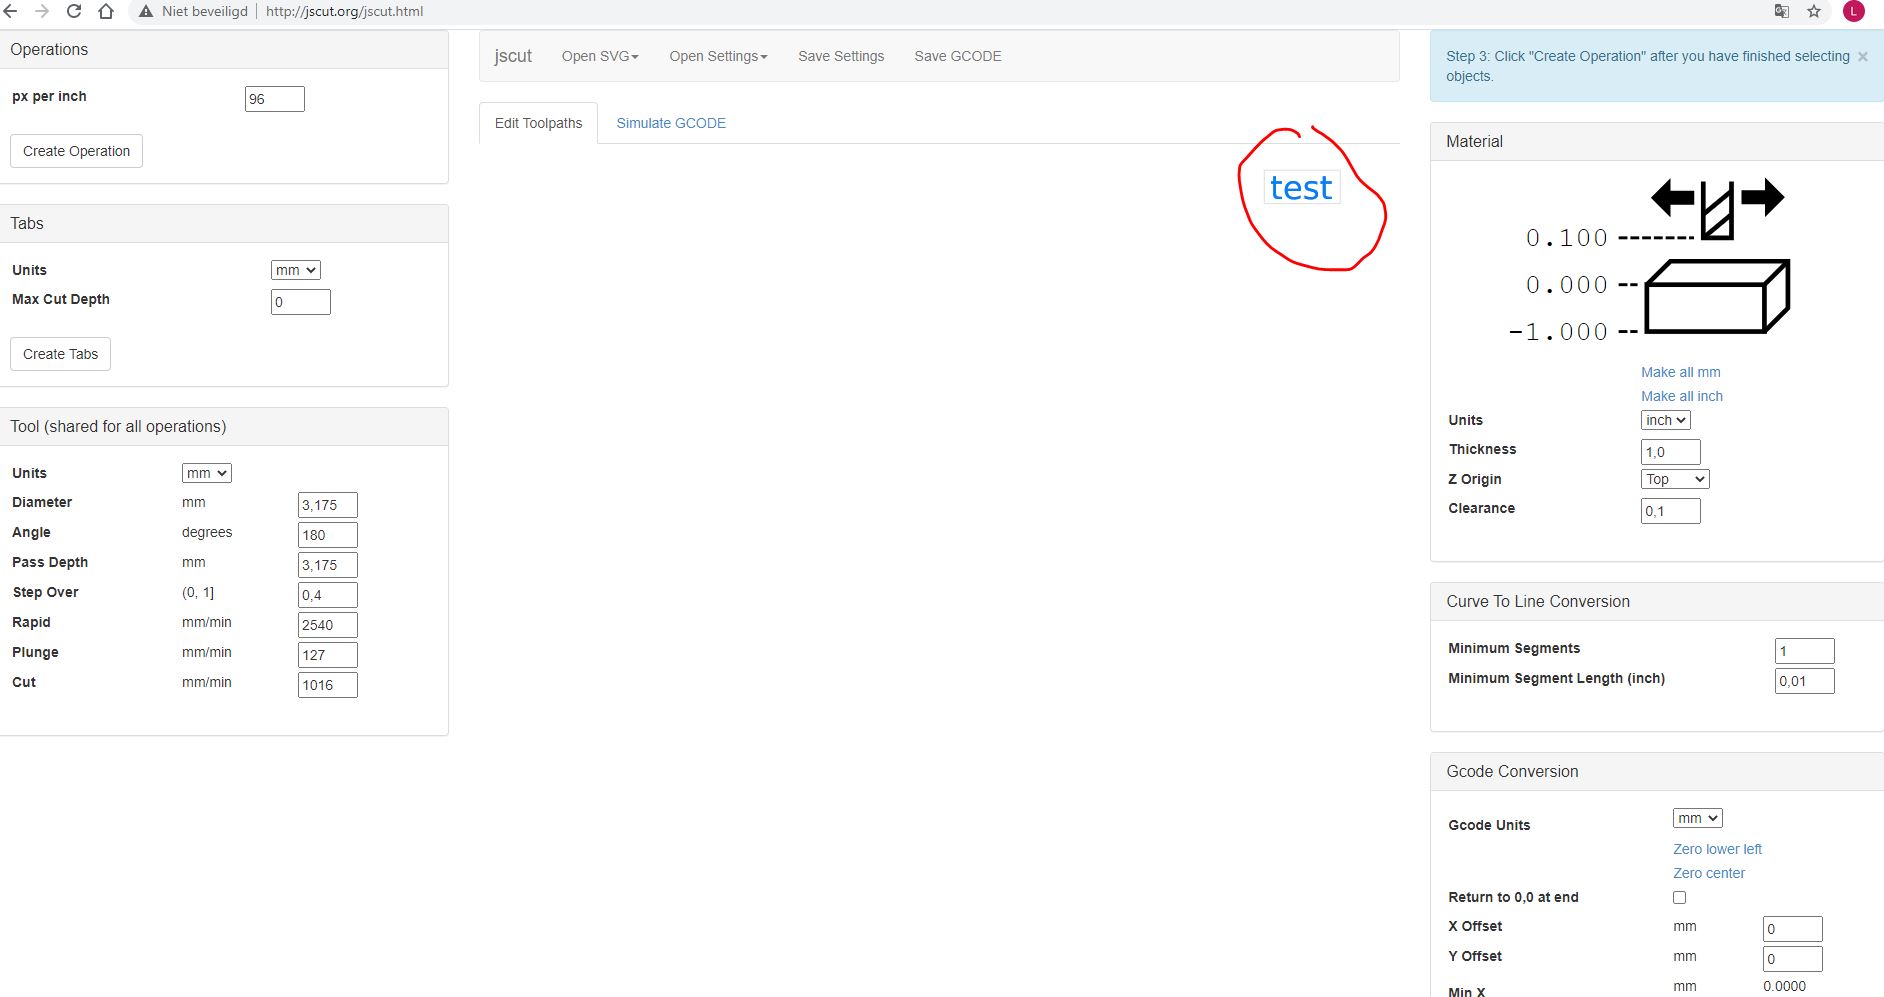
Jscut
jscut is a online tool to convert .svg files into a Gcode.
First draw something in inkscape

Save the drawing on your computer as .svg remember to convert text objects to a path. Go to jscut.org and choose for import svg.

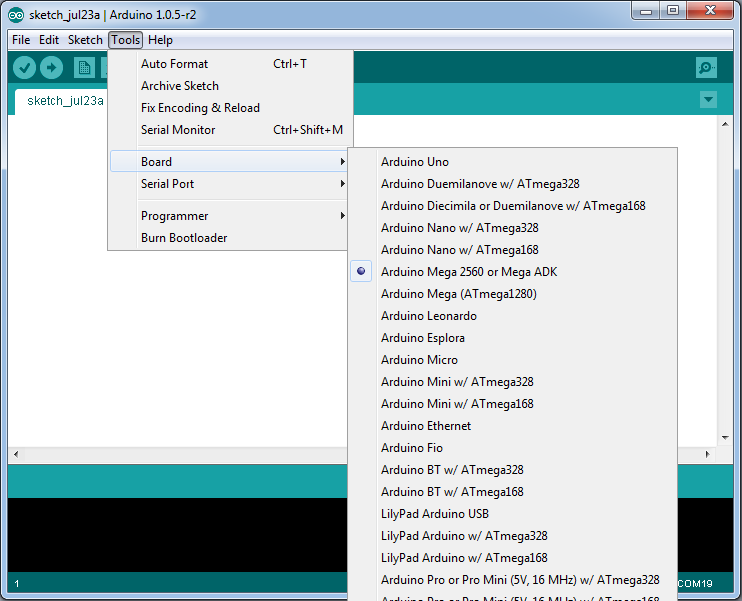
Updating the firmware for the rambo.
We downloaded the frirmware for the RAMBo board and used arduino IDE to send it to the board. We followed this instructable to do it.
installing driver for rambo
repetier host
We installed repetier host to send the Gcode but here we got stuck for this assigment we were not able to connect the machine.
cristiano
cristiano was looking up on how to generate the G code for this.
We have tried different alternatives to generated GCode for the drawing machine. Inkscape there is a functionality to export the drawing for GCode. Unfortunatelly this functionality is not stable and do not generate a good NC file for the drawing machine. The extension for Inkscape, named Unicorn, sounded good alternative solution. However it has several errors with the newer version from Inkscape and Python. Seems python does not find a module defined in the same directory of the extension.
We found and tested the online tool JSCut . With this tool it was able to generate the gcode file converting the SVG image drawn in inkscape. More info about it can be found in this tutorial.
For sending code to the machine, initially we tried to use the repetier host. However, we thought it would be better to use a generic tool, since this one was designed to work together with the repetier firmware (that we could not load in the MiniRambo board).
We installed the CNCjs software to send code to the board. This is a very good tool to send NC files for different types of machine and firmwares. It has support for sending the file to merlin firmware and we could take advantage to send the gcode to the drawing machine
Openning the software CNCjs, open a Merlin Firmware connection with the MiniRambo board (using the correct USB port). Load the gcode file into the CNCjs, check if the image correspond to your drawing. Click in the start button and the drawing machine should operate drawing your image.
to do
- Designing a piece for the z-axis
- print the part for the z-axis
link we used
downloads
fusion360 file : - file for milling
### link the the group assigment