8. Computer controlled machining
This week was a very nice assigment, I had a lot of fun moments during the project. I was able to make 3 projects with the cnc machine this week.
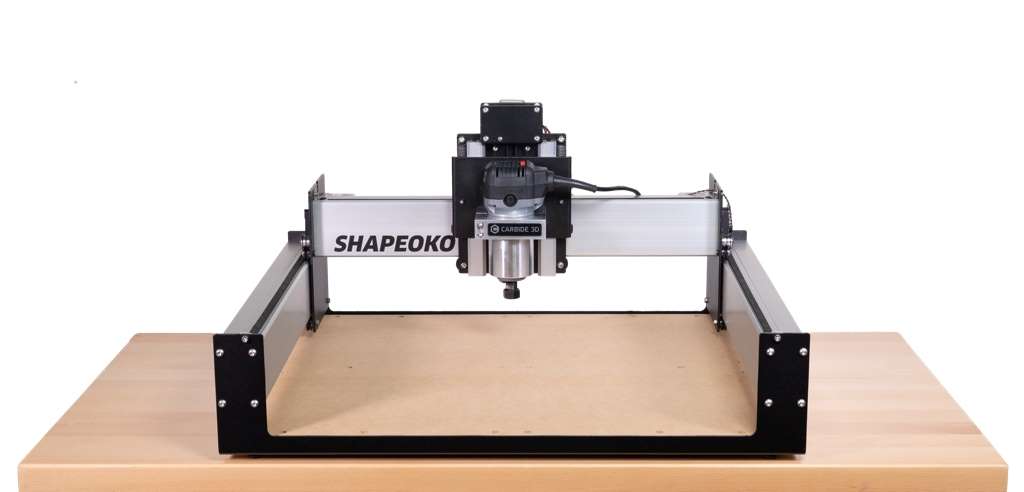
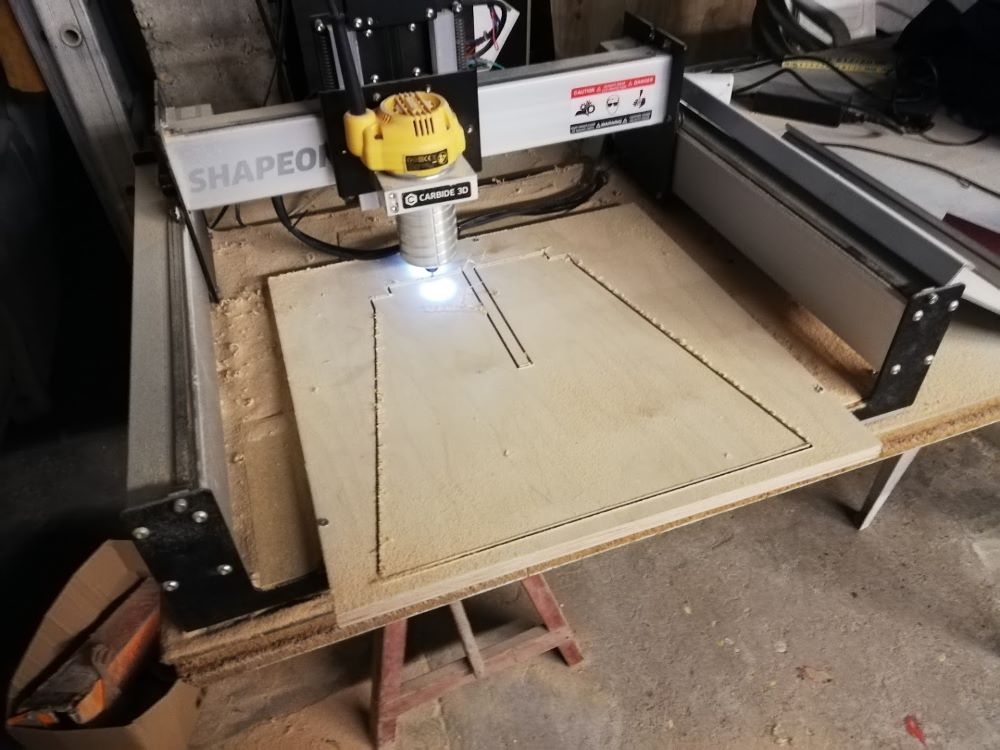
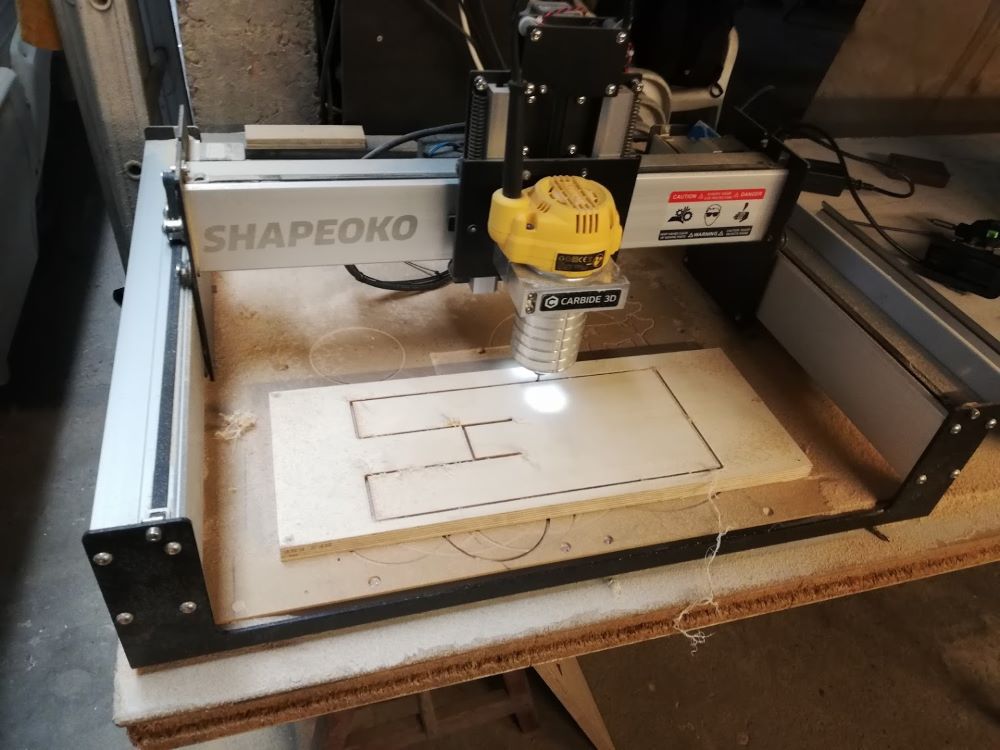
Shapeoko 3
In the lab we have a Shapeoko 3 It is an userfriendly machine but it has some restictions to take in account:
-
The work area is 400mmx400mm. It is not that big but with some creative thinking it is possible to mill bigger object.
-
THe machine works with his own program to make toolpaths, it is an easy program to start with cnc milling. But sometime the drawing from fusion 360 scales without reason.
The machine needs .nc code to work. G-code (NC-code), which has many variants, is the common name for the most widely used numerical control (NC) programming language. It is used mainly in computer-aided manufacturing for controlling automated machine tools. G-code is sometimes called G programming language. In fundamental terms, G-code is a language in which people tell computerized machine tools how to make something. The how is defined by instructions on where to move, how fast to move, and through what path to move. The most common situation is that, within a machine tool, a cutting tool is moved according to these instructions through a toolpath, cutting away excess material to leave only the finished workpiece. The same concept also extends to noncutting tools such as forming or burnishing tools, photoplotting, additive methods, and measuring instruments.
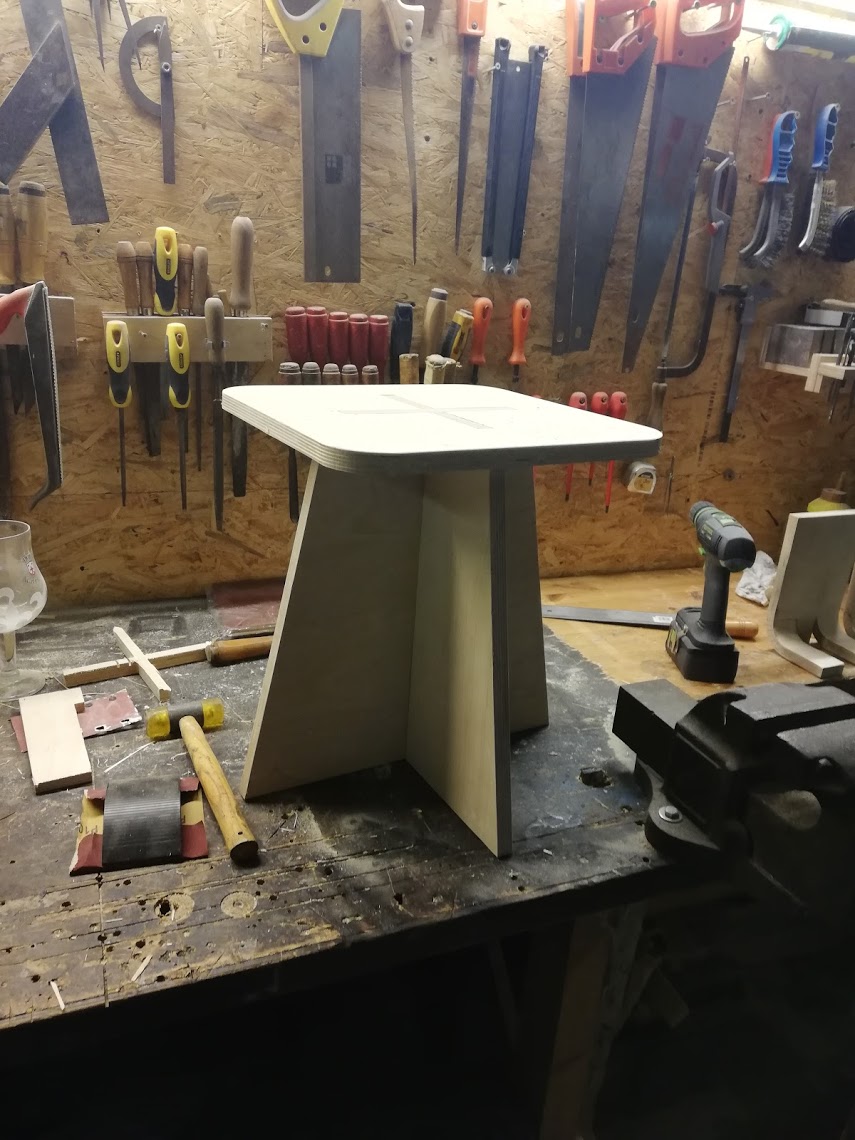
project 1 stool
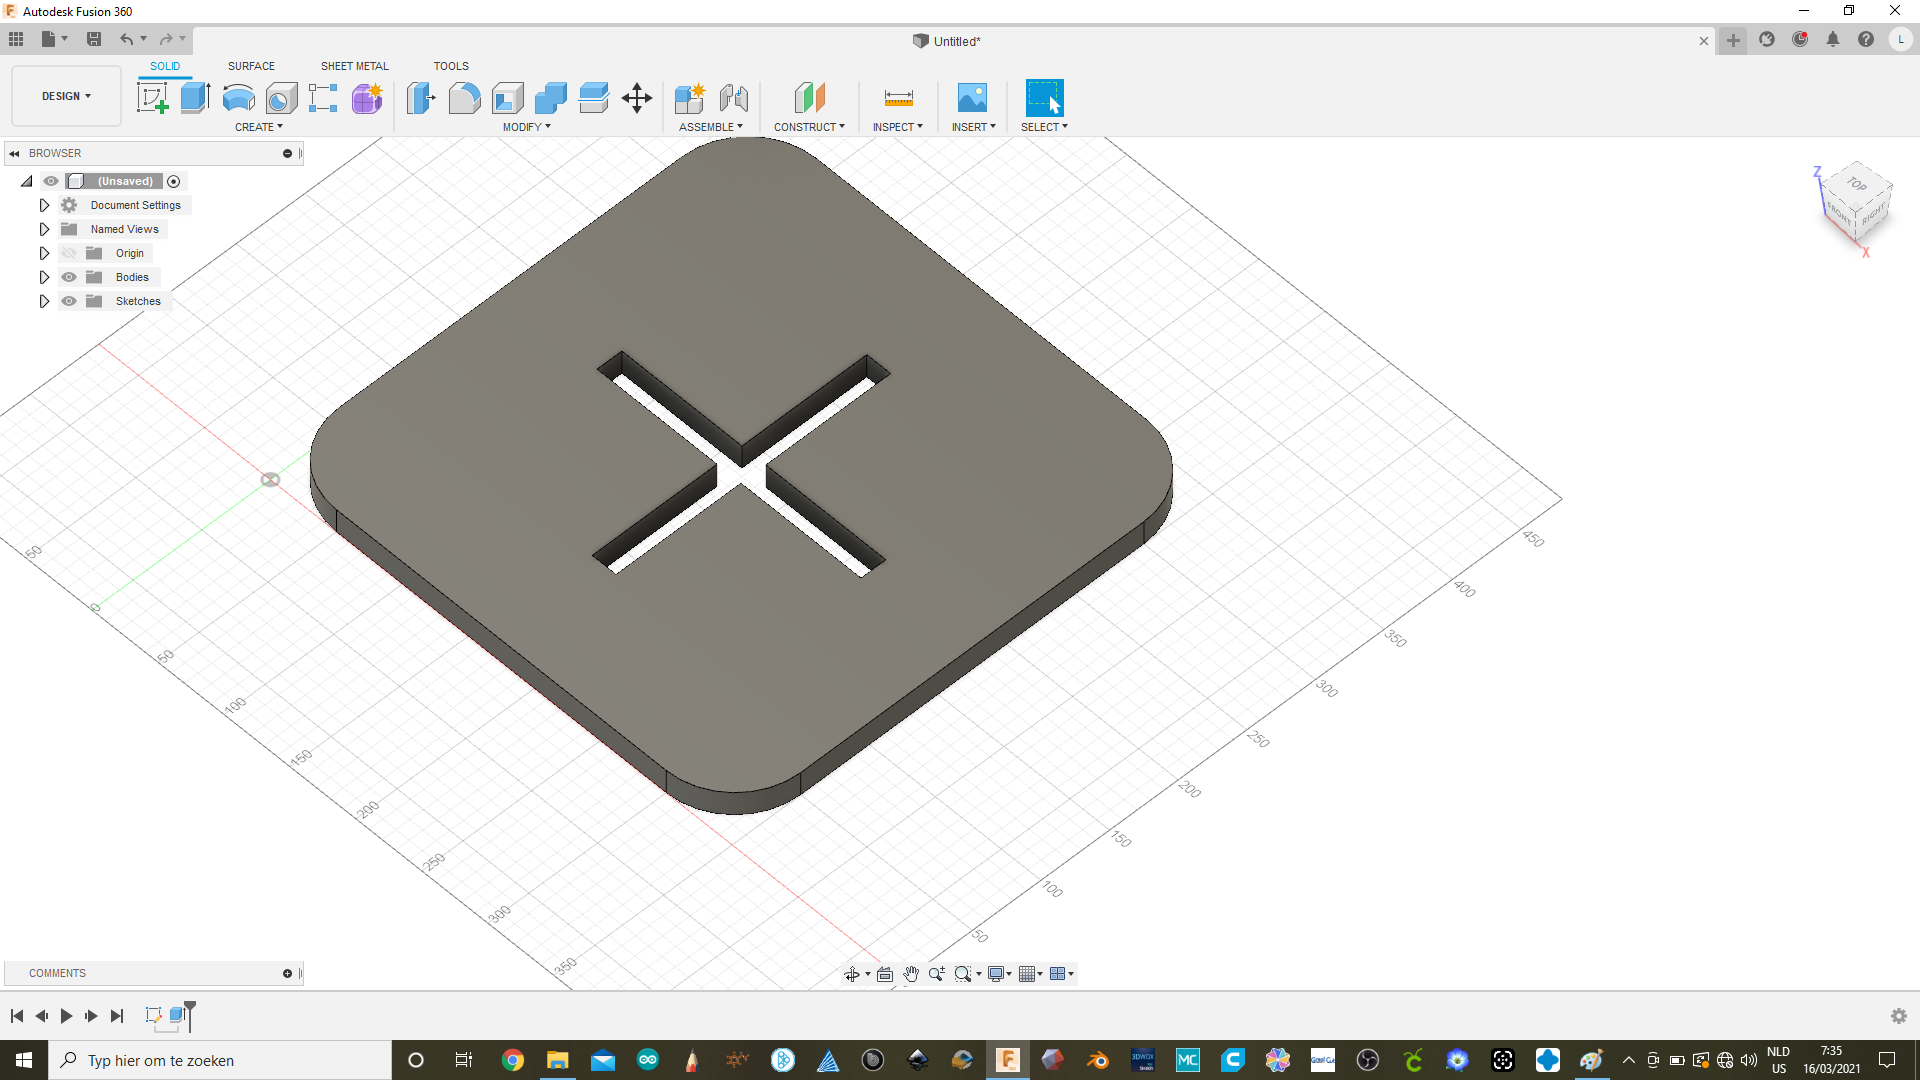
The first project I made this week is a stool. I started with drawing it is fusion 360. I started with the top of the chair.
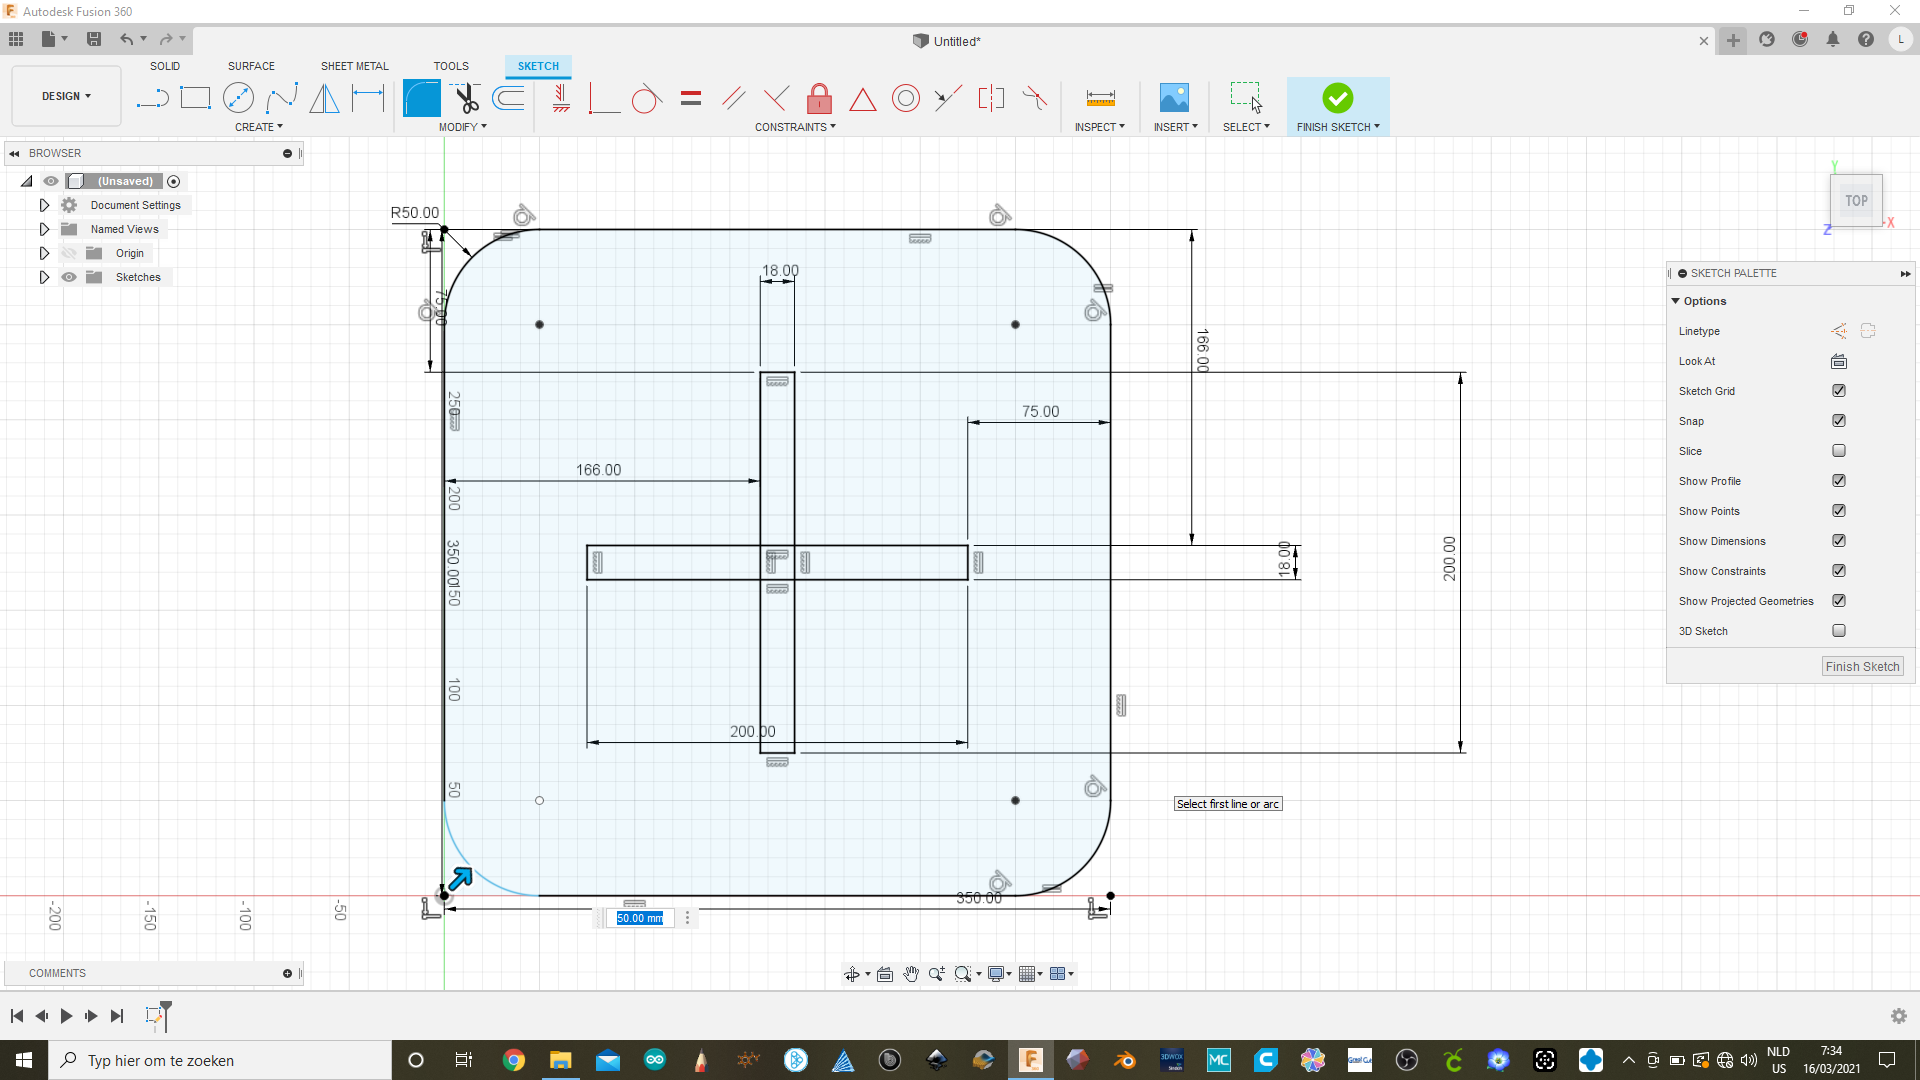
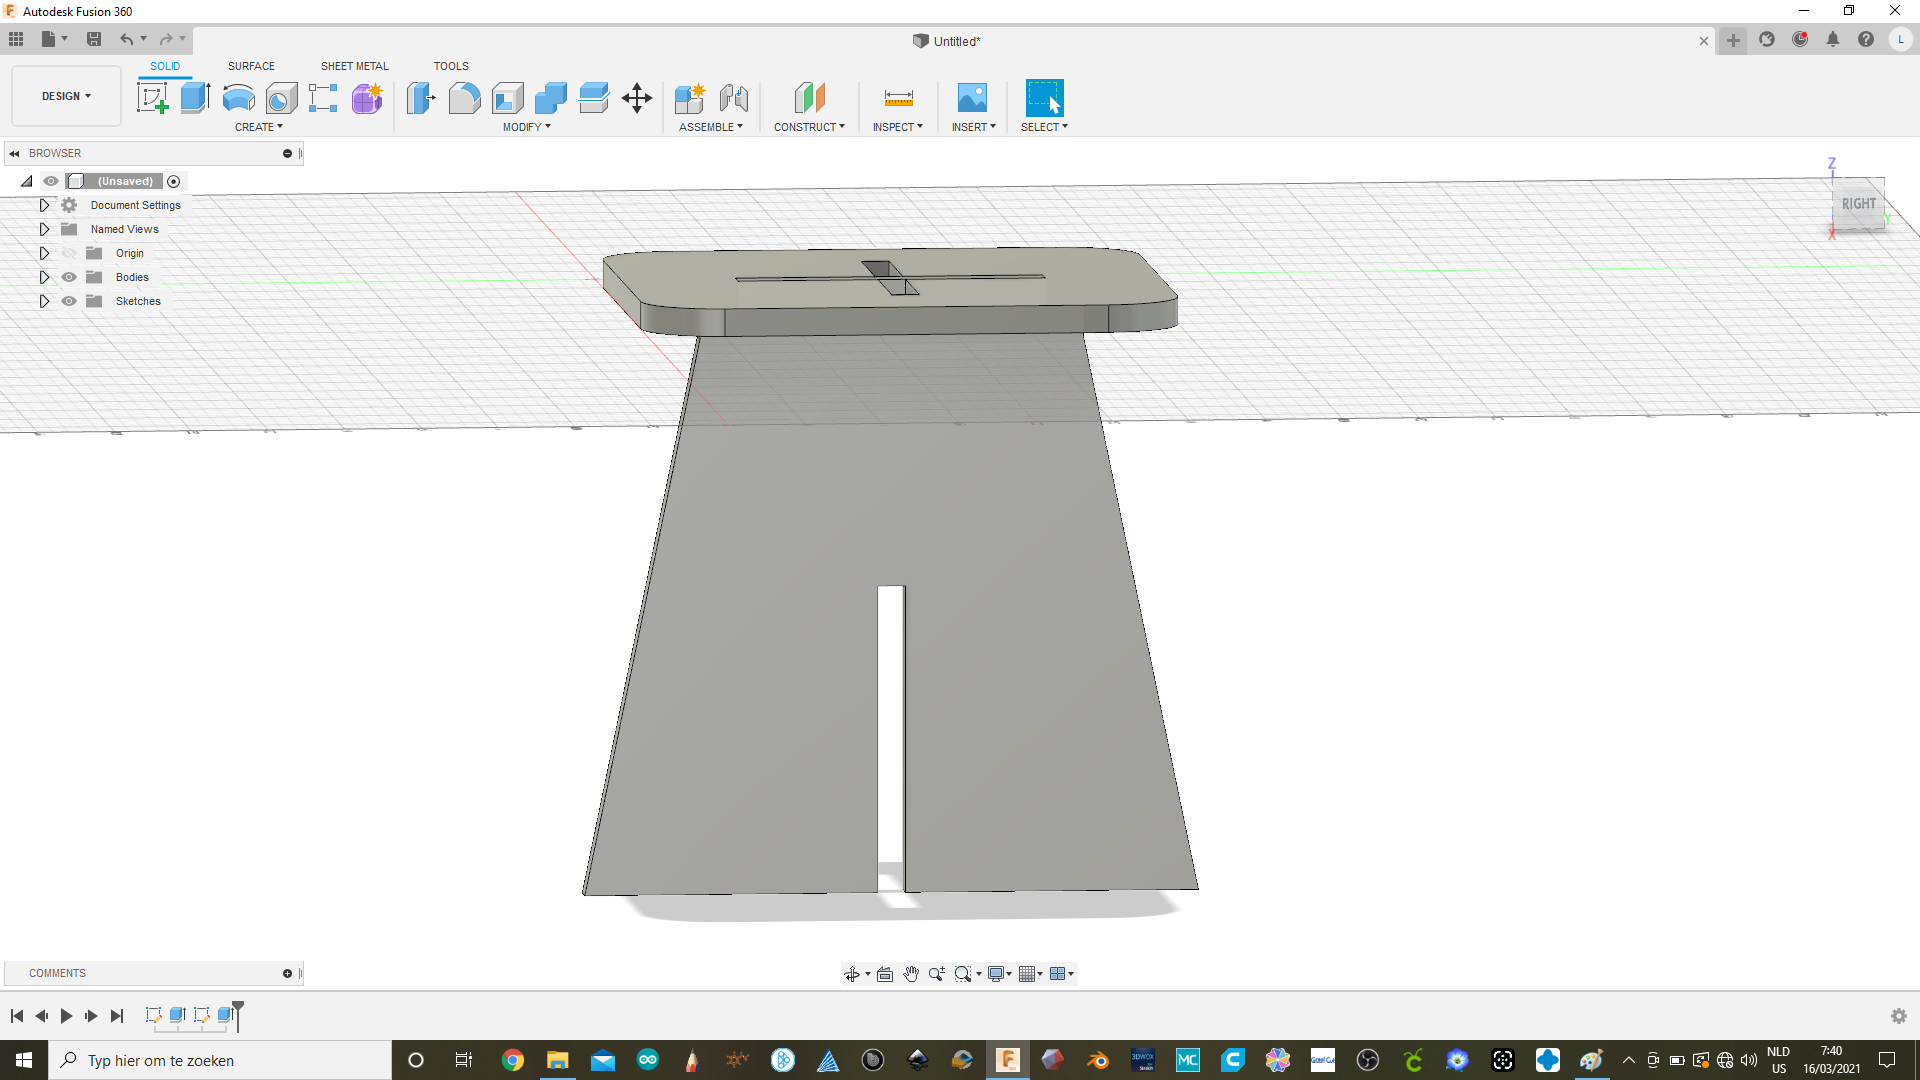
After the top I drawed the legs of the chair.
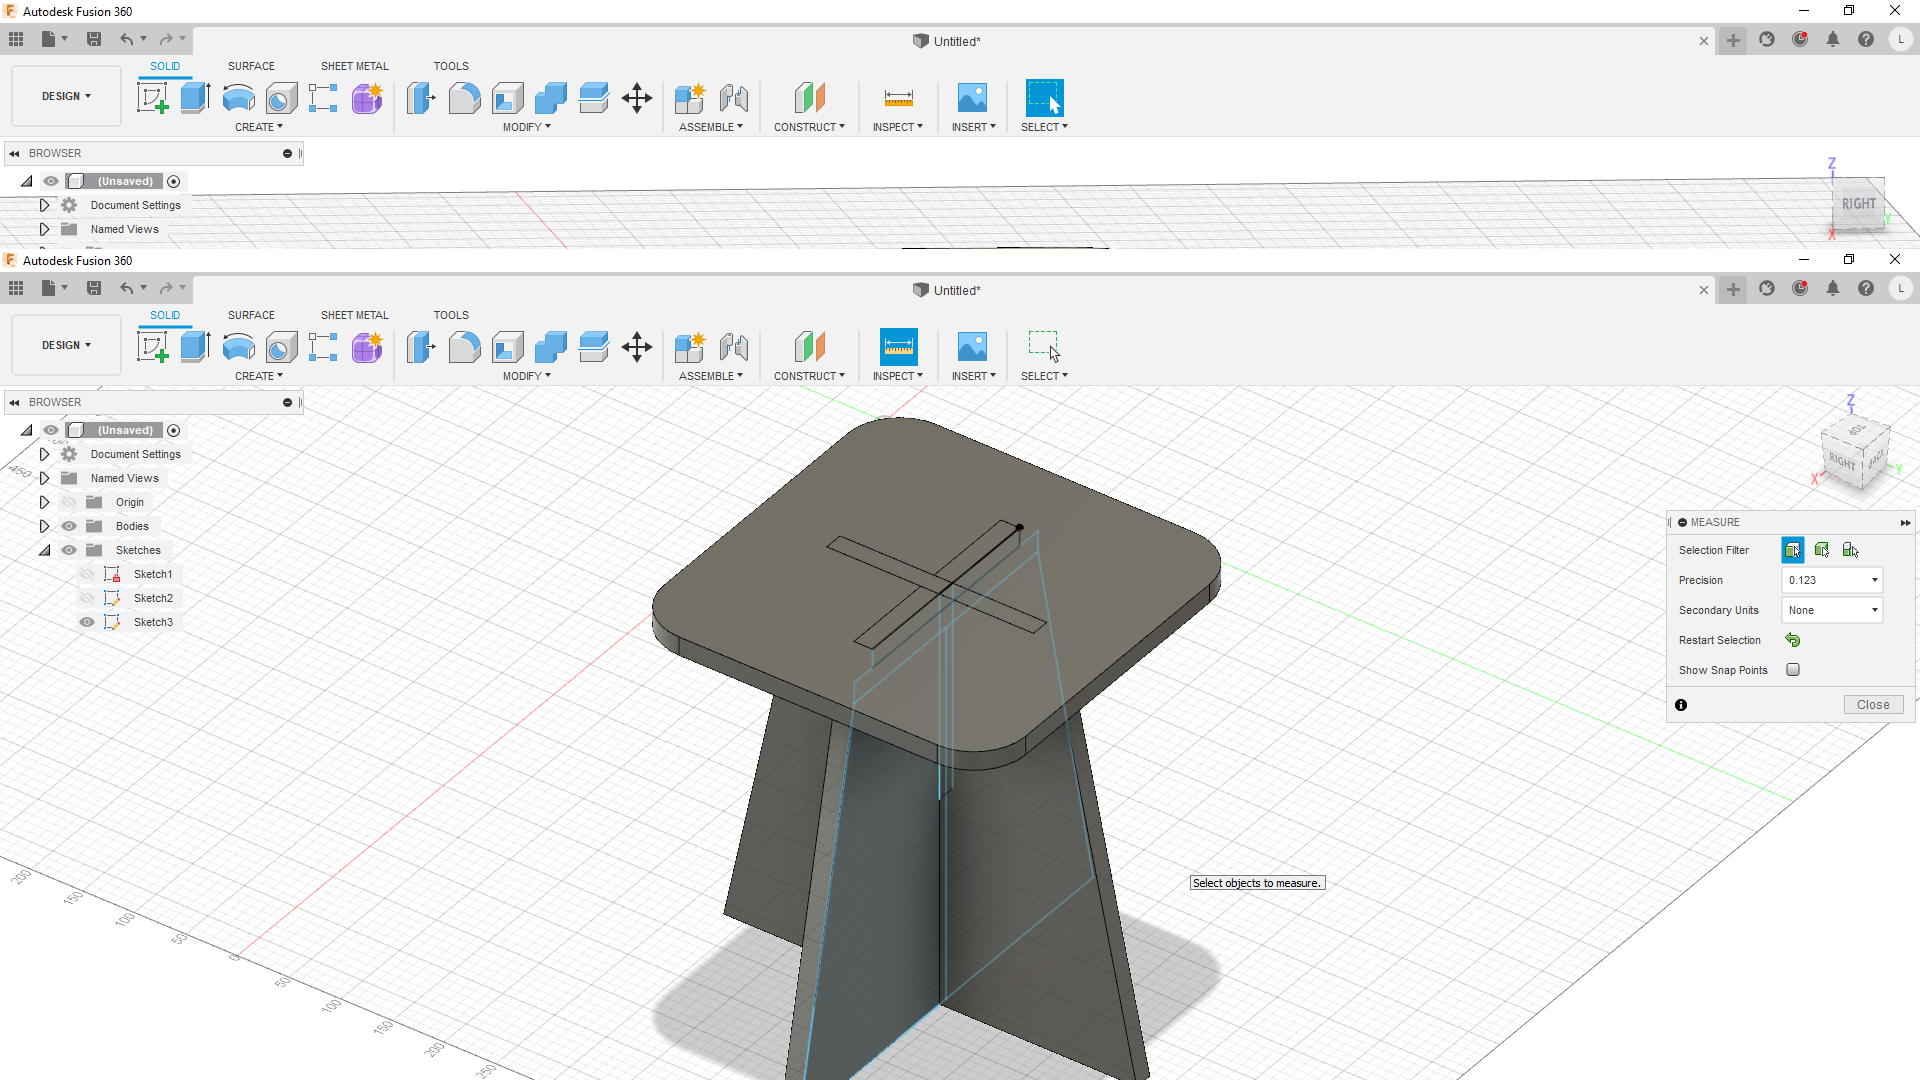
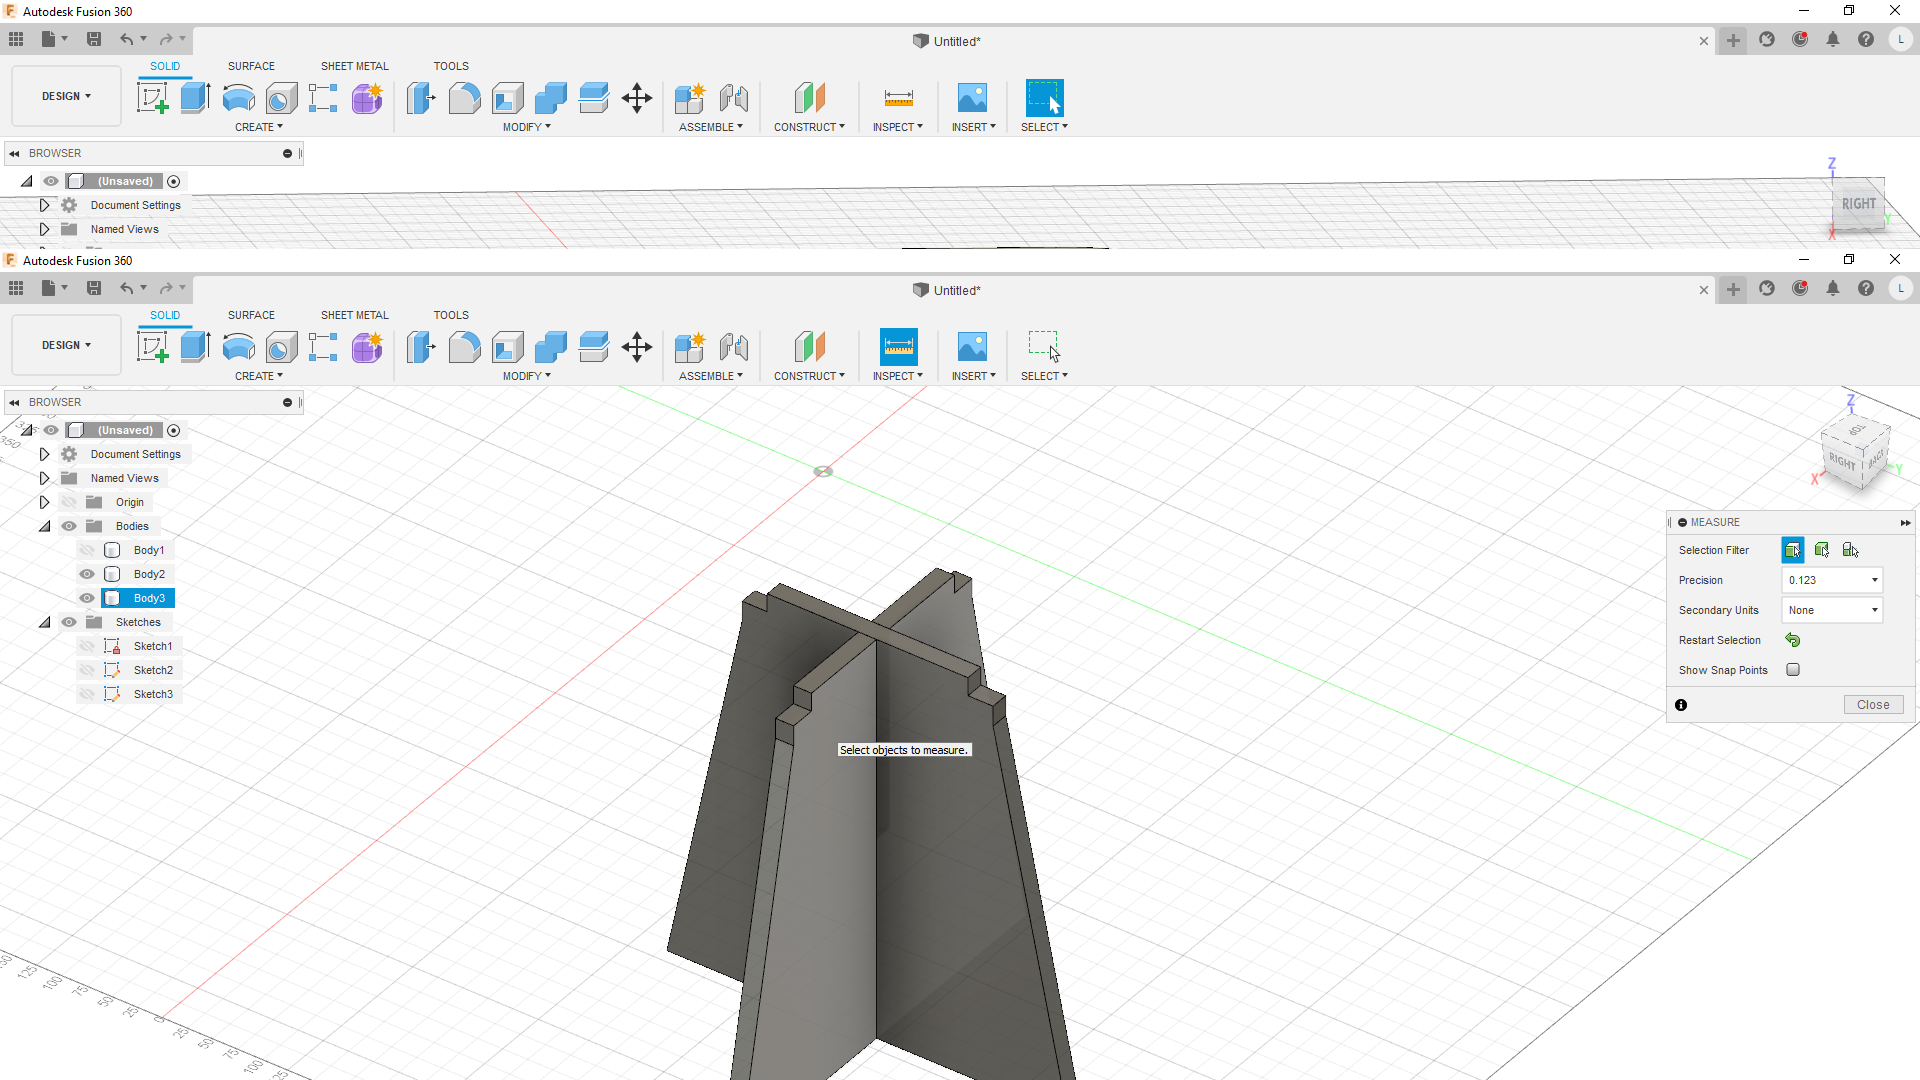
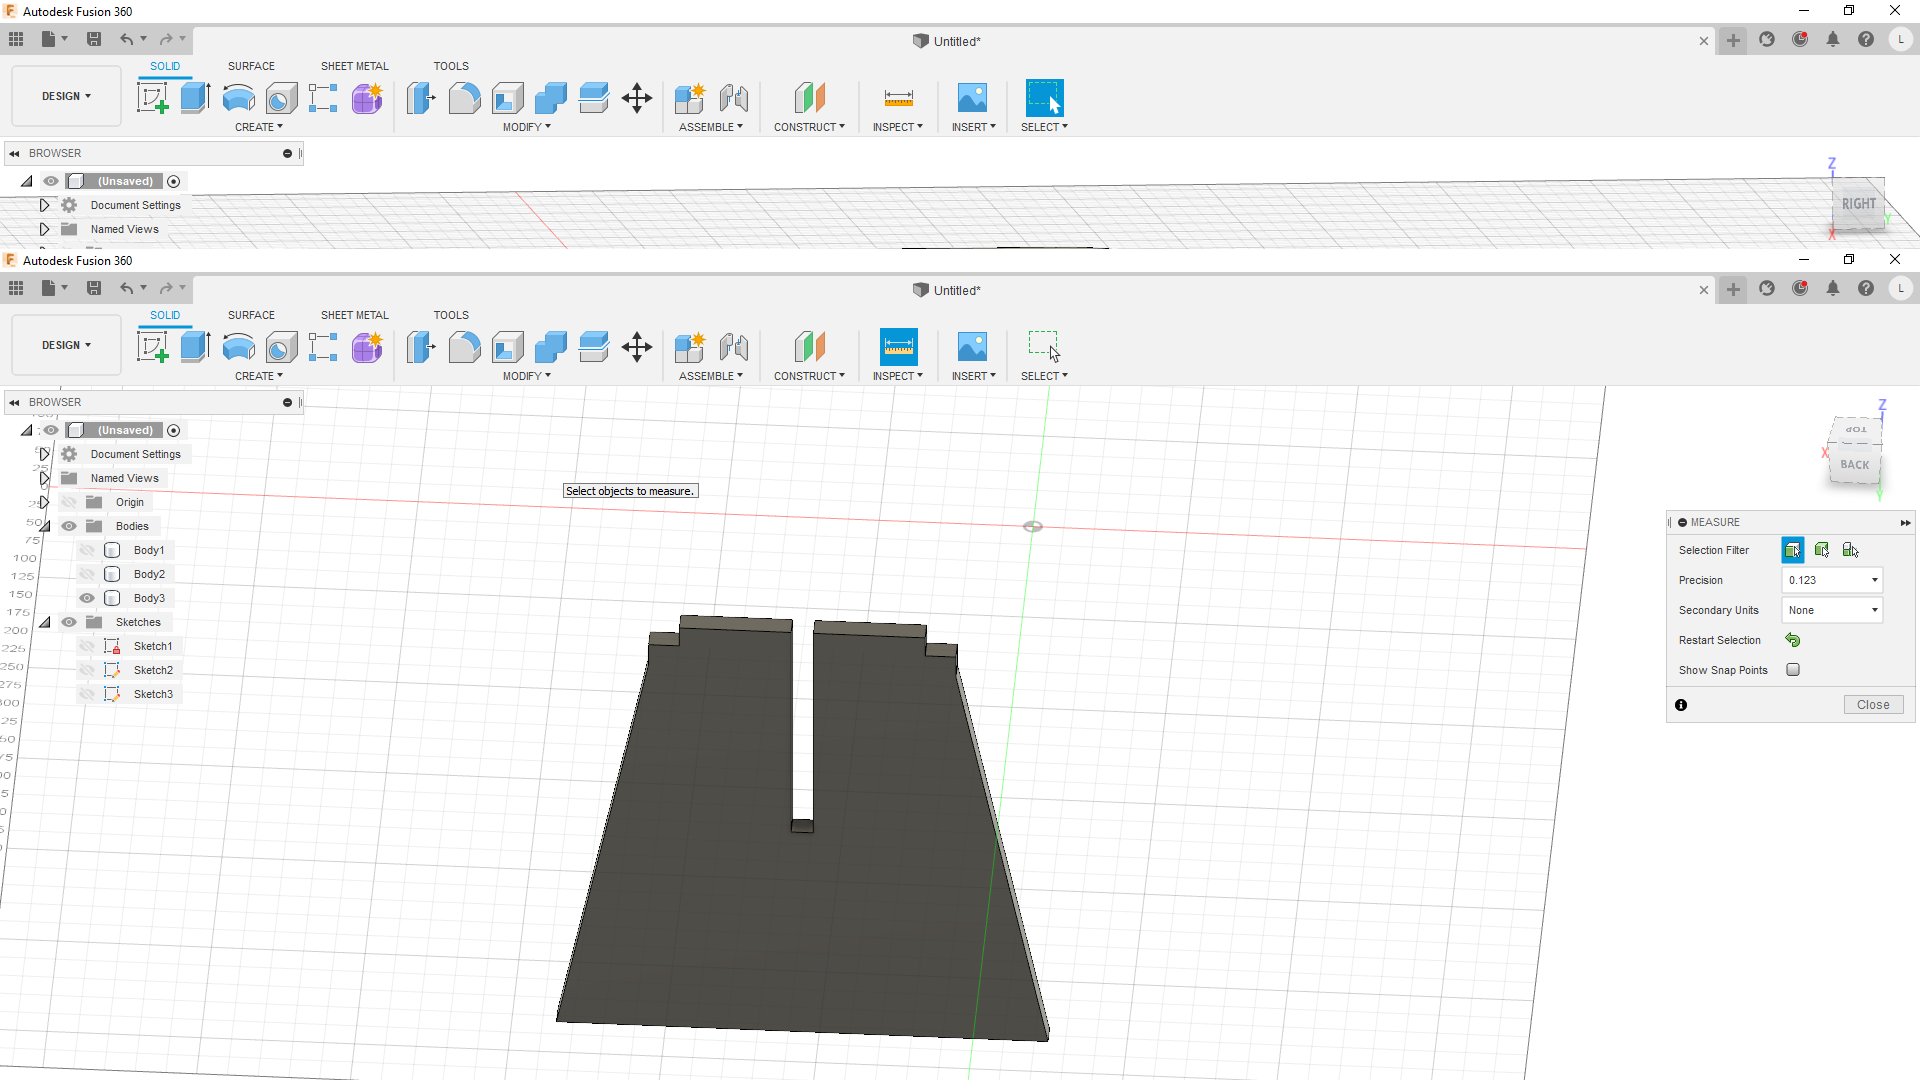

After the 3D model was ready i made the 2D drawings from the design.
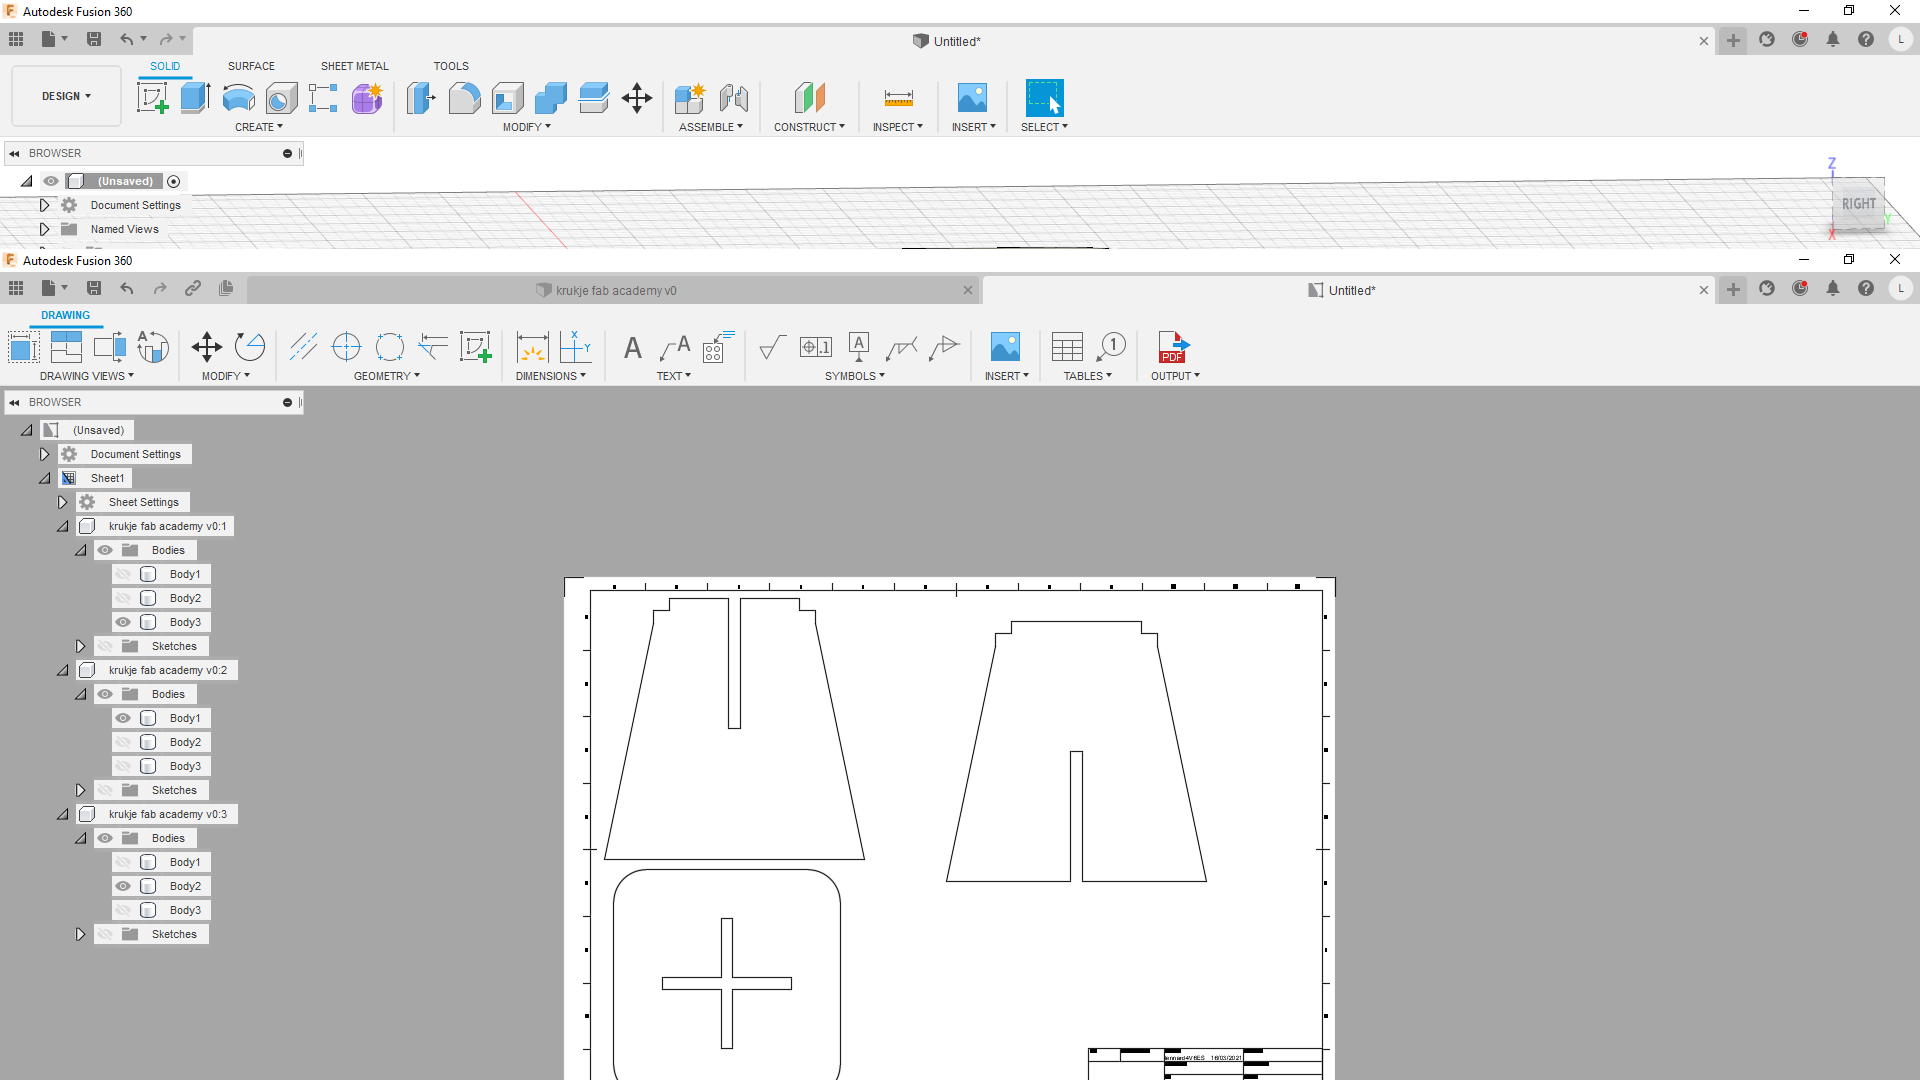
When the drawings where ready i imported the in carbide create , In this program I made the toolpats for the milling machine. I made the G-code for all 3 parts.
The first part is putting the settings right. For this project I will use 18mm birch plywood
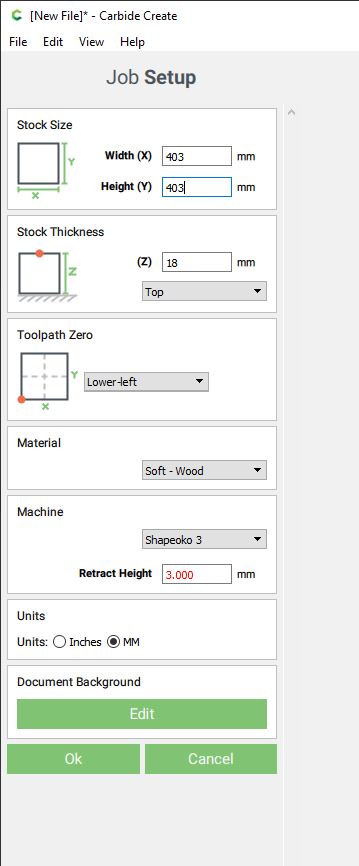
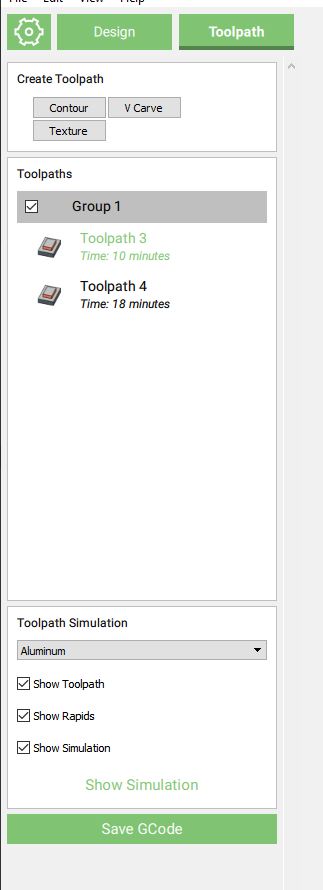
importing the file one by one and make 3 differnt G-code files for each job. .
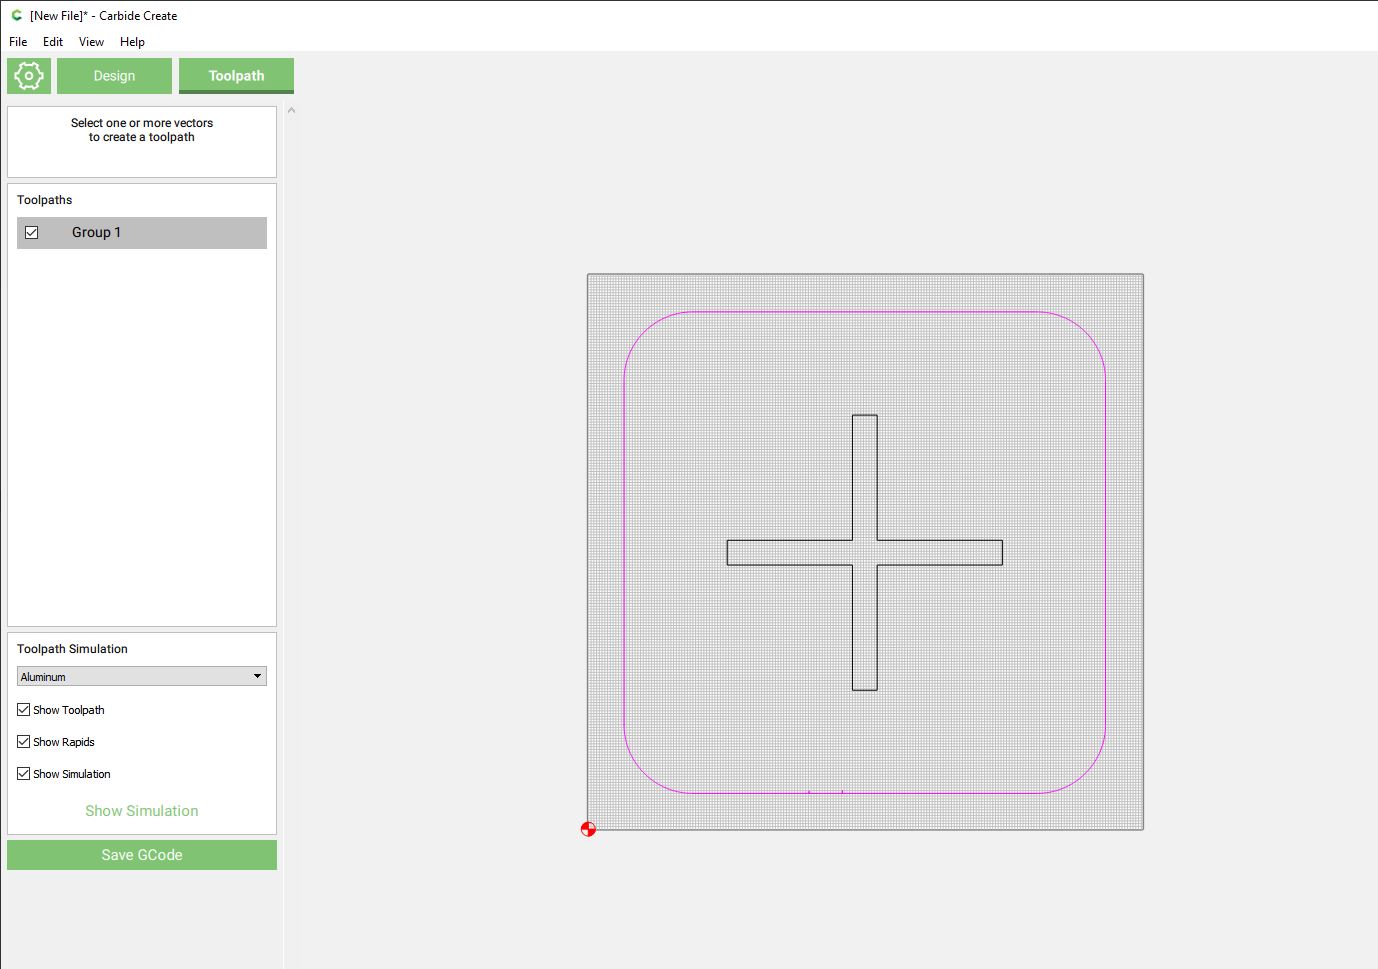
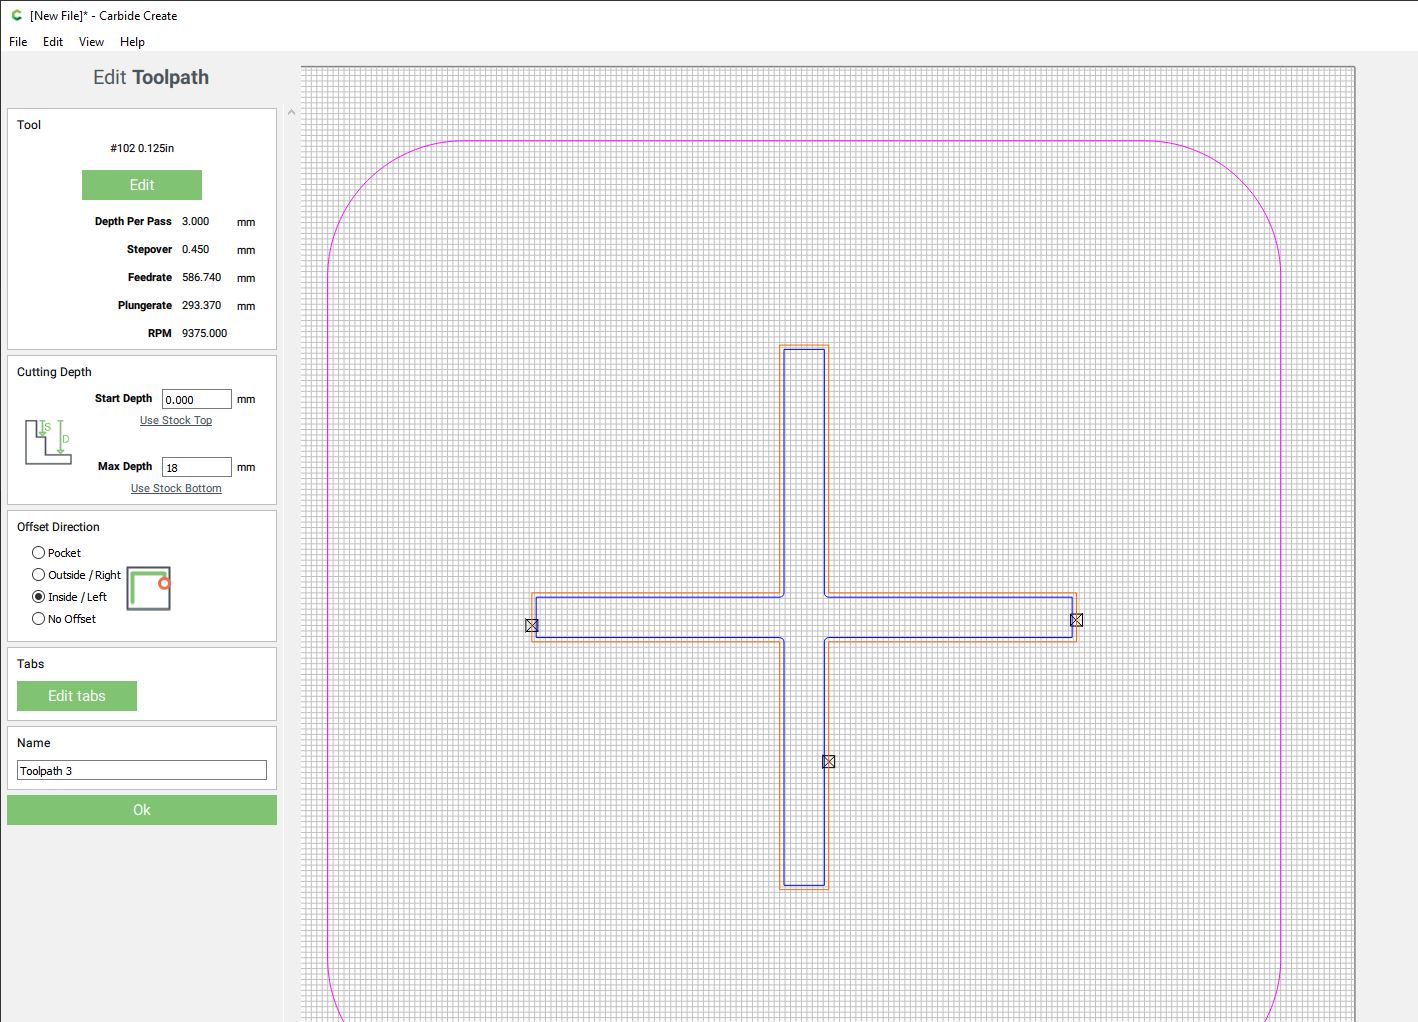
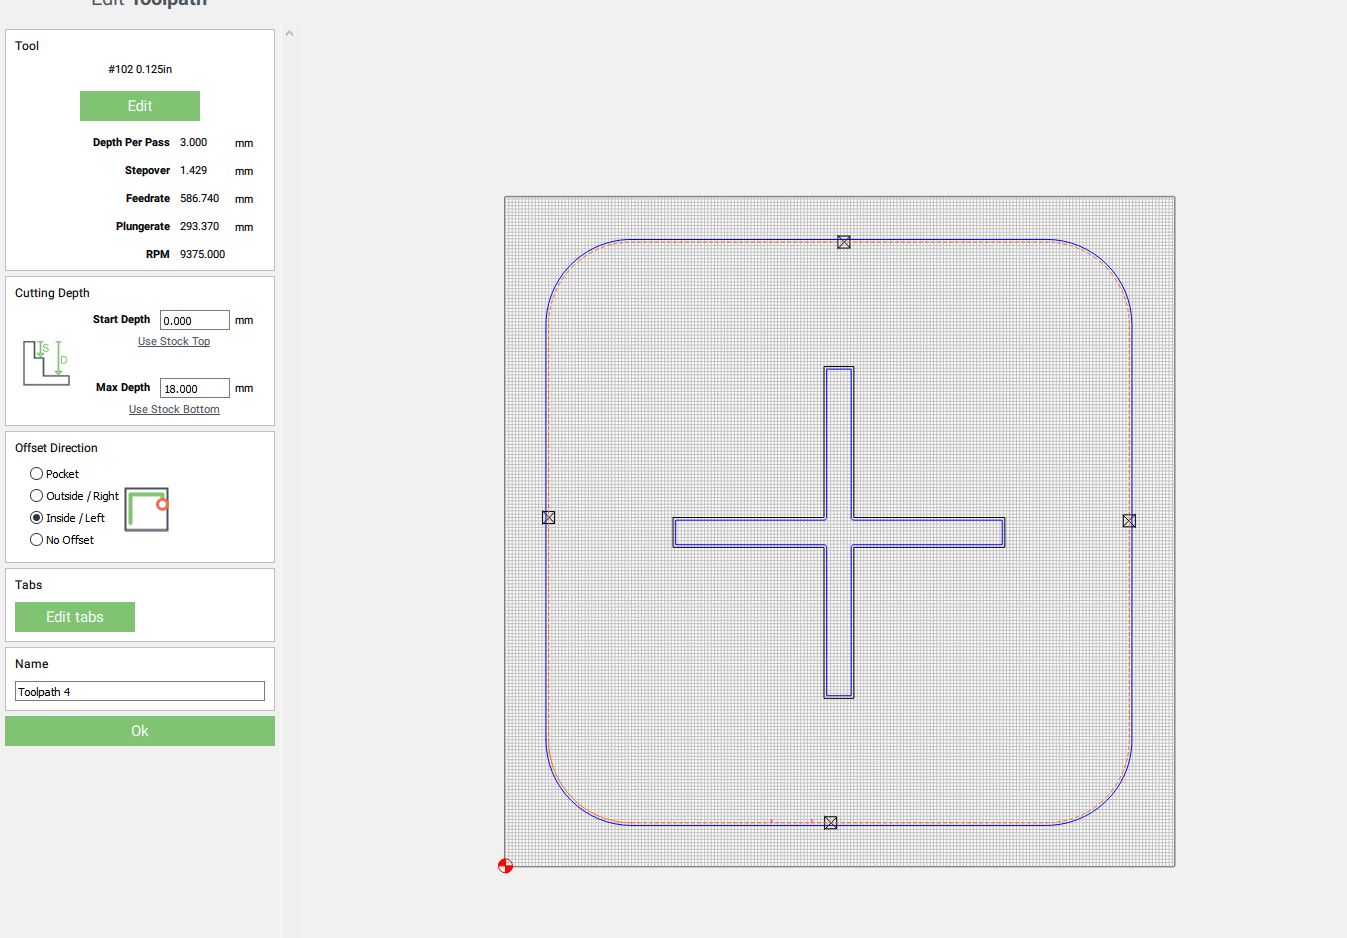
Making the toolpaths
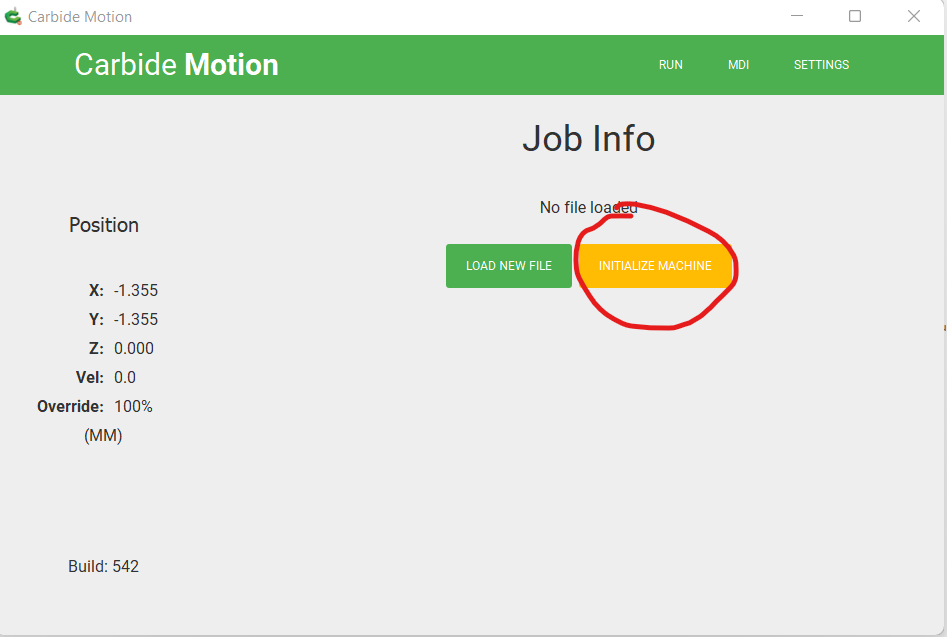
When all the files where ready i send them to the machine and started milling. But first i need to prep the machine. I crewed my plywood in the wastboard, i put screws in the corners so my bit would net touch the crews. I messured this before starting the milling machine. Before I can start the machine I have to name a zero. I do this manually with the driver of the machine. this brand uses a driver of its own which is very easy to use. it is called {carbide motion}(https://carbide3d.com/carbidemotion/download/)
1 choose for initialize machine after connecting it to the your computer.
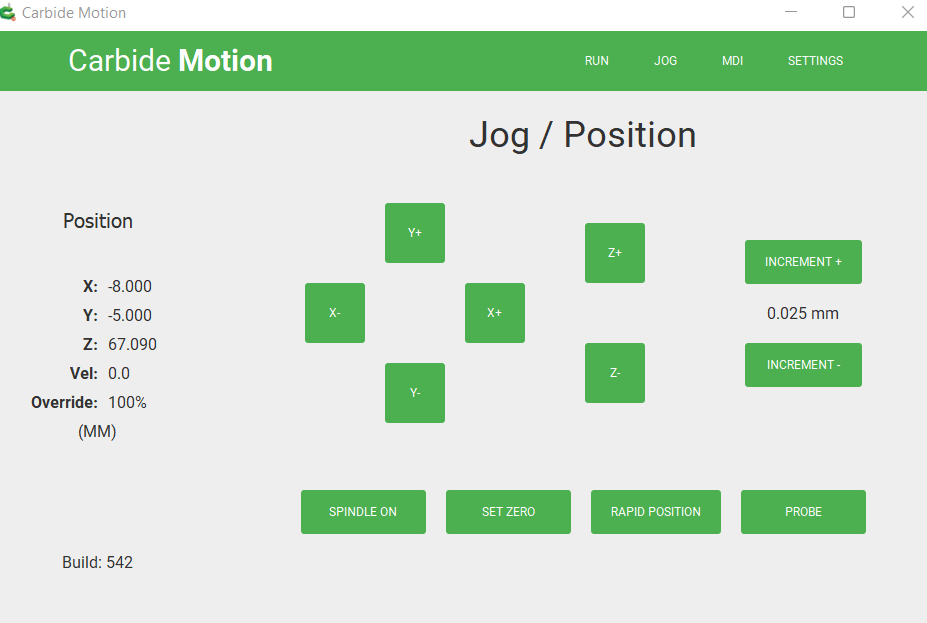
2 choose jog
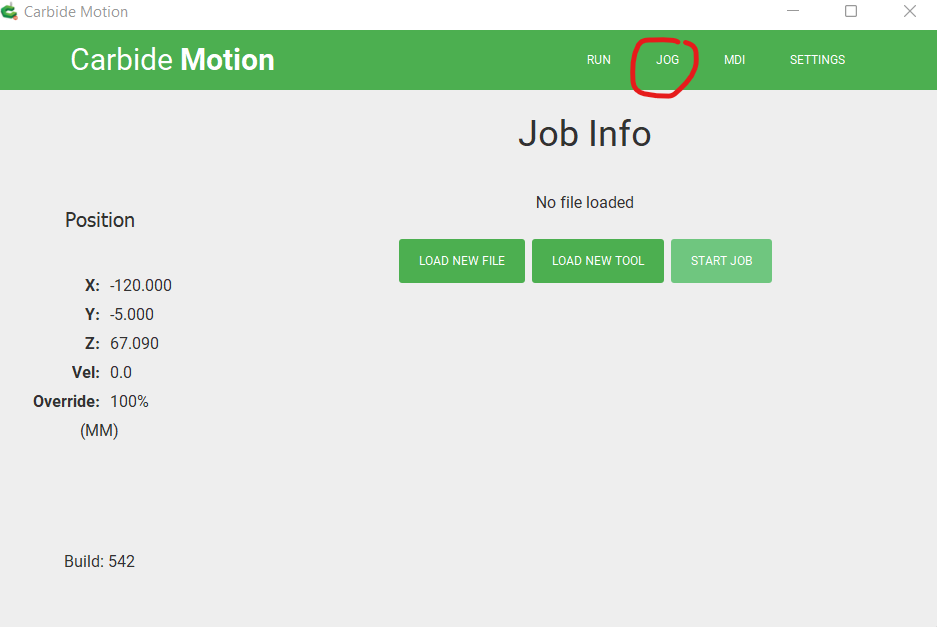
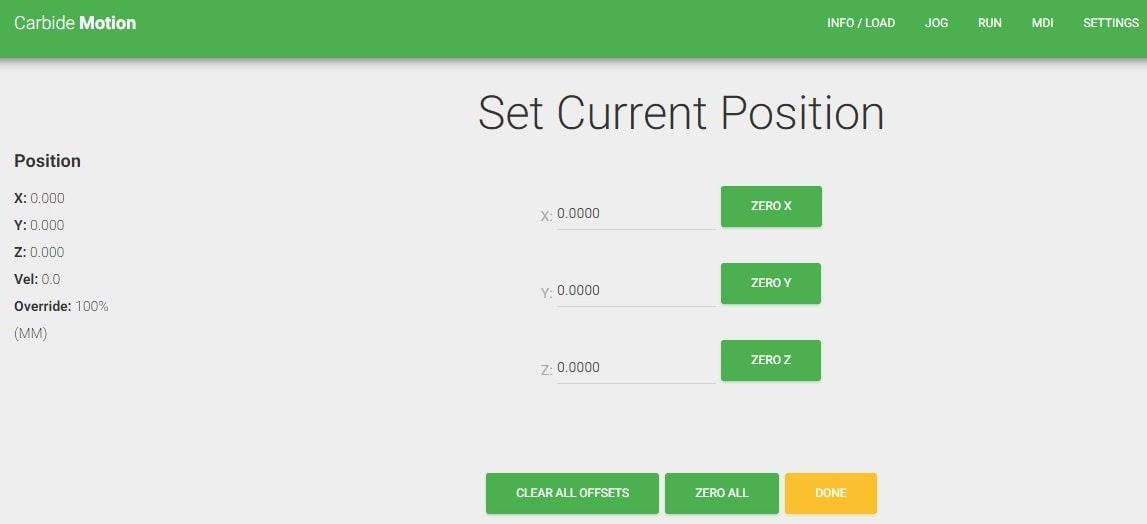
First it will measure the tool lenght so it is very important that you put in the tool first. After that you can move the milling bit with the arrows on the screen. To check the ideal hight i put on the machine and went down with steps of 0.025mm until it just touched the top of the plywood. After this I chose this point as zero and I could start the job.
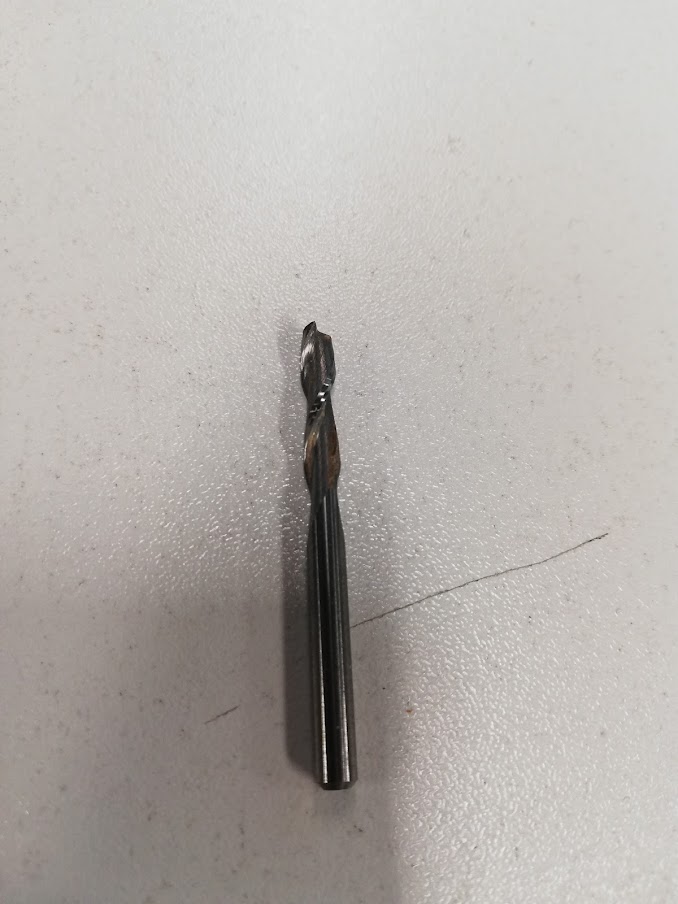
the tool
I used a flat end milling bit with a diameter of 4 mm and 2 flutes, Square end mills are used for general milling applications including slotting, profiling and plunge cutting. Flutes are the deep spiral grooves that allow chip formation and evacuation. They are the part of the end mill anatomy that create those sharp cutting edges (sometimes referred to as “teeth”). The number of flutes on your end mill is a crucial parameter that depends mostly on the material you want to cut and on the capabilities of your machine. Indeed, the number of flutes on your end mill will impact:
the feed rate of your machine,
the surface finish of your piece, and
the ability of the tool to clear chip
Feed rate is indeed directly linked to the number of flutes of your end mill: if you add flutes, you will have to increase the feed rate, or decrease the rotational speed of your spindle, to keep a constant chip load. So depending on the speed capabilities of your CNC machine and of your spindle, you might have to choose an end mill with less/more flutes.
Secondly, having more flutes on a tool creates smoother cuts, but it also leaves less space for chips to evacuate. This can be somehow overlooked if you are cutting soft materials, but not at all if you are cutting aluminium for instance. The reason is that aluminium produces very large chips compared to other materials. So when the end mill is cutting down in a hole or a slot, its flutes provide a crucial path for chips to escape. That explains why it is recommended to use 2 or 3 flutes end mills with aluminium since they have more chip clearance than with a 4-flutes one, where the chips will jam progressively, overlapping the cutting edges of your tool and making it break eventually.
To sum up, fewer flutes are best at chip clearing, while more flutes create a smoother surface finish.
When all the peaces where ready I assembled the 3 part. It is designed to fit without glue or srews. I sanded the assembly and it was ready.
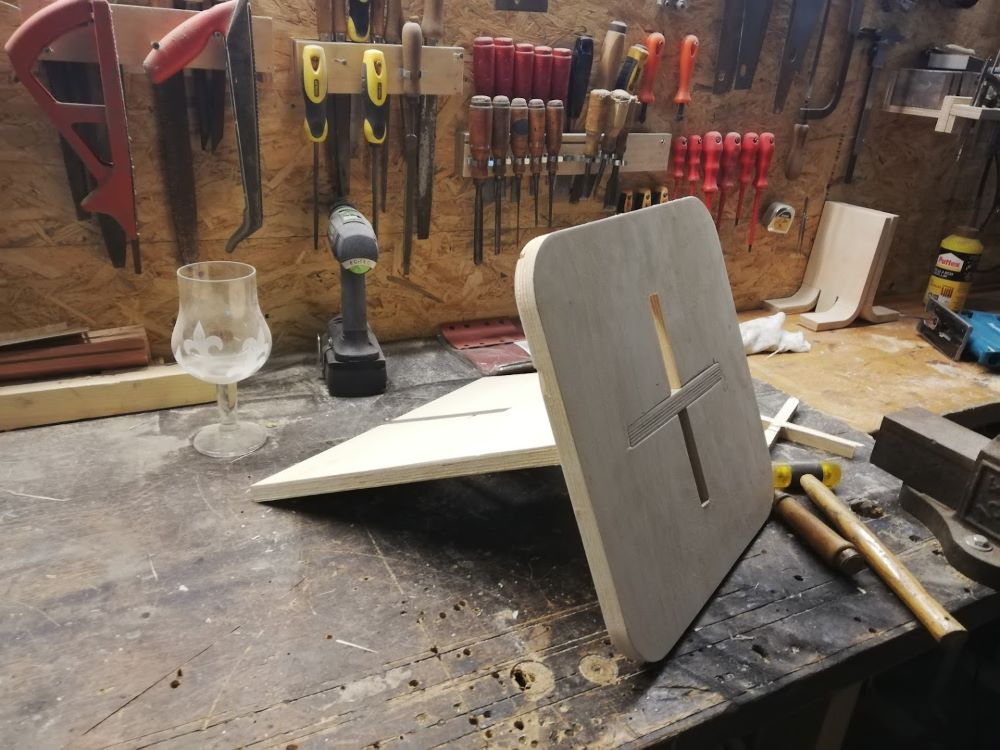
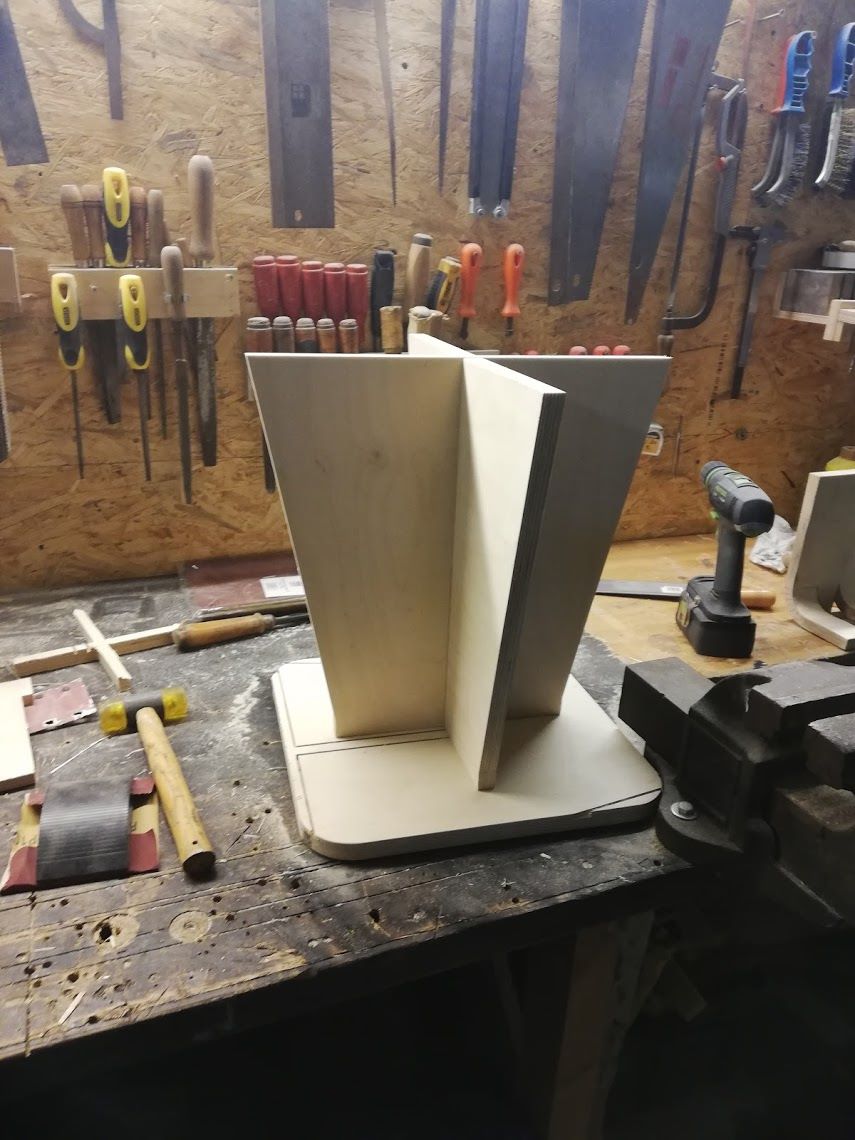
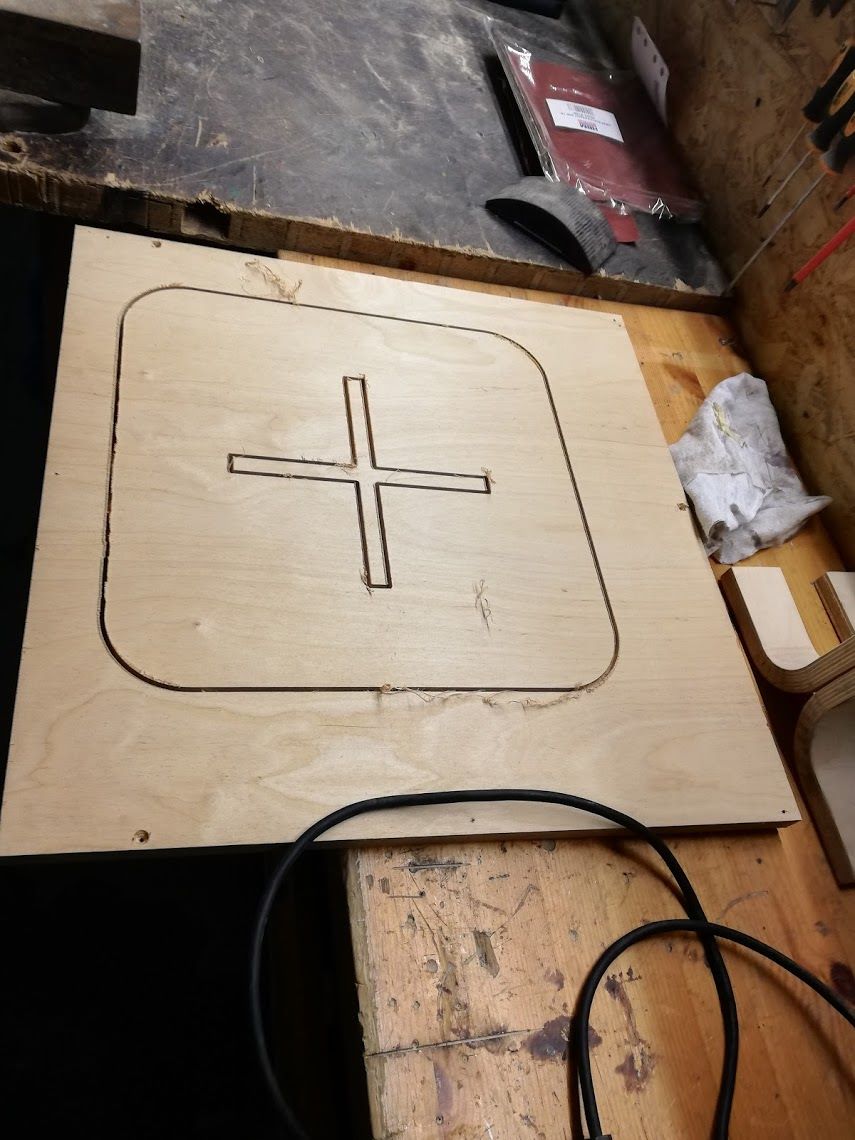
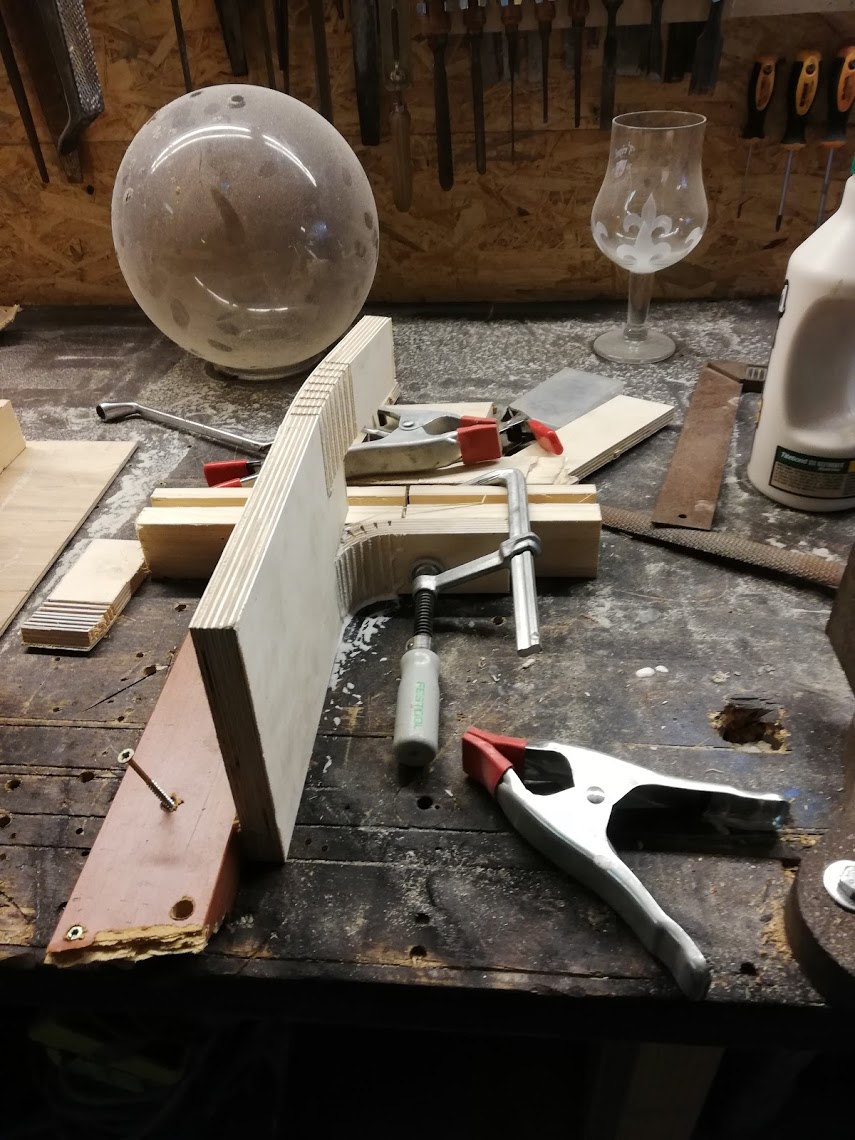
flex pattern bookend
A friend of mine was making bookend by hand with a flex pattern to bend the wood. I drawed the design of my friend in fushion and milled it with the cnc machine.
I glued the flex pattern with woodglue.

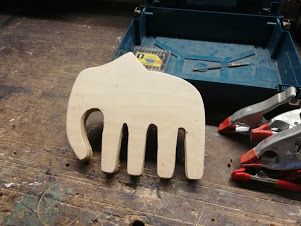
wooden animal
While I was working with the milling machine in my workshop a other friend drawed some animal figures which we milled in differnt kinds of wood.