6. 3D Scanning and printing
This week I worked on defining my final project idea and started to getting used to the documentation process. For antother project i am working on a have made a small instructable about 3D printing. It is in dutch for our belgium partners. maakbib 3D printen
3D scanning
3D scanning is the process of collecting 3D data of an object’s shape and appearance. These data are then used to create a digital 3D model of the object. Essentially, 3D scanners create a digital copy of a real-world object. This digital copy or the 3D file can then be used for different purposes. 3D scanning is a great way to easily obtain files for 3D printing or for use in a digital environment like AR (augmented reality).
Generally, nowadays engineers are using this technology for reverse engineering processes. 3D scanner files are generally compatible with CAD software and 3D printing slicer software. In a scan, a network of points is measured and converted to an STL file, which is the common file format for 3D printers. The STL files can then be further edited and 3D printed as per the user’s requirements.
Qlone app on smartphone
This is an app for smartphones to make 3D scans. At first I was a bit sceptical about it, but after a couple of test it was clear that is a very cheap way to make a 3D scan of a object. The app is free to use but if you want to export a file you need the premium version of the app. It cost 10 euro so is is not that expensive. The quality off the exported stl is not very precise but not bad also. Deffently if you keep in mind that is only a 10 euro app. Qlone is an app for smartphones (https://www.qlone.pro/) . It is a free app but if you want to export the files ( for printing or for digital use) you have to buy the pro version. It cost 10 euro for the pro version of the app but you can export an unlimited amount of files. The quality of the files are not very precise but it is a good programme to take your first steps with 3D scanning.
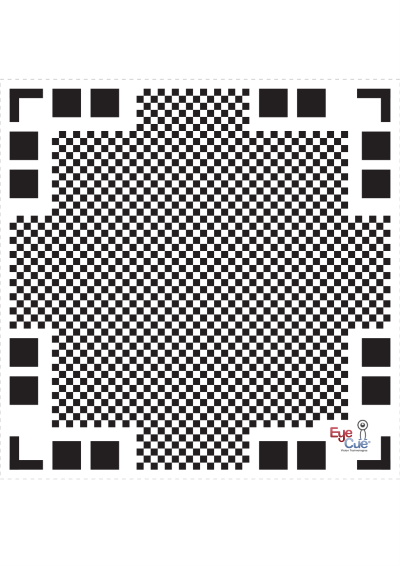
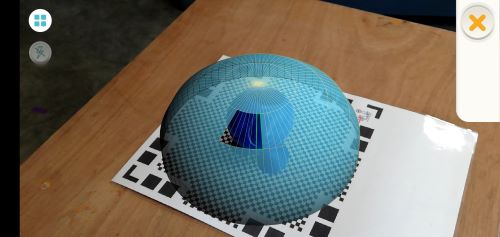
The first ting you have to do is print out the following image on paper. download file

Place the object in the middle of the mat.
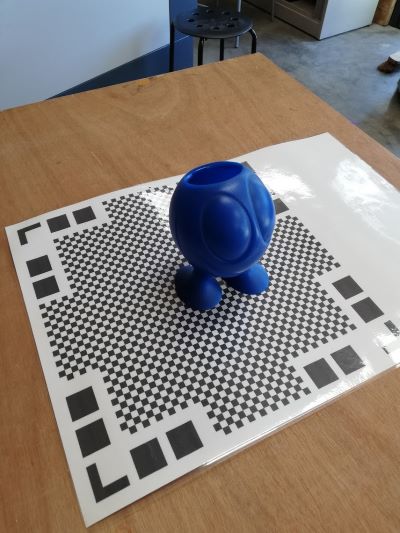
Open the app and start scanning, you have to go around the object a couple of times but you can do it relativly fast.
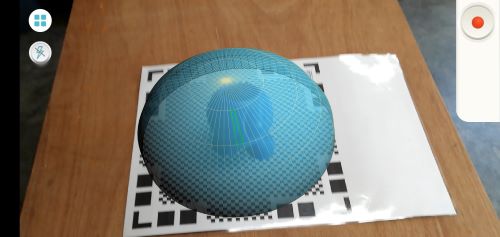
After you scanned awey each bleu face the app will make a sollid form from the object and you can export the result in differnt formats : .STL .OBJ …
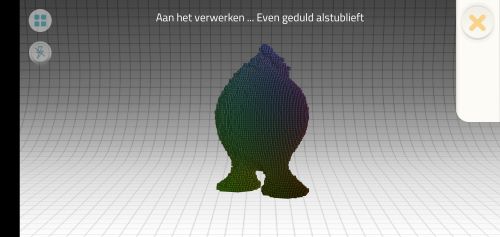
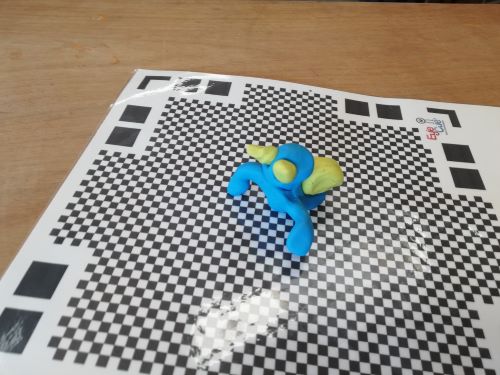
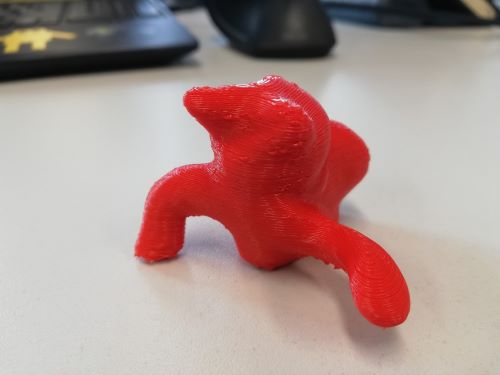
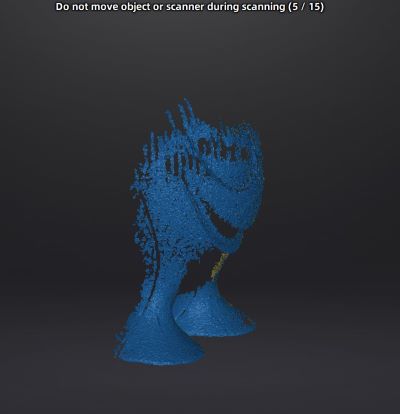
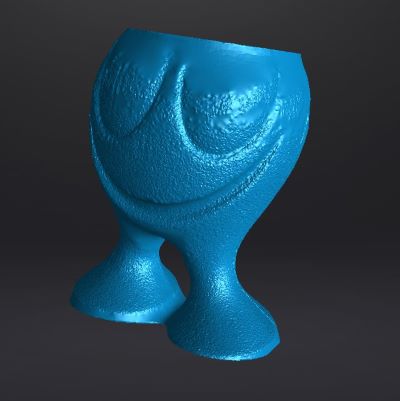
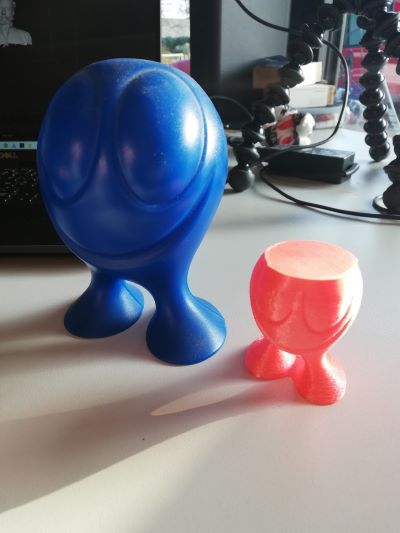
I was suprised by the result of the scan after when I printed the scan. I molded a little figurine in clay and made a scan from it.
einscan-se
einscan Is the most presice scanner we have in the lab. It scans with a presision of 0.1 mm. It has a turntable where you have to put on the object you want to scan. It can not be a very large object max 10x10x10 cm. if you want to use the turntable. There are not many parameters that you can change while making the scan.
Place the object in the middle of the round turntable

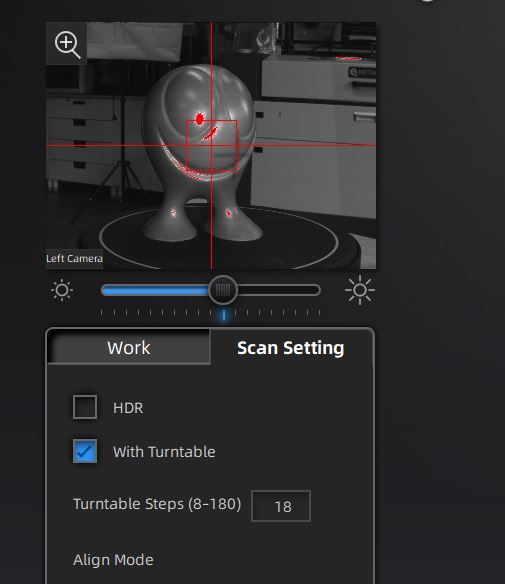
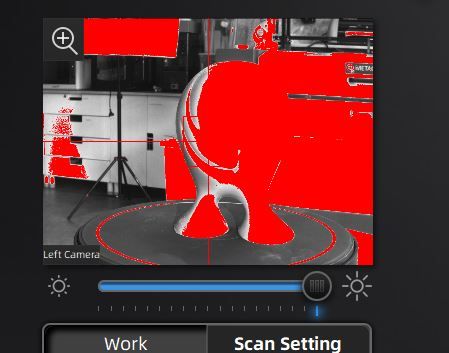
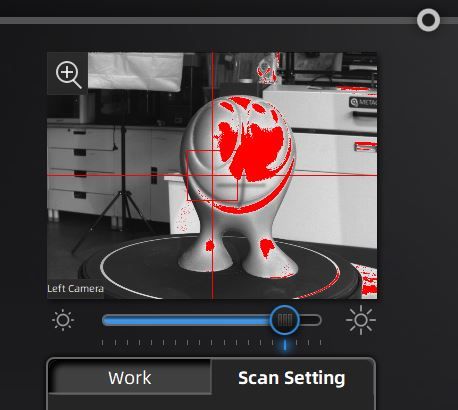
Slide the bar until the object is slightly red. The picture above is to dark and the picture below is too light.
The picture below is just fine.
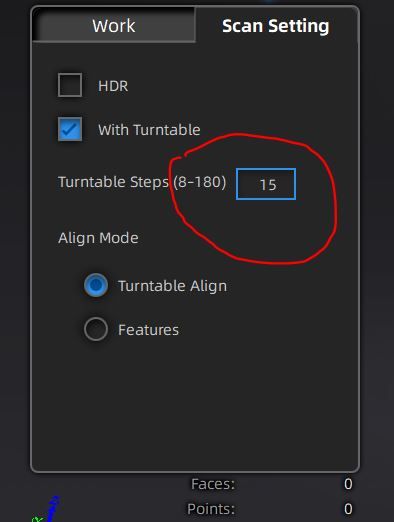
Choose in how many steps the scanner must scan the object. The more steps you choose the more accurate the scan will be but the longer it takes. The minimum is 8 steps. Make sure the turntableis turned on.
Now you can start the scan and wait until it is finished.
When the scan is ready you can make the scan watertight.
I printed the model:
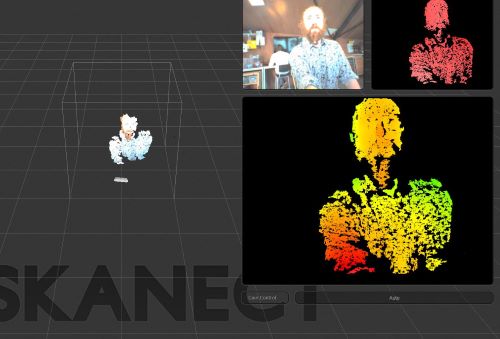
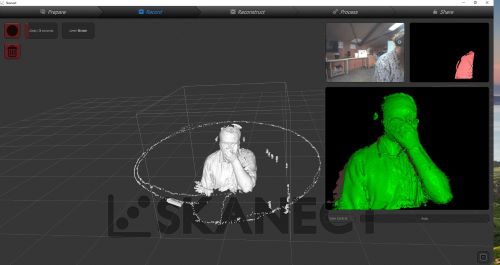
skanect
The last method I explored is skanect. I tried to make a scan of myself but i had some dificulties with my beard. The scanner dit not always recononised my hair.
3D printing
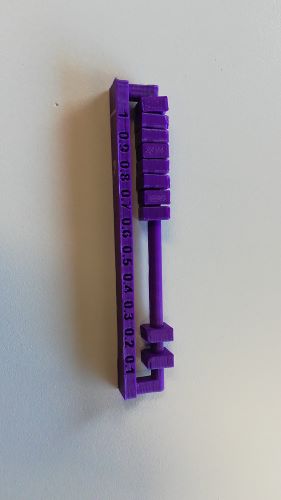
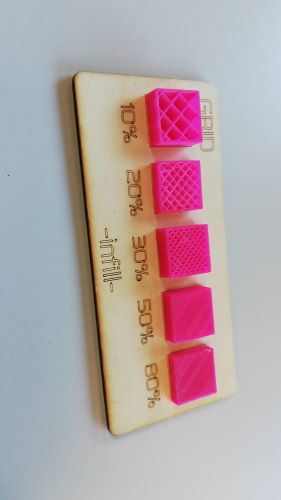
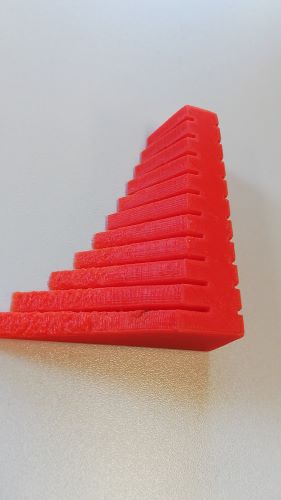
In our lab we have a lot of 3D printers. I work with them on a daily base. For the group assigment we made different test prints with the different machines. 3D printing is a technique where material is added. we start from an empty bed and by adding different layers we create an object in 3D. This technique is ideally suited for making unique pieces or series production with a very low edition. It is also possible to create pieces that have a complex shape that are difficult to make with other techniques. But here are also some limitations. To test the limitations of the machine I printed the following objects:
FDM printers / fused deposit material
As slicer i used cura. I find this the most user friendly slicer. An FDM printer places small layers on top of each other, these layers consist of materials that are brought into a liquid state, so that the layers merge into each other.
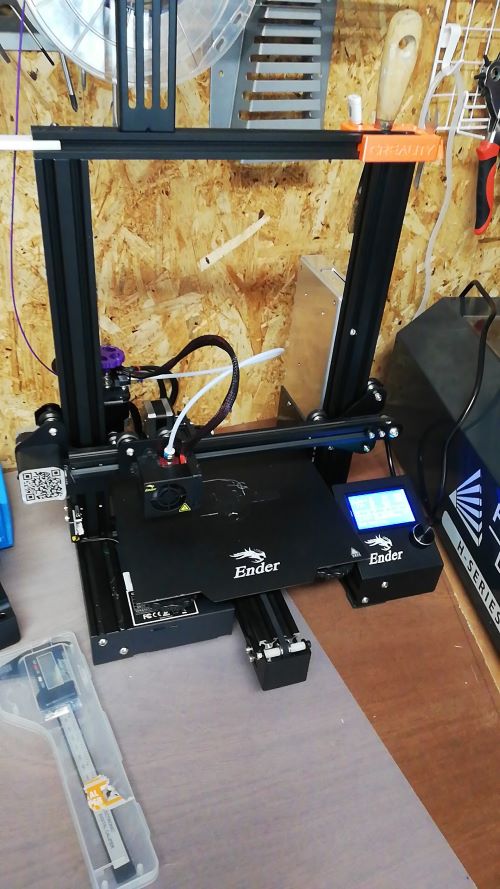
ender 3 pro
setting for the ender .
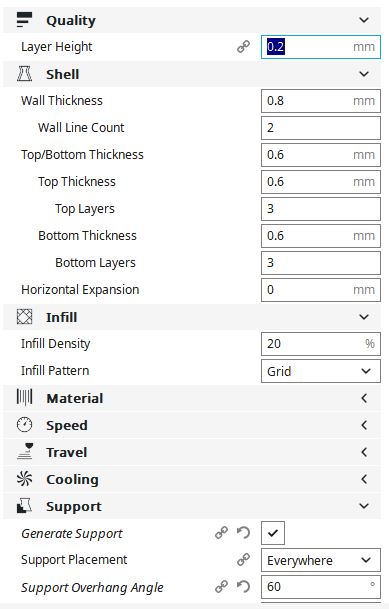
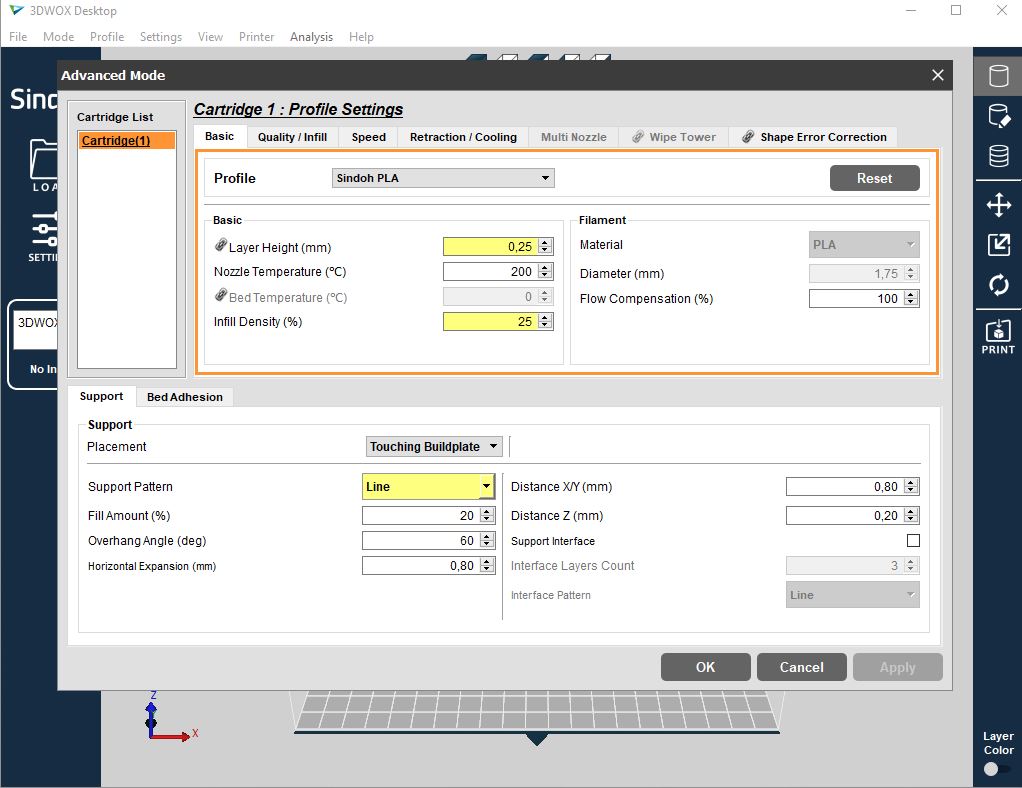
sindoh
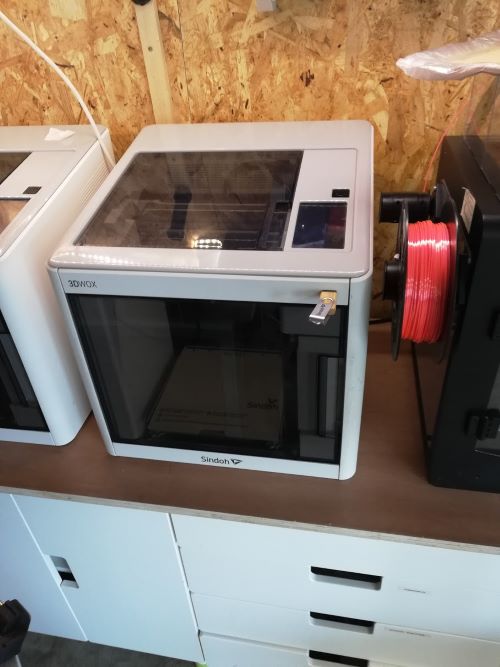
Settings i use for the sindoh:
Wanhao duplicator
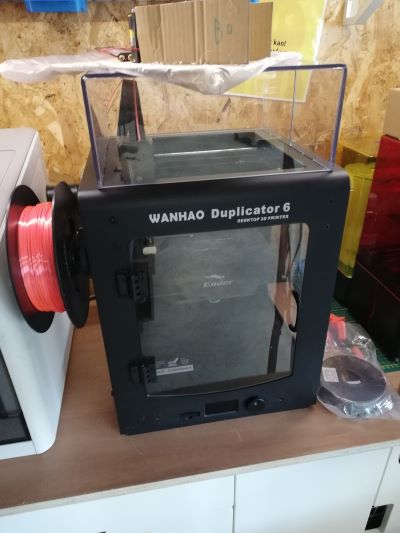
setting i used for the wanhao
SLA printer
We have one SLA printer in our lab. I have done one test with it. I desiged a figurine on eldritch-foundry Because i wanted to see how detailed the machine could print. The print cane out the machine very clean and precise. I also prinded one on the MDF printer to see the difference. This method of printing gives very nice results but there is a lot of cleaning afterwards.

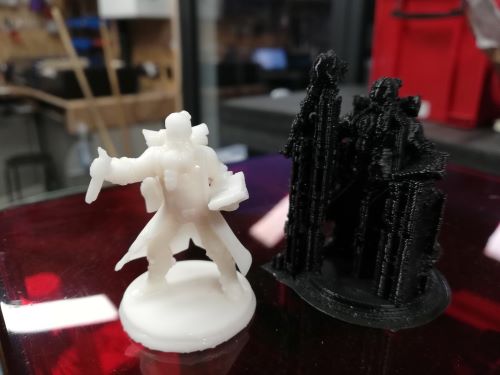
This model is not possible to make with other methods exept for injection molding and even then it would be difficult because there are a lot of undercuts. The biggest advantage to this kind of printer is that it is possible to print smaller objects. Also for freeform objects it is the better solotion. A disadventage i have come by is that if i want to print geometric shapes ( cube , cilinder ,…) that the mesurments are off a little bit.
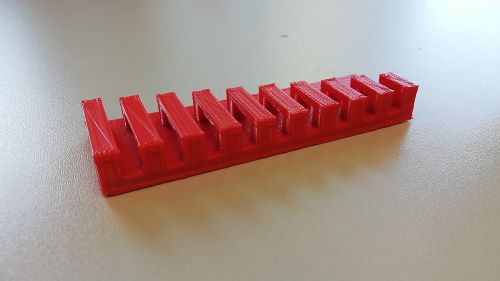
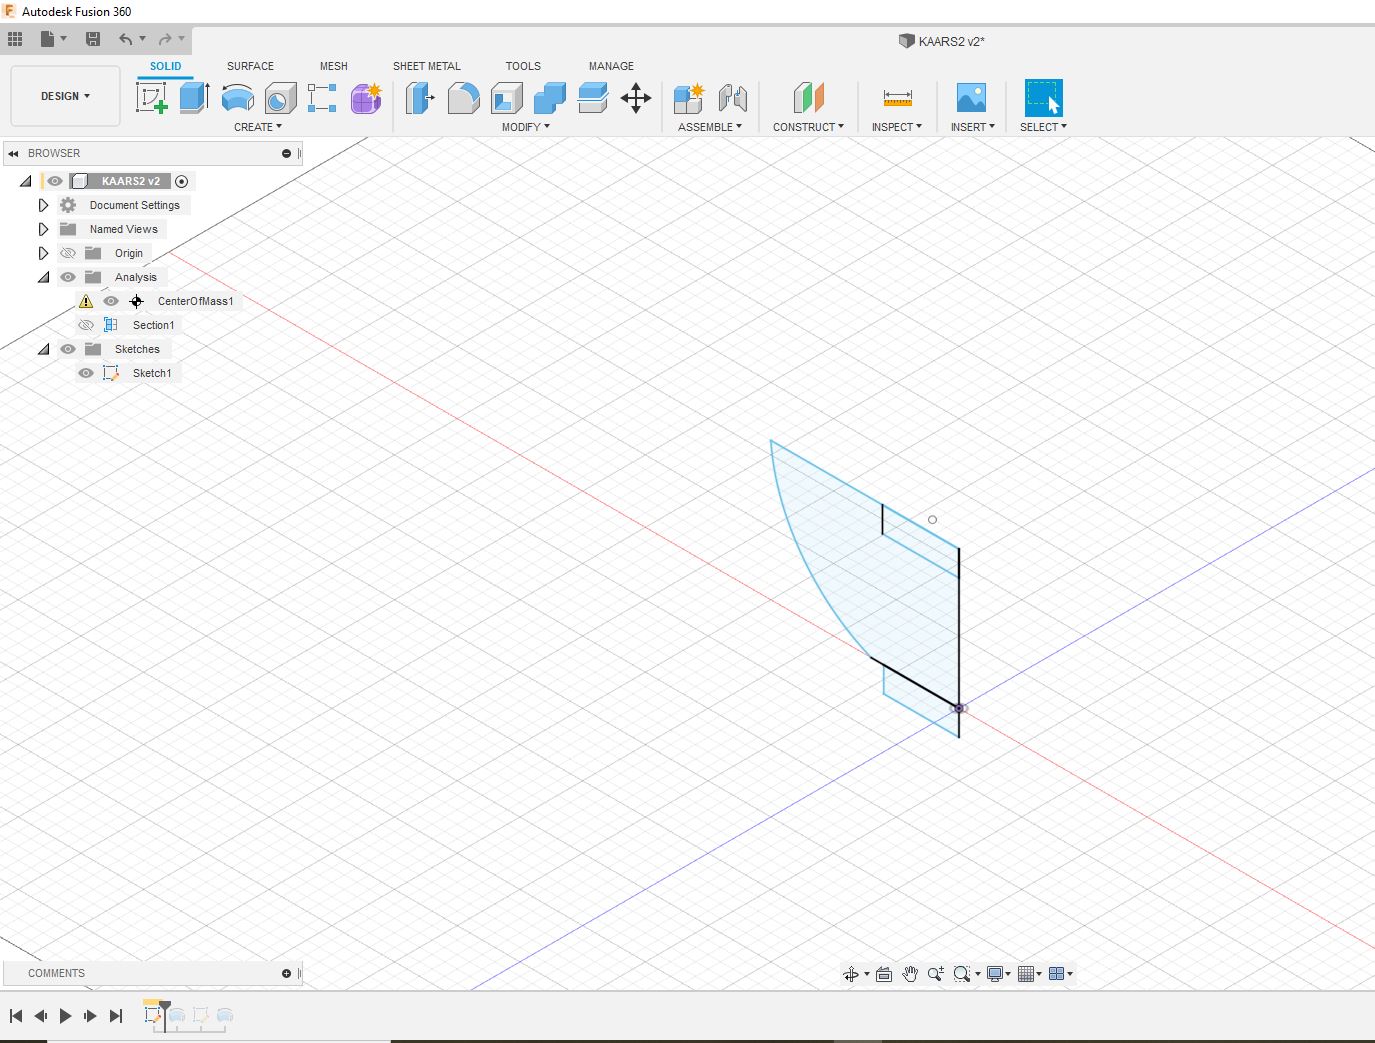
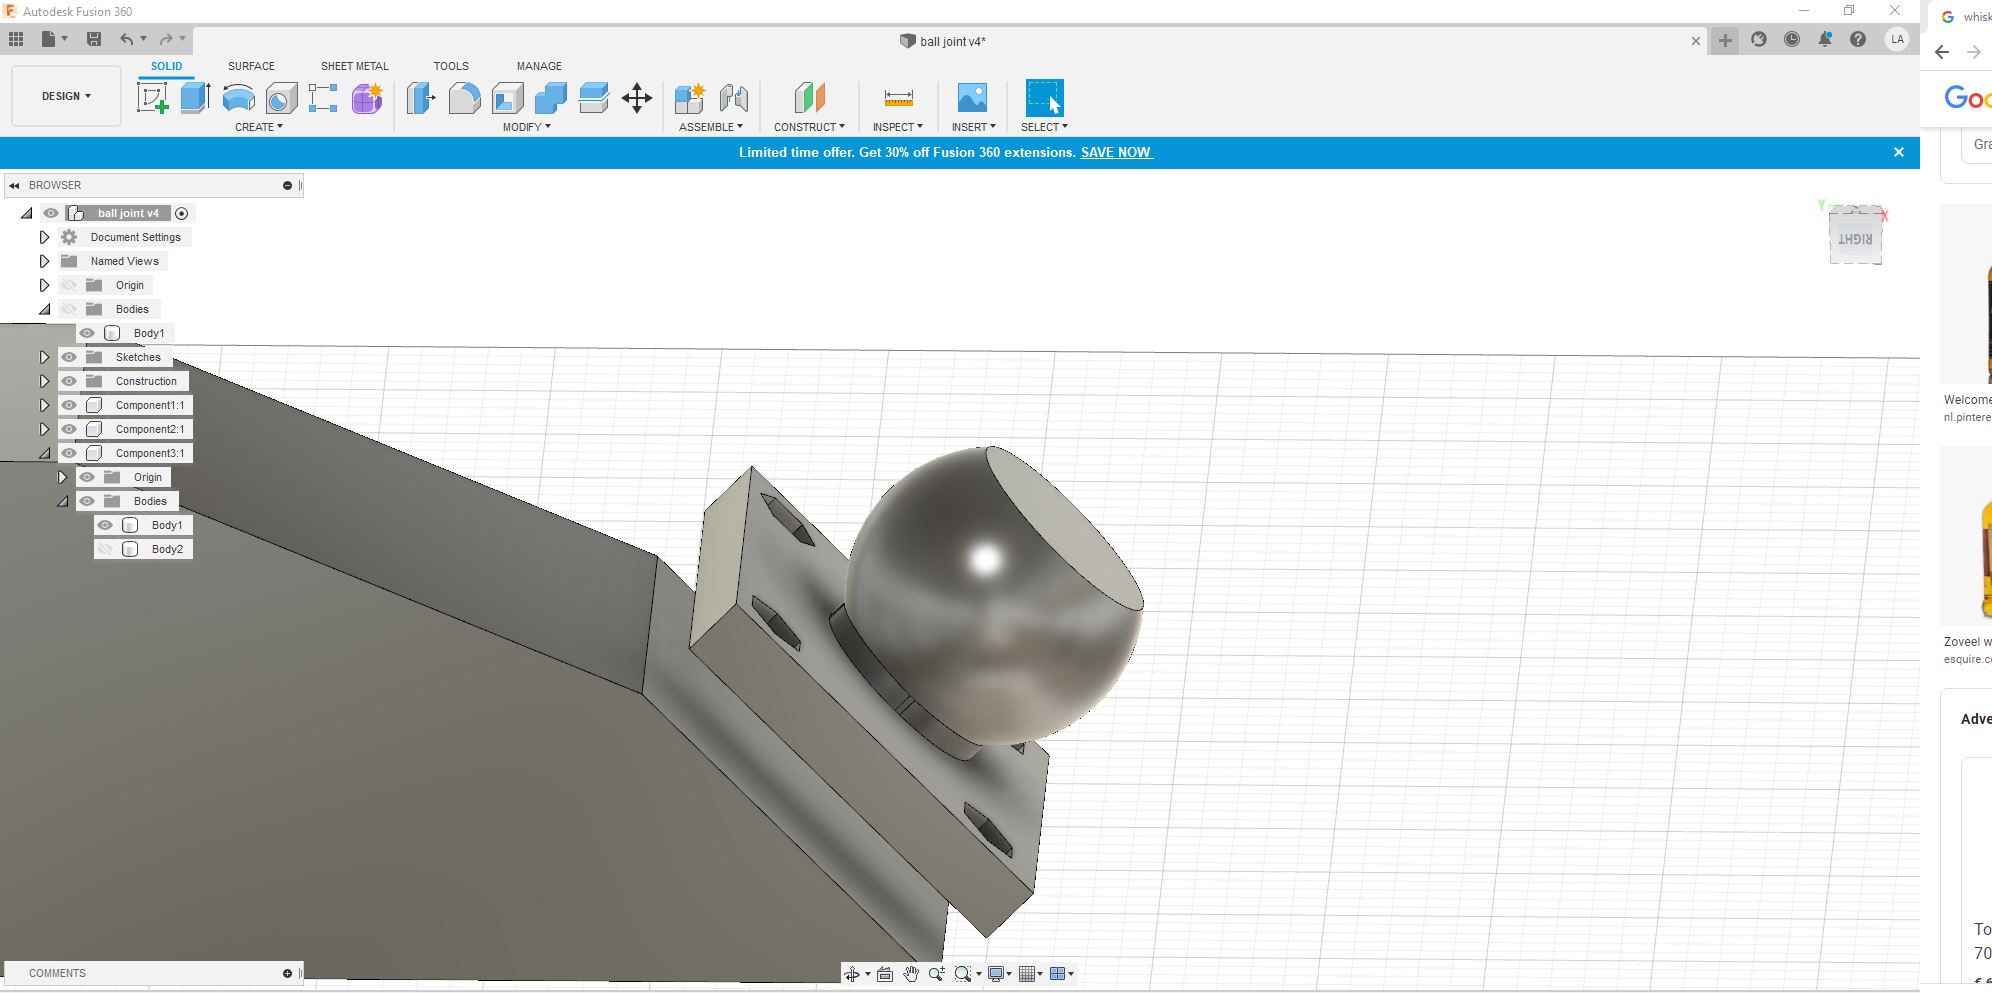
files for printing
prototype
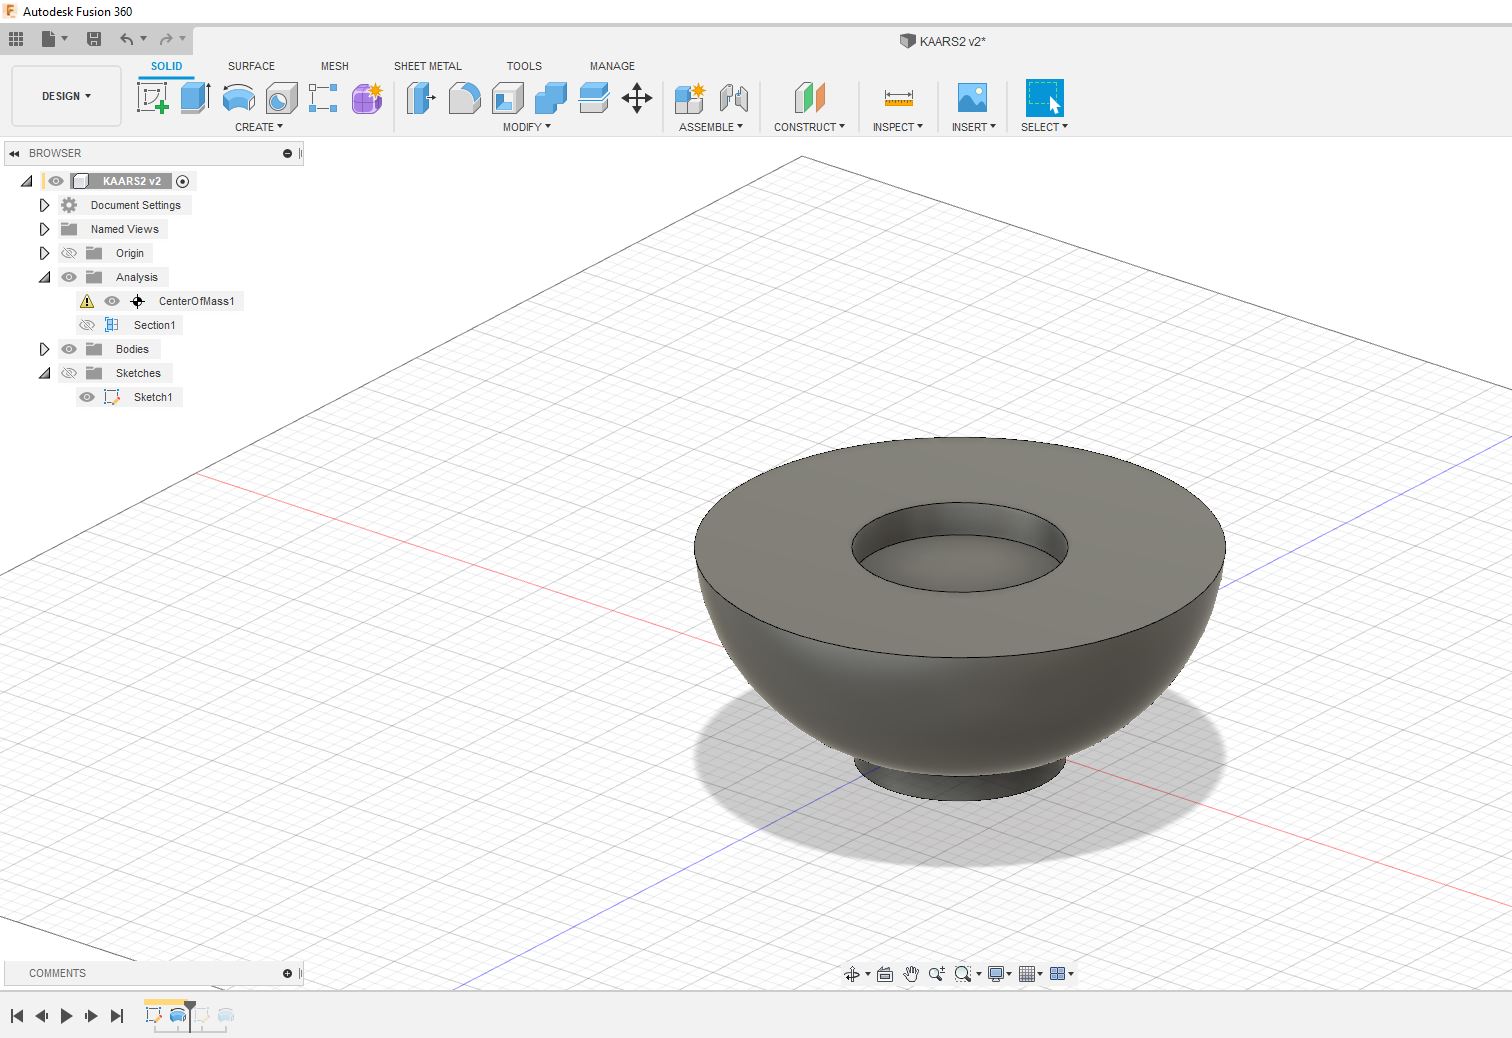
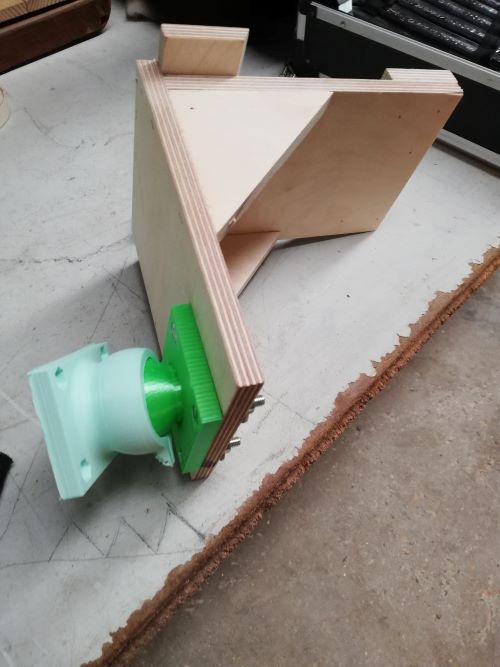
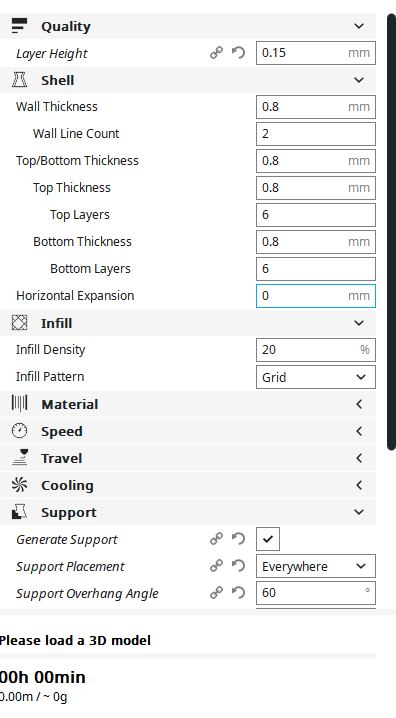
Printed with the following setting on a ender 3 pro
Layer height: 0.12 mm infill: 30 % suport angle: 55 degree
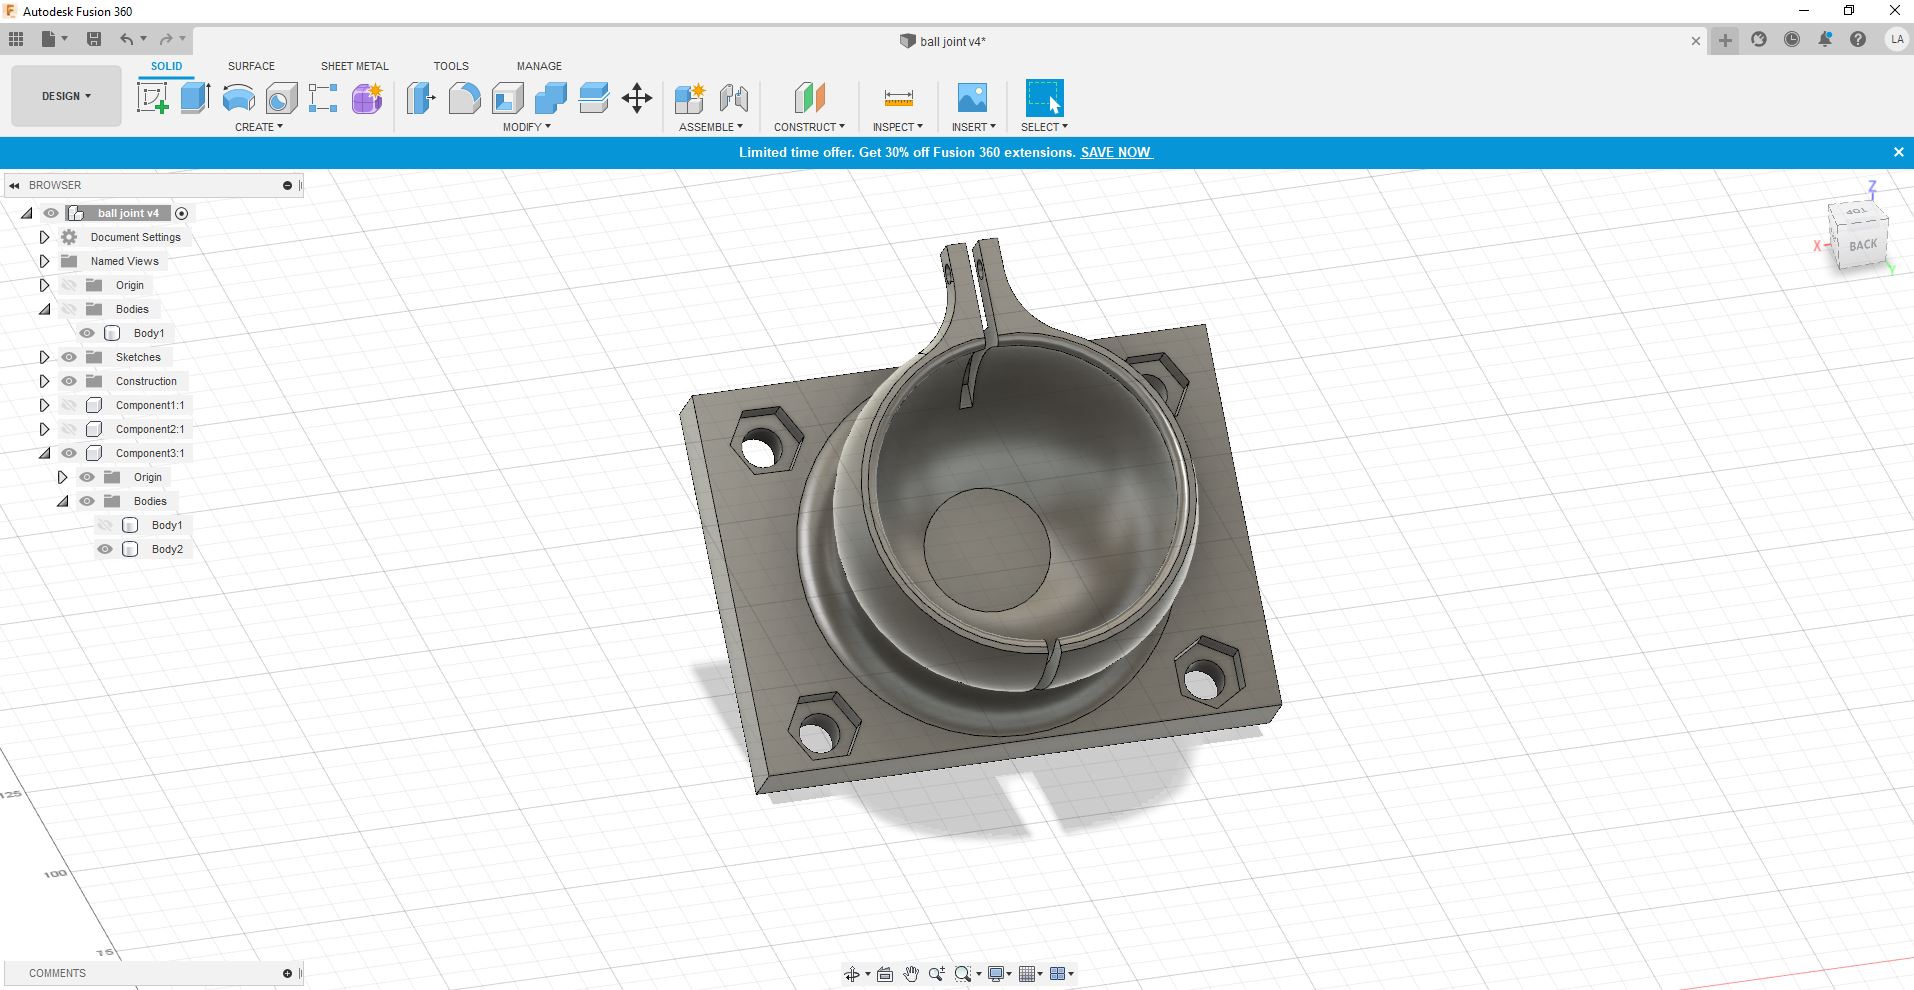
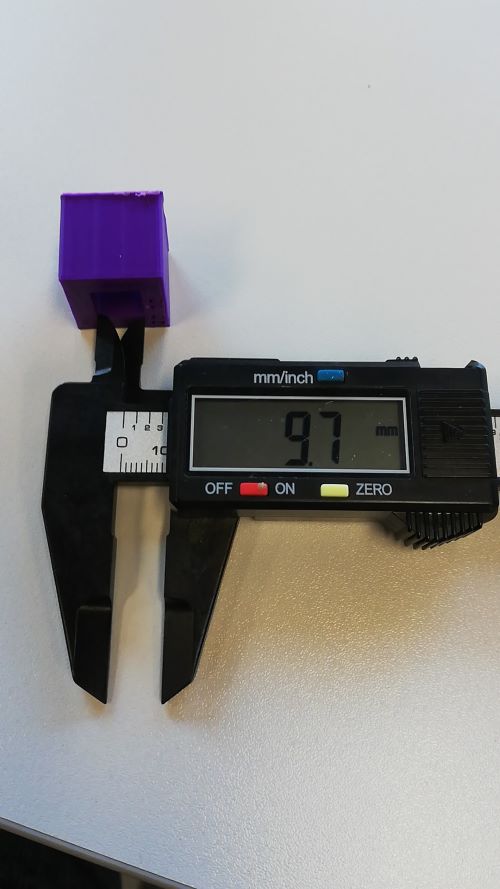
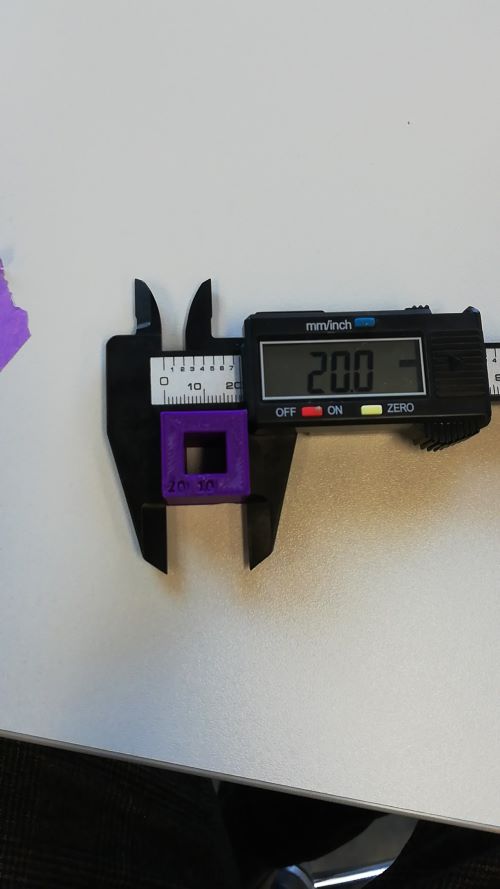
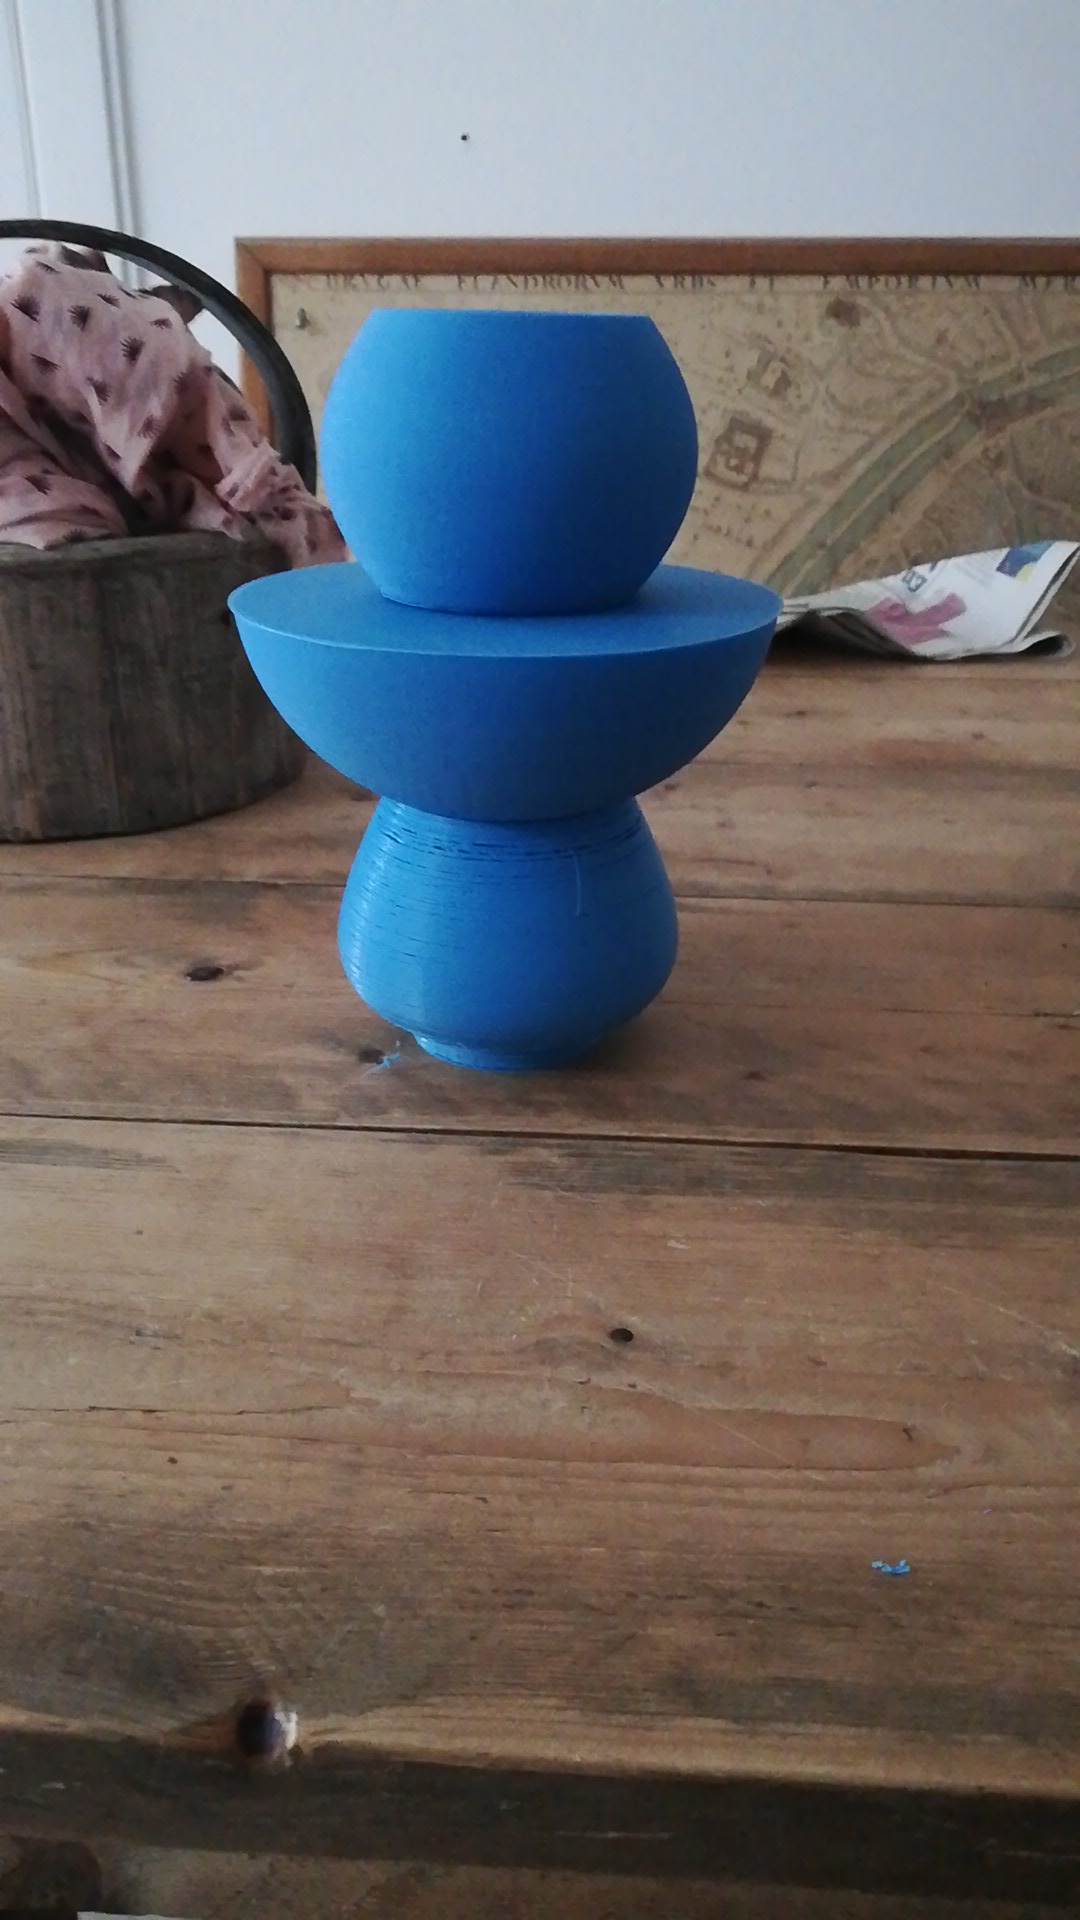
I printed this parts with the 3D printer (Ender3 pro) with the following settings
- layer height 0.15
- infill 40 %
- no support
When I tried to assemble the two pieces one broke.
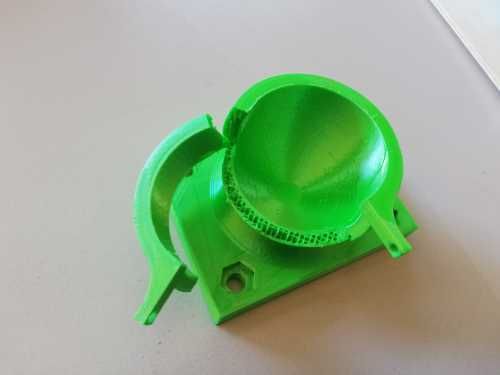
I printed the object again but with 60% infill. Before I assembeled the new parts I heated the hole piece with a heatgun. This proved succesfull. They clicked in eachother and cooled off perfecttely.