3. Computer Aided design
This week I worked with different CAD Programs. During my previous studies as product designer we learned a lot of CAD programmes. The most important was siemens nx . This was the program we used to make 3D desings and asemmblies. Other progams they teached me were illustrator , photoshop , in design for adobe
After my studies I started working with more accessible programs. It was then that i started working with inkscape I still use inkscape for basic designs for lasercutting and vinyl cutting. When the designs are to complexs I use other programms. I didn’t think that inkscape had any secrets left for me but last week during the lesson I learned about the clone feature
For 3D desinging I use fusion360 . I learned that this works bassiclly the same as siemens nx.
I meanly focussed on programs that i could use for digital fabrication. I use tinkercad a lot with children, it is a good program to begin with 3D moddeling. For me a CAD program is a tool that helps translate an idee to other people or machines.
Now before starting to drow in any CAD program I always start on paper. after the initial idea is on paper i start with the CAD drawing.
fusion 360
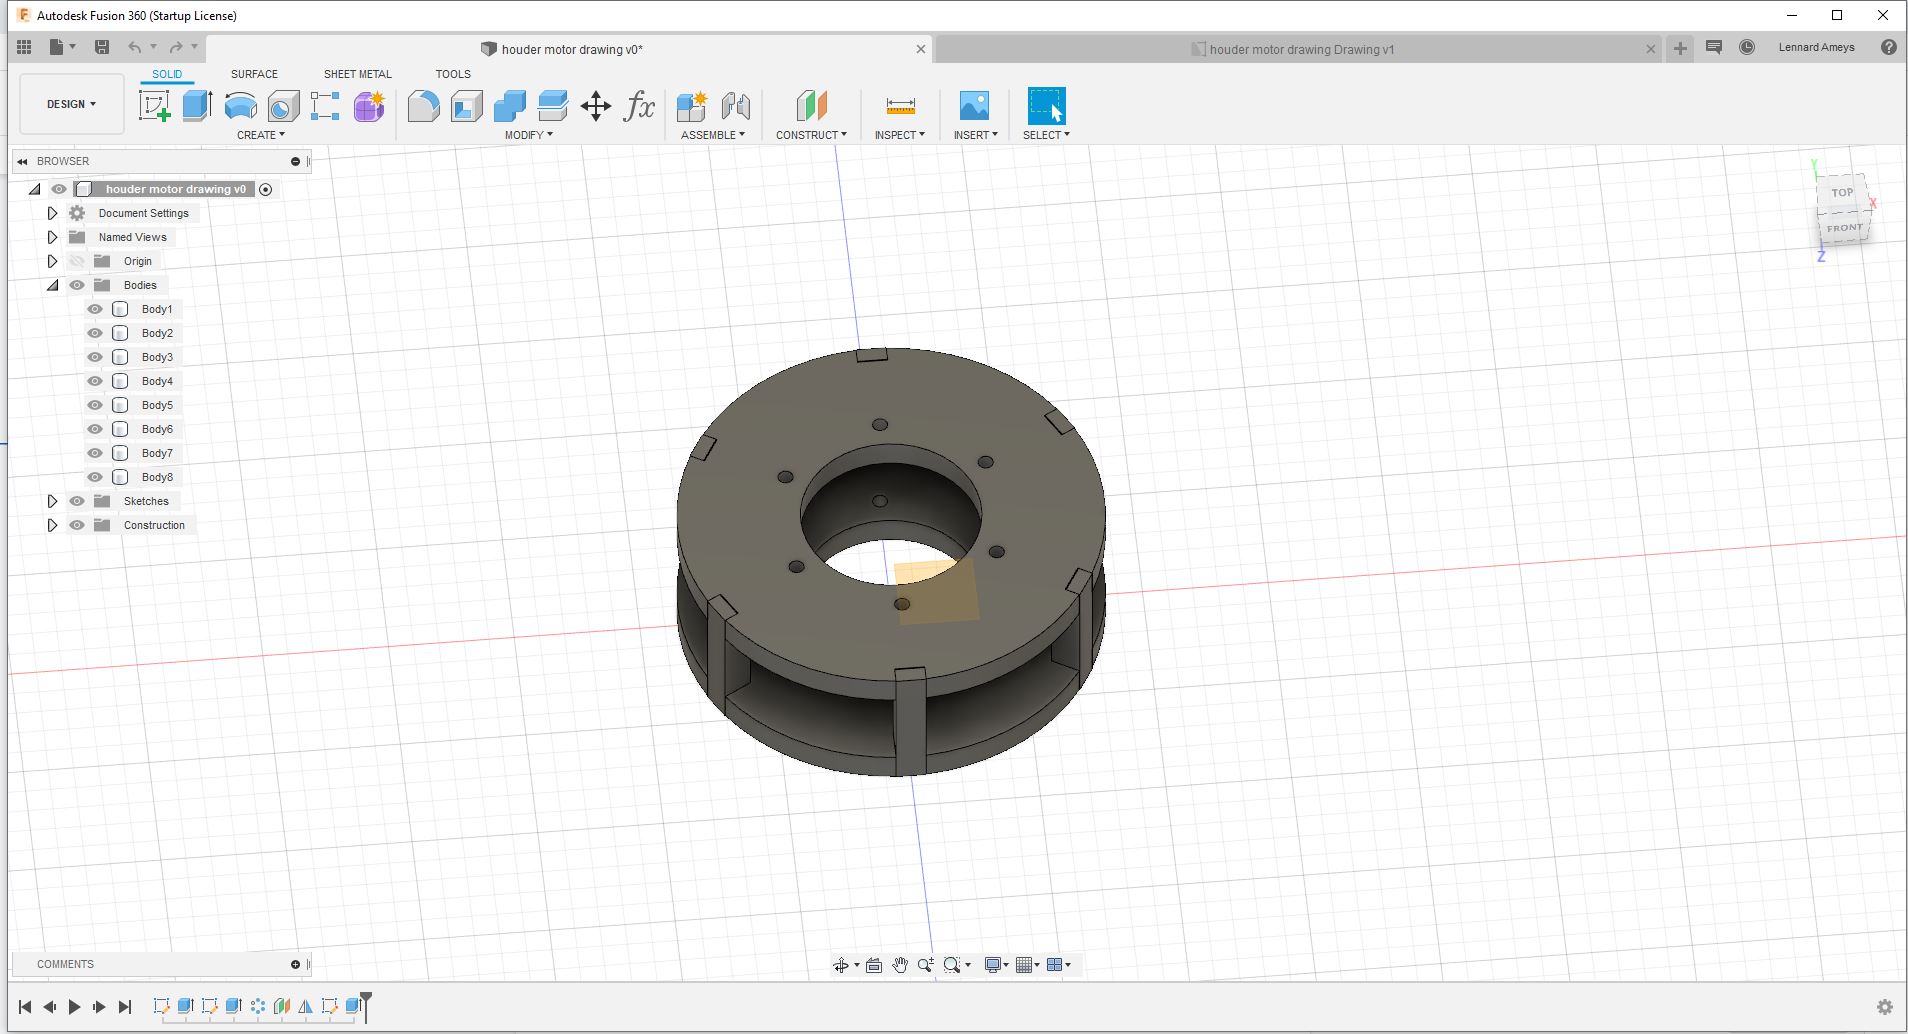
As part of a project I am working on I need a hulder for a DC motor. This is part of a course I am preparing were the participants use old DC motors to make a mini vaccuum cleaner with a PET bottle. Because not al the motors and bottles are the same it should be possible to change the dimensions of the holder. I desinged it in fusion 360 with a couple of parameters.
I first start with making a sketch. by cliking in on the icon in the top left corner.
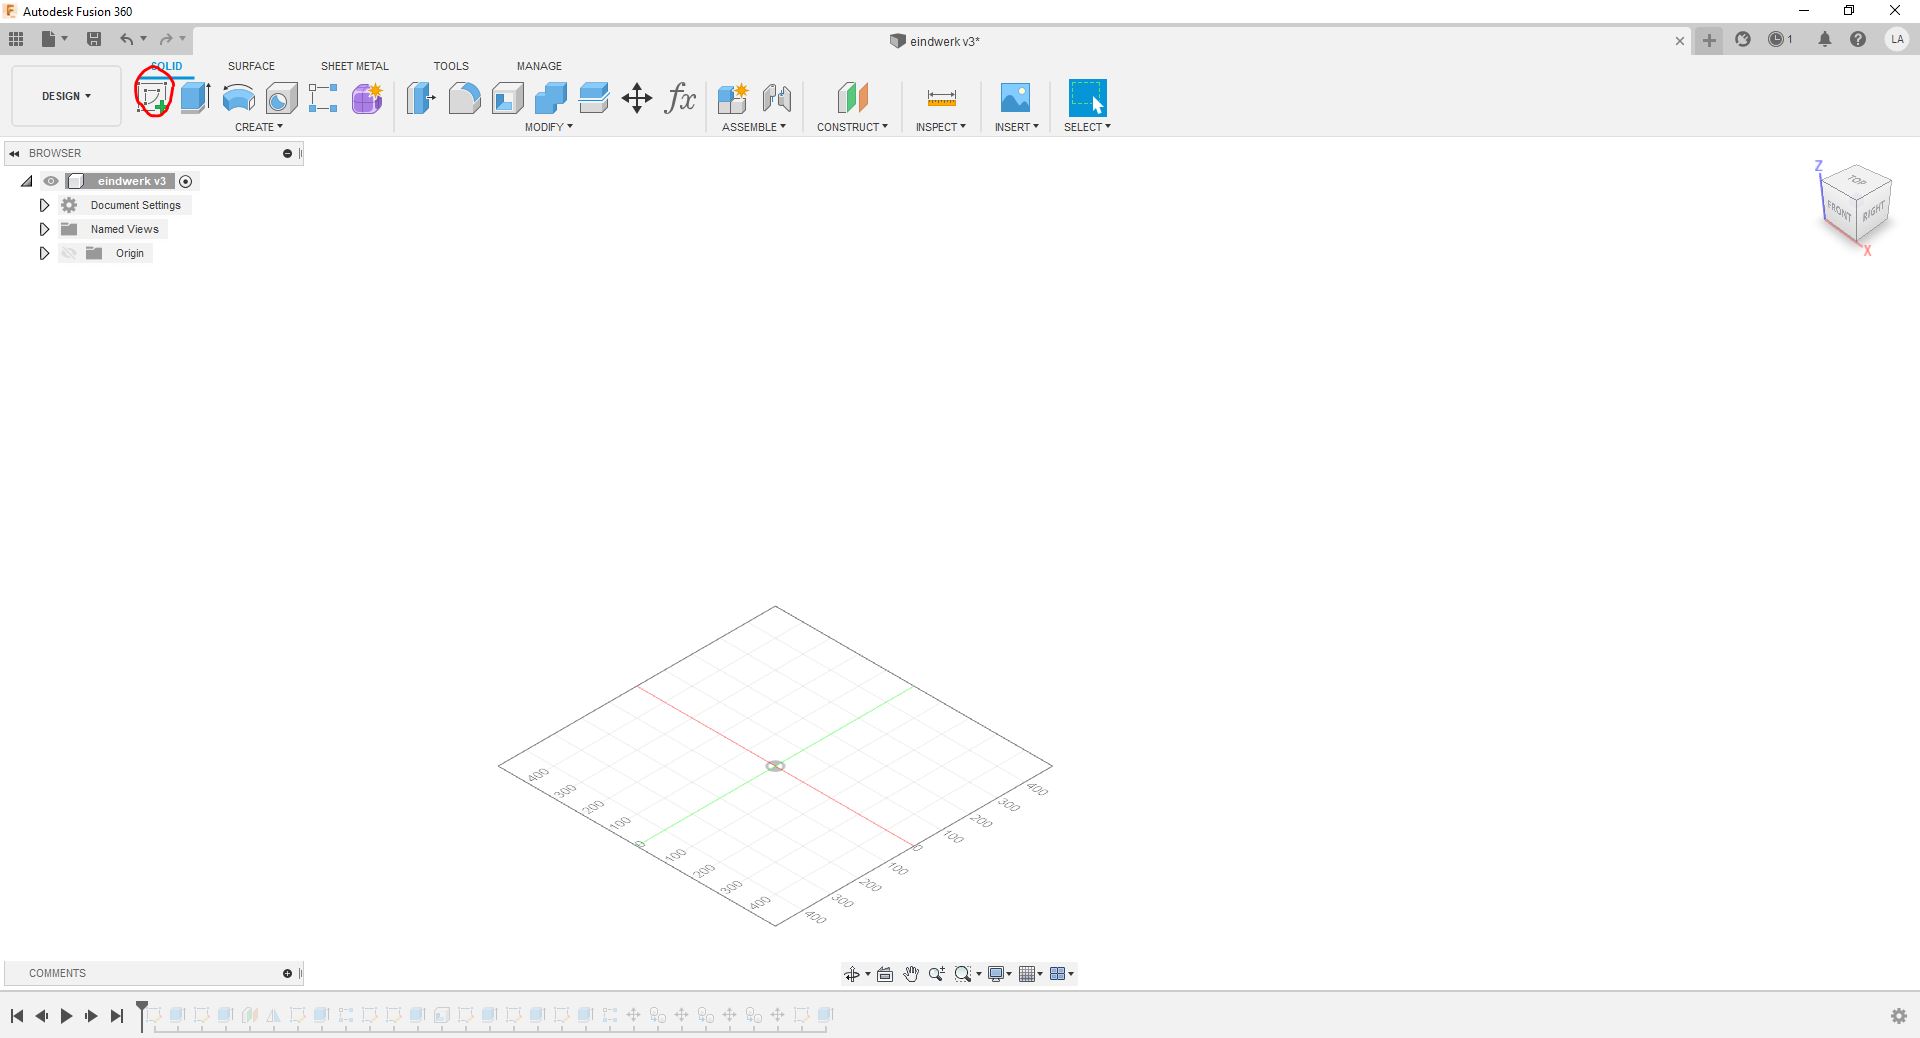
When you in the skech mode you see that the icons are diffirent. This is because you make now sketches in 2D to use later for a 3D fuction.
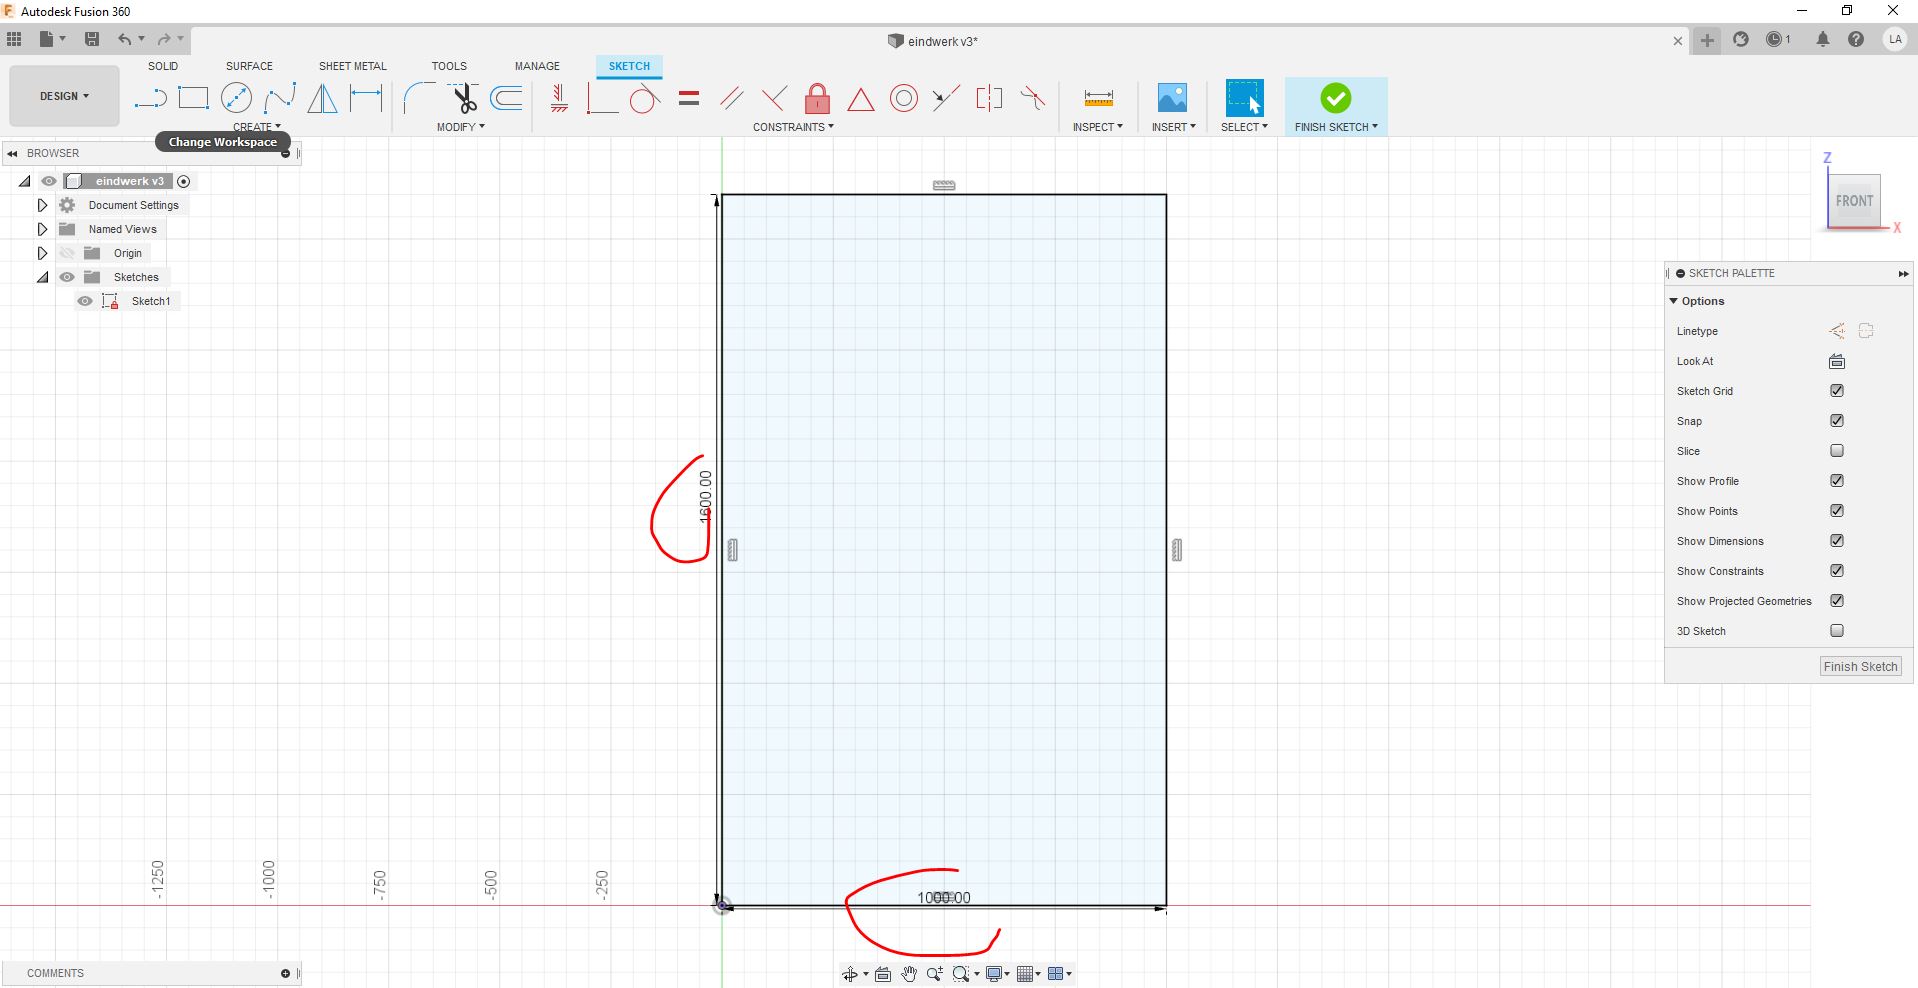
it is very importent to put messurments or dimensions on the drawing. I could even say that it is crutial. For drawings that are complex or if you want to change something it is very important to do so, otherwise the drawing will fail later on the proces.
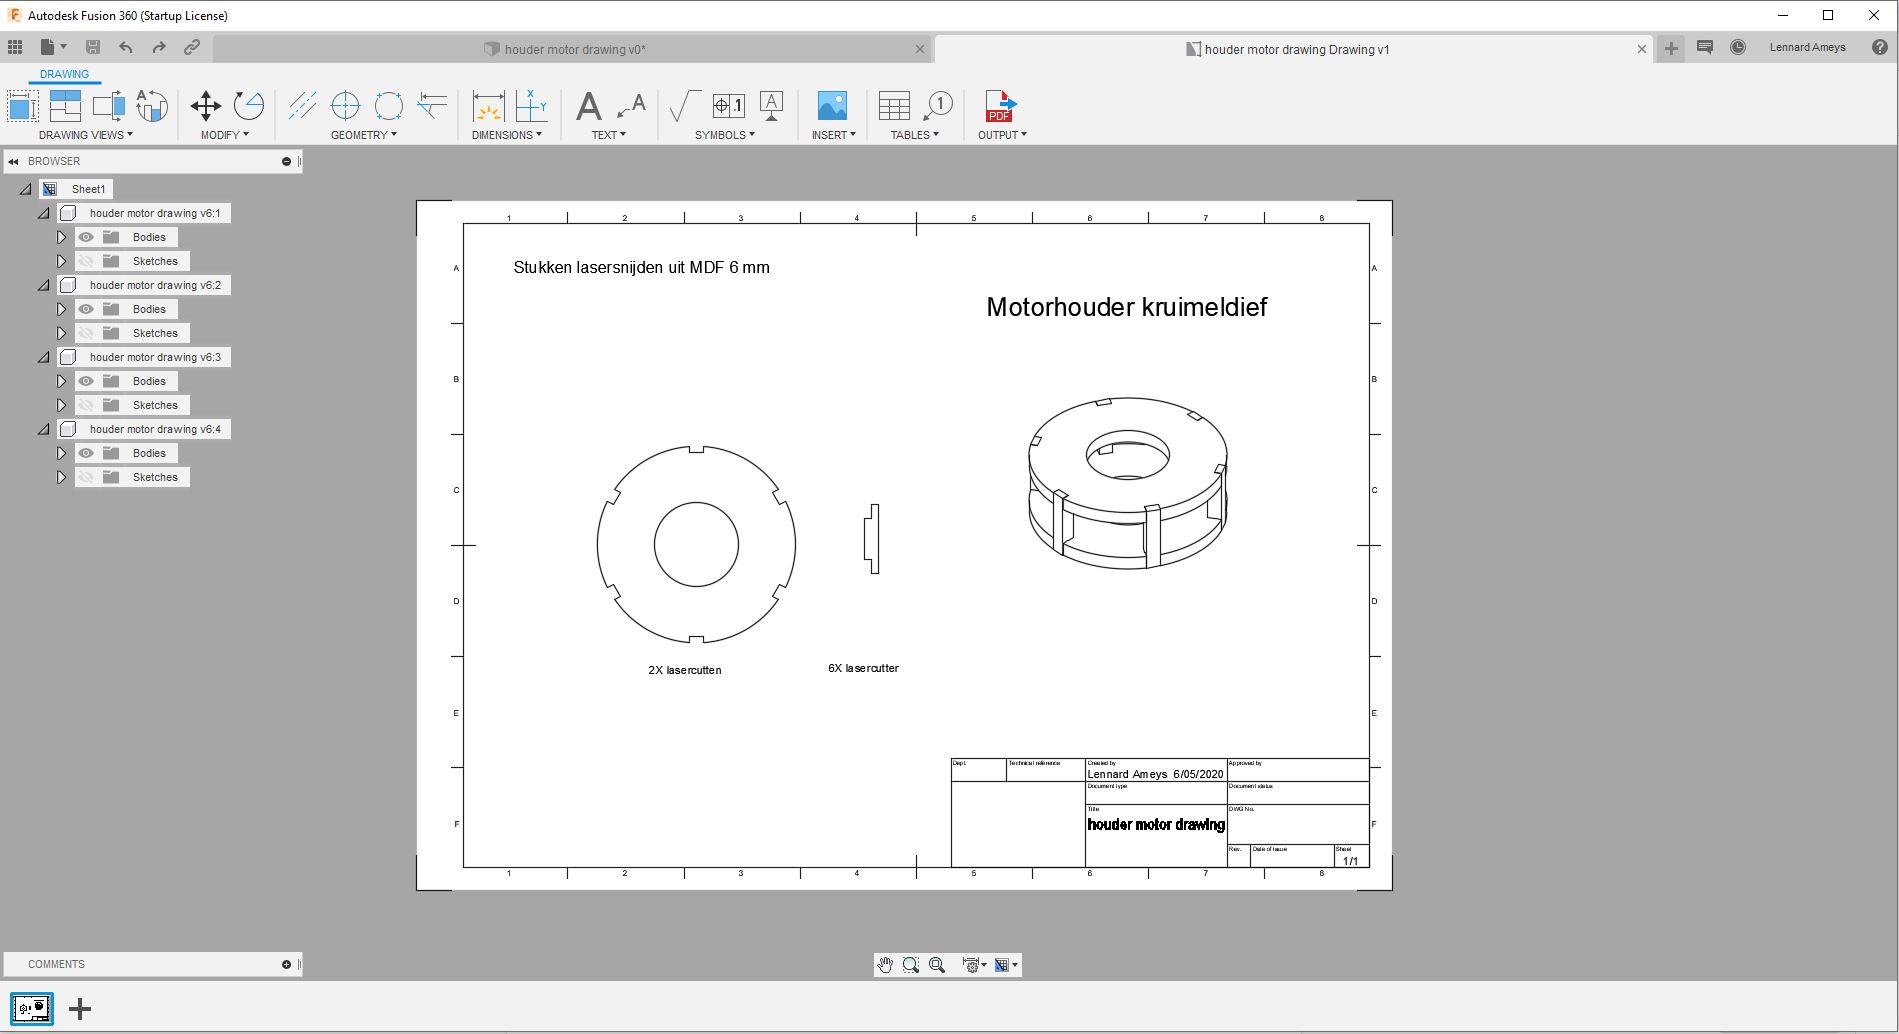
This part is designed for lasercutting so I have made a drawing from the design.
By changing the parameters it is possible for a bigger or smaller motor to fit in holder. There are three dimensions I can change: Height of the motor, diameter of the motor and diameter of the bottle. Since everything is linked to eachotherthe drawing will atomatticly change when i change a parameter.


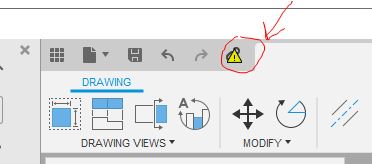
If you want to drawing to change with te new parameters it is important to save the new file and update the drawing. Click on the icon in the top left corner.
The video bellow is a good start for parametric moddeling.
render
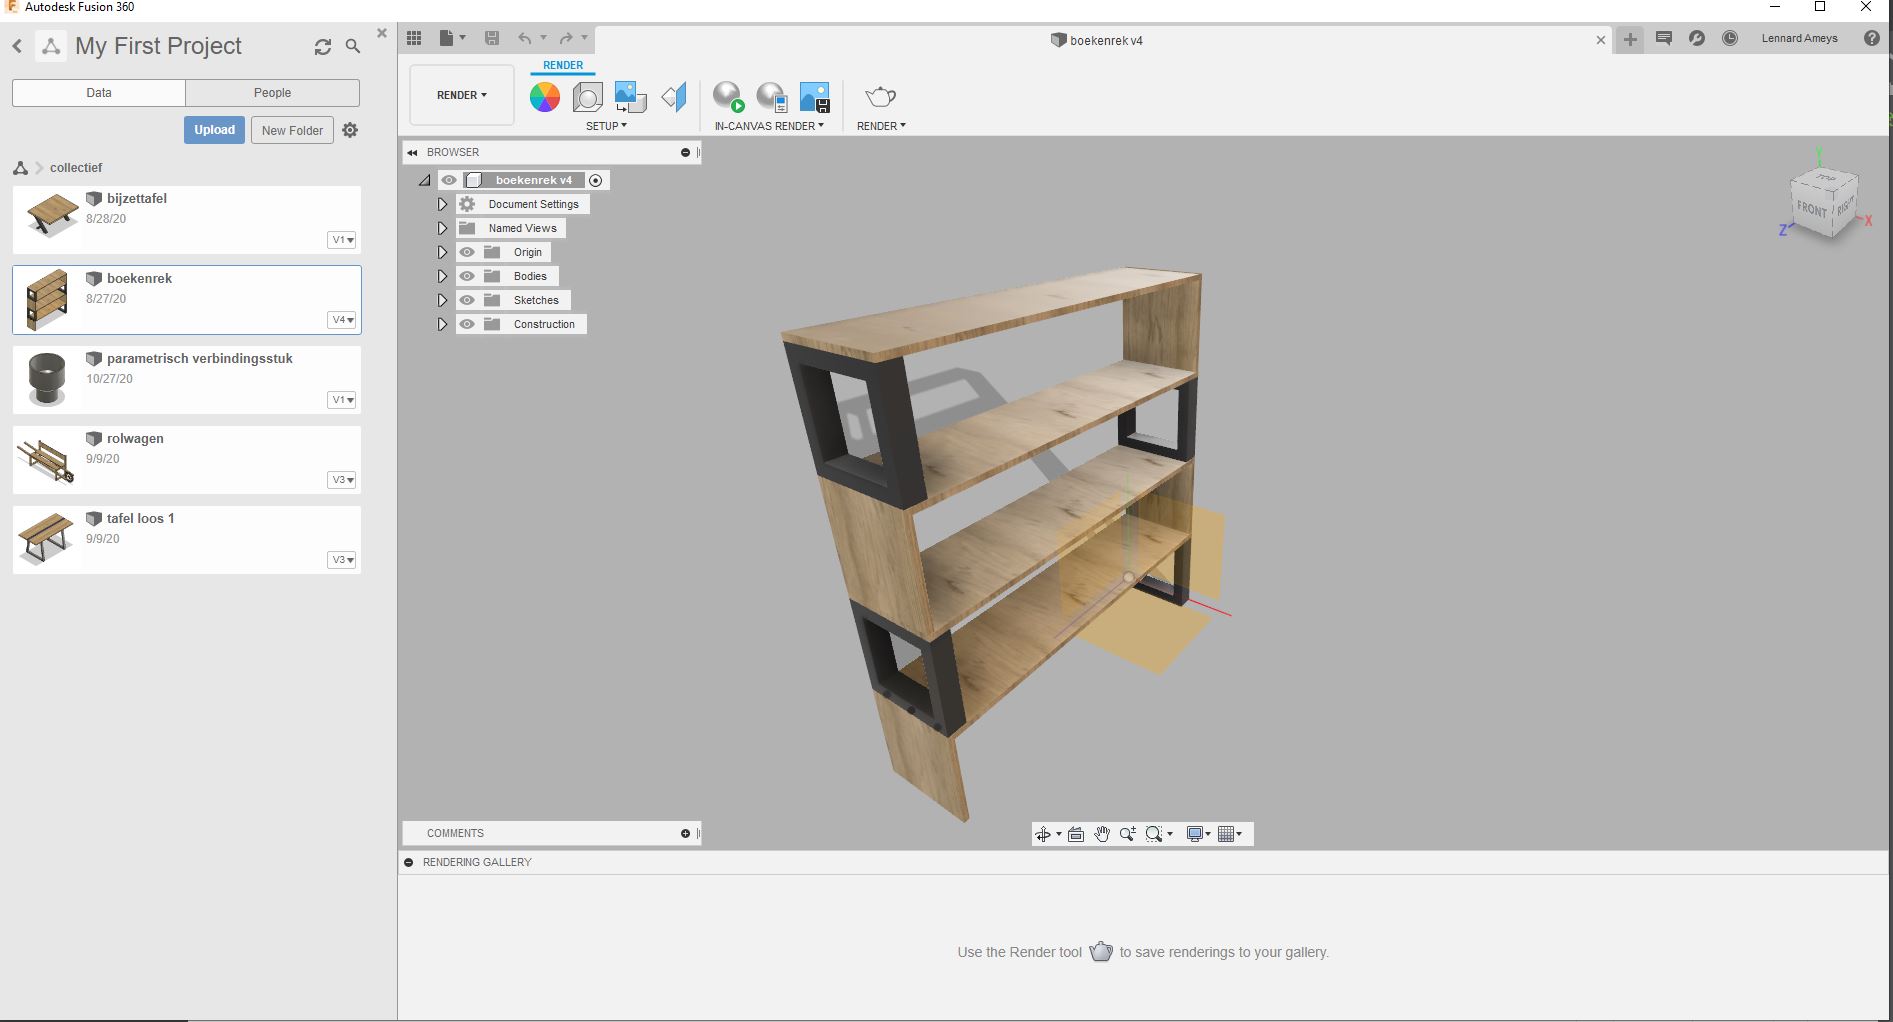
Somtimes when I design a new piece of furniture for a custumer I make a basic render so i can show what it looks like. I do this in fusion 360 as well. The result is not that good but it does the job. And it gives a overvieuw of the different materials. I still have a lot to learn about rendering. I find the tuturials from autodesk very helpfull. I vieuwed the video below
other programs
I have experimented with a couple of other programms as well that do the same as fusion 360 like onshape and freecad but I find fusion the best for my needs so i focussed on that one the most. I find fusion the most user friendly to work with.
inkscape
I use inkscape a couple of years now. I thought that it didnt had any secrets left for me so I was surpised to learn about the clone function last week. This function is very practical and i have used is a couple of times sinsce then. I use inkscape not for grafical drawings but only for vector drawing to lasercut or vinylcutting. In the past i have designed some posters whith is. In the past I helped with a project were we trained youht workers to use inkscape for lasercutting. One off those students made a very good tuturial for inkscape. It is in dutch but very helpfull for starters we put a lot of effort in this tutorials. I know they are in dutch but even so very usefull.
This week I drawed a mechanical robot in inkscape to use in one of the workshops i give. It helps children to understan basic transmissions.

The basics in Inkscape are the following:
- On the left collum are all the drawingtools
- on the right collum are the magnets that make it possible to click to certain points.
- on the top you find all the submenus
– Fill and line –
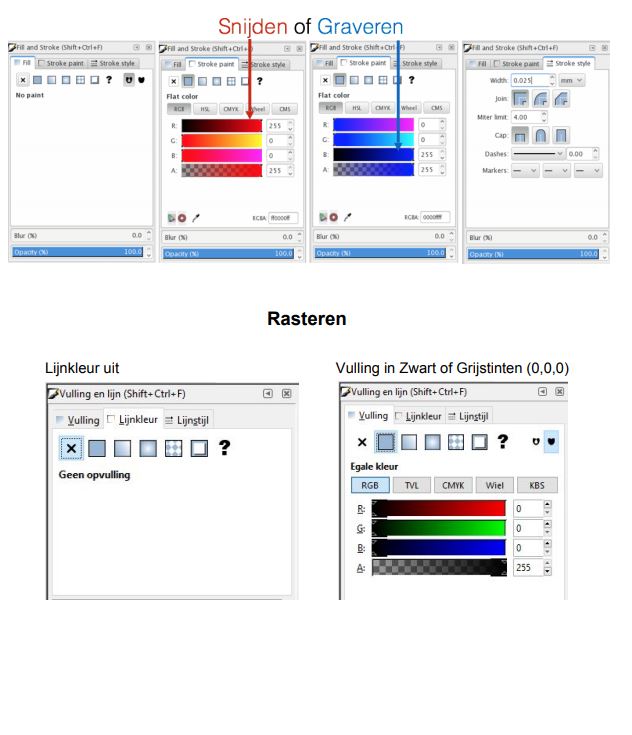
In the submenu fill and line it is possible to to change the line coulor and put the fill on or off.
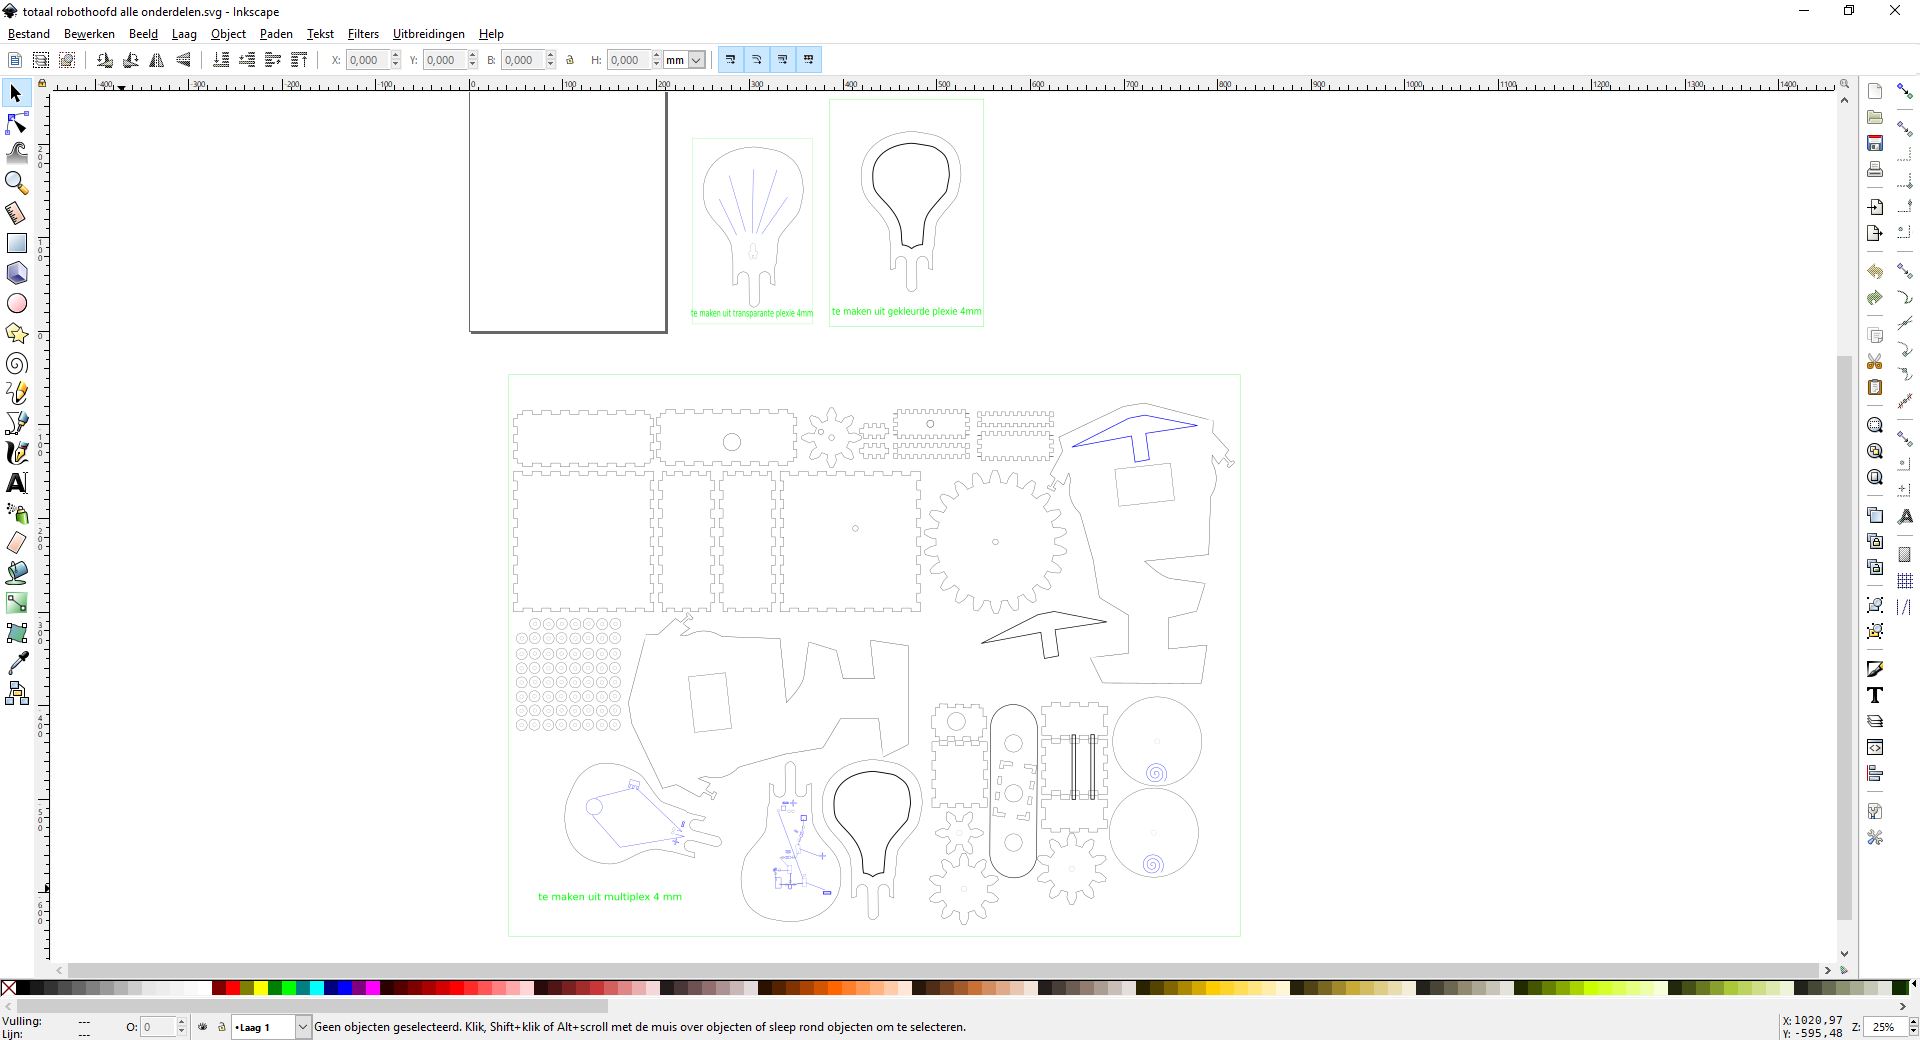
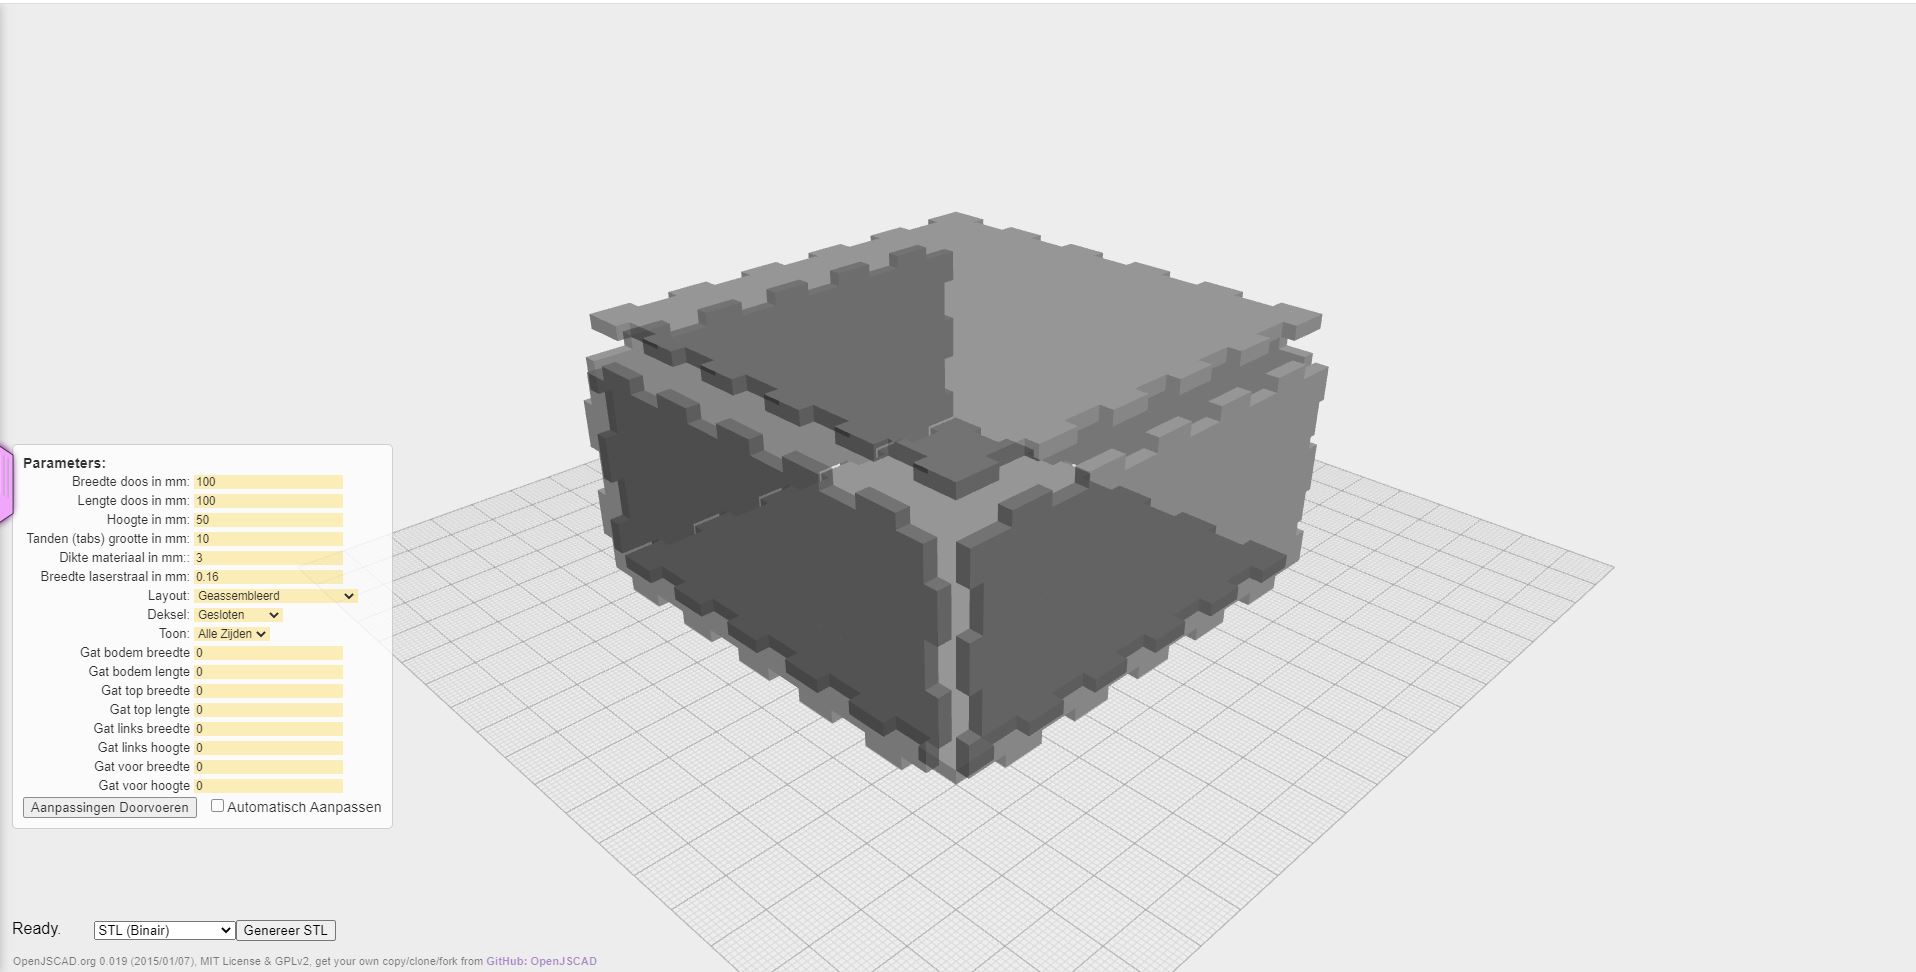
I used our online boxmaker to help with some parts.
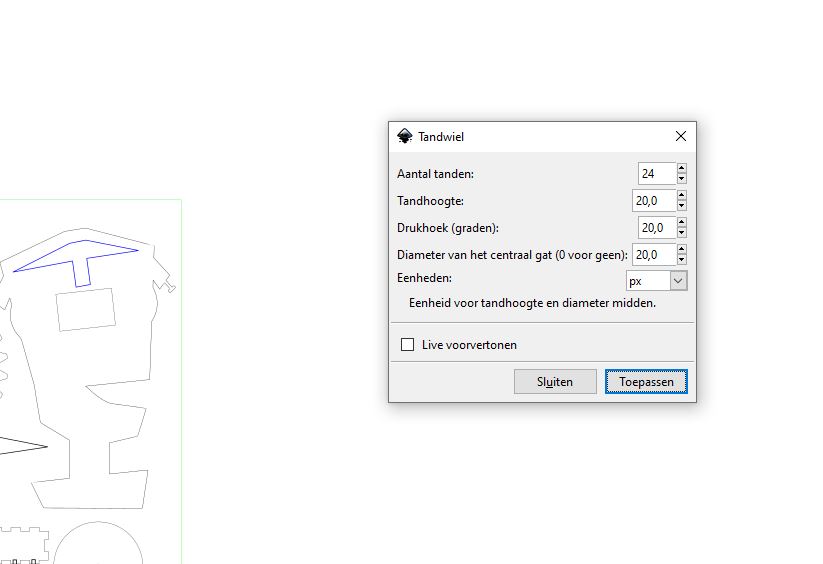
For the gears I used the function in inkscape.
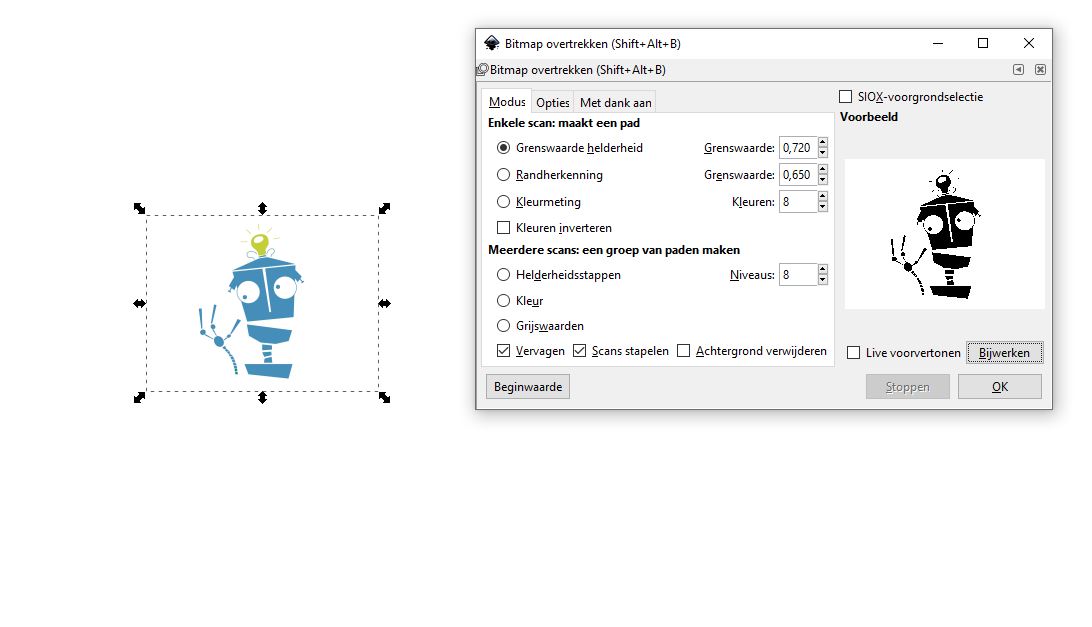
To make the head of the robot i used the logo of my machine, I used trace bitmap to convert it to a vector image so i can make some aggustments to it.
tinkercad
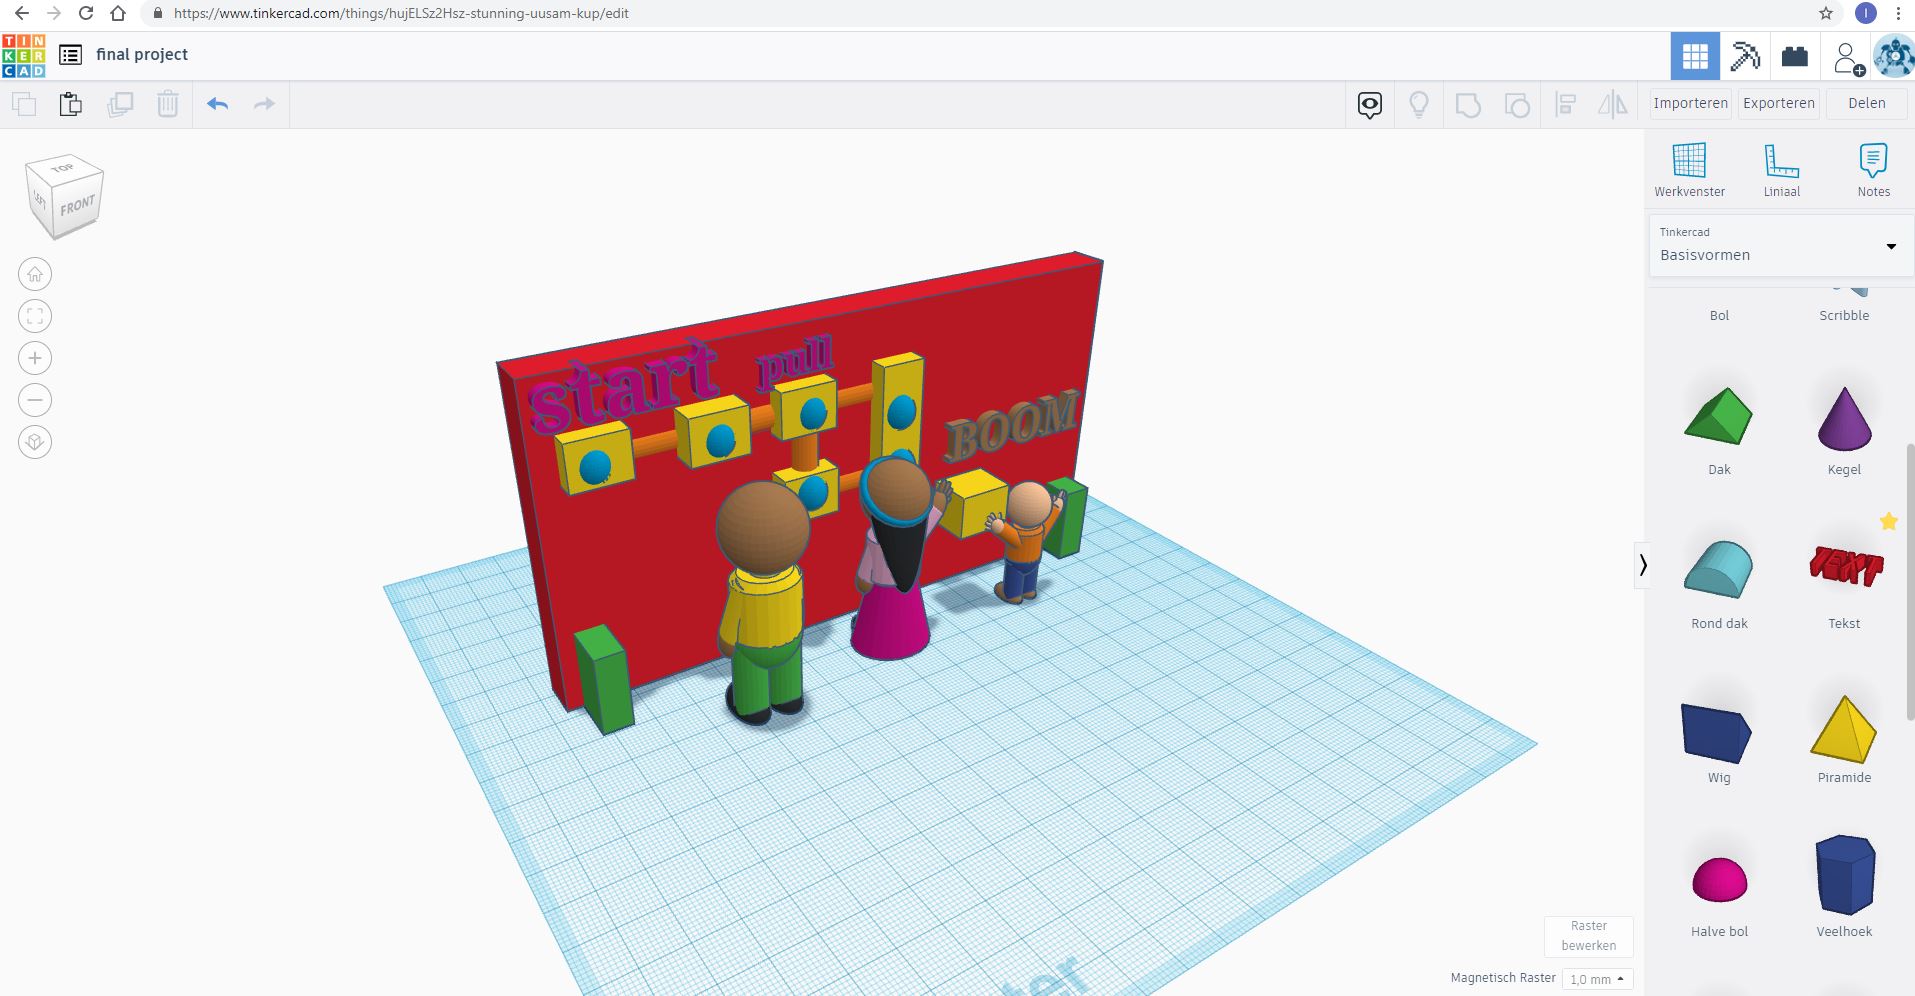
Like i said before i use tinkercad a lot when I give workshops to children as a start of learning about 3D design. This week I drawed a visualisation of my final project in tinkercad. This is not the final drawing of the project but I use this as a comic visualisation to explain the final project. I started with the base and added different component to it. it is a fun way to build things personally i wouldn’t use tinkercad todraw thing that have to be accurate but is is definitely possible for basic 3D design.
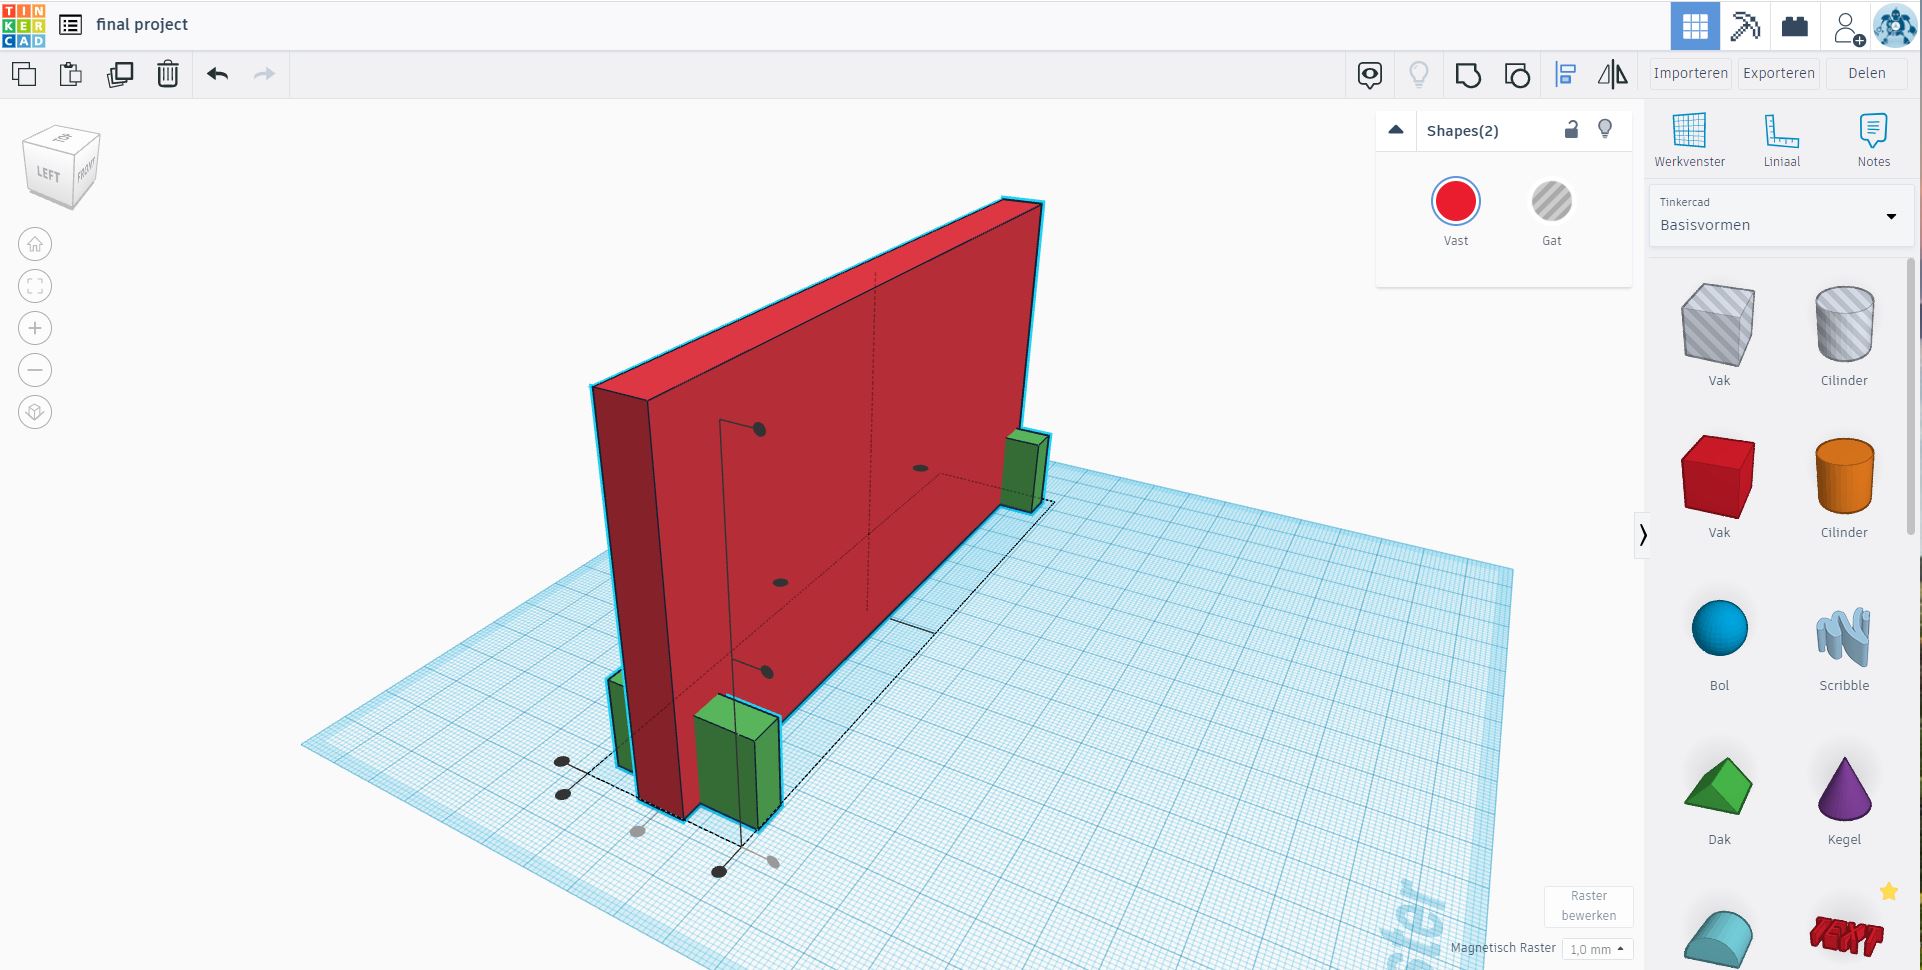
I added some people to the design so it give a dimension to the design. Those people are premade model of tinkercad.
GIMP
I installed Gimp on my computer, I have not used it a lot this week. I think it will be a very usefull program but i have to test it some more. this week i used it to crop my images.
Blender
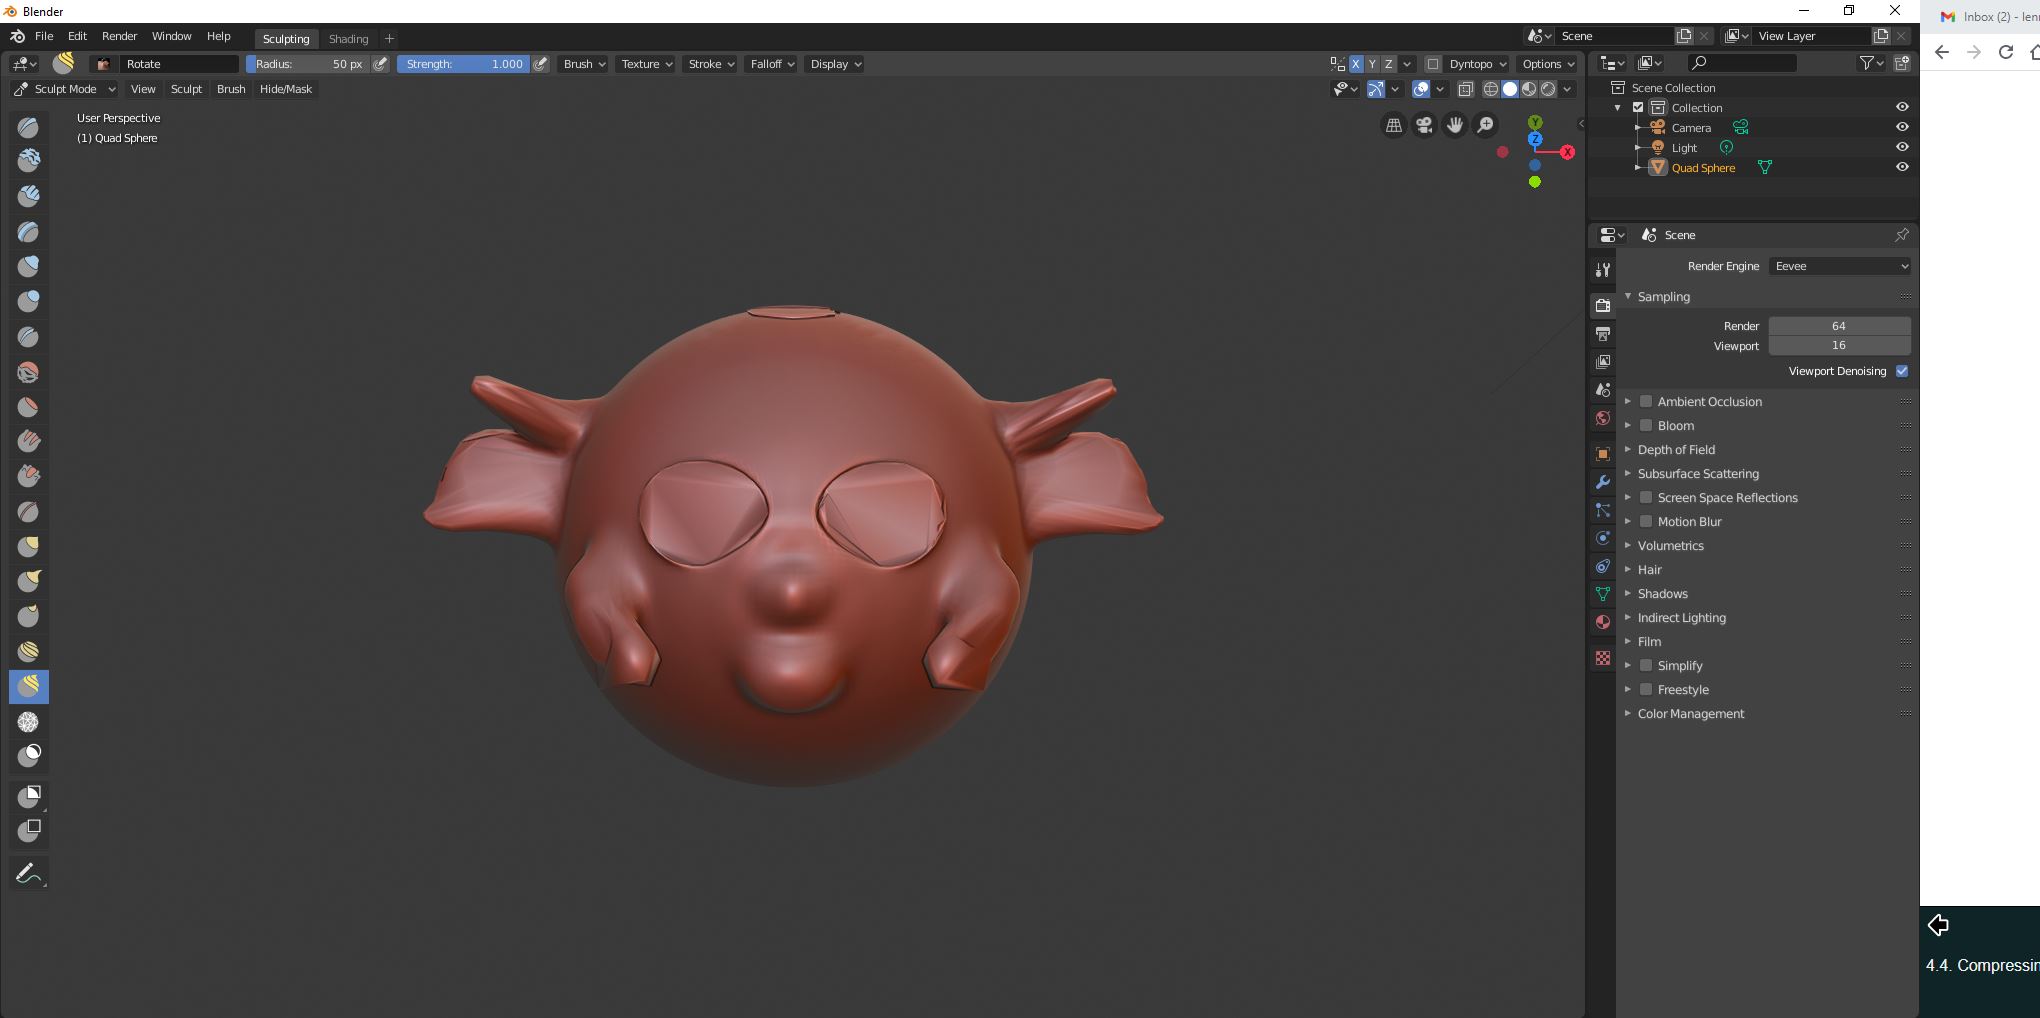
I had a lot of fun in BLender, it is not a easy program to work with. The workflow is completely different from Fusion360. The first thing I tried was sculping. I used the different tools in the left column. I was fairly easy to sculpt a little monster. But I was sculping it as i was going. I think if I want to draw something specific it wil be a hell of a task to do it right. It will take a lot of excercise, just like sculpting with clay in the real world.
(3dmodel)