7. Computer-Controlled Machining
Assignment
Group assignment
- Test runout, alignment, speeds, feeds, and toolpaths for your machine
- Document your work (in a group or individually)
Group Project here
Individual Assignment
- Make (design+mill+assemble) something big
Table of Contents
1. Idea Thinking
2. Design Something Big(Fusion 360)
3. Test with Cardboard(Speedy 100)
4. Milling For CNC(Shop Bot)
4-1 Safety Rules For The Shopbot
4-2 Change Endmill(the 2-flute, 6mm downcut endmill.)
4-3 Vcarve Procedures
4-4 Shopbot Procedures
4-5 Cutting Small Something
4-6 Cutting Big Something
4-1 Safety Rules For The Shopbot
4-2 Change Endmill(the 2-flute, 6mm downcut endmill.)
4-3 Vcarve Procedures
4-4 Shopbot Procedures
4-5 Cutting Small Something
4-6 Cutting Big Something
5. Assemble Something Big(Hand)
6. Learning
1. Idea Thinking
- This week is the week to learn the machine that will be used the most to make my final project.
- So I selected my big something is the desk when the height of my final project is the lowest.
- The reason is to measure the shape size of my final project.
- Size - H : over 35mm / D : 1000mm / W : 1000mm
2. Design Something Big(Fusion 360)
↑1st Design
- The first design was almost the same and simple 2D design I drew as illustration. → Go Laser Cutter(Speedy 100)
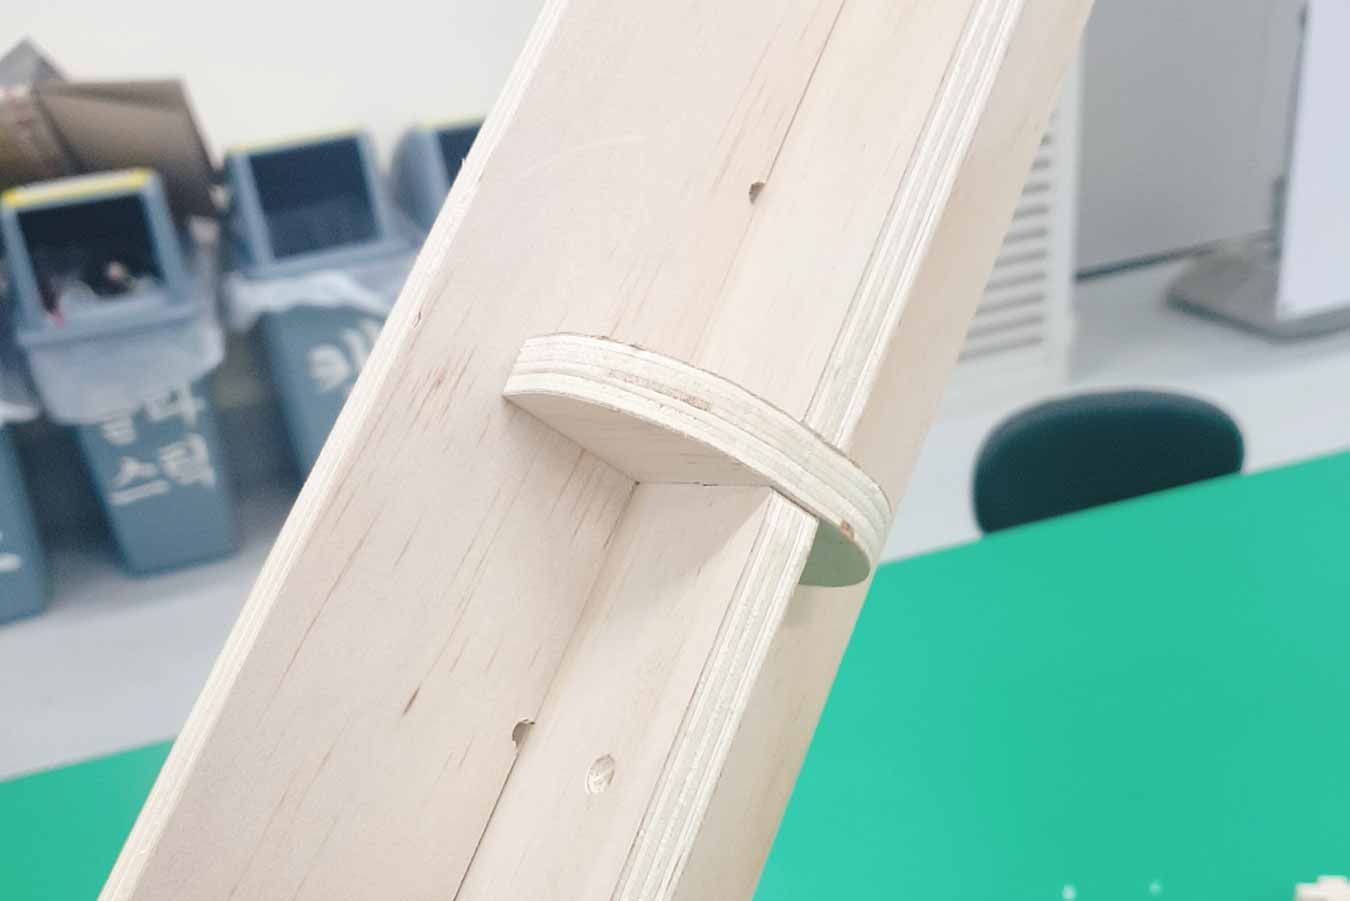
↑2nd Design
- After the cardboard test, the joint was weak, so the design was added to the new joint. → Go CNC(Shop Bot)
3. Test with Cardboard(Speedy 100)
- Print and assemble the sample in speed 100!
- ↑(Problem!) It looked fine! But the joint was weak, not strong enough...
4. Milling For CNC(Shop Bot)
4-1 Safety Rules For The Shopbot
- “Are there any strings on your clothes?”
- YES - Do not wear clothes with strings
- NO - Pass
- Is your hair short?
- YES - Pass
- NO - Tie up your hair
- Did you protect your eyes and ears?
- YES - Pass
- NO - Wear safety gears
- What else do you wear?
- a garment with a long or drooping end
- Arrange the straps and loose parts or change into neat clothes. - neat and endless clothes - Pass
- a garment with a long or drooping end
4-2 Change Endmill(the 2-flute, 6mm downcut endmill.)
- Move the drill head to where you are standing to put the endmill into the spindle.
- Lower the spindle skirt connected to the dust collector
- Unscrew and remove nut, endmill, and collet. Take out the endmill. Take the collet apart from the nut.
- Choose an endmill, collet and nut from the drawer. Every endmill has a matching collet.
- Put the collet into the nut first. Press it from the top so that the collet fits tightly with the nut
- Then, put the endmill into the collect.
- Place the nut, endmill, and collet into the spindle and fasten them with two wrenches.
- After fastening the spindle, lift the spindle skirt back
4-3 Vcarve Procedures
- Click the layer on the bottom left to create a new layer
- use a circle with a radius of half the thickness of the endmill to make a screw hole in a non-woven location with the vector file.
- Save drillpath.(Make a hole(Set to depth 1mm.) in the screw with this file, screw it in place, and cut the vecte.)
- Job size: the size of your wood (width and height in mm)
- Material(Z): select the top radio button and enter the thickness of the wood
- XY Datum Position: select the bottom left one
- Units: mm
- Modeling Resolution: Standard
- Appearance: whichever you want (it won't affect anything)
- Diameter: diameter of the endmill (6mm)
- Pass Depth: half of the diameter (4mm)
- Stepover: 50% ~ 60% of the diameter (3.6mm)
- Spindle Speed: 14,000
- Feed Rate: 4800mm/min
- Pluge Rate: 1500mm/min
- Select the Machine Vectors and the Direction
- Check Do separate last pass in the Last pass if needed
- Check Add tabs to toolpath and set the length to 6 and thickness to 8. Then click the Edit tabs
(The setting was based on the experience that the parts cut in the previous workshop content and test were well fixed without shaking.) - Click Add tabs and add tabs wherever you want
1. Click VCarve(Program) and open a file. (from File>Import>Import Vectors)
(STOP) It's only clamped. If the Plywood(material) is not fixed yet, do this first!!!
2. To update the Job Setup, measure the size and the thickness of the wood
3. In the Toolpath Operations tab, click either Profile (for cutting outline) or Pocket (for cutting inside)
4. In the Toolpaths window, set the Cut Depth to the thickness of the wood (only when you cut all the way through) and click Select in the Tool tab
5. Select the type of endmill you will use
6. In the fields in the right side, set and click Apply and OK
↓It's a Tooㅣpath that includes my tools and tab settings.
7. Then, do the rest of the settings in the Toolpaths option
8. You have to change the name. So that others don't get confused.
9. If you want to add a fillet, click Create fillets and select Dog Bone Fillet(The shopbot cannot be cut at right angles, so pay attention to the assembly area and give the dog bone fillet.)
10. When you are done setting, click Calculate
11. You can click the Play button to see the simulation
12. Click the Save toolpath icon
13. If you are going to use the same endmill for everything, you can save them together
4-4 Shopbot Procedures
1. Click Shopbot(Program)
2. Turn the red handle to the right in the Shopbot control box to switch on the machine.
3. (X,Y)Zeroing out both x-axis and y-axis, setting the origin.(Cut > C.3-Home X A Axes….)
4. (Z)Pinch the shopbot with copper tongs. Take out the metal plate and place it under the endmill.
5. Make sure it's actually under the endmill.
6. Go back to the program and click Cut > C.2 - Zero Z Axes… This will automatically lower the endmill until it hits the metal
7. Go back to the program and click Z Zero. This will automatically lower the endmill until it hits the metal.
8. Import the file you save toolpath
9. Turn the dust collector machine.
10. Make sure nothing is on the working table. Also, check the surroundings of the machine.
11. Go to the side of the machine and rotate the key to turn on the spindle. Now you really have to be careful
12. Press the start button on the program. One window will open. Press the reset blue button, then turn off the window and press the green start button.
(WARNING)Don't touch anything on the computer except to watch the Shopbot working.
13. Push the spacebar to pause the machine right away if the job goes wrong.
(EMERGENCY)To immediately stop the spindle/router and all motors, use the red emergency stop button or switch, which will cut off power to all systems. To continue, you will need to re-zero all axes because the locations will no longer be accurate.
(VERY IMPORTANT)Good luck.
4-5 Cutting Small Something
- These are test parts.
- I did extra work cheese because I couldn't get a dog bonewidth and height in mm in the middle.
- It is well assembled and strong .Let's start the something big.
4-6 Cutting Big Something
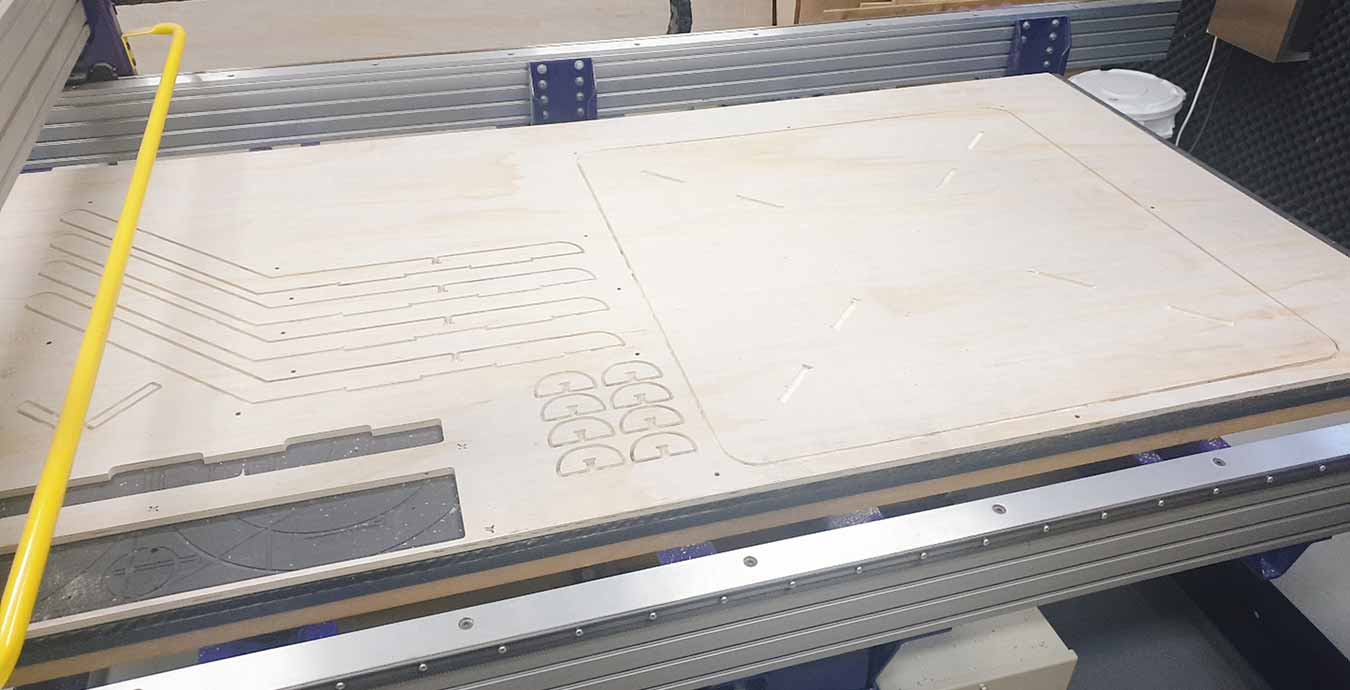
- It was cut very well
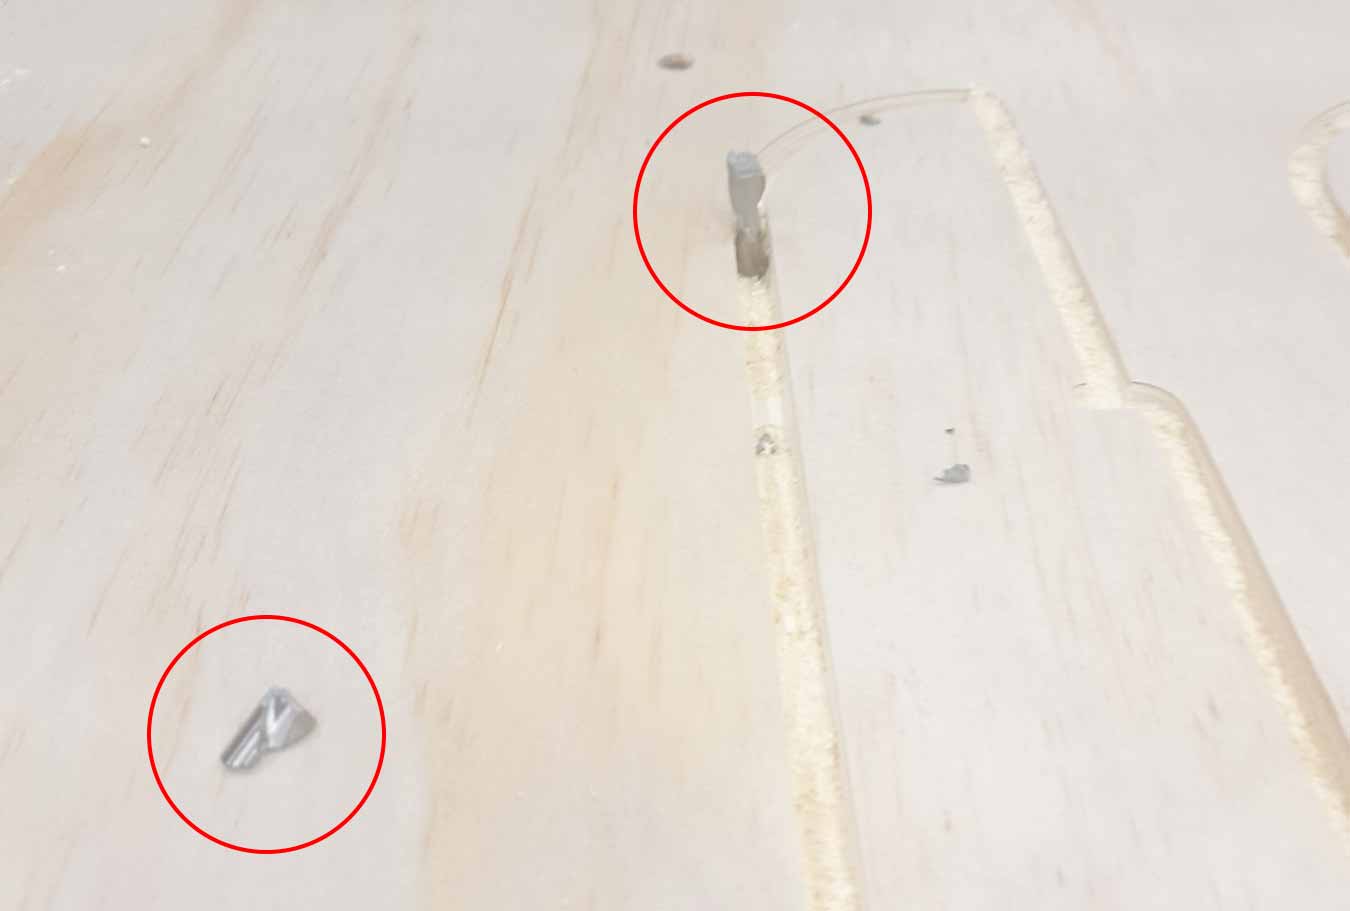
- (WARNING) Disaster!!While the shopbot was operating, I touched the computer to take a screenshot and the shopbot stopped!
- I went back to the program to work again and pressed the start button, but I didn't press the spindle (green button) at that time.
- At that moment TUNG! I hurriedly turned it off. But the endmill was broken.
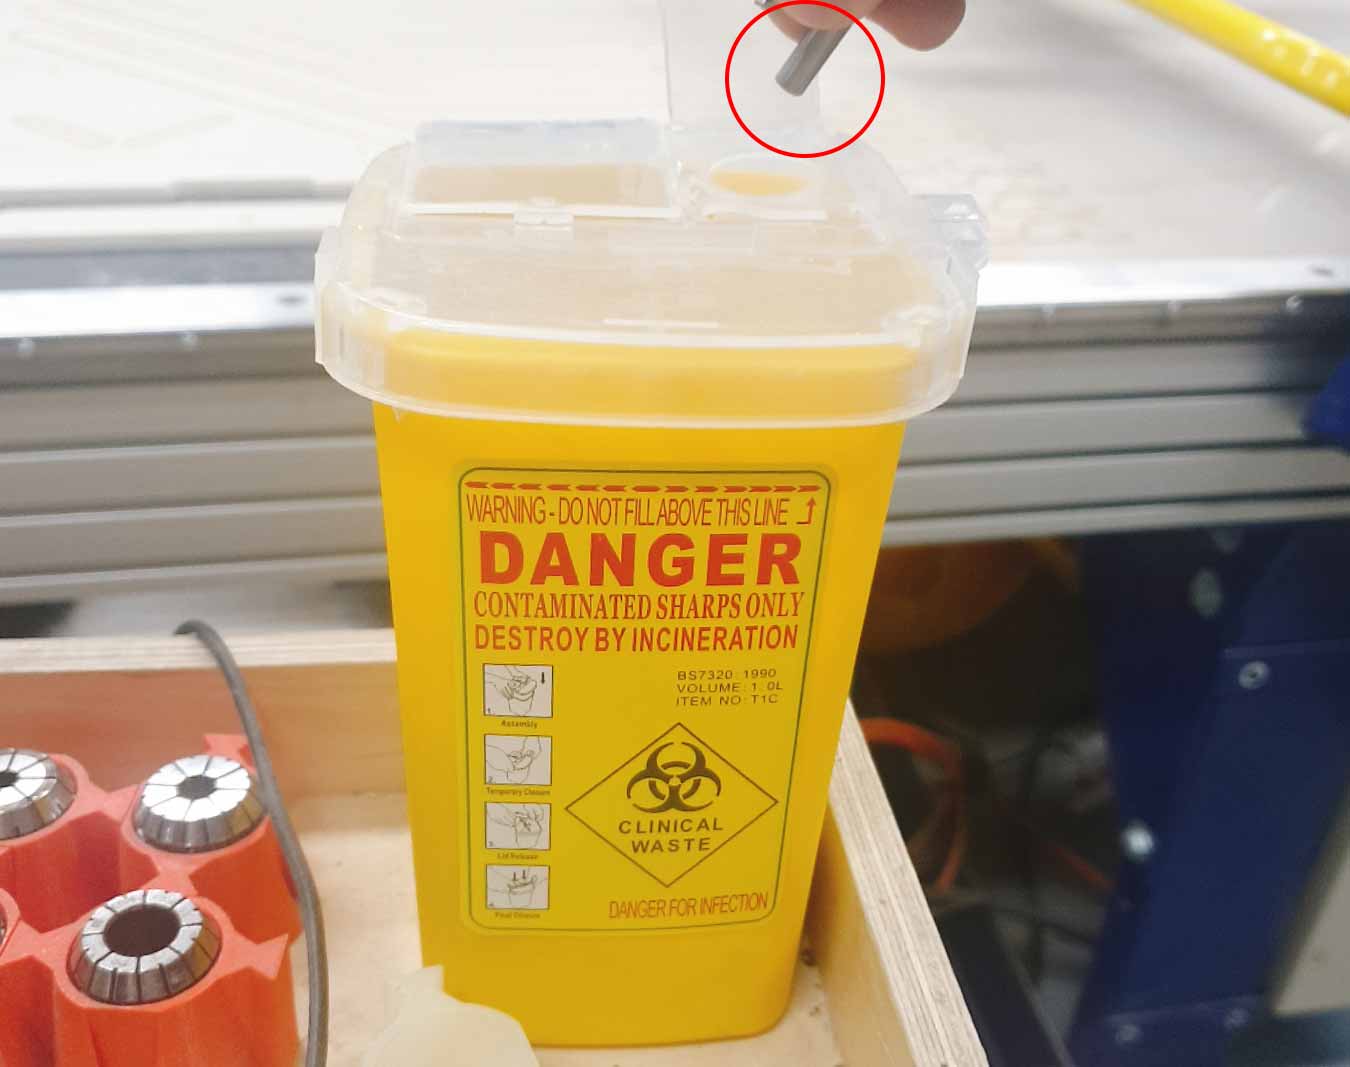
- Good bye, broken piece. Sorry.
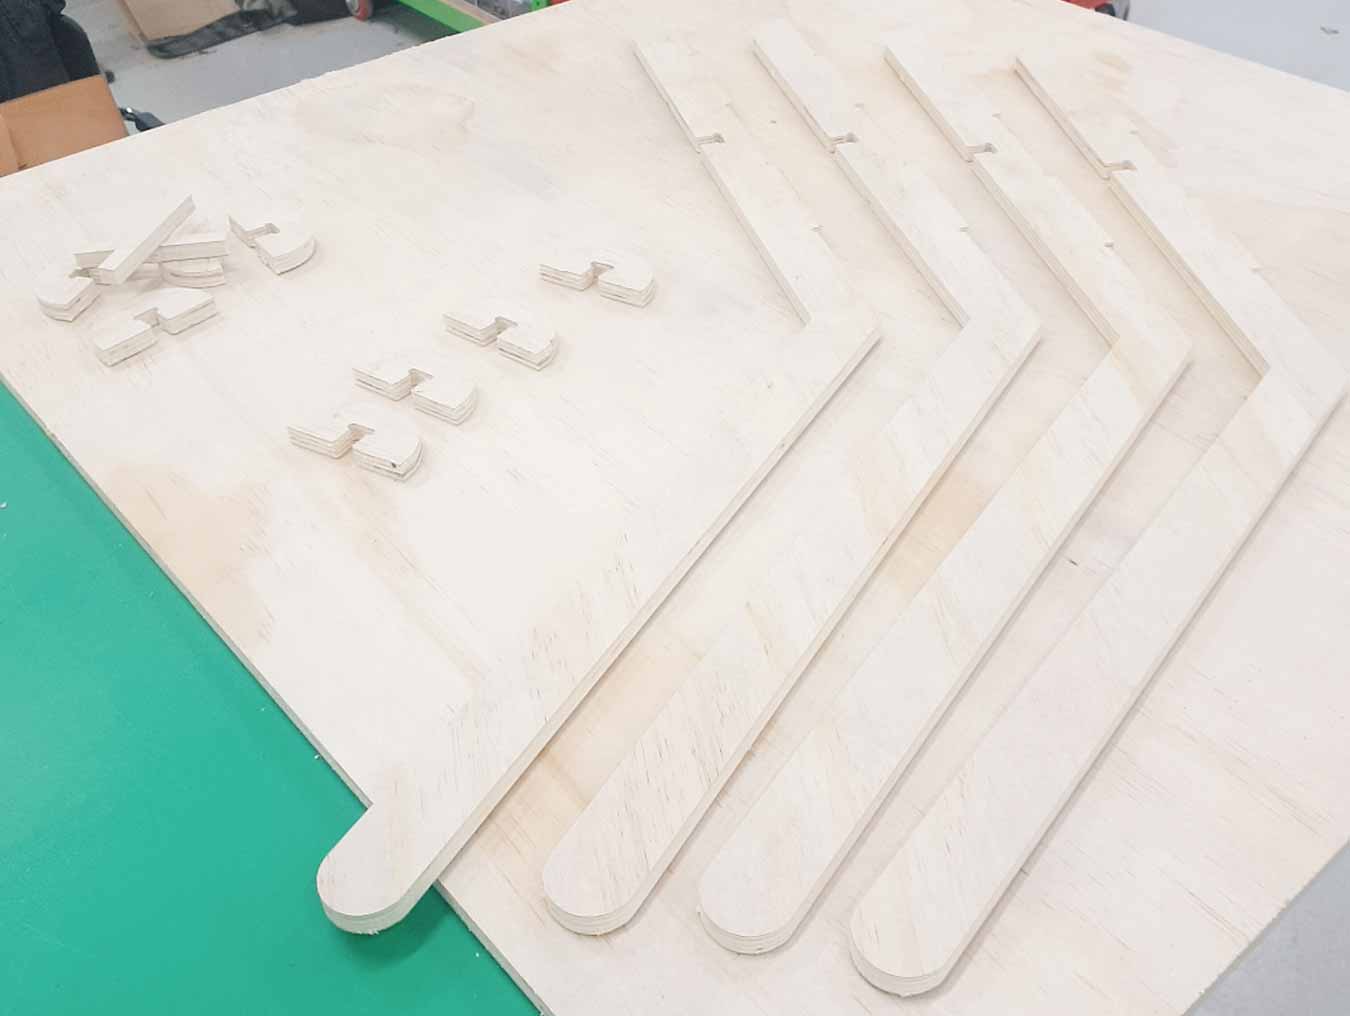
- There was an accident in the middle, but no one was hurt and as a result, it was well cut! my pieces
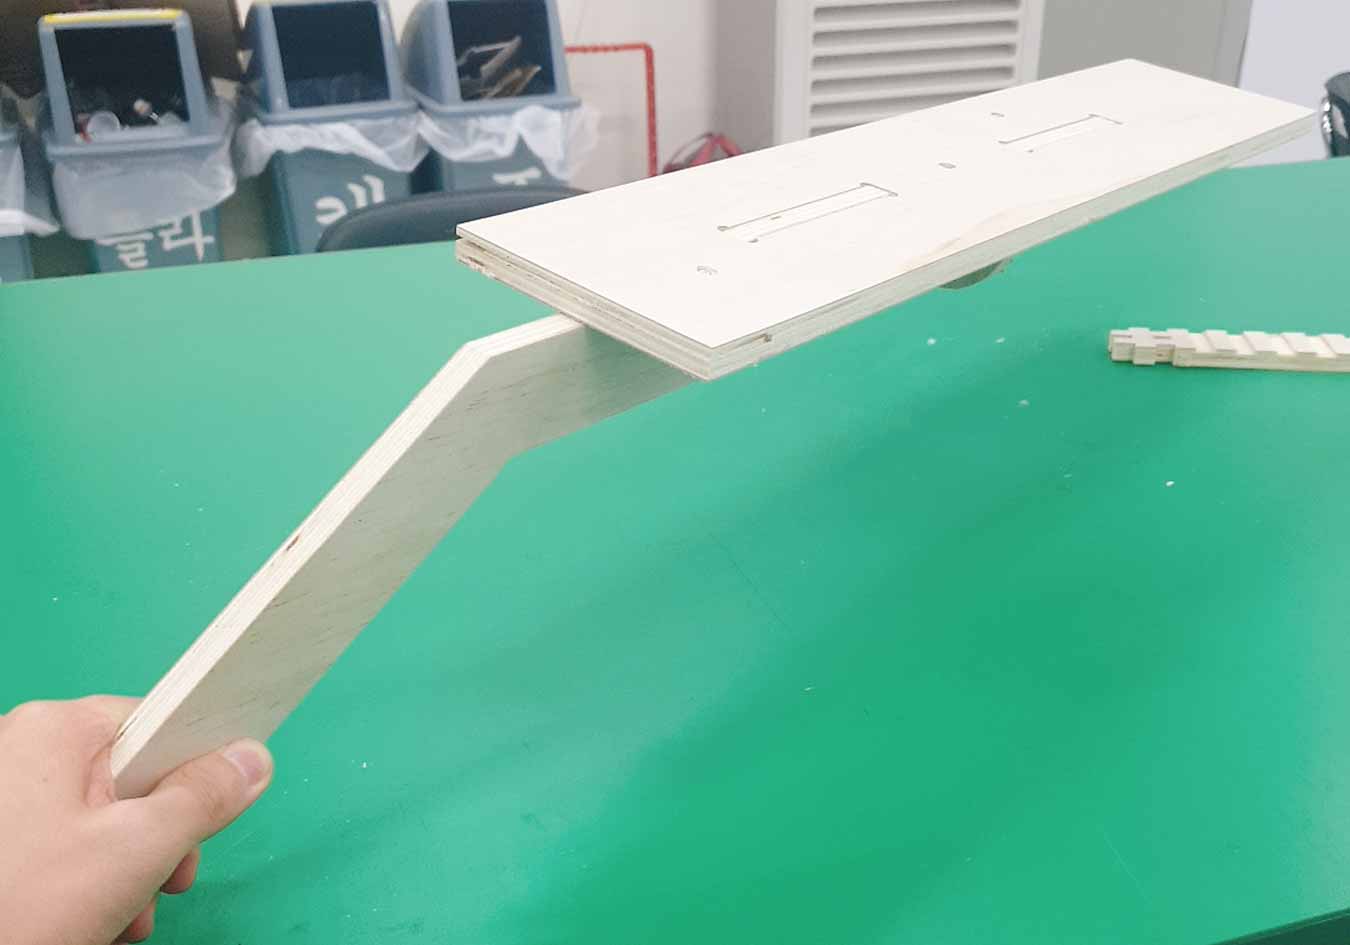
5. Assemble Something Big(Hand)
↓It's tea time now.
Make Somthing Big! All assembled
6. Learning
- Remind the whole process.
- Don't touch anything while the shopbot is working.
- Add the dog bone to the joint carefully.
File
- 0318_Summary.html File here
(Subsequent changes have been made to a certain number.)
- 200318_week7_Desk_2 v5.f3d File here
- week7_0318.ai File here
- week7_0318.dxf File here
- week7_0318.svg File here