5. 3D Scanning and printing
Assignment
Group assignment
- Test the design rules for your printer(s)
- Document your work and explain what are the limits of your printer(s) (in a group or individually)
Group Project here
Individual Assignment
- Design and 3D print an object (small, few cm3, limited by printer time) that could not be easily made subtractively
- 3D scan an object, try to prepare it for printing (and optionally print it)
Table of Contents
1.Group Work
2. 3D Printing
File
File
3. 3D Scaning
4. Meshroom
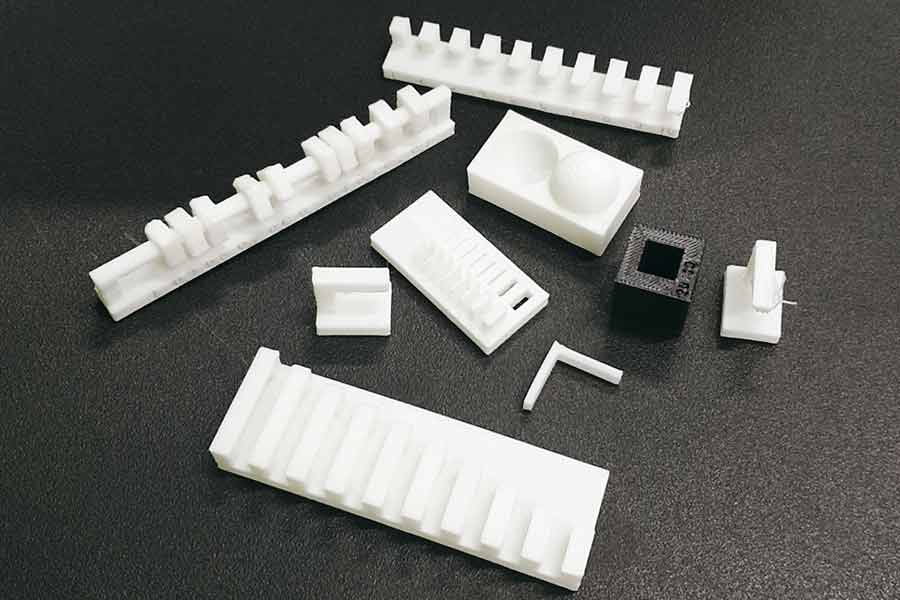
1. Group Work
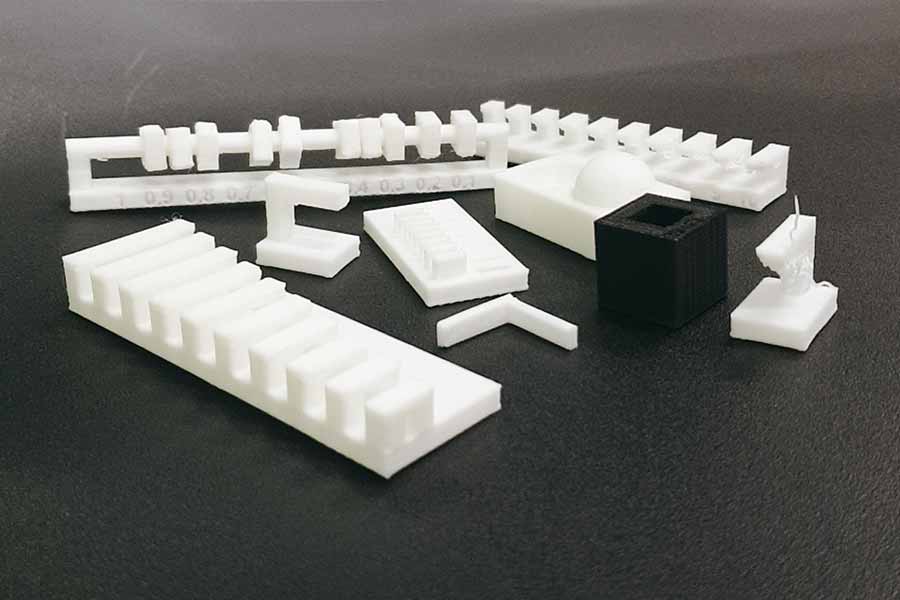
Learn About
- OVERHANG : Overhang almost needs supporters.
- ANGLE : The object's angle is output smoothly from 30 degrees or higher.
- BRIGING : Bridging starts to lose more than 0.4mm between them.
- DIMENTION : The error of Dimensions is about 0.1 (nearly none).
- GAP :The gap between objects does not stick to each other from 0.5mm.
- ANISOTROPY : Anisotropy is more horizontal and detailed than vertical.
- SURFACE FINISH : The surface finish is sufficiently curved. Not as much as a design program.
- INFILL : The infill takes a long time and is too much from more than 15%.(15% or less is adequate)
2. 3D Printing
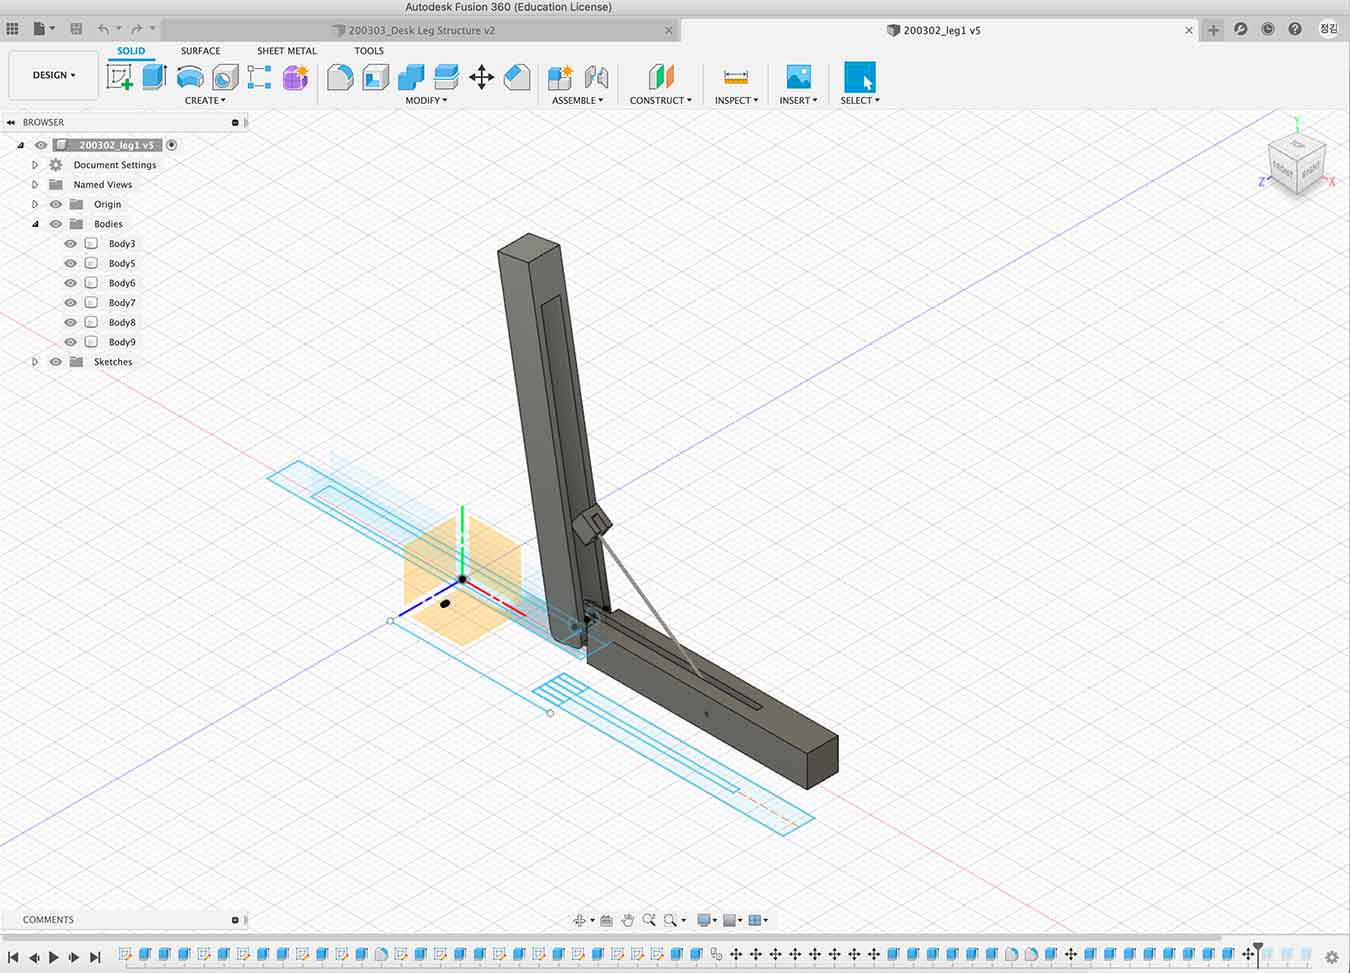
Design Tool - Fusion360
I designed the file using Fusion360, as a design tool.
I was studying the structure of the bridge into my final project. So we created an object with one of the mechanisms.
The functions used in fusion are square, extrude, and move, sketch dementions.
In setting clearances and durability so that printing can succeed, sketch decisions were of paramount importance. Using this function, the gap was set at least 0.5mm and the thickness was set. About Sketch Dimension Tip Video
The sketch decisions function is the most important feature in Fusion 360. I learned and learned a lot from the videos that gave me the tips above and it helped me.
After the design is finished, export it to the .stl file.
And I had to convert the .stl file into a g-code file before printing it with a 3D printer, but I used the 3DWOX program.
Open the 3DWOX program. And drag the .stl file.
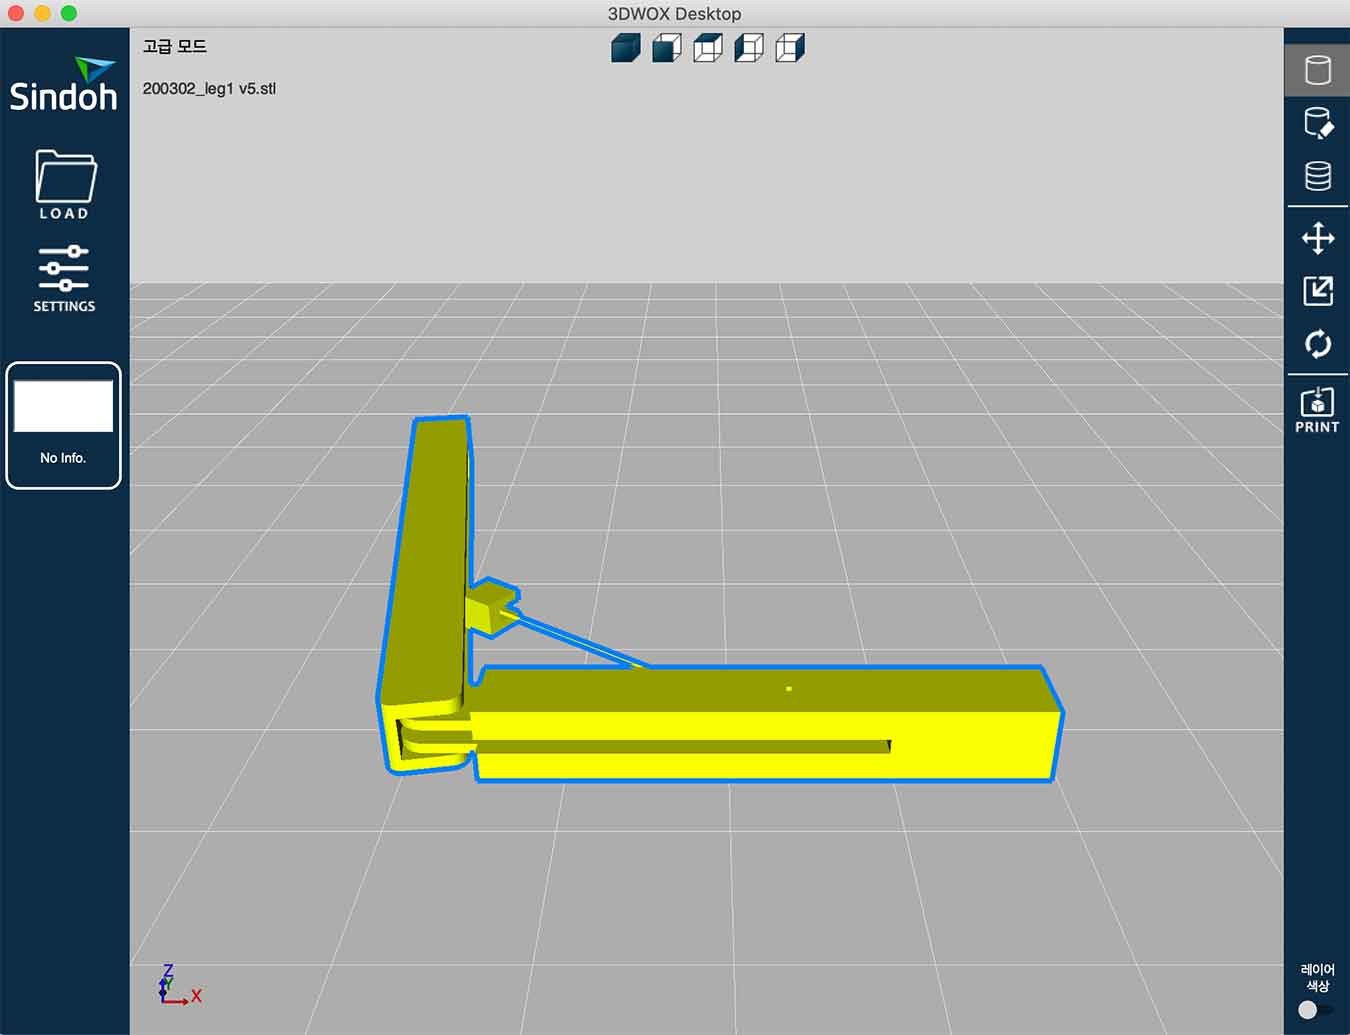
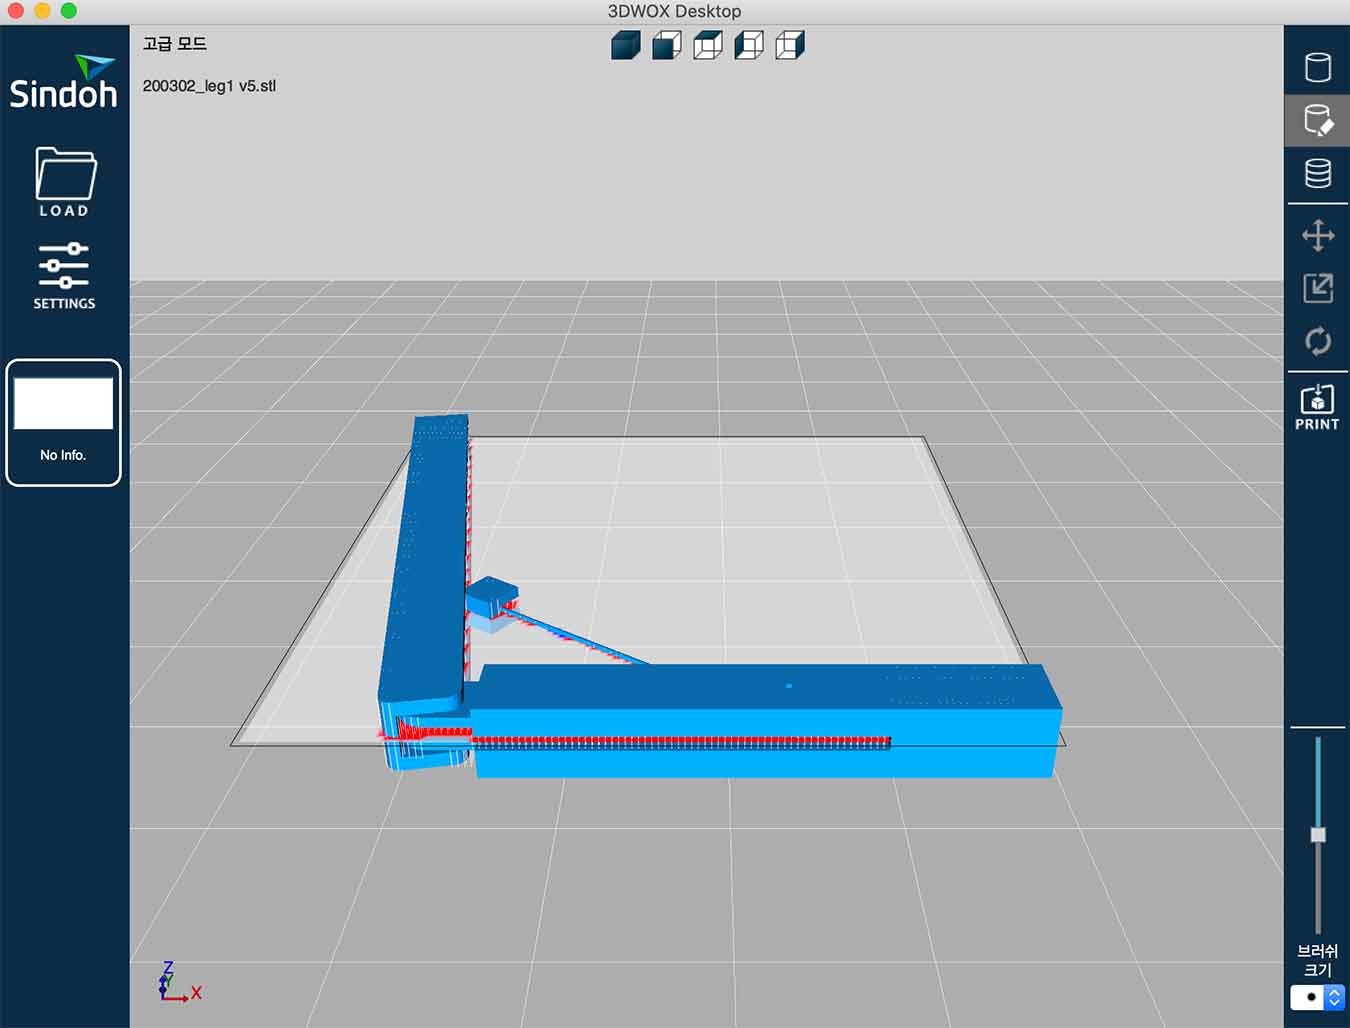
Click on the second icon in the upper right to add support.
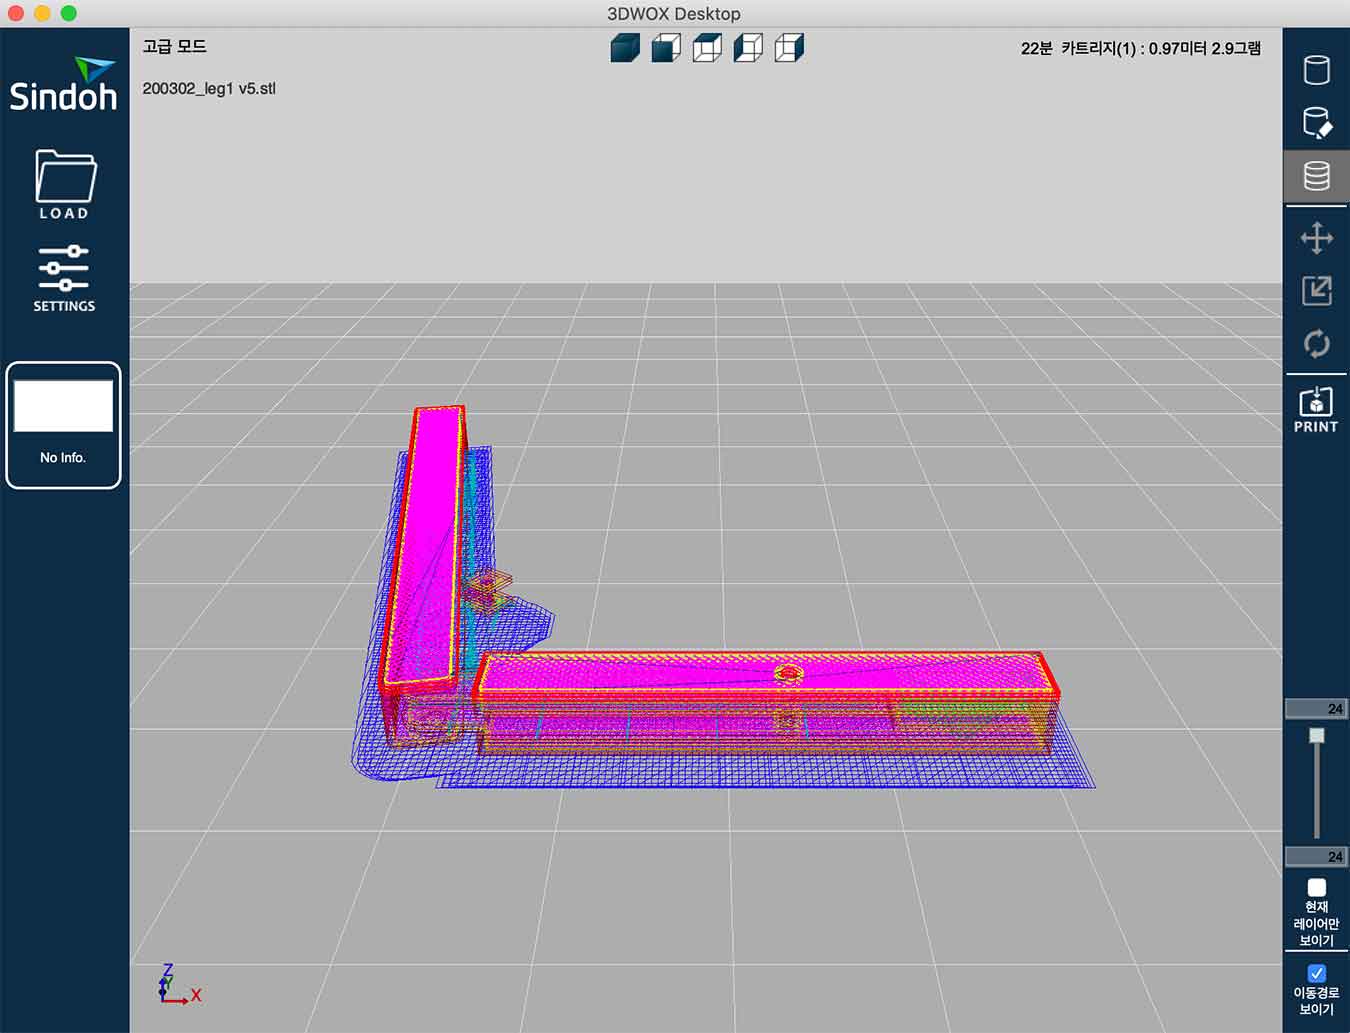
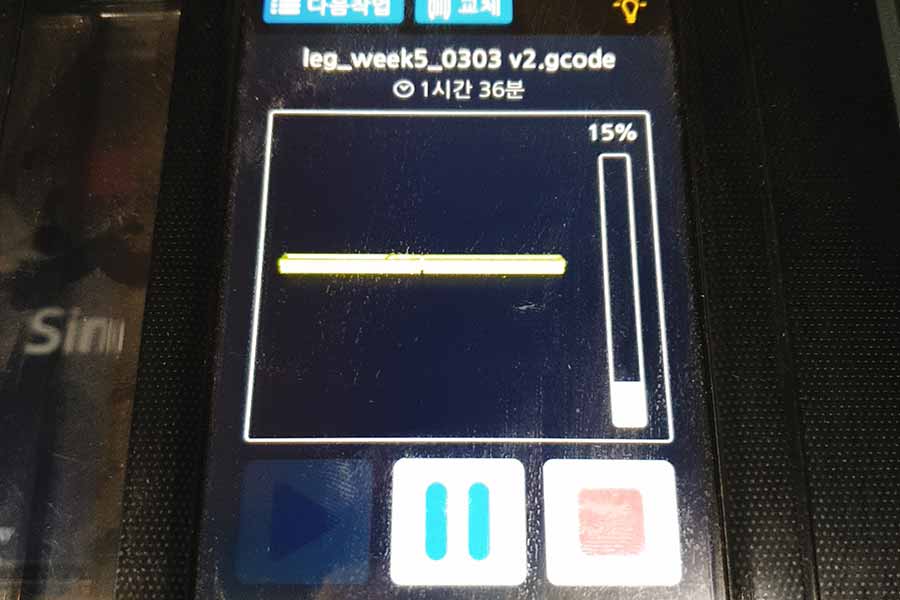
Finally, you can click on the third icon to see what is printed and see the print time from the top.
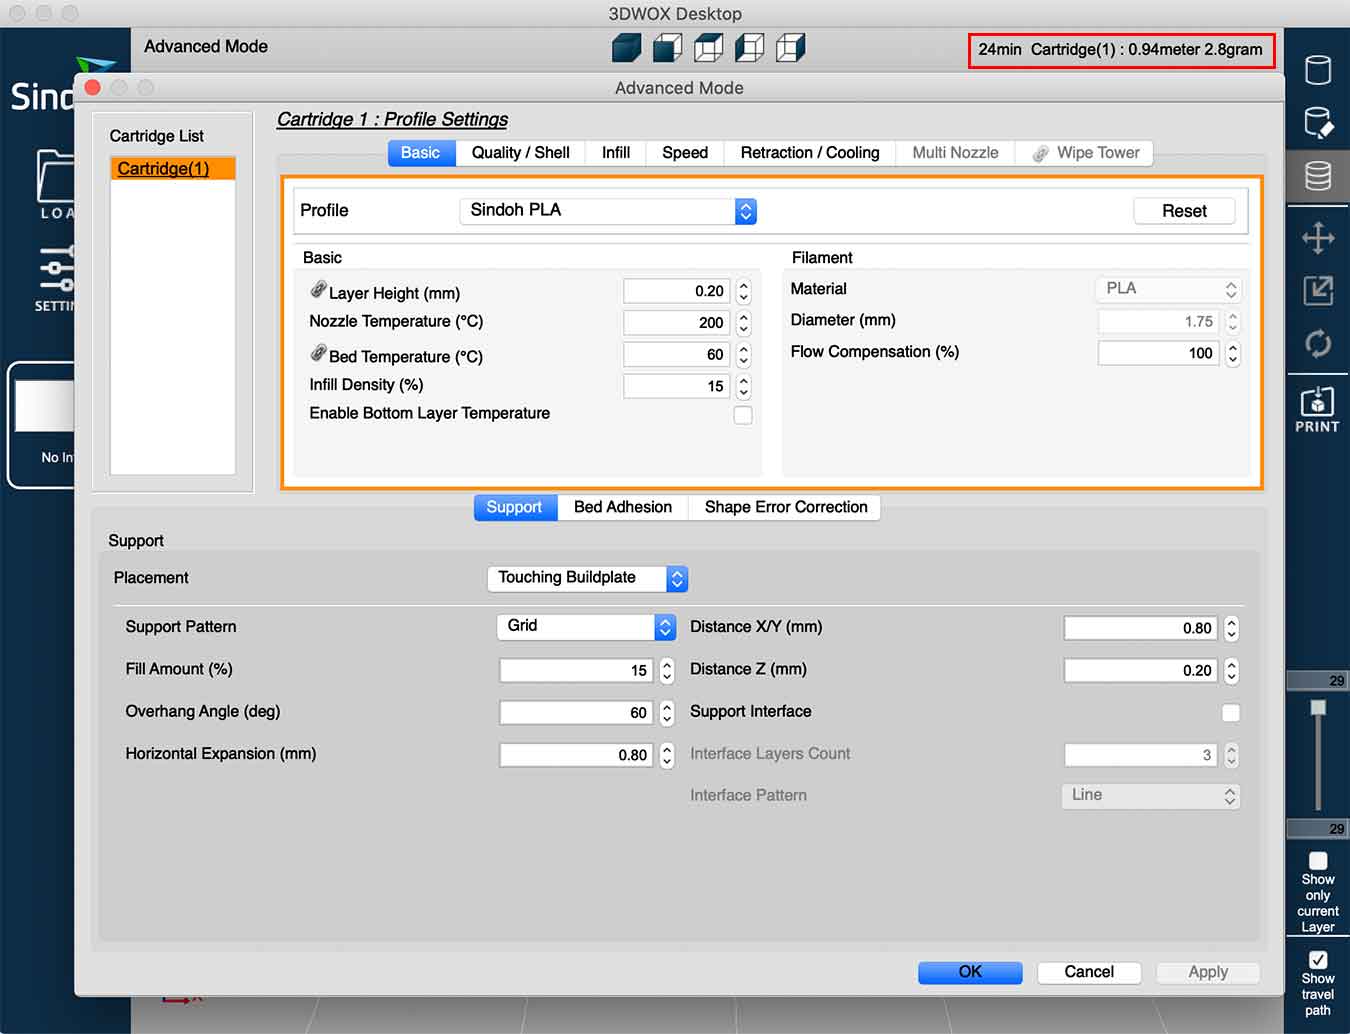
This is my set value.
DP200
- This week, 3D Printing was done using the DP200.
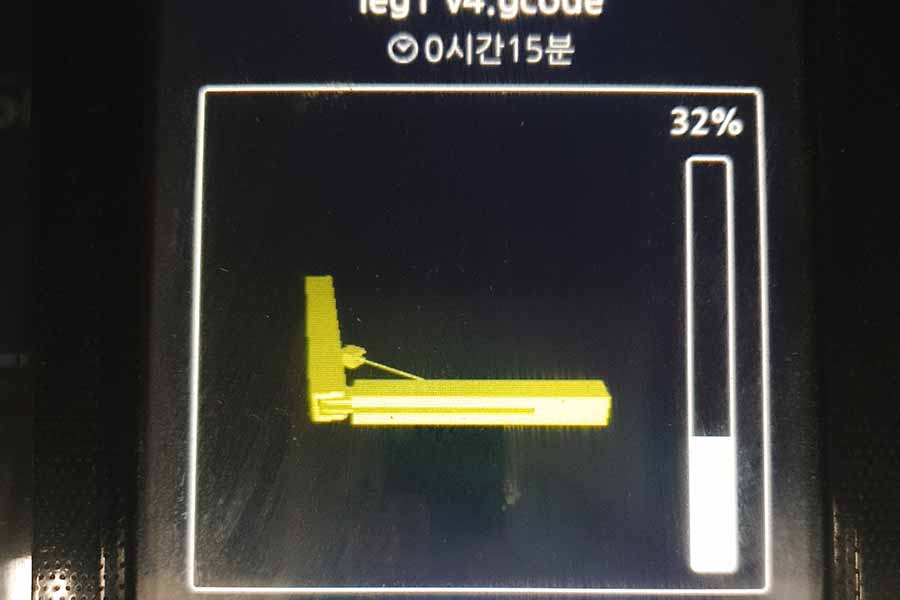
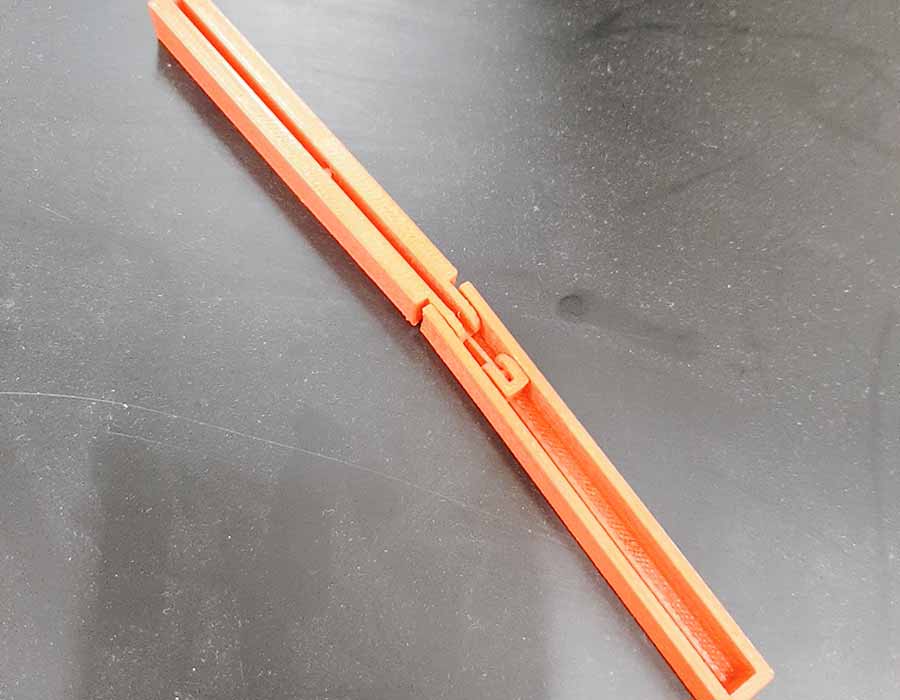
- I wanted to print the leg structure of my project at once. At first, I just printed them out to check the shape and improve the problem.
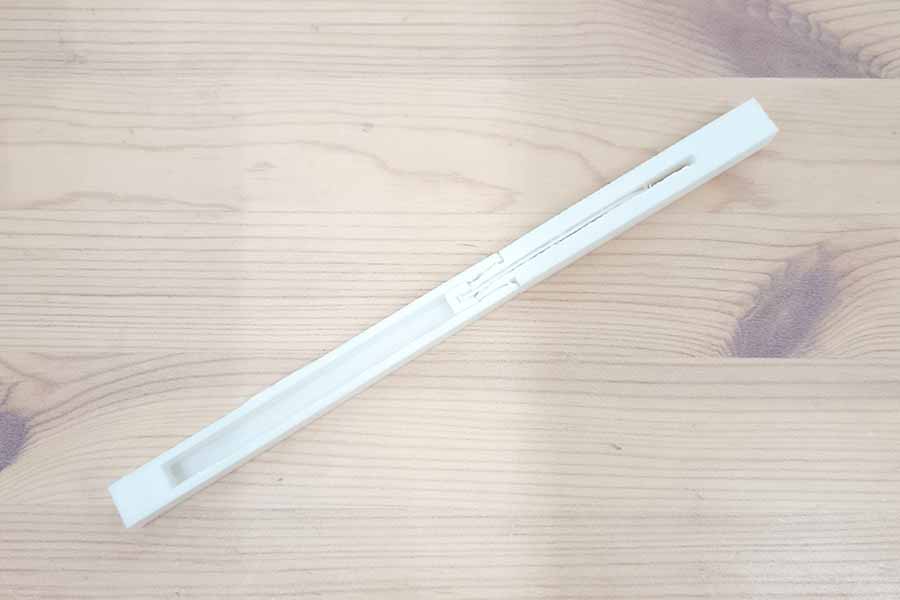
- First is not bad. The problem is that the spacing should be more than 0.5mm apart and that to lay it down and print it, the shape will collapse.
- So the problems were improved and redesigned. And printing
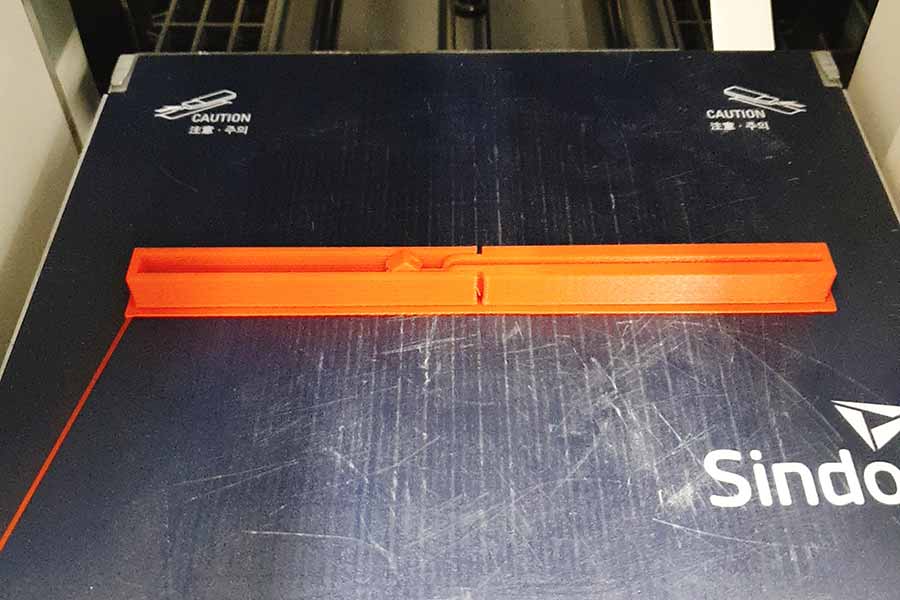
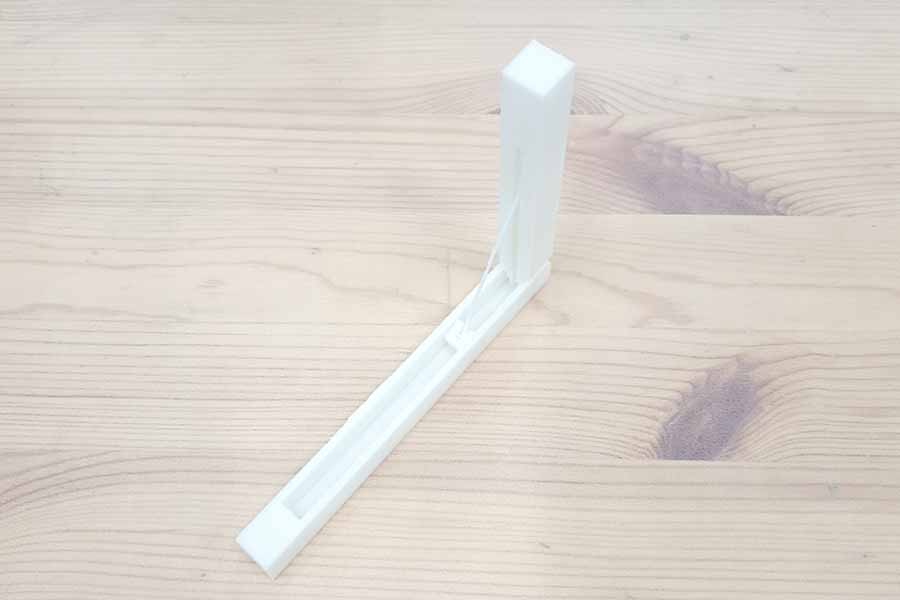
- Ta-da!
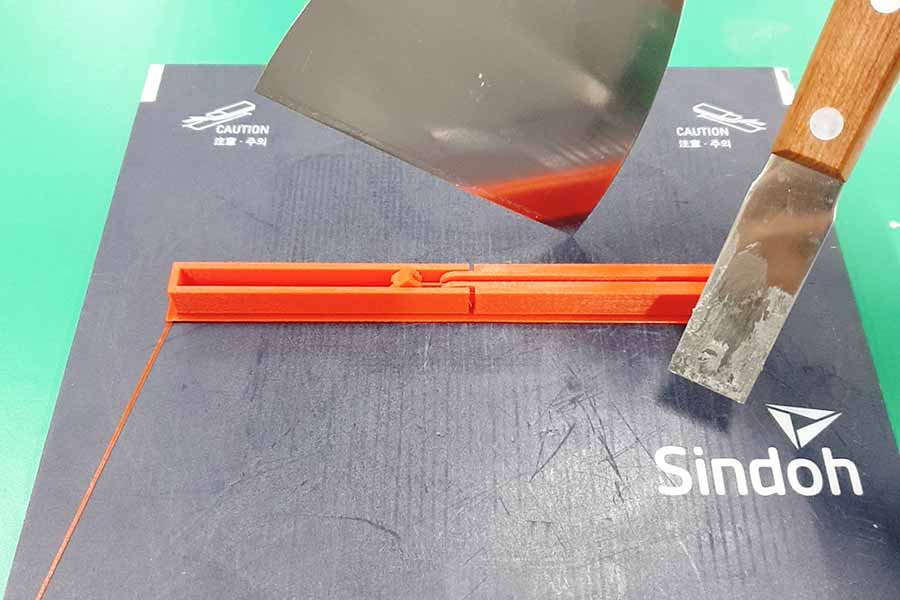
- Remove the supporters!
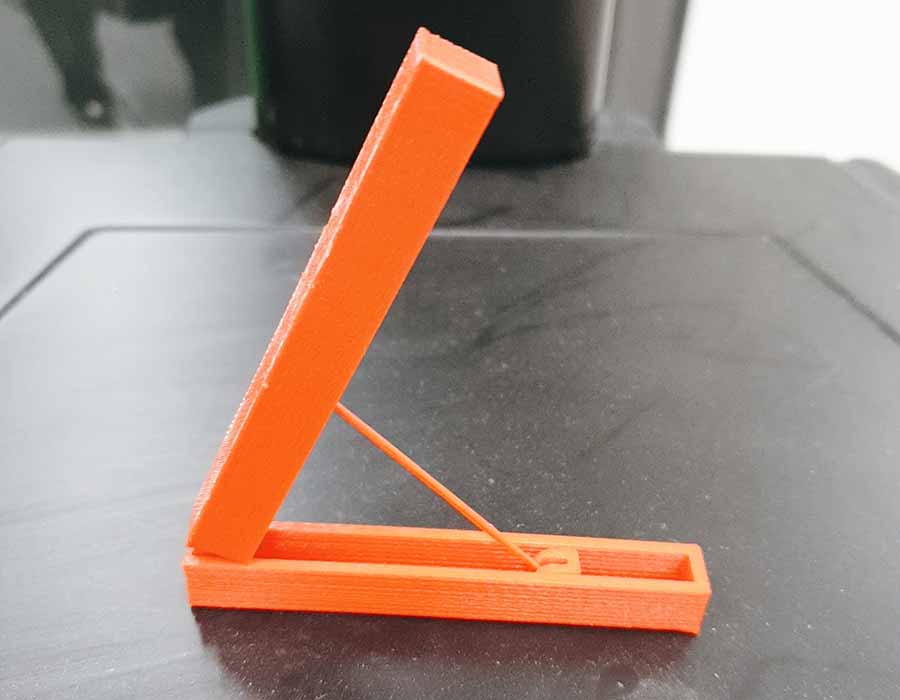
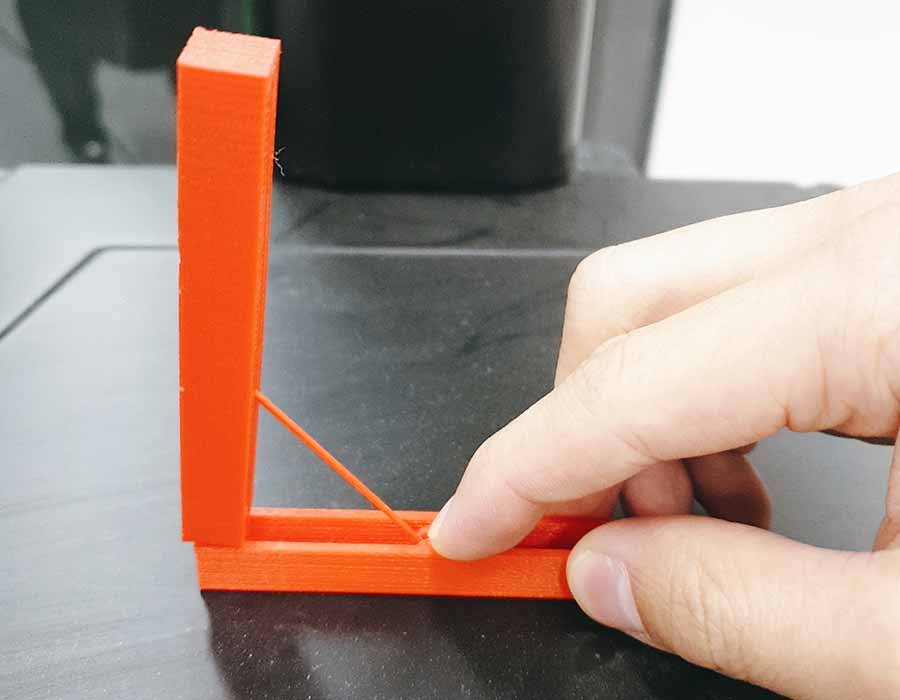
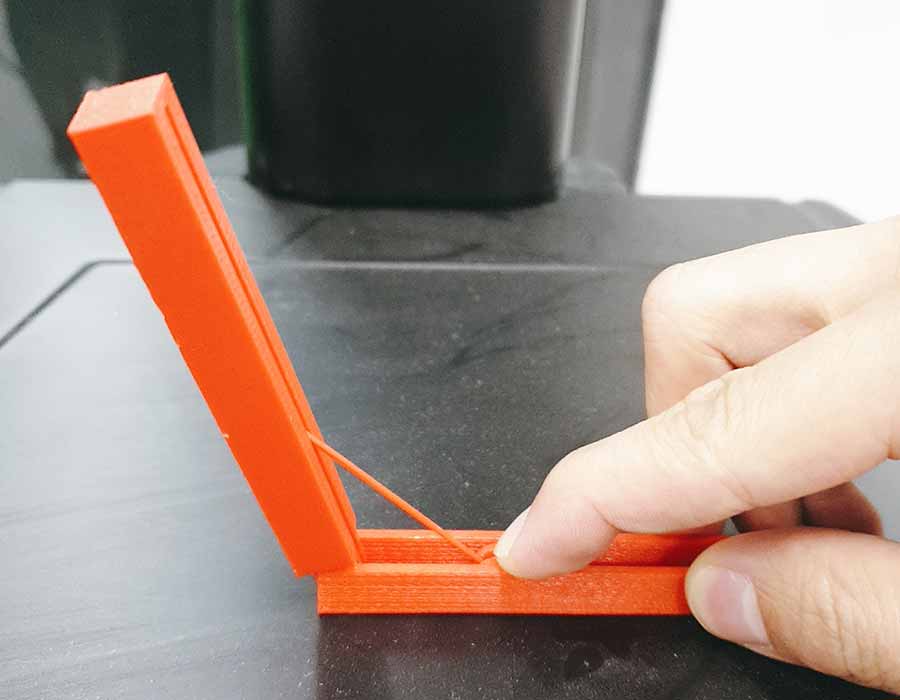
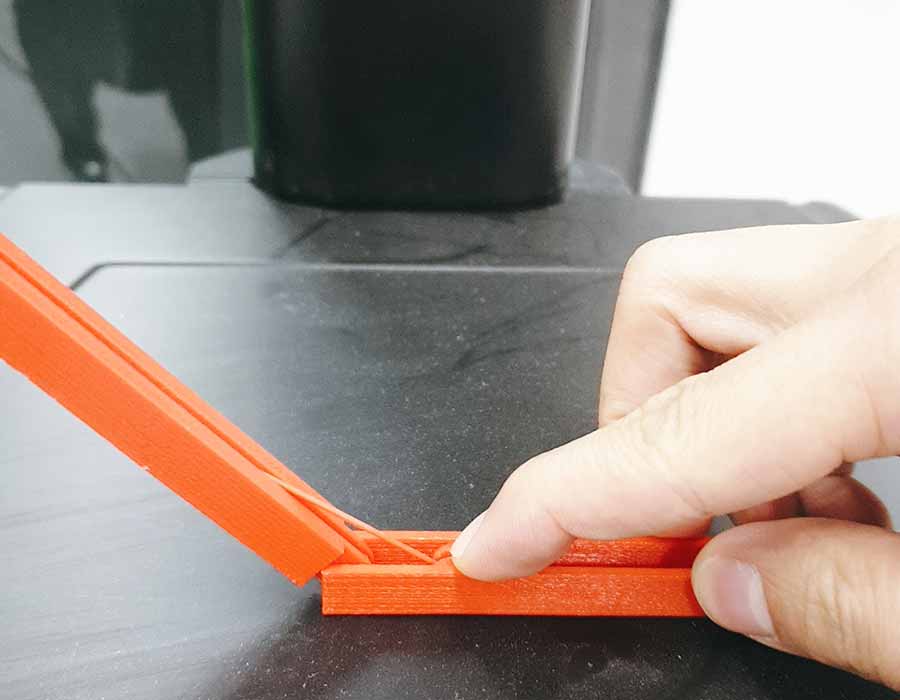
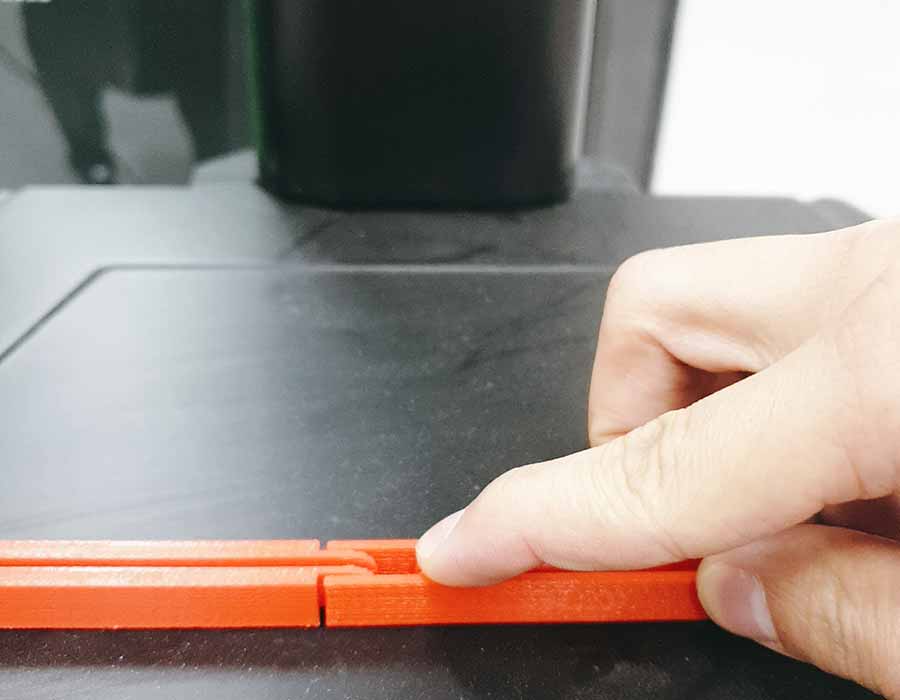
- It moves just like this. Not assembled!!
- What parts of the design were important to pay attention to to meet the design constraints?
- The most important thing is that the minimum gap must be inserted in order for the work to move well.(0.5mm)
File
Fusion360
- Desk Leg Structure v2.f3d File here
- Desk Leg Structure v2.stl File here
+. Advantages and Limitations(About 3D Printing)
- Advantages
- As long as I'm good at designing, the machine prints out my results. This is really amazing. I feel like I've become a factory. mass-production plant
- Print well up to a fairly detailed
- Can easily make something that could not be easily made subtractively. Can print at once.
- Limitations
- There are many restrictions. We need a design to meet the limitations(OVERHANG, ANGLE....).
- It takes a lot of time. More time is needed to pull out in more detail and stronger.
3. 3D Scaning
1. Geomagic Capture
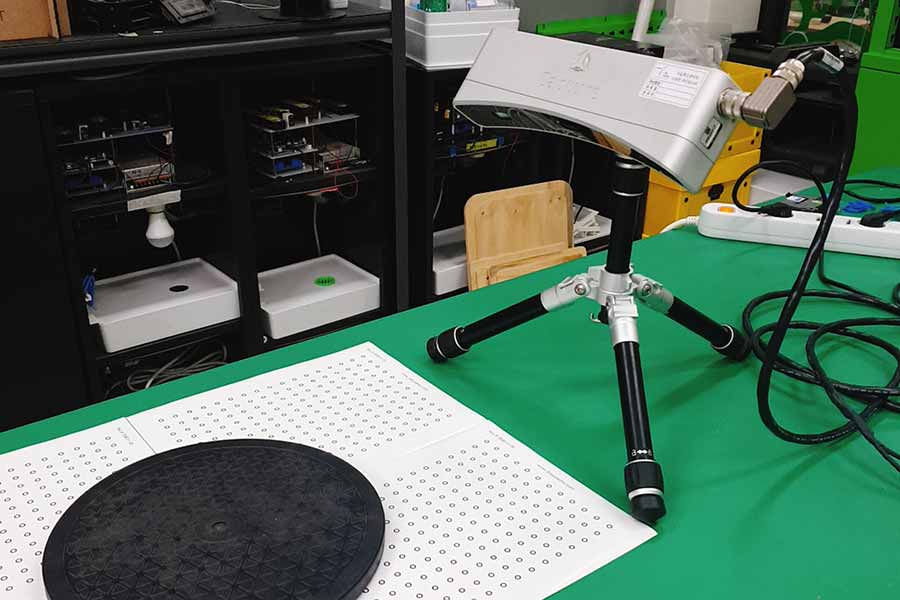
- Using Geomagic Capture
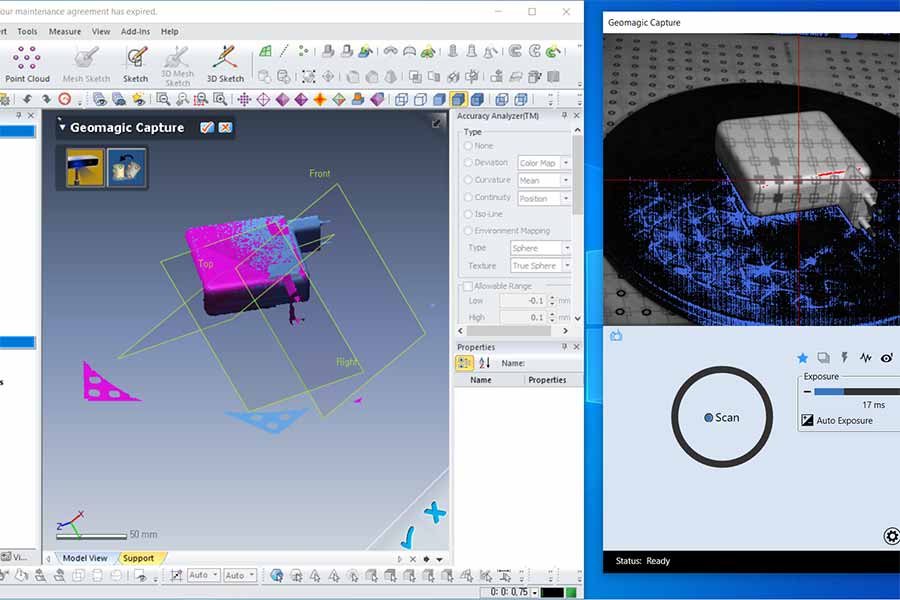
- The beginning went smoothly.
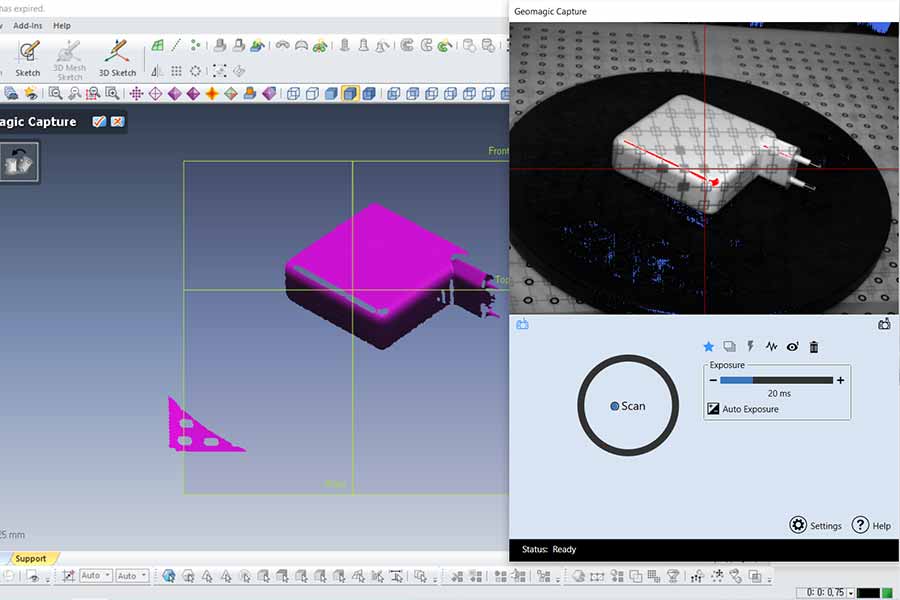
- But it's getting worse and worse.
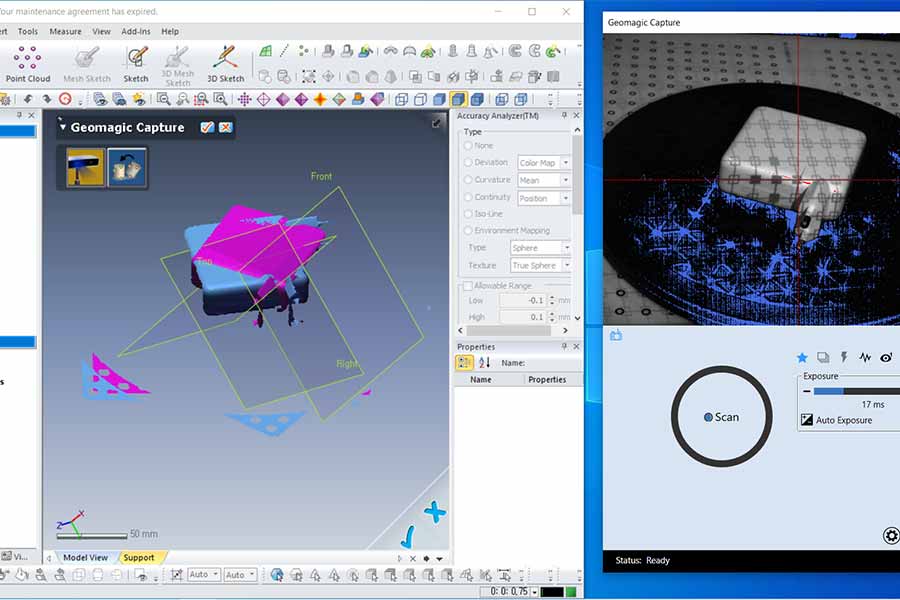
- I tried to connect the image, but it didn't work. So next time....
The cause of the problem was the mesh alignment algorithm struggling with my object, because the color of the object is all white and there are three edges that have the same shape.
4. Meshroom
- Next, it is a way to create 3D images with "Meshroom Program" have many pictures. This is my favorite cap.
I took several pictures of my cap from various angles.
Transferred the pictures of the camera to the computer.
Imported images into this project by simply dropping them in the “Images” area.
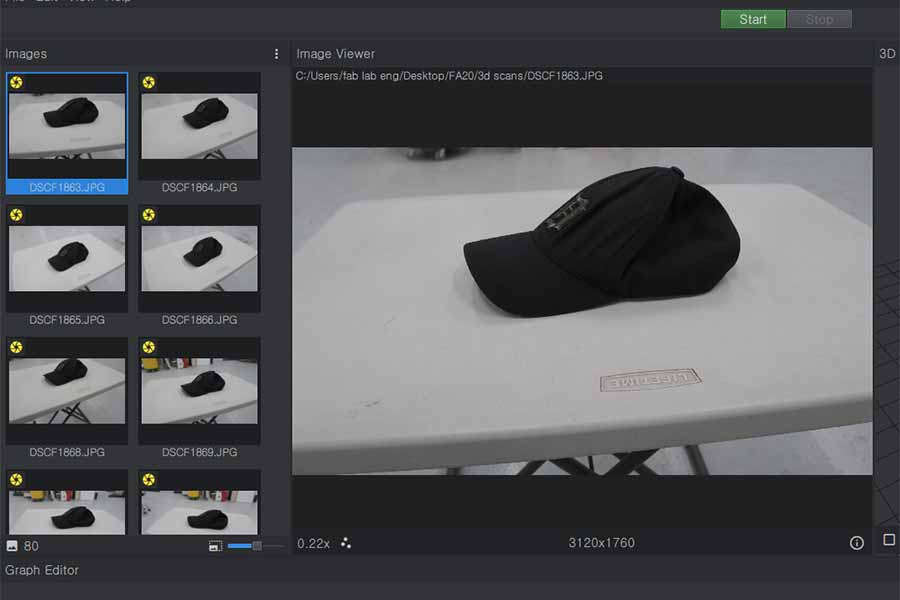
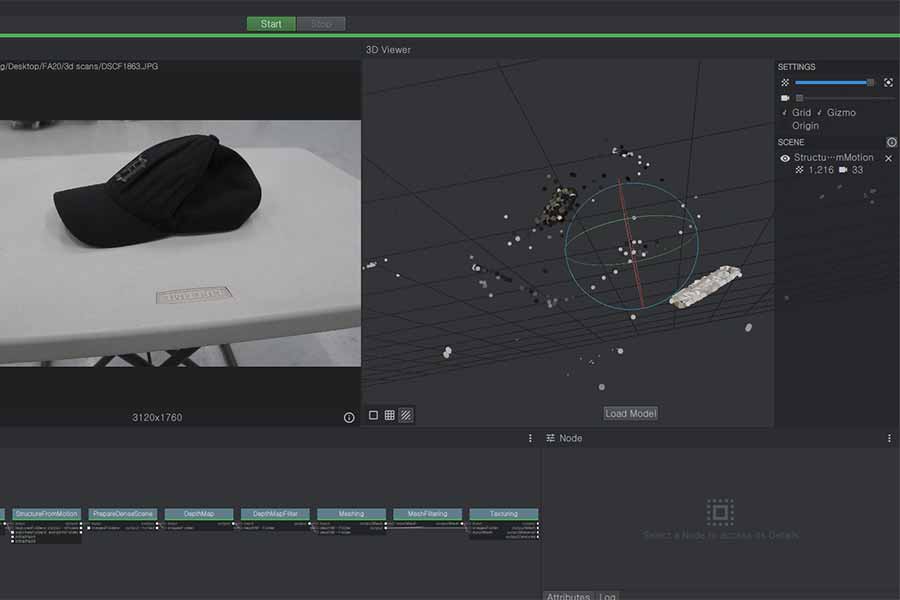
- When the loading was finished, the image was not checked, so I thought It couldn't....
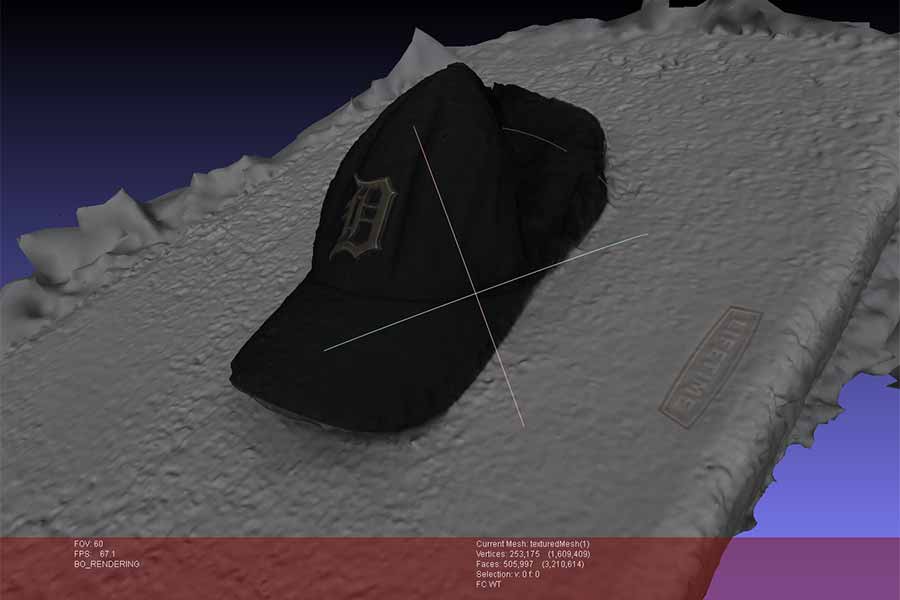
- It's good to open it with "MashLab"
+. Advantages and Limitations(About 3D Scaning)
- Advantages
- It's amazing that you can recognize objects with just a few pictures and get the appearance in 3D files.
- It's easy. I just took pictures, but it feels like the machines are doing everything.
- Limitations
- The details seem to be lacking yet. I can't catch the details.
- Objects of certain colors (white) that do not have a clear contrast between light and dark have low recognition rates.