15. Molding and Casting
Assignment
Group assignment
- Review the safety data sheets for each of your molding and casting materials
- Make and compare test casts with each of them
Group Project here
Individual Assignment
- Design a 3D mould around the stock and tooling that you'll be using, mill it (rough cut + (at least) three-axis finish cut), and use it to cast parts.
Table of Contents
1. Design
1-1 Searching
1-2 Fusion360
1-1 Searching
1-2 Fusion360
2. MANUFACTURE
3. Tiny Robo
4. Moulding and Casting
4-1 Mold Star™ 20T
4-2 Smooth-Cast® 326
4-3 Step
4-1 Mold Star™ 20T
4-2 Smooth-Cast® 326
4-3 Step
1. Design
1-1 Searching
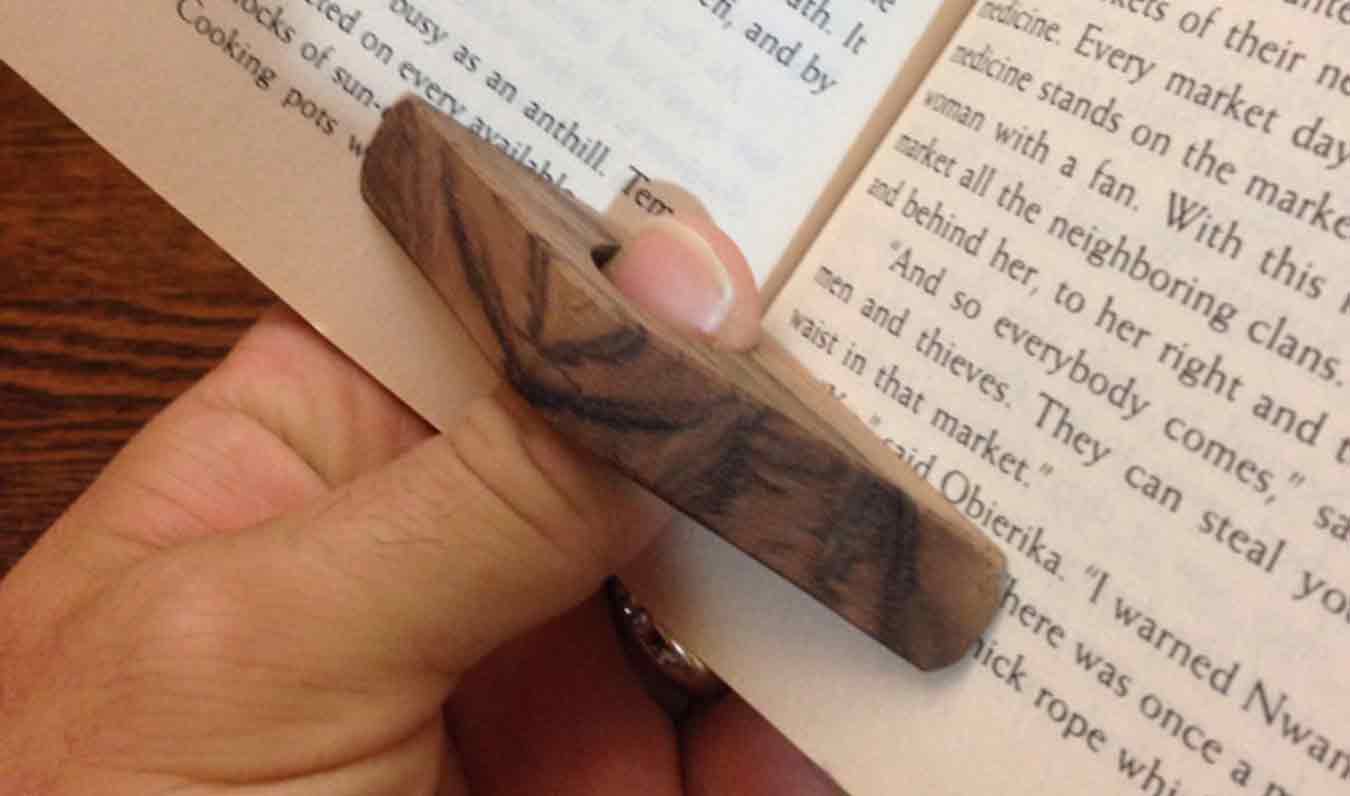
- I found this while searching through Pinterest to make something useful small.
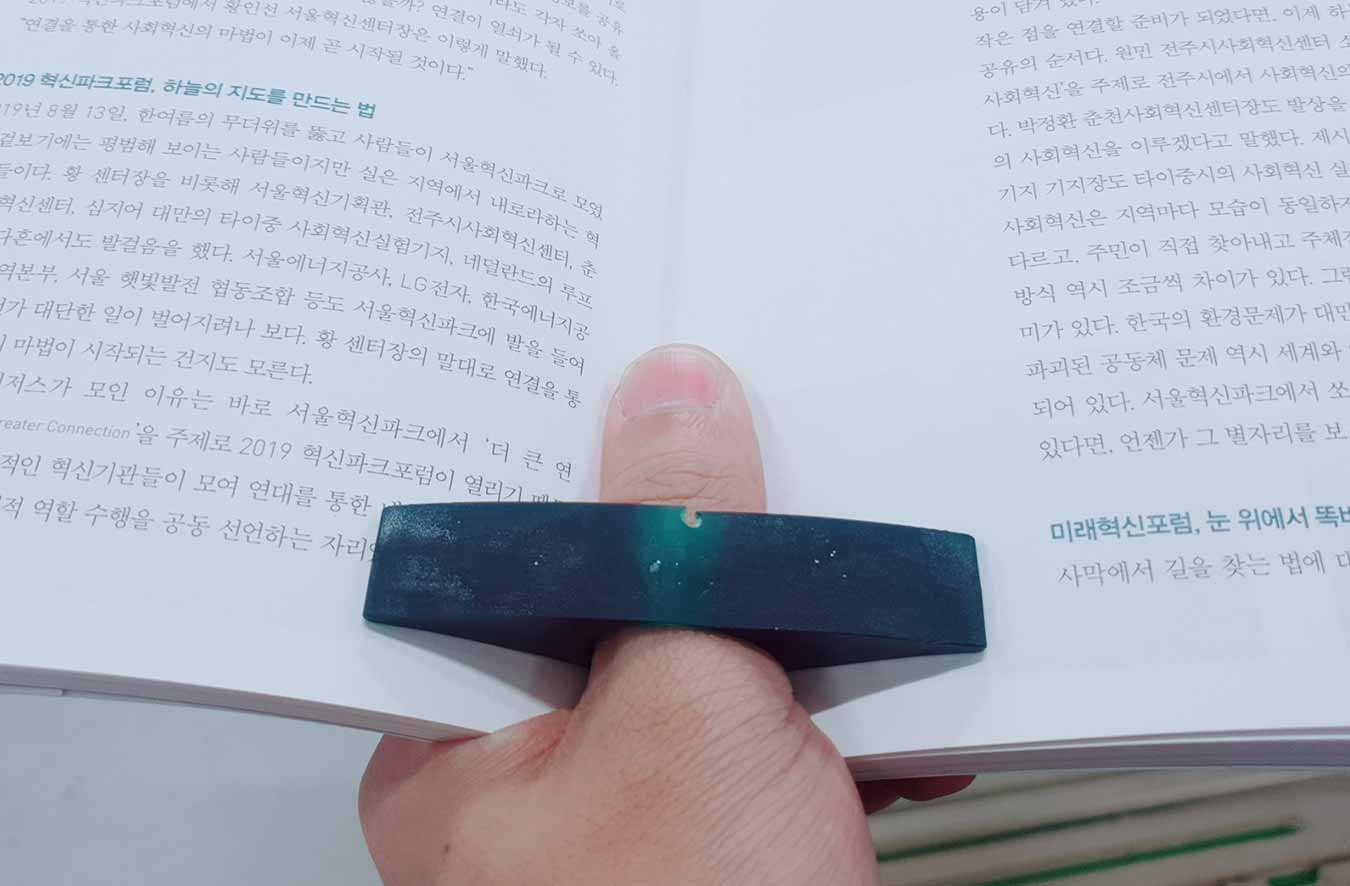
- This is Thumb-Ring Page Holder!
- I once had a hard time reading a book with one hand. The book was not fully opened, and it took a lot of effort to be fully opened.
1-2 Fusion360
↓Desgin by Fusion360
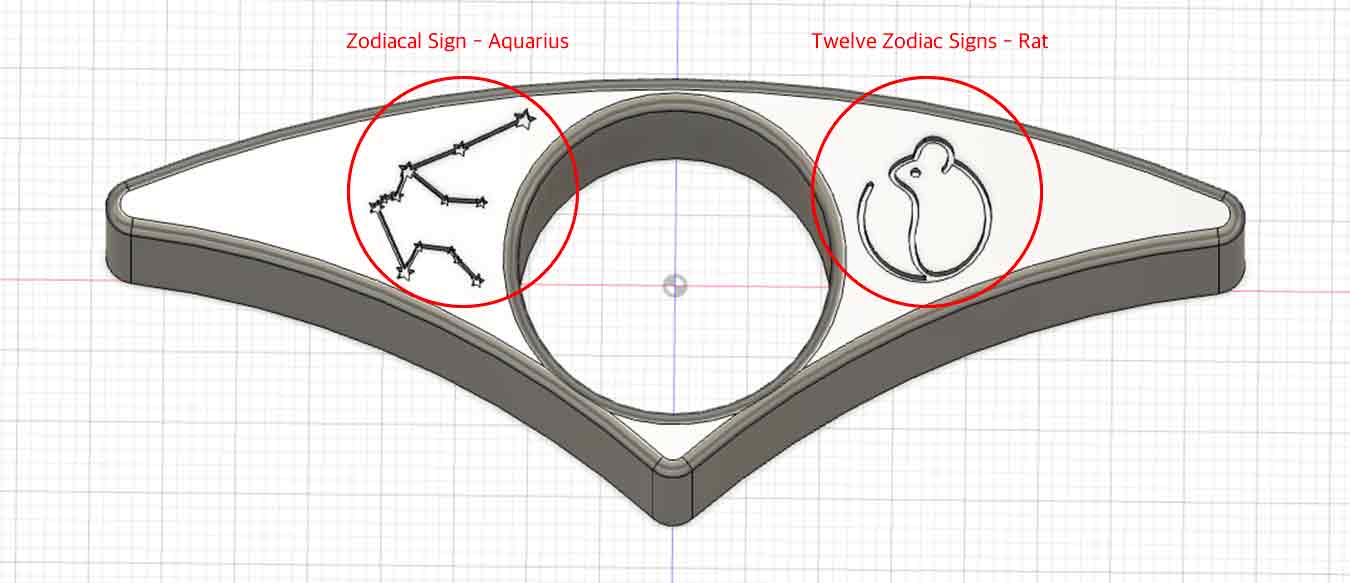
- I wanted to add a symbol related to me, so I added the Aquarius of Zodiacal Signs and the rat of Twelve Zodiac Signs icon.
- After the design, I wanted to check the size and shape, so I printed it with a 3D printer first.
↓An Object Printed From 3D Printer
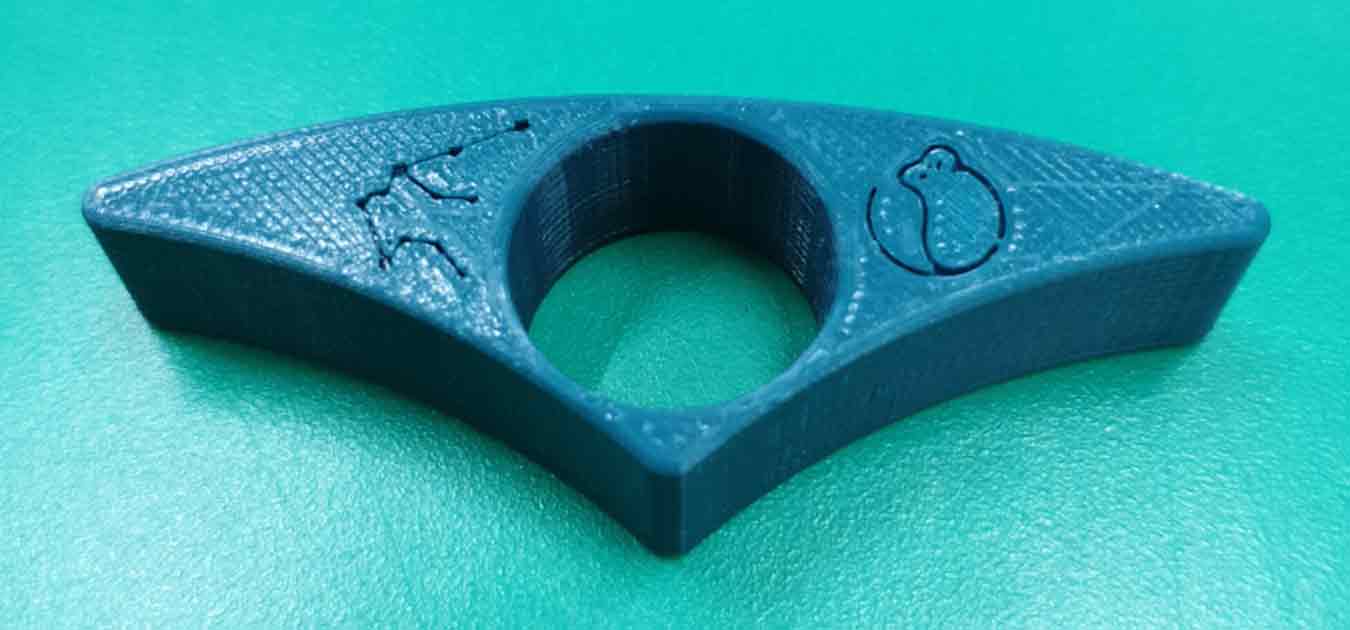
- That's a good one! proceed as it is
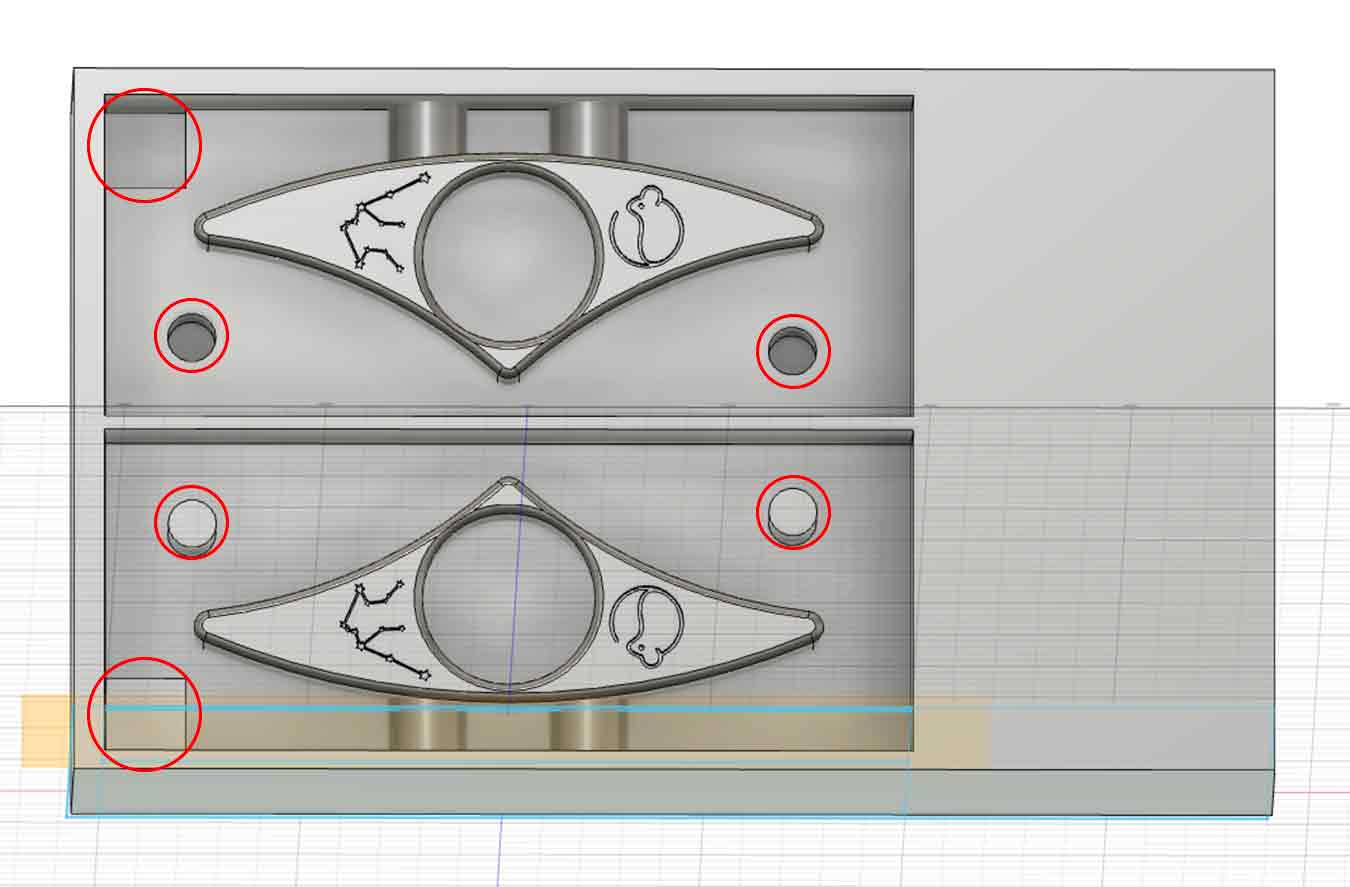
- Back in fusion, In addition, the cylinder female male assembly was made to secure the mold and the square assembly was made to prevent it from going wrong.
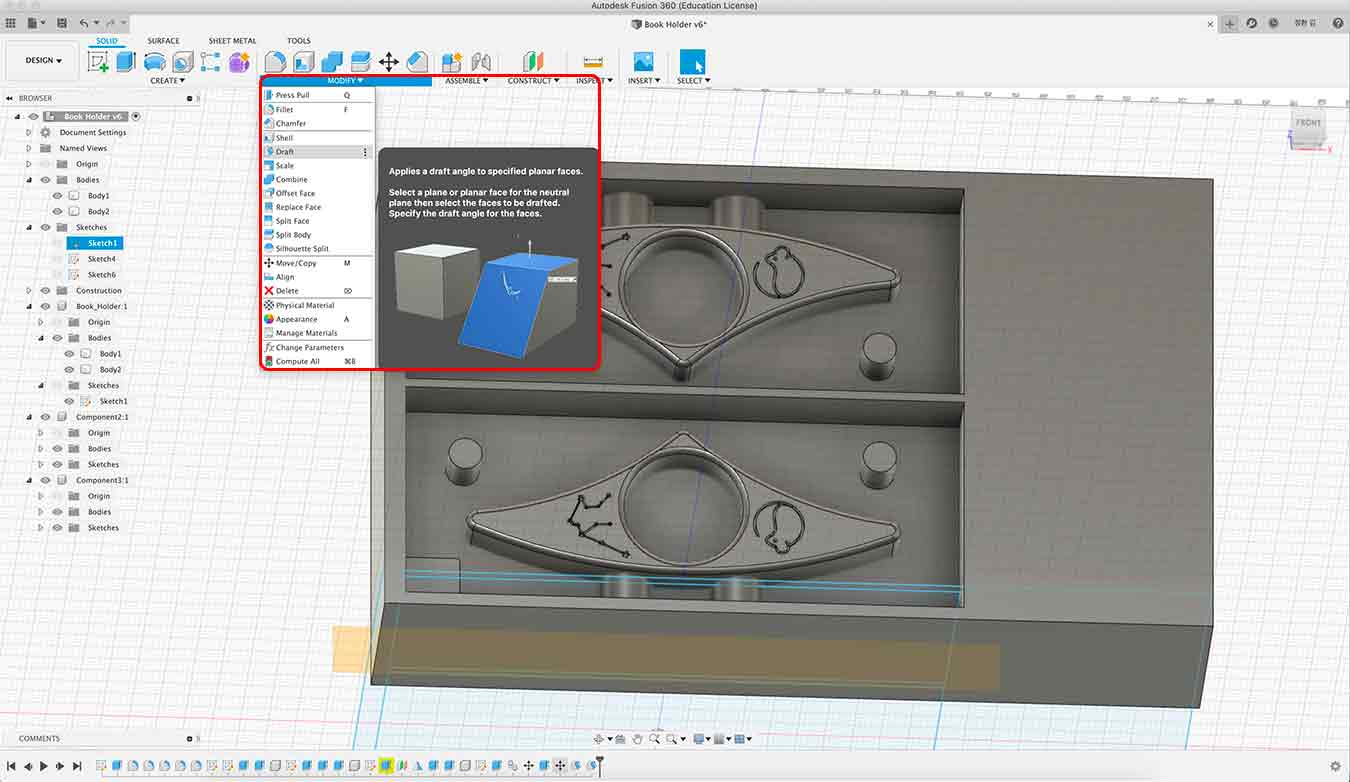
- Also, to make it easier to pull out the mold, I used drift funtion to cut the side wall by about 2 degrees.
2. MANUFACTURE
- Next, I used the MANUFACTURE function in Fusion to check if there was a problem when I cut to Tiny Robo, predict the time, and make a file.
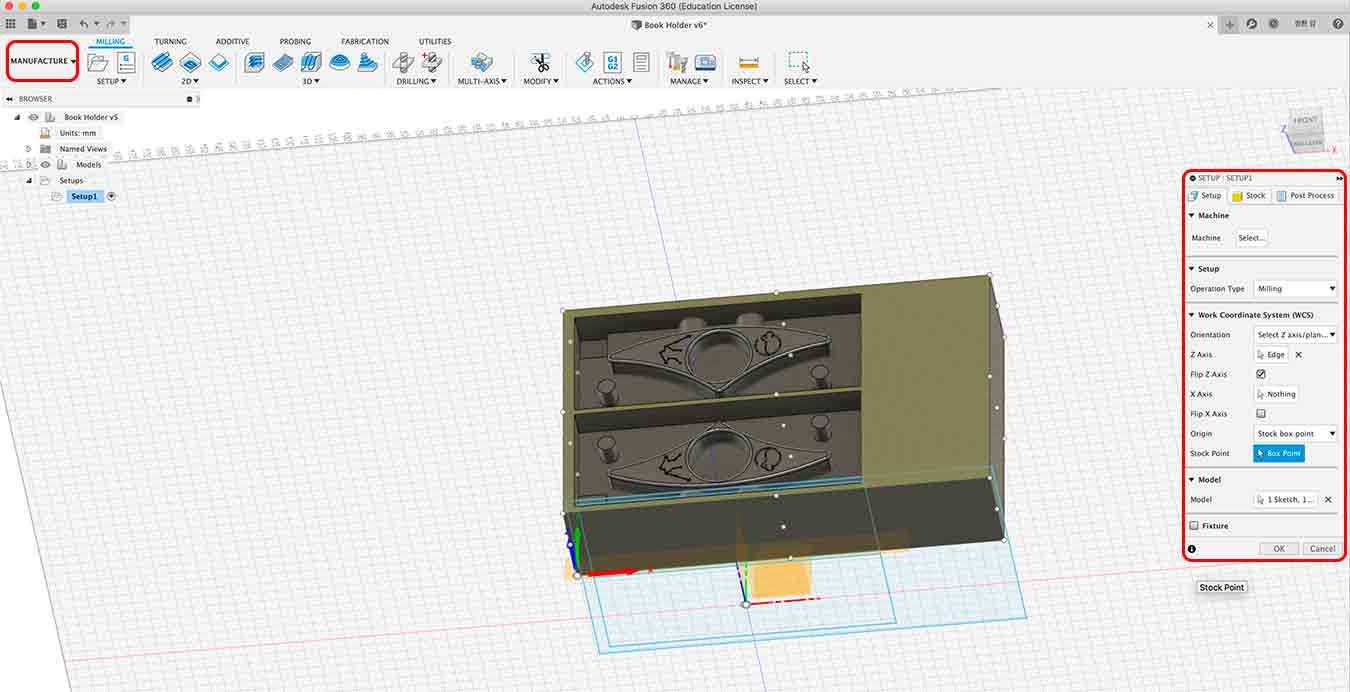
- First, I set the x,y,z axis in the setup and chose the model.
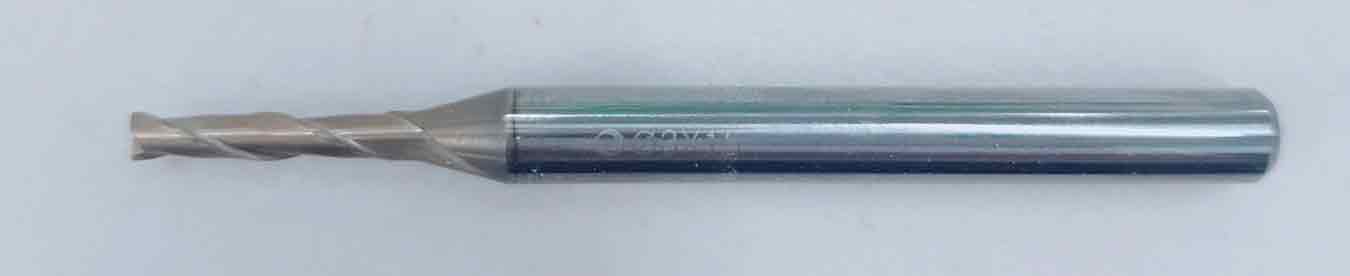
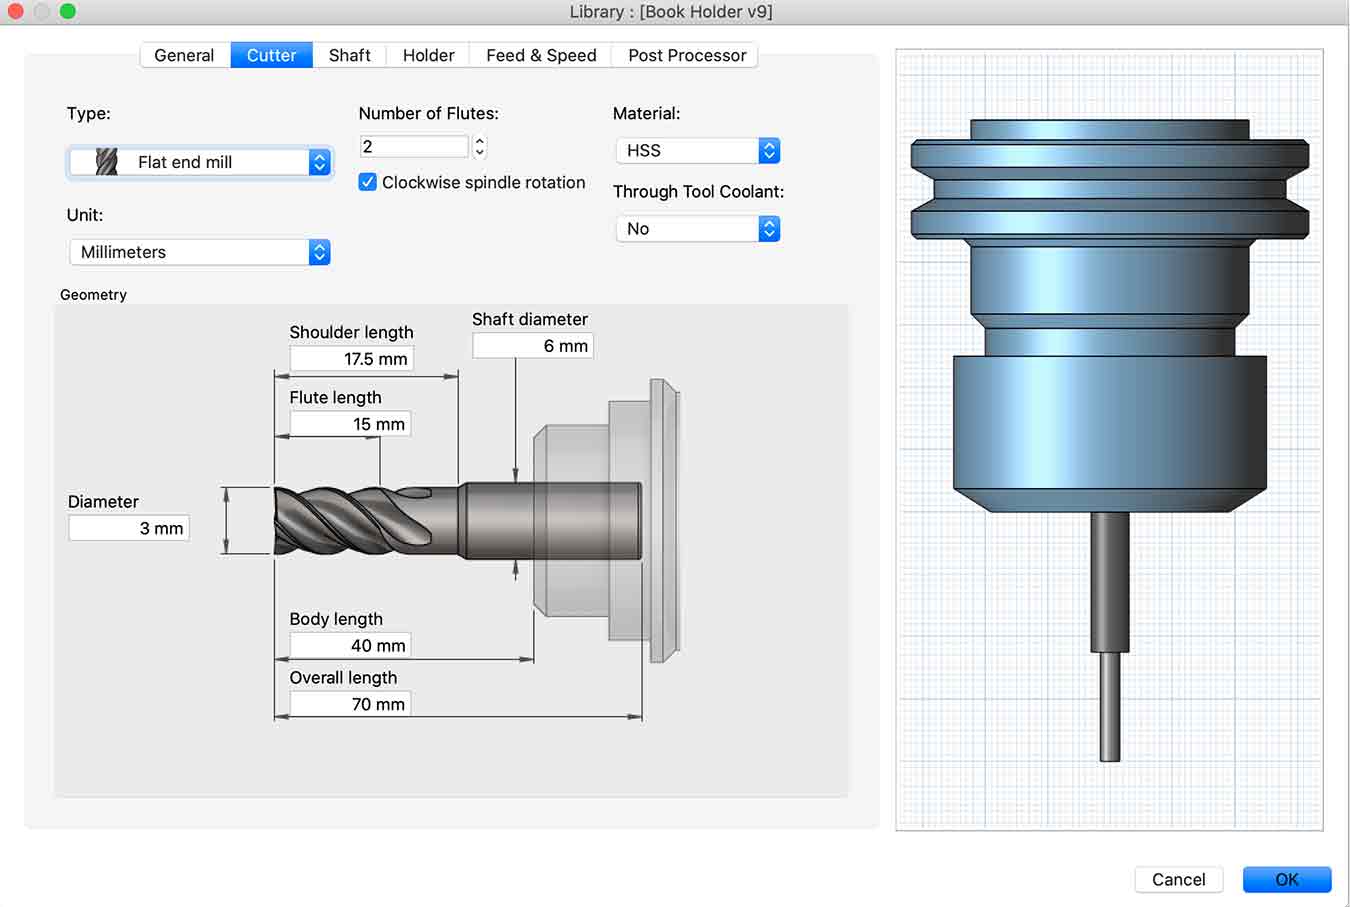
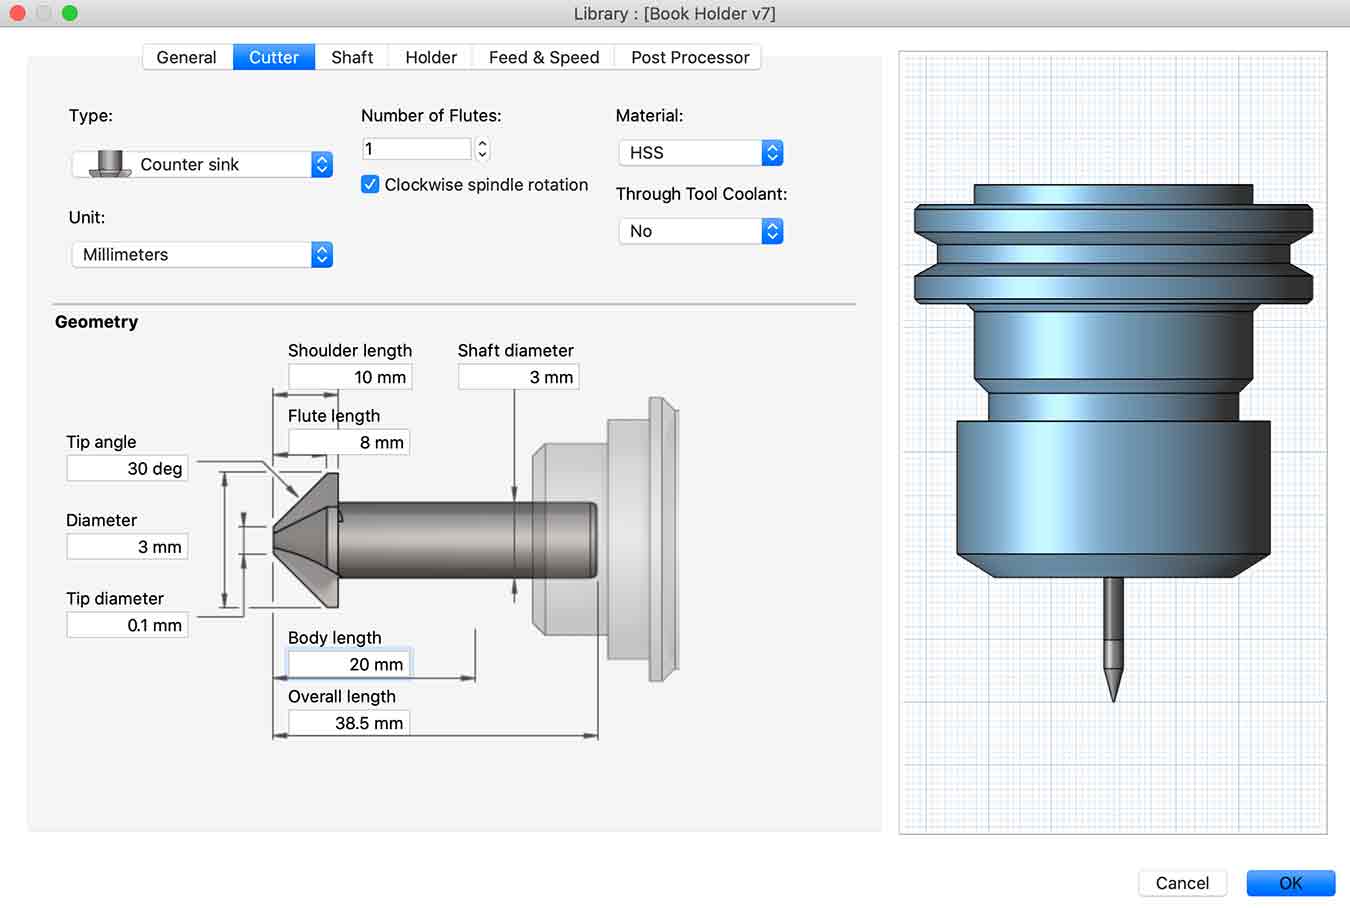
- I decided to use 3mm and 0.1mm emd mill, and added tools to the tool library.
- Select Adaptive Clearing in Milling to set the Cutting Feedrate → 1000mm/min, Spindle Speed → 10000 RPM, and Stock to Leave → 0.5 and Lead & Transitions → 0.3 each.
- For the second task, we added the scallop option and revised the Stock to Leave figure to 0.
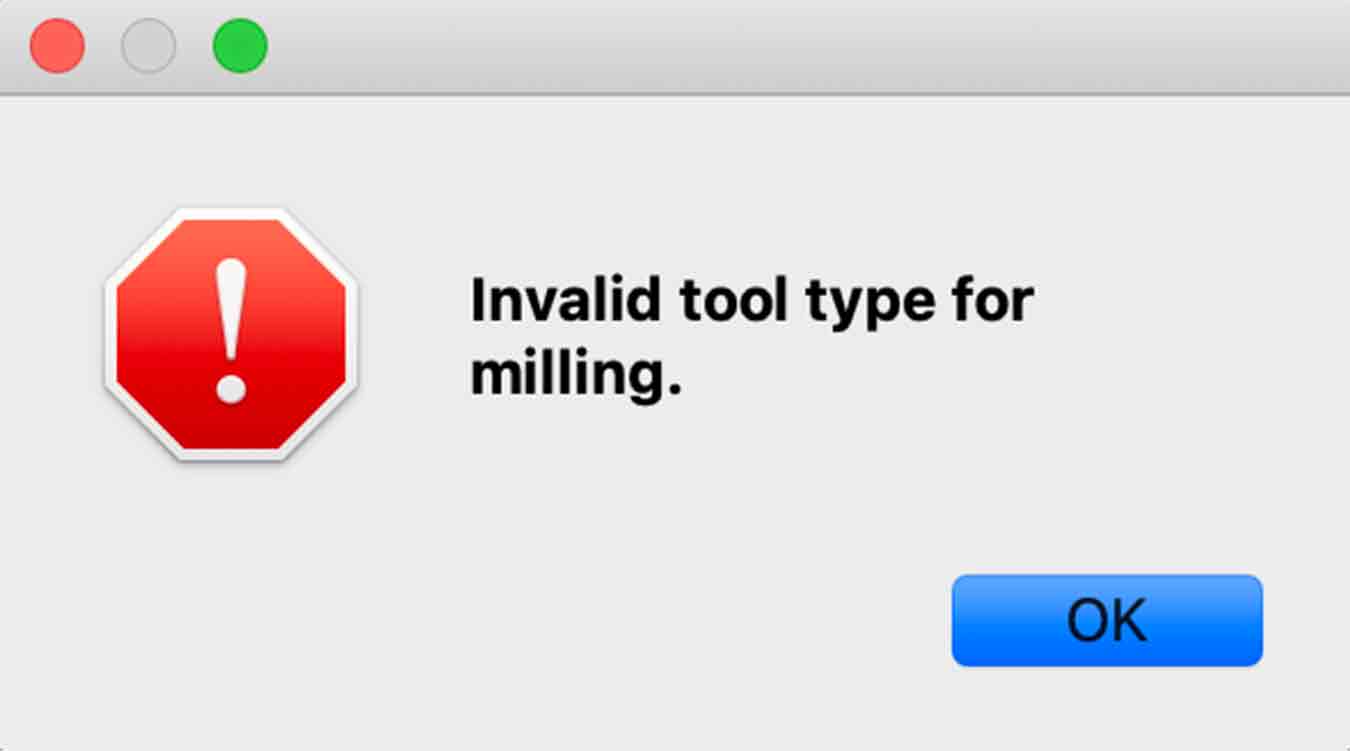
- The 3mm endmill work setting was carried out without any problems, but the 0.1mm endmill work setting was not carried out due to this error.
- In the end, the details (star sign and twelve zodiac signs) that were about to be cut down to 0.1mm had to be deleted.
- Solutionhere
- The setting value exists here. Follow this solution to fix the problem.
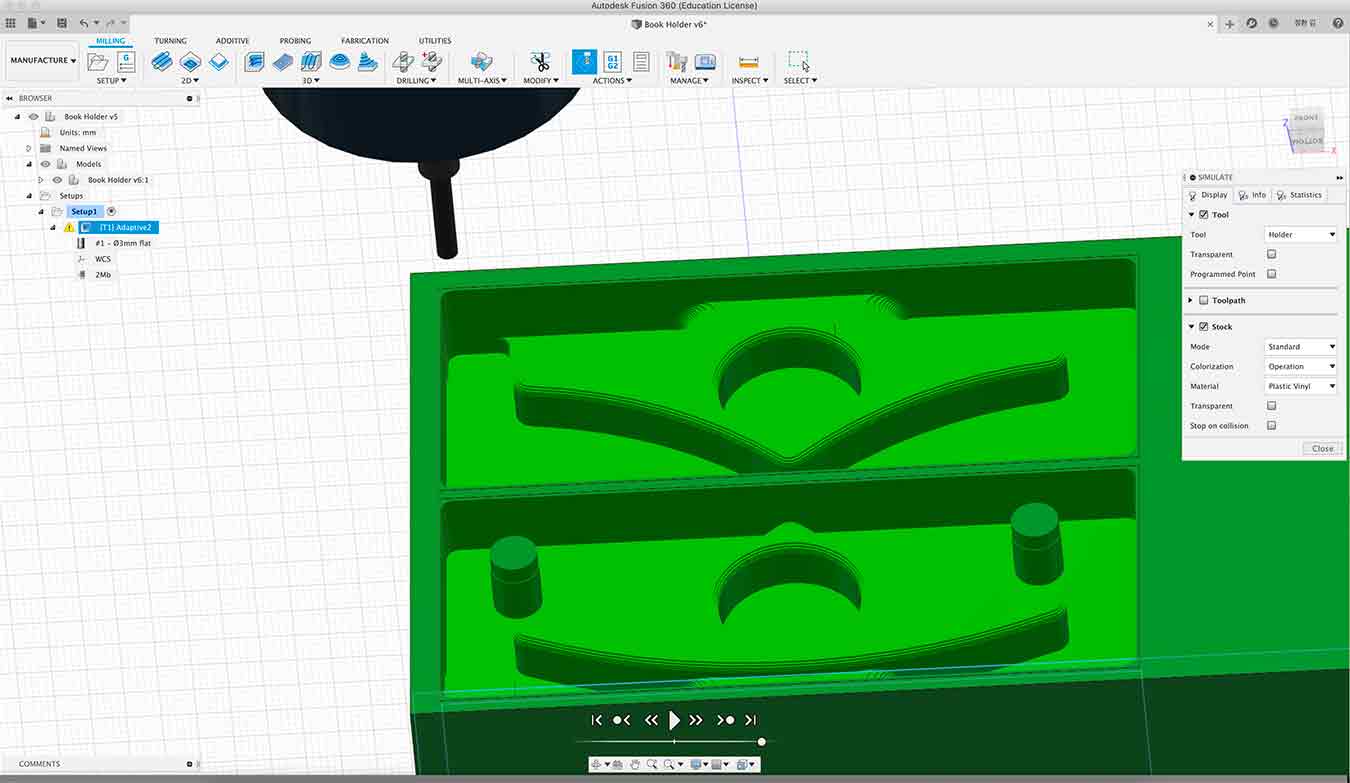
- The simulator was used to check if there was a problem in the wax-cutting phase.
- There was no problem and the I set the processor to mach3mill in the post process and saved as a .tap file.
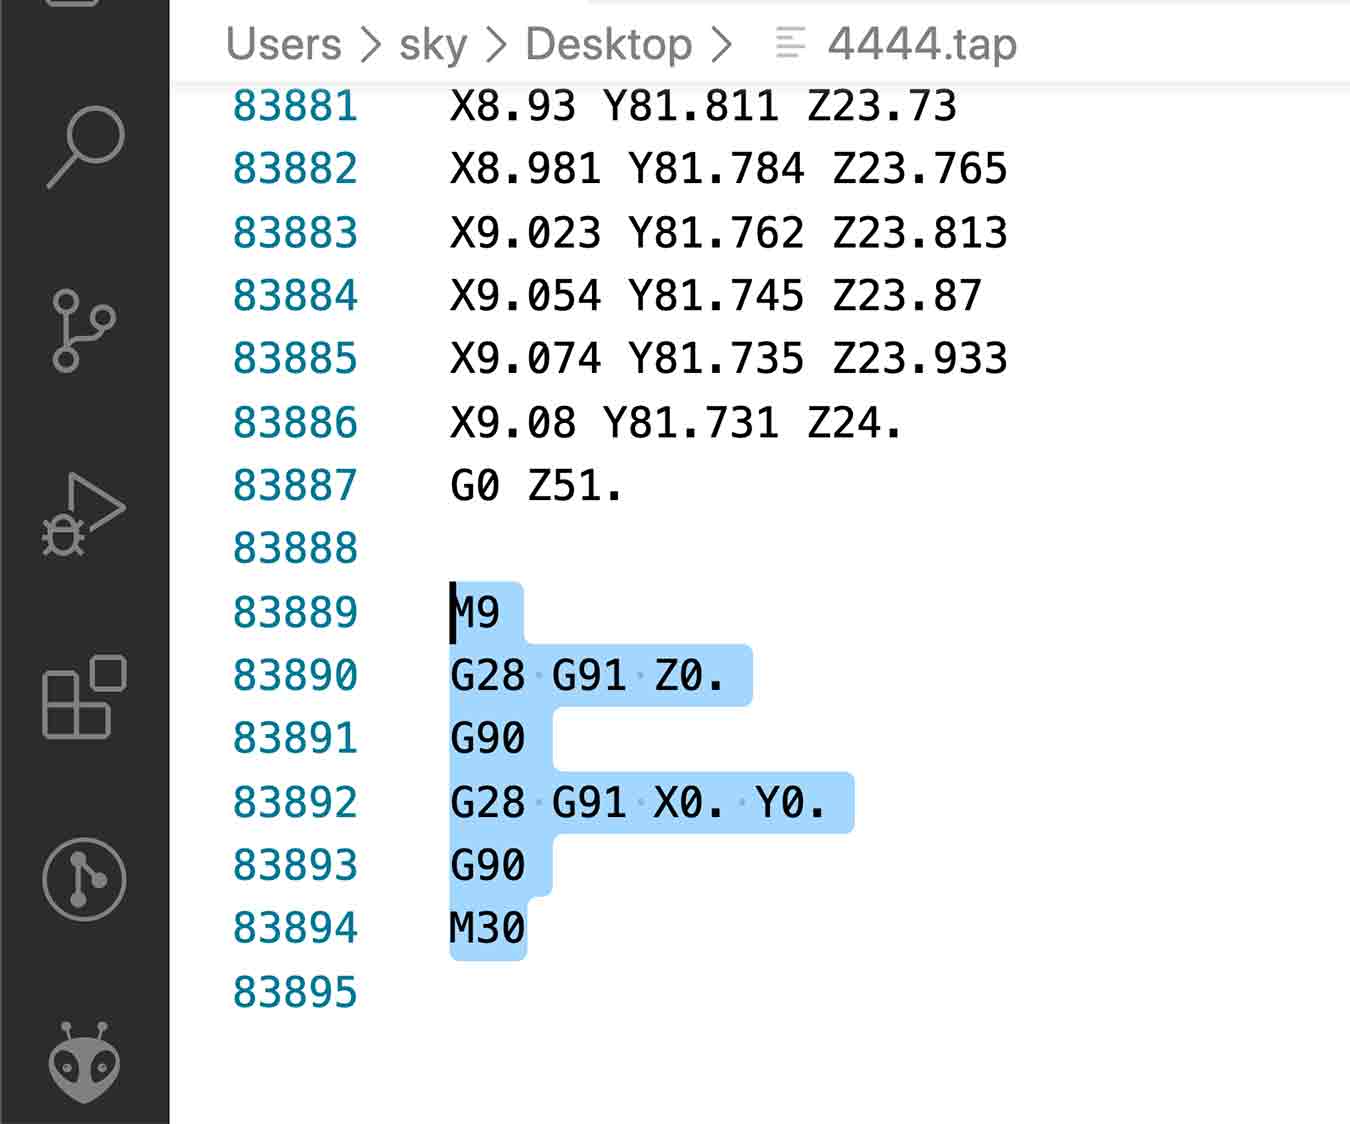
- The blue part I chose is unnecessary work, so I deleted it.
- Because I had to use Tiny Robo and proceed with molding and casting, I couldn't save the details by design. There were many other restrictions.
- The size of the wax is limited, so the size of the mold is limited.
- Small details are limited (less than 5mm).
- Because the viscosity of the material that makes molds is not the same as water, you cannot make very detailed parts.
3. Tiny Robo
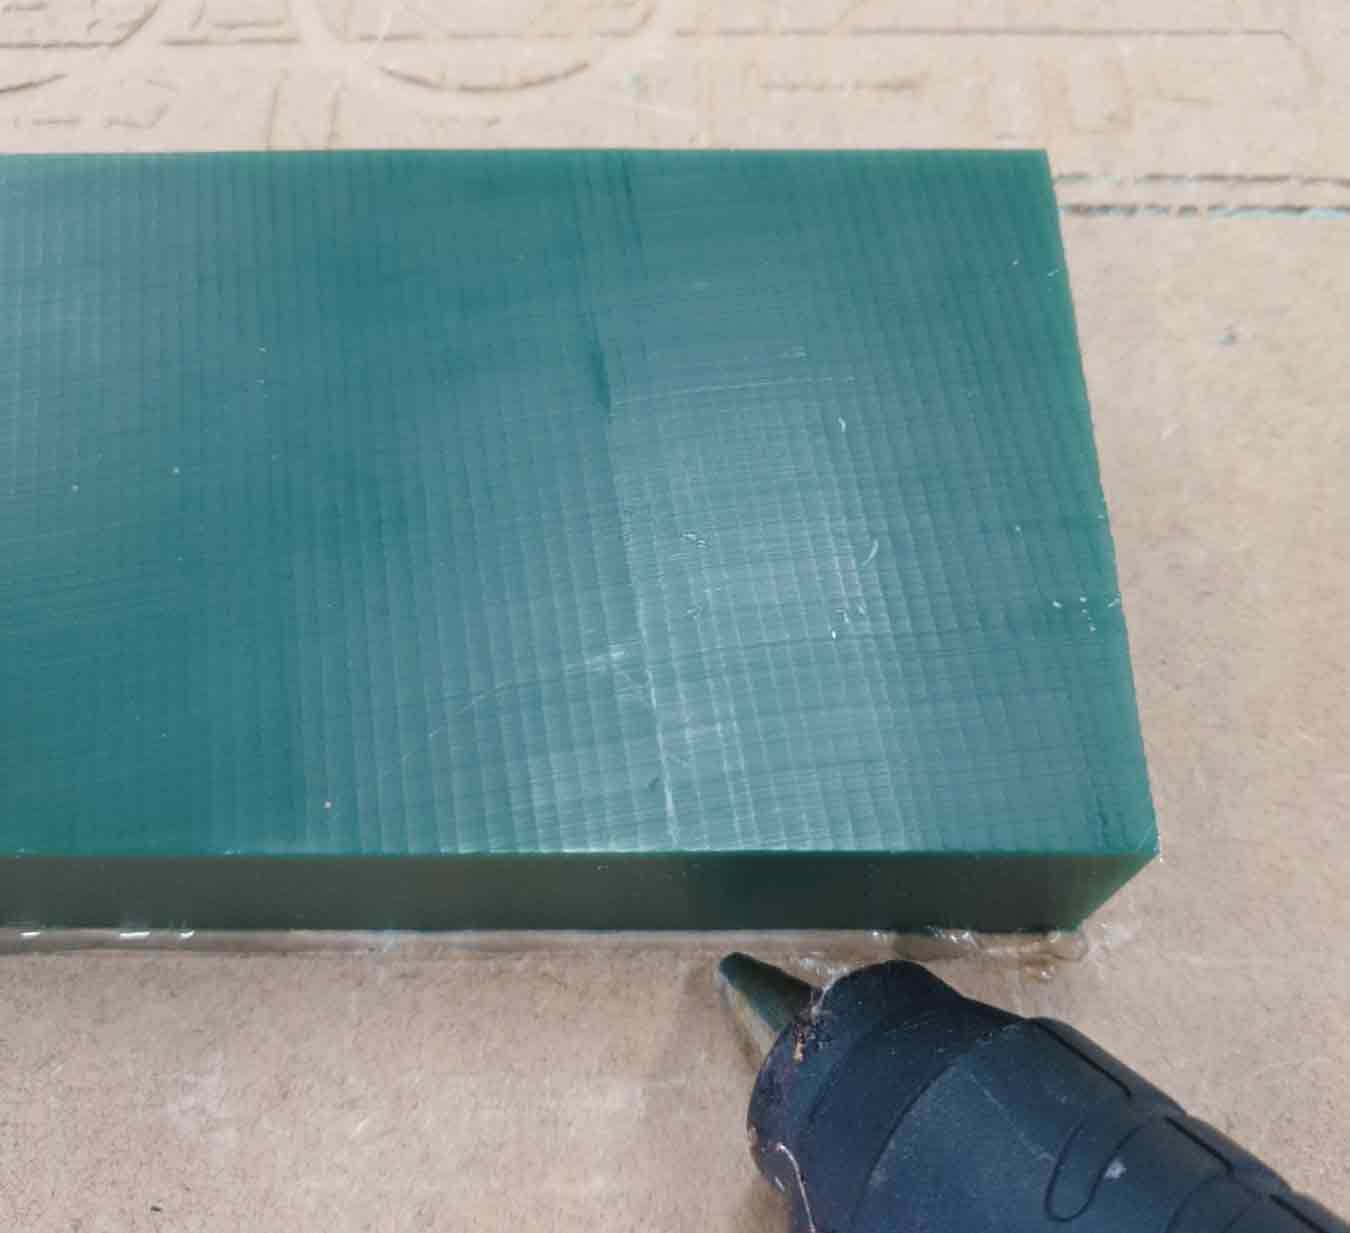
- Put a block of wax on the sacrifice board, fix it with a glue gun.
- The sacrifice board has been secured.
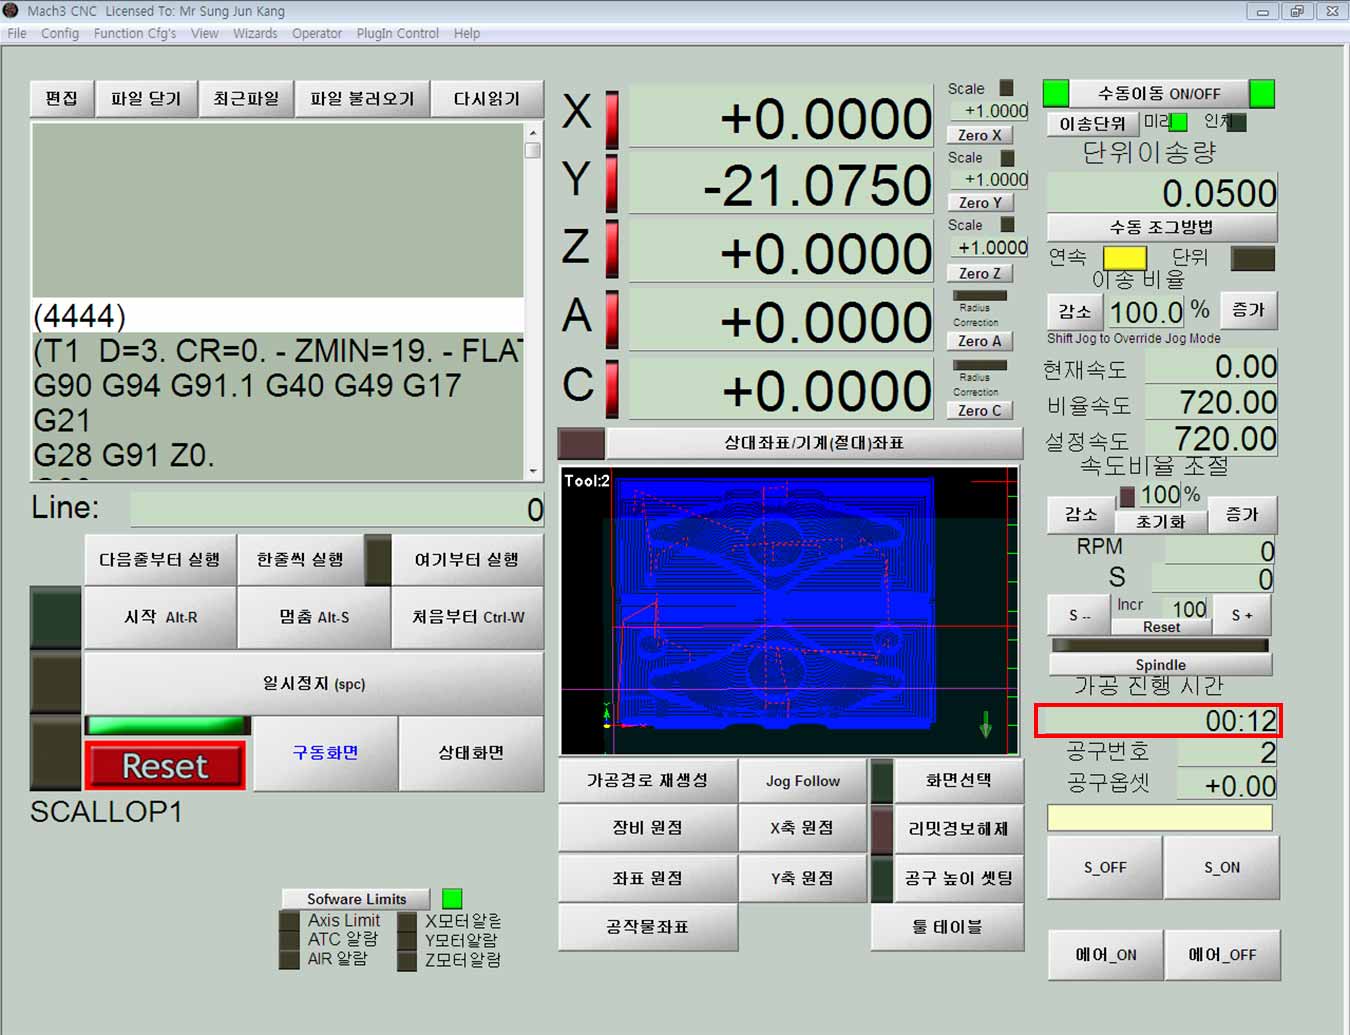
- Call the .tap file and set it up.
- The time required is 12 minutes, the speed is 720, and the rpm is 10000.
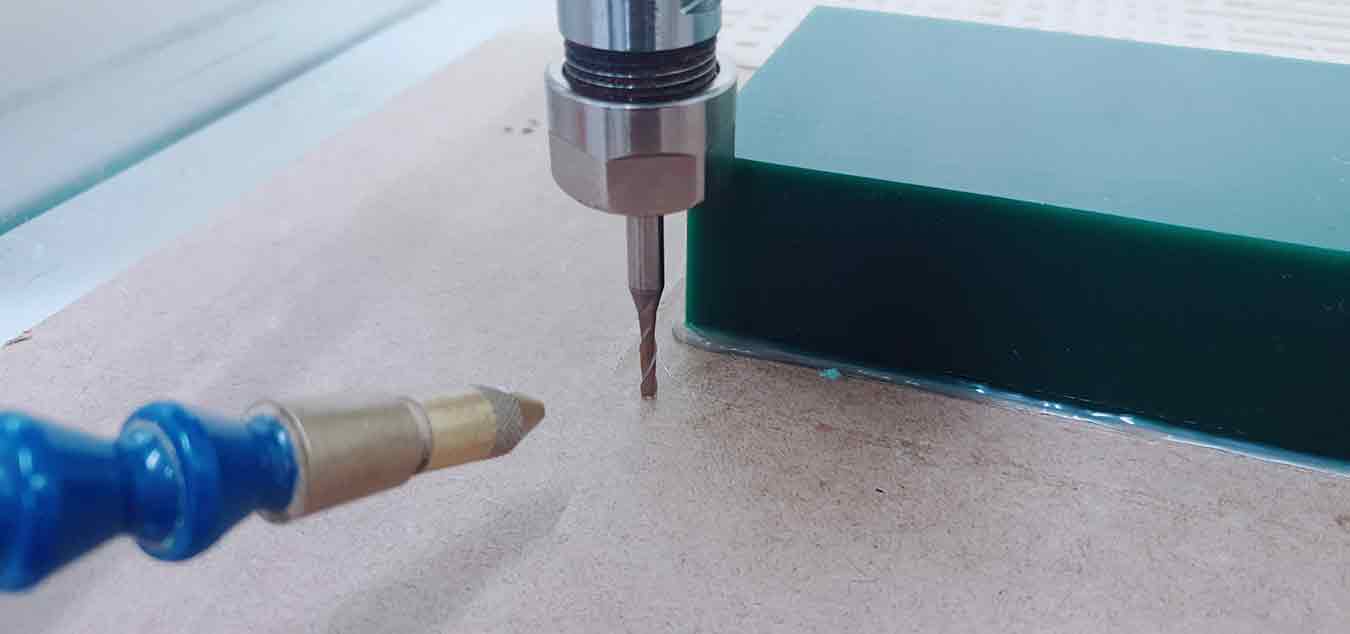
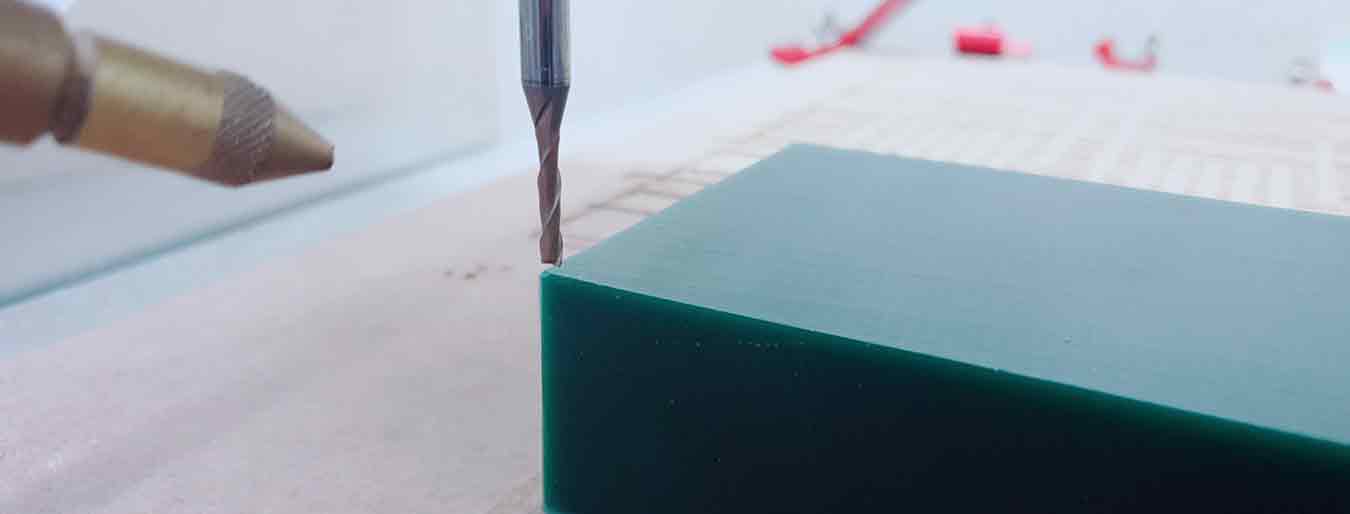
- I set up the z,x,y axis in Tiny Robo,and based on my files. And start cutting
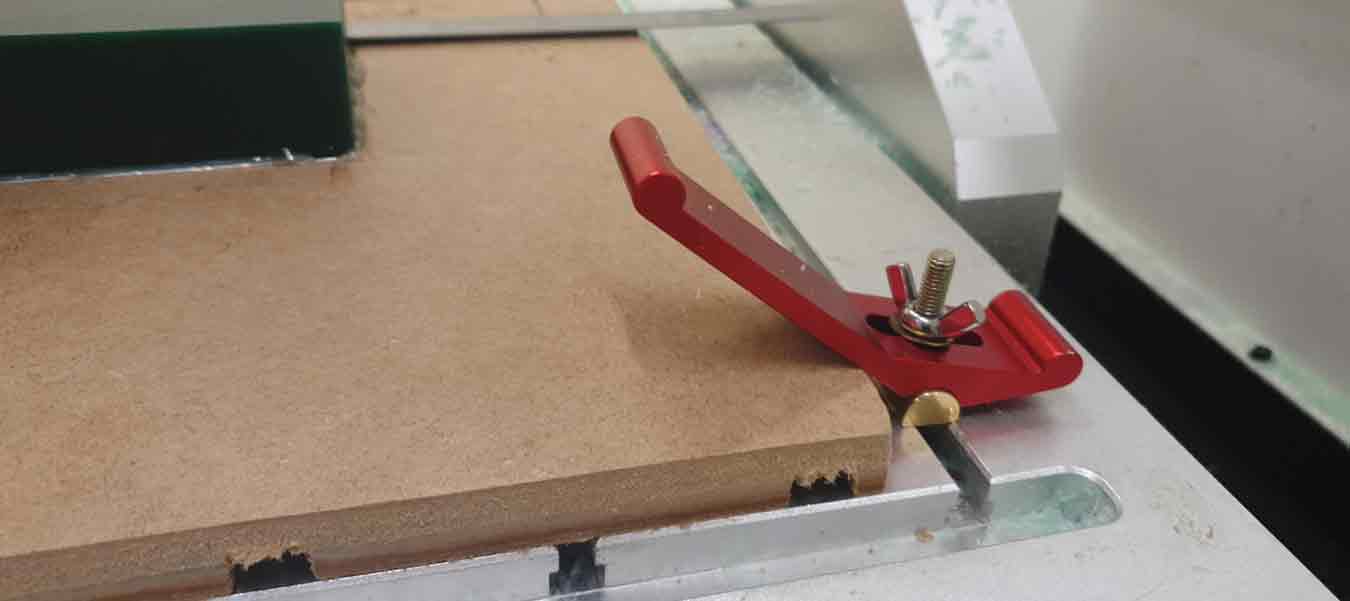
- And connect the supplies by referring to the picture below.
- My wax board that has been cut.
4. Moulding and Casting
4-1 Mold Star™ 20T
- I wanted to get the mold out of the hard wax easily. So I found a soft material while maintaining some form. What I found was Mold Star™ 20T.
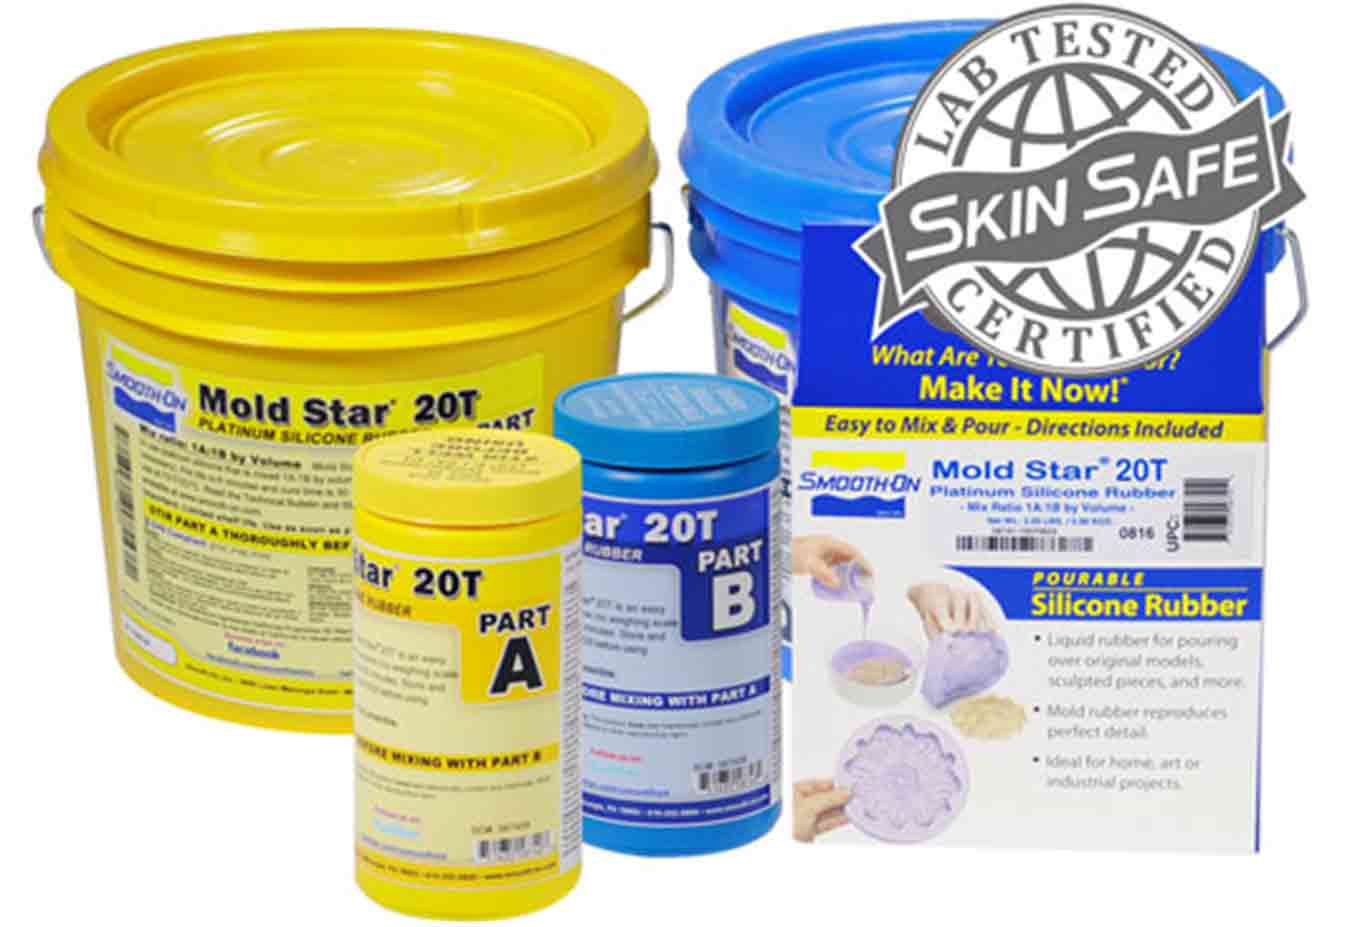
- About Mold Star™ 20T here
- Mold Star™ 20T is an easy to use Shore 20A translucent platinum silicone that is mixed 1A:1B by volume (no weighing scale necessary).
- It features a relatively low viscosity and vacuum degassing is not required for most applications.
- Pot life is 6 minutes and cure time is 30 minutes at room temperature.
4-2 Smooth-Cast® 326
- This material is from the last casting.
- About Smooth-Cast® 326 here
- The convenience of a 1A: 1B mix ratio by volume and has a very low viscosity.
- Demold times range from about 10 minutes to 2-4 hours (depending on product, mass and mold configuration)..
- Note: Large mass castings will get very hot and shrink more, depending on mold configuration.
4-3 Step
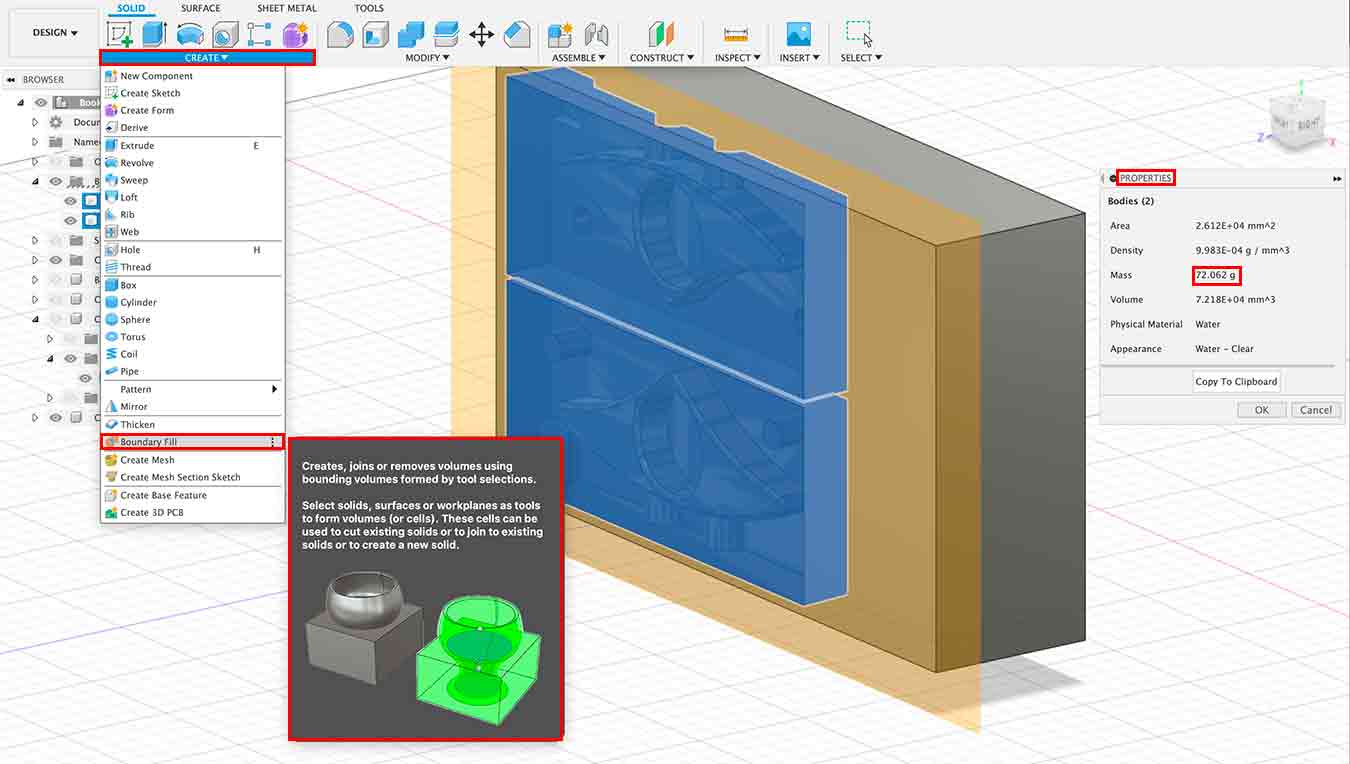
- Before I used the material, I had to calculate the volume of mold I wanted to get.
- How to Check Material Volume(g)(Youtube Link for Reference here)
- Make a "construction" that will be a cover.
- Fill in the empty space using "Boundary fill"(CREATE - Boundary fill)
- Change the "physical material" into water.(Click Right Button - "Physical Material")
- Check the weight of the mess by entering the "Properties".(Click Right Button - "Properties" - Check "Mess")
- 72g!
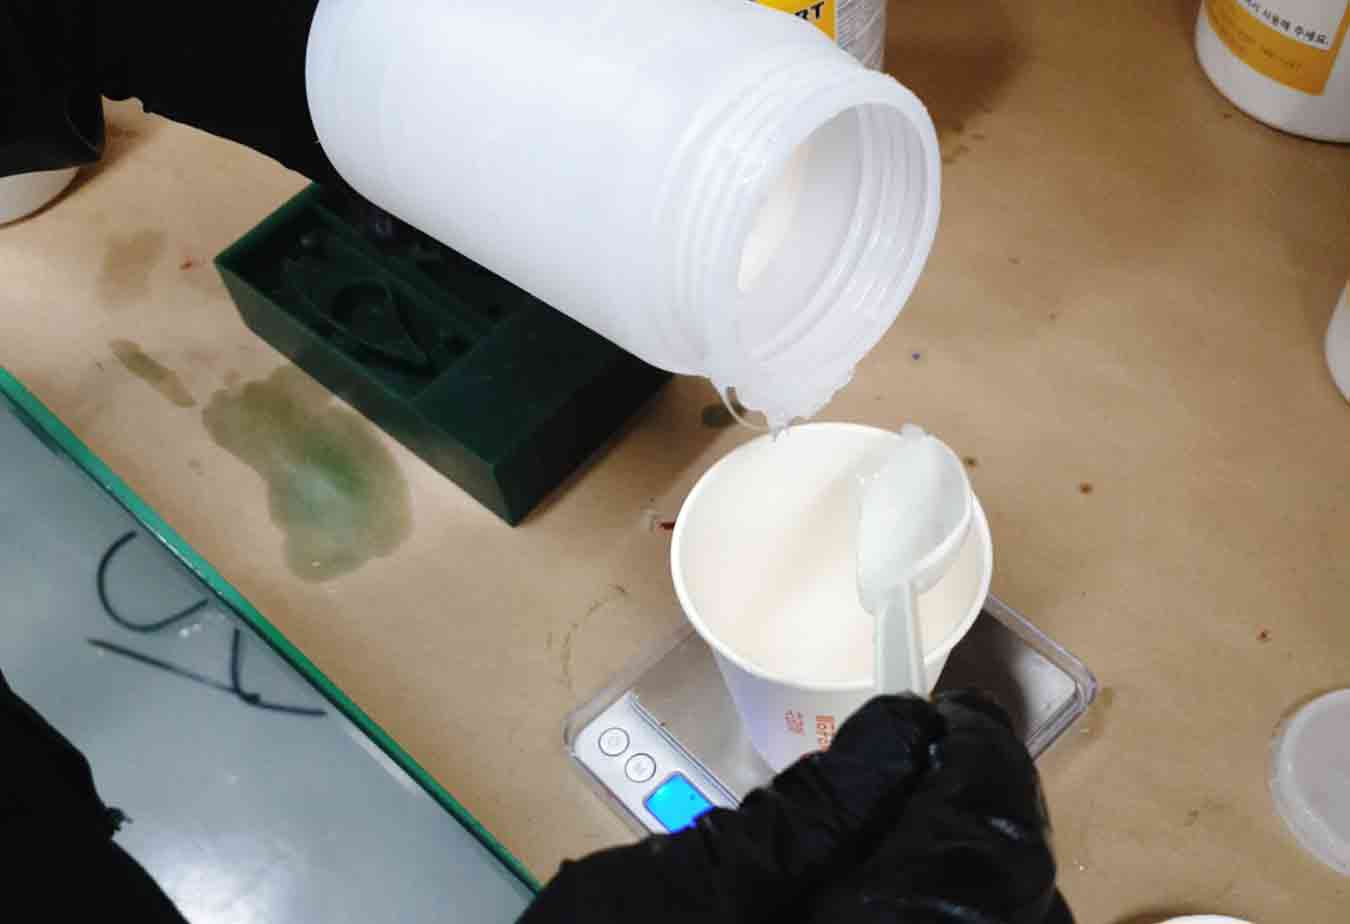
- 72g of material is needed. Since the ratio is 1A:1B, check the scale of 36g each and put it in the beaker.
- Mix them together.
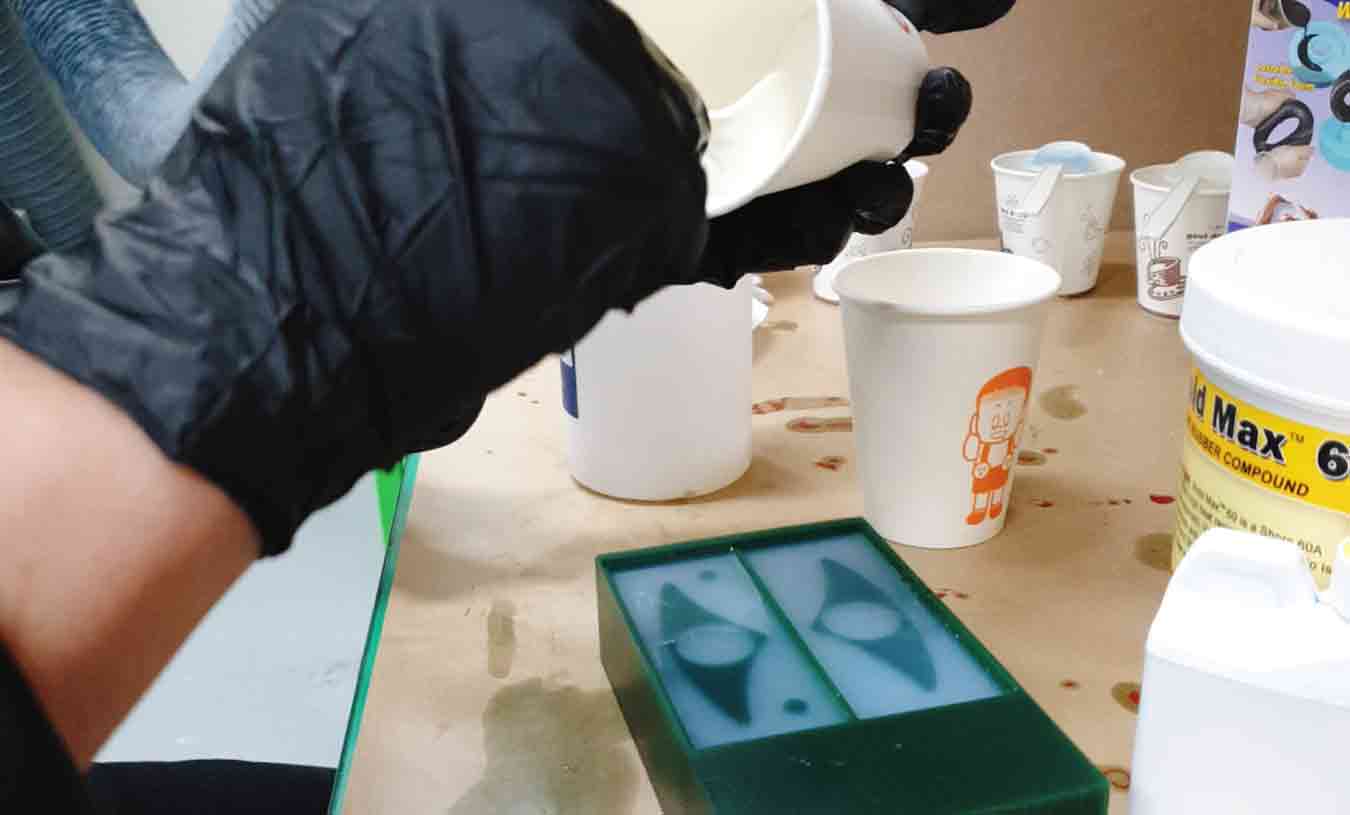
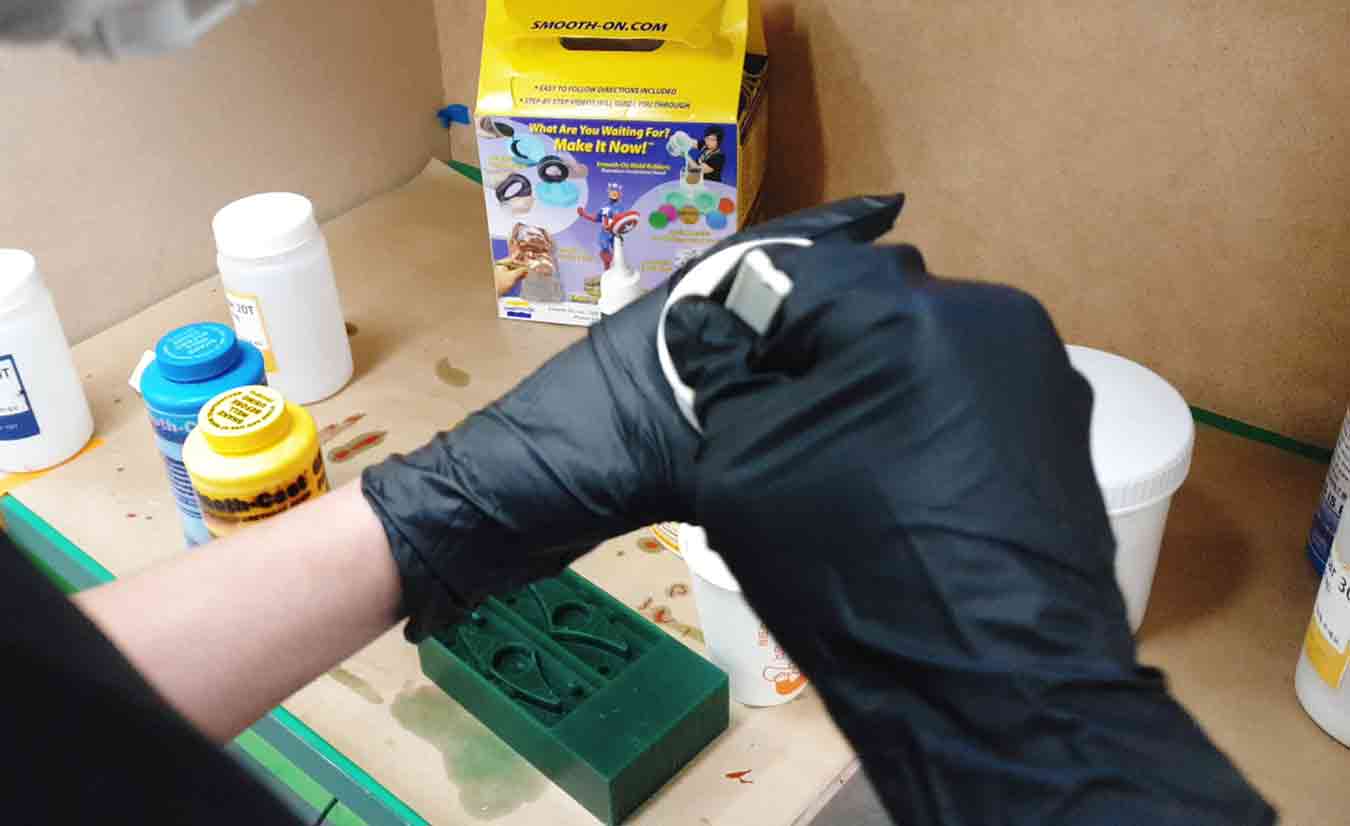
- Put them all in mold.
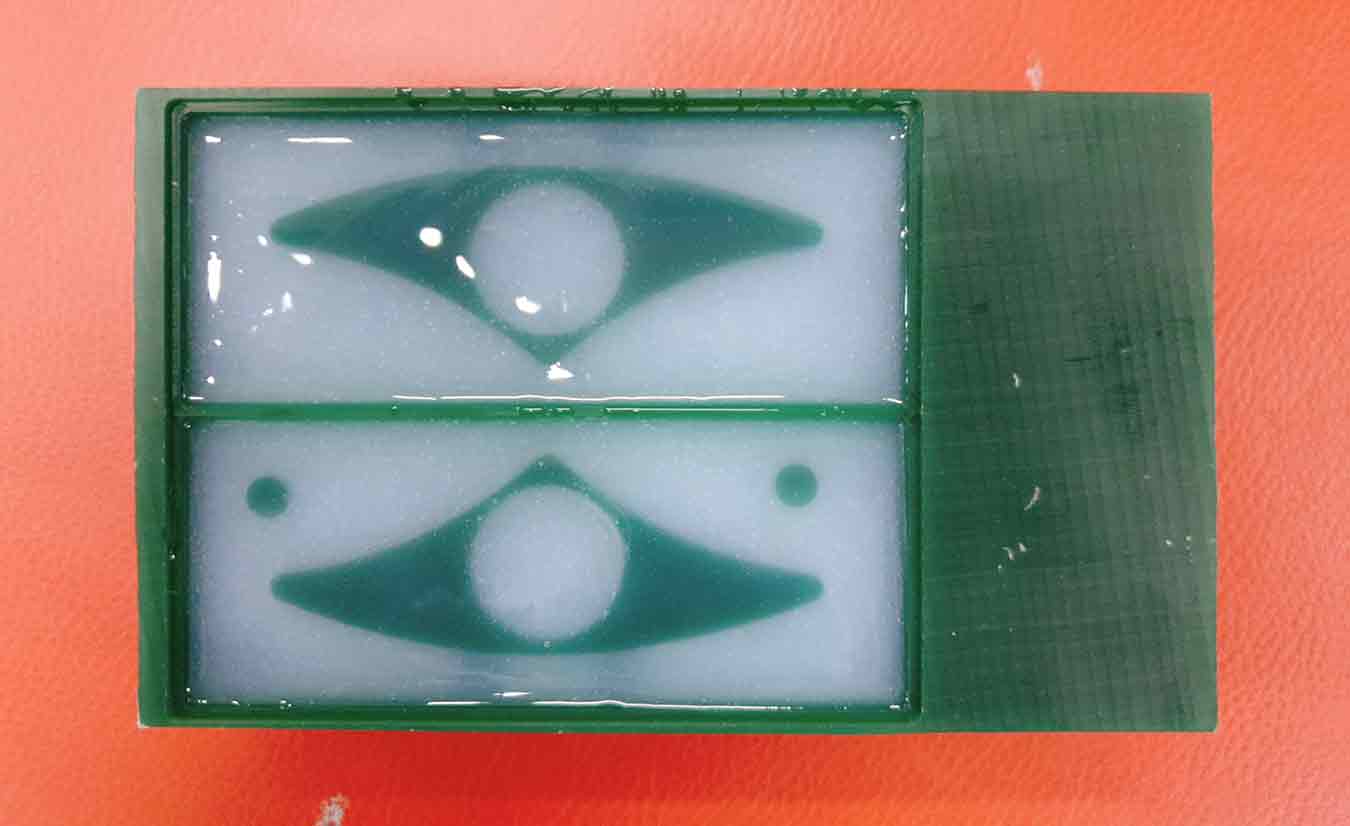
- I used a softer silicon mold star 20T to easily pull out the mold from wax.
- Last step!
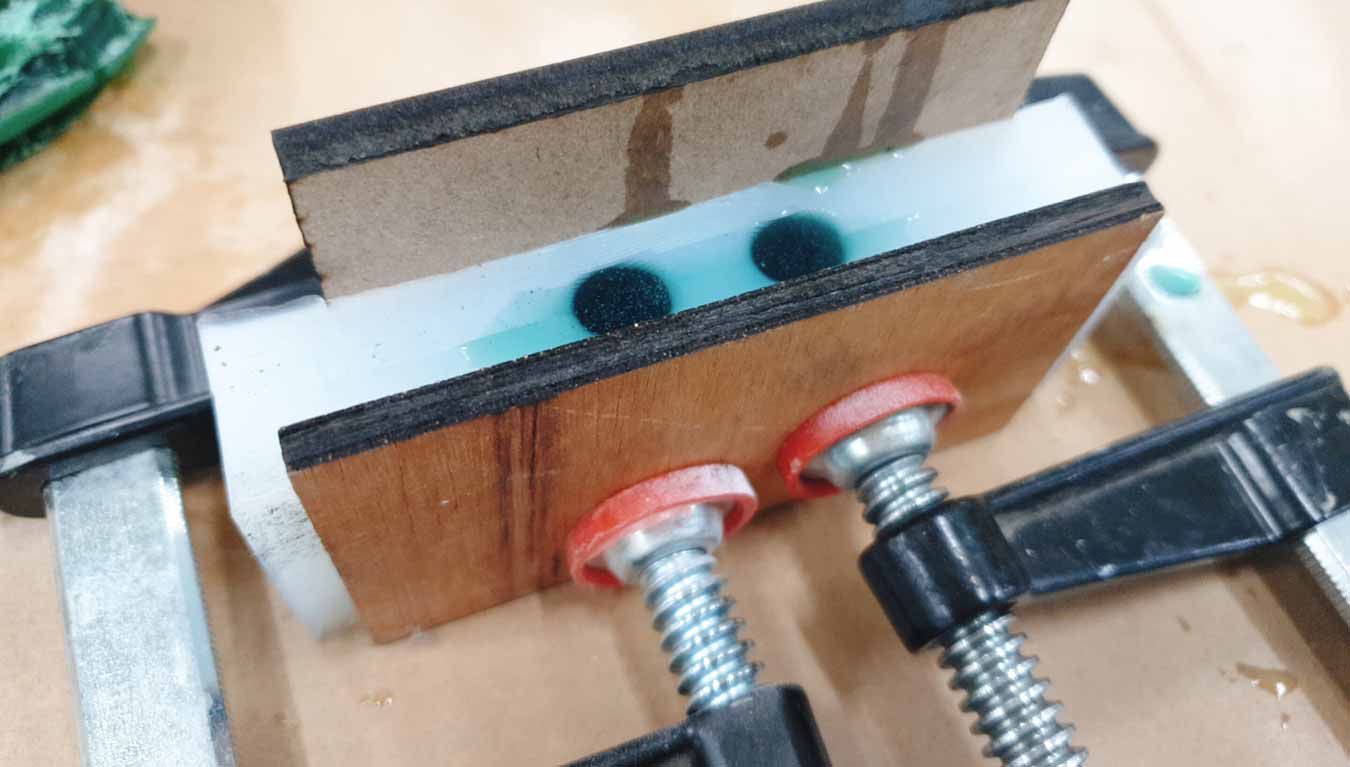
- As soon as he was about to calculate and work on the casting material, Hyun-ho created too many materials without calculation. So I decided to use the leftover materials. (He saved my time.)
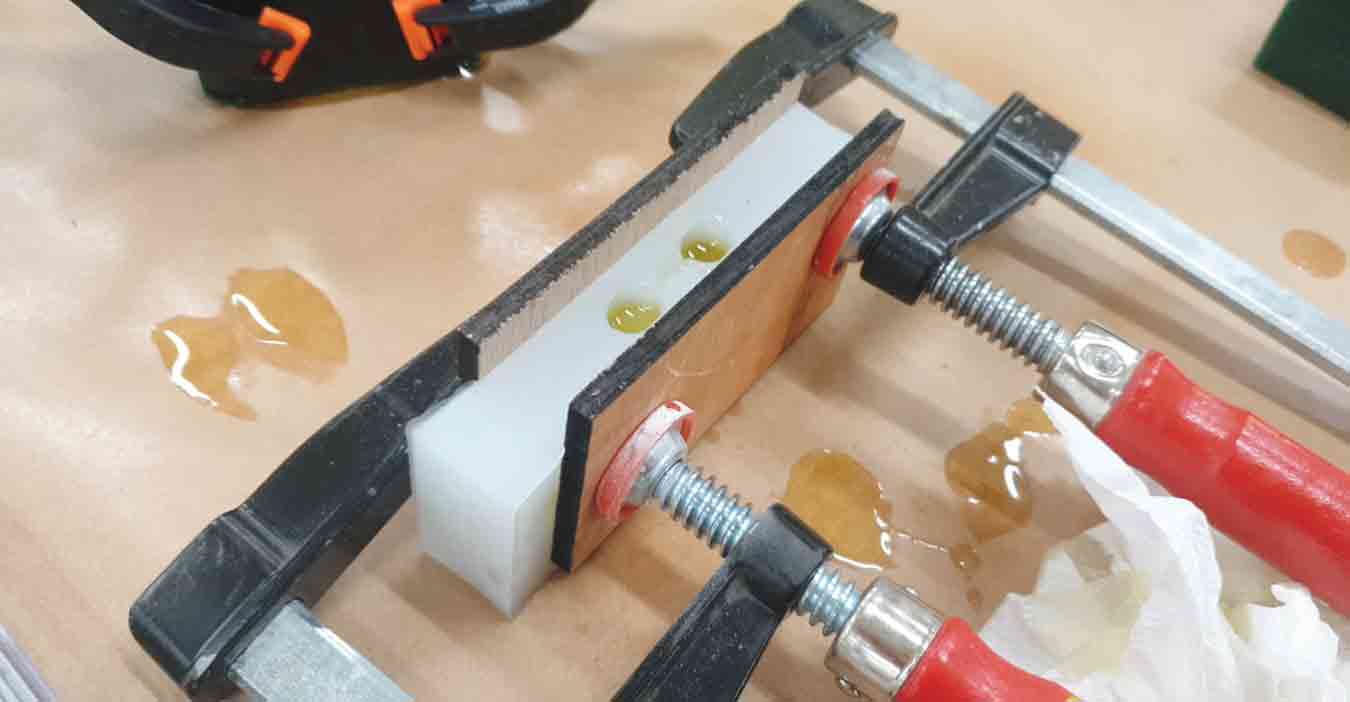
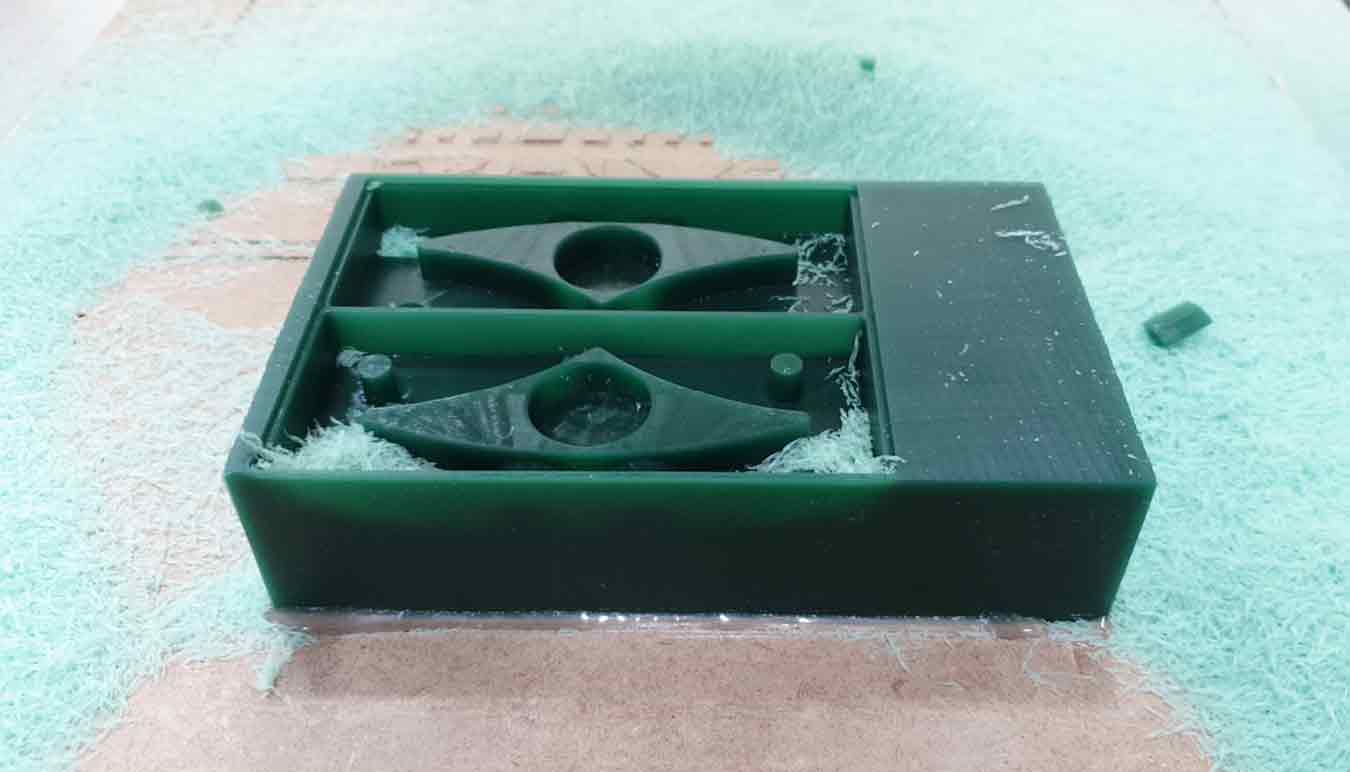
- The material was poured into the mold and clamped to prevent the material from leaking out.
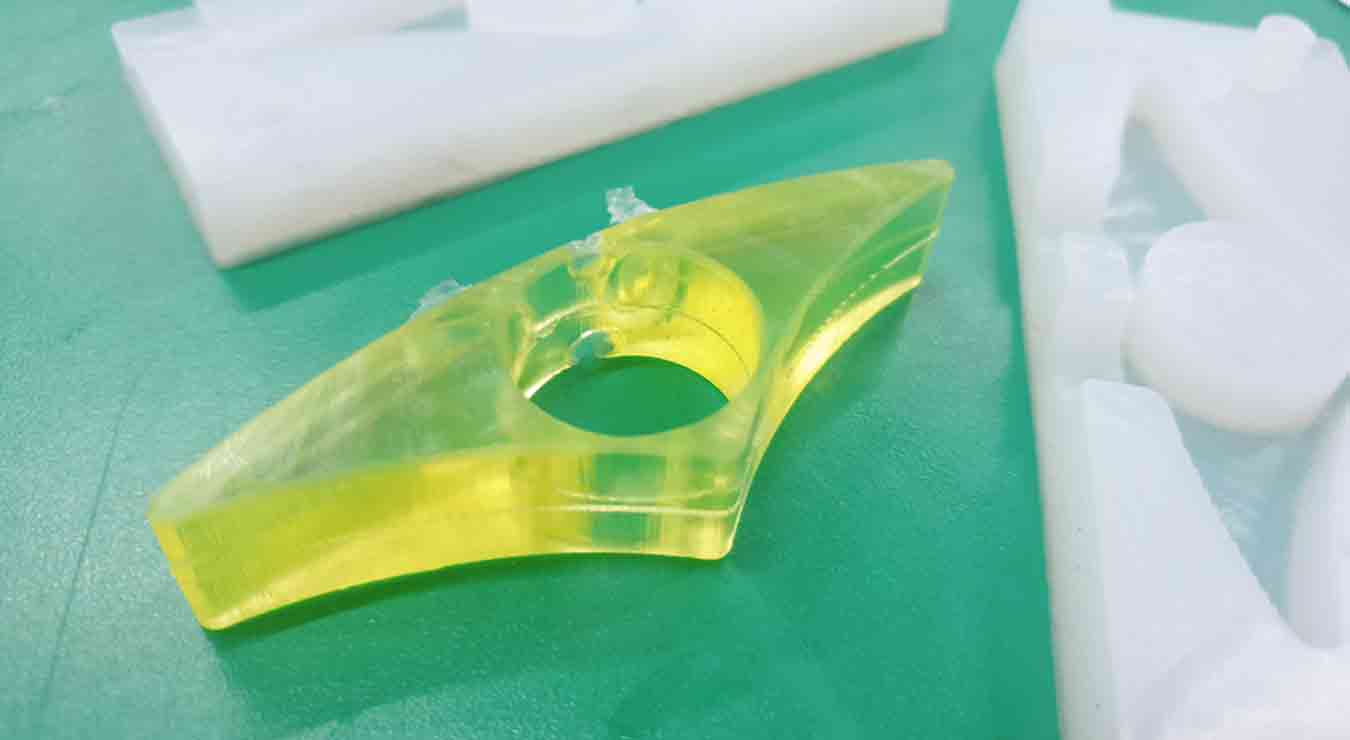
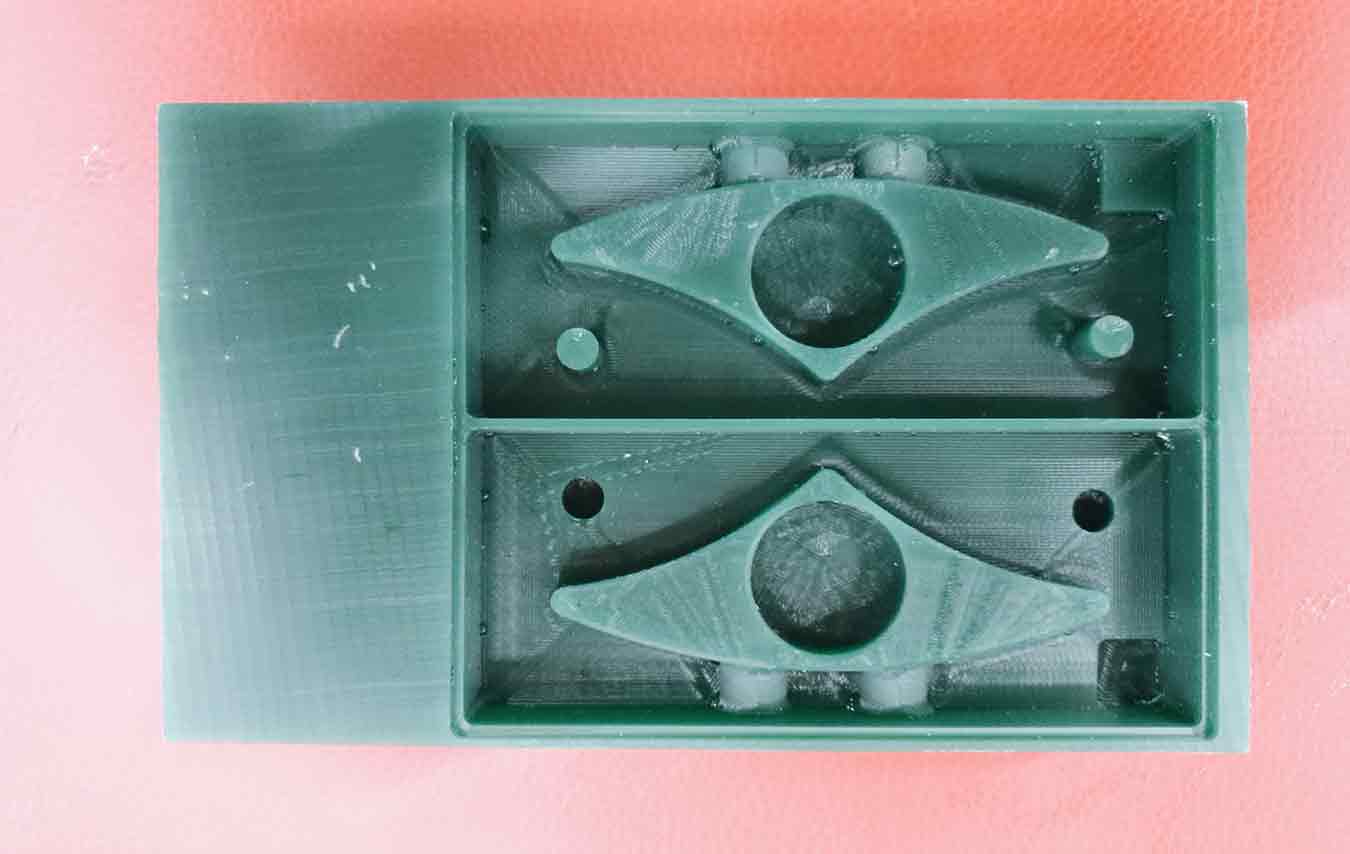
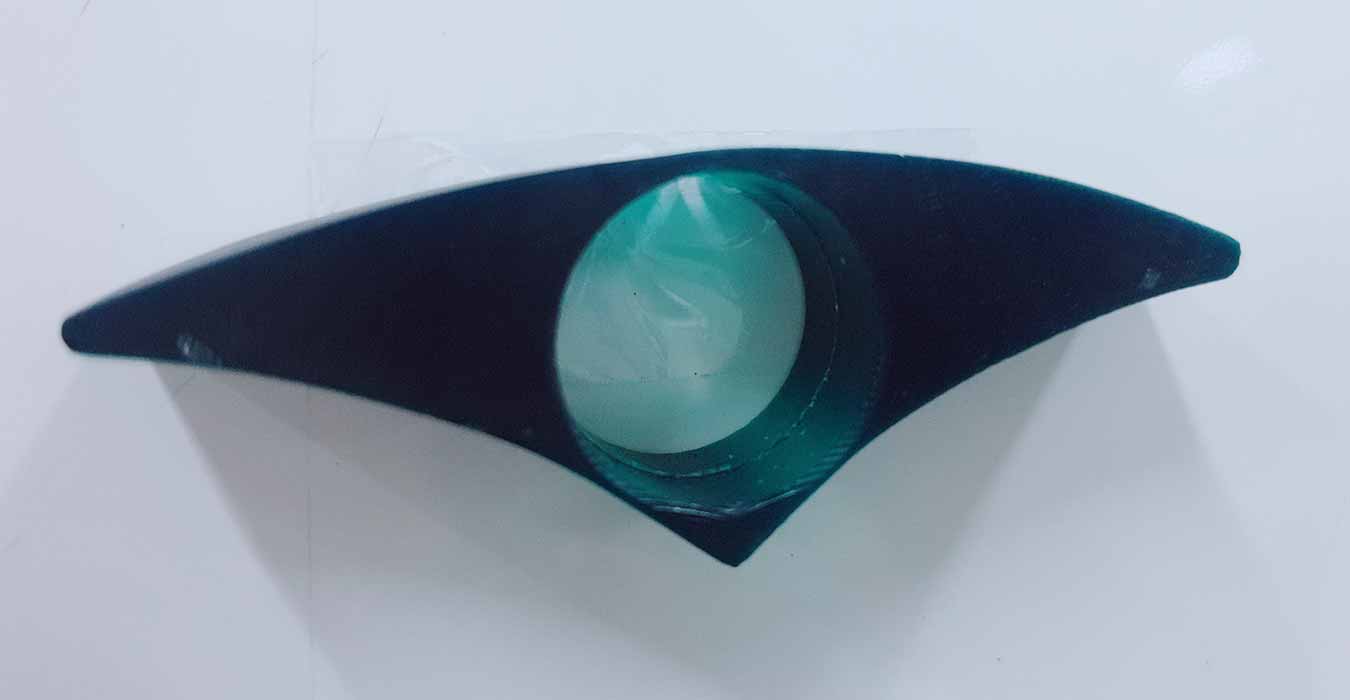
- A very pretty model came out.
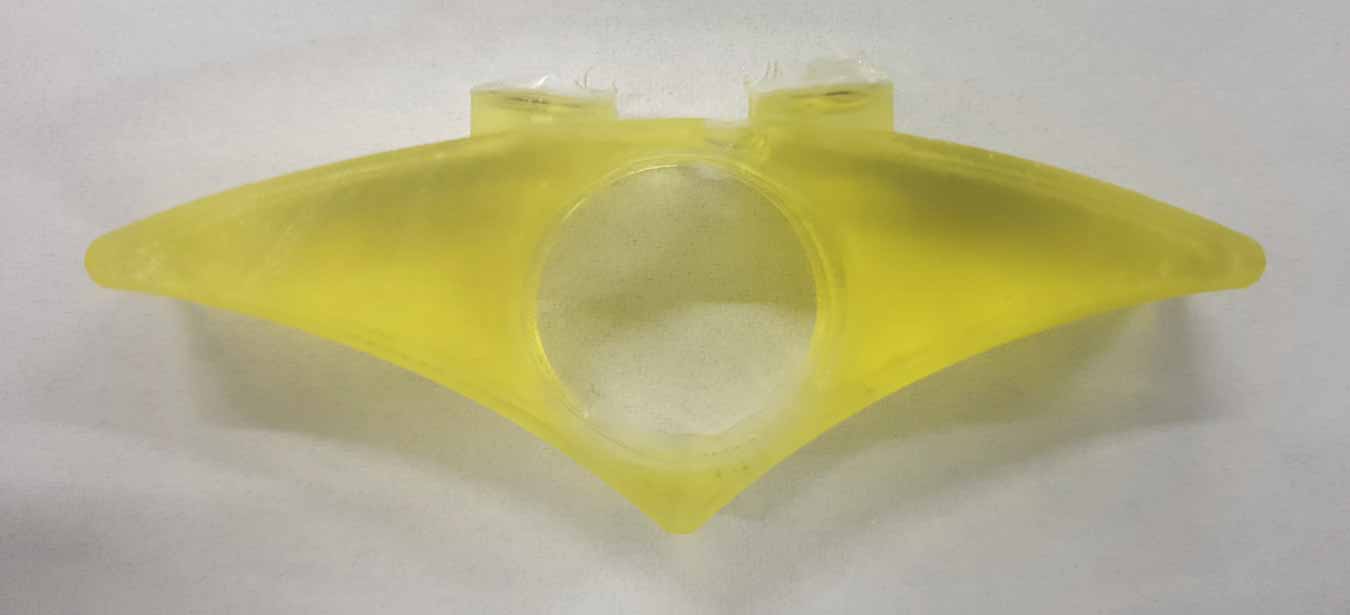
- Remove additional parts from the top with the sanding machine.
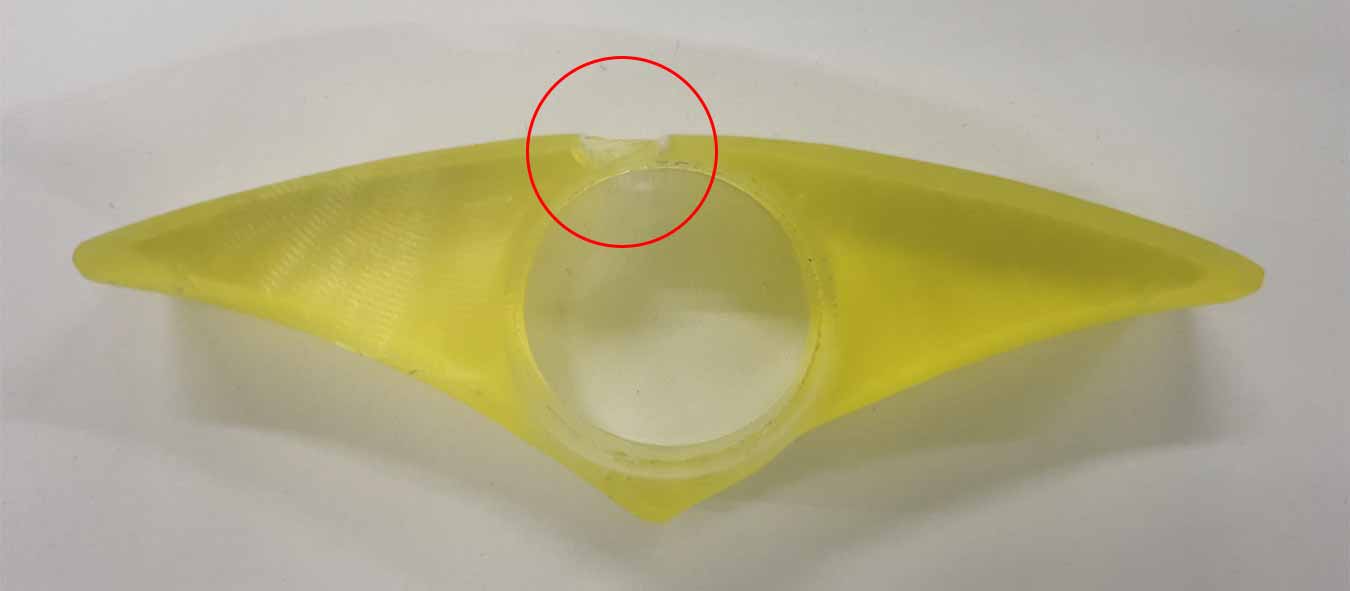
- Unfortunately, a blister formed.
- Retry!
- It's very well made, except for the tiny hole.