1. Project management
Assignment
Individual Assignment
- Build a personal site describing how you did it and your final project.
- Introduced yourself.
- Documented steps for uploading files to archive.
- Work through a git tutorial.
- Signed and uploaded Student Agreement.
Table of Contents
1. Git Tutorial
1-1 SETUP GIT (to do only the first time)
1-2 How to upload a individual page to the git using a terminal
1-3 How to upload a group page to the git using a terminal
1-4 Why use git?
1-1 SETUP GIT (to do only the first time)
1-2 How to upload a individual page to the git using a terminal
1-3 How to upload a group page to the git using a terminal
1-4 Why use git?
2. Build a personal site
2-1 Visual Studio Code
2-2 Why use Git in VS code?
2-3 Build a site
2-1 Visual Studio Code
2-2 Why use Git in VS code?
2-3 Build a site
3. 3. Student Agreement
1. Git Tutorial
1-1 SETUP GIT (to do only the first time)
Process
- Install Git
- Link - Open terminal
- Add your Git username and set your email
- git config –-global user.name “YOUR_USERNAME” - Configure you email address for uploading
- git config -–global user.email “YOUR_ID@mail.com” - Check if you have an SSH KEY already
- cat ~/.ssh/id_rsa.pub (If you see a long string starting with ssh-rsa, you can skip the ssh-keygen step)/li> - Generate your SSH key
- ssh-keygen -t rsa -C "$your_email" - Now let´s see your keygen
- cat ~/.ssh/id_rsa.pub - Copy your key
- Windows: clip < ~/.ssh/id_rsa.pub Mac:pbcopy < ~/.ssh/id_rsa.pub Linux xclip -sel clip < ~/.ssh/id_rsa.pub - Finally add the copied key to GIT on the web version
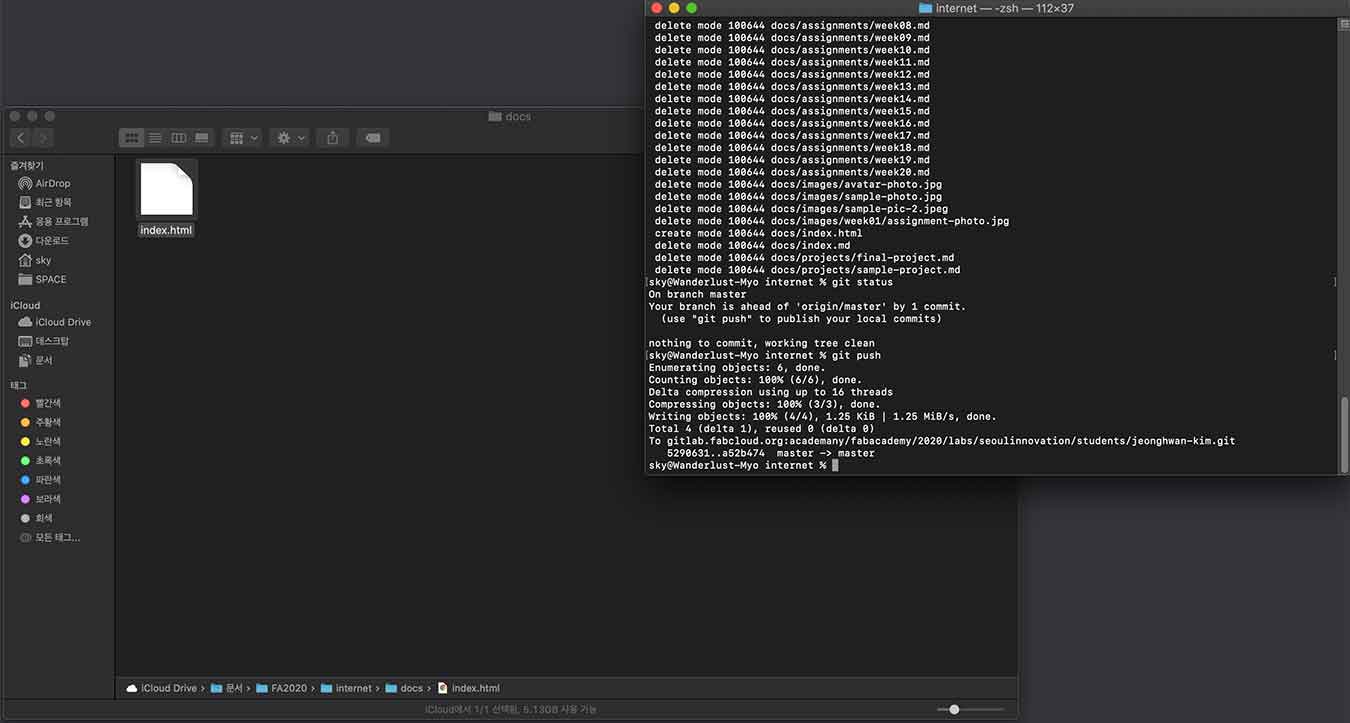
1-2 How to upload a individual page to the git using terminal
Process
- Open terminal
- Navigate to the folder where you created your repo
- cd/your_repository - To download the last copy from the repository
- git pull - Add the all new files you added to git
- git add -A - To see what changed
- git status - Now name your update, so you know what you changed with this push
- git commit -m "change you did" - Upload to the Repository
- git push
1-3 How to upload a group page to the git using terminal
Process
- Open terminal
- Navigate to the folder where you created your group repo
- cd/your_group_repository - Switch to master branch for get files from the master branch
- git checkout master - To download the last copy from the repository
- git pull - To make a "branch name" branch
- git branch branchname - Switch to "branchname" branch
- git checkout branchname - Add the all new files you added to git
- git add -A - To see what changed
- git status - Now name your update, so you know what you changed with this push
- git commit -m "change you did" - Upload to the Repository
- git push origin branchname
Reference Site
1-4 Why use git?
Fab Academy encourages students to upload their homepage every year using gitlab.
Gitlab is a versioning system and very useful.
If I upload my file, it is available to everyone all over the world and uploads quickly. Also, I can modify it when I want to fix it.
A useful function is to create many branches without harming the basic branches when making modifications or trying in a different direction, and to go back to the previous ones when I don't want to.(This is why we use branches in group work.)
2. Build a personal site
2-1 Visual Studio Code - Link
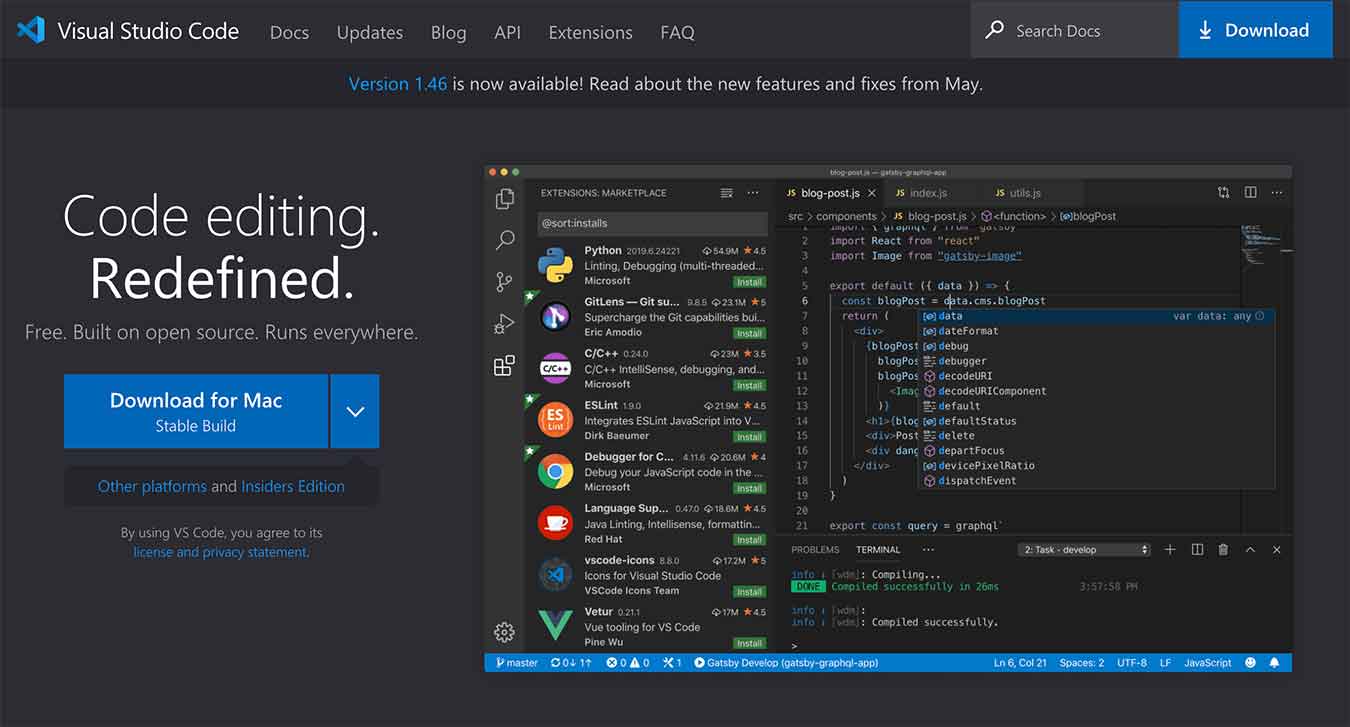
I used VSC for a better workflow.
- Advantage for VS Code
- There are many expansion tools that will speed up your work.
- There are many shortcuts.
- Grammar is marked in a variety of colors to make it easier to see.
- Expansion Tool I Used
- HTML Preview(Helps you to preview html documents)
- Korean Language Pack for Visual Studio Code(Korean Language Patch)
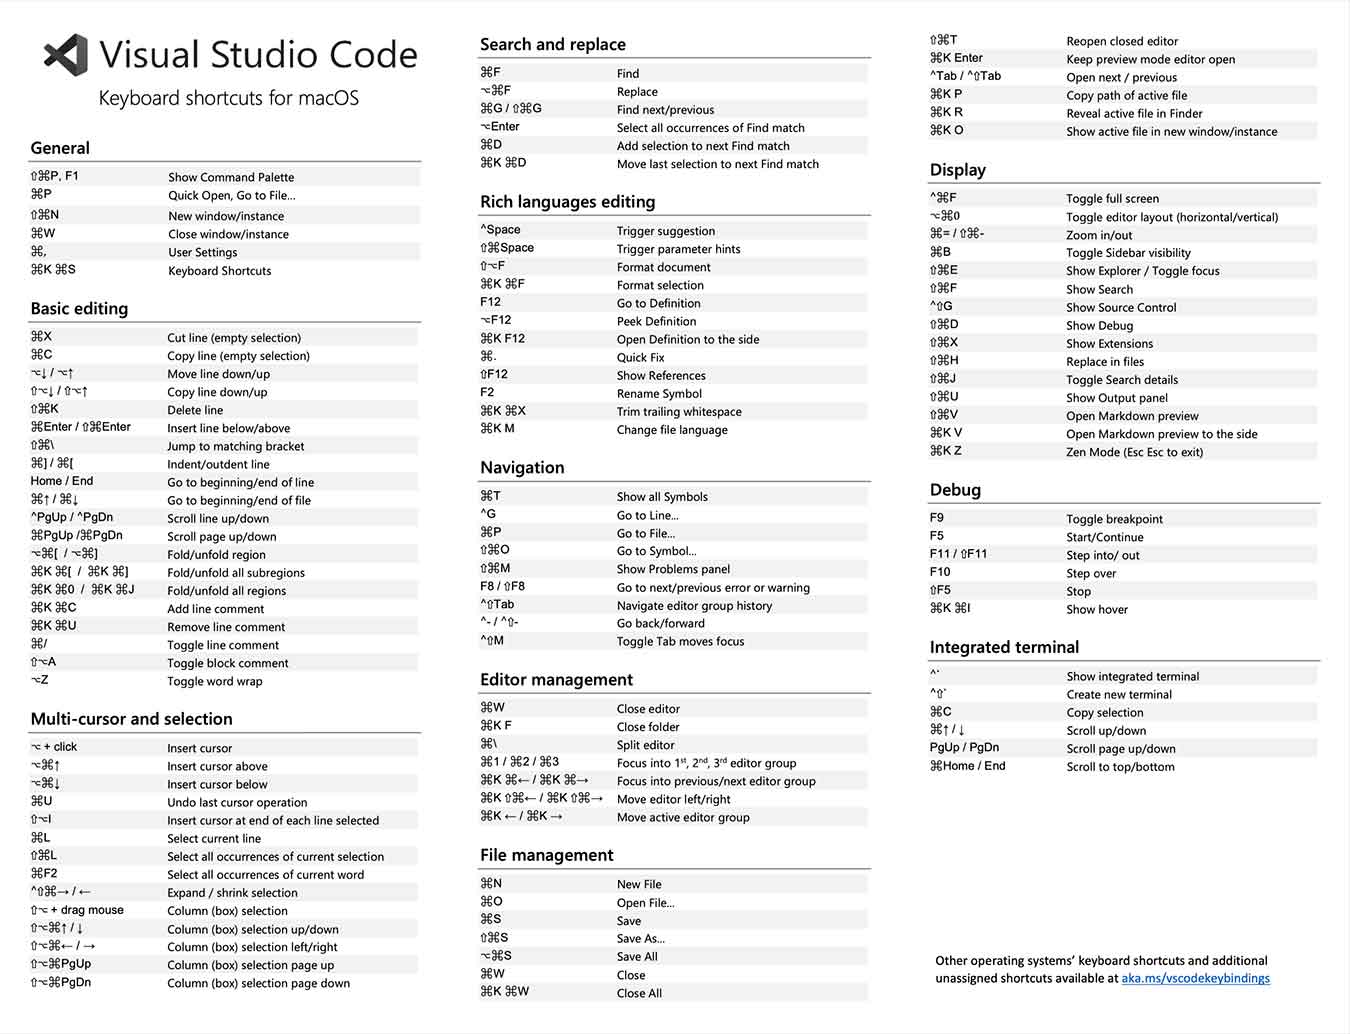
- Keyboard Shortcuts Reference Link
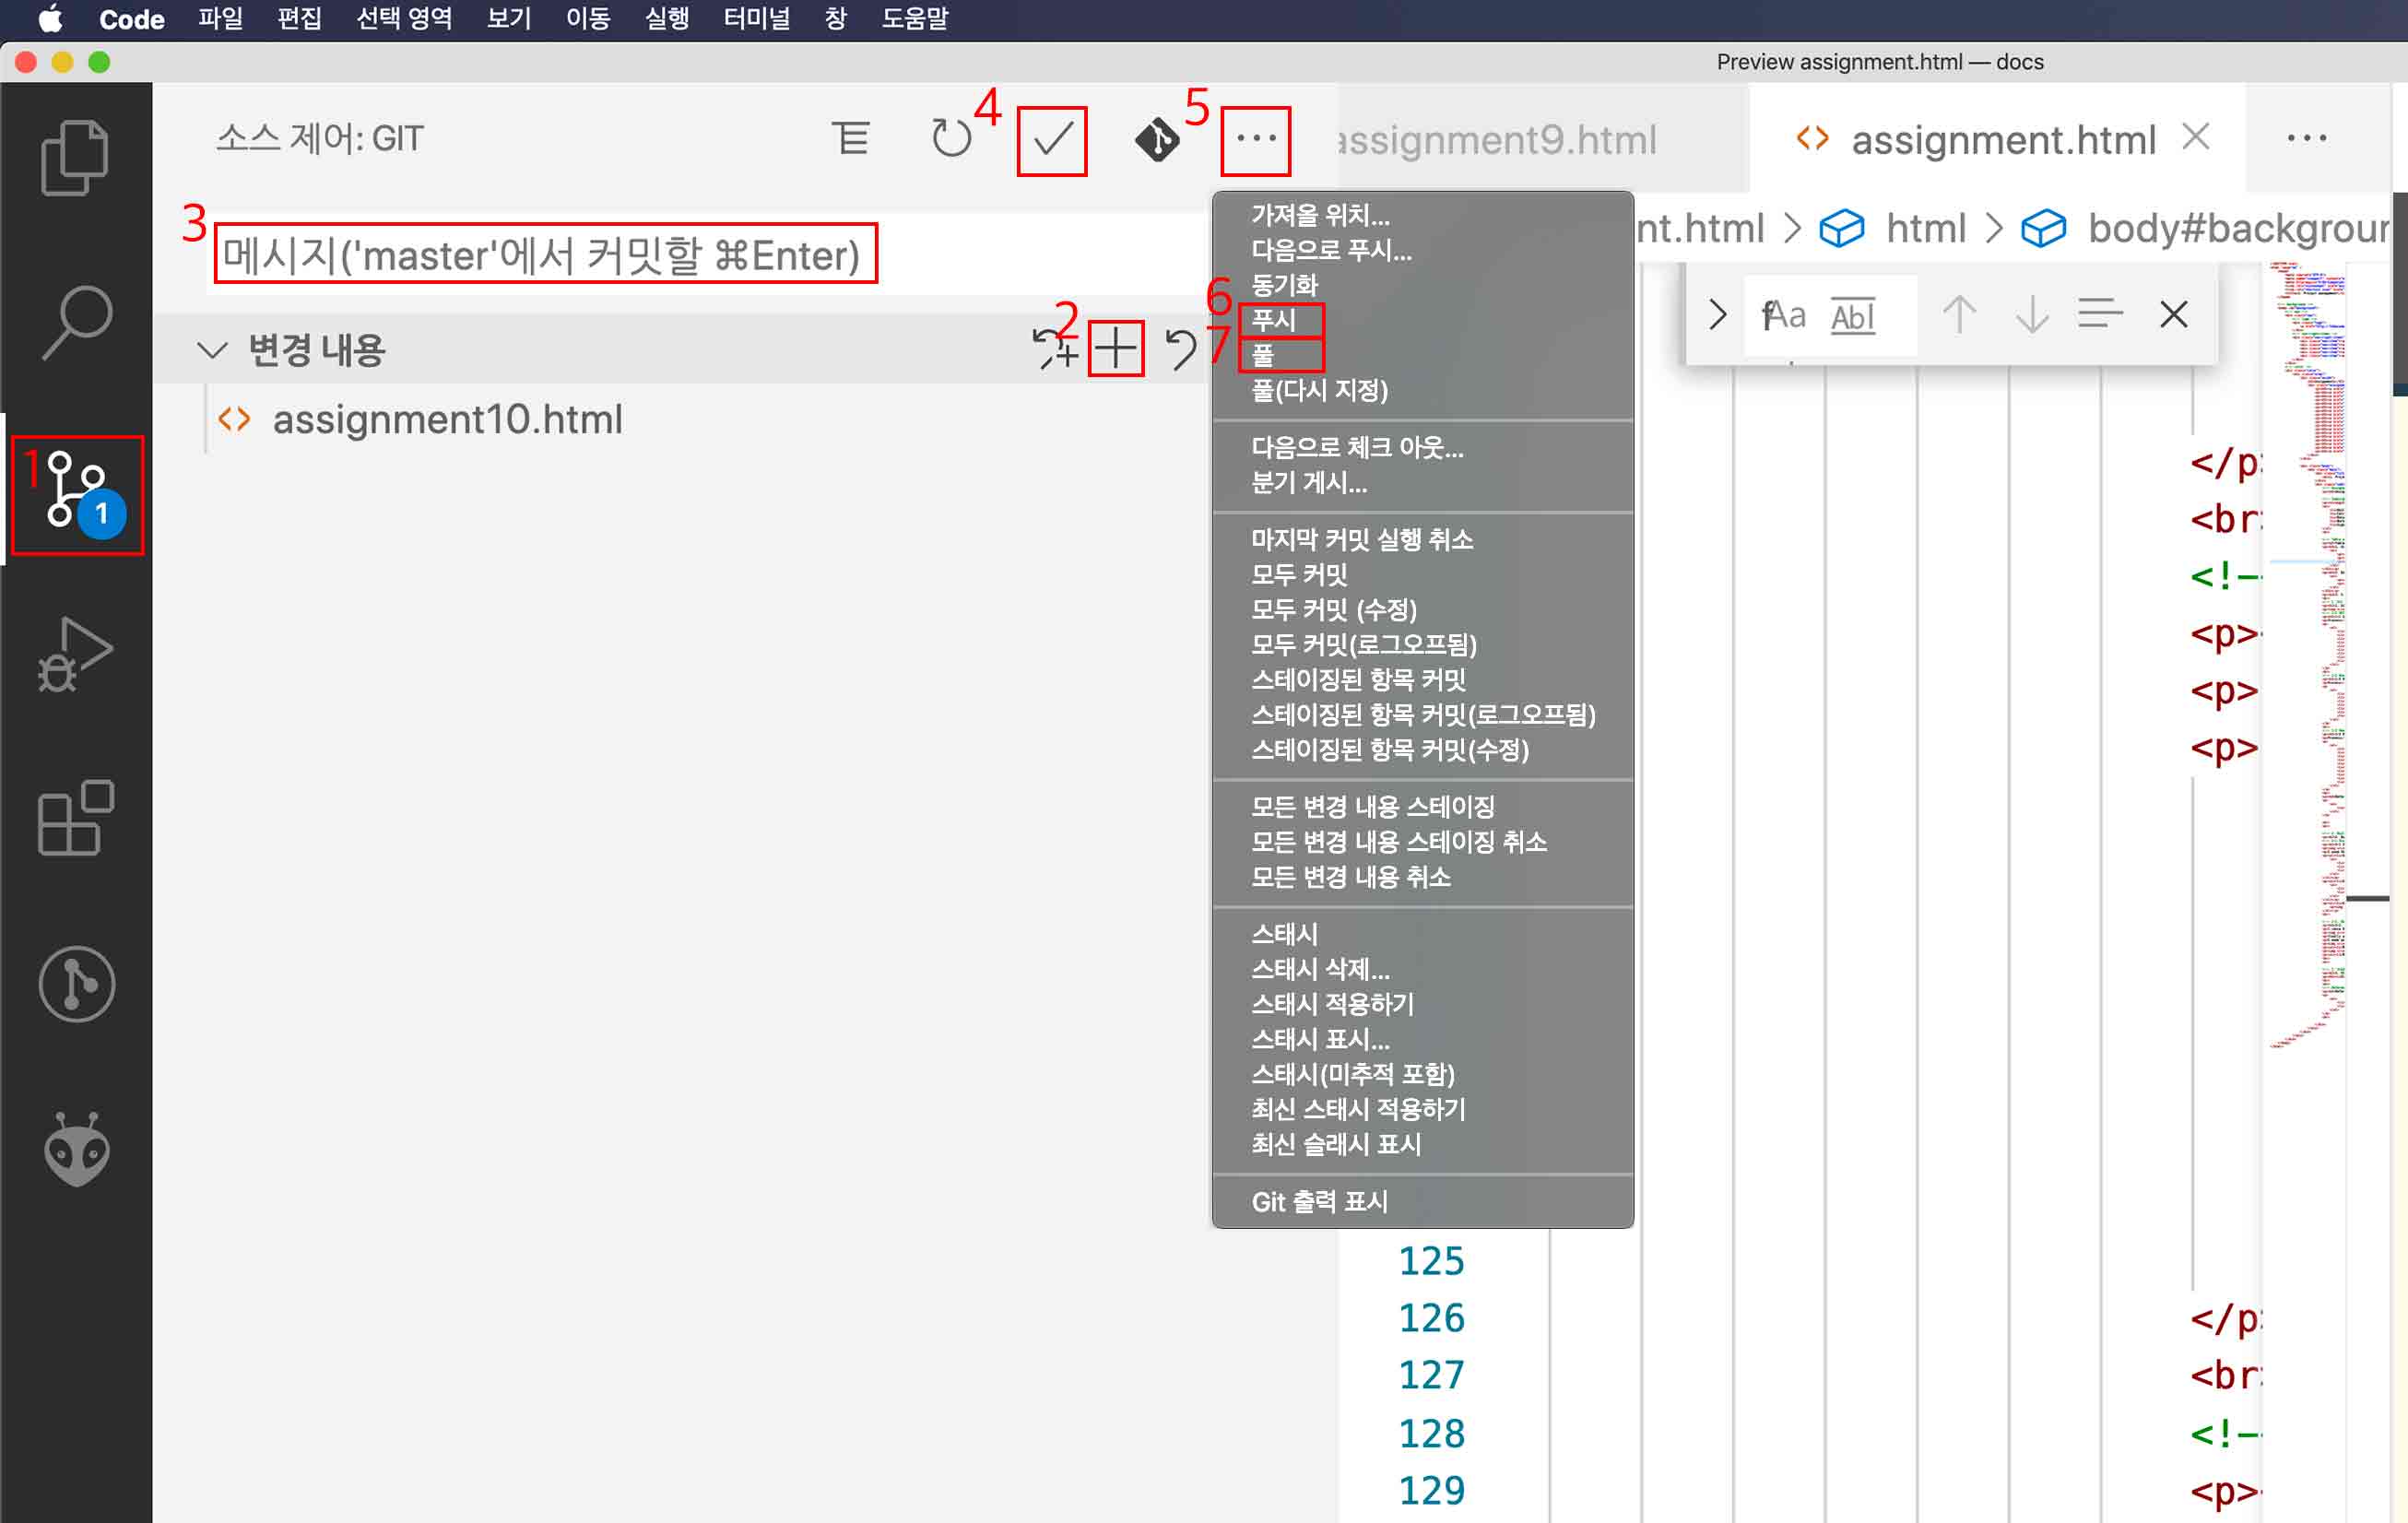
2-1-1 How to upload a group page to the git using VS Code
- Open VS Code
- Open your repo and modify
- Click the first icon
- Click the second icon(= git add-A)
- Write a commit message in the third message box (= -m)
- Click the fourth check icon.(= git commit)
- Click the fifth icon and multiple base commands appear
- Six is Push(- git push) and seven is pull(- git pull)
- Press command number Six(- git push)
- END
2-2 Why use Git in VS Code?
VS code is incredibly comfortable! One of them is to find and add HTML viewer application from the menu called Extension and you can do html preview. Basically, markdown preview exists, you can see that it changes instantly when you create a homepage.
And it's easy to use git. You can replace the various commands with a few buttons as shown above. And the design is easy to see. Finally, I think can do everything because can turn the terminal on and off in VS Code!
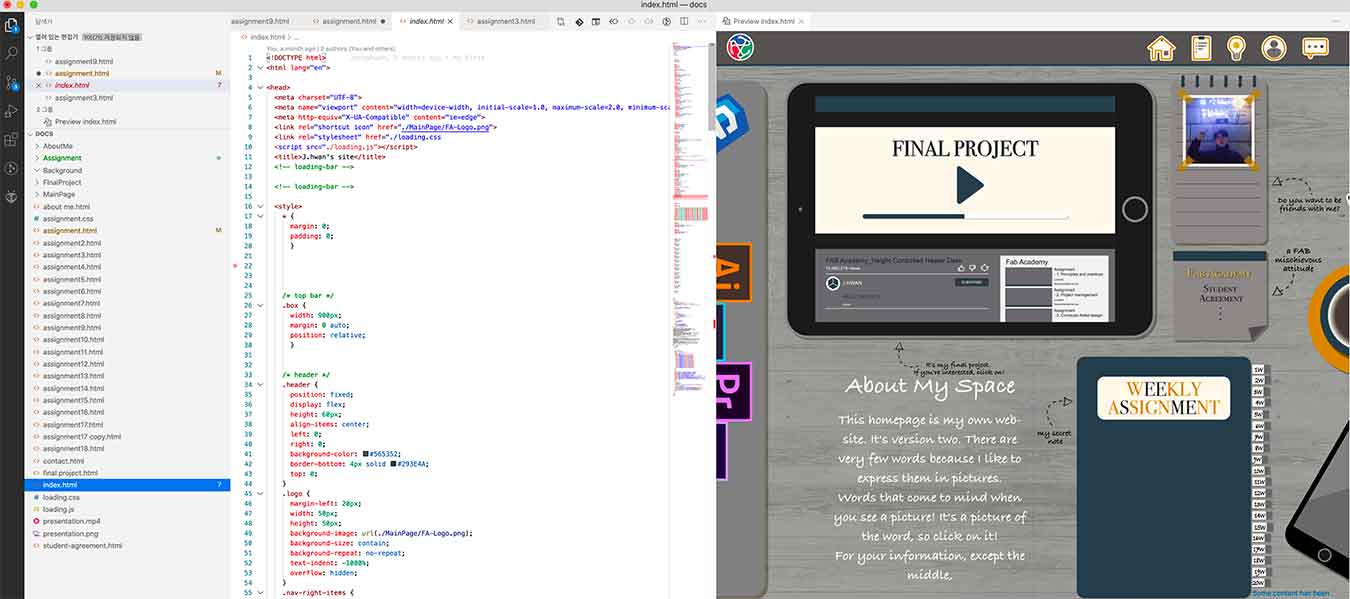
2-3. Build a Site
I chose HTML,CSS. But my ideals and my skills were disastrous. In addition, I searched youtube and practiced. It was full of open sauce, but it took a long time for me to understand it.
Actually, CSS played the most role in decorating my homepage rather than HTML! The reason why I like making and decorating my homepage is that CSS is fun.
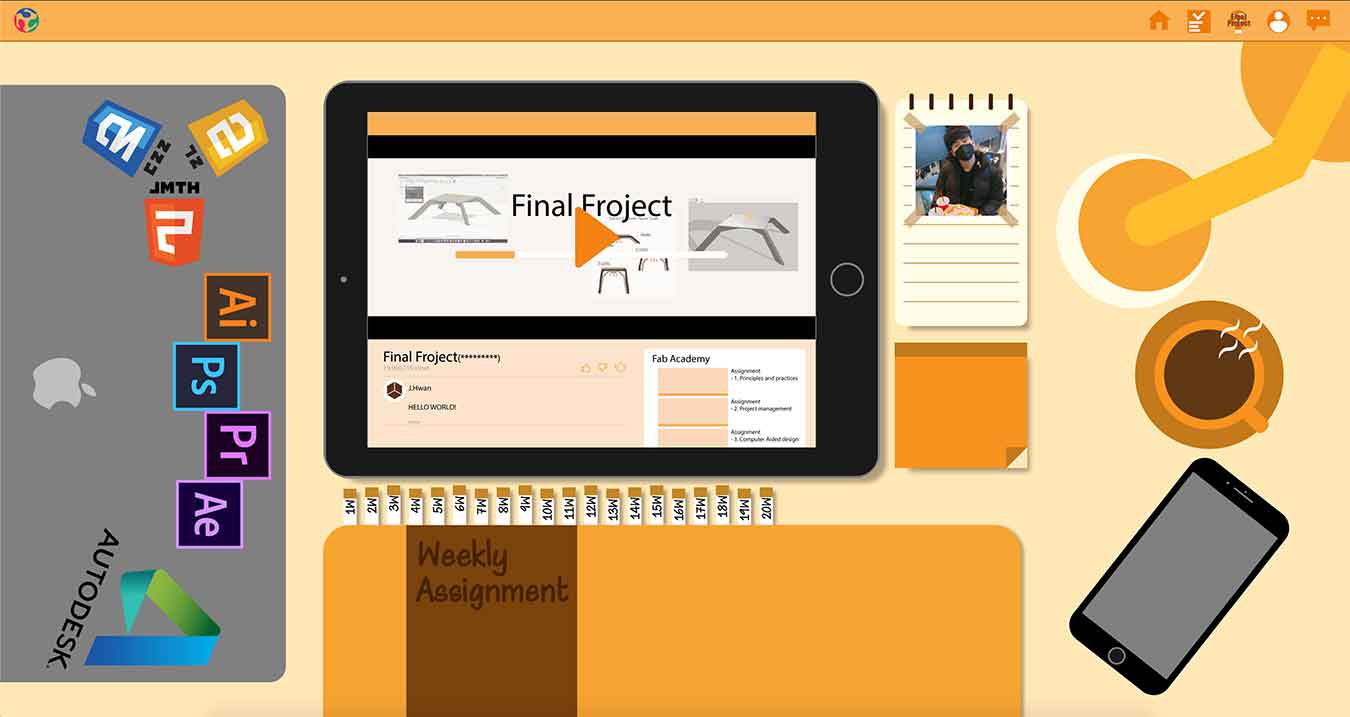
Among them, there is a function called hover, which is good to use when you want to show me another image when mouse over the image.(such as the final project image on my main homepage or the student consent form)To simply explain, you raise the image you want to show on the base image, set the height or width to zero, and then mouse over the base image to return the height or width. (Explain Video)
finally we've got the frame And uploaded to Git.
I made an illustration icon and brought it to decorate my homepage. I made everything.
- My Website Ver.1

- My Website Ver.2
3. Student Agreement
Student Agreement here
Reference Site