Week 5
Goals of the week
This week the individual assignments were to design and 3D print an object (small, few cm3, limited by printer time) that could not be easily made subtractively and 3D scan an object, try to prepare it for printing (and optionally print it).Regarding the group assignment you can find the link here.
Some considerations regarding the "limits" of the 3d printer
Before Fab Academy I thought we could just send a project to print. Instead, thanks to teamwork, my teammates and I have discovered that there are several tricks to be taken and adapted to the various objects you want to print in 3d. For example, the layer height is generally set to 0.1 if printing takes a long time, but it is preferable to use higher values to make it more refined. The wall thickness should be high to be more refined, but this value can be optimized to reduce production time and costs. When setting the speed and sharpness corner you should keep in mind that if you increase the printing speed you may also need to increase the temperature to fuse the filament correctly. Knowing the overhang of the printer you will use is crucial to understand how many degrees you do not need to use a support. Finally, the bridge (the connection that the printer can make without support) also varies from speed (usually high enough not to disperse the material). To conclude: before printing any object, you need to know the right settings of the printer you will use. In any case, I find it extremely useful to know in advance how much time the printer will take, so you can decide to change some settings or reduce/increase the size according to your needs (a prototype, a test or a job that is as finished as possible...).
3D modeling
For the first individual assignment I chose to draw a "maraca" (something like that) because after thinking about it for a long time (and coming up with objects that somehow could also be done in a subtractive way), it seemed to me one of the few objects that could not be done (easily)in a subtractive way.
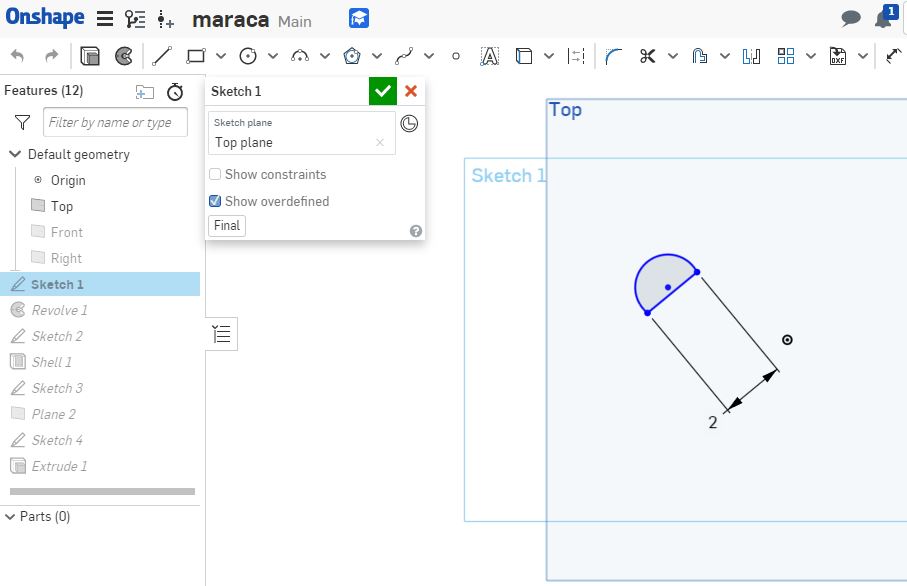
First of all I built the handle by creating two simple arcs joined by two straight lines (made respectively with the instrument "center point arc" and "line" of On Shape.
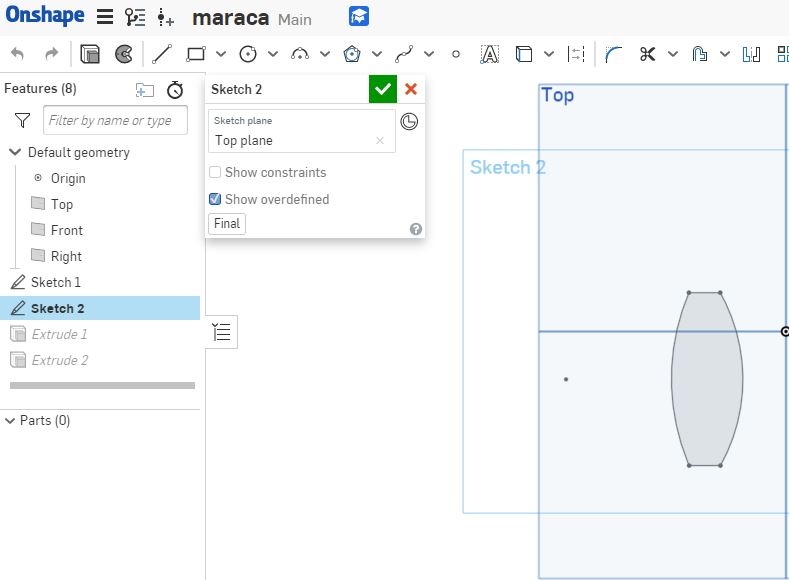
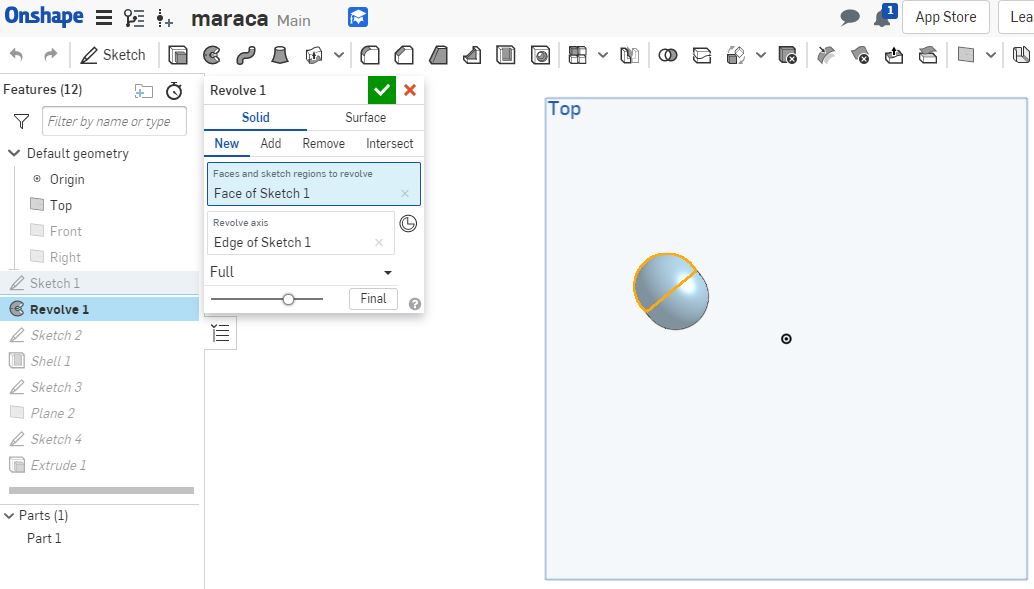
Then I created a sort of sphere using the "3 points arc" tool and drawing a line to close the semicircle. Subsequently I used the "revolve" tool to make the semicircle become a sphere. In this regard I recommend this short tutorial
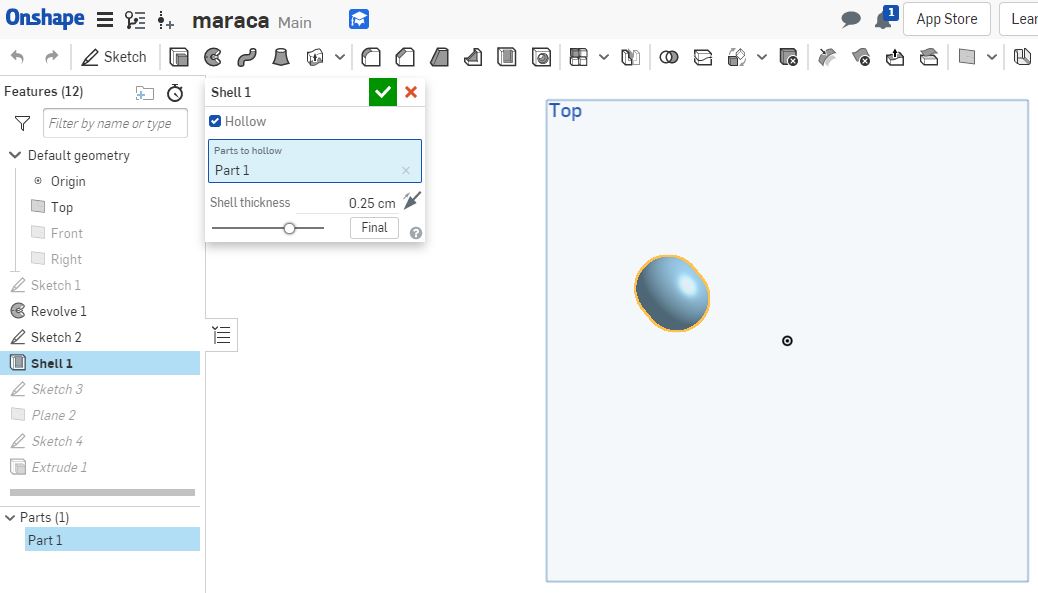
I needed this to be empty, so I used the "shell" tool (tutorial) .
I finally created a hole (0.1 cm less than the ball in order not to allow it to exit) from which I made to pass the tip of a column drill to break the joint between the ball and the cone.
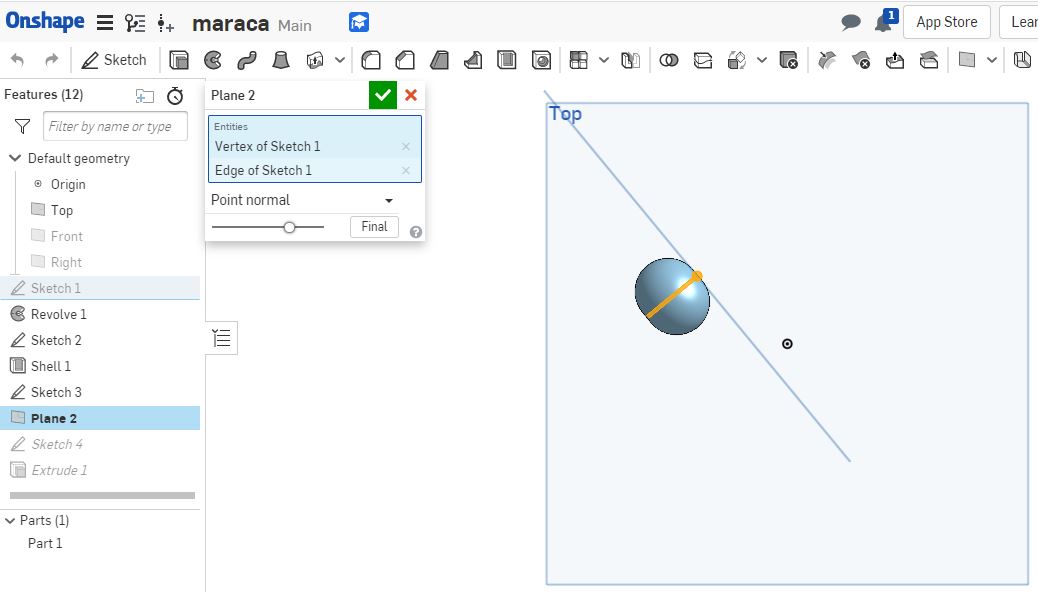
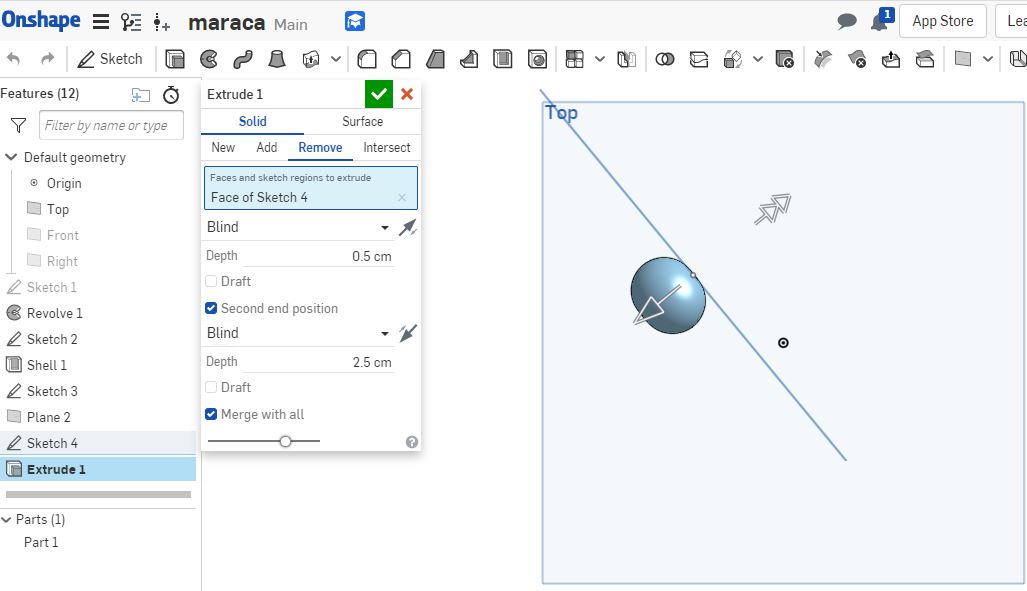
To make the hole, in the sketch of the ball, I selected a tangent plane with a point of the semicircle. On this plane ("Plane 2") I could draw a small circumference on which I made a simple extrusion with "Remove" .
You can see the passages in the slideshow below.
First slide label
Semicircle
Second slide label
Revolve
Third slide label
Shell
Third slide label
Plane 2
Third slide label
Extrude
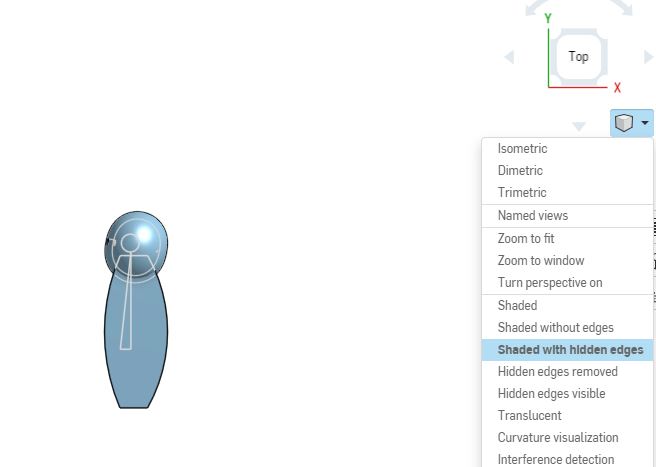
Then I created a cone to insert inside the handle just to place a ball on it that should have no supports other than the tip of the cone. You can see the inside with the tool "shaded with hidden edge" in the assembly.
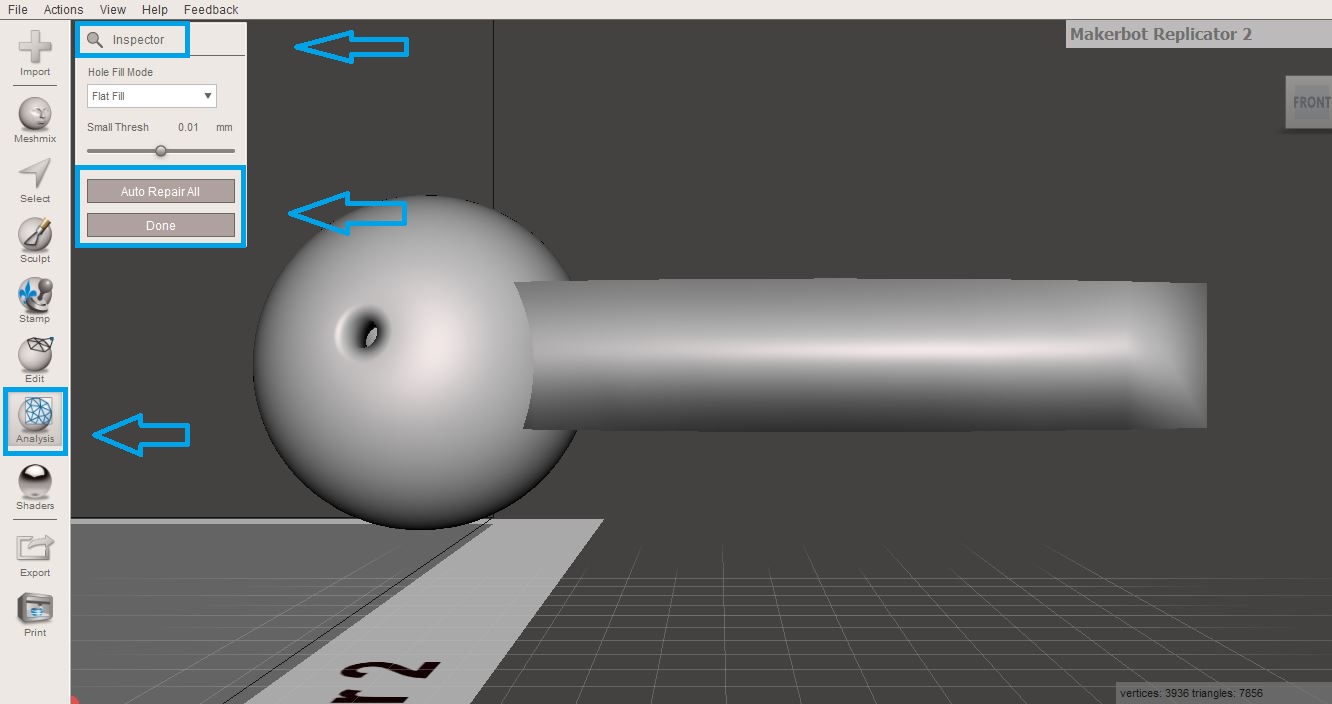
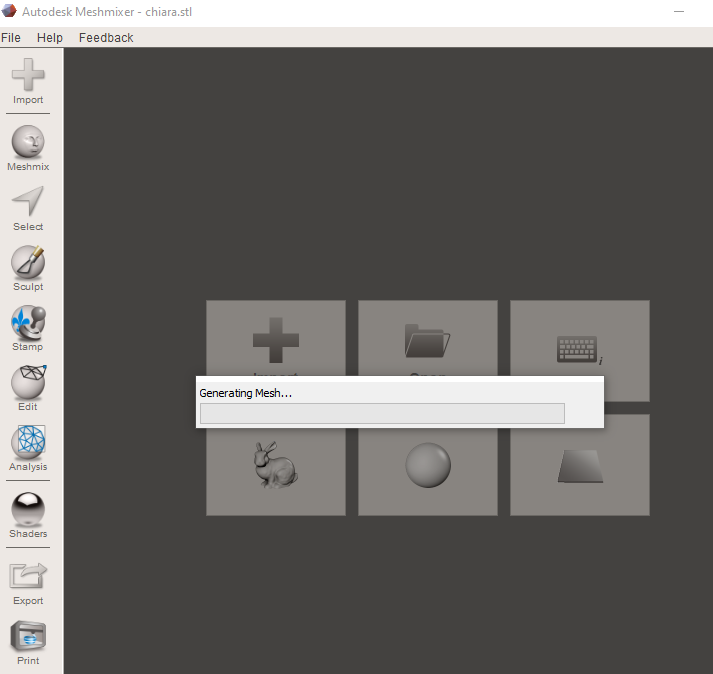
Finally I exported the file simply right-clicking on "Assembly" and clicking on "export" (saving it with the extension .stl). I then imported it on Meshmixer just to be sure that the drawing was right. I so clicked on "Analysis", "Inspector", "Autorepair On" and "Done" . The file was ok!
To prepare the file for printing I uploaded it to Ultimaker Cura . Initially I inserted it horizontally, but the media would fill the empty space in the sphere! So, using the "snap rotation" tool I positioned my "maraca" vertically moving the red circle. The sphere has a slight angle, but from our tests we have seen that our printer is able to print up to 45 degree angles without media.
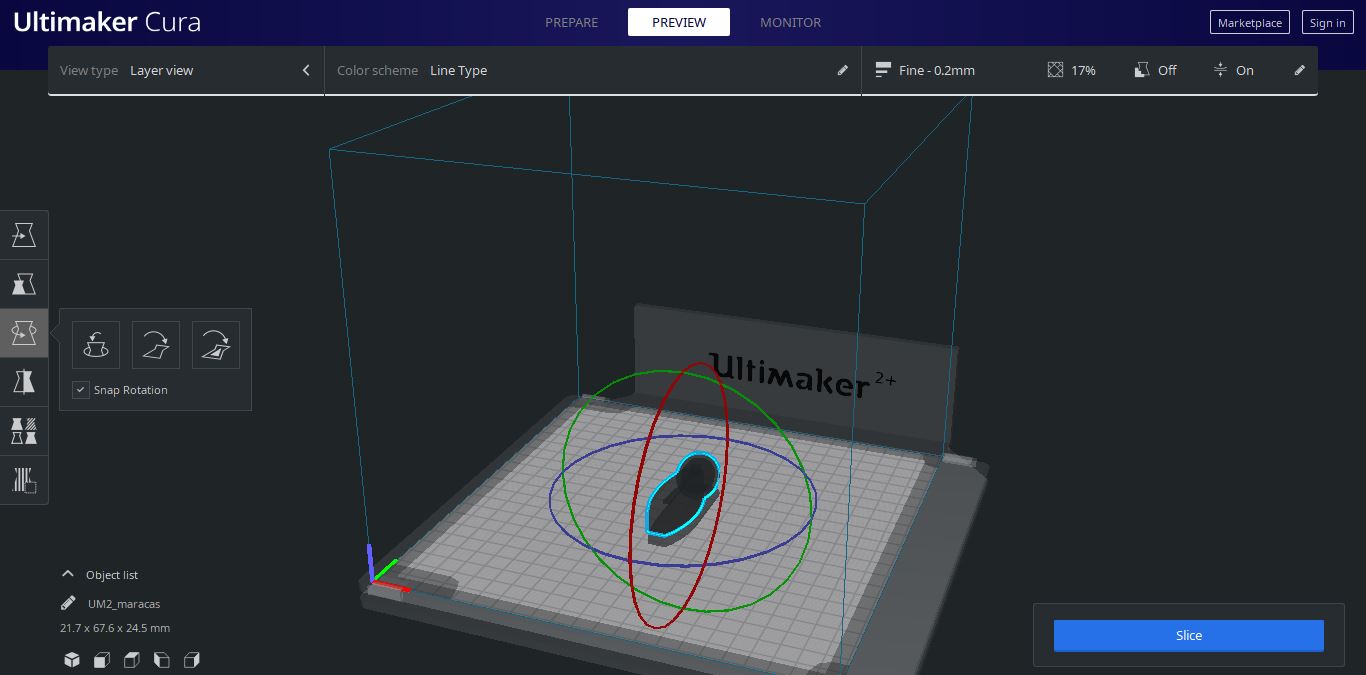
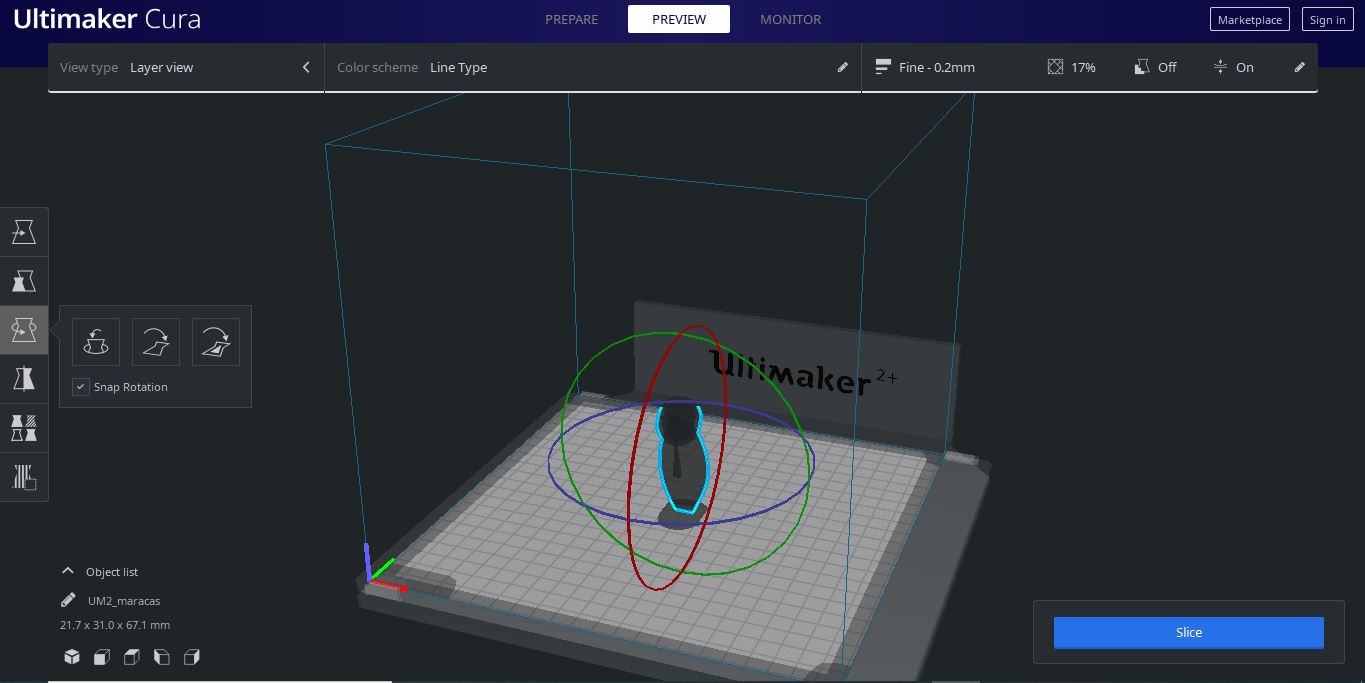
The settings chosen were the ones that from our experiments were optimal, i.e.: layer height 0.2 (actually it would be better 0.1, but my work was not so detailed and with 0.1 it would have taken too long "unnecessarily"); wall thickness 1.2; infill 17 and obviously no support!
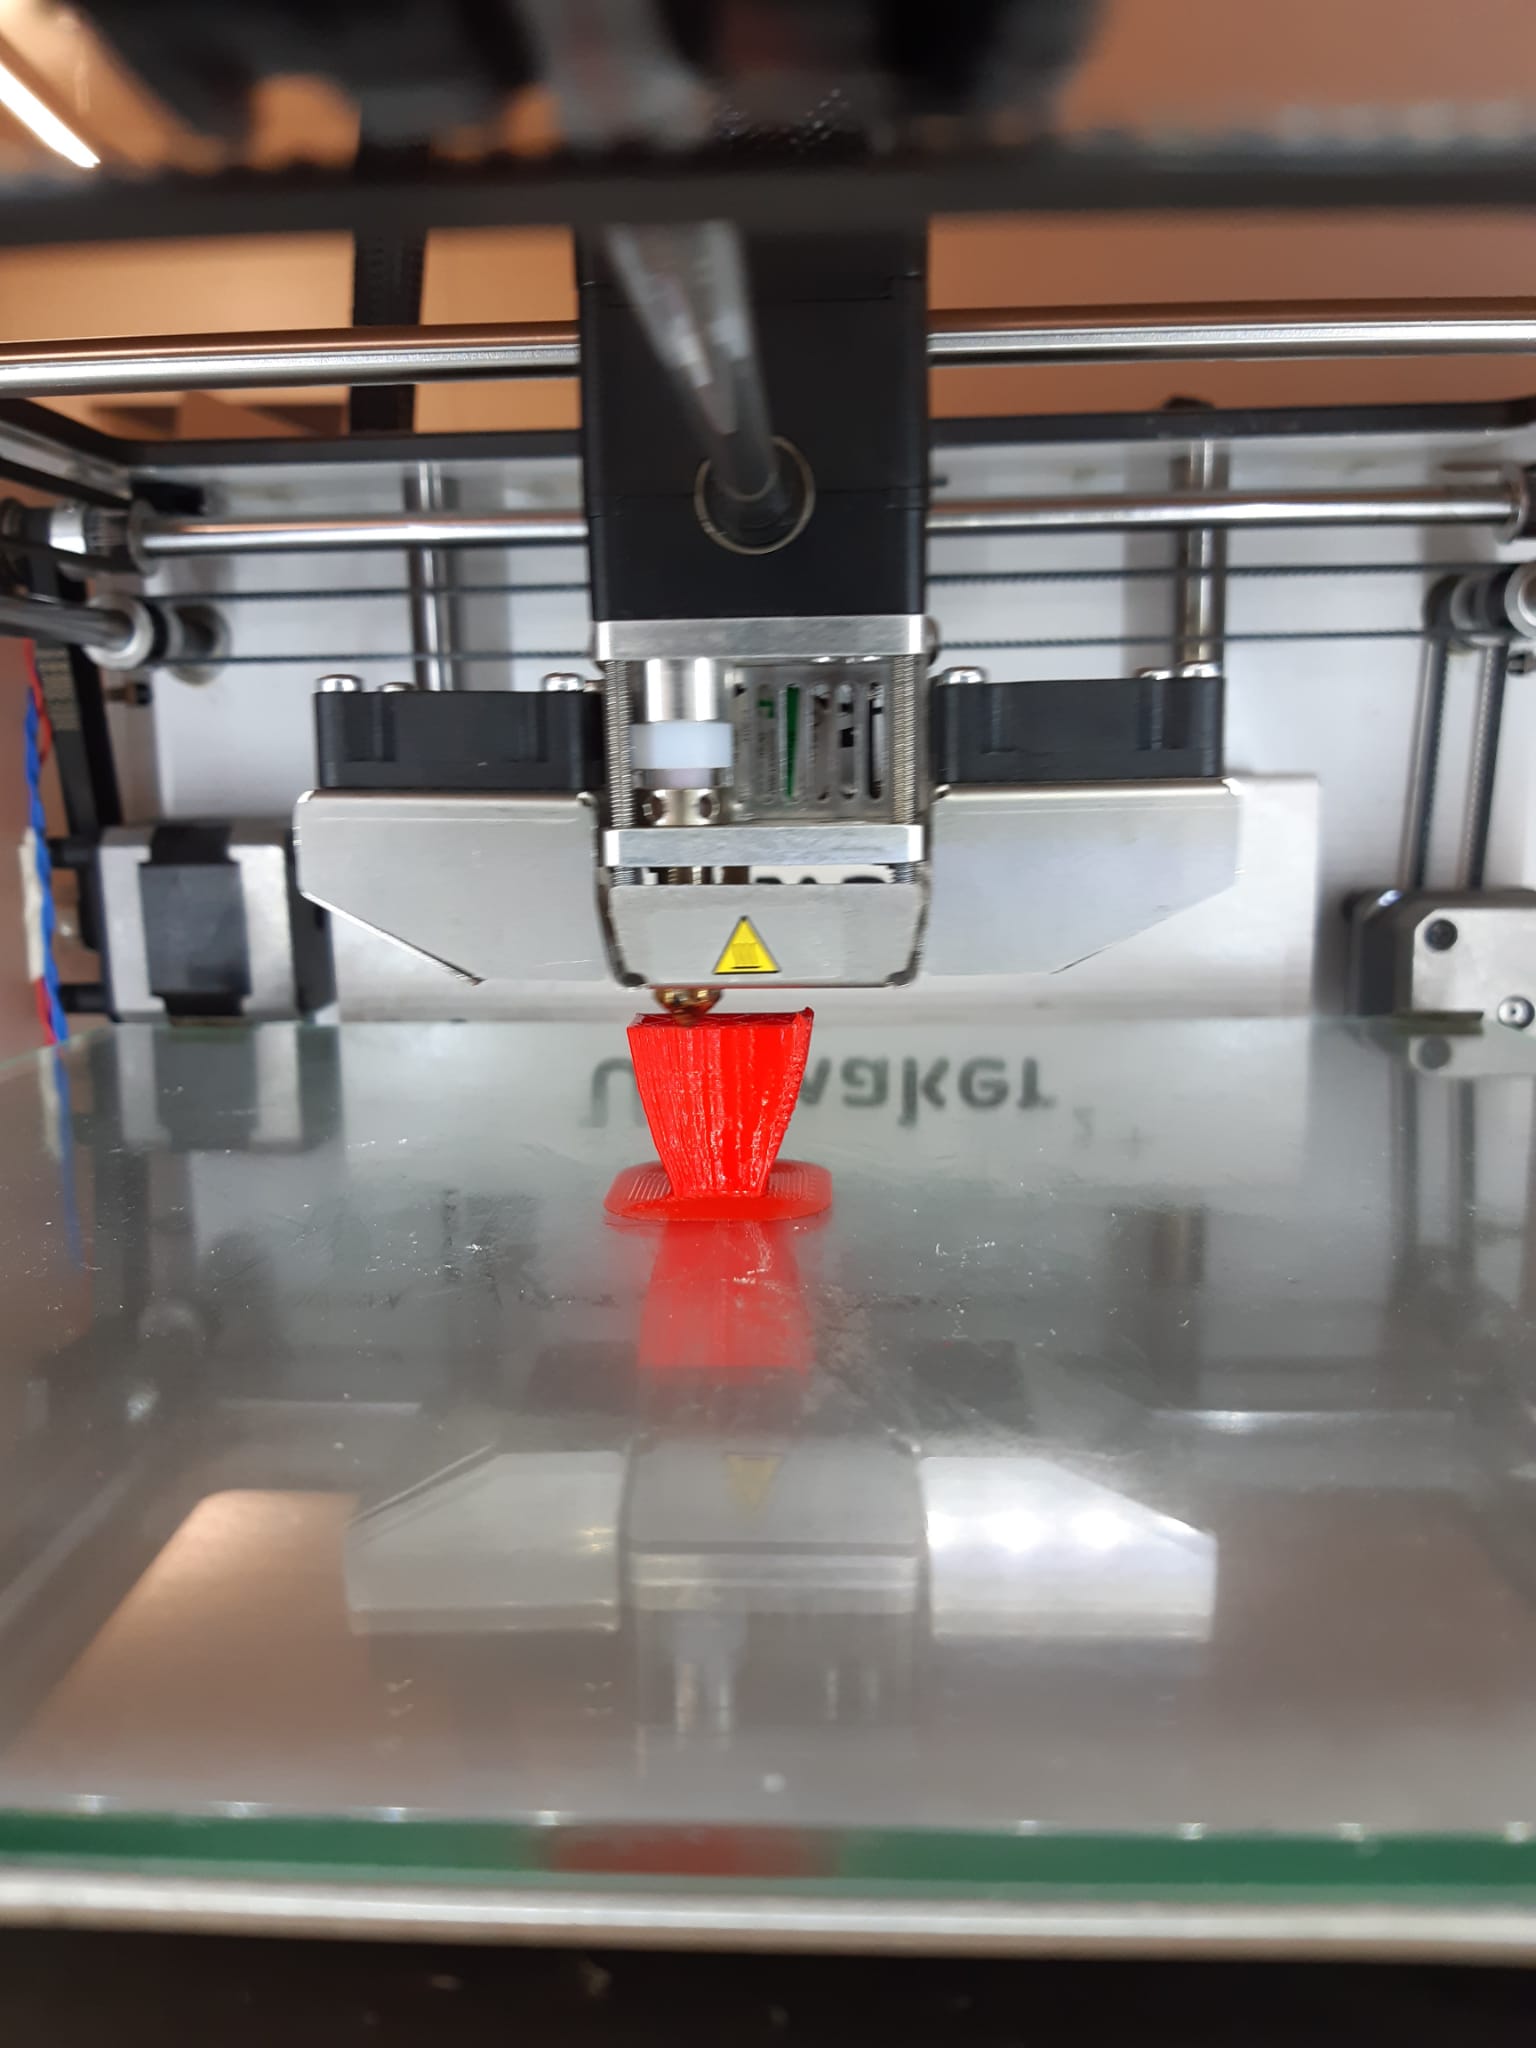
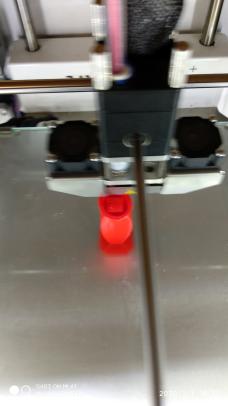
This is during the 3D printing
and this is the finished product.
Photogrammetry
Photos
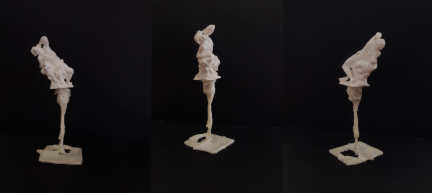
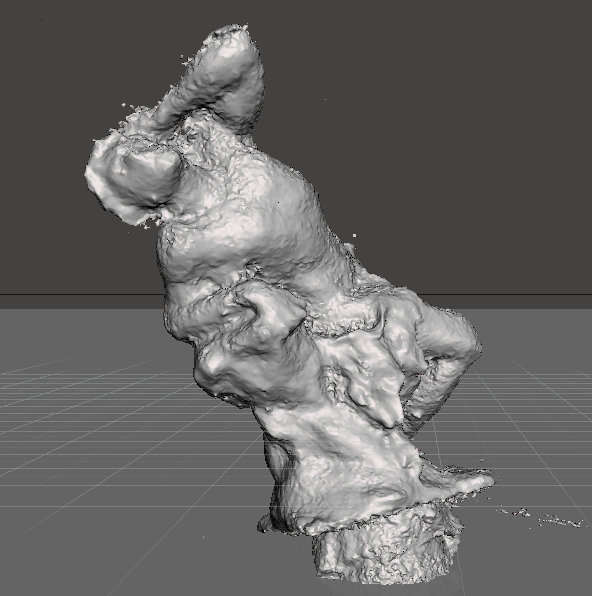
To carry out the exercise of photogrammetry I decided to photograph a 3D reproduction (present in the laboratory) of a famous statue called "Cain". I used a small support to lift it and two black cards that my companion kindly held me to create a right luminous contrast. I took a large number of photos rotating around a round table three times: the first time I took them at an angle of 0°, the second from an angle of 45° from above and the third of 45° from below . A key requirement during this phase was to adjust the ISO of my camera (the phone) very low (about -2).
Here you can find 3 examples of the photos.
Matashape
Second step was to import all of the images into a photogrammetric
processing of digital images
and 3D spatial data generation: Metashape.
I clicked on "Chunk1" - "Add" - "Add photos" . I have to admit, the program only recognized 75 of my 120 photos...
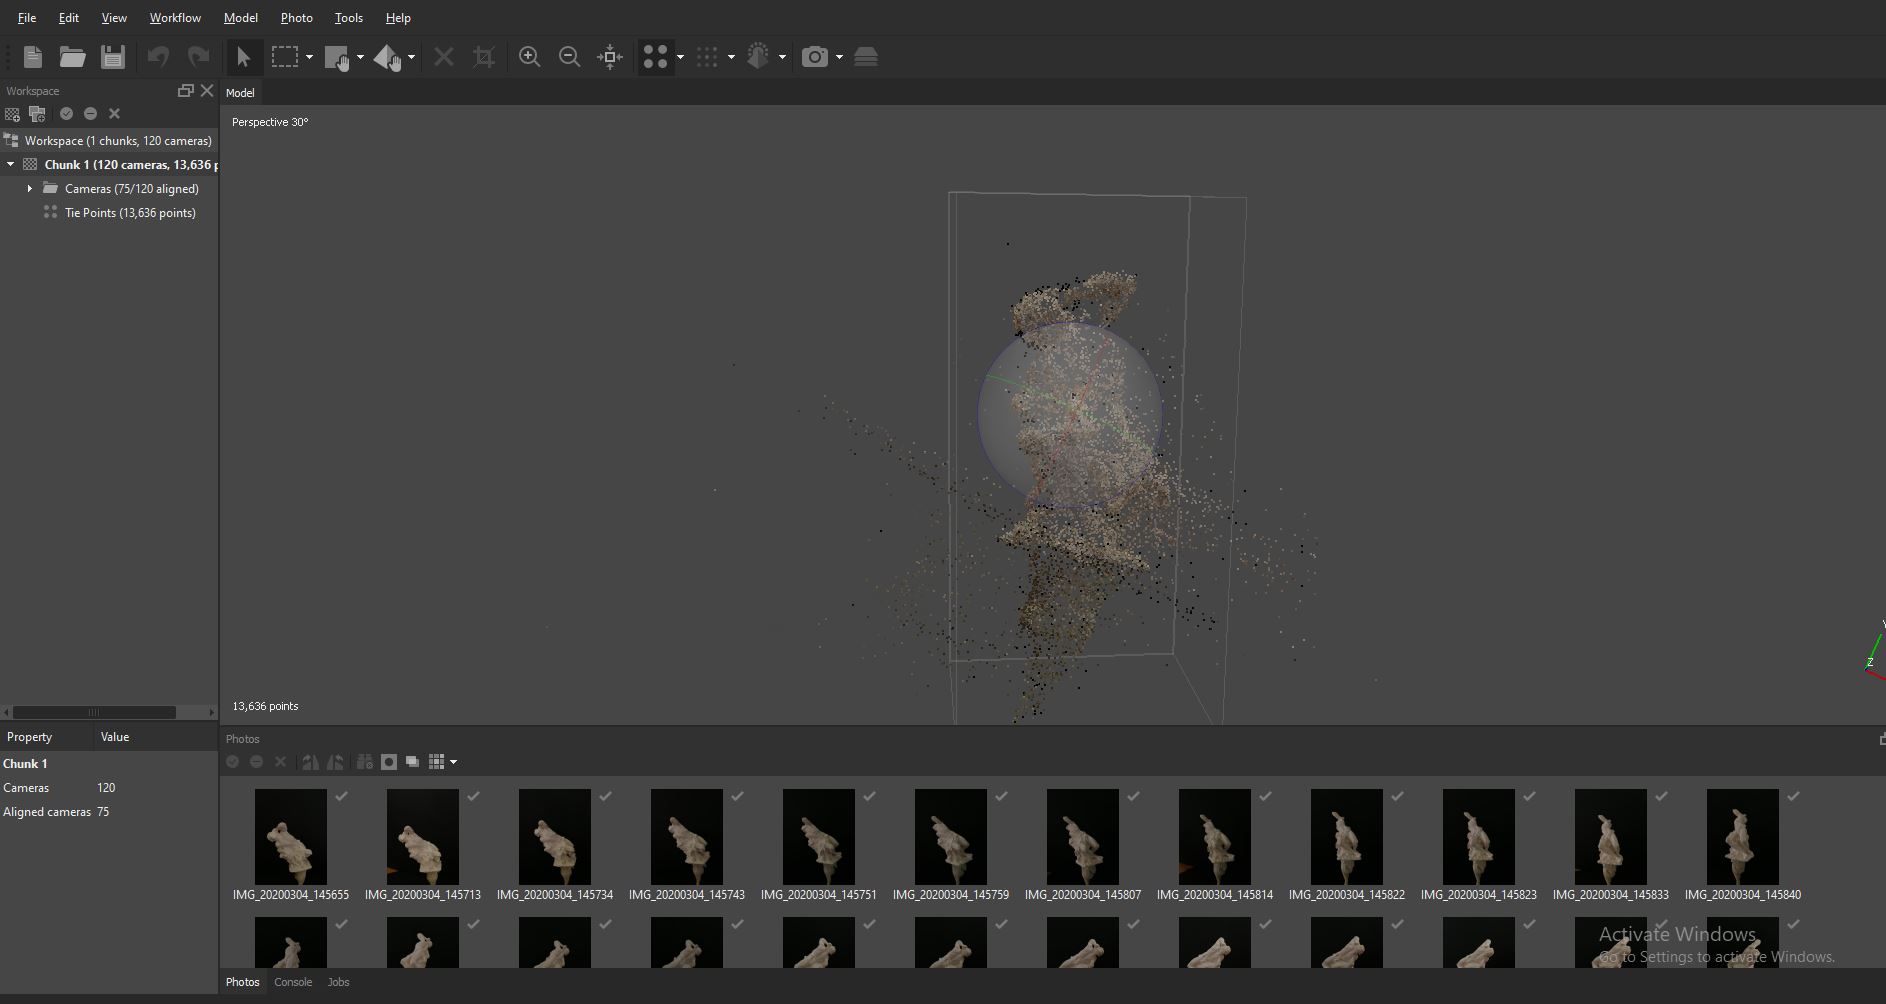
I figured it might be enough anyway, so I went ahead and clicked on "Chunk" - "Process" and "Align photos"
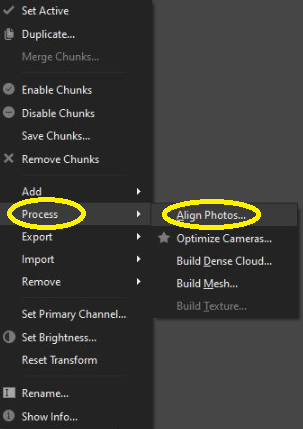
In order to generate and visualize a dense point cloud model, I clicked on "Process" - "Build dense cloud" and then on "Process" - "build mesh"
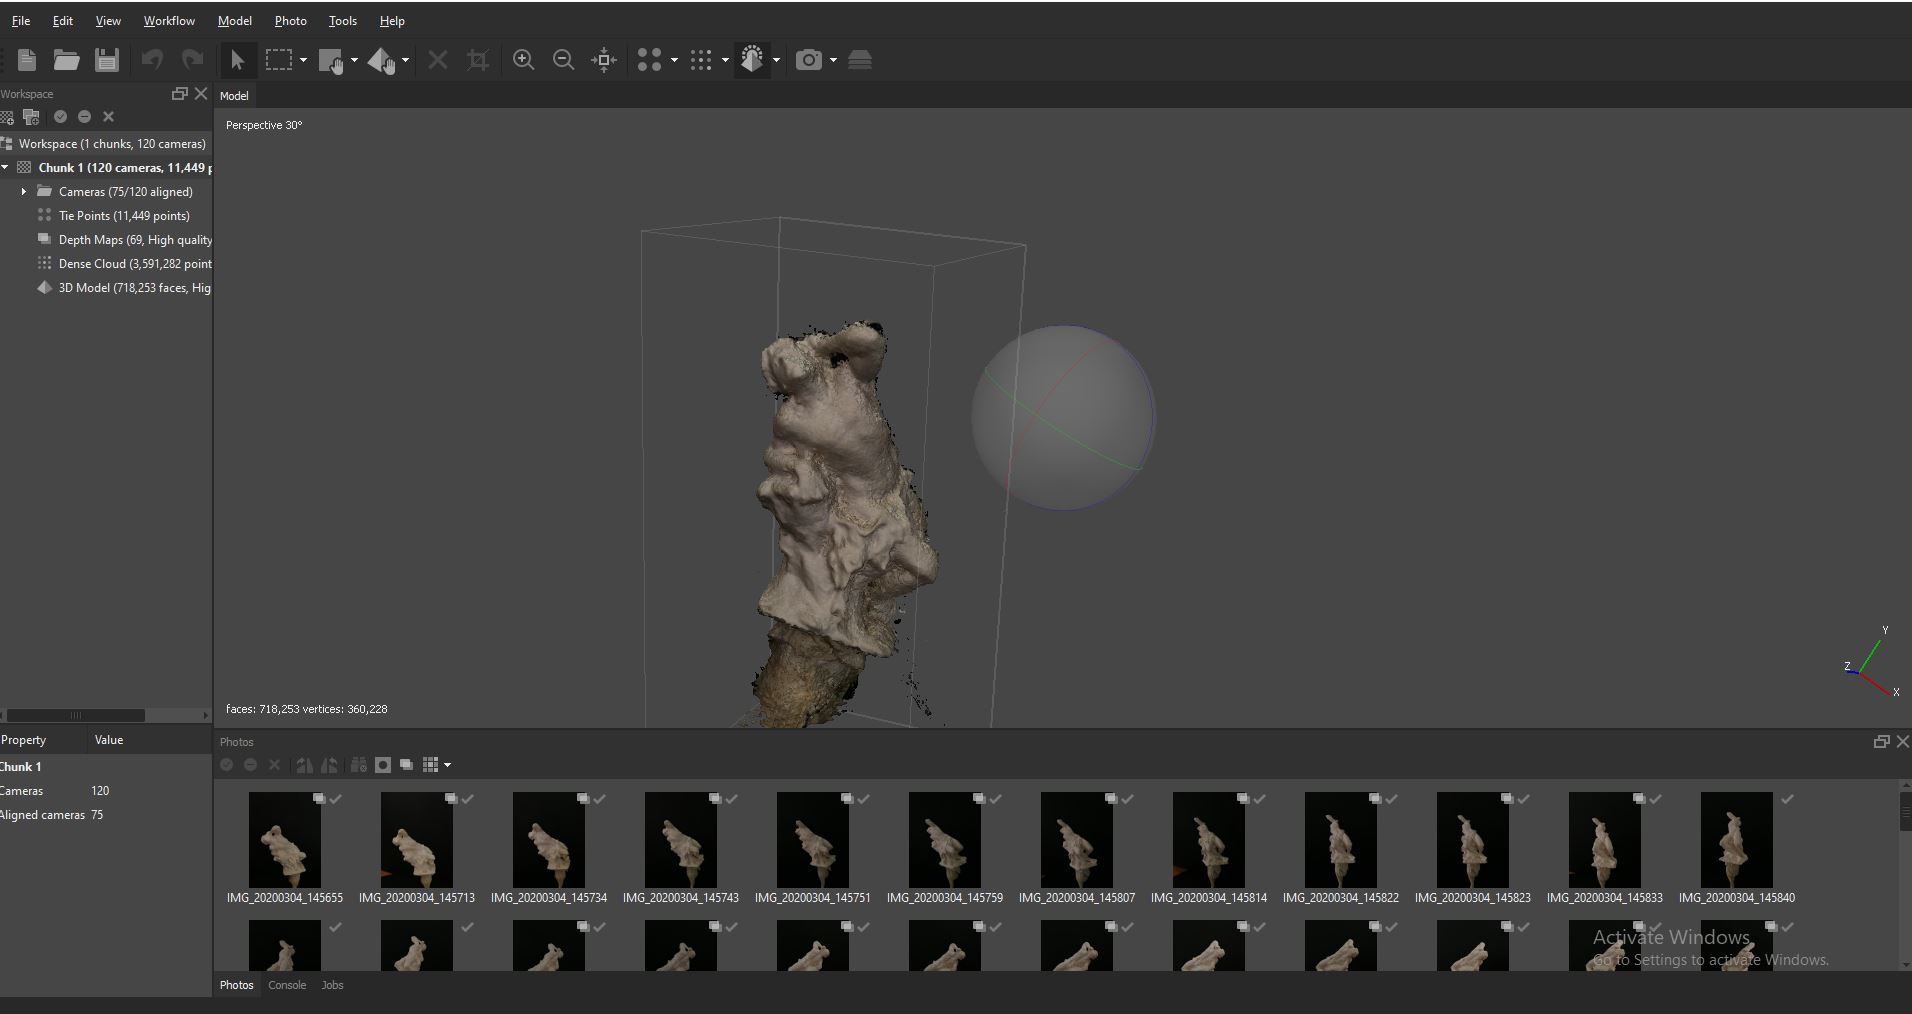
Finally I exported the STL file
Meshmixer
Meshmixer is a state-of-the-art software
for working with triangle meshes.
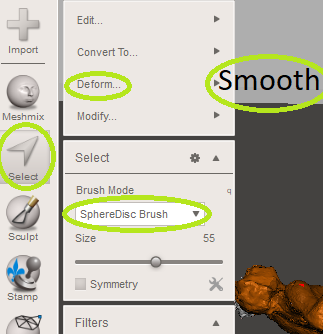
Once I imported the .STL file, I mostly used the smooth tool in order to smooth out the surface of my file because it was definitely rough
Specifically, once I pressed the "Select" tool, and chose the "SphereDisc Brush" option, I selected the parts I wanted to smooth (in my case all) and they turned brown. At the same time a new window appeared where I clicked on "Deform" and then "Smooth"
I also used the tool "Select" and then "ctrl v" to delate the excess parts, such as the support piece.
This is the link to see the 3D model on Sketchfab
Useful links
Group Assignment How do you create a sphere?Shell
My model on Sketchfab The Onshape file of maraca
You can find the downloadable files here
Assembly maracaBase (maraca)
Top (maraca)
Photogrammetry