Week 14
Goals of the week
Individual assignment:write an application that interfaces a user with an input and/or output device that you made
Group assignment:
compare as many tool options as possible
Processing (Led)
I have never used programming languages and I admit that I was attracted by one of the most difficult, JavaScript. Bad idea for those who still don't have clear the difference between Nodes and Web Socket. In this regard I recommend this tutorial that I found while reading the documentation of Marco Cialone.So I decided to start with the programming language that many people find the least difficult: Processing. After analyzing some codes and studying the main functions and variables from the References, I decided to modify the example of the button and use it as output. What I like about this example is that the button changes color when you place the mouse over it, but I was interested in having only one shape (not two), so I removed from the code everything related to the square and kept only what is related to the circle (of which I changed position). Moreover, since the sensor that I have to make work is a led, I changed the colors: if you don't place the mouse over it is white, when you place the mouse it turns yellow. Finally, I adjusted the size of the window. Obviously, since this interface is not an end in itself, but it will have to interact with a hardware (Arduino and the sensor) and another code (written on Arduino Ide) it is necessary to create a link between them via Serial Port. (See line: 1, 3, 20 and 21). This is the code:
Arduino (Led)
Before connecting the led to Arduino, I consulted my trusted guide and discovered that the jumper had to be connected to the D2 port.Arduino Ide (Led)
To make the Led light up you need to write a code on Arduino Ide. First of all you have to connect it to Processing (see line 2), assign pin 2 as output and, through the if function, give the on (1) and off (0) command.This is the code:
This is the result:
Processing (Button)
Rather than changing the programming language, I decided to delve a bit deeper into Processing. First, I wanted the interface this time to be output and not input. Then I decided to insert, in addition to the primiteves, also some writings by entering the font (Arial), the size (30) and the position (center). Since I had only used black and white, I decided to look for an aphorism about it and use this as writing.
This is the code
Arduino Ide (Button)
I don't have a lot of sensors at home, but the button is definitely a good input signal. So I set pin 2, to which I connected the sensor through the jumper, as input pin and, through the function if/else signaled that when the sensor is on (i.e. if someone presses the button) arduino send 1 to the serial port.
This is the code
This is the result:
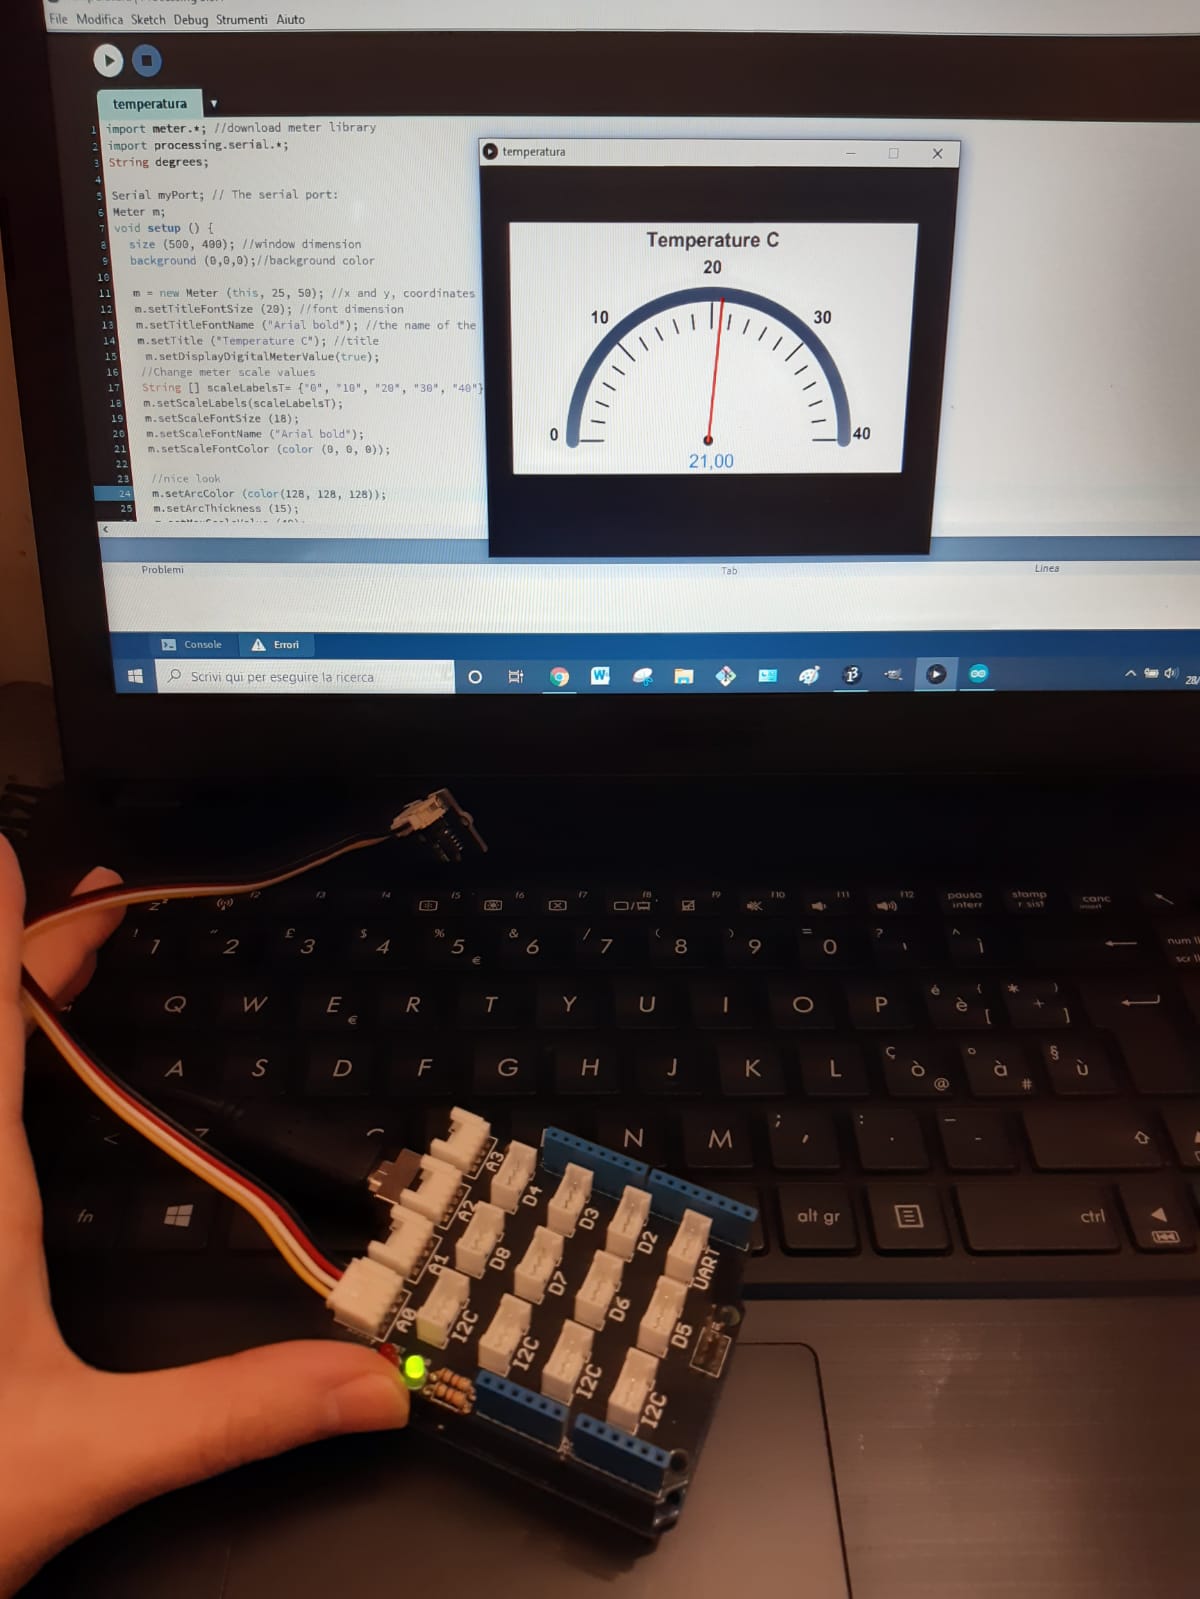
Processing (Thermistor)
The last sensor I had left at home was the temperature sensor. So I decided that I would like to create a nice output interface where the temperature at home would appear. I was inspired by this tutorial. However the guy uses another sensor, so I made some changes to the Processing code (first of all the sensor library) and I wrote a completely different Arduino code
This is the code:
Arduino Ide (Thermistor)
This code is slightly different from the others and at first it put me in a bit of trouble, but actually it's quite easy: I included the right library, set the variables, started the serial communication and initialized the pin as an outut. Through the void draw I set the conditions so that, if there is serial communication, Arduino can send the bytes (i.e. the information and in this case the degrees) to Processing.
This is the code:This is the result